Hidden deep within Mars’ abandoned facilities, the Spire of the Watcher pits fireteams against ancient defenses gone rogue. This guide breaks down each encounter, puzzle, and boss strategy so you can master the dungeon’s secrets and claim its powerful rewards before the next reset.
Destiny 2‘s latest dungeon is also its most vertical, and it will see you climbing down, up, and then down again through a Warmind-inspired tower. Spire of the Watcher includes three lootable encounters – pretty standard for a dungeon – as well as a few puzzles throughout to teach you the mechanics. Best of all, the dungeon is packed with cowboy-themed loot, so you can walk into Lightfall dressed to the nines and ready to ensure that Emperor Calus has yee’d his last haw.
In this guide, we’re going to teach you how to navigate the Spire of the Watcher’s new mechanics and encounters to help you take down some truly ancient Vex.
Bonus chests and collectibles
Bonus chests appear after completing specific encounters in the Spire of the Watcher and can reward players with extra dungeon weapons or armor pieces. Some collectibles, such as lore items and hidden nodes, are scattered throughout the facility, often tucked behind jump puzzles or in side rooms before boss areas. Collecting these not only grants Triumph progress but also adds more depth to the dungeon’s story and atmosphere.

Before we get started with the actual walkthrough, we want to make sure you know how to get a bit of extra loot and find all the collectibles. It’s worth noting that bonus chests can only drop loot from the dungeon that you’ve already acquired, so you should avoid getting the first chest during your first run.
Note: Our screenshots below don’t give much away outside of the chest locations, so we don’t consider this section much of a spoiler. However, if you want to go in completely blind and you’re just using this guide to double check that you’re moving in the right direction, we recommend you skip this section and come back later.
Bonus Chest 1

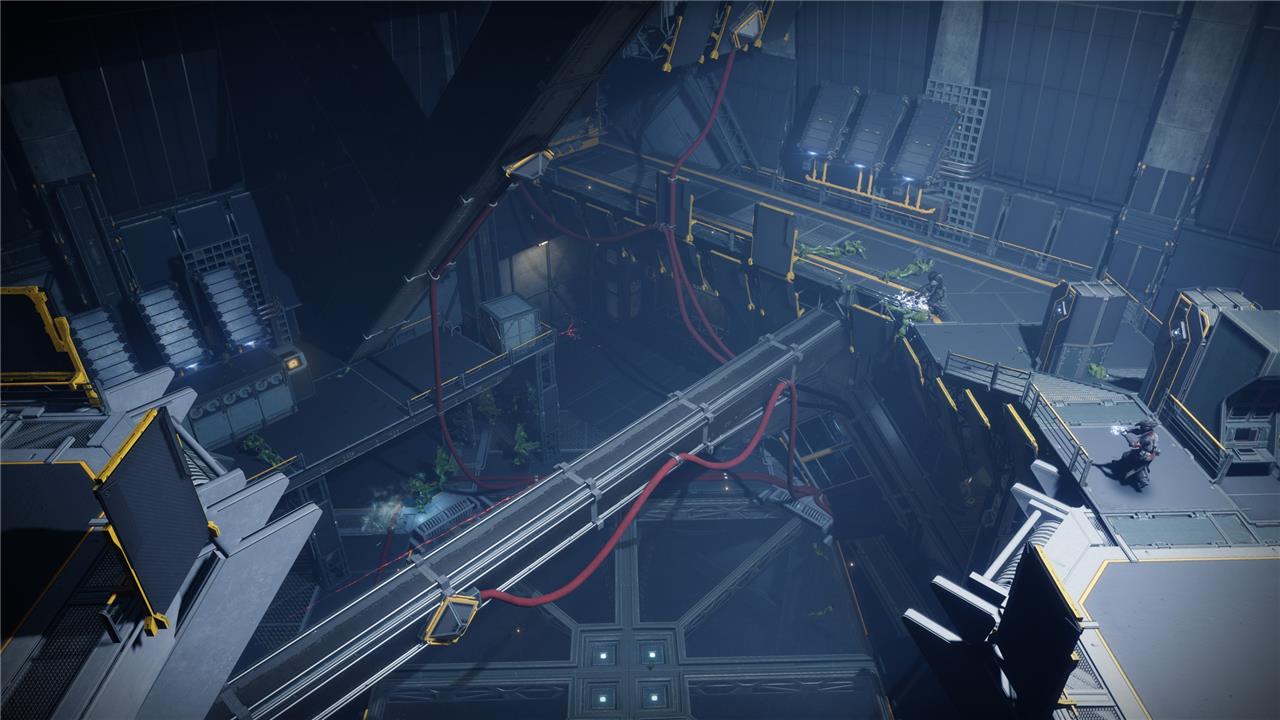
The first bonus chest is before the first “real” encounter, but after you go down the slide. Proceed along the path until you enter the giant chasm filled with Vex. Shoot them down and cross the area using the scaffolding. When you land on the single edge on the side of the wall – Vault of Glass-style, if you’re familiar with the raid – climb up the nearby scaffolding until you reach a sky bridge. Stop.
Instead of moving toward the obvious objective, turn to your left and jump around the column that’s supporting the scaffolding you’re standing on. You’ll see a platform on the side of the column. Jump over to the little bridge to your left and then around the next column. You’ll find the chest sitting on a small platform.
Bonus Chest 2
The second bonus chest is all the way at the end of the dungeon, just before the final boss fight.
When you’re descending the Spire of the Watcher and activating the red wires, you’ll eventually drop into the center of a room with a bunch of Tesla coils going on in a square around you. Defeat all the enemies inside and open the room up so you can proceed. Do not drop down the corners just yet, however.
Once the room is clear, go around to the four stairs in the room and look under them. Under each set of stairs is a vent that you can destroy. One of these vents – it’s the same vent each time, but the room is a perfectly square so you’ll probably need to check more than one – houses a secret compartment.
Blast open the vent, crawl inside, and grab the second bonus chest.
Devilish Recordings
There are only six collectibles in the entire Spire of the Watcher dungeon, and you will find all of them before the dungeon’s second encounter – a far cry from previous dungeons’ collectibles.
If you need help finding these six recordings, we recommend checking out our separate Devilish Recordings guide.
The opening encounter – learning the mechanic
The first encounter introduces players to the circuit mechanic that defines much of the dungeon’s flow. Guardians must connect power nodes by shooting the correct sequence of arctricity generators, maintaining the current until it reaches its destination. This process unfolds while waves of Vex attack from multiple angles, testing both coordination and situational awareness. Learning how to trace the correct path quickly and manage enemies efficiently sets the foundation for later encounters where the same mechanic becomes more complex and punishing.

Is that a new dungeon smell, or just the reek of time dilation all around you? It’s hard to say.
Welcome to the Spire of the Watcher, Destiny 2‘s latest dungeon added in Season of the Seraph as part of the Witch Queen Dungeon Key expansion. This dungeon’s main mechanic is relatively simple compared to some of the game’s other dungeons, and you’ll need to learn (almost) all of it before you can enter the dungeon in earnest.
How the wires work
Spire of the Watcher’s main mechanic is all about restoring power to unpowered machinery. This is done by activating nodes along a giant wire.
Each wire has a beginning node and an end node, and usually there are several additional nodes along the way. The beginning node always has an arrow box next to it letting you know the direction of power flow. The end box is usually attached to a generator.
To activate these big, yellow wires, you’ll need to have a special buff called “Arctrician.” (Yes, that’s a play on electrician but with Arc, the Destiny universe’s version of electricity.) Each encounter has special orange-bar Minotaurs with Void shields who roam around causing trouble. If you kill them, they’ll drop a pool of white liquid on the ground. Unlike most pools of white liquid in Destiny, this one will not hurt you to stand in, and will instead give you the Arctrician buff for 30 seconds.
With the buff active, you’ll need to try to activate as many nodes along the encounter’s wires as possible, going in order from start to finish. Each time you activate a node, the powered section of the wire goes from yellow to blue and you’ll gain about five additional seconds on your Arctrician buff. That means if you go fast you can complete most encounters without running out of the buff and needing to pick it back up again.
Once part of a wire is powered up, you can’t de-power it. So even if you run out of Arctrician juice halfway through a wire, you have all the time you need to get it back.
There is one slight variation to this mechanic that we’ll get to later in the guide, but once you understand how to power up yellow wires, each encounter kind of solves itself outside of the damage phase.
How to open the Spire and reach the first encounter
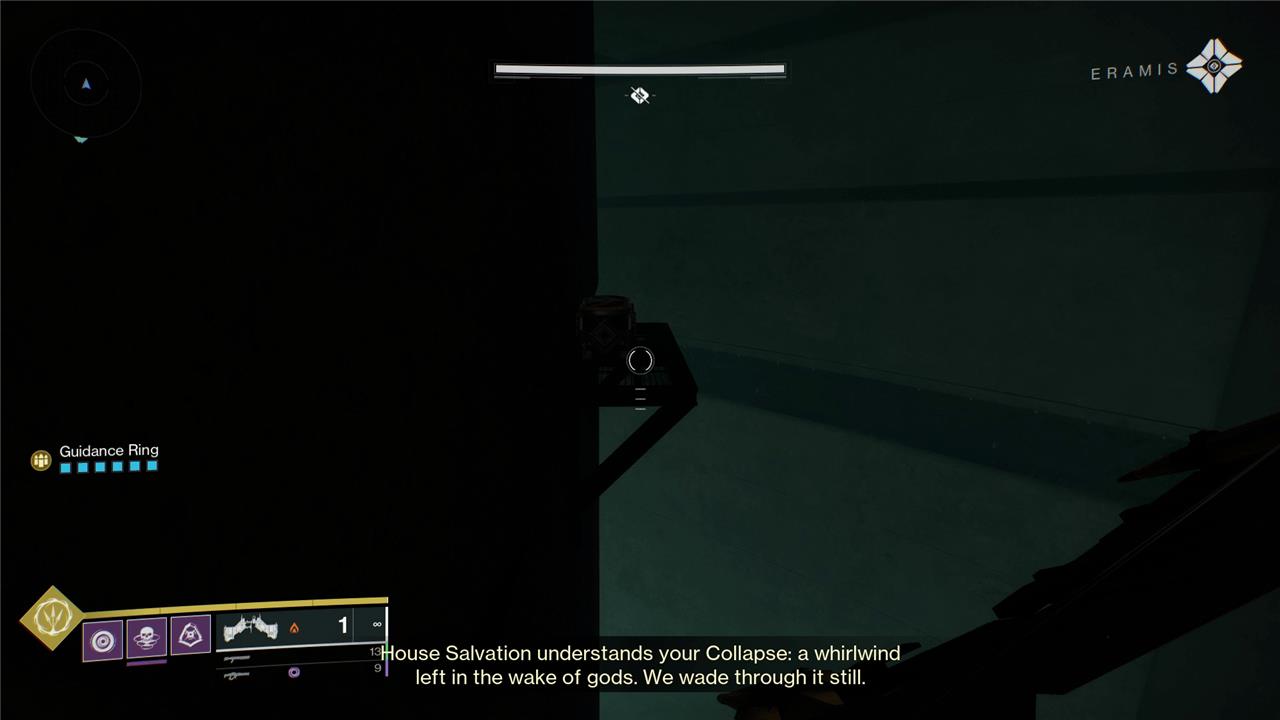
When you first land in the Spire of the Watcher, proceed forward and into the tiny town filled with Vex. Kill the Minotaur and grab the Arctrician buff.
Make your way to the massive generator in the center of town, beyond the huge black doors in the ground. Work backward from the generator to reach the genesis point of each of the four wires. Hit the first node and then follow the wire (being careful not to run into Supplicant Harpies, who will blow you to hell), activating the nodes along the way until you reach the generator.
Repeat this process until you’ve activated all four of the nodes on the generator and completed all four circuits.
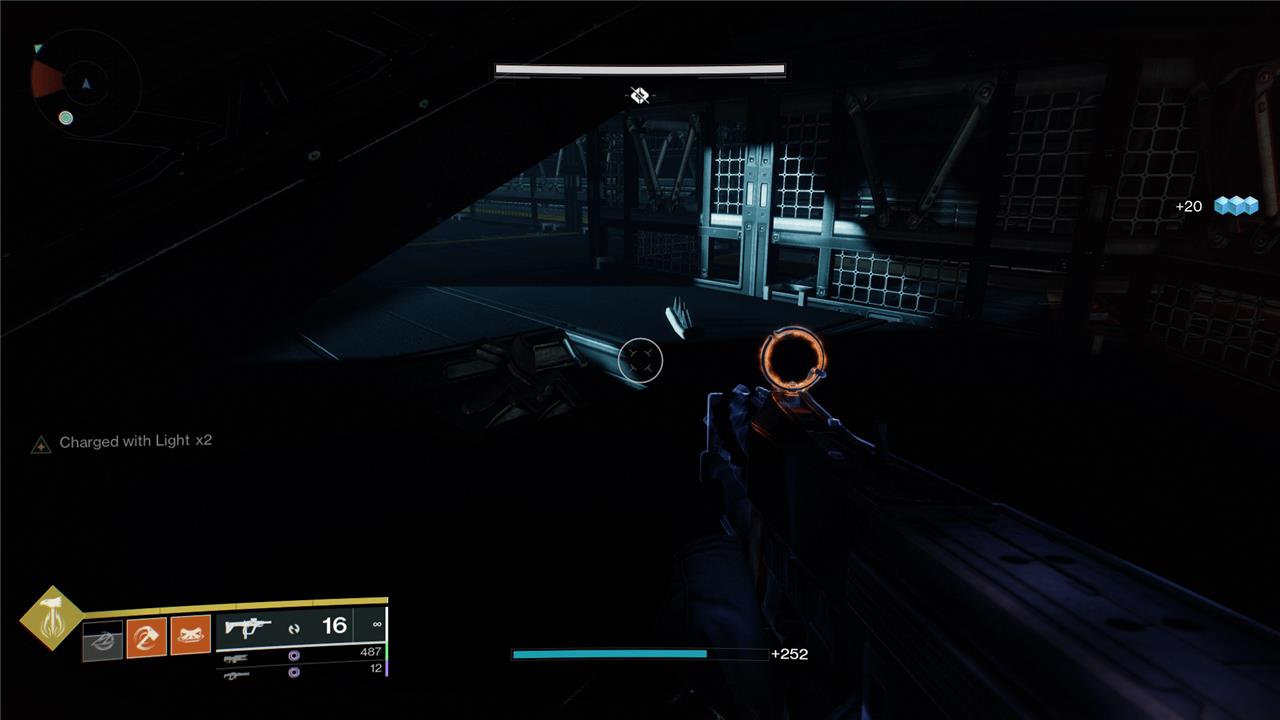
When this baby encounter is finished, the doors will open under you and you’ll be able to slide down. This is a long tunnel, so be prepared to slow yourself down or you’re going to splat against the ground and die.
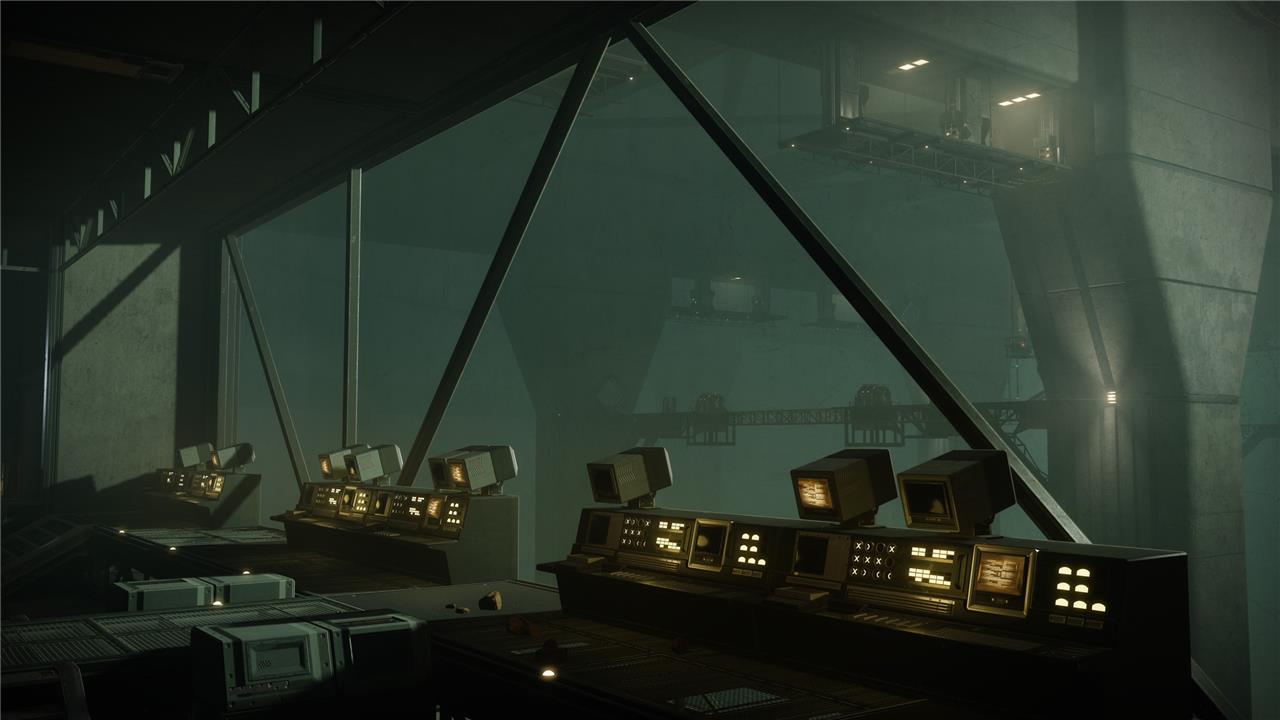
Follow the “secret” path (up and to the left) out of the room, through the massive chasm, and up to the middle point of the Spire. Once you place the Rally banner flag in the computer room, jump out the window, climb up the tower, and get ready for the first real encounter.
Spire Ascent encounter
The Spire Ascent encounter begins with scaling the initial section of the tower while managing waves of Vex and maintaining the power network. Players must connect power nodes by following the sequence of conduits, all while dealing with strong enemies that try to interrupt the process. Coordination is key-have one player focus on clearing enemies while another traces the circuit path. Once all nodes are linked and energy flows through the system, the path to the next level opens, leading deeper into the Spire.
The Spire Ascent doesn’t have a boss fight and is really just a fun race to the first boss. However, you can technically fail this encounter if your entire team dies, so be careful as you climb.
How the fight works
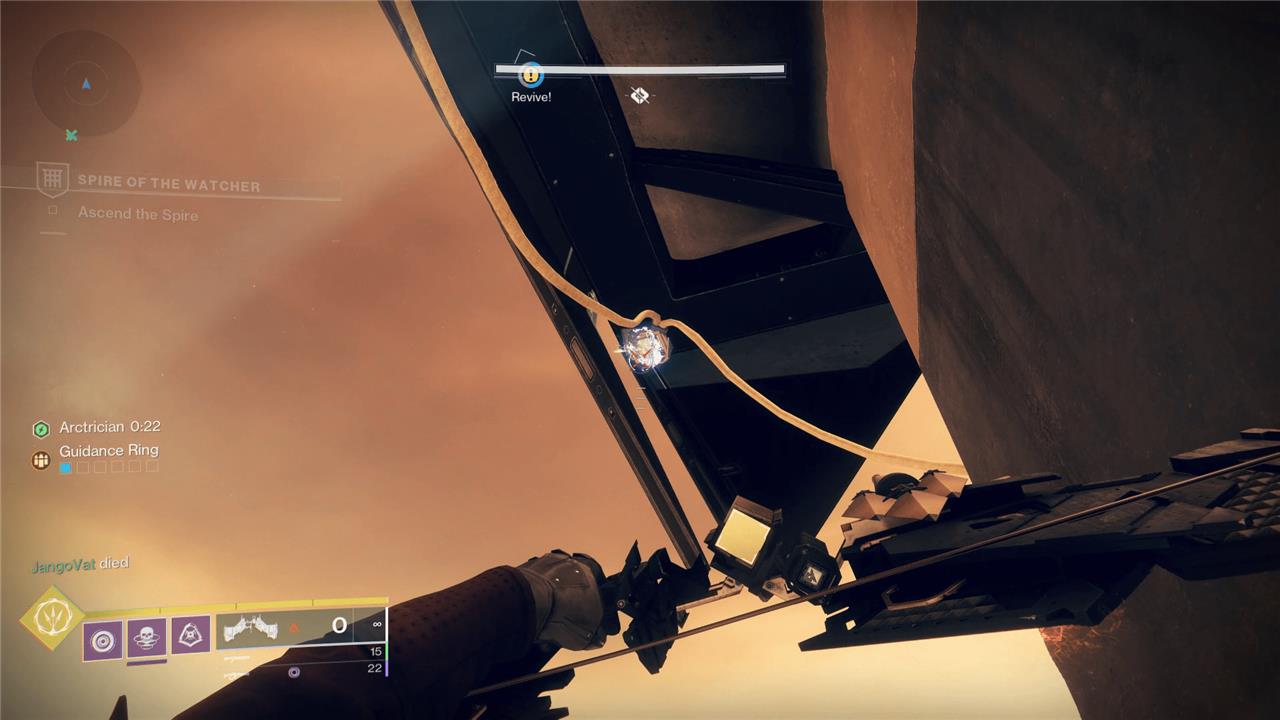
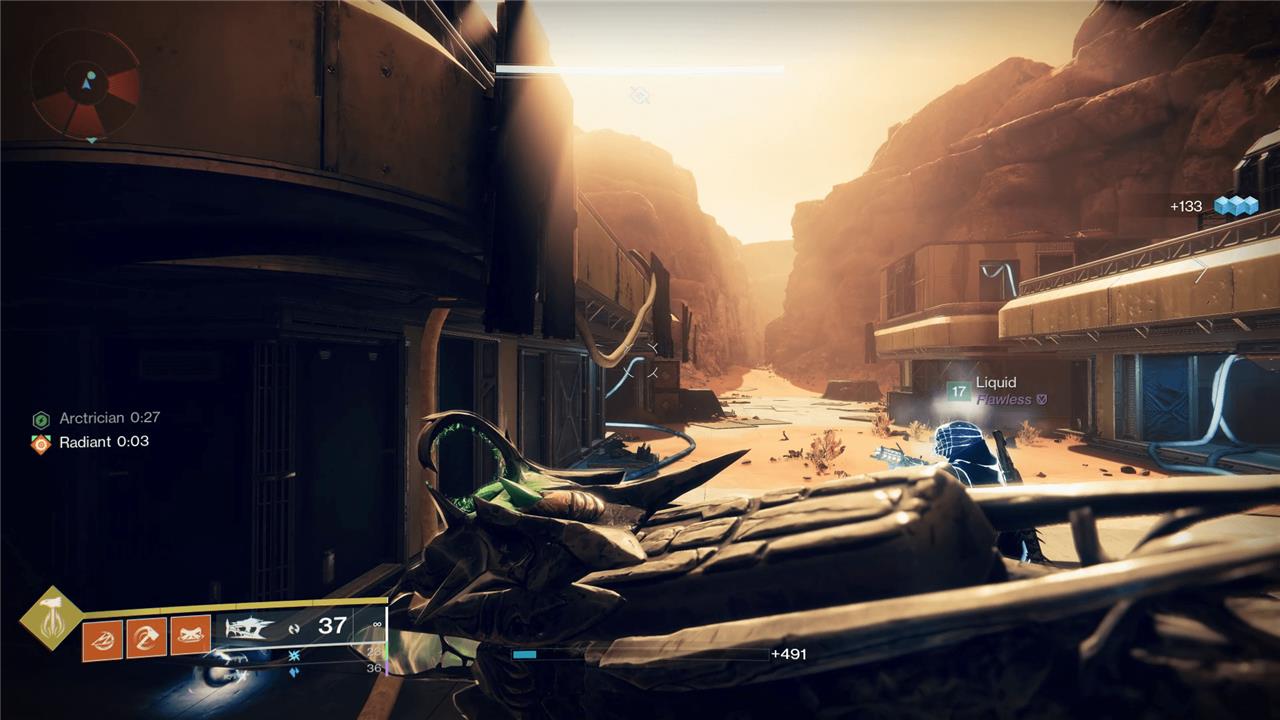
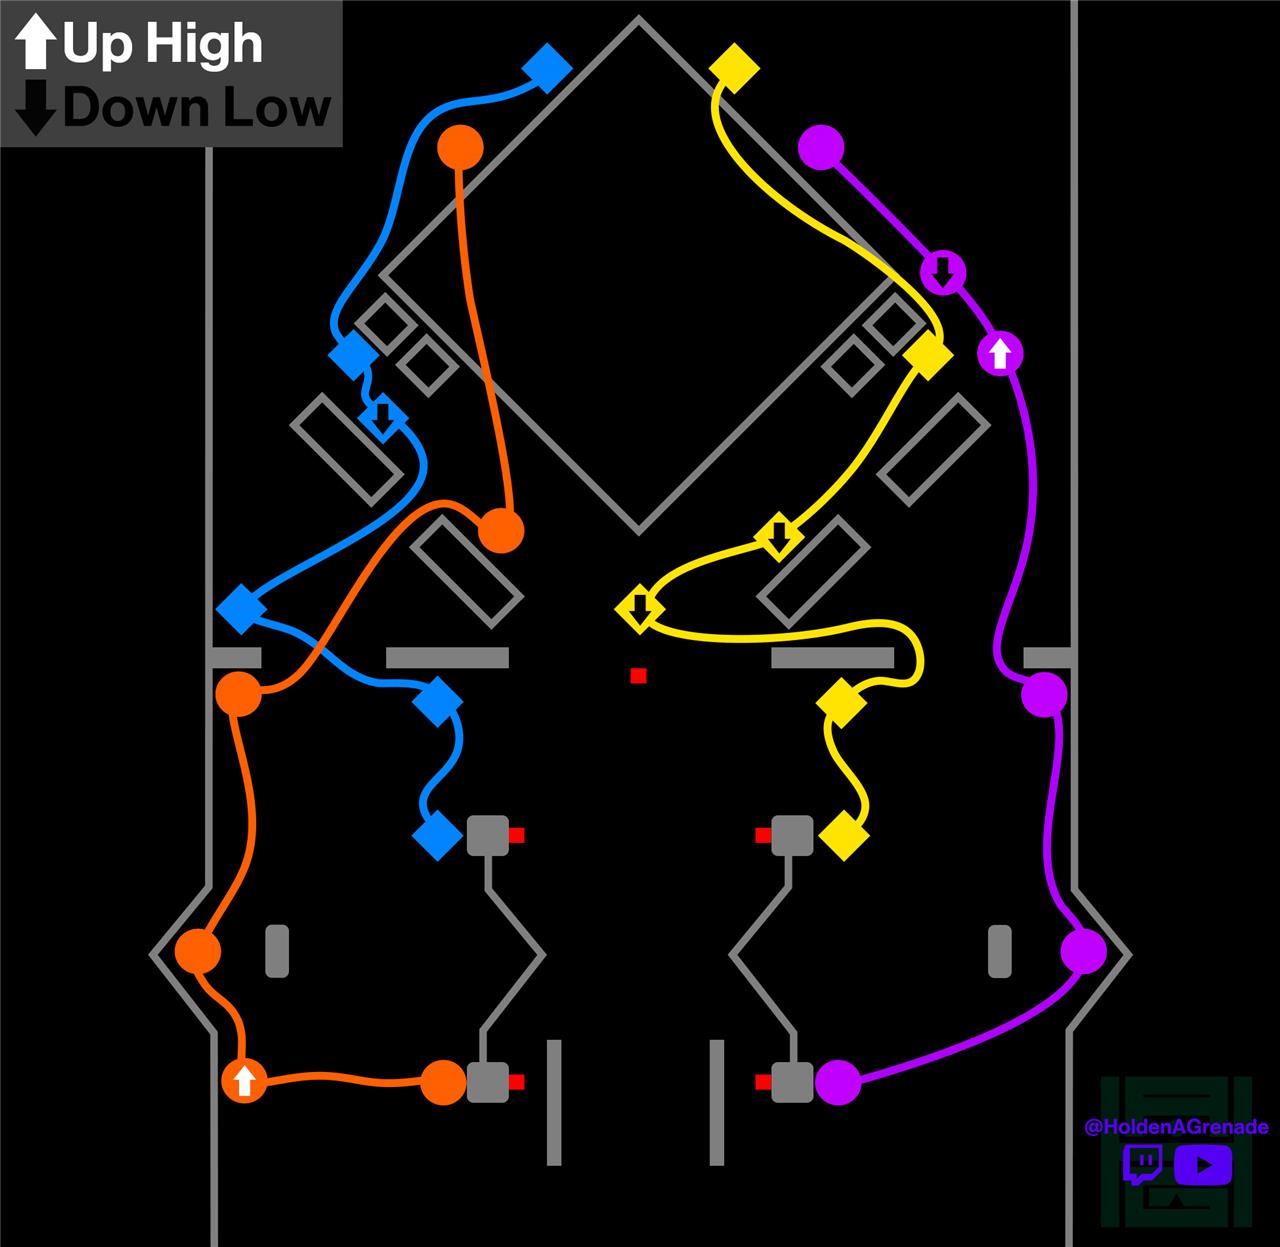
This fight is a larger and more hectic version of the entrance encounter. You’ll find yourself on the outside of the tower, working with two winding wires per floor to activate a grav lift and send you closer and closer to the top.
Grab the Arctrician buff and find the genesis point for both wires. Activate them both and carefully jump around the tower activating the other nodes in order. You’ll need to complete six total circuits on three different floors to finish the encounter. But once it’s over, you’ll finally get your first taste of dungeon loot.
Tips and tricks to go fast
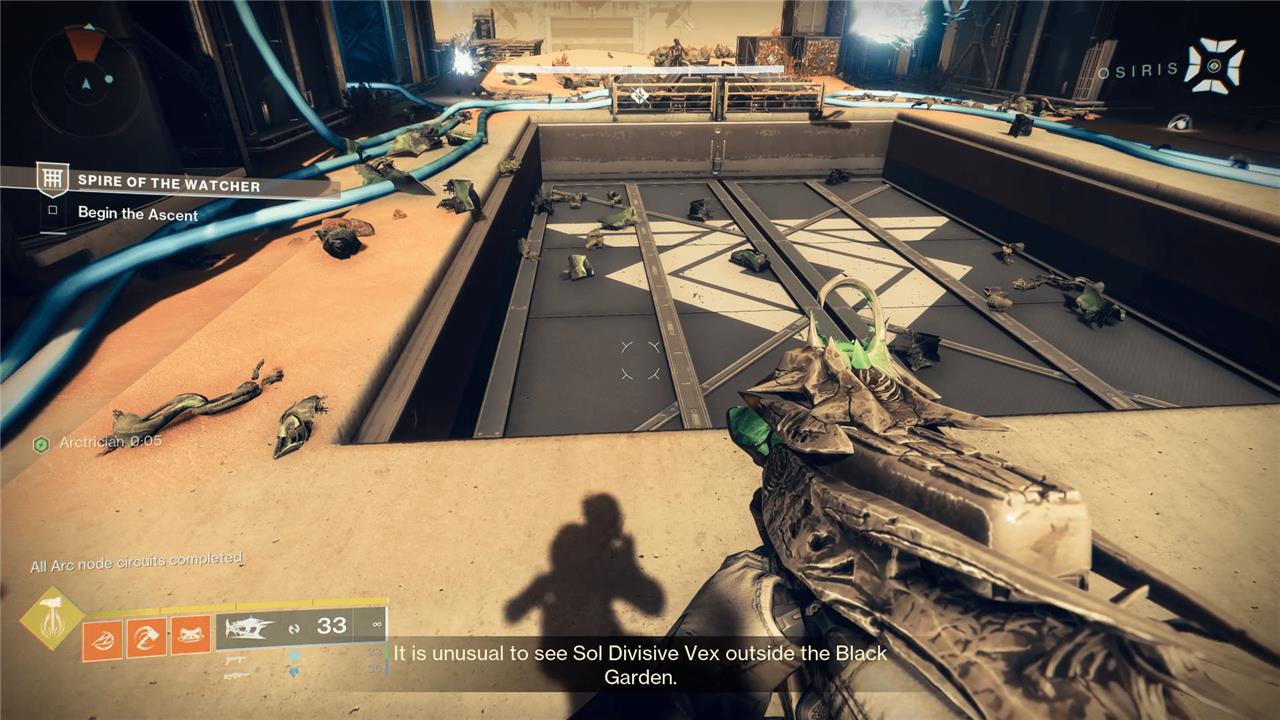
This encounter is a ton of fun for first-timers and repeat runners, albeit for different reasons. On your first time through, we recommend scouting out the nodes and the wires before you get the Arctrician buff, as some of them are hidden pretty well under stairs or on the sides of scaffolding.
Once you and your buddies have checked things out, grab the Arctrician buff and try to go as fast as possible. You should be able to finish each floor without ever dropping the Arctrician buff. And if you go really fast, you can still have some Arctrician left over to start the next floor.
Akelous, the Siren’s Current boss fight
Akelous, the Siren’s Current, challenges fireteams with a fast-paced encounter focused on movement, coordination, and damage phases. Players must connect nodes across the arena while avoiding deadly arc blasts and constant enemy pressure. Once the wiring sequence is complete, Akelous exposes weak points along its body, allowing Guardians to target and stagger it before delivering focused damage. Staying mobile and timing supers or heavy weapon shots during vulnerability windows are key to securing victory in this mid-dungeon boss fight.

Once you reach the top of the Spire you’ll need to face down Akelous, the Siren’s Current. If you’ve played the Garden of Salvation raid from Shadowkeep, this creep should look pretty familiar to you. Carefully make your way around the tower to the Rally Flag, as the fight will start if you get too close to him.
How to remove Akelous’ shield
The goal of this fight is to lower Akelous’ shield and then blow him up. To do that, you’ll need to activate some wires.
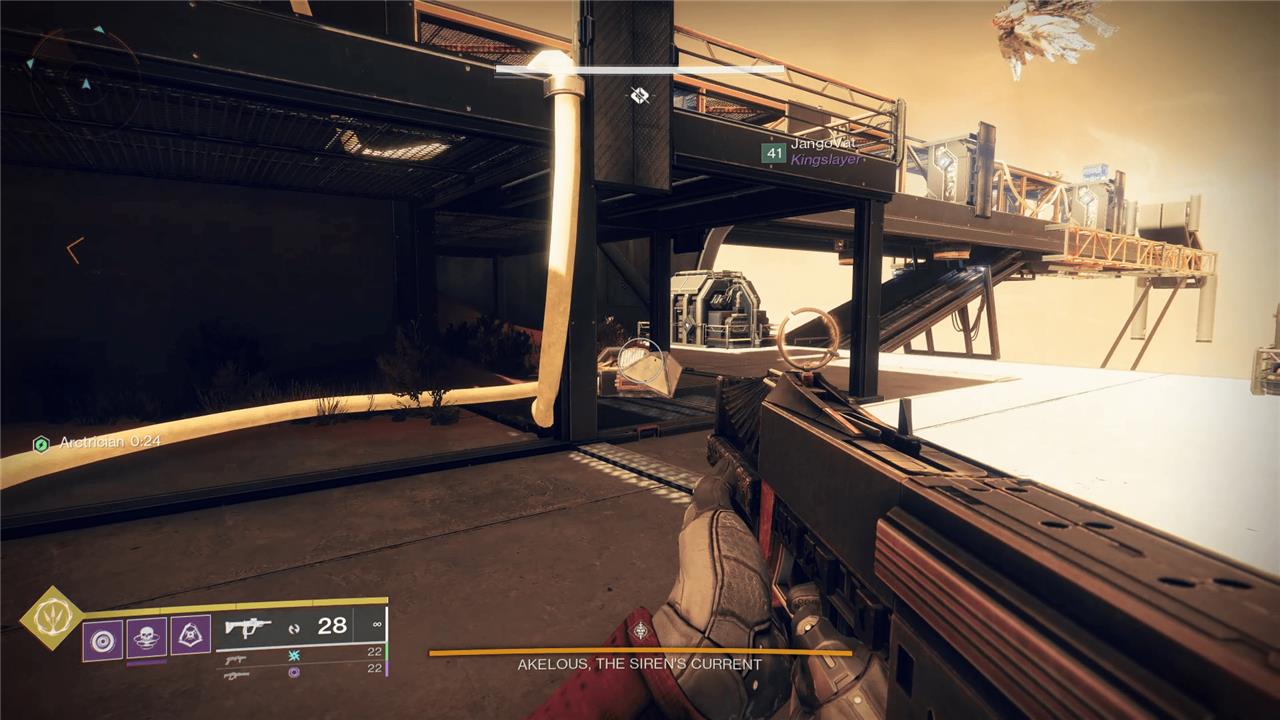
The arena for this fight consists of a small square platform in the middle and four long scaffolding arms extending off of that platform. At the end of each of the four arms is a fuel rod, and there is a generator in the middle of the square platform.
Grab the Arctrician buff from one of the Minotaurs that spawns on the arms and activate the four nodes in the middle of the square arena. These are the wire starting points. Go along each arm with your Arctician buff and follow the wires to the fuel rods, activating nodes as you go.
Once you’ve activated three of the four fuel rods, gather your group up together before activating the fourth …
Tips for killing Akelous
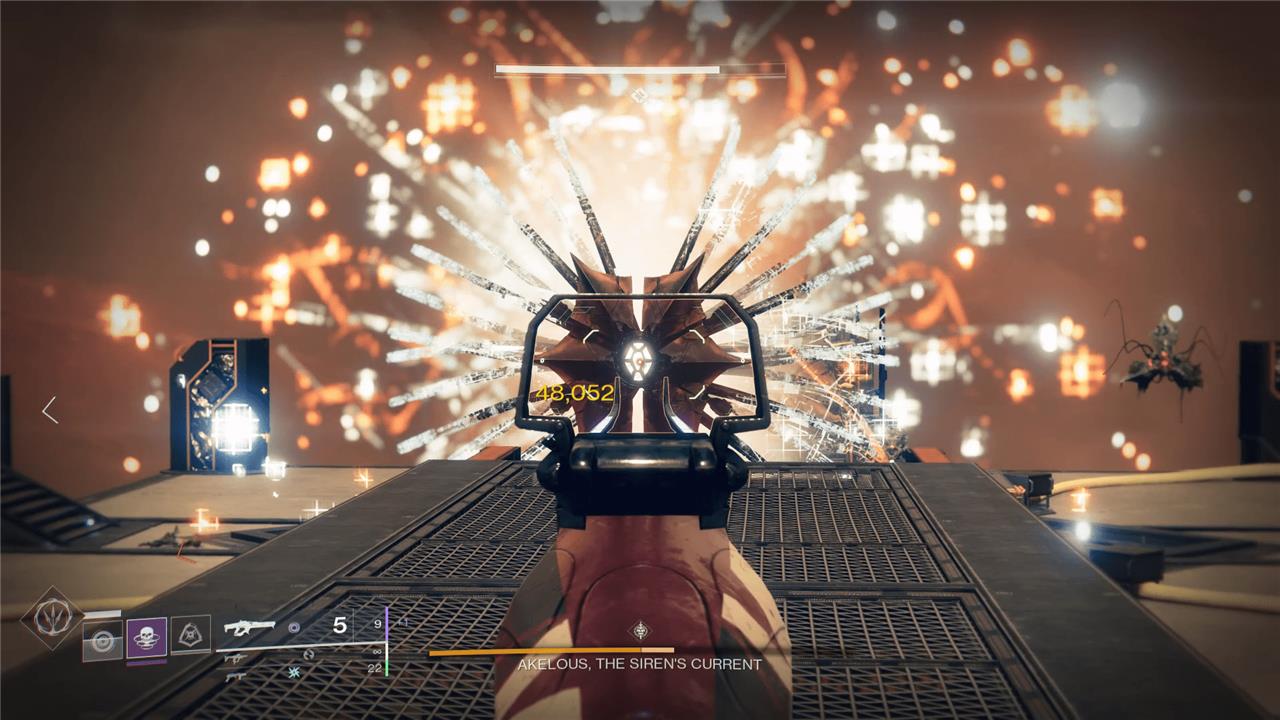
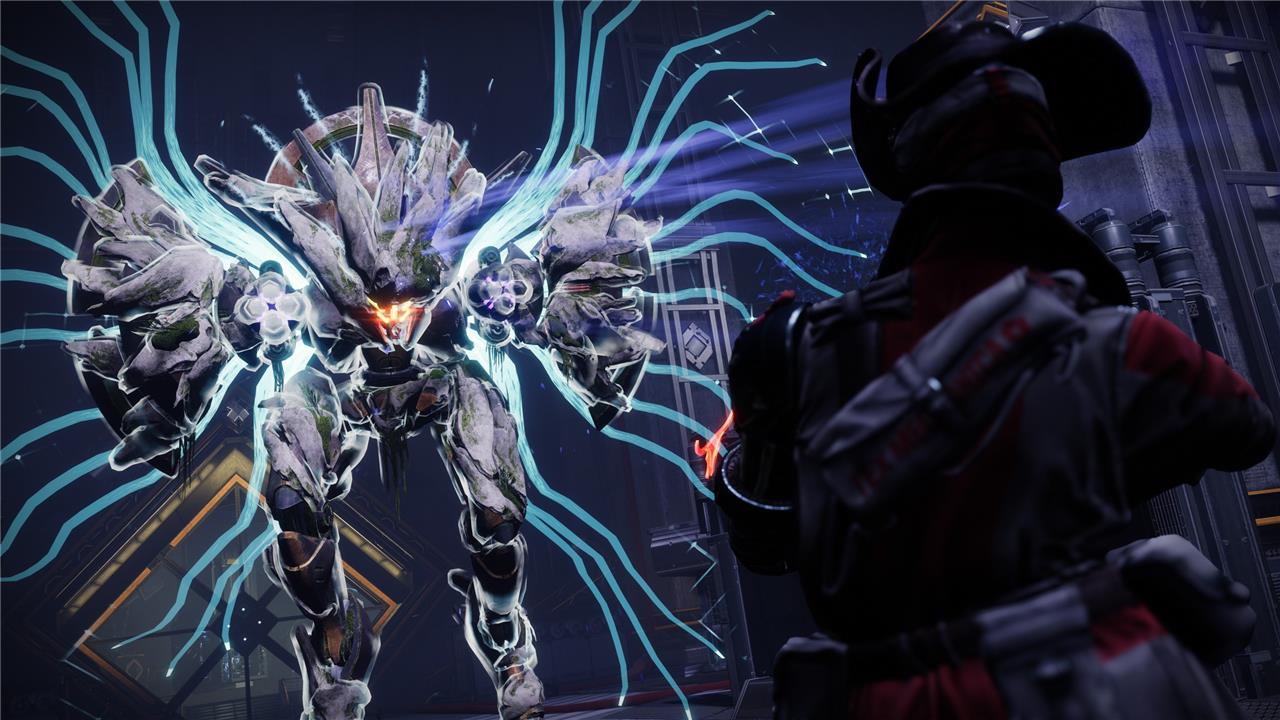
When you activate the fourth and final fuel rod, Akelous will get flustered and fly over to face you. It’ll flare out its Harpy wings, which are filled with little eyes. Blast the eyes as quickly as you can. When all the eyes are destroyed, a giant glowing point in the middle of its body will open up, allowing you to damage it for real.
We recommend using linear fusion rifles and snipers like Izinagi’s Burden for this fight. Start shooting the harpy as soon as the critical spot opens, and move forward along with the boss, which will be floating backward toward the square arena.
If you manage to get through the glowing part of the boss’ health bar, you’ll stun it and be able to do damage for another couple of seconds. If you don’t reach that halfway point, the boss will eventually close its shield up and shoot out a shockwave, which will boop you backward and (potentially) off the tower if you aren’t careful.
Either way, the boss will eventually become immune once again, and you’ll need to repeat the process above for activating the fuel rods.
The Descent
The descent begins with Guardians entering the Spire’s lower levels, navigating tight corridors filled with Vex wiring and unstable power conduits. Precision is key here-each fall or mistimed jump can cost valuable time. Enemies attack in waves as players manage energy nodes to progress deeper underground. Coordination between fireteam members helps maintain control over adds while keeping the circuit links active. The atmosphere grows darker and more pressured with each platform cleared, setting the tone for the challenges ahead.
Once you’ve felled Akelous, the middle platform will open up and you’ll be able to grab some loot on your way inside the Spire.
As you climb down, you’ll encounter the only real twist on the yellow wire formula: red wires.
How to activate the red wires
To activate red wires, you’ll still need to have the Arctrician buff from a Minotaur. However, you won’t need to activate red wires in any particular order. Instead you’ll simply need to tag all of the nearby red wire nodes with the Arctrician buff within a short time period.
If you do this correctly, all of the red wires should be blue and you’ll activate the circuit. If not, all of the red wires will lose power and you’ll need to activate all the nodes again.
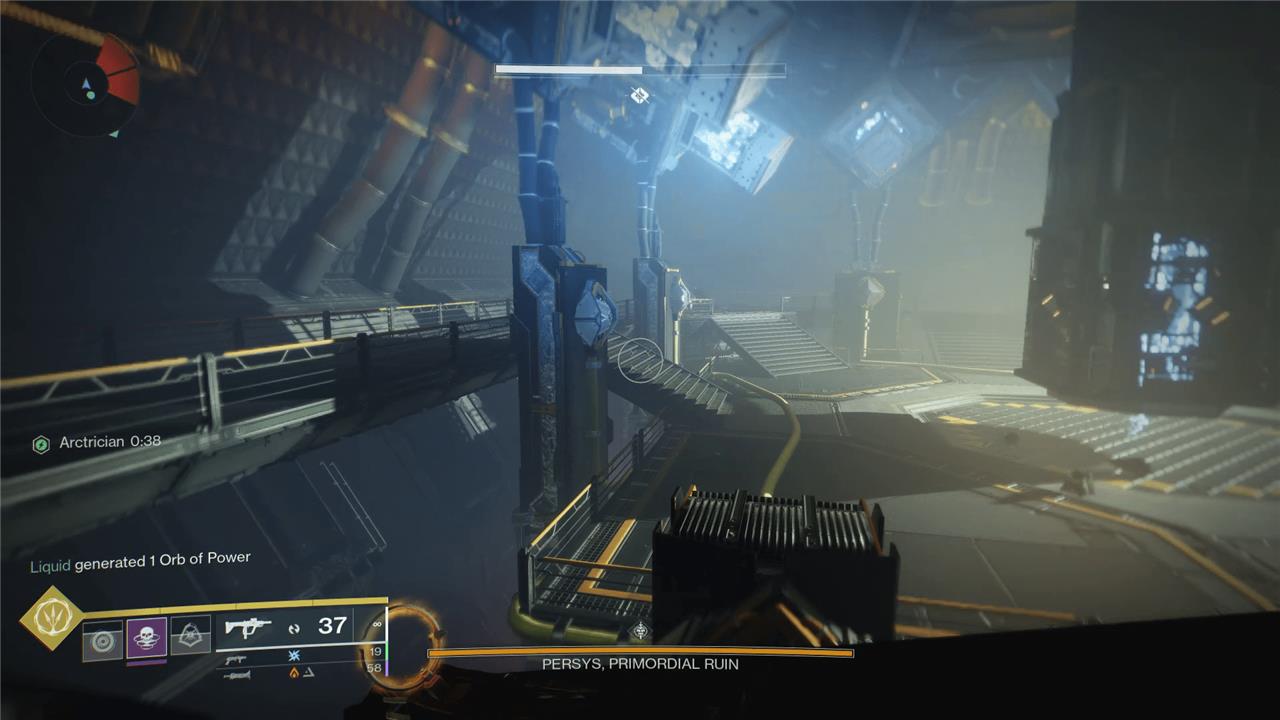
Persys, Primordial Ruin boss fight
Persys, Primordial Ruin, serves as the final challenge in the Spire of the Watcher dungeon. This towering Vex construct demands coordination, quick movement, and precise damage timing. Players must manage power conduits across the arena to disable its shield before dealing direct damage. Adds will constantly spawn, adding pressure to the team as they balance defense and objective control. Once the shield drops, focus all fire on Persys while avoiding deadly energy blasts until the boss is finally defeated.
At the very bottom of the Spire you’ll find Persys, Primordial Ruin, the dungeon’s final boss. This jerk is a massive Wyvern, and it’ll stomp around the arena shooting at you and attempting to squash you with its massive feet. Thankfully there’s a way to take it down, but it’s a bit trickier than the rest of the dungeon.
How to remove Persys’ shield
Like Akelous before it, Persys has a giant immune shield to keep it safe. If you want to get to the soft and squishy boss inside, you’ll need to take care of that shell first.
The Persys arena is divided into two rooms. The room you spawn in is what we’ll call the big room, and the room Persys spawns in is the reactor room. The goal here is to power up the reactor room with Persys inside and you still in the big room, which will lower its shield. But it’s going to take some work to do that.
When the fight starts, go to either side of the room and take out the two Vex Hydras that appear. This will cause the Minotaurs to spawn. Kill a Minotaur and steal its Arctrician buff.
On the four columns in the middle of the room (facing toward the Rally Flag), and on top of the big door leading to the reactor room, you’ll see a total of five red wire nodes. Use your Arctrician buff to activate the entire red wire circuit. This will activate two yellow wires in the room, allowing you to continue the fight.
Quickly locate the two active yellow wires (on the opposite sides of the four columns in the big room). Follow the nodes and activate the wires, following them from the big room into the reactor room and eventually the generators at the end.
However, do not complete the final circuits for both wires just yet, as it will start the reactor meltdown. You need to wait for the boss to lumber into the reactor room before you complete the circuits. Thankfully the boss mostly just chases your fireteam around, so it will likely follow your friends into the reactor room as long as you’re all together.
Once the boss steps over the threshold, finish the two circuits. You’ll get a notification that the reactor is going into meltdown mode and that you need to take cover. Head back into the big room – don’t worry about the boss, as it’ll be too preoccupied with the reactor to notice you.
Grab another Arctrician buff if you need it and keep an eye on the red wires you shot earlier in the fight. Shortly after you exit the reactor room, all five red wire nodes will become active again. Shoot all five with the Arctrician buff as quickly as you can. If you’re successful, you’ll shut the giant door between the two rooms, locking Persys inside.
When the reactor explodes, Persys will be vulnerable for a few seconds, which is your time to strike.
Tips for killing Persys
There are a few methods for killing Persys, but be forewarned, it has a lot of health.
We recommend standing in the middle of the big room with a Well of Radiance and either three rockets (including one Gjallarhorn, ideally), or two linear fusion rifles and one Divinity. Rockets deal far more damage than linear fusion rifles, but you’ll run out of ammo much quicker, and you may not get much back before the next phase. Linear fusion rifles, on the other hand, are far slower but much more consistent.
After a few seconds, the boss’ shield will come back online and you’ll need to start over from the very beginning of the fight. Thankfully this entire process is actually quite quick, so it won’t be too long between damage phases.
Best loadouts for Spire of the Watcher solo flawless
Solo flawless runs of Spire of the Watcher demand versatile loadouts balancing add clear, survivability, node-shooting precision, and burst DPS for short windows on Akelous and Persys. Hunter edges out other classes for mobility and invisibility, but strong options exist across subclasses; prioritize Prismatic for hybrid buffs like Radiant and Armor Charge sustain. Weapons focus on Witherhoard for ammo efficiency and crowd control, paired with heavies like rocket launchers or exotics for bosses.
Hunter Builds
Arcstrider with Assassin’s Cowl shines for invisibility and healing via Combination Blow, ideal for safe node sequences and solo traversal. Prismatic Gunslinger uses Celestial Golden Gun or Star-Eater Blade Barrage for high burst on Persys (3-phasing possible), with Grapple for jumps. Weapons: Witherhoard (primary), Calus Mini-Tool or Sunshot (special), Castratis GL3 (Envious Assassin/Bait & Switch) or Apex Predator rockets (heavy).
Titan Builds
Solar Striker with Loreley Splendor Helmet provides Restoration for tankiness during adds and nodes; Twilight Arsenal Prismatic adds hammer melee for utility. Weapons: Witherhoard, blinding GLs or Izanagi’s Burden (special), Xenophage or Gjallarhorn rockets (heavy) for Persys burst. Eager Edge sword helps in jumps and Descent.
Warlock Builds
Dawnblade with Well of Radiance offers safe DPS phases; Starfire Protocol (pre-nerf) or Sunbracers for grenade add clear. Prismatic pairs Golden Gun with healing tools. Weapons: Witherhoard or Arbalest (primary/special), Cataclysmic LFR (Bait & Switch) or rocket launchers (heavy) for Akelous eyes and Persys crits.
Boss-Specific Weapons
Akelous favors burst like rockets (Gjallarhorn for orb gen) or Leviathan’s Breath to shatter eyes quickly; avoid sustained LFRs due to dives. Persys needs crit precision-rockets (Apex Predator), GLs with spikes (Capr GL3), or supers outperform linears on his small window. Trinity Ghoul excels in Descent for chain lightning adds.
Best step-by-step solo strategy for Ascend the Spire encounter
Ascend the Spire requires precise Arctrition buff management and enemy prioritization to progress upward solo without wipes. Follow cables from starting nodes on each floor, shooting exactly five switches per circuit while buffed (15-second duration from killing Conduit Minotaurs). No timers pressure you, so prioritize safety over speed.
Preparation and Route
Enter after the opening power restoration and jumping puzzle; rally at the flag. Equip mobility tools like Strand Grapple (Hunter Prismatic), Eager Edge sword (Titan), or lightweight scout for traversal stability-avoid jumping during platforming to prevent falls. Ignore most adds initially; focus Minotaurs for buffs, using trace rifles or anti-barrier pulses for quick kills. Hydras spawn supplicants but can be bypassed or one-phased with rockets/snipers if blocking paths.
Floor-by-Floor Steps
-
Floor 1: Kill the first Conduit Minotaur near the entrance for Arctrition, trace yellow cable counterclockwise to shoot five nodes (walls, ledges, under overhangs). Clear goblins/harpies if they swarm; elevator activates on completion.
-
Floor 2 (Mirrored): Repeat from the opposite starting node-cable mirrors prior path but reversed direction. Grab buff from respawned Minotaur, shoot nodes while dodging Cyclops beams. Platform up carefully; use invis (Assassin’s Cowl) for breathing room.
-
Floor 3: Identical circuit layout; Minotaur spawns centrally. Prioritize buff refresh mid-circuit if expiring-double back if needed. Handle hydra with barrier mod pulse or super, then finish nodes for final elevator and checkpoint chest.
Solo Tips
Clear adds methodically before nodes to minimize distractions; memorize node spots via Rite of the Nine or videos for fluidity. Witherhoard walls off threats during shooting; Well/Healing Grenade sustains health. Falls kill faster than enemies-slow jumps, hug platforms.