Charged foes won’t stand a chance once you’ve got Link suited up in the Rubber Armor. Here’s where to find each piece of this shock-resistant set scattered across Hyrule in Tears of the Kingdom.
The result is well worth the effort, though. The Rubber Armor set reduces damage taken from electricity and prevents you from getting shocked – key for your fight against beasts like the Thunder Gleeok. Here’s where to find the Rubber Armor set in Tears of the Kingdom.
Rubber Armor chest piece location
The Rubber Armor chest piece is hidden inside the Whispering Peninsula Cave, located east of the Lakeside Stable in the Faron region. To reach it, follow the cave’s winding tunnels while watching for electric enemies. Use wooden or stone weapons to avoid shocks and glide across gaps using the paraglider. At the end of the cave, open the chest on the raised platform to obtain the Rubber Armor, granting one level of shock resistance.
You can get the Rubber Armor chest piece early in the game, shortly after landing back in Hyrule for the first time. This piece of the set is in Whistling Hill Cave, a small cave system between Whistling Hill and Lake Kolomo, which is directly north of Teniten Shrine.
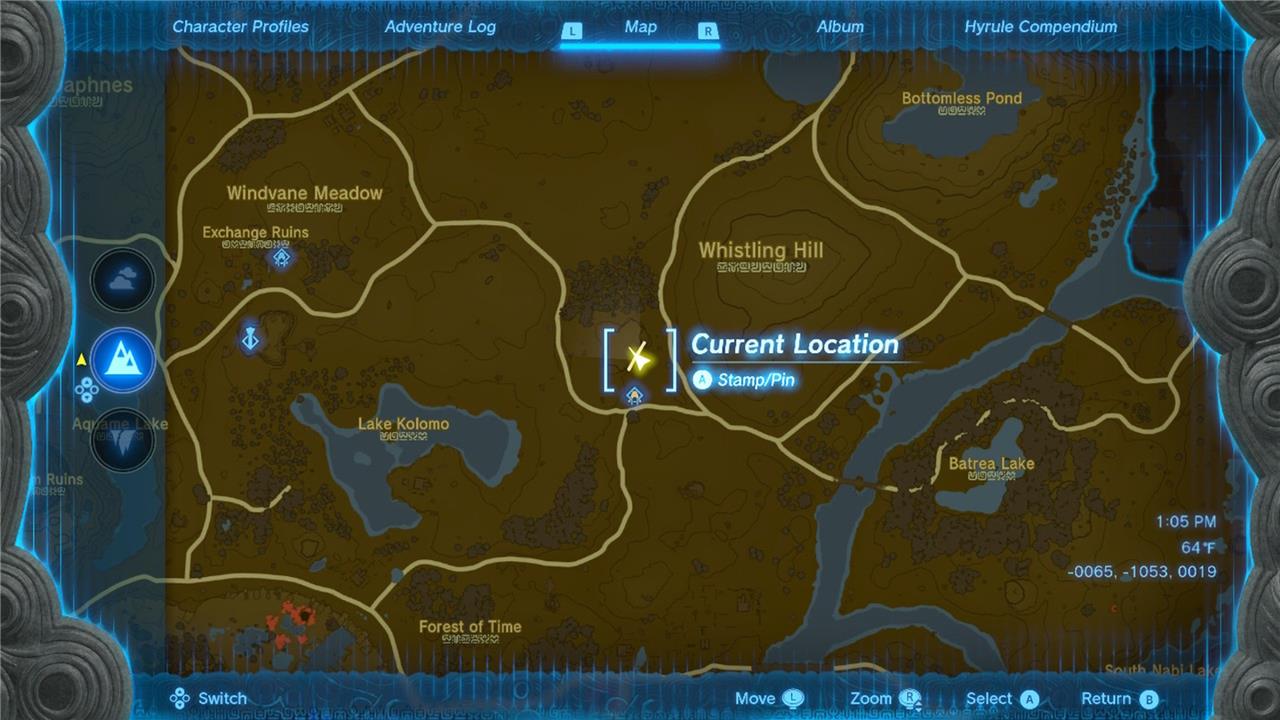
You’re looking for this cave specifically:
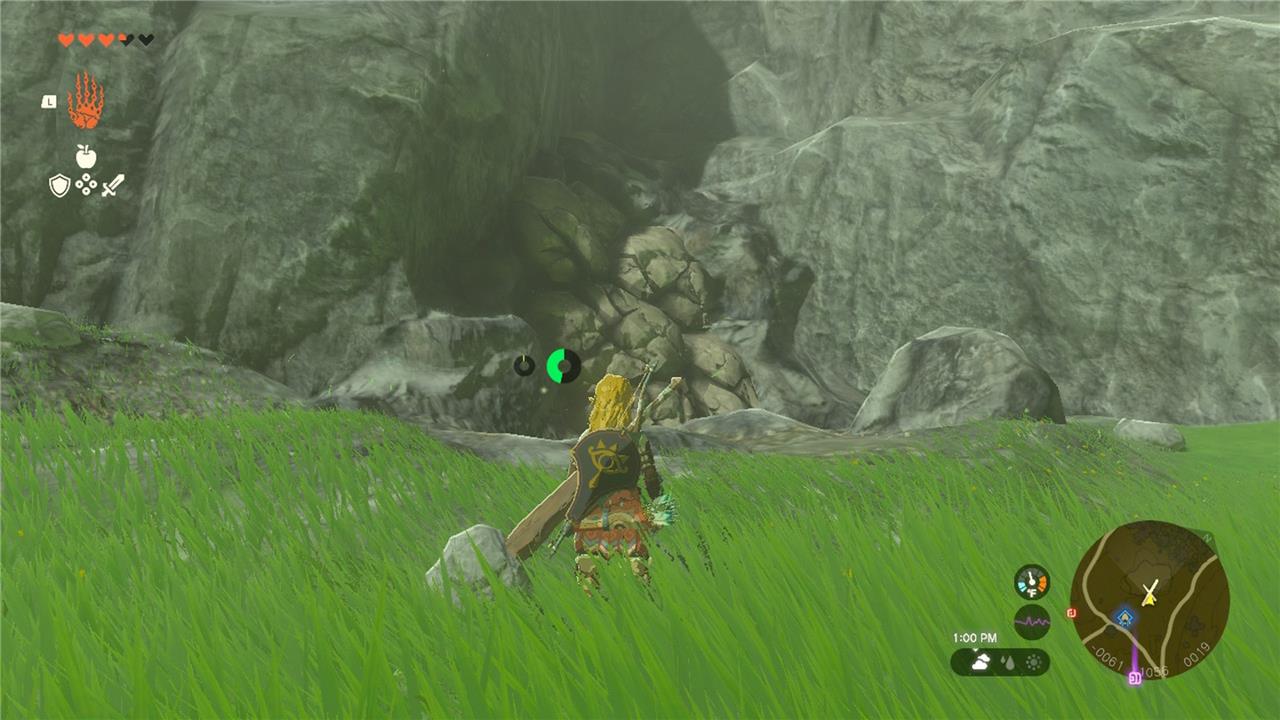
Use a hammer or bomb to unblock the entrance, and step inside. To your left is another rock pile. Some gems and two Electric Keese are behind it. Move ahead until the path gives way to a drop. Three Bokoblin skeletons are resting below. (There’s a bomb flower to your right that makes dealing with them a breeze.)
The path leads you to an open chamber. To your right is an alcove blocked by vines, concealing a chest that contains a traveler’s shield. Grab that, then climb up the wall at the other end of the chamber. The path ahead is an incline with a Like-Like at the top. Watch out for its attack: spewing three large boulders in quick succession.
Wait until the last boulder is gone, then quickly run up the incline. You’re safe to ignore the Like-Like after that. It continues spitting rocks, but the chamber’s structure means they can’t really reach you.
Destroy the rocks blocking the way forward. The next chamber is full of puddles, with an electric Like-Like waiting for you at the other end. This one spews several lightning balls, so make sure to stay out of the puddles.
Wait for the Like-Like to expose its red core, then fire an arrow at that core and defeat it with a melee wepaon. Blow up the wall behind it, and grab the Rubber Armor chest piece, which grants shock resistance and 3 defense, from the chest inside.
Rubber Helm location
The Rubber Helm can be found inside the Whistling Hill Cave, located southwest of Hyrule Field near the Lake Kolomo area. To reach it, follow the cave’s path until you encounter a section blocked by rocks; destroy them using a Bomb Flower or other explosive. Inside, you’ll face a few Electric Keese, so bring shock-resistant gear or food to stay safe. The chest containing the Rubber Helm sits deeper in the cave, guarded by an enemy. Once defeated, open the chest to claim the first piece of the Rubber Armor set.
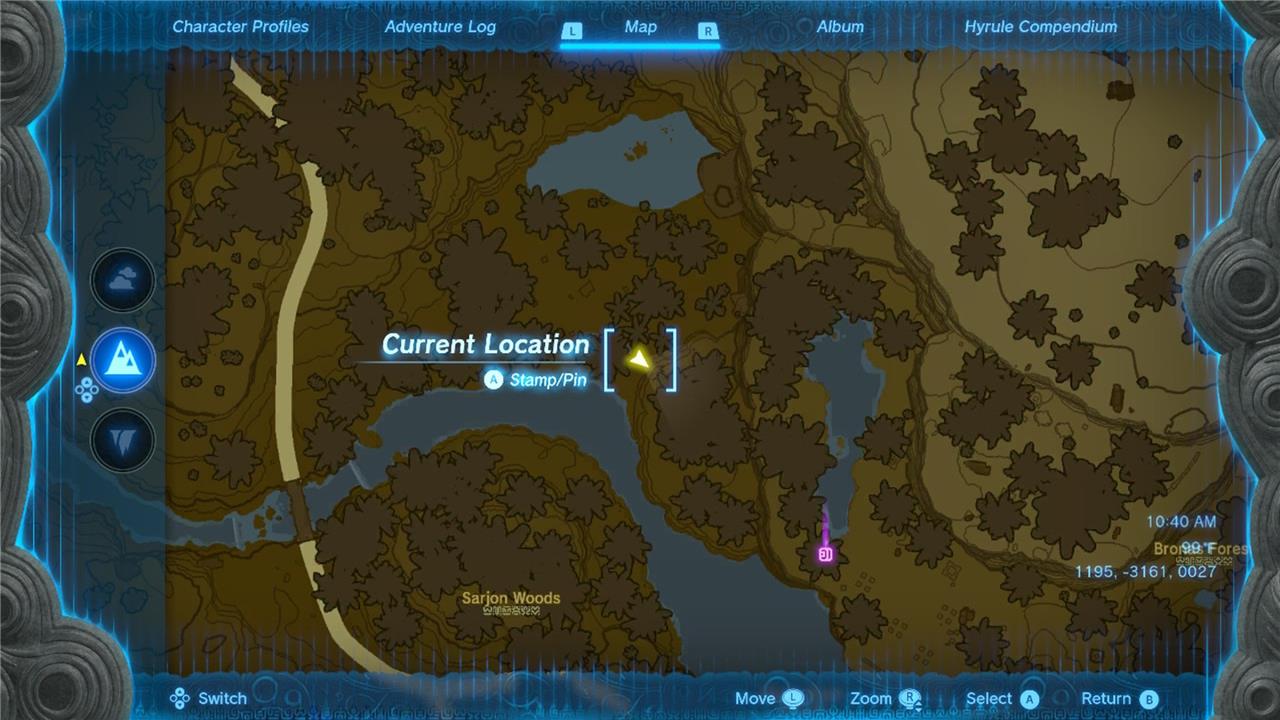
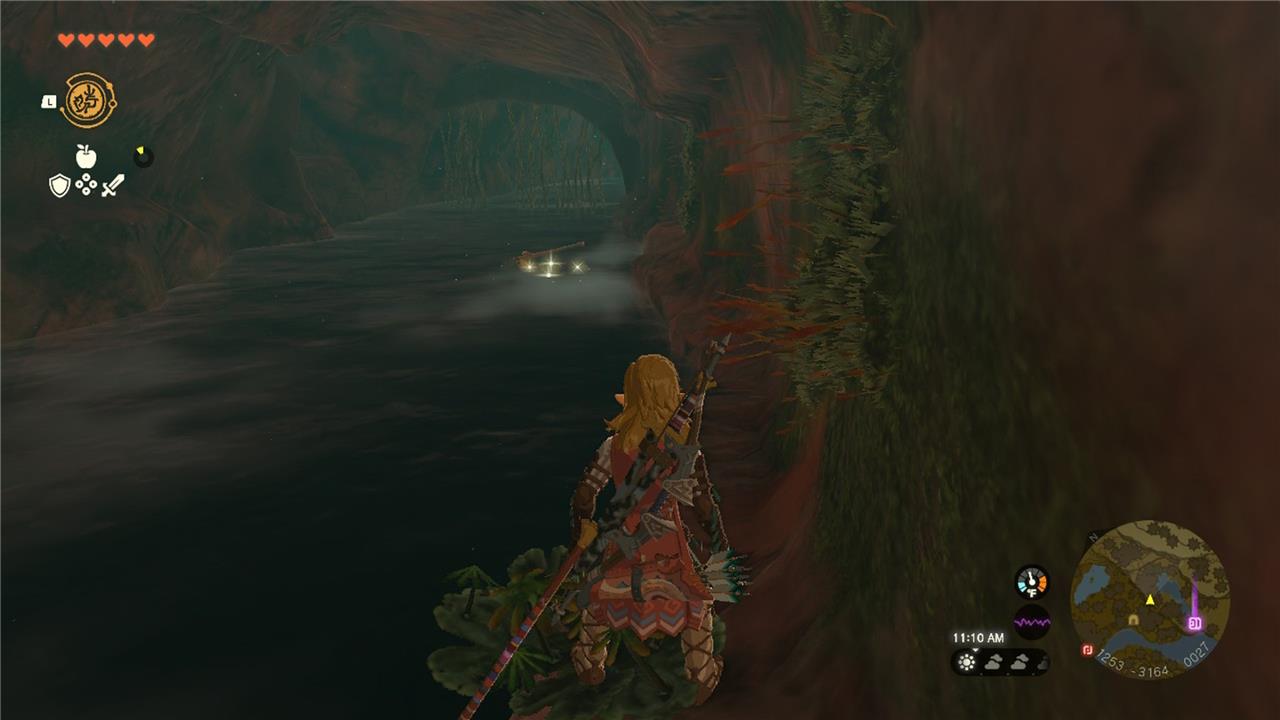
Getting the head piece takes a bit more effort and, depending on how much of the map you’ve explored so far, possibly a lot of legwork as well. The Rubber Helm is deep inside Sarjon Cave, which is on the eastern edge of the Faron region. If you’ve traveled to Faron already, the fastest way to reach Sarjon Cave is by fast traveling to Lakeside Stable (via the Joju-u-u Shrine) and heading northwest.
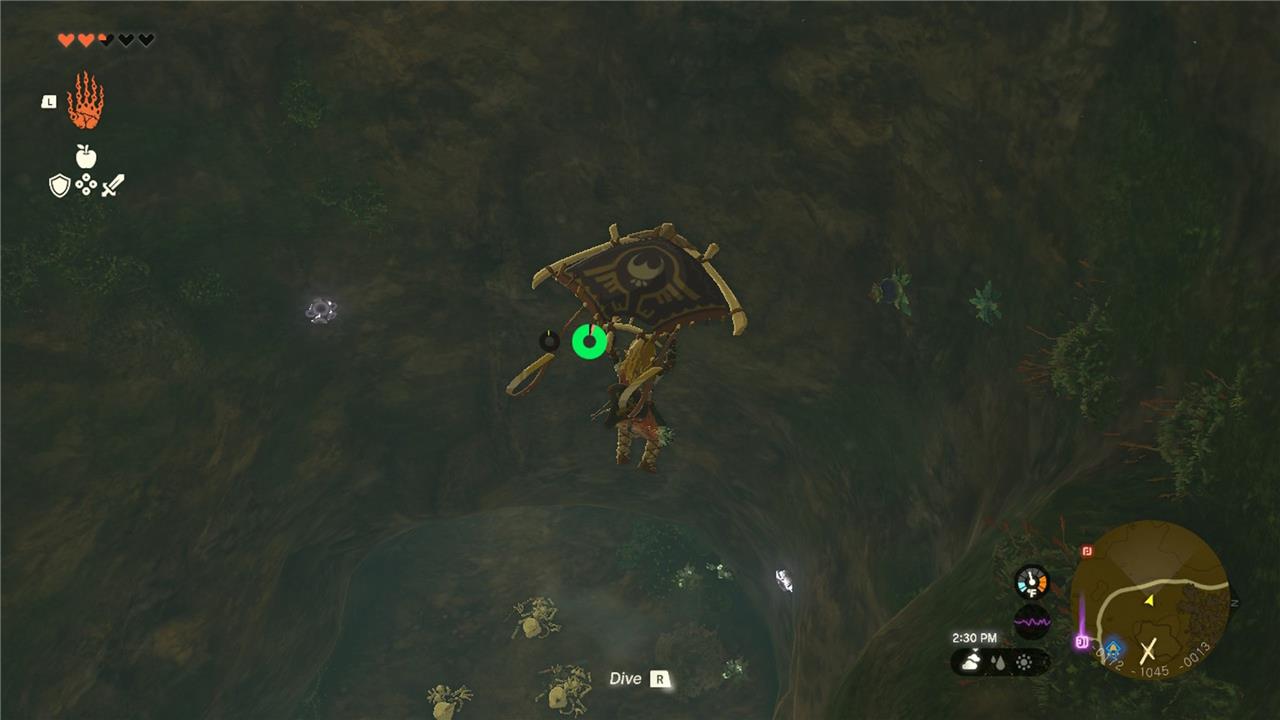
If not, unlock Popla Foothills Skyview Tower, cook three or four meals that fully replenish stamina, and glide southeast from the tower. Here’s where the cave is:
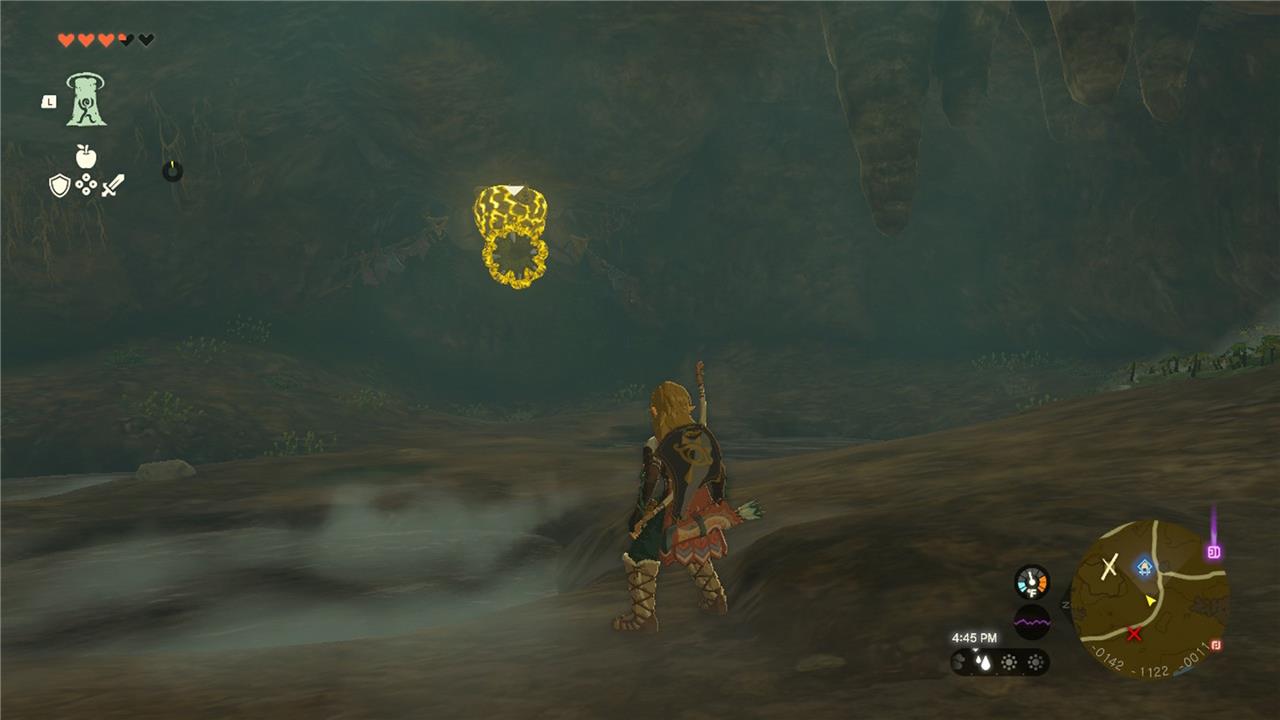
You’re looking for this:
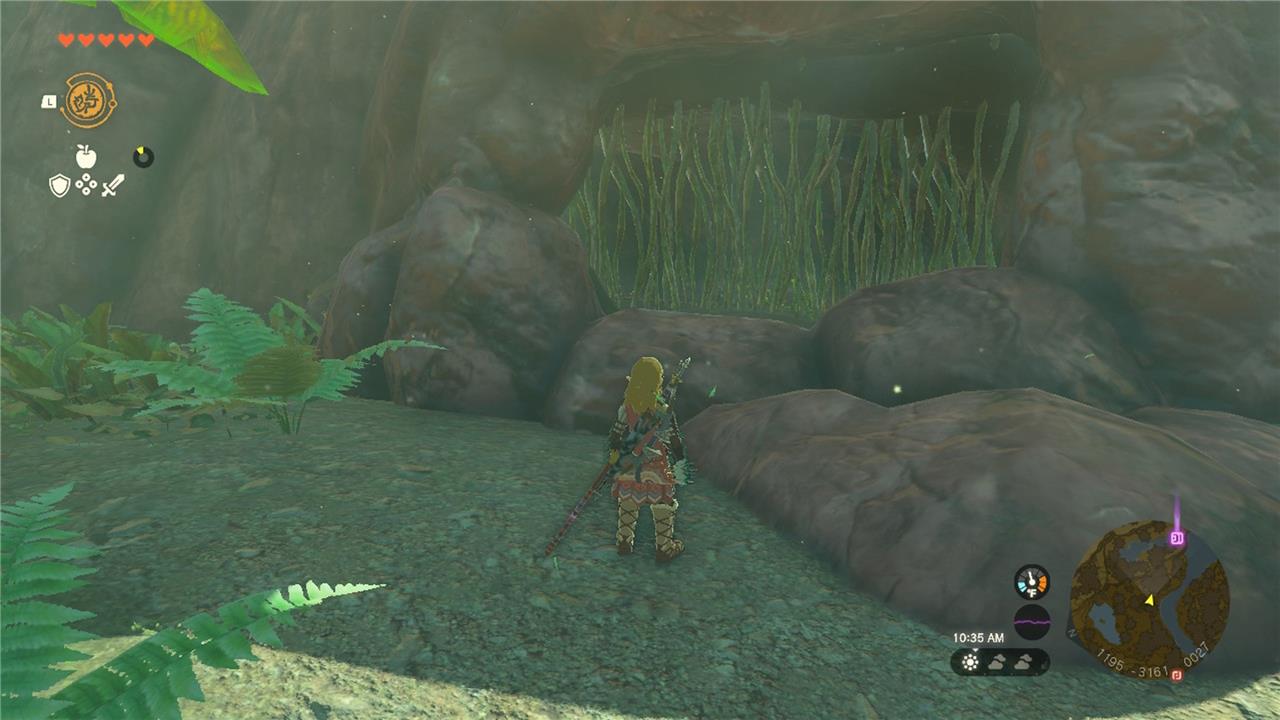
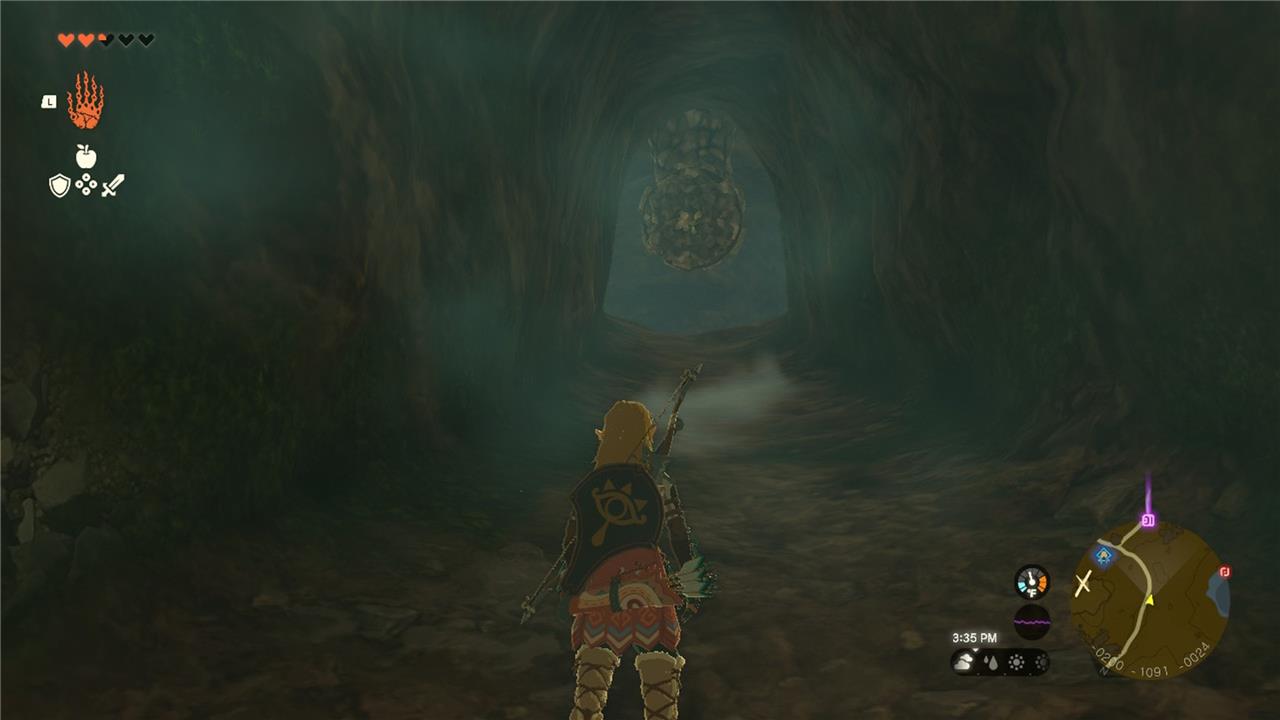
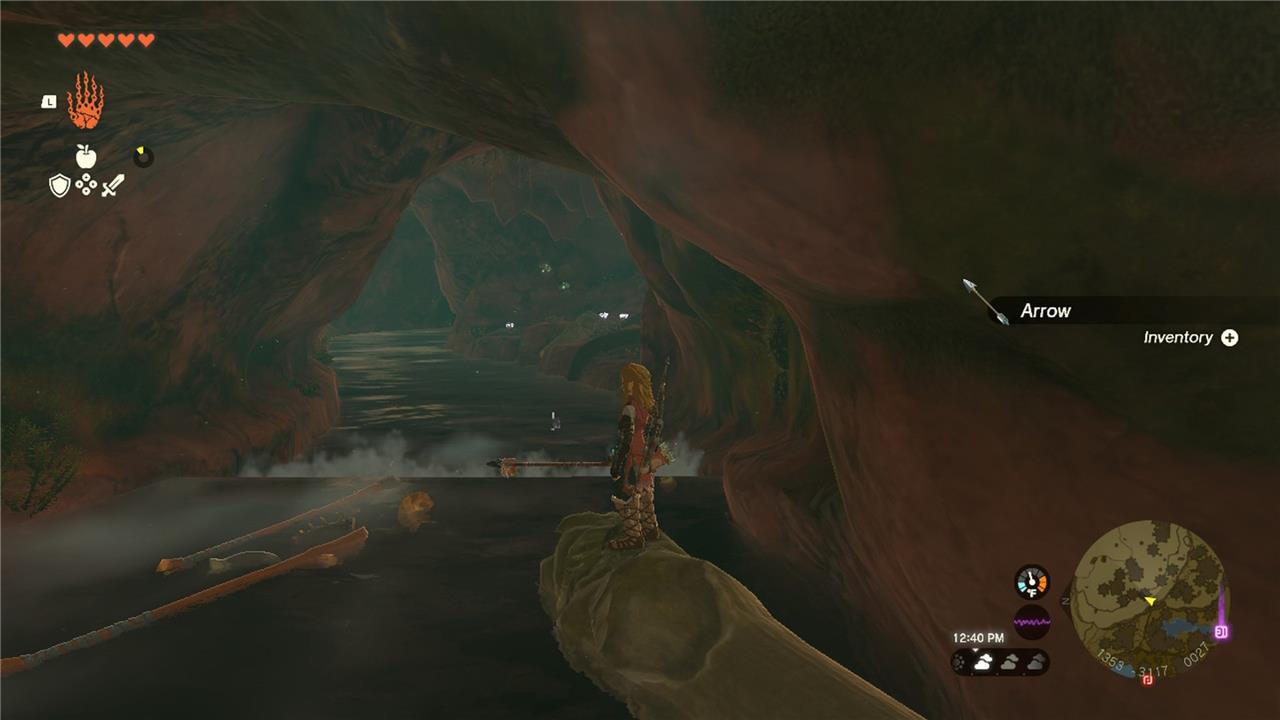
The cave is essentially an underground waterway with curtains of vines blocking each section. The first few segments have ledges on the side where you can stop and recover stamina.
You’ll occasionally encounter some electric Horriblins hanging on the roof. The best way to deal with them is with headshots from your bow. (Fuse a Keese Eyeball to the arrow if you’re struggling with aim to give it a homing effect.)
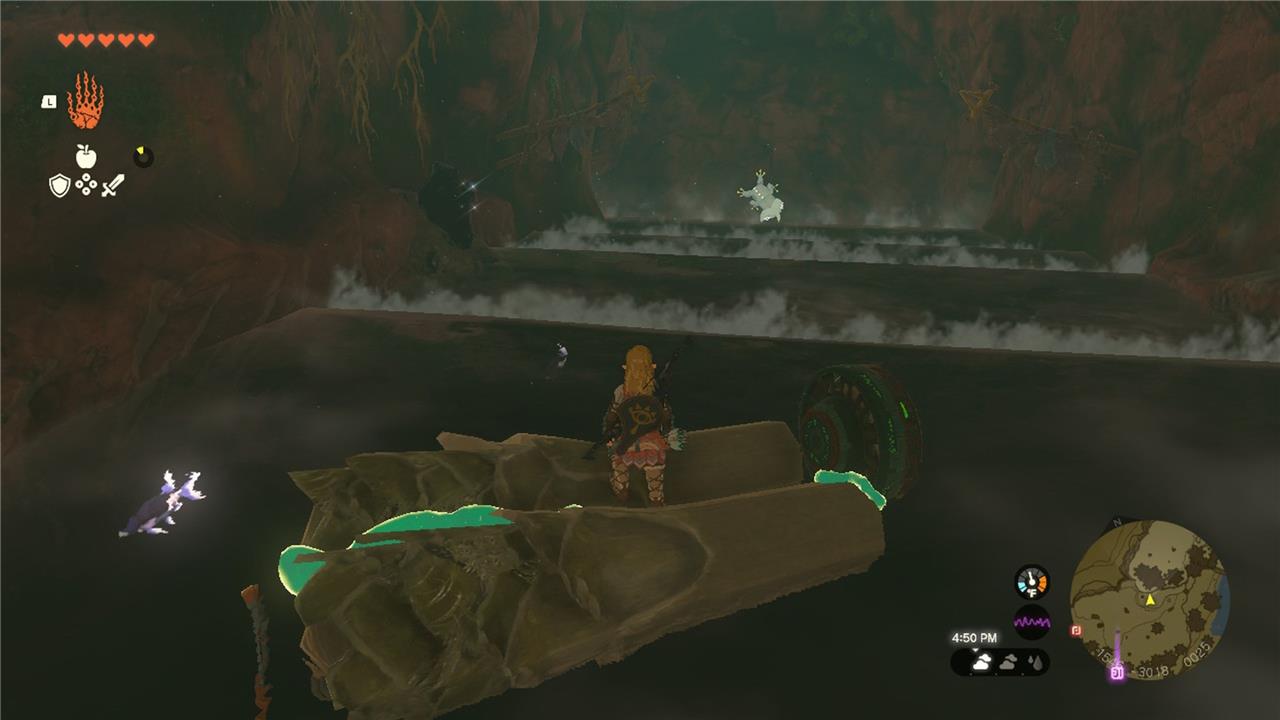
Once you reach a larger chamber with some palm tree logs, though, that’s your sign to build a raft. There are no ledges from there on, and you won’t make it to the end by swimming – even with an extra stamina wheel. Attach a fan to the back of your makeshift raft to help speed things along.
You’ll sail through a few more chambers, each with one or two Horriblins, until you finally reach a rougher section with rapids that gives way to a waterfall.
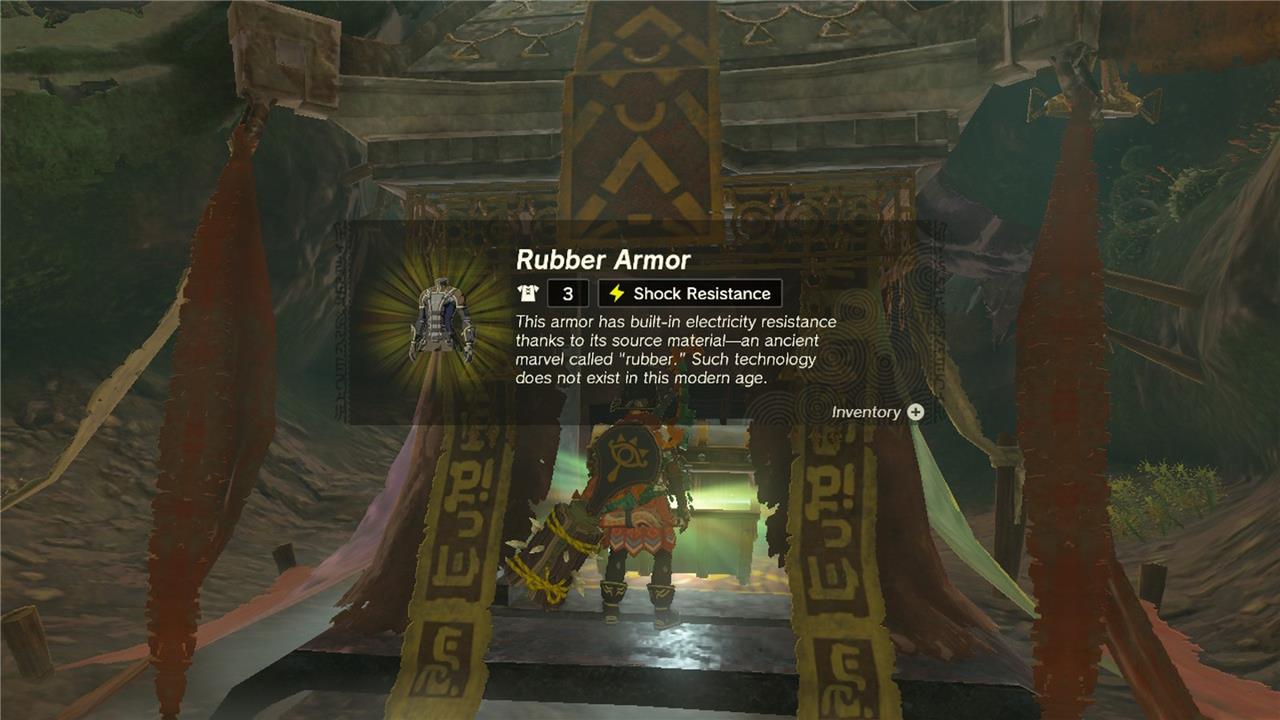
Make sure to attack the Bubbulfrog and get its Bubbul Gem, and then follow the path through to a chamber where the Rubber Helm – granting 3 defense in addition to shock resistance – awaits.
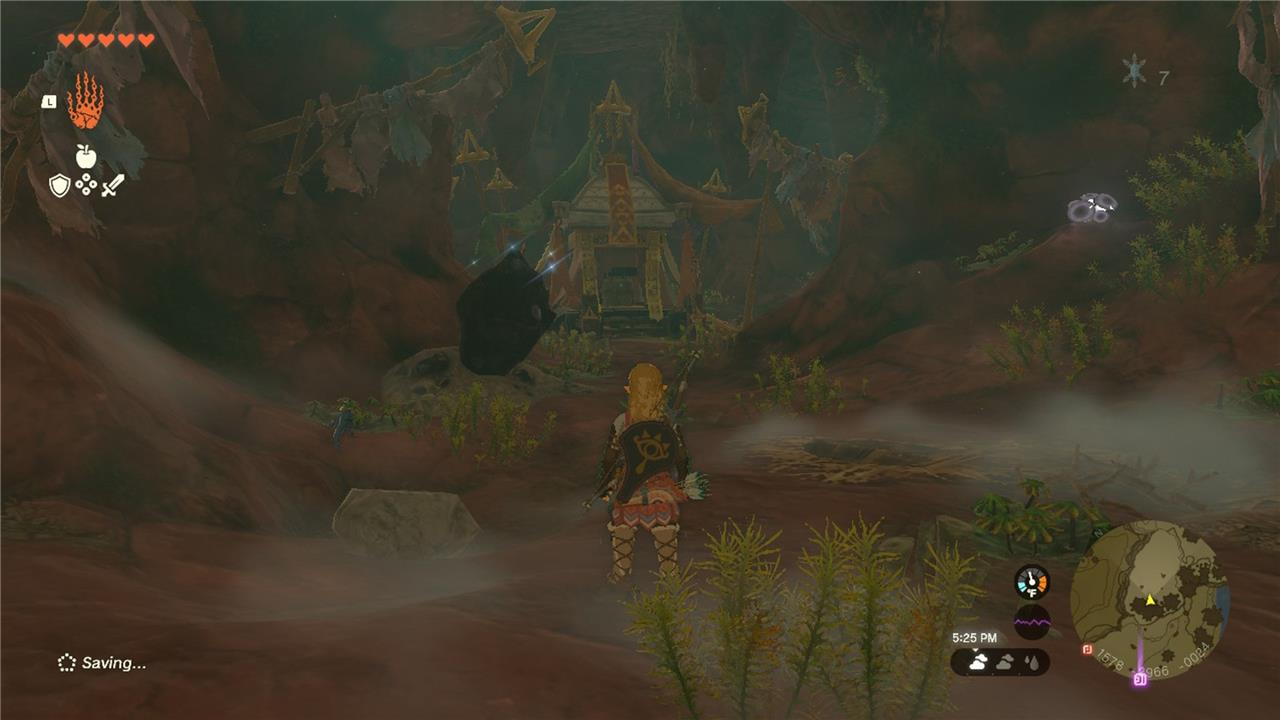
Destroy the stones behind the chest to get some precious gems before you leave.
Rubber Tights location
The Rubber Tights sit inside a cave on the western side of Cephla Lake, near coordinates (-0357, 1961, 0005). Enter from the lakeshore cliffside, then follow the path past the first set of enemies to a chest at the end. Watch for electric Keese along the way.
The Rubber Tights are in a cave in Horon Lagoon, which is east of the Lanayru Reservoir. If you’ve visited the Apogek Shrine or Yomizuk Shrine, fast travel back to them for easy access. You could also launch yourself out of the Upland Zorana Skyview Tower and glide east. Here’s where you need to go:
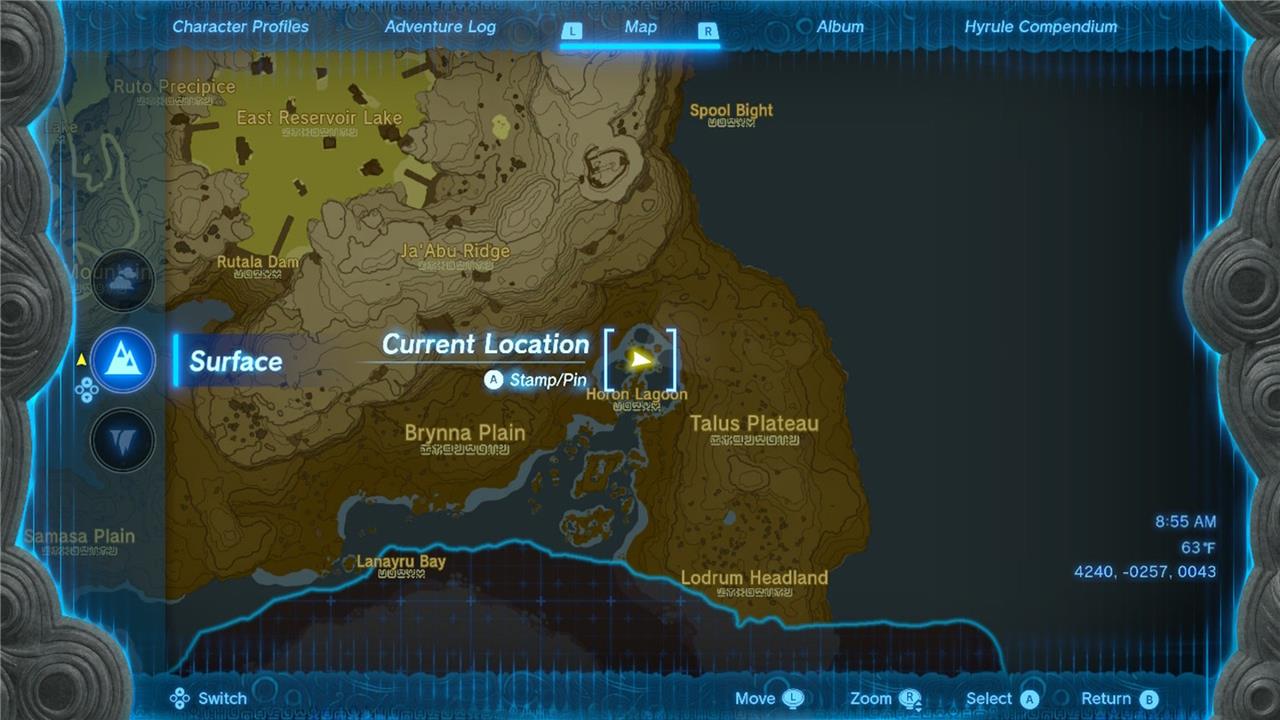
And here’s what your approach looks like from above:
This cave is comparatively simpler and less deadly than the others, though you’ll still need a stamina recovery meal to make it to the end, plus a bomb flower, which you can find inside
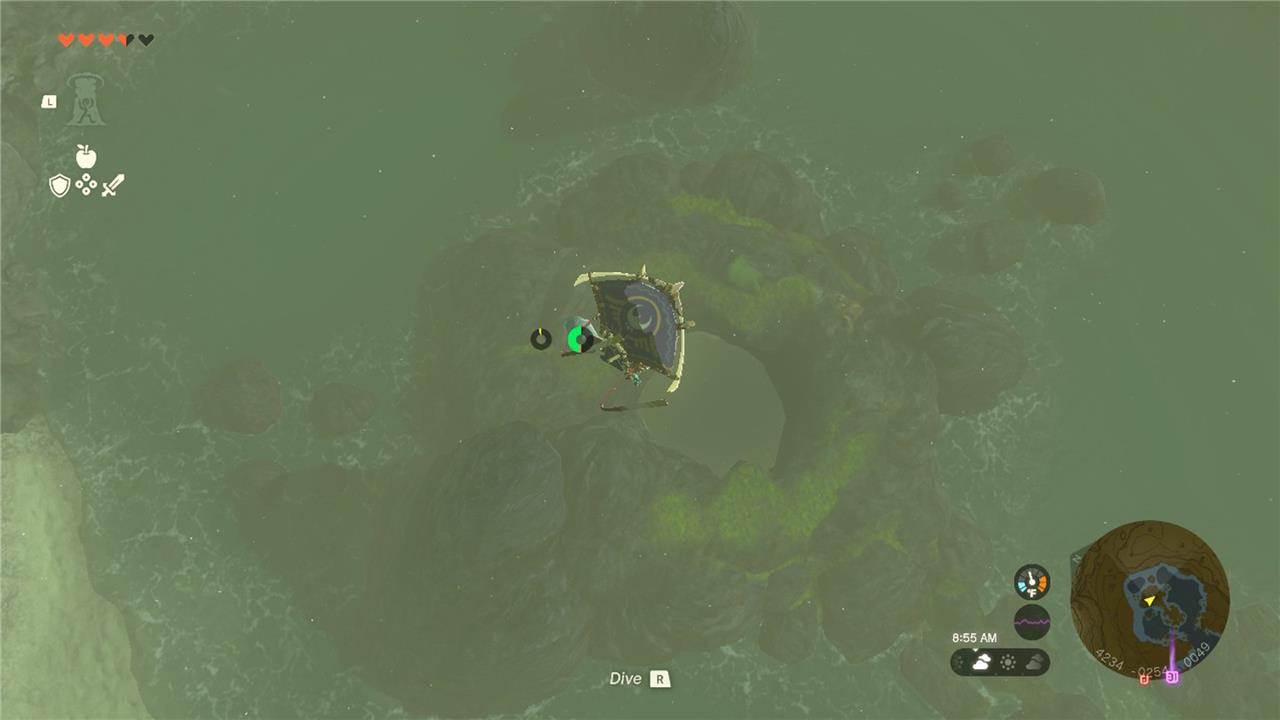
Glide down into the cave and swim until you reach a large rock. Stop there for a second to recover your stamina, then keep swimming ahead.
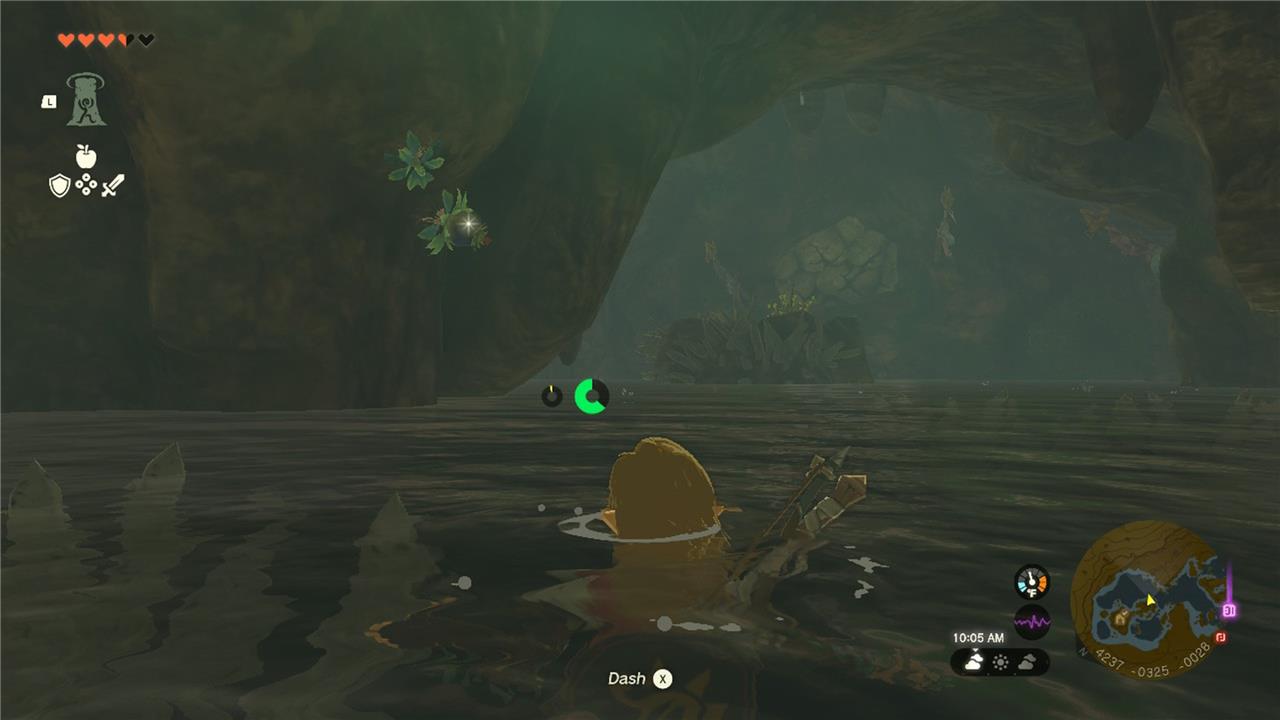
The tunnel opens into a small chamber with another rock formation in the center. The back half of the formation is covered in pointy stone spikes that damage you if you touch them, so don’t do that.
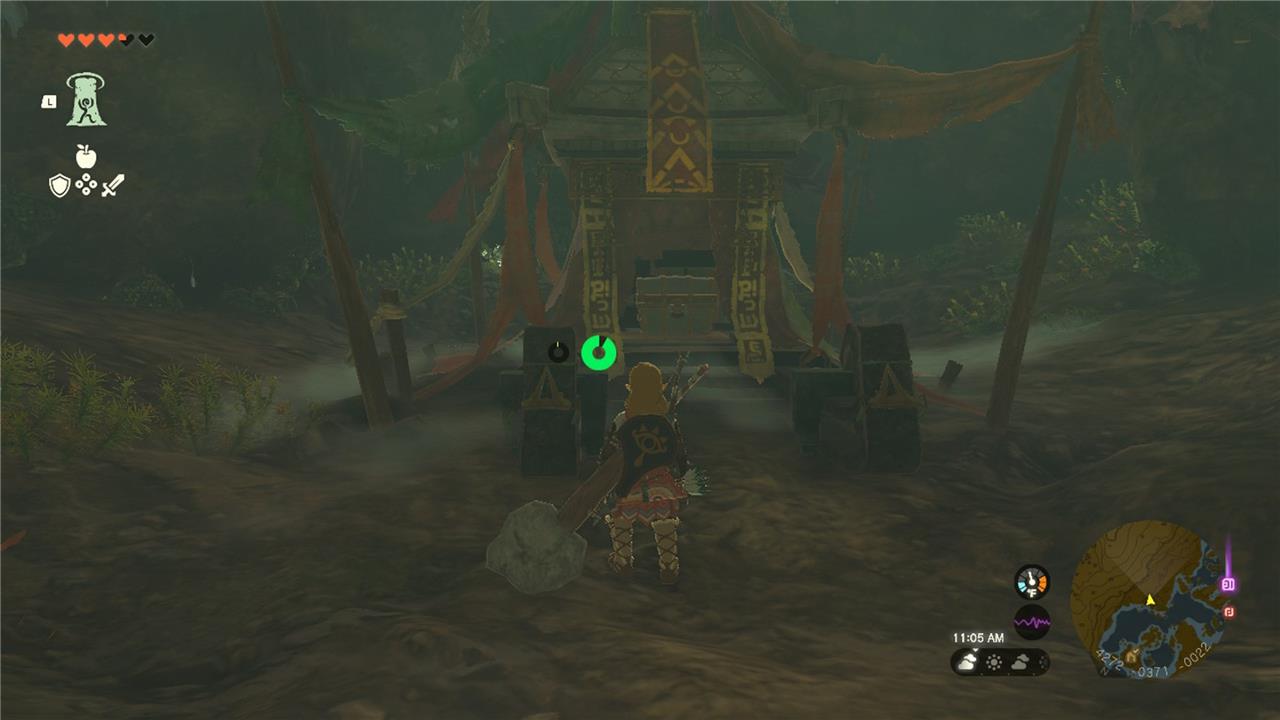
Swim to the front, and use a bomb flower to clear the way. The chest with the Rubber Tights, which grant 3 defense and some shock resistance, is in the next chamber.
Rubber Armor set upgrade costs, set bonus, and effect
Upgrading the Rubber Armor set at the Great Fairy Fountains requires a variety of monster materials and rupees, with costs increasing at each level. Fully upgrading all three pieces grants a set bonus that provides complete immunity to electric attacks, preventing shock damage and stopping weapons from being dropped when struck by electricity. Each individual piece offers shock resistance on its own, making the set especially useful in stormy regions or against enemies that use electric attacks.
Each piece of the Rubber Armor set gives you a stack of shock resistance, making it so you aren’t as affected by electric attacks. After upgrading each piece to at least two-star or higher and equipping them, you’ll become lightning proof, a set bonus that gives you full immunity to electricity – you won’t drop your weapons or bat an eye if you get struck by lightning.
You’ll be able to upgrade the pieces of the Rubber Armor at a Great Fairy Fountain, in exchange for the following materials:
- 1-star (5 defense): 1 Electric Lizalfos horn, 3 Yellow Chuchu jelly, 10 rupees
- 2-star (8 defense): 8 Yellow Chuchu jelly, 5 voltfruit, 50 rupees
- 3-star (12 defense): 5 zapshrooms, 5 Electric Lizalfos tails, 8 electric safflina, 200 rupees
- 4-star (20 defense): 5 Electric Lizalfos horns, 5 topaz, 8 Electric Lizalfos tails, 500 rupees
To fully upgrade this armor set, you’ll need 15 voltfruit, 15 zapshrooms, 24 electric safflina, 15 topaz, 18 Electric Lizalfos horns, 33 Yellow Chuchu jelly, 39 Electric Lizalfos tails, and 2,280 rupees.
Best routes to reach Sarjon Woods Cave quickly
The fastest routes to Sarjon Woods Cave (coordinates 1204, -3168, 0028) in The Legend of Zelda: Tears of the Kingdom start from key Skyview Towers or stables for quick paraglider access. Use Tulin’s Gust for speed boosts if available, or build a basic Zonai wing glider with fans for aerial shortcuts.
From Popla Foothills Skyview Tower
Launch from the tower southeast of the cave (unlocked early), glide northwest over Lake Floria. Aim for the marked cave entrance north of Lakeside Stable amid vines in Sarjon Woods; dive through clouds to conserve stamina and land directly.
From Lakeside Stable
Head northwest on foot or horse along the path skirting Lake Floria’s east side, burning vine clusters at the cave mouth. For speed, fuse springs to boots or use a fan-powered cart; avoid water currents initially.
Aerial Glider Route
Summon a wing from a nearby Device Dispenser (e.g., near stable), attach three fans, and steer northwest from the stable or tower [conversation_history]. Land precisely at the coordinates to bypass ground enemies like Horriblins.
Fastest horse routes to Sarjon Woods Cave from Lakeside Stable
The fastest horse route from Lakeside Stable to Sarjon Woods Cave (1204, -3168, 0028) in The Legend of Zelda: Tears of the Kingdom follows the direct dirt path northwest along Lake Floria’s eastern shore [conversation_history]. Select a high-speed, high-stamina horse (4-5 speed stars ideal) and use stamina elixirs or apples to maintain sprinting without spurs initially.
Optimal Path Steps
-
Exit Lakeside Stable heading northwest on the main road paralleling the lake; horses auto-follow this straightaway for minimal steering.
-
Continue past Popla Foothills Skyview Tower ruins (on your right) for about 1-2 minutes of flat galloping.
-
Veer slightly left at the first fork toward Sarjon Woods, burning vine obstacles with fire arrows or flint if blocking the trail end.
Travel Time and Tips
Expect 3-5 minutes total on a top-tier horse, faster than walking due to open terrain avoiding deep water [conversation_history]. Dismount before the vine-covered cave mouth to fight any roaming Black Horriblins; register your horse at Lakeside beforehand for quick recall. Use Tulin’s Gusty Guidance for minor wind boosts if paired with horseback archery.