Hidden deep across Hyrule lie the pieces of the Time Armor set-gear that blends ancient style with powerful bonuses. This guide shows exactly where to find each piece and how to claim one of Tears of the Kingdom’s most nostalgic armor sets.
It’s likely that you’ll receive hints on where to find the Time Armor from NPCs or old maps scattered across Hyrule. Similar to the Frostbite Armor, though, if you want to skip the additional steps and get straight to the treasure, this guide explains how to do so quickly – detailing the spots for the Tunic of Time, Time Trousers, and Cap of Time.
Tunic of Time location
The Tunic of Time is found inside the Ancient Columns located in the Tabantha Frontier region. Head to the coordinates around (-3291, -0170, 0472) and search for a buried chest near one of the broken columns. Use the Magnesis-like ability from Ultrahand to pull the chest from beneath the sand. Open it to obtain the Tunic of Time, part of the classic armor set inspired by the Hero of Time.

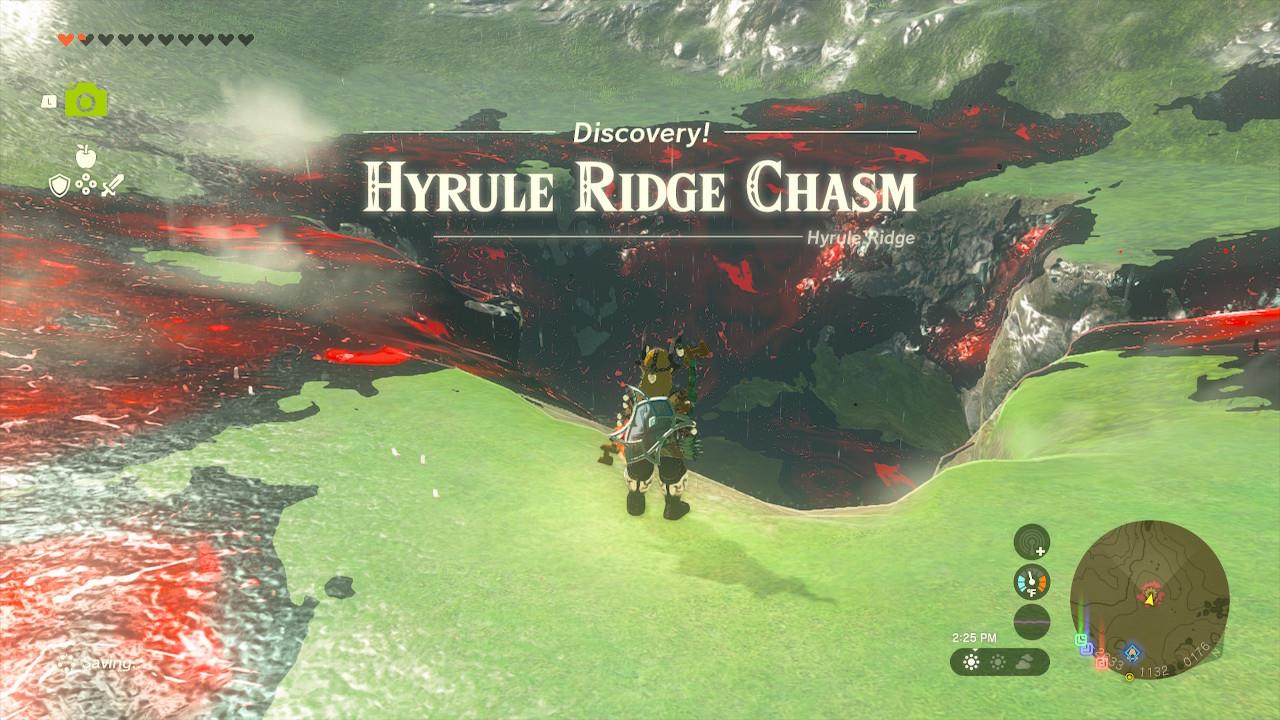
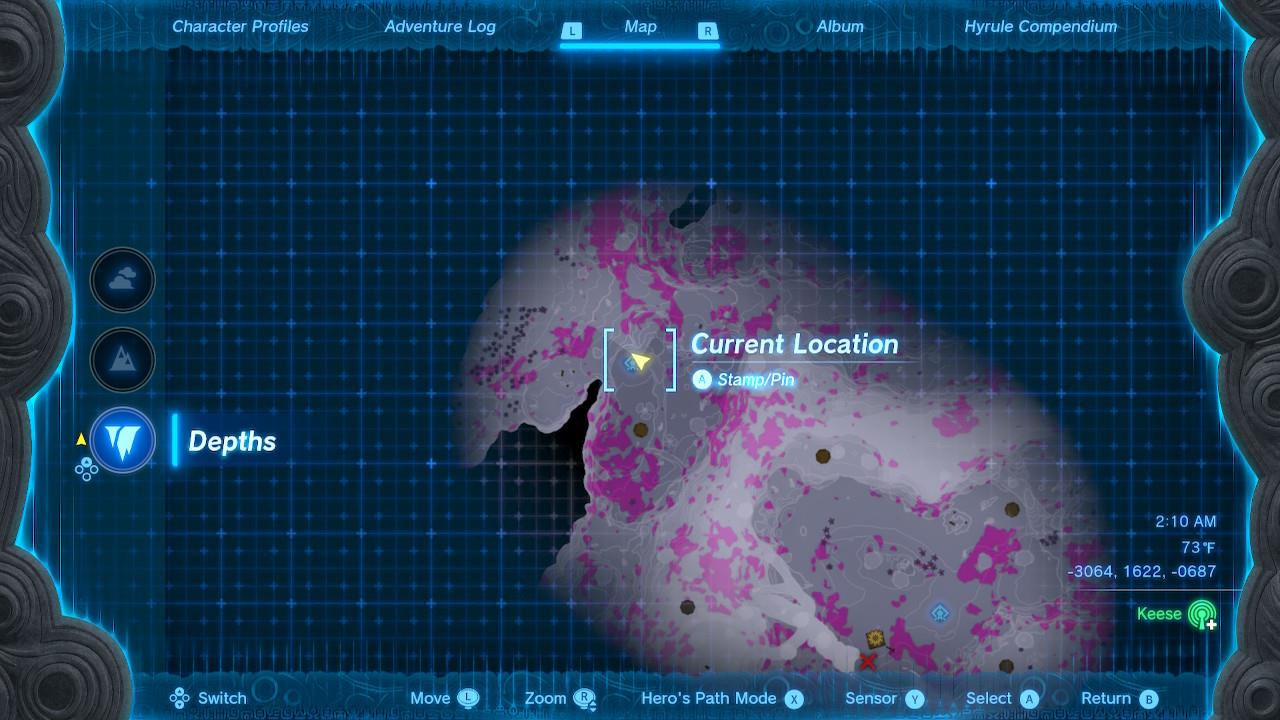
You can find the Tunic of Time in the Depths. To get close to the spot, I recommend heading over to the Hyrule Ridge Chasm at the coordinates (-2633, 1132, 0176), located northwest of Hyrule Ridge. You can use Lindor’s Brow Skyview Tower to get there.
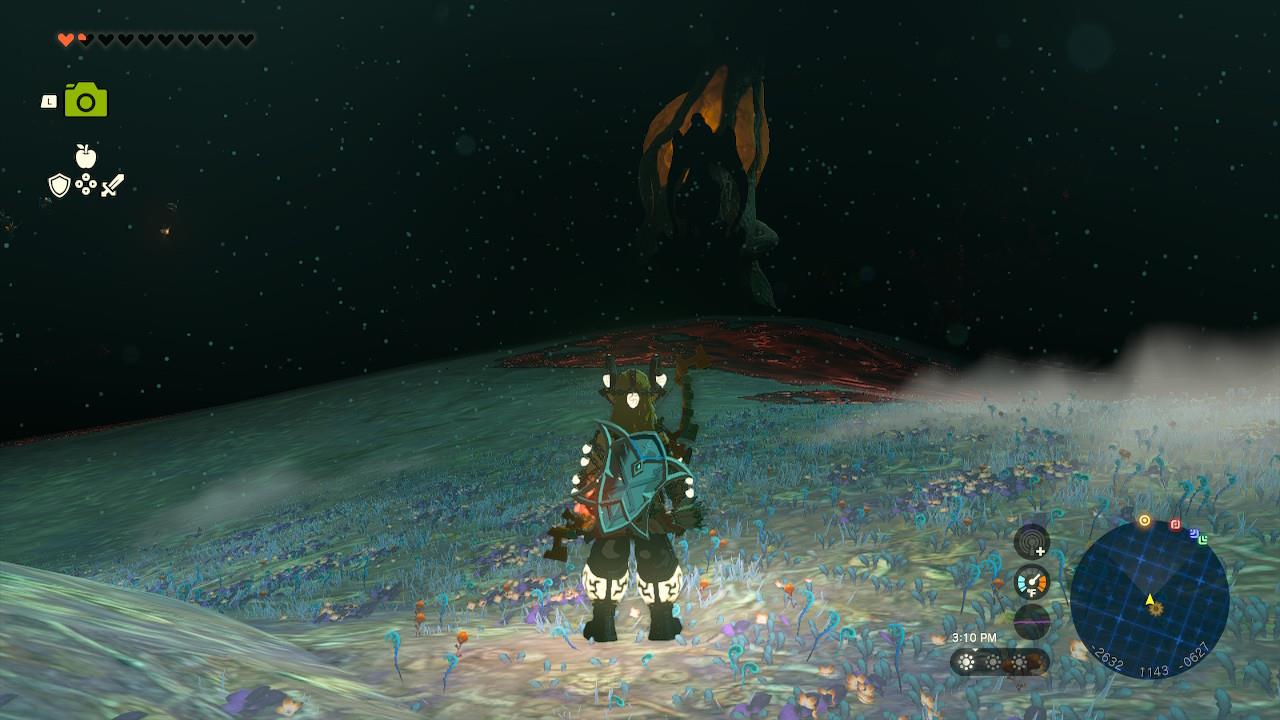
Once down below, you’ll spot the Tikanur Lightroot northeast of where you stand, at the coordinates (-2529, 1170, -0623). Then, you’ll need to move east.
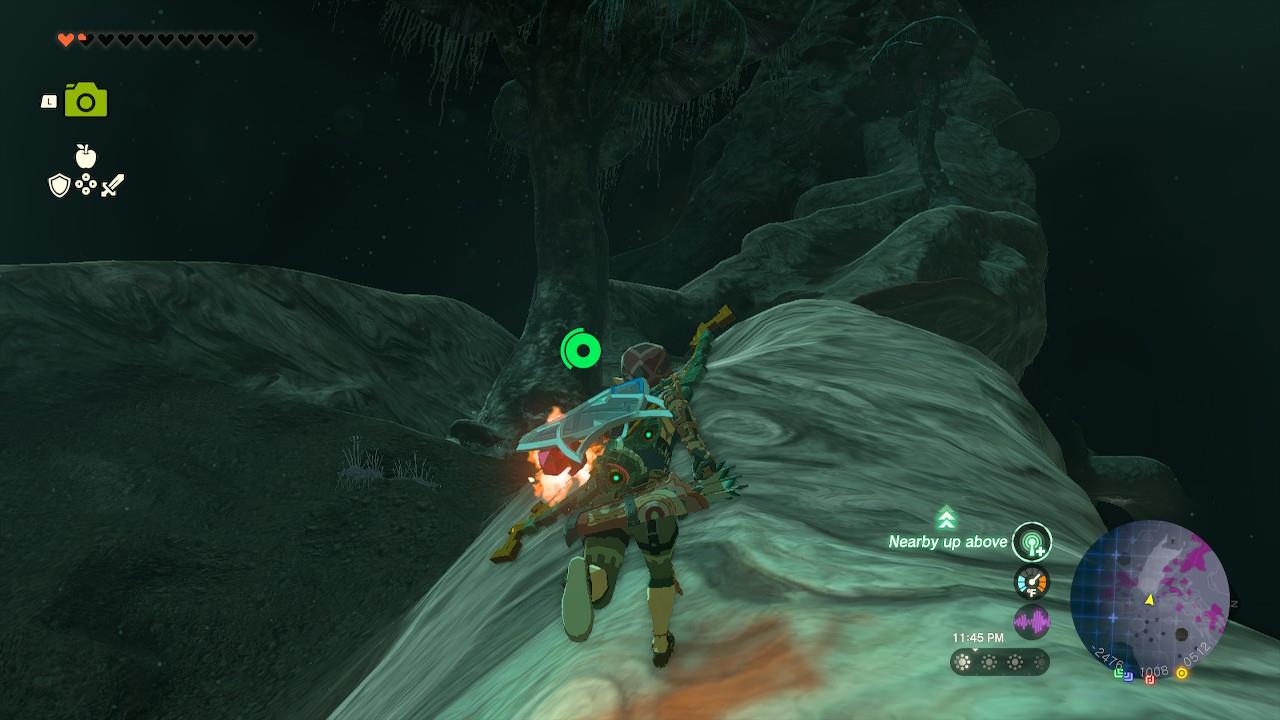
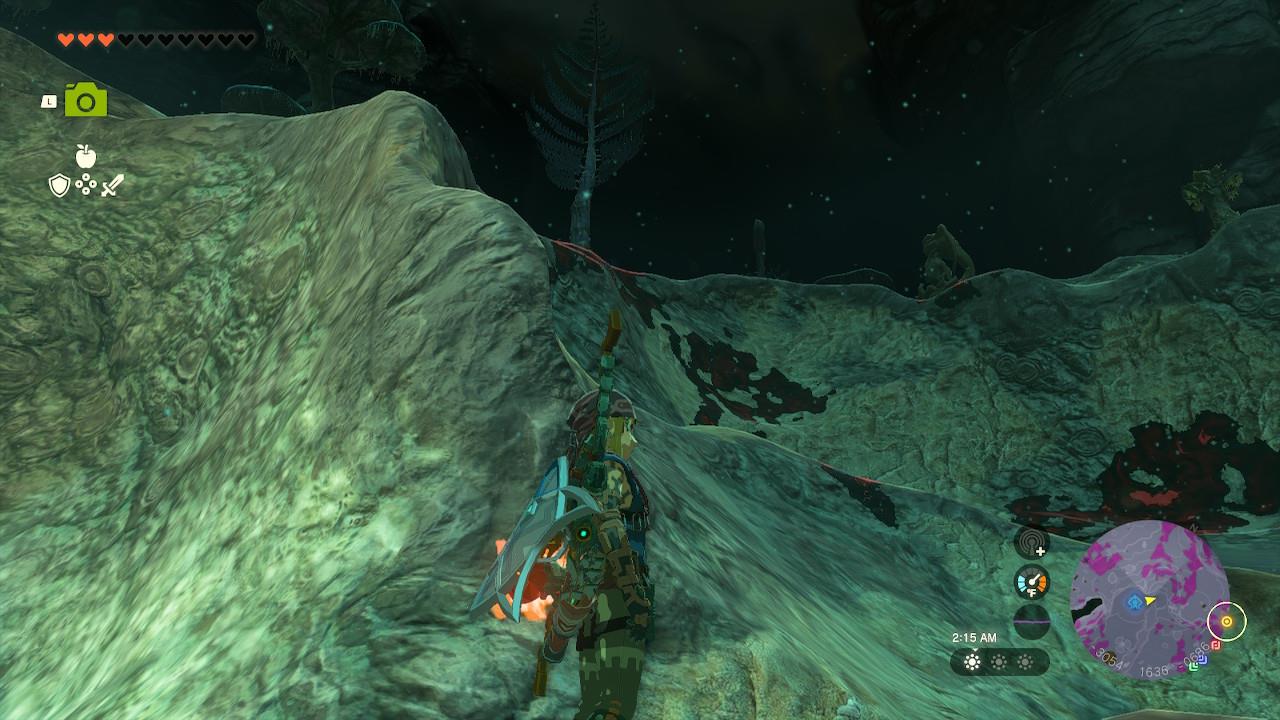
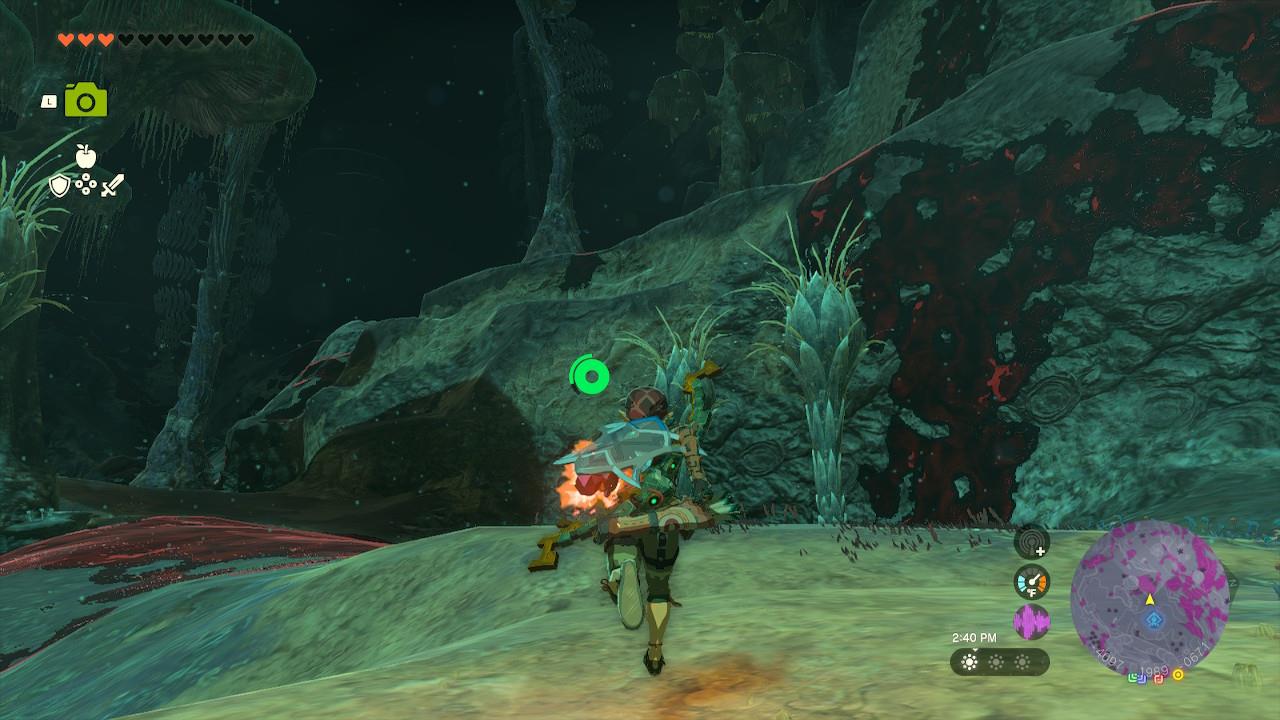
Thankfully, it’s a fairly simple trip. As long as you’re keeping your gloom resistance in check, all you need to do is continue moving east until you set foot in the Lindor Canyon Mine.
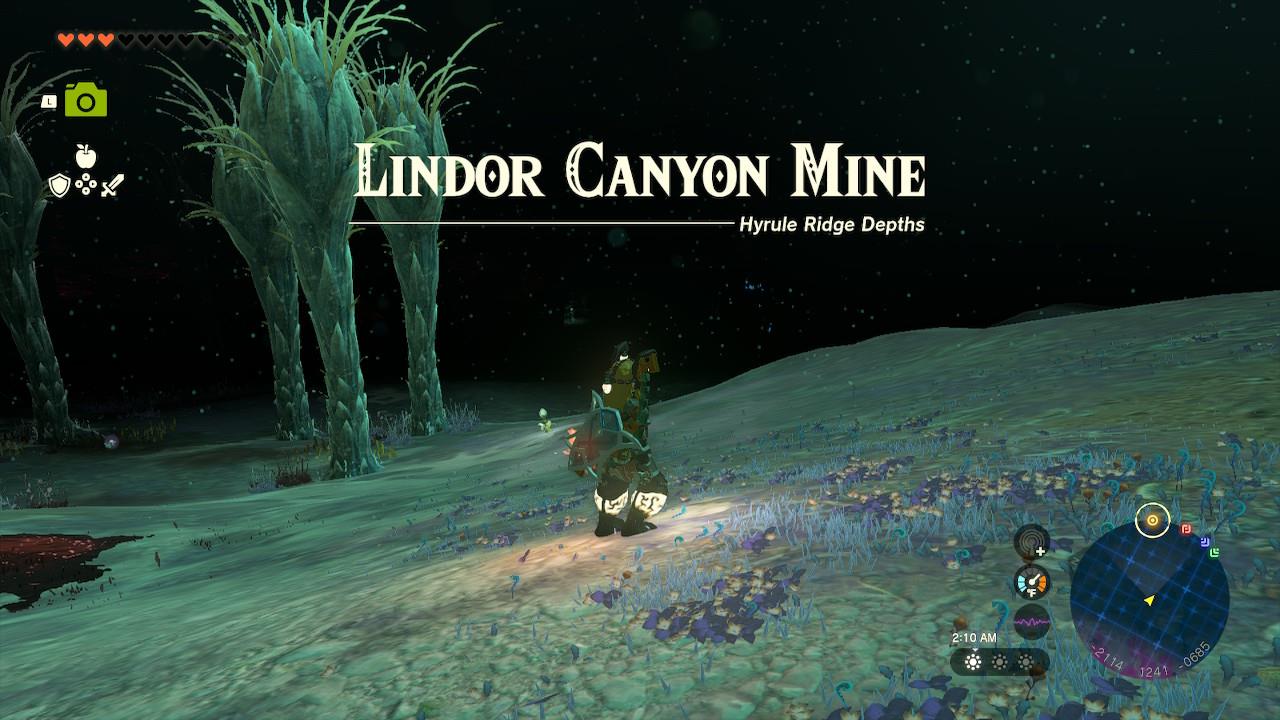
The treasure is covered by an open structure that has a staircase leading up to it.
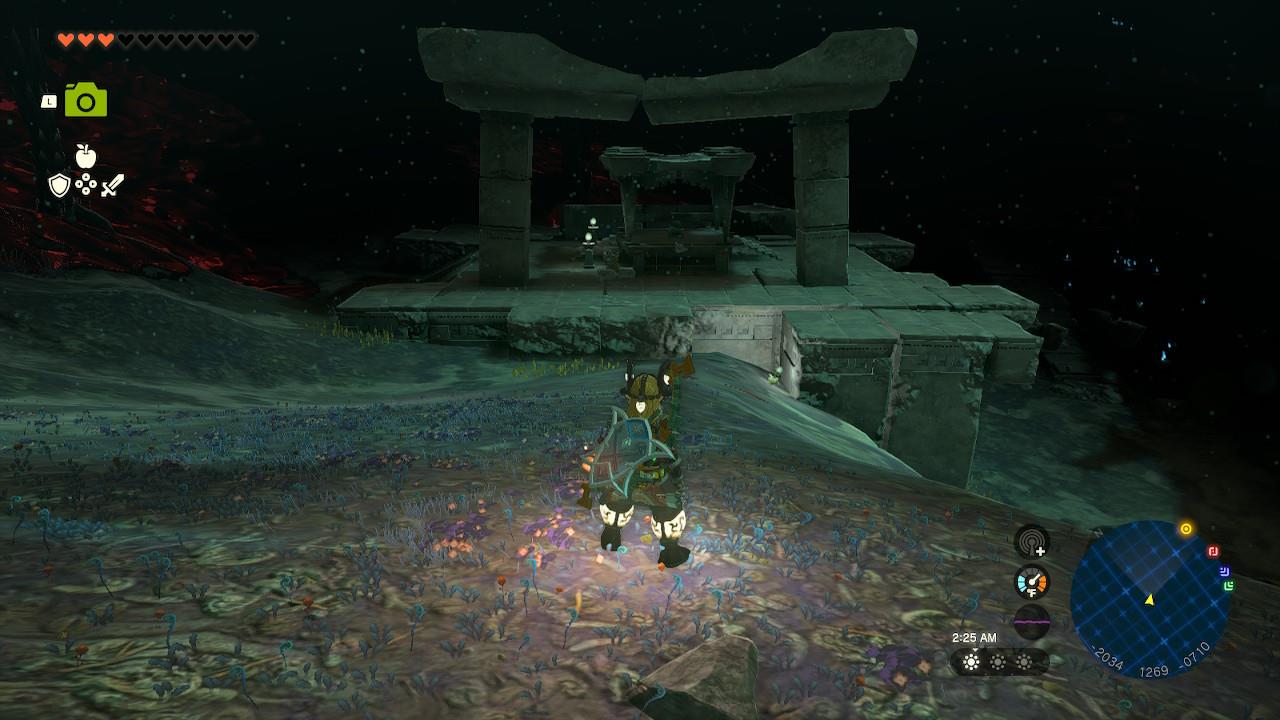
Open the chest at the coordinates (-2003, 1310, -0715) to grab the Tunic of Time, which is an armor piece with 3 defense.
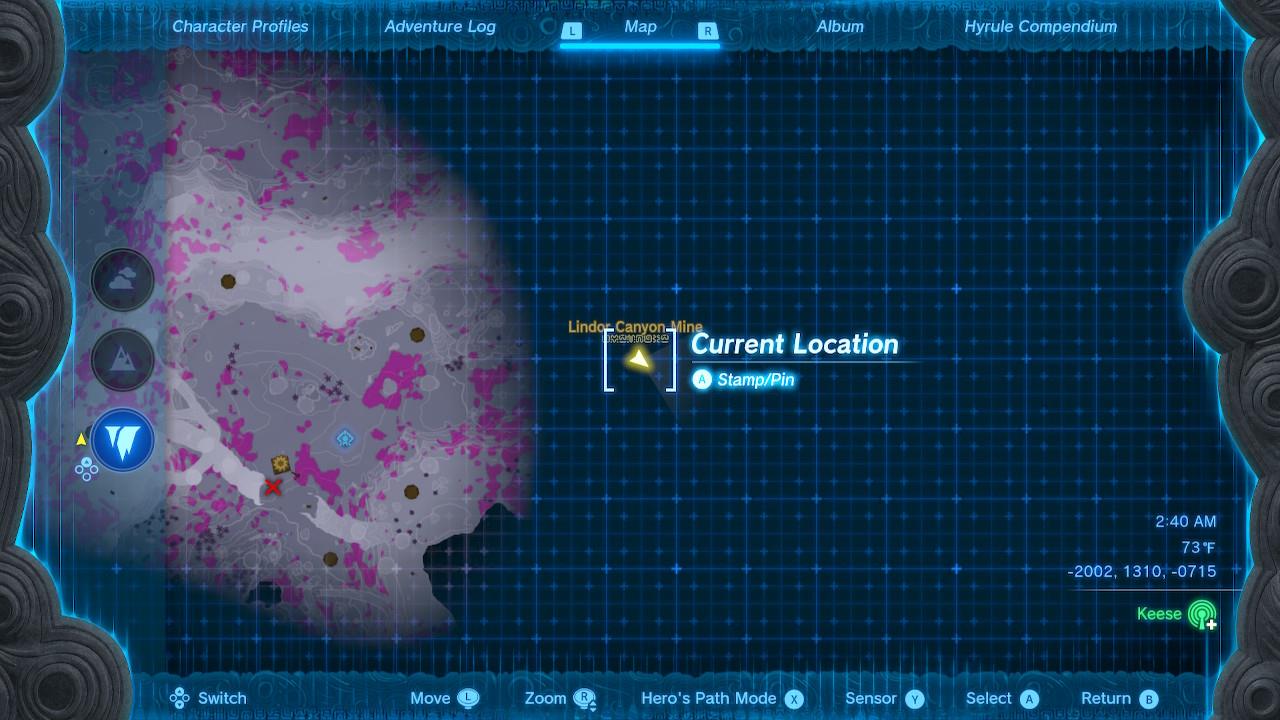
In case you’re lost, you can find a screenshot of the map location above. That’s all for this piece.
Trousers of Time location
The Trousers of Time are hidden inside the Ancient Altar Ruins in the Gerudo Desert. To reach them, fast travel to the Siwakama Shrine and head southwest through the sandstorm. Use the nearby air currents and Zonai devices to cross the dunes safely. Once you enter the ruins, look for a stone platform with a chest sealed by a riddle trial. Solve the time puzzle using Recall on nearby objects, and the chest will open, granting you the Trousers of Time.
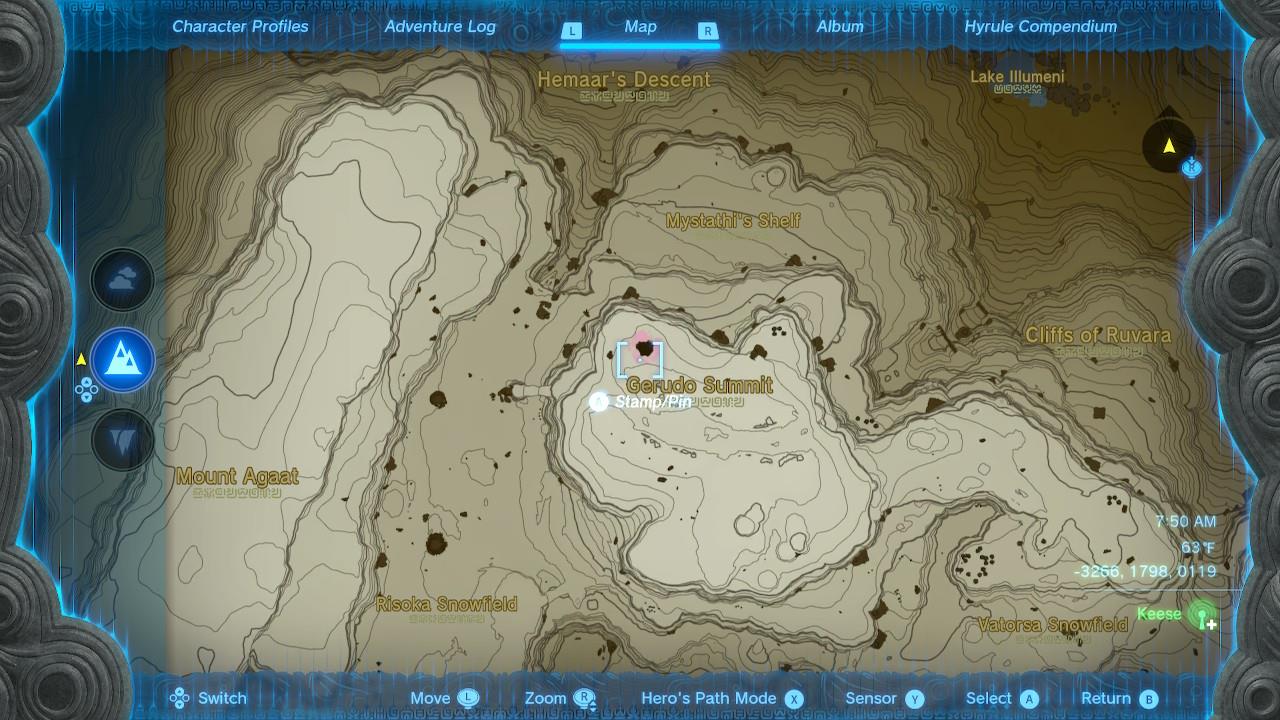
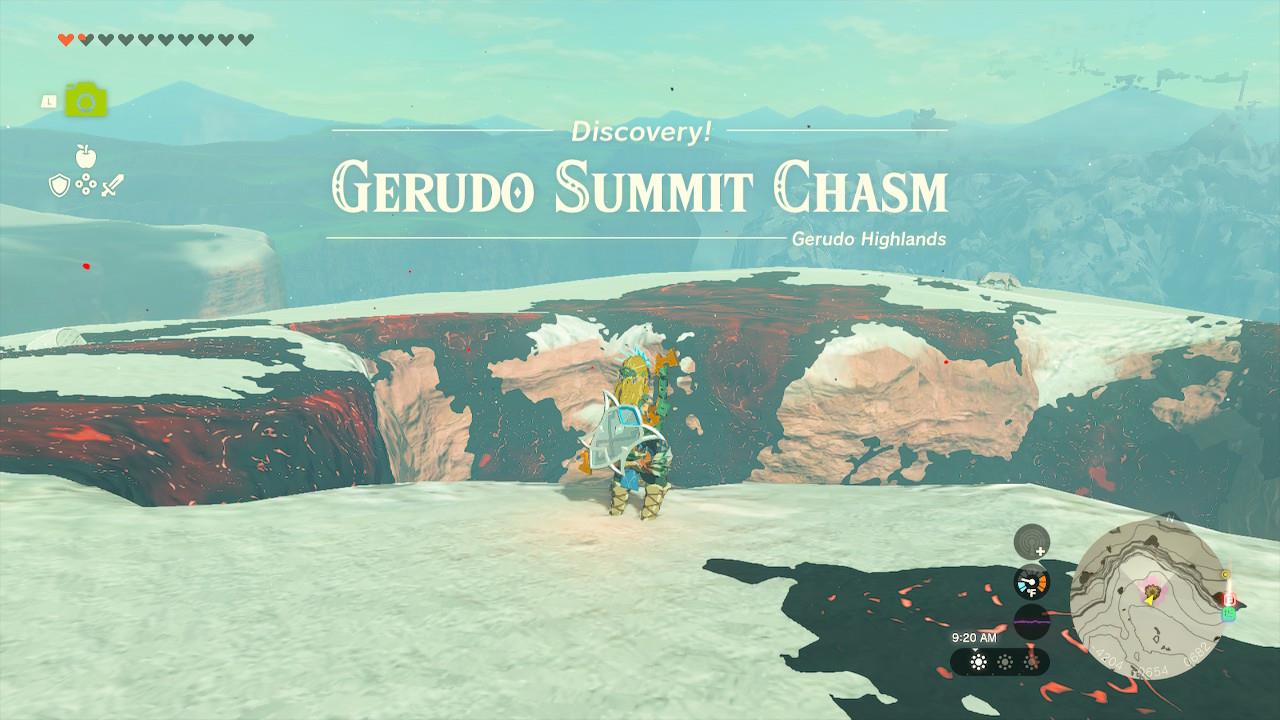
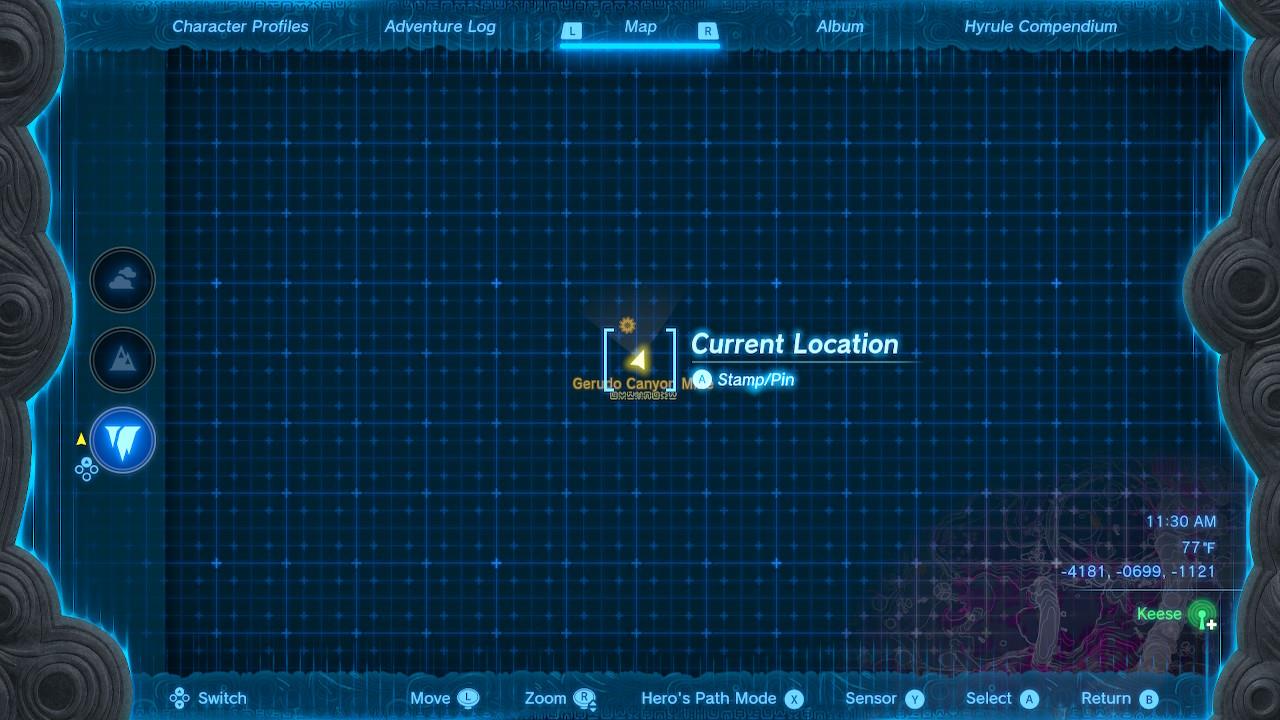
You can find the Trousers of Time in the Depths. To get close to the spot, I recommend heading over to the Gerudo Summit Chasm at the coordinates (-4204, -0654, 0682), located northwest of Gerudo Highlands. You can use the Gerudo Highlands Skyview Tower to get there, too.
Upon landing and using the map as reference, the chest location is southeast of the chasm icon. If you use a few brightbloom seeds to light around, or the ever-helpful Miner’s Armor set, you’ll notice some empty ruins.
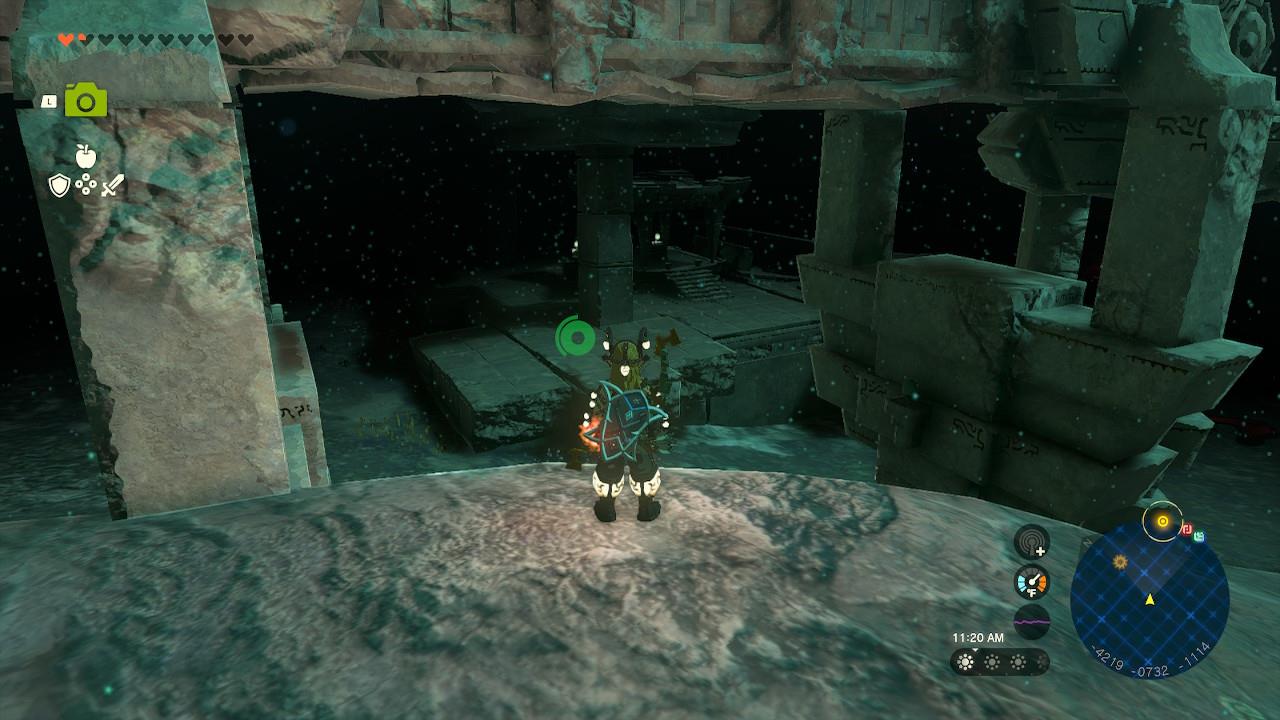
Move toward the center of the ruins themselves, and you’ll find the chest at the coordinates (-4181, -0702, -1121), covered by an open structure with a staircase leading up to it.
Opening the chest will grant you the Trousers of Time, which is an armor piece with 3 defense.
Cap of Time location
The Cap of Time is hidden within the Cave of Time, located near the northeastern cliffs of the Tabantha Frontier. To reach it, glide down from the nearby sky island or use a horse to travel along the path leading to the cave entrance marked by time-themed ruins. Inside, solve the crystal puzzle by aligning glowing stones to open a chest containing the Cap of Time. Keep a few stamina-restoring meals ready, as the cave’s vertical layout requires careful climbing and gliding.
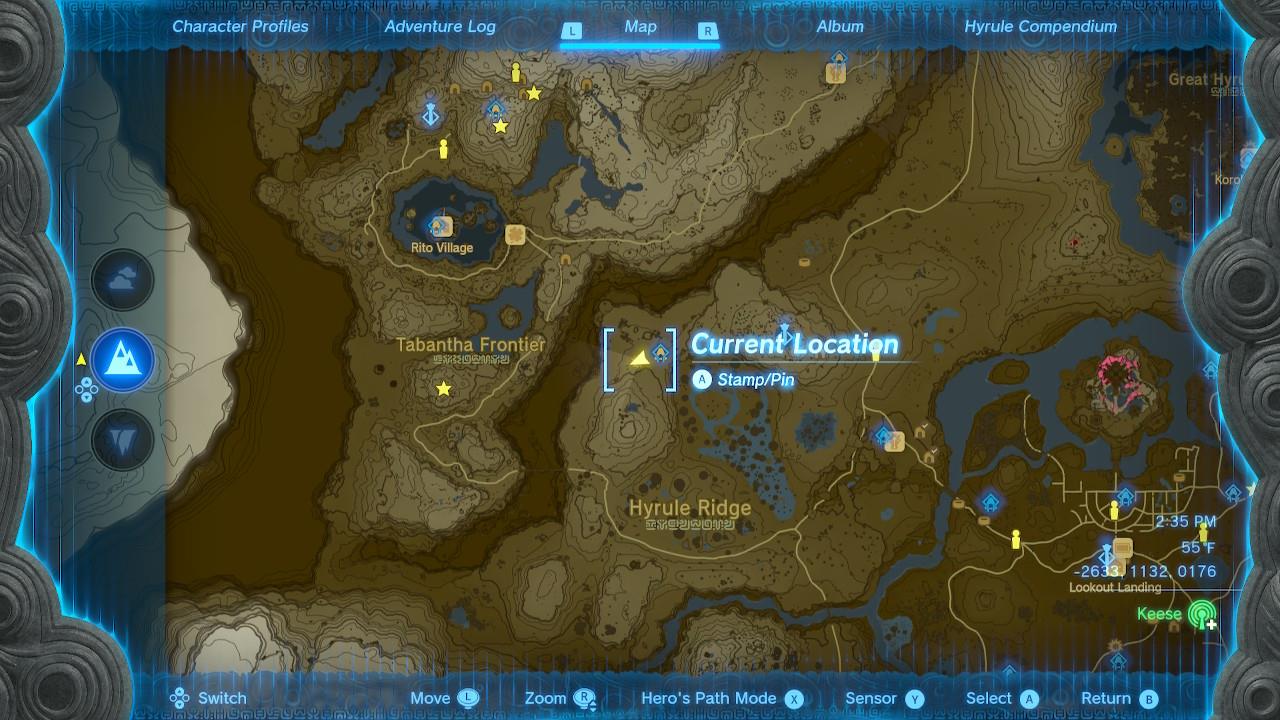
You can find the Cap of Time in the Depths. To get close to the spot, I recommend heading over to the Hyrule Ridge Chasm at the coordinates (-2633, 1132, 0176), located northwest of Hyrule Ridge. You can use Lindor’s Brow Skyview Tower to get there.

Upon landing, and using the map as reference, I recommend activating the Tikanur Lightroot, located northeast of the chasm icon at the coordinates (-2529, 1170, -0623).

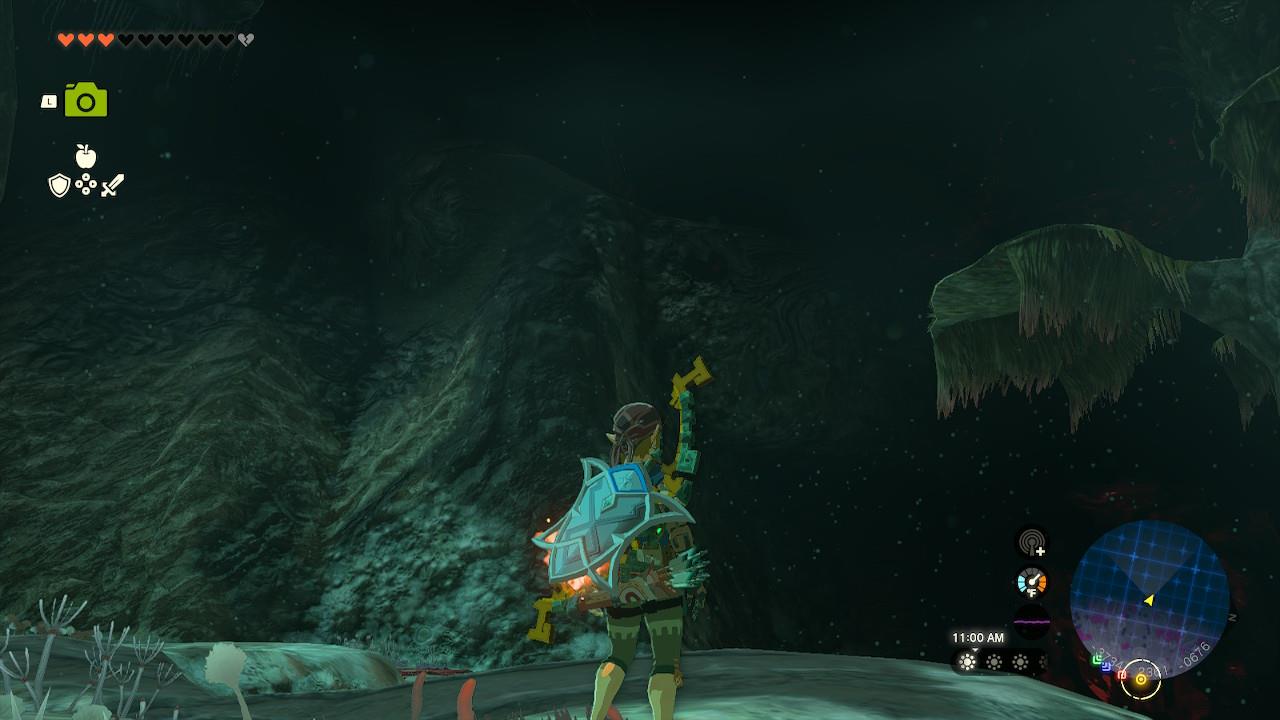
Now, the way to the chest is a long one, so prepare accordingly. To kick things off, head southeast of the Tikanur Lightroot, where you’ll notice a long wall that leads to an enemy camp.
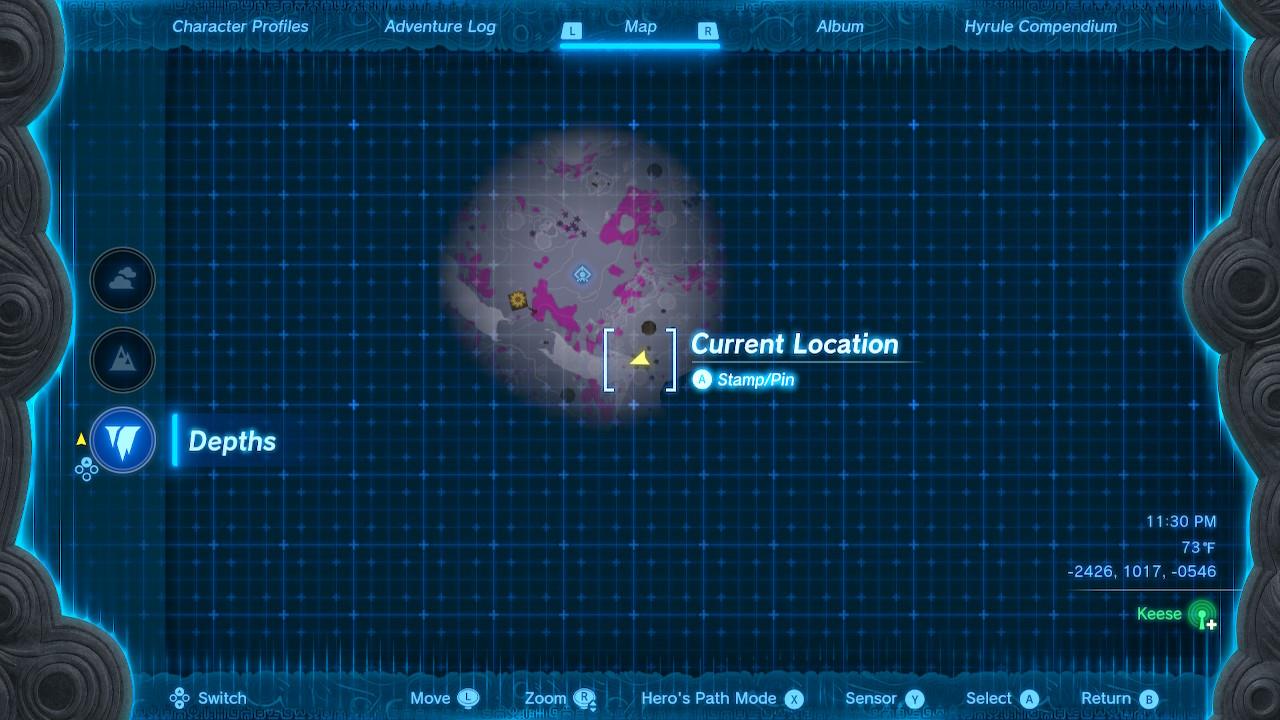
The trick here is that there’s a long root that starts at the coordinates (-2426, 1017, -0546), which serves as a great path up north.
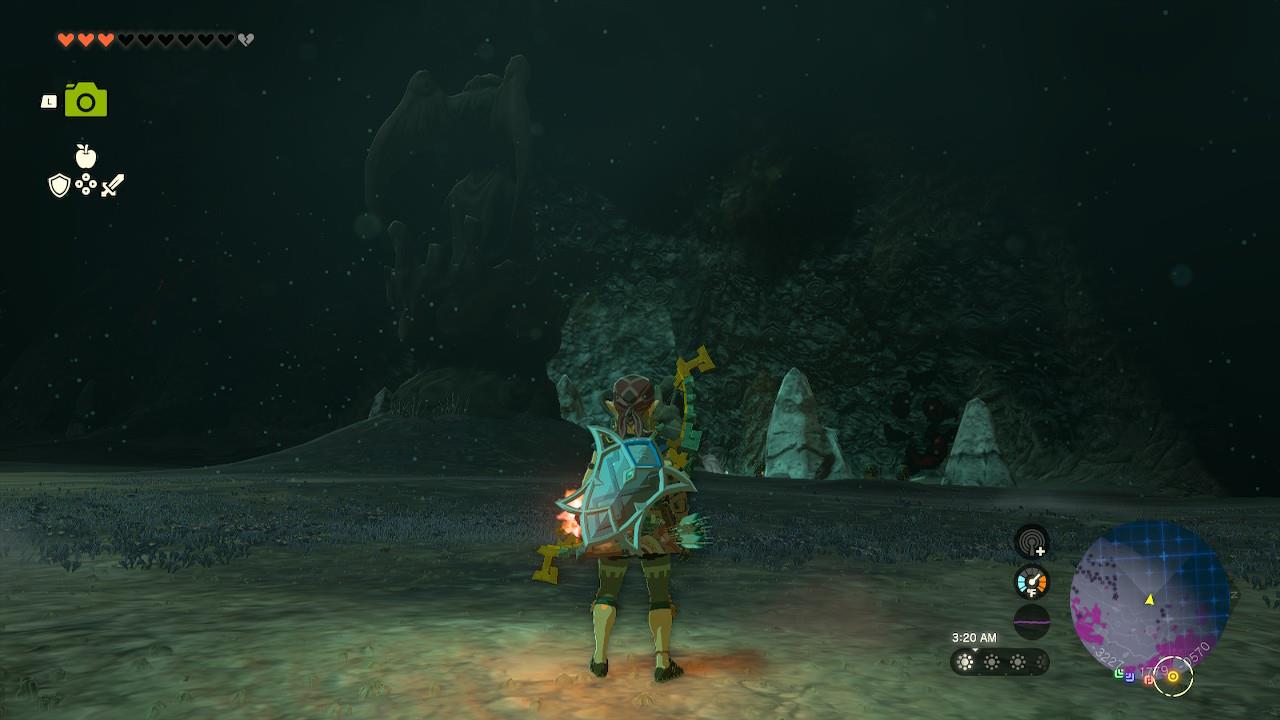
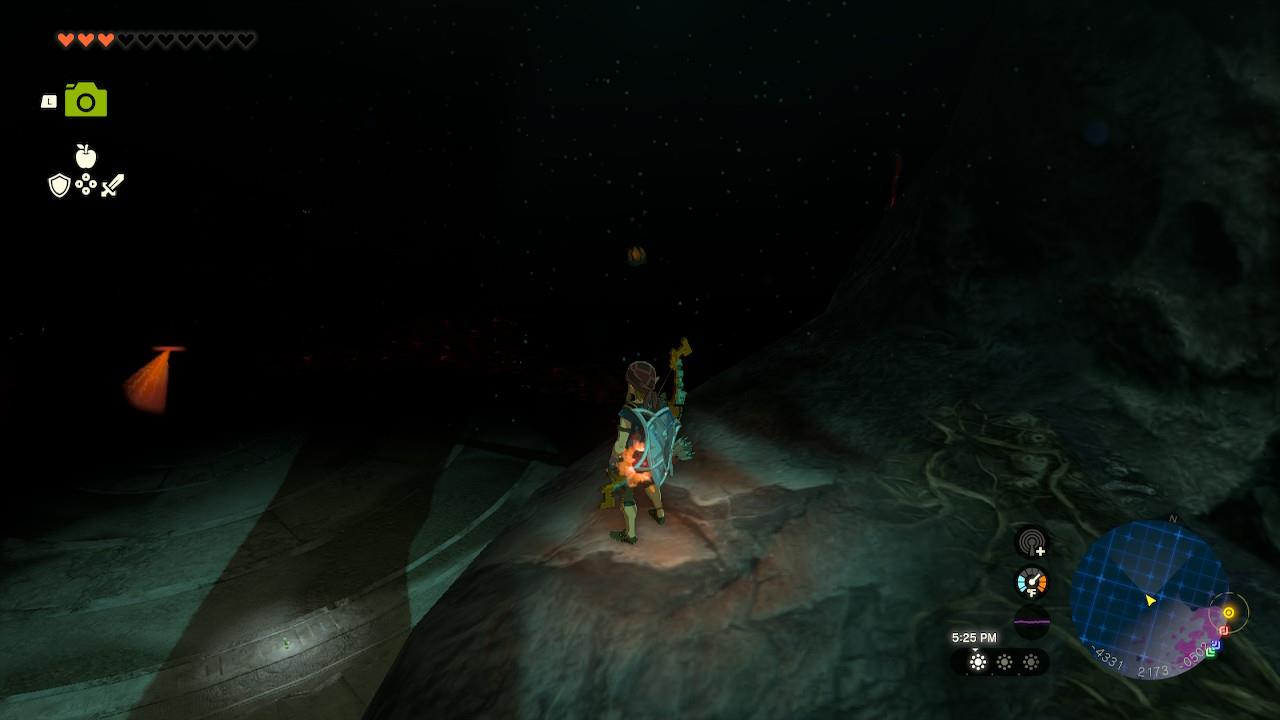
You’ll eventually stumble upon a peak that hits the literal ceiling of the Depths. If you pay attention to the map, the branch cuts itself, which means you’re going to have to glide to the other end.
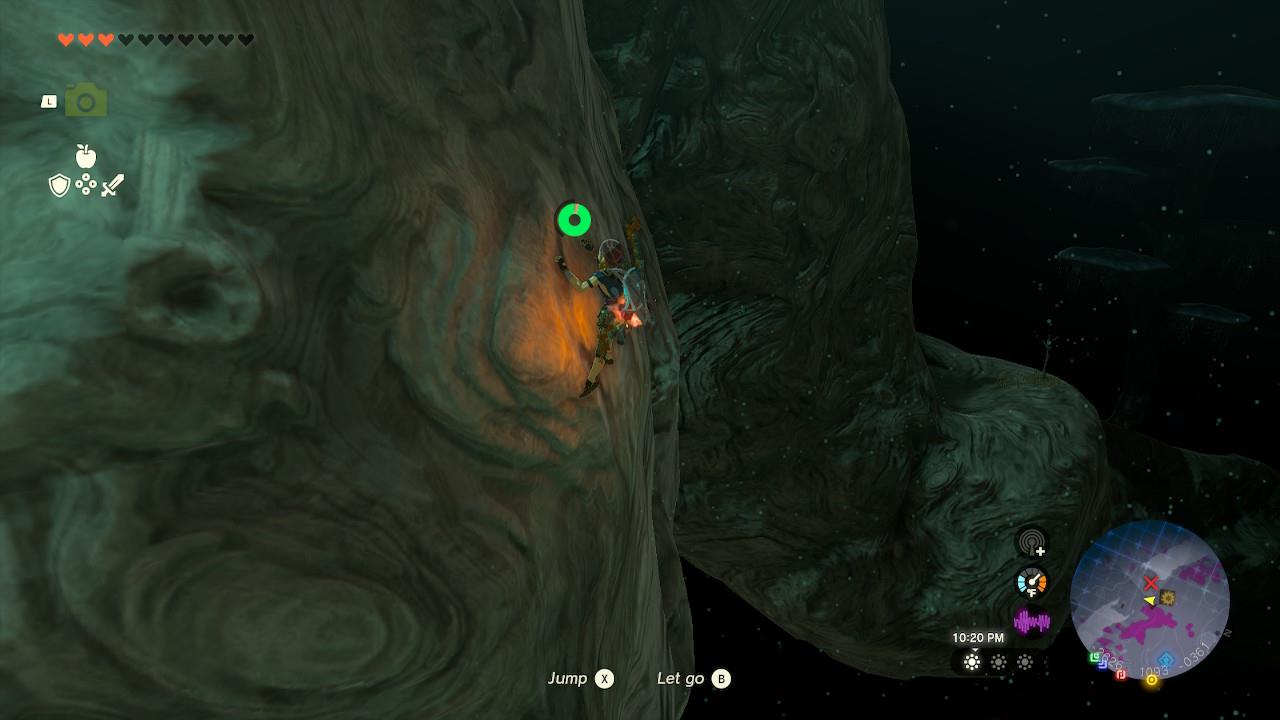
For this, look for any surface Link can stand on to replenish your stamina, and keep climbing as high as you can. As you’re doing this, slowly start turning to the right, using the map as a reference, until the second half of the tree branch is visible.
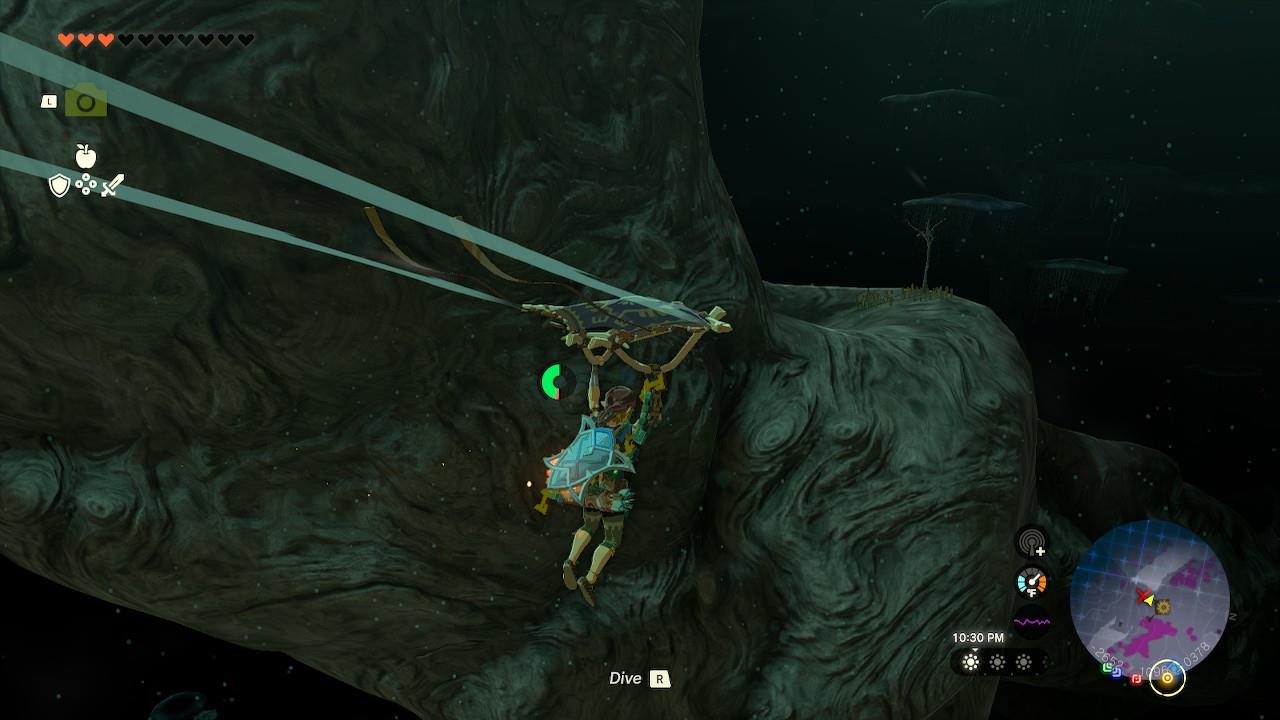
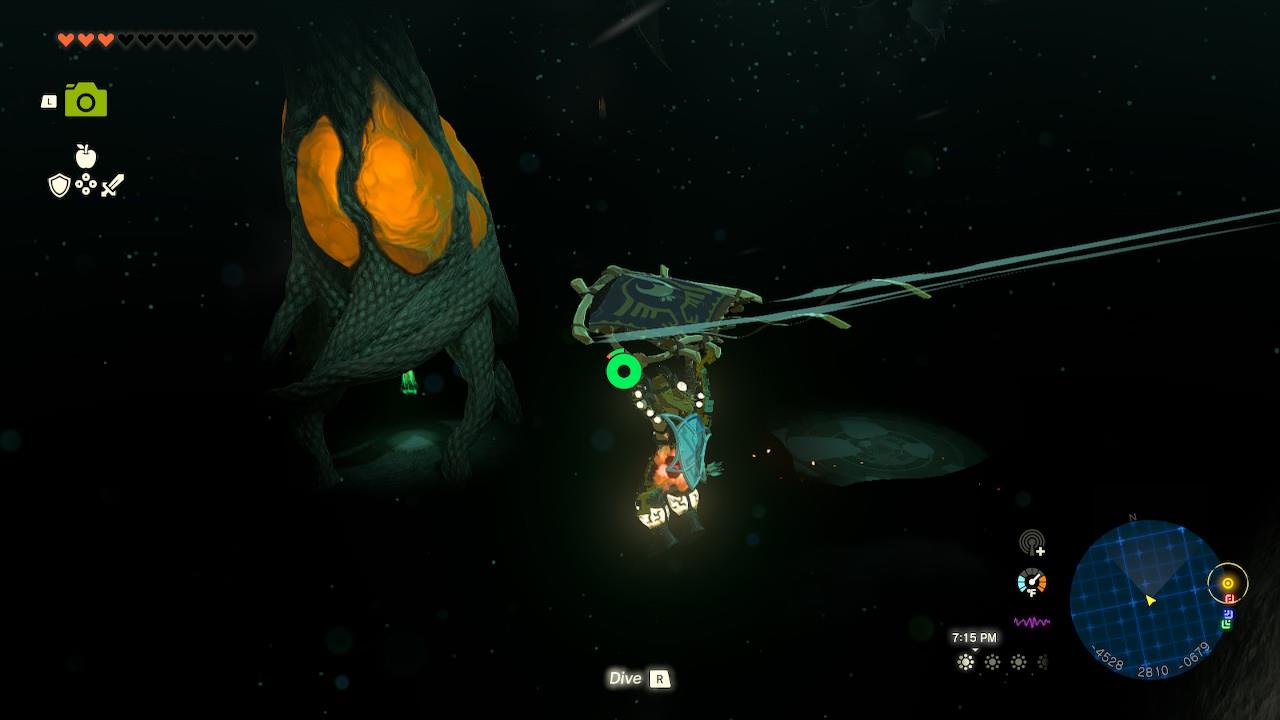
After you have enough altitude, go ahead and drop off from the branch. Then, with your paraglider, head to the other end.
Keep using that second half of the tree branch to continue moving north. You’re going to spot a smaller branch to your right shortly after. That will take you over the wall on the other end.
From there, move northwest until you stumble upon the cliff. If you look down below, you’ll be able to spot the Kawumoro Lightroot in the distance.
The lightroot is in the coordinates (-3063, 1620, -0687), and it should be your second destination.
Let’s keep moving. The path to the next lightroot is fairly more straightforward. From Kawumoro, keep moving northwest – you’re going to start seeing statues, which serve as perfect beacons to stay in the right direction.
At one point you’re going to see an NPC next to a fallen statue. Beware – they’re not as harmless as they seem.
From there, stick to the right side of that path and continue forward. At one point you’ll be able to see the next lightroot in the distance.
There are a few elevations to go through, but since you’re descending, it’ll be much easier this time around.
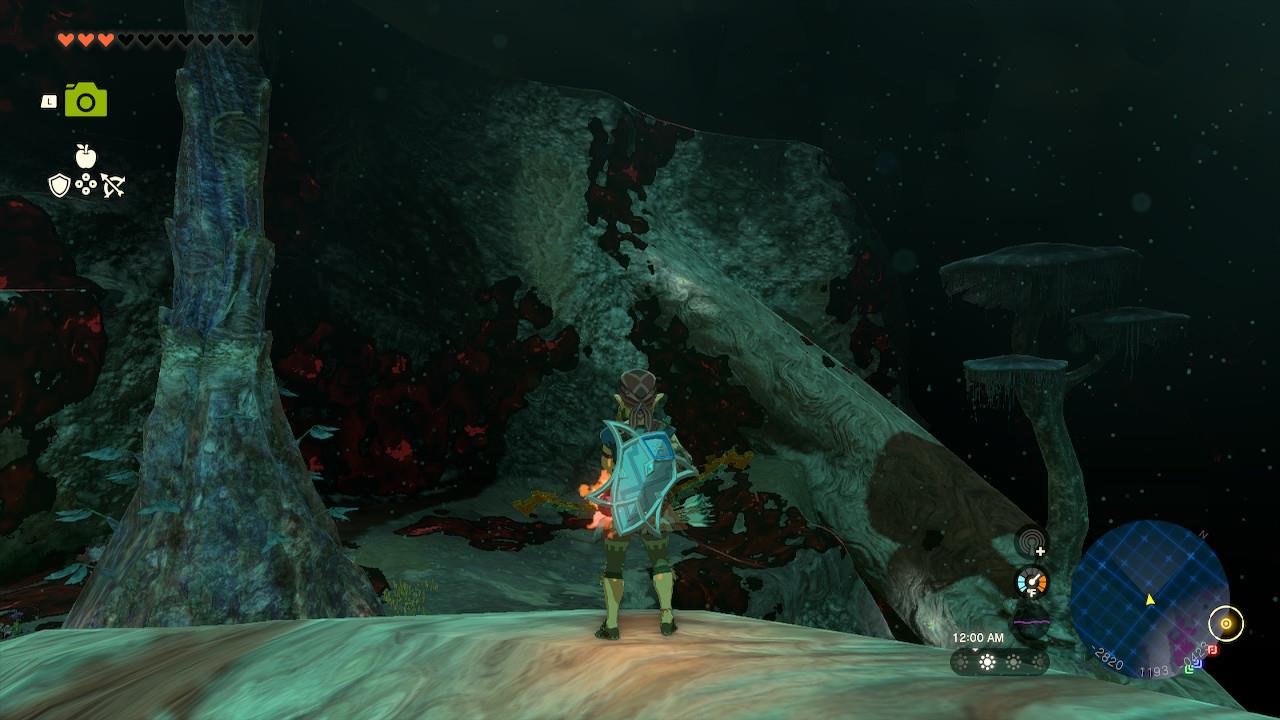
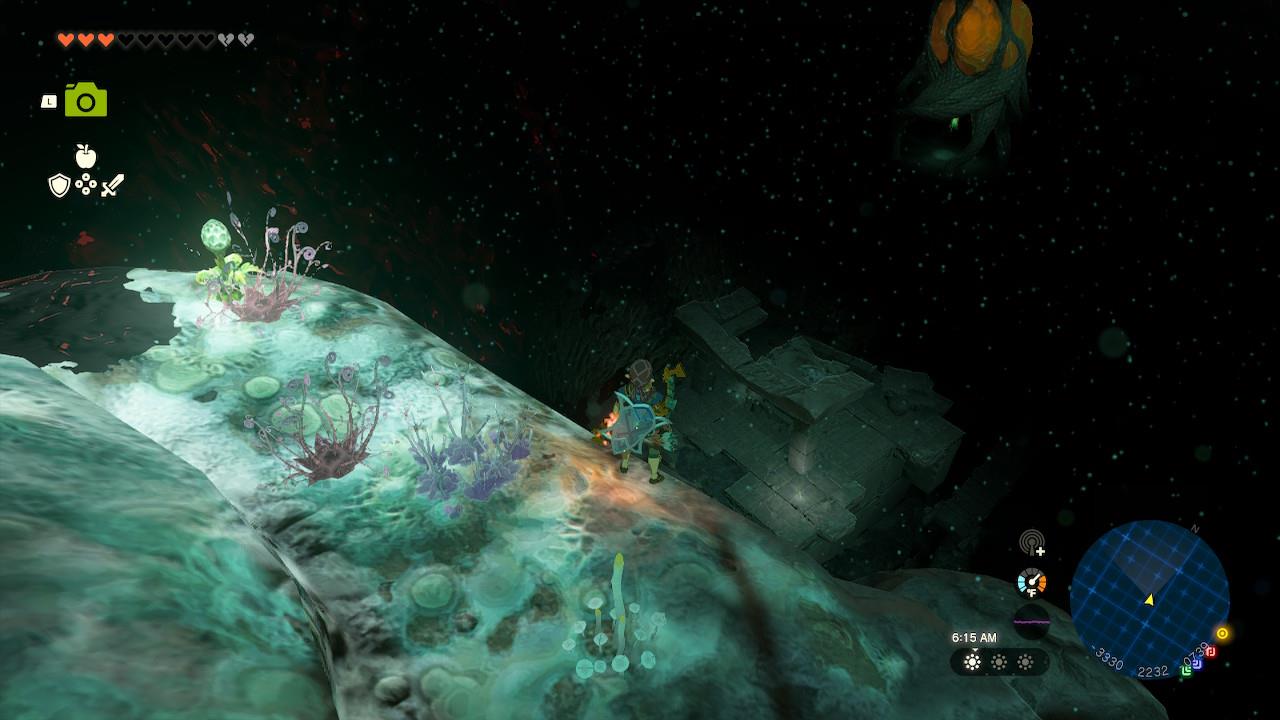
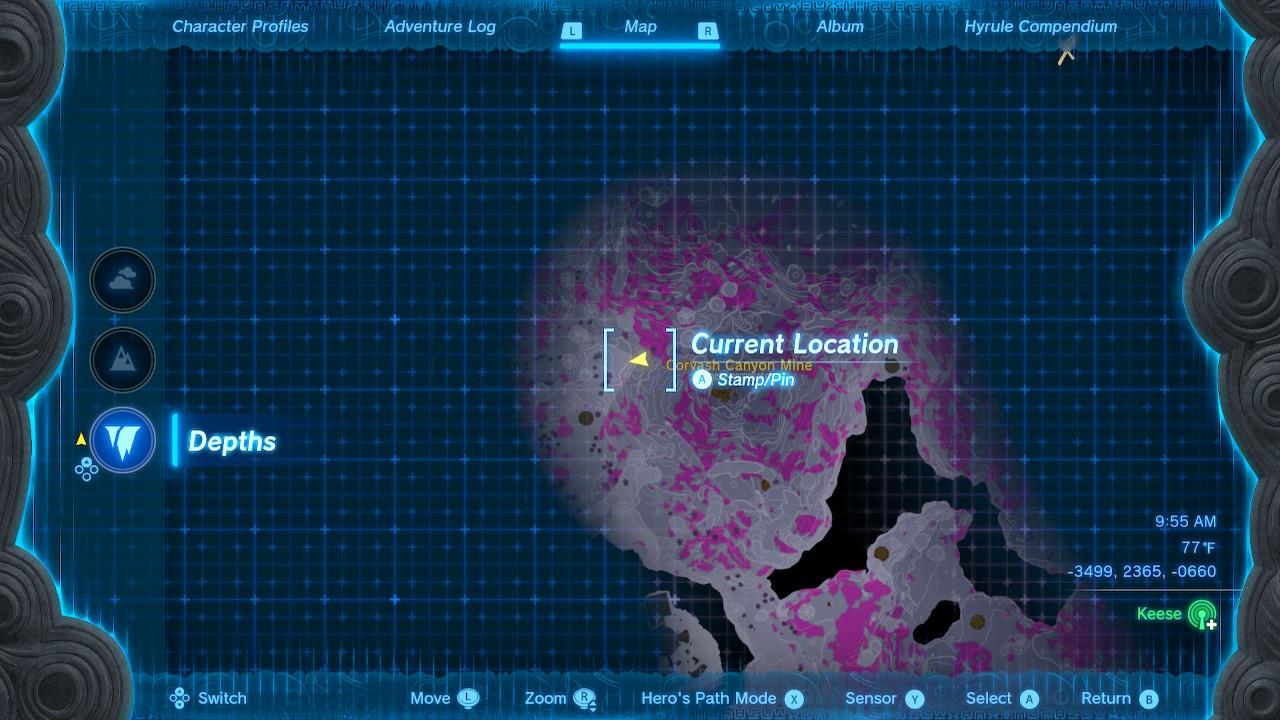
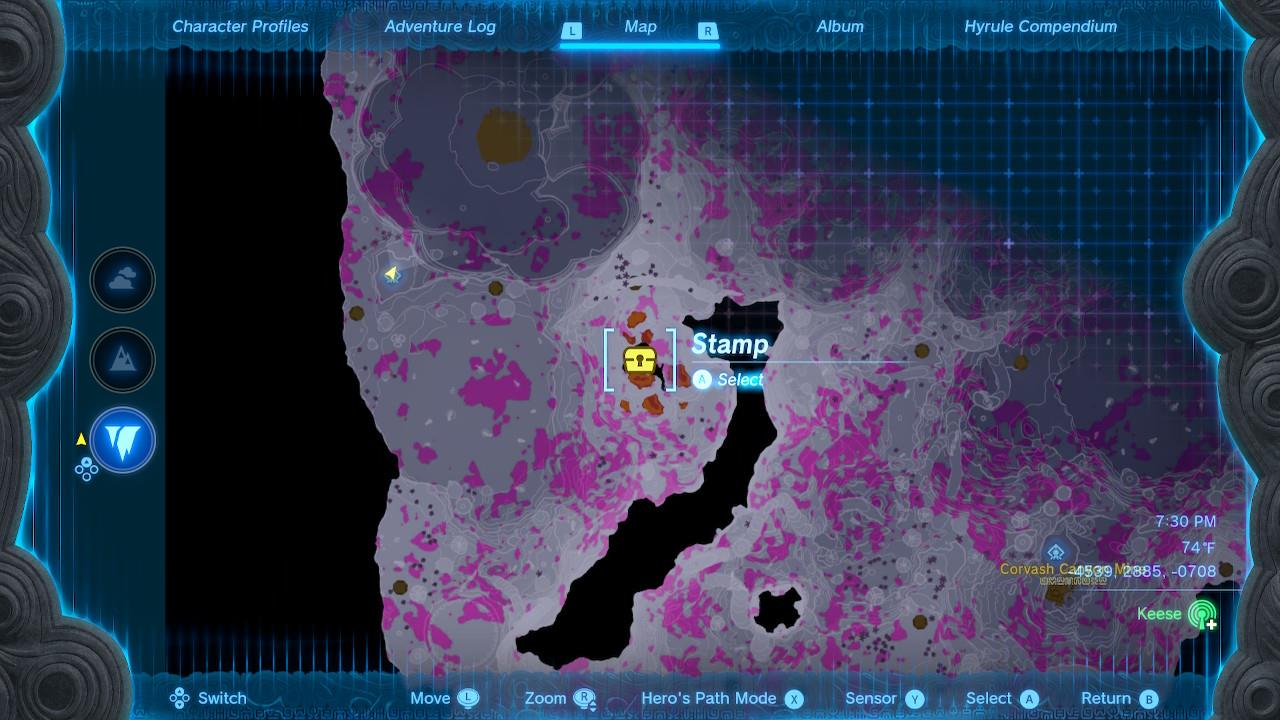
Once you’re getting close to the spot, you’ll come across the Corvash Canyon Mine. Ignore it for now, and activate the Worihas Lightroot at the coordinates (-3352, 2384, -0802).
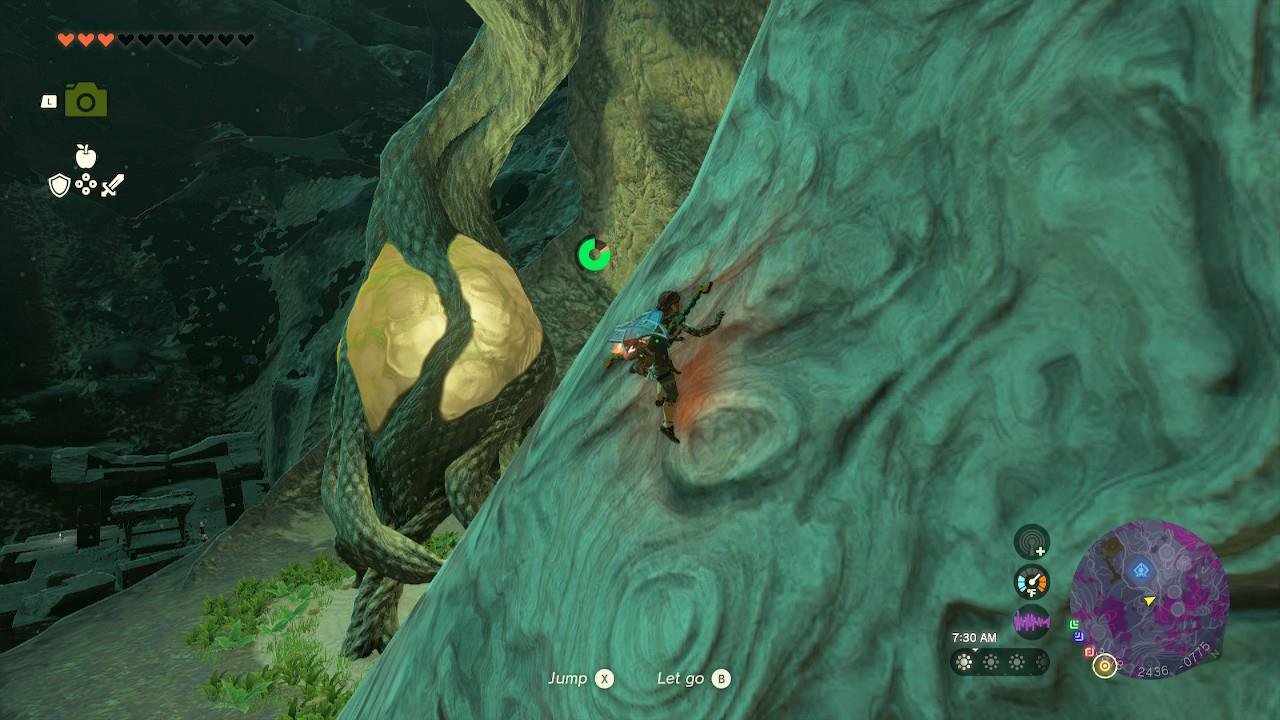
There is a huge root to the right side of Worihas, which we’re going to use to climb over to the other side of the wall.
Instead of continuing to move northwest, we’ll go for a tangent and move southwest instead. This is going to make navigation a lot easier in the end. Otherwise, you’re going to hit a wall that’s impossible to climb.
The path is relatively linear. Make sure to open your map every now and then to make sure you’re still moving west, and continue forward.
You’re bound to stumble upon a tall wall at some point, but you can easily climb your way to the other end.
Once there, you’re going to see the lightroot at a distance. Keep moving towards its location. We’re getting closer!
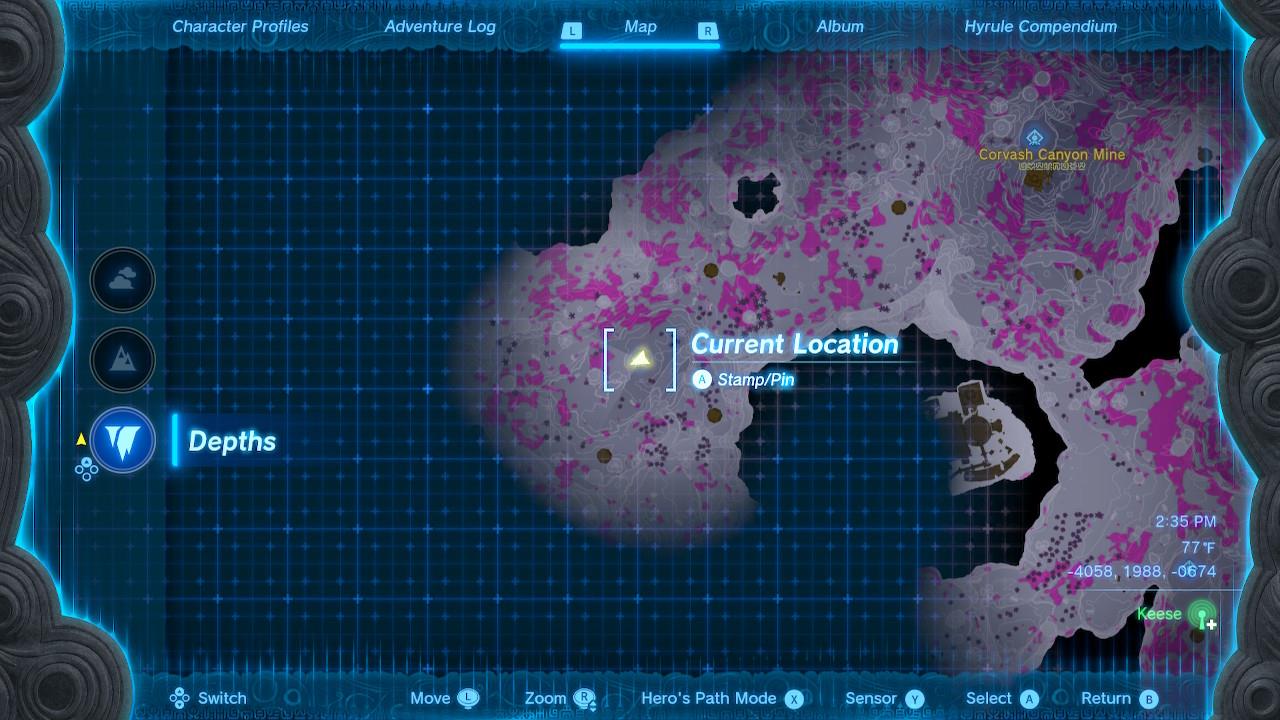
Get to the coordinates (-4058, 1988, -0674), and activate the So-oaw Lightroot.
You’ll notice on the map a section northwest with a gap. That’s where we’re heading, cornering it from the left side and up north again.
There are a few elevations to hop over, but they’re a lot simpler in comparison to what you’ve been through so far.
Once you’re on the other end, you’ll notice an enemy scanner in the distance. This serves as a perfect beacon.
Move towards its direction to find a plateau and another lightroot in the distance.
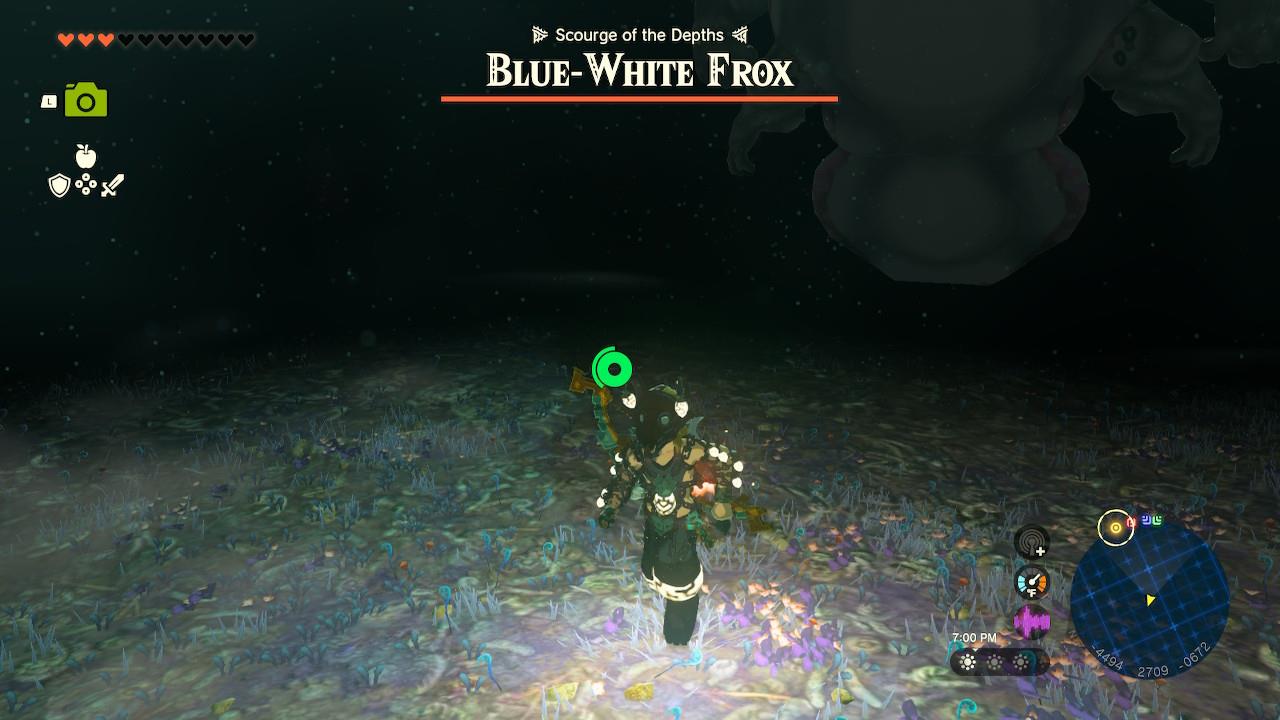
Now, to get to this lightroot, you’re going to come across a Blue-White Frox. Try to stay away from it as much as possible by gliding for as long as you can, and just keep moving towards the lightroot. Oh, there’s a Colgera flying around, too, in case you weren’t terrified enough.
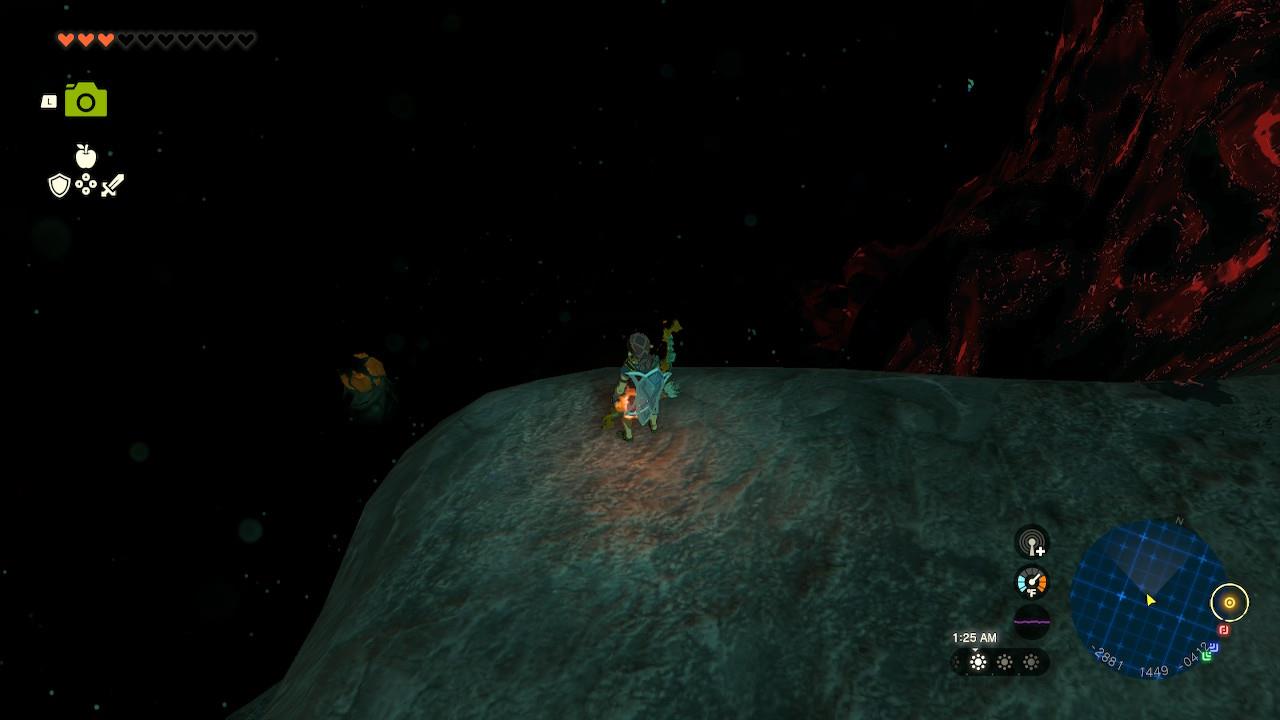
If you manage to make it to the other end in one piece, go ahead and activate the Nupisoyuat Lightroot at the coordinates (-4539, 2885, -0708).
Now that we have access to the area’s map, take a look at the breach located southeast from your current location. It’s covered by orange-colored structures, and that’s where we’re heading next.
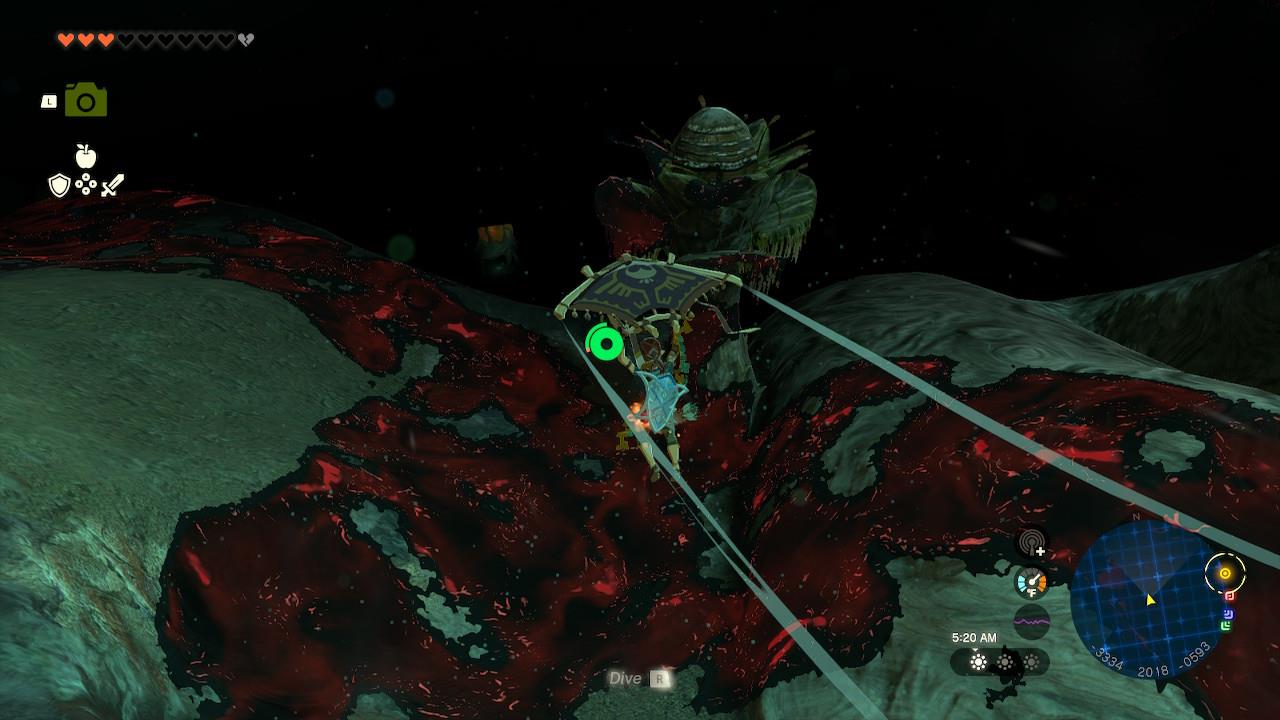
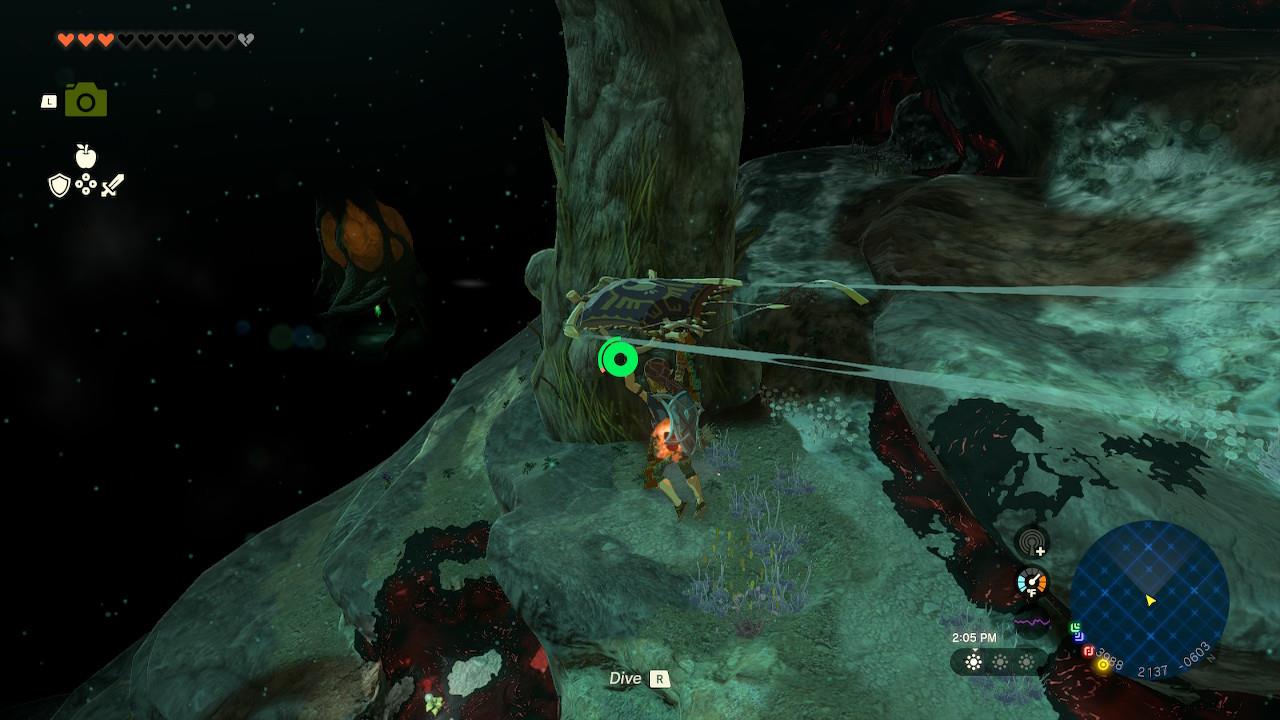
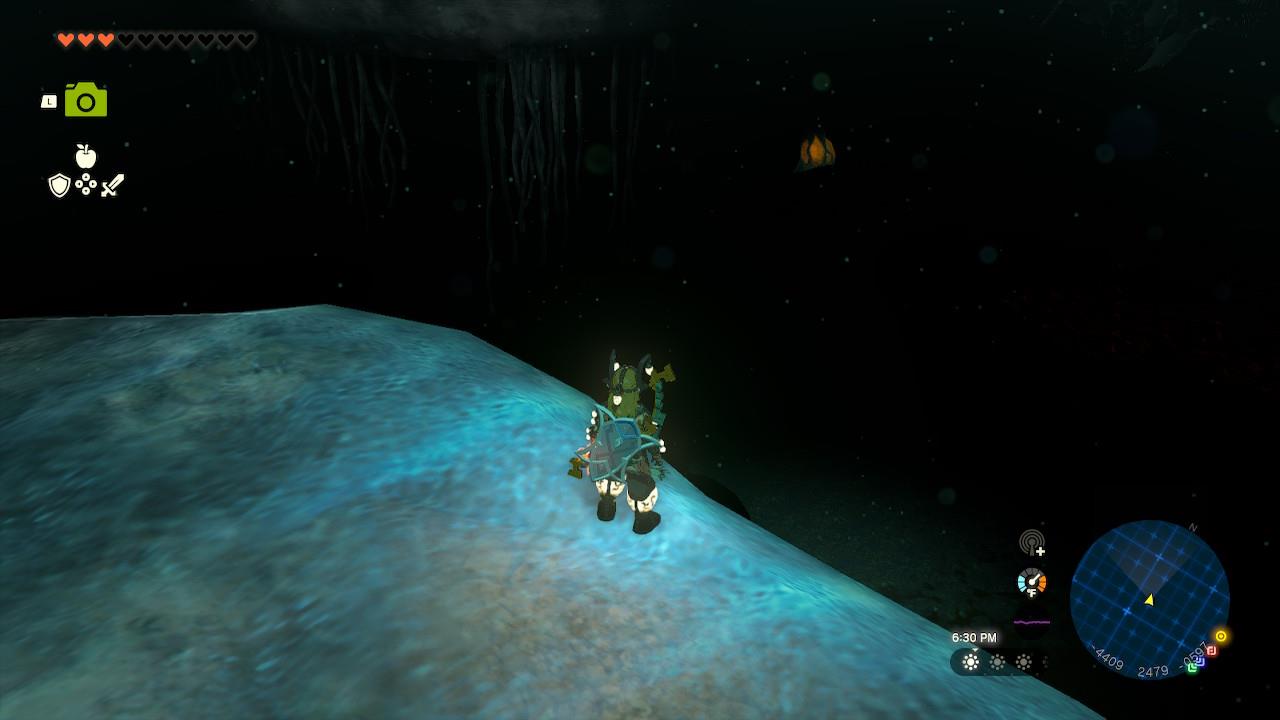
After walking for a bit, you’ll notice that the map is indicating that there is lava surrounding the chest area.
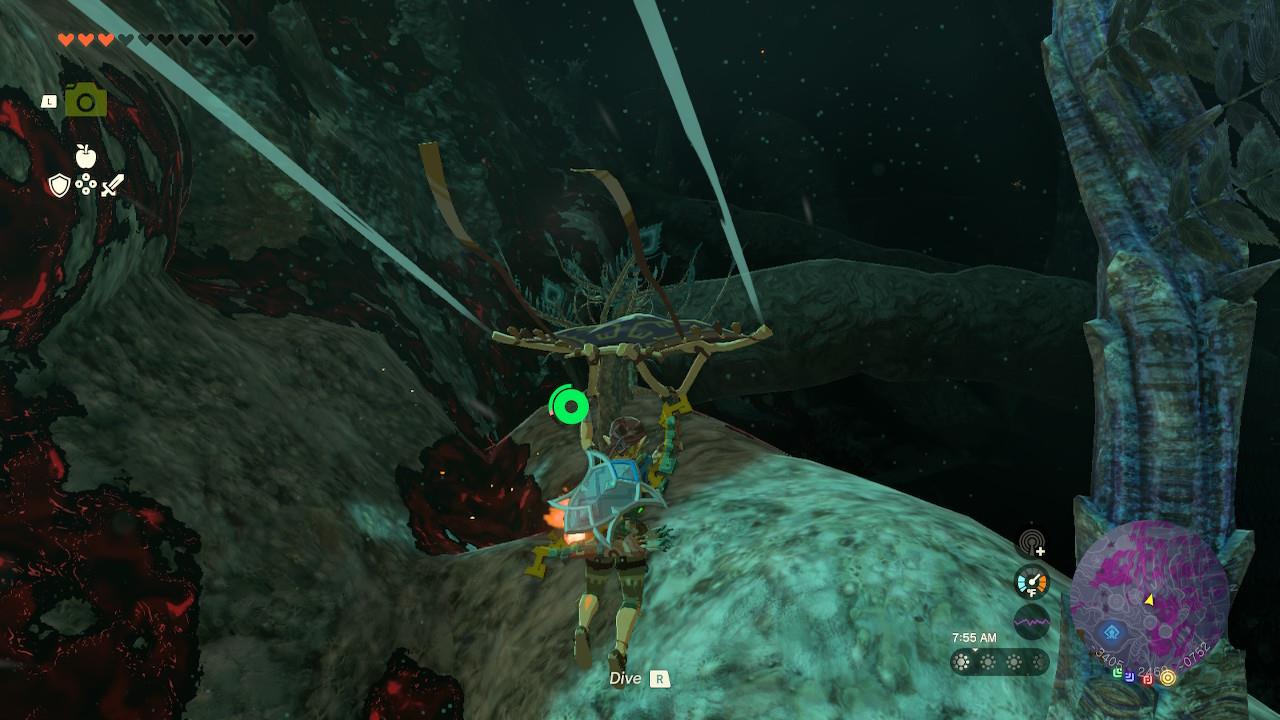
The key to get there is to climb over the wall right before the area, and then use a long root (which you can see on the map) to slowly make your way up.
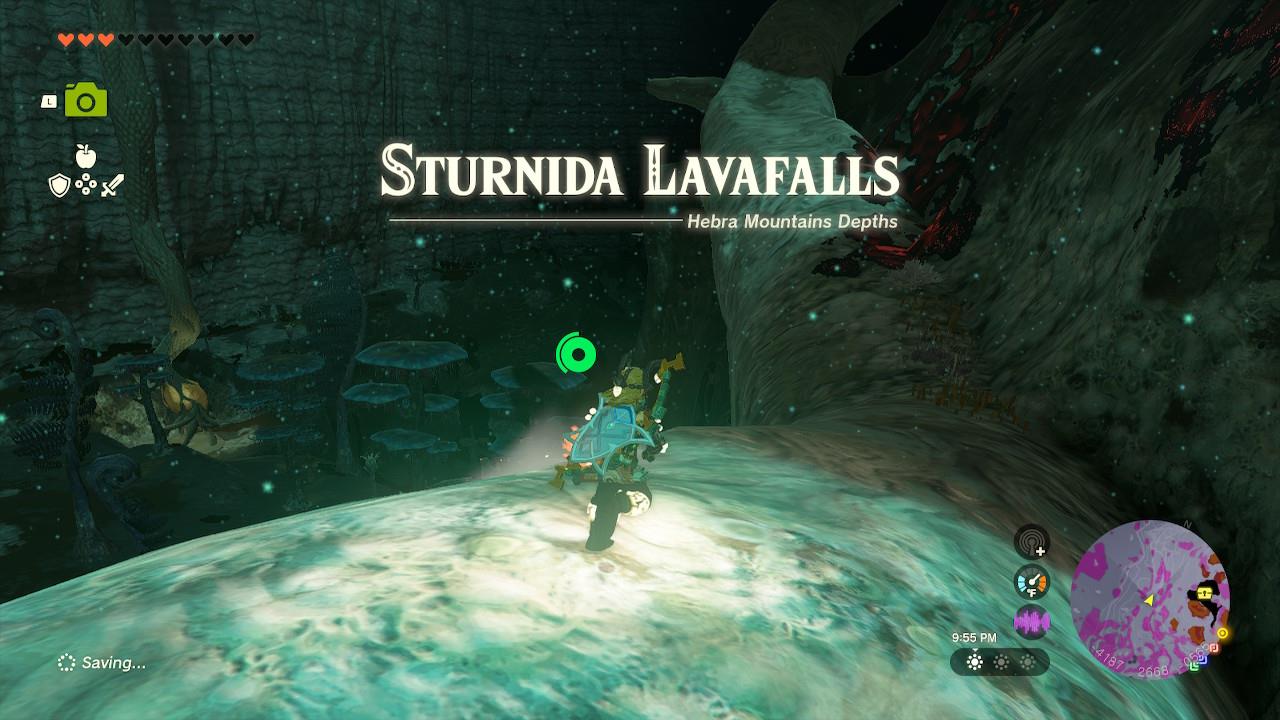
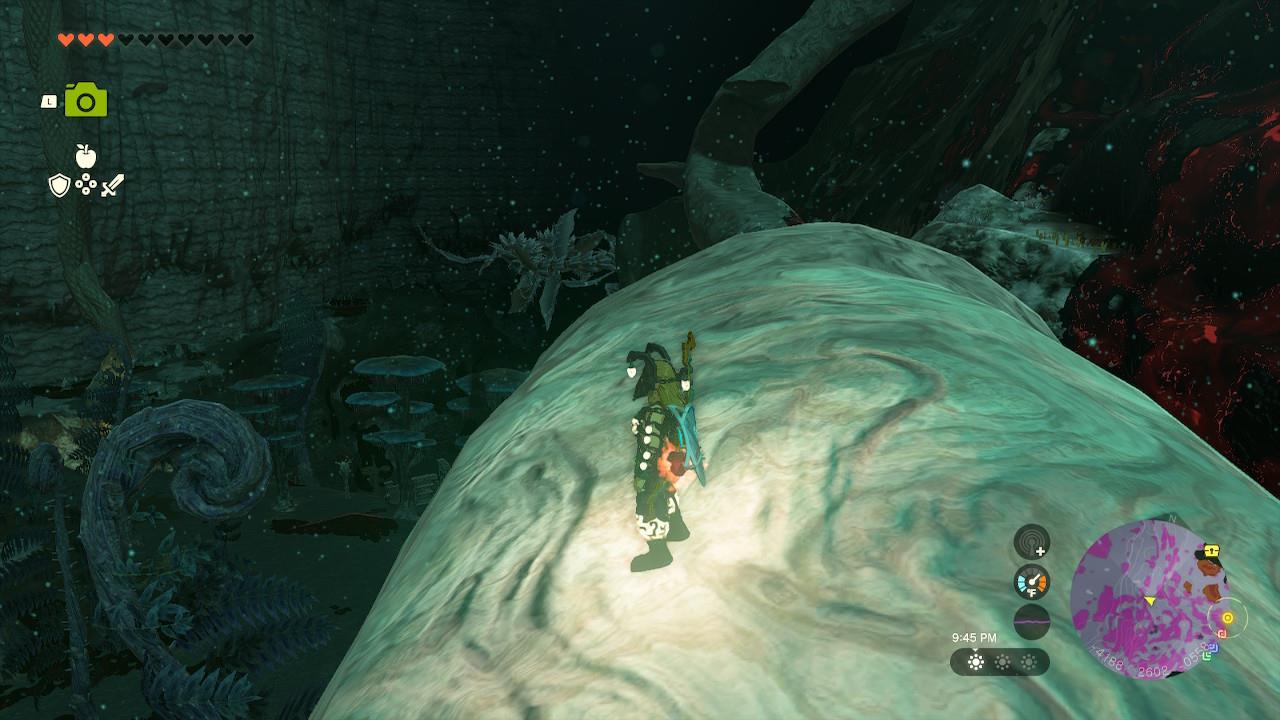
Taking this path will take you to the Sturnida Lavafalls. Then, all you need to do is follow the root, using it as your main path.
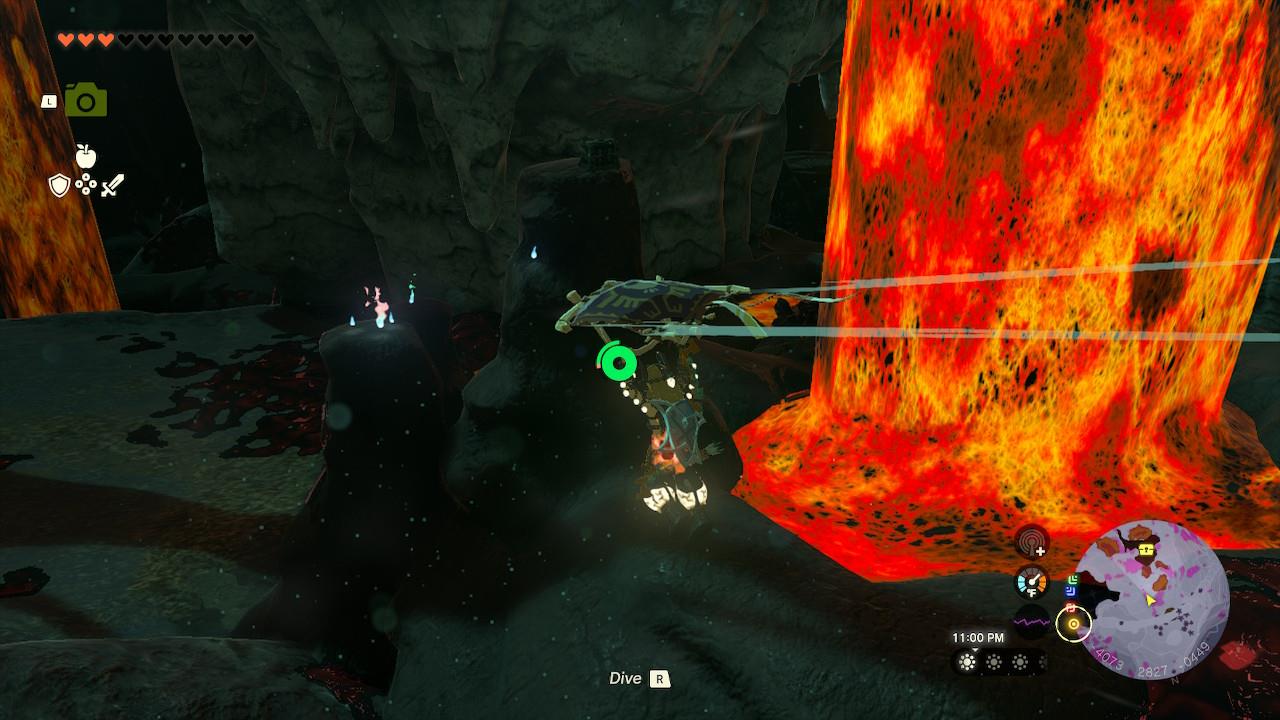
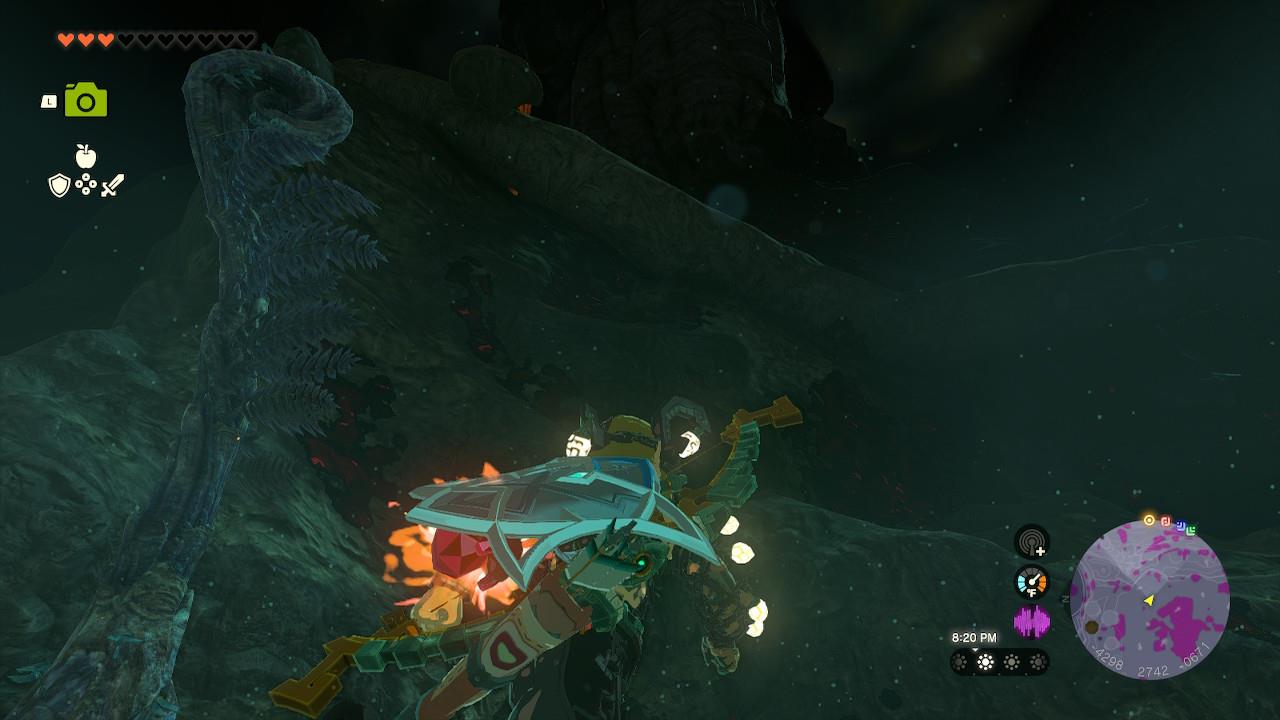
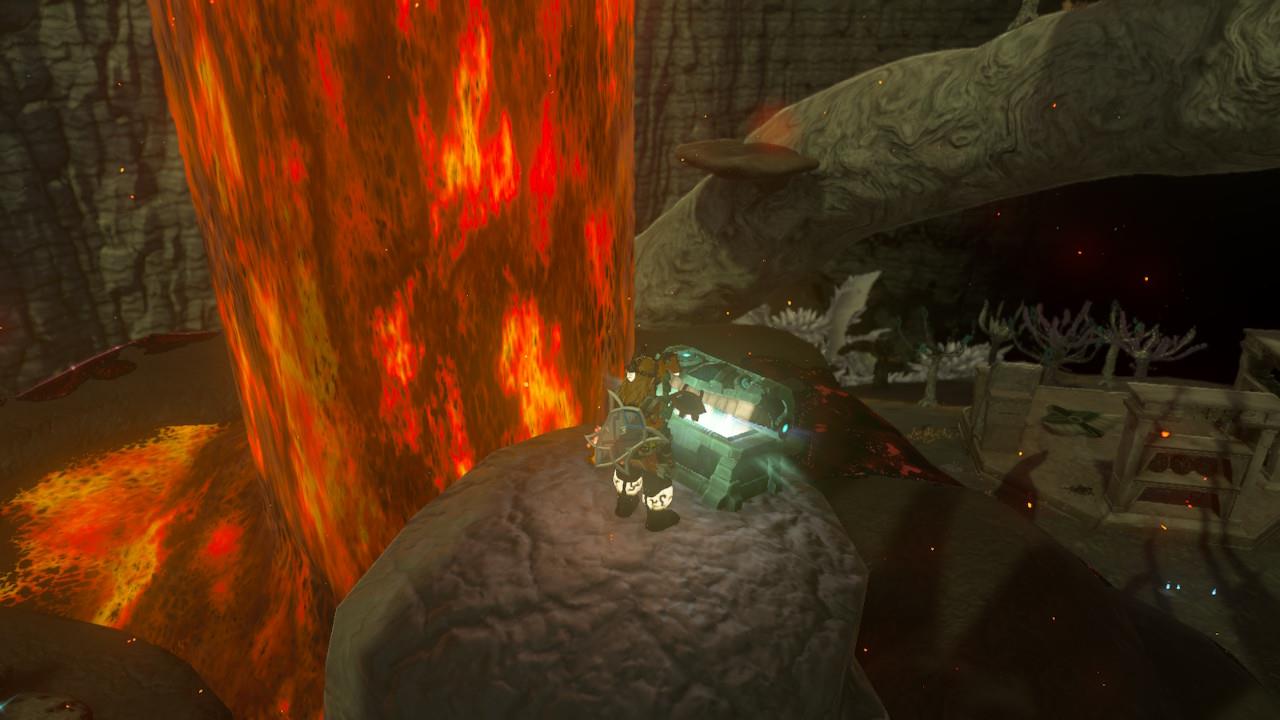
When you’re getting close to the lava, you’ll spot a few structures with Poe pickups on them. The chest is on top of the tallest one of the three.
Keep in mind that since the lava is super close, you’ll suffer damage from high temperatures here. If you have the Flamebreaker Armor, equip it. If not, just grab the armor piece and leave as fast as you can.
Opening the chest will grant you the Cap of Time, which is an armor piece with 3 defense. That’s all for the Time Armor set!
Time Armor upgrade costs, set bonus, and effects
Upgrading the Time Armor set at a Great Fairy Fountain requires Star Fragments and various monster parts, with costs increasing at each enhancement level. Each armor piece boosts defense and offers partial benefits, but wearing the full set grants the special ability to slow time during perfect dodges, giving players more control in battle. The upgrades also improve durability and overall protection, making the set valuable for challenging fi
When equipped individually, the Time Armor offers no effects. However, after upgrading each piece to at least two-stars or more and equipping the full set, you’ll get an attack up buff.
You’ll be able to upgrade the pieces of the Time Armor at a Great Fairy Fountain, in exchange for the following materials:
- 1-star (5 defense): 10 amber, 1 star fragment, 10 rupees
- 2-star (8 defense): 20 amber, 1 star fragment, 50 rupees
- 3-star (12 defense): 30 amber, 1 star fragment, 200 rupees
- 4-star (20 defense): 40 amber, 1 star fragment, 500 rupees
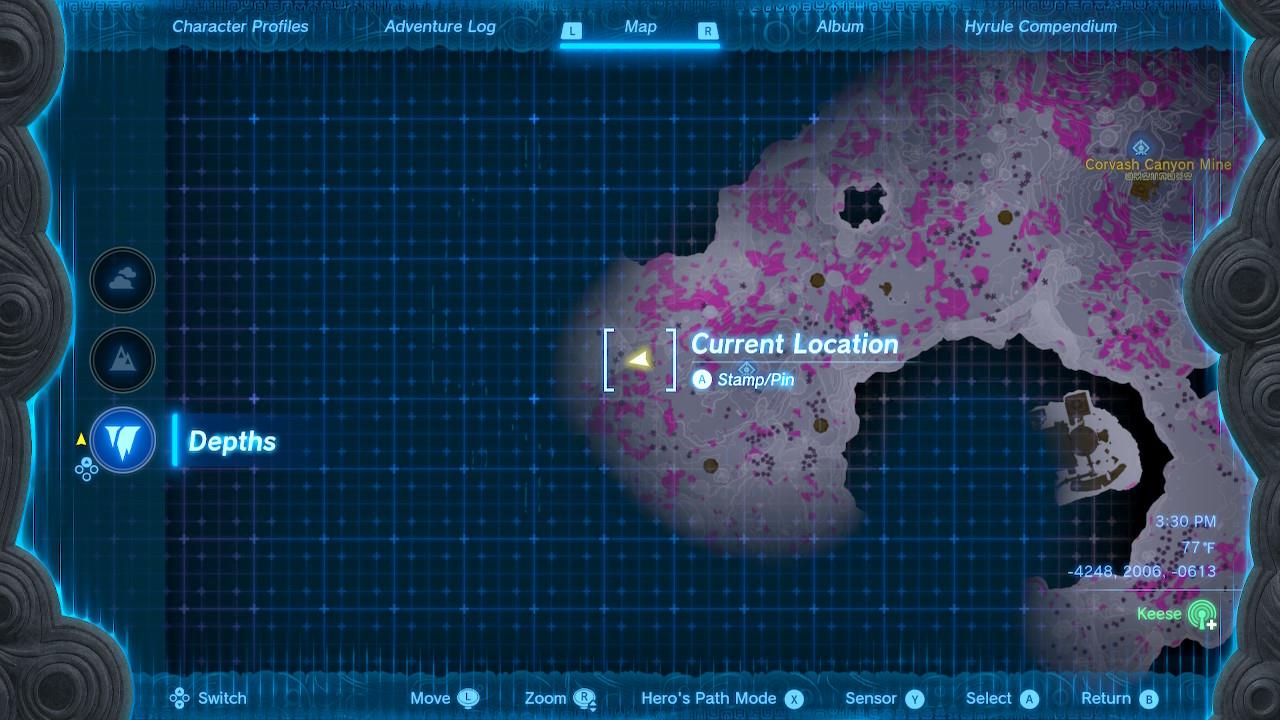
Where to find each Time Armor piece on the Depths map
The Time Armor set pieces-Cap of Time, Tunic of Time, and Trousers of Time-are located in specific mines and structures within the Depths of Zelda: Tears of the Kingdom.
Tunic of Time
Found in Lindor Canyon Mine under Hyrule Ridge, at coordinates -1999, 1307, -0715.
Access via Hyrule Ridge Chasm (near Mount Rhoam); fast-travel to Nabahi-ikat Lightroot or Tikanur Lightroot, then head east to ruins with a staircase and elevated chest.
Trousers of Time
Located in Gerudo Canyon Mine under Gerudo Highlands, at coordinates approximately -4181, -0702, -0702.
Enter through Gerudo Summit Chasm (-4204, -0647, 0638); from Mustuto Lightroot, go southeast to the central chest in ruins.
Cap of Time
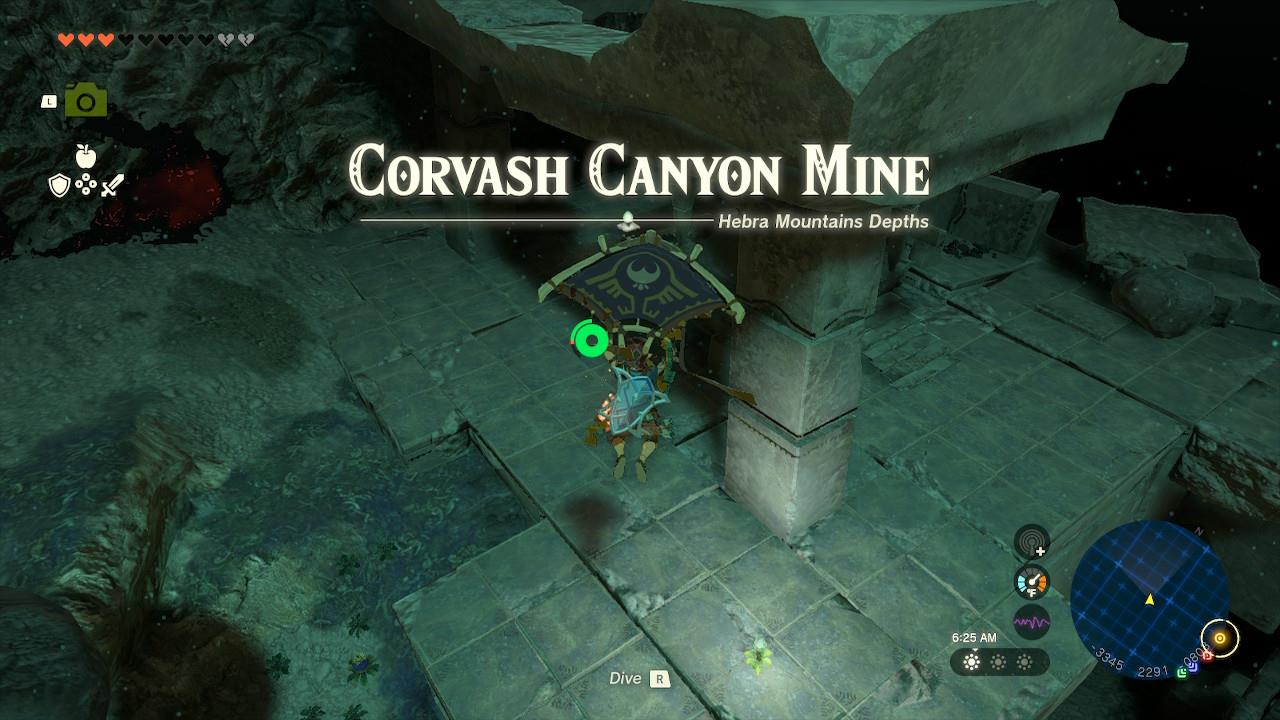
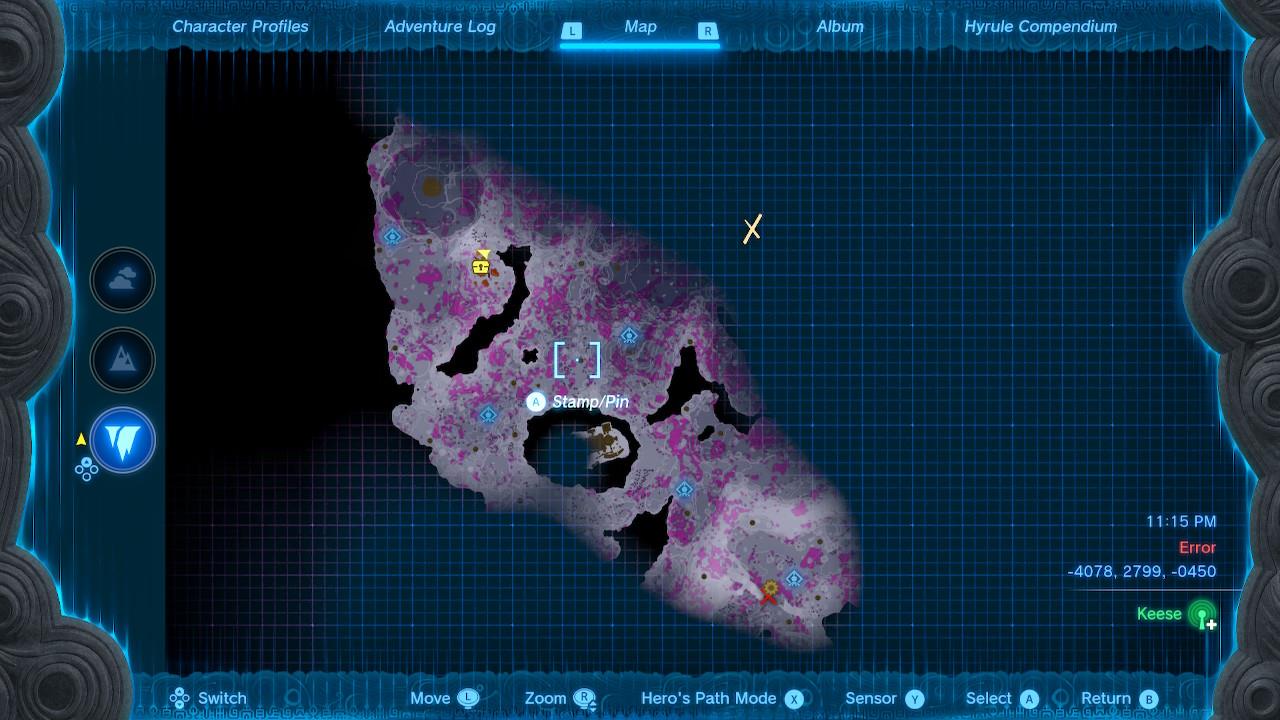
In Sturnida Lavafalls (also called Sturdina Lavafalls) under Hebra Mountains, at coordinates -4079, 2799, -0450.
Reach via Hyrule Ridge Chasm or Hebra chasms; fast-travel to Nupisoyuat Lightroot (or nearby Muotue/Worihas), then northwest to a lava-surrounded rock pillar chest-use Flamebreaker Armor.
Show exact Depths map pins for Cap Tunic Trousers of Time
The Time Armor pieces (Cap of Time, Tunic of Time, Trousers of Time) in Zelda: Tears of the Kingdom are pinpointed on the Depths map at specific coordinates, often near Lightroots and mines. Drop pins directly on your in-game Depths map using these exact locations for navigation.
Cap of Time
-
Depths Coordinates: -4078, 2799, -0450 (corrected from minor typos in sources; northwest near Sturnida Lavafalls).
-
Map Pin: Far northwest Depths, by lavafalls under Hebra Mountains; climb pillar surrounded by lava near Nupisoyuat Lightroot (-4537, 2879, -0707).
Tunic of Time
-
Depths Coordinates: -2002, 1309, -0715 (Lindor Canyon Mine).
-
Map Pin: Central-north Depths under Hyrule Ridge; elevated ruins east of Tikanur Lightroot (-2531, 1168, -0623).
Trousers of Time
-
Depths Coordinates: -4180, -0697, -1121 (Gerudo Canyon Mine).
-
Map Pin: Southwest Depths under Gerudo; central chest southeast of Mustuto Lightroot.