Link’s first true test in The Legend of Zelda: The Wind Waker isn’t a battle-it’s a break-in. Cast onto the ominous Forsaken Fortress with no sword and only your wits, you must outmaneuver searchlights, sneak past monstrous guards, and rely on barrels for cover as you attempt a daring rescue. Welcome to a dungeon where stealth is your only weapon, and every shadow could spell disaster.
Luckily for you, I’ve replayed The Wind Waker to help you out. (And honestly, the good news is that this dungeon isn’t nearly as bad as I remembered it being, so. hopefully that’s the same for you.)
Below we’ll give you a walkthrough on how to get through the first visit of The Forsaken Fortress in The Wind Waker, how to turn off all three spotlights, and where to go to climb the fortress.
Note that this walkthrough is for the Nintendo GameCube version of the game, also playable on the Nintendo Switch 2, if you have a Nintendo Switch Online Expansion Pack membership. While this walkthrough may work for the remastered version (The Legend of Zelda: The Wind Waker HD for the Wii U), there may be differences between the two versions, so keep that in mind if you’re using it for the latter. We wrote this guide using the original GameCube version on the actual GameCube, so if there are differences between this version and the NSO version, we’re working it out – and we’ll update this guide if it needs it.
The Forsaken Fortress, explained
The Forsaken Fortress is the first major dungeon in The Legend of Zelda: The Wind Waker, serving as Ganondorf’s ominous stronghold and introducing players to a stealth-focused challenge. Upon arrival, Link loses his sword and must rely on sneaking past patrolling Moblins and avoiding searchlights that sweep the dark, fortress walls. Progress hinges on using barrels for cover and disabling spotlights operated by Bokoblins, making each step toward the tower-where your sister is held-a tense game of hide-and-seek rather than direct combat. Mastering these mechanics is essential for overcoming the fortress’s unique stealth puzzles and reaching your ultimate goal.
You get launched over to this horrifying island full of monsters and home to the most evil being in Hyrule – and your sword goes flying off into the distance. Great! This situation forces you to use stealth techniques to navigate to the end of this area. Rather than running in with three hearts and swords a-blazin’, you’ll need to sneak around, turn off the three spotlights, and climb up the fortress to find your sister.
All of that said, note that our walkthrough will detail how to get the compass, treasure map, and some other loot along the way, but we do not go into expansive detail about out-of-the-way treasure. You will come back here later and you’ll be able to freely explore with sword in hand, so don’t worry too much about missing out on anything on your first visit.
You can tackle the Forsaken Fortress spotlights in any order really, but we’ve listed them in the order we found it most convenient.
[Ed. note: This guide is missing a Piece of Heart. I’m sorry, I have failed you. Note that if you don’t get it on your first visit here, you can return to get it later, but I am going to update this guide once I replay on the Switch 2 to include the Piece of Heart.]
Forsaken Fortress spotlight #1
The first time you enter Forsaken Fortress, stealth is your only option-Link must sneak past patrolling Moblins and evade the glaring searchlights, since he has no weapon to defend himself. Disabling the spotlights is critical: climb the ladders leading to each tower, grab a handy stick or pot, and take out the Bokoblin operators to make traversing the outer walls much safer. You’ll likely get thrown into jail along the way, but don’t worry-escaping teaches important mechanics, and allows you to find key items like the Dungeon Map and Compass as you quietly weave through the fortress’s labyrinthine corridors.
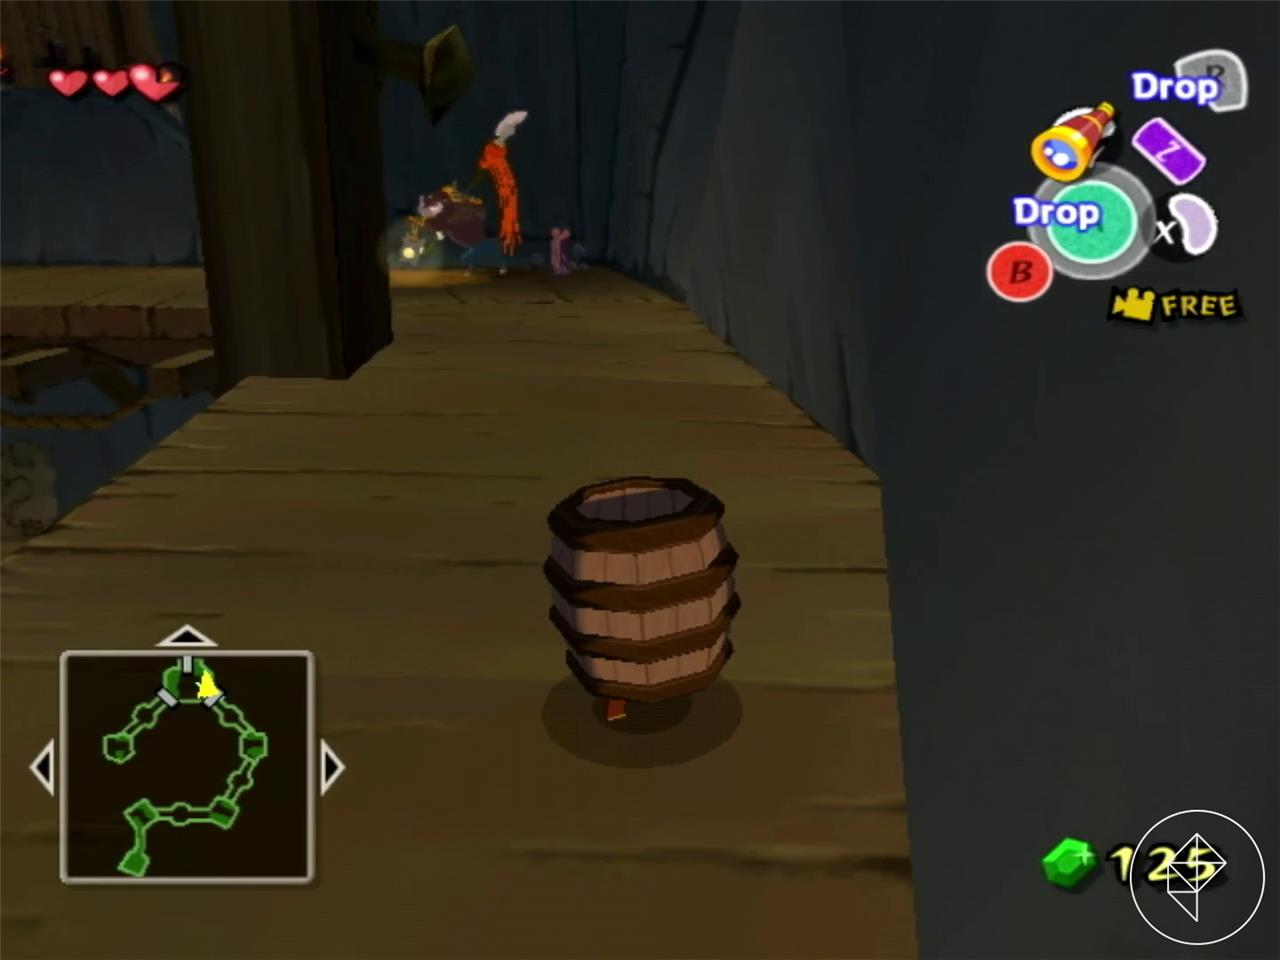
Right off the boat, follow the path straight up until you see the flat area with red rupees and spotlights. If you’re a fiend for rupees, you can use the nearby barrels to hide from the spotlights and grab the rupees – but you can also just wait until you turn all the spotlights off and come back for them later.
If you’re not grabbing the rupees, turn right and go up the path further, ignoring the huge doors in the flat area.
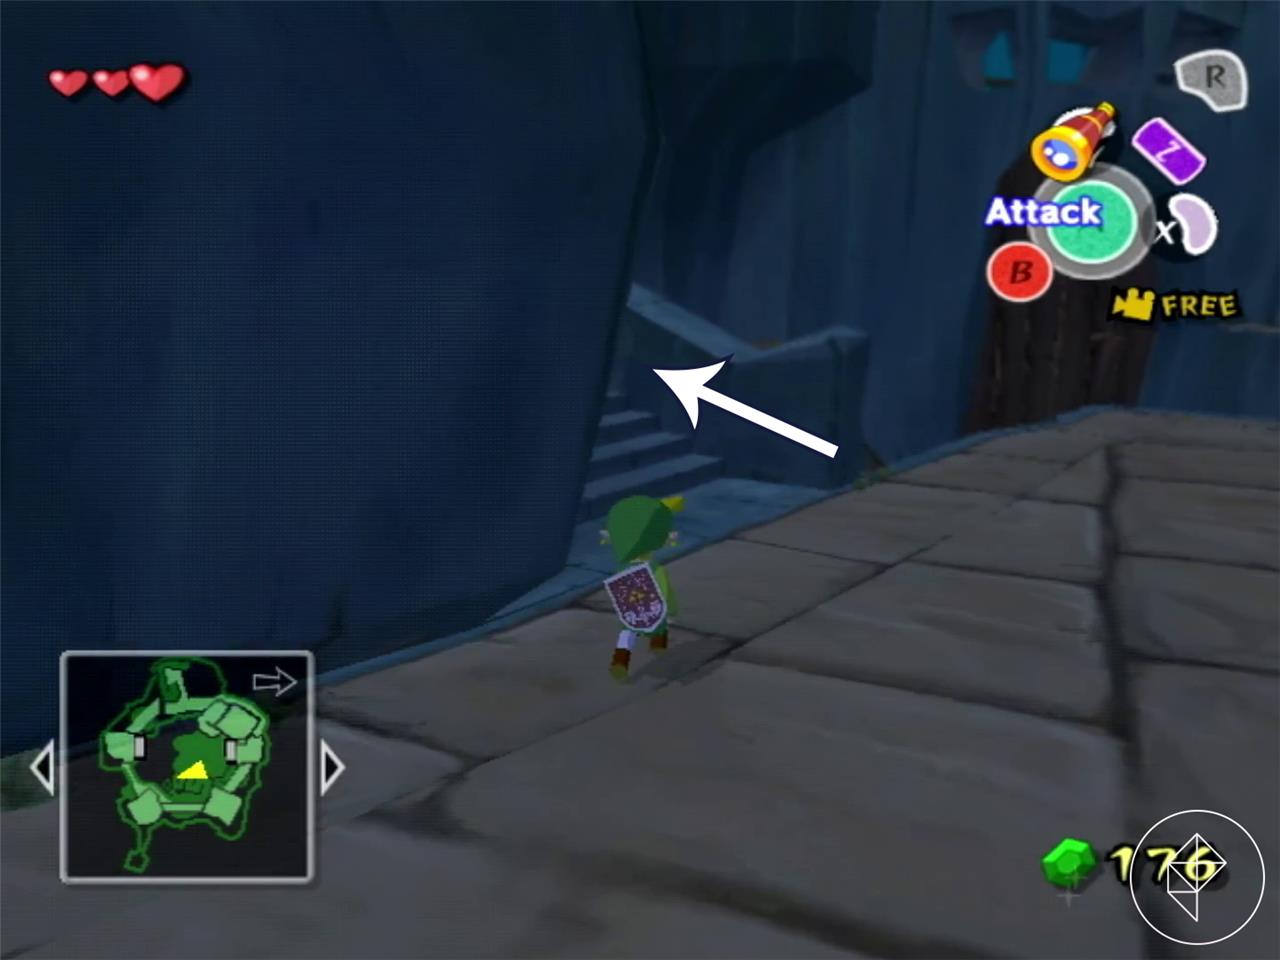
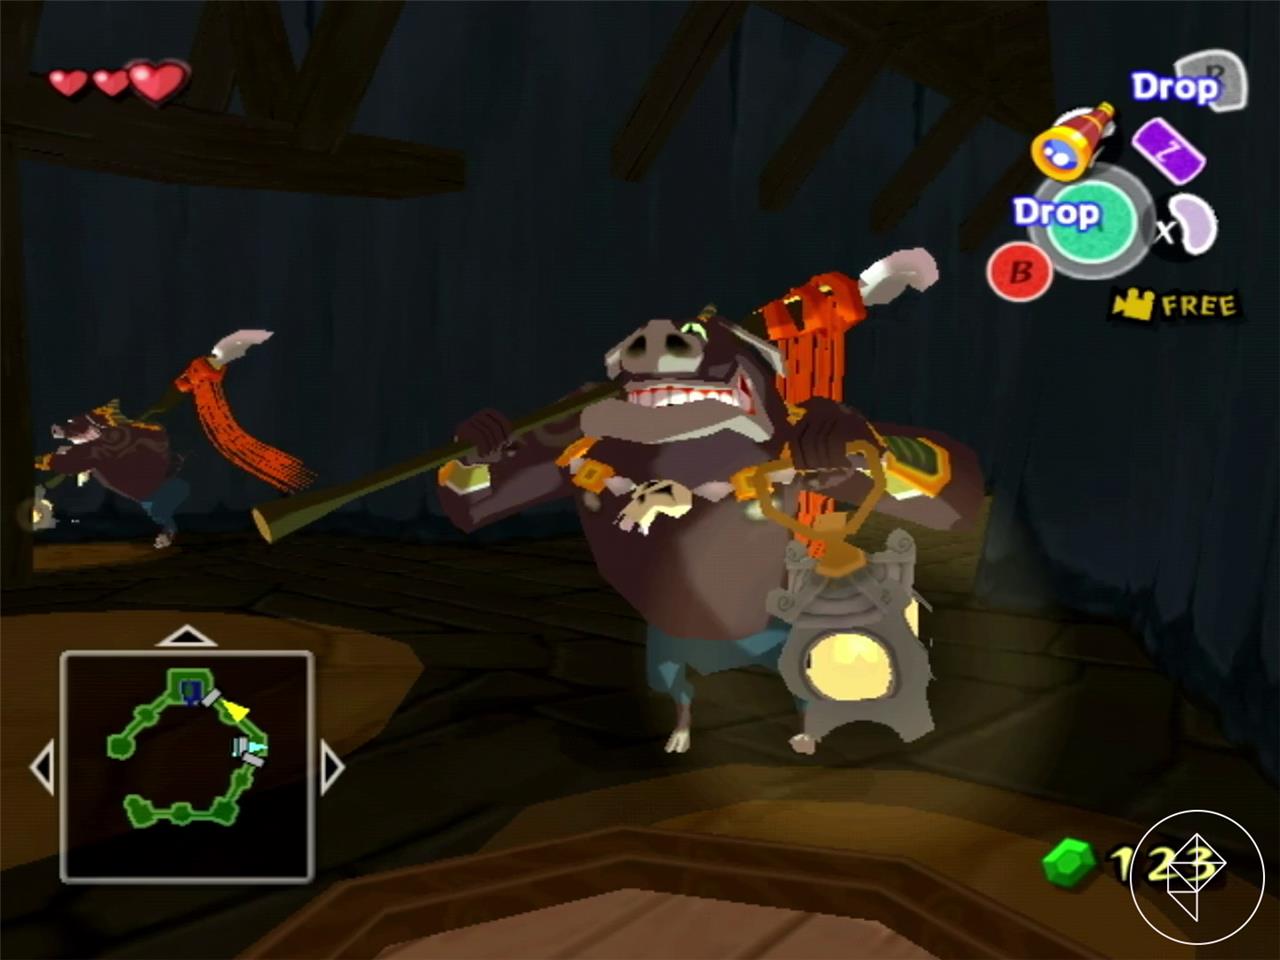
Keep following the path upwards, ignoring the hallway that allows you to go indoors. You’ll see a ladder leading up to the first set of spotlights at the top. Head up there and be prepared to take out a bokoblin.
As instructed by Tetra, you’ll want to use your shield to block the Bokoblins attacks, which will eventually make them drop their weapon. Then you can pick it up and use it against them. There will also be a vase full of sticks nearby that you can wield. (Break the vase open and use one of the many sticks to take out the Bokoblin.) After doing this, your first spotlight will be taken care of.
Forsaken Fortress spotlight #2
Returning to the Forsaken Fortress in The Legend of Zelda: The Wind Waker marks a significant shift in the gameplay, as Link is now equipped with the Master Sword and no longer needs to sneak through the fortress. The fortress is teeming with new challenges, including dangerous searchlights, miniblin enemies that spawn endlessly, and navigating through collapsed sections with the help of tools like the Skull Hammer and Deku Leaf. This phase culminates in battles against formidable foes such as Phantom Ganon and the Helmaroc King, emphasizing both combat skills and strategic movement. The return to the fortress is a critical part of the storyline, setting the stage for the confrontation with Ganondorf and advancing Link’s quest to save his sister and the kingdom.
For the second spotlight, you’ll want to strategically drop on to a ledge from the above spotlight. Here’s a redux of the image above but with a new location in mind:
Drop down to those huge doors and head inside. Once you’re inside, you’ll be chased down by lasers, so quickly roll forward to open a chest with a yellow rupee (worth 10 rupees) inside.
Climb up the beds on the left side of the room using the ladders and head into the door on your right (though don’t jump across the platform).
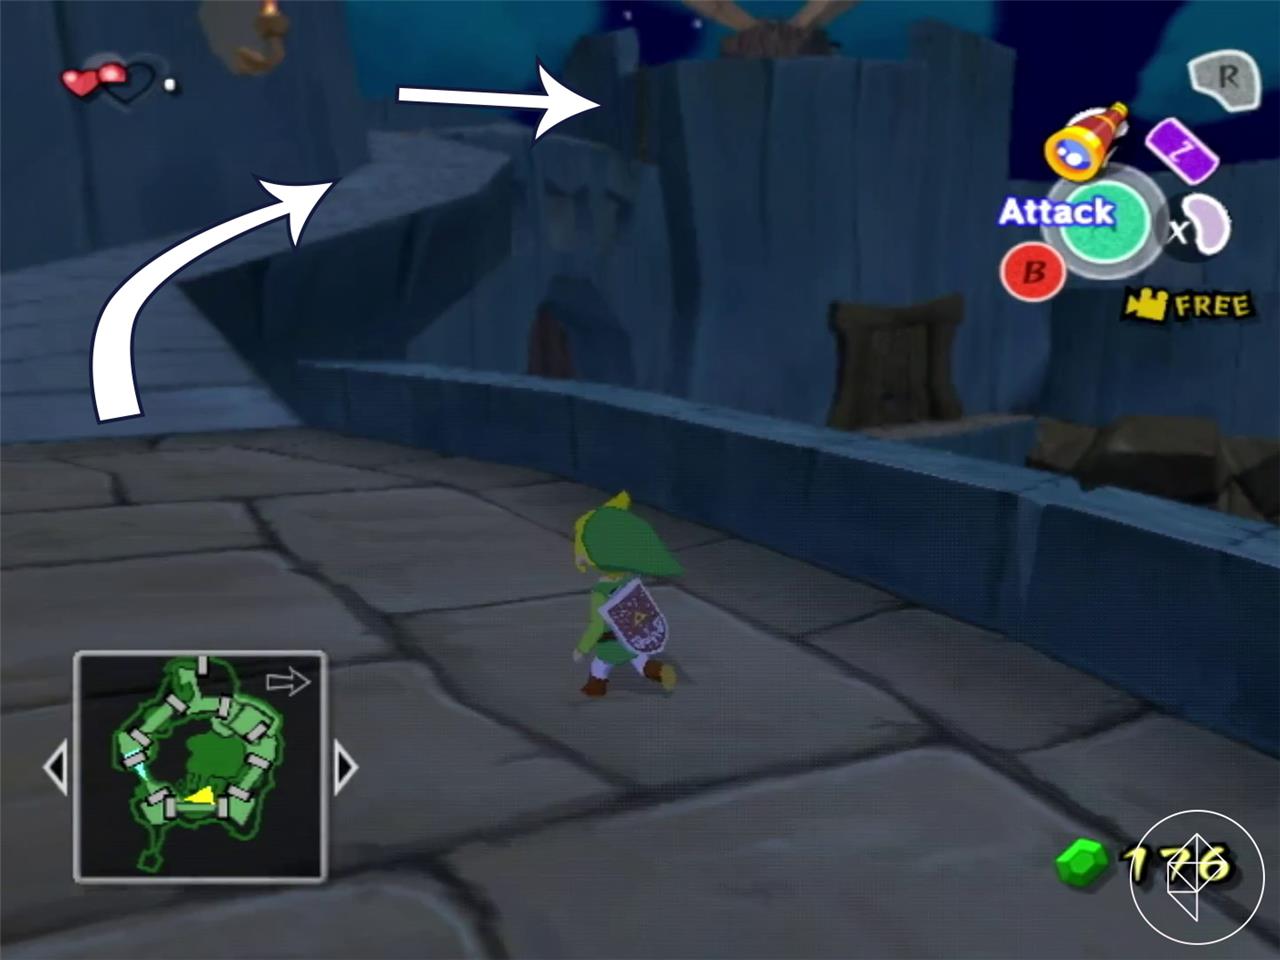
You’ll now be back outside in one of the outdoor hallways. Head out of the opening on the right side and climb up the ladder to get to the second spotlight.
You know the drill: block the attacks, pick up the enemy’s stick, and beat them down with it.
At this point, we recommend getting caught by enemies and thrown into jail. You can do this quickly by either getting caught by a spotlight or going into the big doors at the flat area (the ones we initially told you to ignore), and running into a moblin, who will take you away to jail. Most of the indoor hallways of this area have these moblins around, so it shouldn’t take too long to get thrown into prison.
Forsaken Fortress spotlight #3
In the third spotlight section of the Forsaken Fortress in The Legend of Zelda: The Wind Waker, players must navigate the heavily guarded area with careful stealth and timing. After disabling the previous searchlights, you will approach the final spotlight tower. Use barrels to hide and avoid detection by the guards. Once at the tower, climb up and confront the guard operating the searchlight; defeating him will turn off the last spotlight, allowing you safer passage through the fortress. Progressing beyond this point leads to reclaiming your sword and advancing deeper into the fortress to face greater challenges.
Now that you’re in jail, you’ll have a pretty straight shot to the remainder of the spotlights and the final area of the Forsaken Fortress with no need to find ladders and get confused.
From jail, jump up on the table and then the bookshelf. Break open the vase to show an exit. (Wow, classic Zelda move.) Crouch down using R and crawl through the hole.
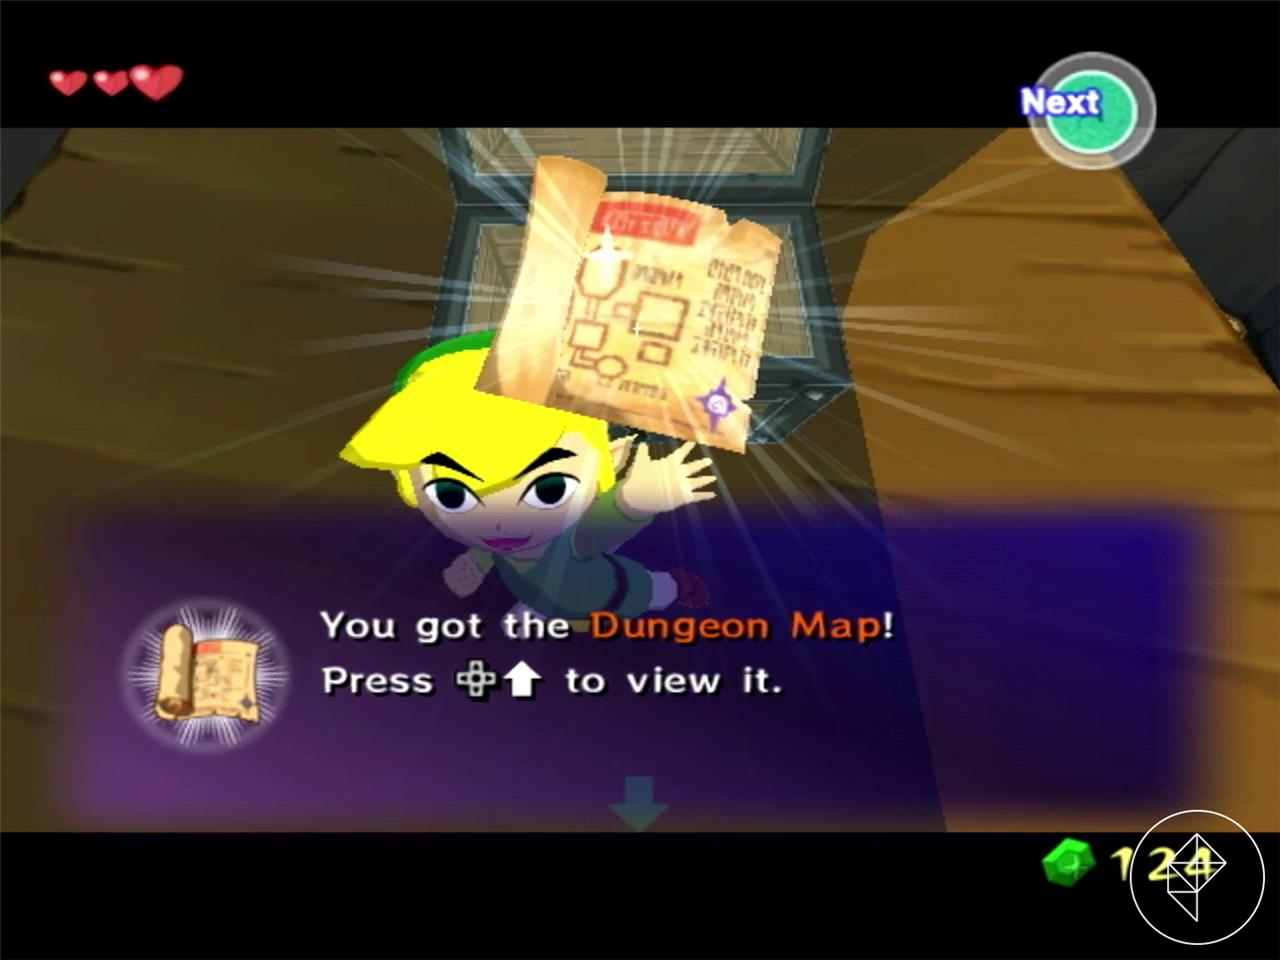
Head down the only open path and you’ll find a chest with the dungeon map inside. Yay!
Use the skills you learned on the pirate ship to jump on to the nearby hanging lantern and swing across. Enter the door on the right and run straight – you already got the two spotlights outside, so you can just keep going.
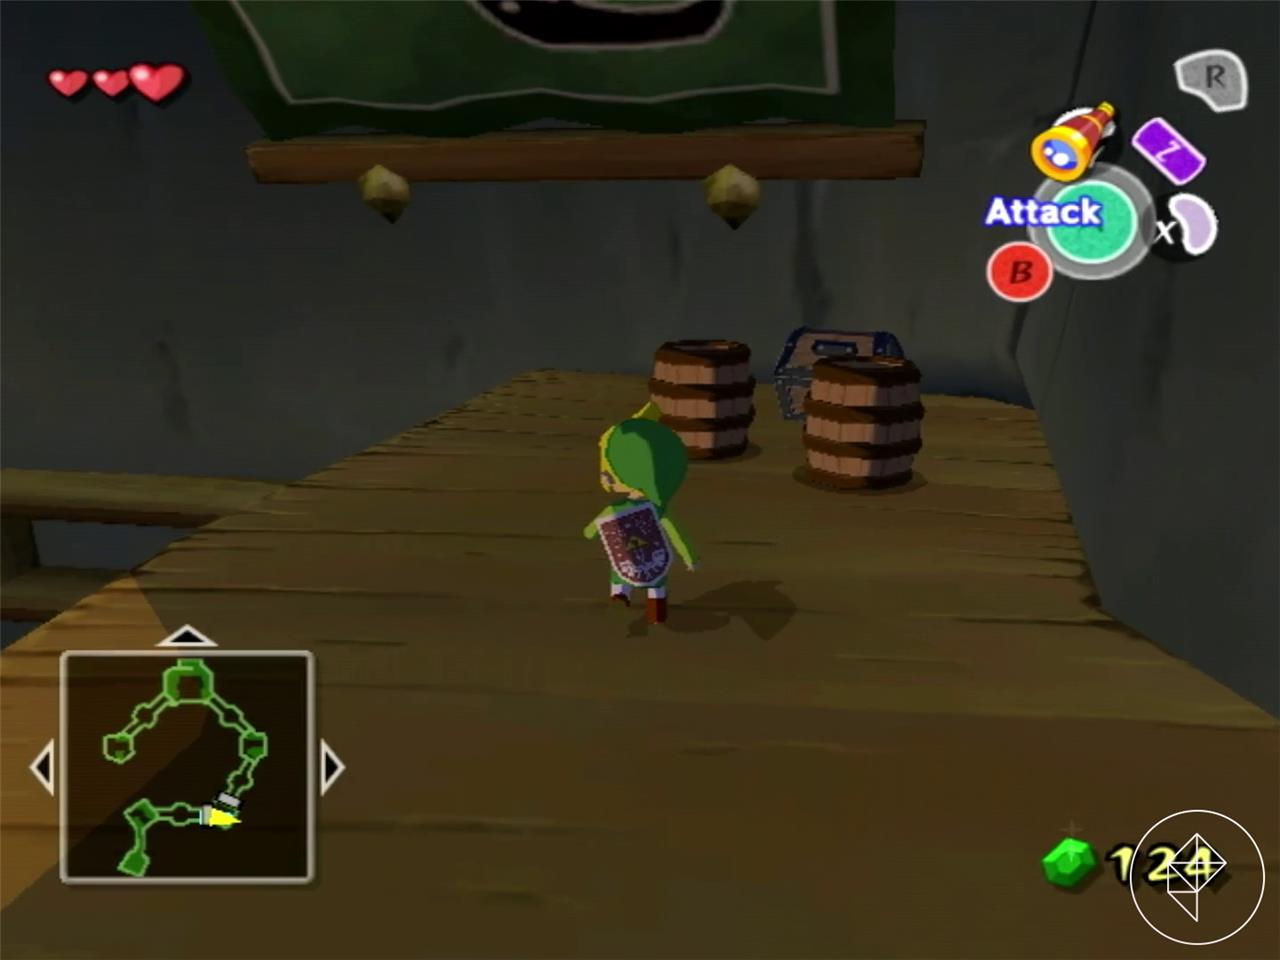
In this room, there’s a chest behind some barrels straight ahead. Crack that open to get the compass.
Jump using the lantern to swing across the way and enter the door. You’ll be outside again!
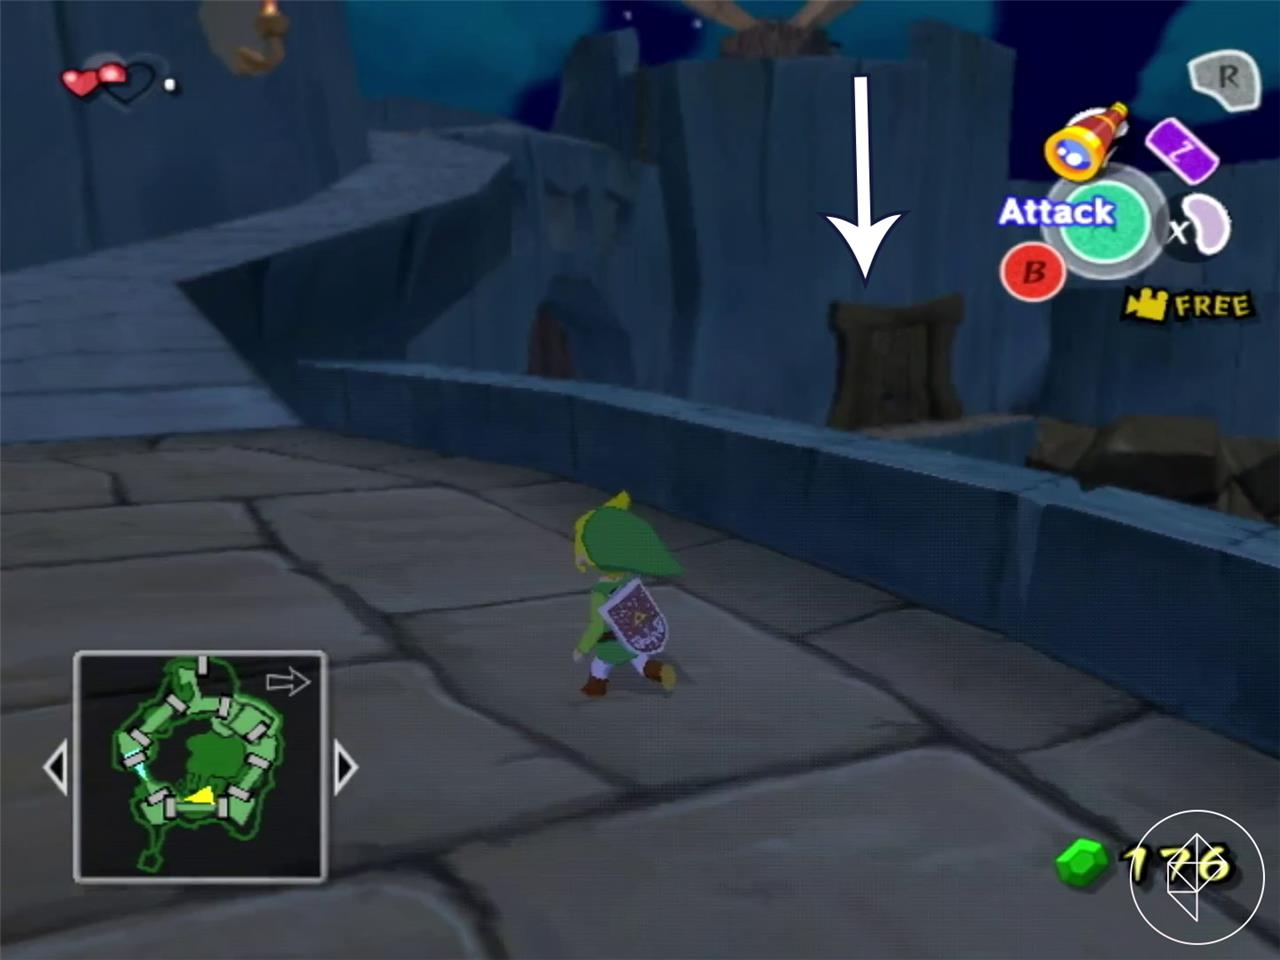
Turn left to the opening in the outdoor hallway and walk up the ramped path to get to your third spotlight. There will be another ladder with a gap between the ladder and the floor that you can ignore for now.
Yep, yep. Climb up that latter, smack down the bokoblin using its own weapon and now the third spotlight will be deactivated.
Once you’re done here, jump back down to the outdoor hallway you came from and keep heading north back inside.
Climbing the Forsaken Fortress
The climb through Forsaken Fortress is all about stealth, patience, and smart navigation. After being catapulted into the fortress and losing your sword, you must sneak past Moblin guards using barrels for cover and avoid being spotted by vigilant spotlights patrolled by Bokoblins. Disabling these spotlights is essential-climb up the towers and use sticks or pots to deal with the sentries, making the journey through shadowy corridors much safer. Progress slowly toward the upper levels, collecting the Dungeon Map and Compass from hidden chests, and ultimately reclaim your sword just before the final confrontation, all while advancing toward your goal of rescuing Aryll from the fortress’s tower.
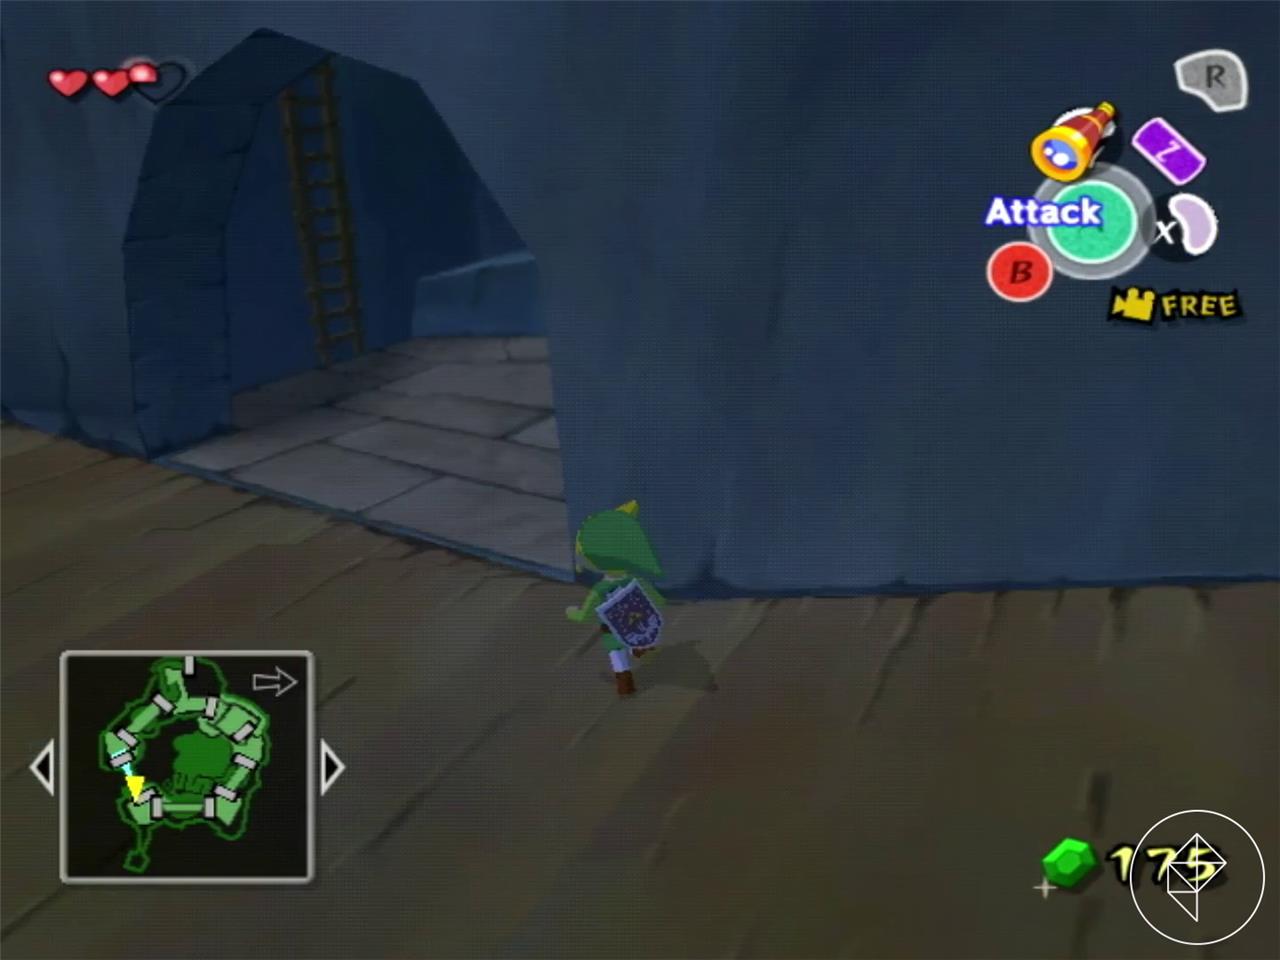
You should be back in yet another room that looks like the previous ones. As usual, swing across the gap with the hanging light and enter the door on the other side.
Turn left and push the crate down, which will give you a shortcut back to the starting flat area. If you wanted those red rupees from before but were too lazy to stealth through it, you can grab them now.
After grabbing the rupees (or not) just keep heading straight through the outdoor hallway you came out of. A short cutscene will play showing roaming moblins and a huge door.
With patience, you’ll need to use the barrel to the left of you to sneak by the moblins. Walk when their backs are turned towards you and stop moving when they’re looking at you. If they catch you, you’ll go back to jail, so you’ll want to be pretty careful here.
Once you’re by the door, you can take the barrel off and head through. You’ll be back outside. Climb up the stairs and use the barrel directly at the top of the stairs to pass another moblin that’s sniffing around. Once you get far enough from the moblin, take the barrel off and just run up the pathway.
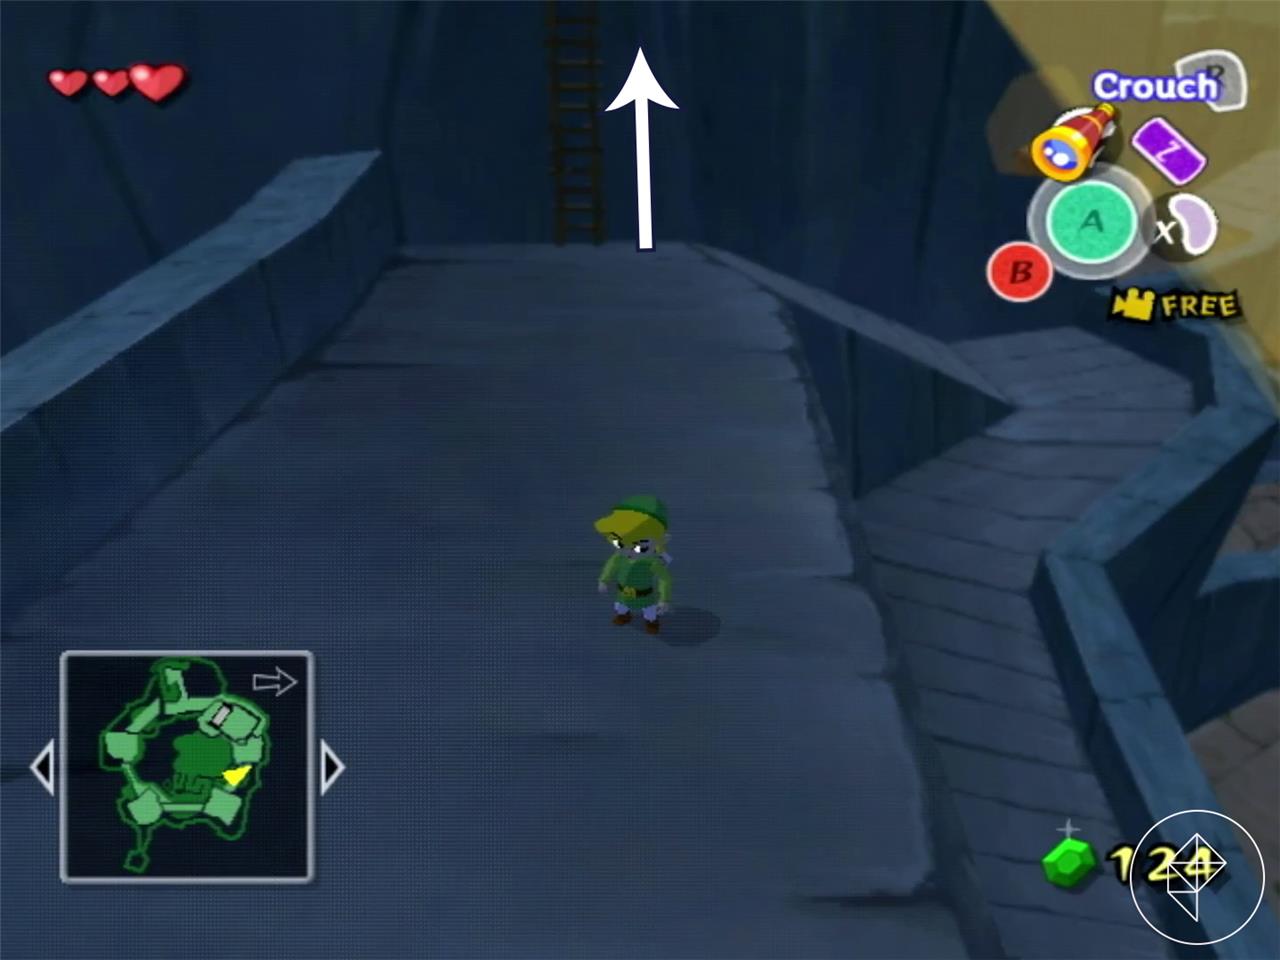
You’ll eventually hit this gap:
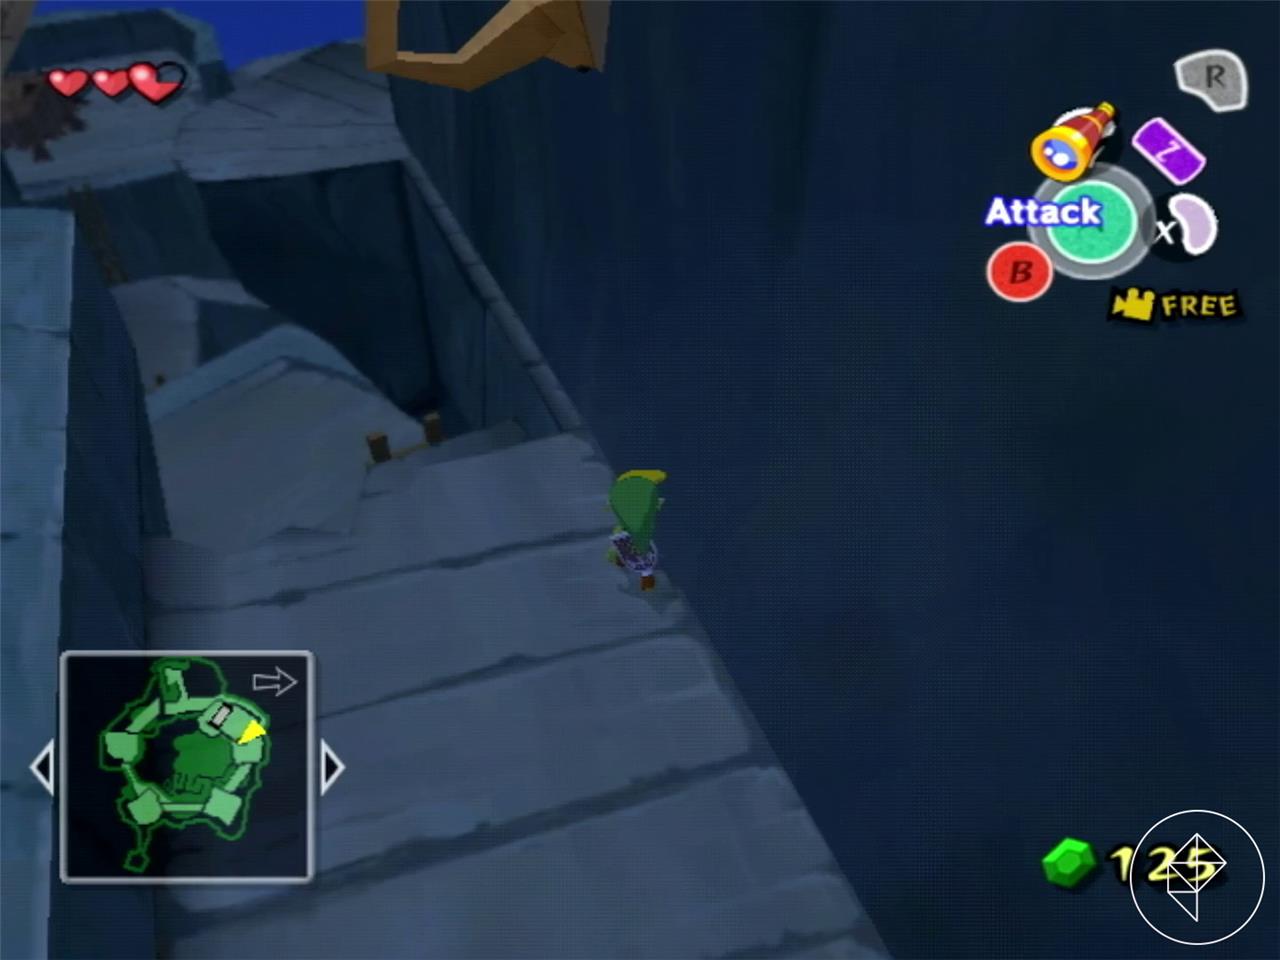
Jump down and push the crate down by the ladder to create another shortcut back up here. Climb the ladder back up to the gap. Face the wall and hold down A to sidle along the wall, carefully crossing the gap using the tiny ledge.
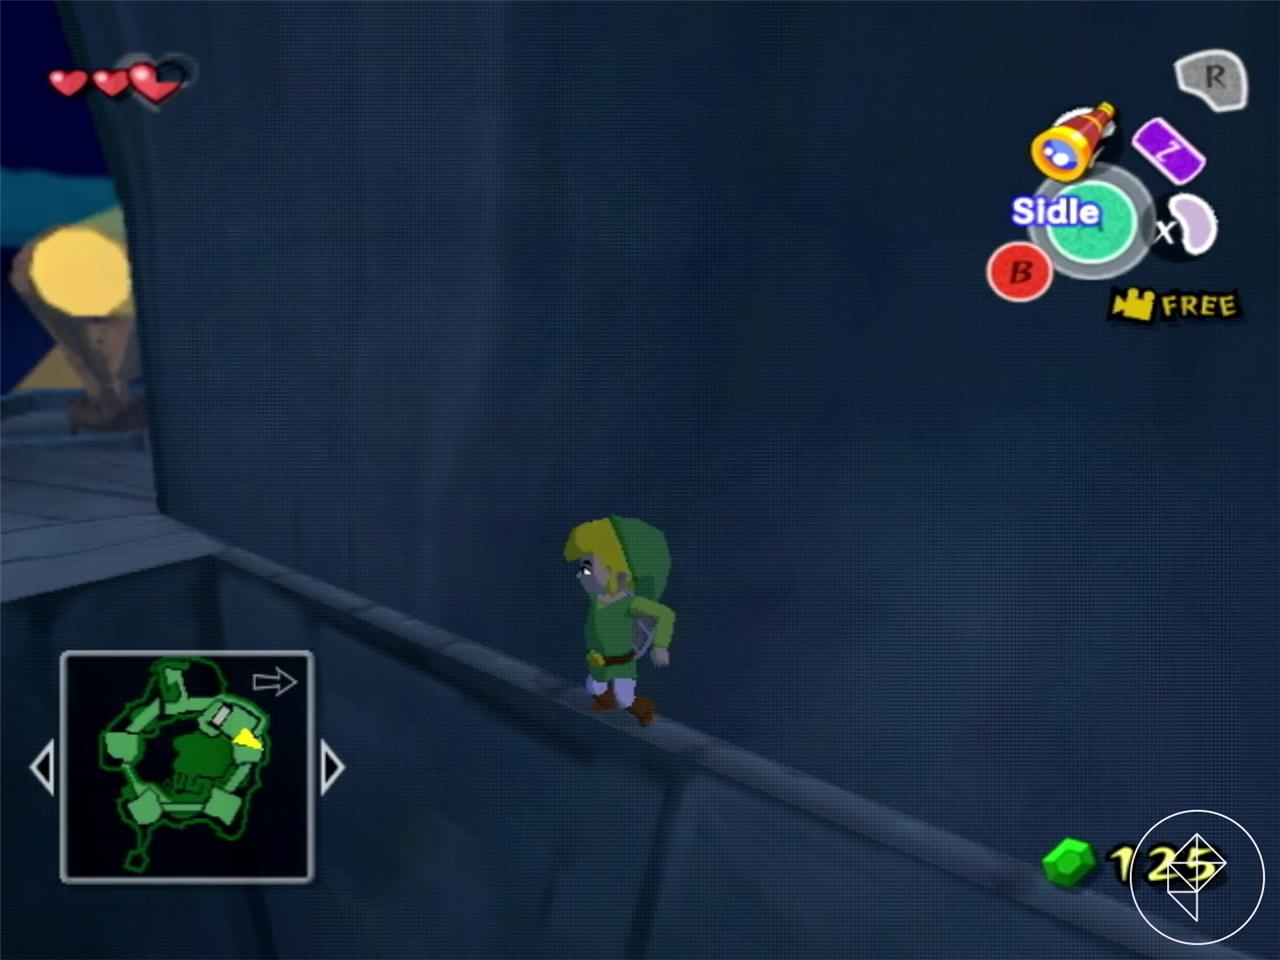
You’ll eventually hit another ledge with hearts on it. Sidle across the same as before. Head up the stairs and across the ominous holes in the ground to get your sword back – and fight a green moblin. With your sword in hand, it shouldn’t be too much of a problem. Take it out and head into the big doors for the finale to play.
What hidden secrets await inside the Forsaken Fortress in Zelda Wind Waker
Hidden Secrets Inside the Forsaken Fortress
Forsaken Fortress in The Legend of Zelda: The Wind Waker is packed with secrets and hidden treasures that reward exploration and clever thinking. Here’s what awaits inside:
-
Secret Prison Tunnel: If you get caught by the Moblin guards, you’ll be thrown into a prison cell. Jump onto the table, leap to a shelf, and break a pot to reveal a hidden crawlspace. This secret tunnel leads you to a chest containing the Dungeon Map.
-
Hidden Compass: In one of the rooms above the east entrance, you’ll find a treasure chest with the Compass. Use the hanging lamp to swing across a gap and reach it.
-
Piece of Heart: There’s a Piece of Heart hidden behind barrels in a cell. Step on a concealed switch to open the door and claim your reward.
-
Rupee Stashes: Red and yellow rupees are scattered throughout the fortress, some guarded by Moblins or hidden in tricky spots. Use barrels for stealth to grab them safely.
-
Shortcuts and Crates: Push blocks and crates to create shortcuts, making it easier to navigate or return to earlier areas.
-
Spotlight Towers: Disabling the three searchlights not only makes sneaking easier but also rewards you with sticks and sometimes rupees after defeating Bokoblins.
-
Return Visit Secrets: On your second visit, you’ll have your sword and more freedom to explore, allowing you to discover missed treasures and shortcuts. Some routes can be bypassed or accessed differently with new items like the Skull Hammer or Deku Leaf.
While the fortress is designed around stealth, exploration and a willingness to get caught can reveal its hidden paths, treasures, and shortcuts-making each trip through its shadowy corridors a little more rewarding.
What secret tunnels and hidden items are revealed in Forsaken Fortress
Secret Tunnels and Hidden Items in Forsaken Fortress
Forsaken Fortress is filled with secret passages and hidden treasures that reward careful exploration and stealth. Here are the key tunnels and items you can discover:
-
Prison Cell Tunnel: If you get caught by Moblin guards, you’ll be thrown into a prison cell. To escape, jump onto the table, leap to the shelf, and break the pot to reveal a secret crawlspace. Crawling through this tunnel leads you to a chest containing the Dungeon Map.
-
Compass Room: After escaping the cell, you’ll find yourself in a room with two torches and a hanging oil lamp. Use the rope to swing across the gap and open the treasure chest to obtain the Compass.
-
Shortcuts with Crates: Throughout the fortress, you can push blocks or crates to create shortcuts. For example, pushing a crate under a ladder allows easier access to higher floors, making backtracking and exploration more efficient.
-
Hidden Rupees and Chests: Several rooms and corridors hide rupees and treasure chests. For example, there’s a chest with a yellow rupee in a room guarded by a watcher statue that shoots at you as you cross. Sneak behind barrels and beds to find these rewards.
-
Barrel Stealth: Barrels are scattered throughout the fortress and can be used to sneak past guards and reach hidden areas without being detected.
-
Piece of Heart: There is a hidden Piece of Heart in the fortress, often missed on the first visit. It can be accessed by exploring thoroughly or returning later with more items.
-
Spotlight Towers: Disabling the three spotlights not only makes sneaking easier but also opens up new paths and sometimes yields extra items after defeating Bokoblins.
These secrets encourage players to use stealth, observation, and creative problem-solving to fully explore the Forsaken Fortress and collect all its hidden treasures.