Hidden beneath the rocky cliffs of the Gerudo Highlands, the Karahatag Shrine challenges players with shifting platforms and precise timing puzzles. This guide explains how to reach its secluded entrance and clear every obstacle inside to claim the hidden reward.
Karahatag Shrine location
Karahatag Shrine is situated in the Gerudo Highlands at coordinates (-3725, -3620, 0043). The shrine lies near Mount Agaat, slightly southeast of the Gerudo Canyon Skyview Tower, making it easier to spot from higher ground. Players can glide toward it from the tower or follow the rocky paths leading through the snowy terrain. Cold-resistant gear or meals are recommended, as the area’s temperature drops significantly at night.
Karahatag Shrine is in the Gerudo Valley region at the Southern Oasis to the south of Gerudo Town. The exact coordinates are (-3726, -3625, 0043).
Karahatag Shrine walkthrough
The Karahatag Shrine puzzle focuses on precise timing and creative use of Recall and Ultrahand. Begin by manipulating the moving platforms to reach higher levels, then use Recall to retrace their paths and carry you across. Activate switches to raise barriers and position metal blocks for safe passage. The final section requires combining both abilities to align platforms at just the right moment to access the chest and the exit.
Karahatag Shrine and its puzzles force you to get a little creative in your use of both Ultrahand and Recall.
Before we start, a note on naming. After much internal debate, we settled on the name fire pillar for the stationary lamp-like pillars in this shrine. The game refers to the ones you can pick up (which look a little different) as candles. Those are both different from the torch that you can pick up as a weapon.
1. As you enter Karahatag Shrine, grab the torch from the floor next to the lit fire pillar, and light it.
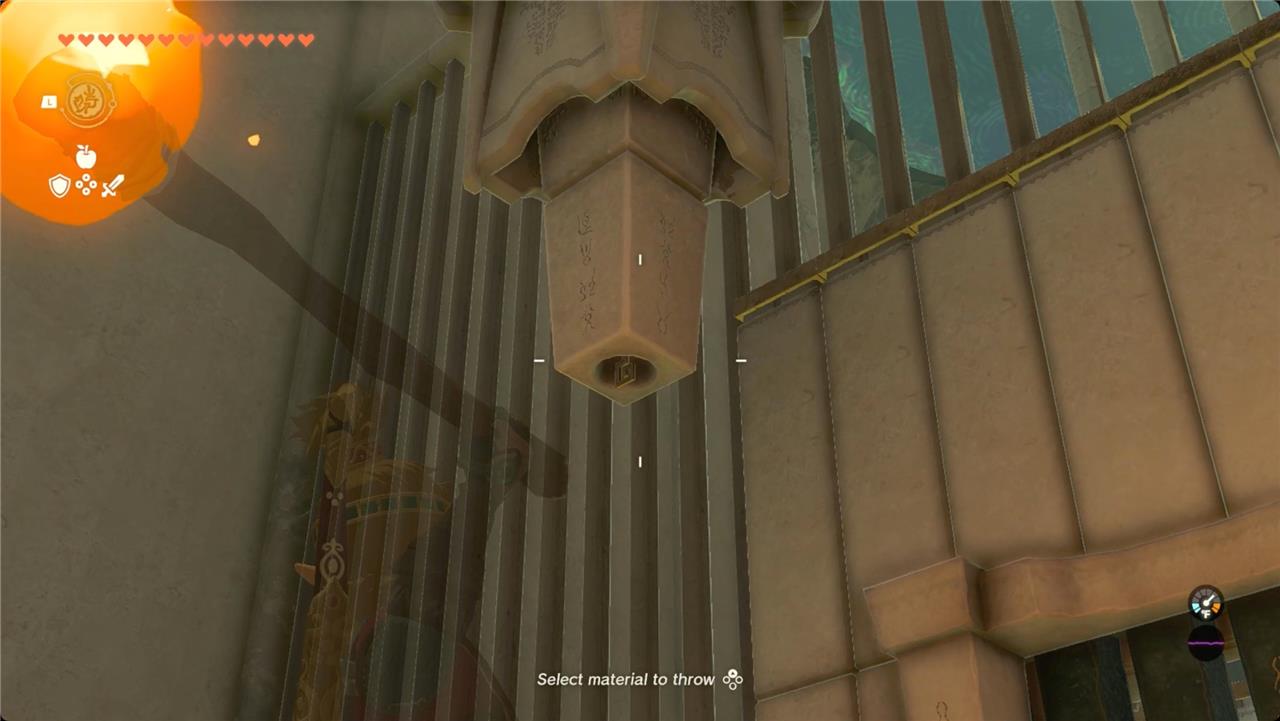
2. Back up a little, and look up and to the left. There’s an upside-down, unlit fire pillar hanging from the ceiling.
3. Hold down R and throw the lit torch at the fire pillar to light it and open the gate.
4. Through the gate, ignore the switch for now. There’s a platform ahead of you with three white tiles on it and three hanging pillars above them. There’s also a walkway with a lit candle on it over to the right.
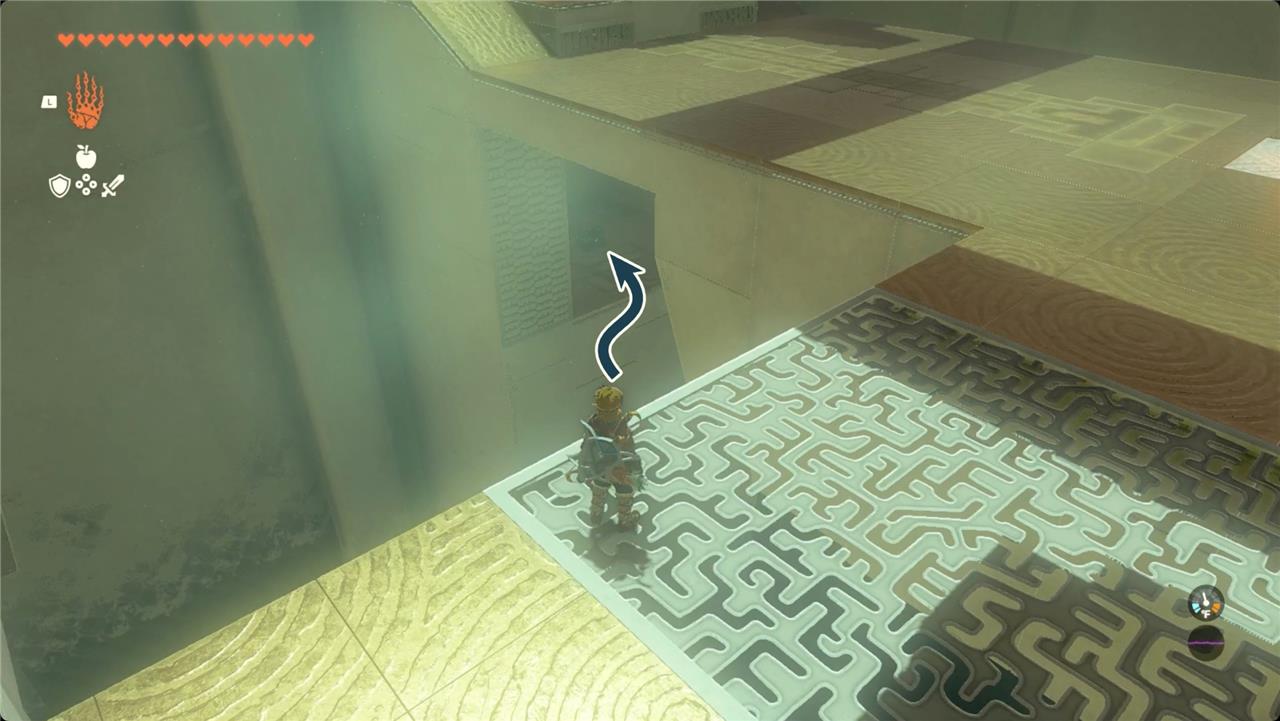
5. Before you do anything else, walk around the corner and stand by the candle. Look to the right and under where you just entered.
6. Paraglide down to the alcove below you to find a chest with a mighty Construct bow.
7. Use Ascend to get back to the platform above you.
8. Go pick up the candle and carry it back to one of the white tiles.
9. Use Ultrahand to lift the candle straight up and into the pillar above it. Hold it there for a second.
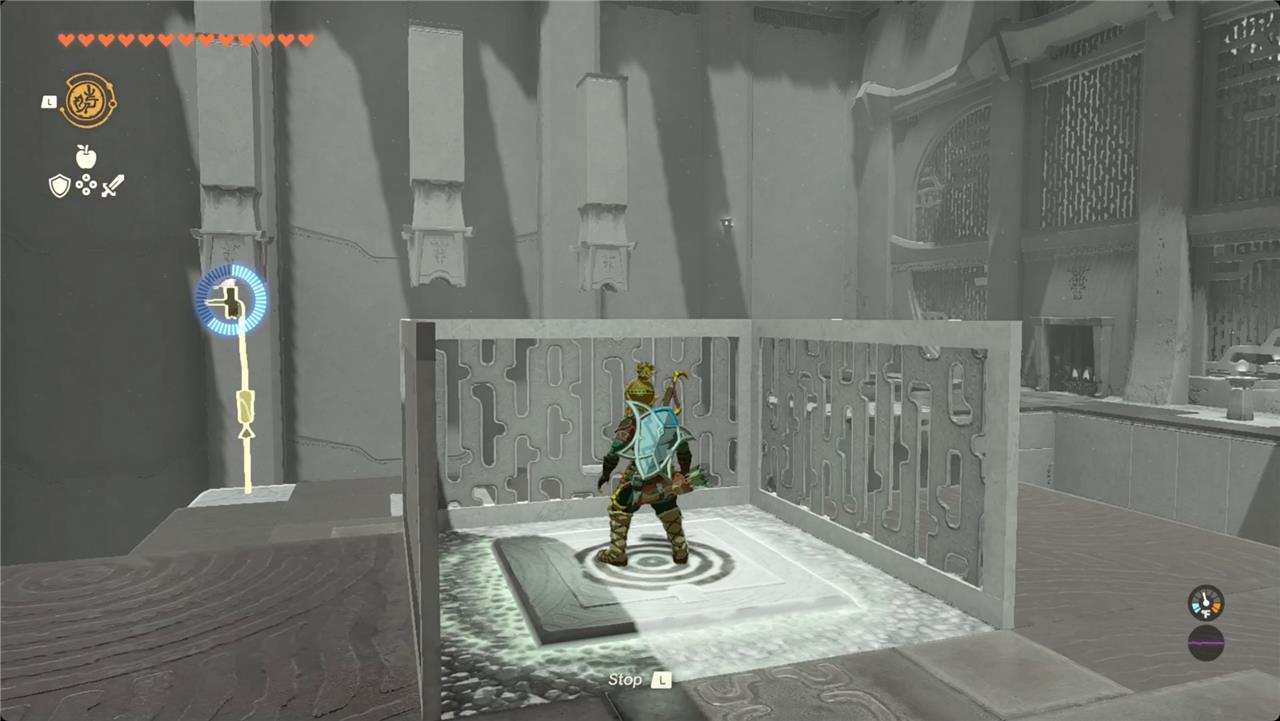
10. Hit the candle with Recall and then sprint back to the switch.
11. The switch lowers the platform, but it also lowers three upside-down fire pillars from above. With Recall running on the candle, it will (eventually) rise up to light the fire pillar.
What treasure is in Karahatag Shrine chest
The treasure chest in Karahatag Shrine contains a Construct Bow. Its level varies depending on the player’s world progression in The Legend of Zelda: Tears of the Kingdom-for example, it may be a basic Construct Bow early on or a Mighty Construct Bow at higher levels.
Chest Location
The chest sits in an alcove directly beneath the floor switch in the shrine’s second room. Paraglide down from the walkway near the lit torch or drop after activating the switch to reach it, then use Ascend to return.
Accessing Tips
Open it early, before lighting the three upside-down torches, as the puzzle focuses on flame mechanics with Ultrahand and Recall. No additional items are needed beyond basic abilities.
How to solve Karahatag Shrine puzzles
Karahatag Shrine, known as “Drifting Flame,” requires Ultrahand and Recall to solve its fire-based puzzles in The Legend of Zelda: Tears of the Kingdom. Enter via the Southern Oasis in Gerudo Desert, light the initial torch from the pyre, and throw it into the ceiling hole to open the first gate.
First Puzzle
Climb the ladder to the main room with a floor switch and three hanging pillars. Ignore the switch initially, head right to the lit flame, then paraglide below the entrance platform to grab the chest with a Construct Bow (level varies by progression).
Main Flame Puzzle
Carry the lit torch (using Ultrahand) to each white square under the pillars, positioning it midway up so flames align when the switch lowers them. Place it down, step on the switch, and immediately use Recall-the torch reverses its path, drifting upward to light each upside-down torch one by one.
Completion
Light all three torches to open the final gate and claim a Light of Blessing. Torches stay lit even after retracting, so tackle one at a time if needed.