Dive into the vibrant, blocky world of LEGO Fortnite Odyssey, where survival meets creativity across sprawling biomes filled with hidden caves, fierce enemies, and endless crafting possibilities. Whether you’re on Nintendo, PC, PlayStation, or Xbox, this progression walkthrough will guide you from your first campfire to summoning the legendary Storm King, mastering advanced building techniques, and conquering the endgame challenges that await in this epic open-world adventure.
Below, we list out the full progression as a walkthrough for Lego Fortnite. We don’t detail steps that are optional, like cooking up special recipes, but we do outline all the steps to fully upgrade your villages and crafting benches, all the way to Lego Fortnite’s endgame.
Phase 1: Making your first village with wood and granite
To make your first village in LEGO Fortnite Odyssey, start by gathering essential resources like Wood and Granite, which are crucial for constructing the Village Square-the heart of your village. Begin by building basic structures such as a campfire, crafting bench, and a simple shelter to establish your base. Once the Village Square is placed, it allows you to upgrade your village, attract villagers, and unlock new crafting recipes. Position your village near abundant resources like wood and granite to make gathering easier, and focus on crafting basic tools such as the Common Forest Axe and Pickaxe to efficiently collect materials. This initial phase sets the foundation for survival and growth in the game, enabling you to expand and upgrade your village further.
This beginning phase will have you starting your village out just by collecting wood and granite from trees and rocks from around the world.
Start your village
It may be tempting to plunk your village square (10 wood and 10 granite) down anywhere right away, but we recommend finding different biomes (desert and snowy) and putting your village in the grasslands between them. If you don’t want to end up rebuilding your village later on, you’ll want all your resources relatively close by.
Build some stuff – including a crafting bench
Build houses, shacks – whatever you want. Keep building until your village is ready for an upgrade. Get used to the idea of building new things, as you’ll need to continuously do that to rank up your village, even if we’re not explicitly saying to build more in this guide.
Make sure you also make a crafting bench (three wood and five granite).
Make some common tools
You’ll want a forest axe and pickaxe as you set out to collect more materials. These will let you cut down bigger trees and rocks, so you don’t just have to punch small trees and pick up loose stones.
Upgrade your village to rank 2
Use 15 wood and 15 granite to upgrade your village.
Get a lumber mill going
Build a lumber mill (eight wood and 15 granite) and keep it going with wood to make planks. Don’t turn all your wood into planks, but keep a decent supply on hand. You may want to build multiple eventually, but you are likely good with one for now.

Explore around and take down enemies
Run around the grasslands to find rollers and wolves. You’ll need shells from rollers right way, but store any claws you get from wolves for now.
Upgrade your crafting bench to uncommon
Use your newly supplied planks to upgrade your crafting bench so it’s uncommon (green). You’ll need eight planks and three shells (from rollers, as mentioned above).
Upgrade your village to rank 3
Now that you have planks, you can also upgrade your village to rank three, using 10 planks and 20 granite.
Build a spinning wheel to process wool and web
You’ll need eight plank, five wooden rods, five wood, and five wolf claws to build a spinning wheel, but you’ll need to do so to make some equips.
Make totems and charms at your crafting bench, as well as a new axe
Make the best totems that you can using the materials from the wheel. Make some health charms as well as temperature charms, if you can. Keep up with your totems and charms as you progress, too.
Make an uncommon forest axe (green) from three bones and three wooden rods while you’re at it.
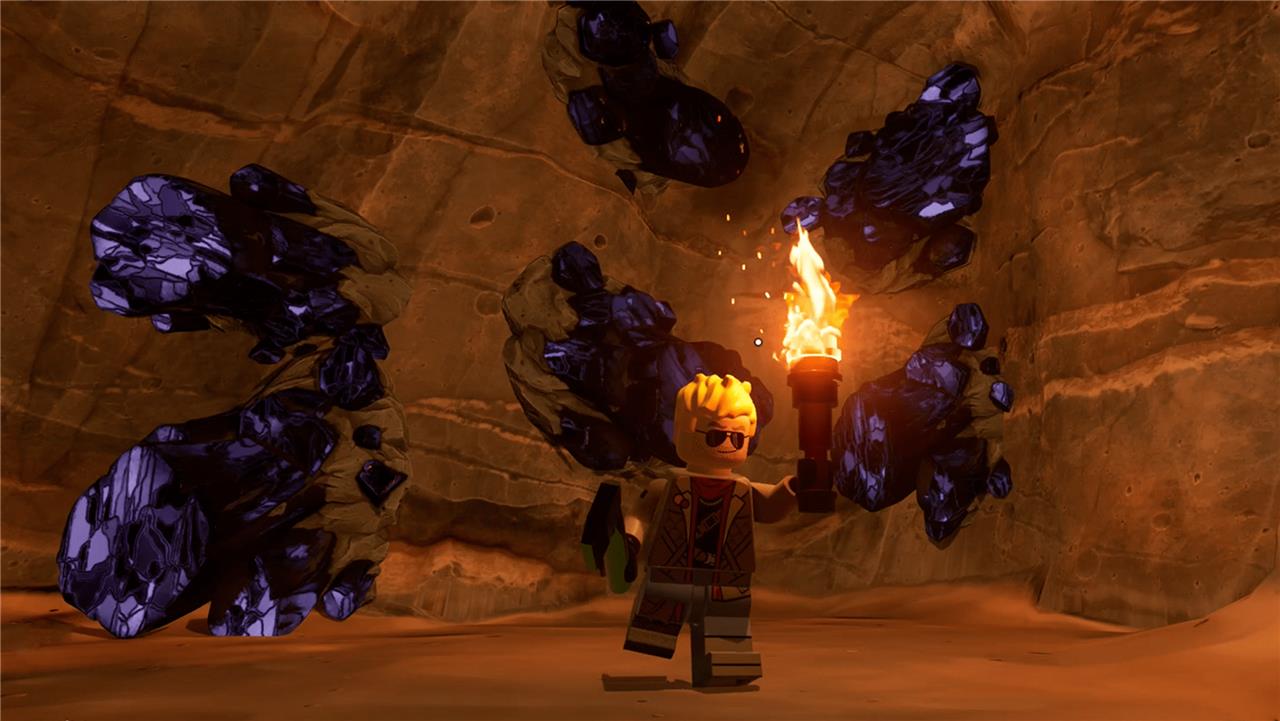
Phase 2: Exploring caves for marble and knotroot
In Phase 2 of LEGO Fortnite Odyssey progression, players venture into grassland caves to gather essential materials like Marble and Knotroot. These caves are typically dark and filled with enemies such as Skeletons, Rock Rollers, and Spiders, so bringing torches, good weapons, and healing items is crucial. Knotroot, found as gnarled roots inside the caves, is harvested with an Uncommon Forest Axe and is vital for crafting an Uncommon Pickaxe, which in turn allows mining Marble-a stronger and more valuable resource than Granite. Collecting Marble and Knotroot unlocks new crafting recipes for powerful tools, weapons, and village upgrades, making cave exploration a key step toward advancing in the game.
For this phase, you’ll need to make use of the materials found in grassland caves. You’ll need to do a lot of spelunking to get enough materials to make all the necessary upgrades.
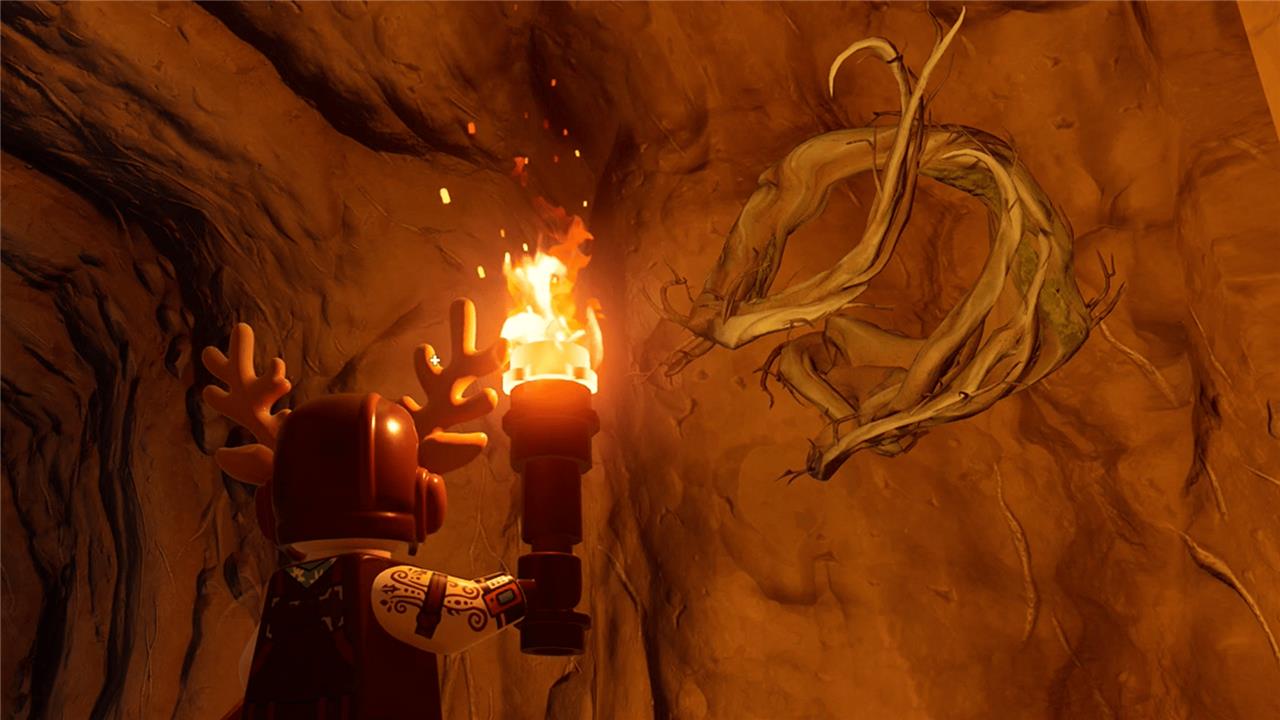
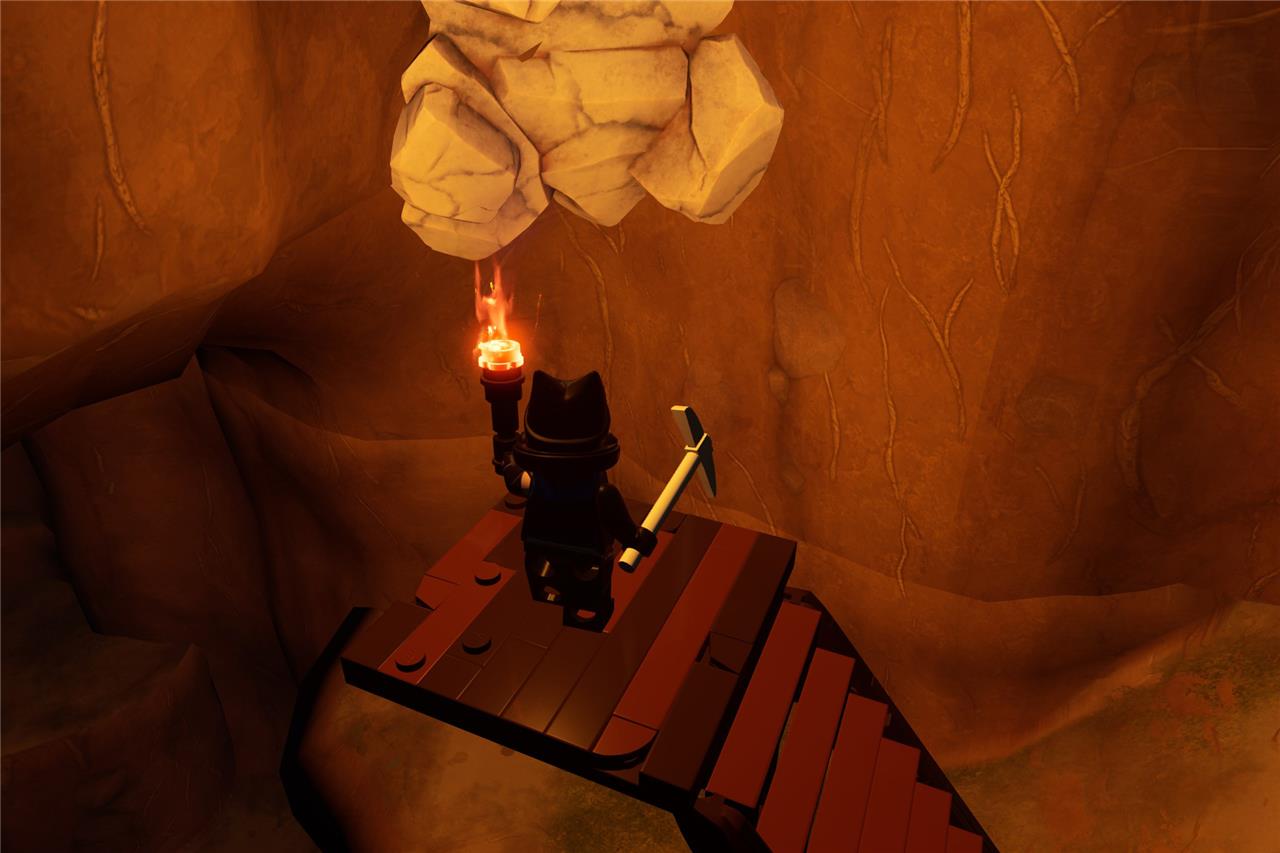
Find a cave in the grasslands for marble and knotroot
Take your uncommon forest axe and seek out a cave in the grasslands and head inside. Make sure you’ve built yourself a sword at your crafting bench. Ignore the marble for now, as your pickaxe isn’t going to be strong enough to mine it. Grab a ton of knotroot from the inside of the caves.
Upgrade your village to rank 4
Since you have knotwood, you can upgrade your village again using 10 knotroot, 15 planks, and 25 granite.
Put knotroot into your lumber mill, too
Yep, time to process some knotroot. Again, you don’t need to process it all, but you should keep some on you.
Make new tools using knotroot
Using knotroot, you should be able to make an uncommon pickaxe at your crafting bench from three knotroot rods and three bones.
Go get that marble finally
Using your new uncommon pickaxe, head back to a cave and bring back tons of marble.
Upgrade your village to rank 5
You should now be able to upgrade your village again using 15 knotroot, 20 planks, and 15 marble.
Make a stone breaker and start processing stones
Use 20 knotroot and 35 marble to make a stone breaker. You already know the drill: keep it going but don’t process everything into slabs.
Upgrade your village to rank 6
Get some granite slabs using your stone breaker and upgrade your village to rank six using 20 knotroot and 20 granite slabs.
Head out to a beach or desert biome to hunt sand monsters
Hopefully you heeded our early advice and set up camp that isn’t too far from a desert biome. Head to one and start taking down the monsters there. Sand rollers and sand wolves will drop sand shells and sand claws, respectively. Note that sand wolves only spawn at night and they will despawn once the sun starts to rise.
Upgrade your village to rank 7
Using 20 knotroot rods and 20 marble slabs, upgrade your village square again! You can technically do this before your crafting bench, if you want.
Phase 3: Exploring the desert for amber and flexwood
Phase 3 of the LEGO Fortnite Odyssey progression involves exploring the desert biome, known as Dry Valley, to gather crucial materials like amber and flexwood. Amber can be mined using an uncommon pickaxe, while flexwood requires a rare axe to harvest from cactuses. To obtain these tools, players must upgrade their crafting bench by collecting resources such as planks and root rods. This phase challenges players to navigate the harsh desert environment, manage heat effects, and defeat desert-specific enemies, all while securing these valuable materials needed for advanced crafting and progression toward the endgame.
This phase focuses more on material you get from desert biomes. You’ll need flexwood from desert caves and amber from the cliffs to progress. Note that you may experience mild temperature issues in the desert, but you can largely ignore it and heal by eating food.
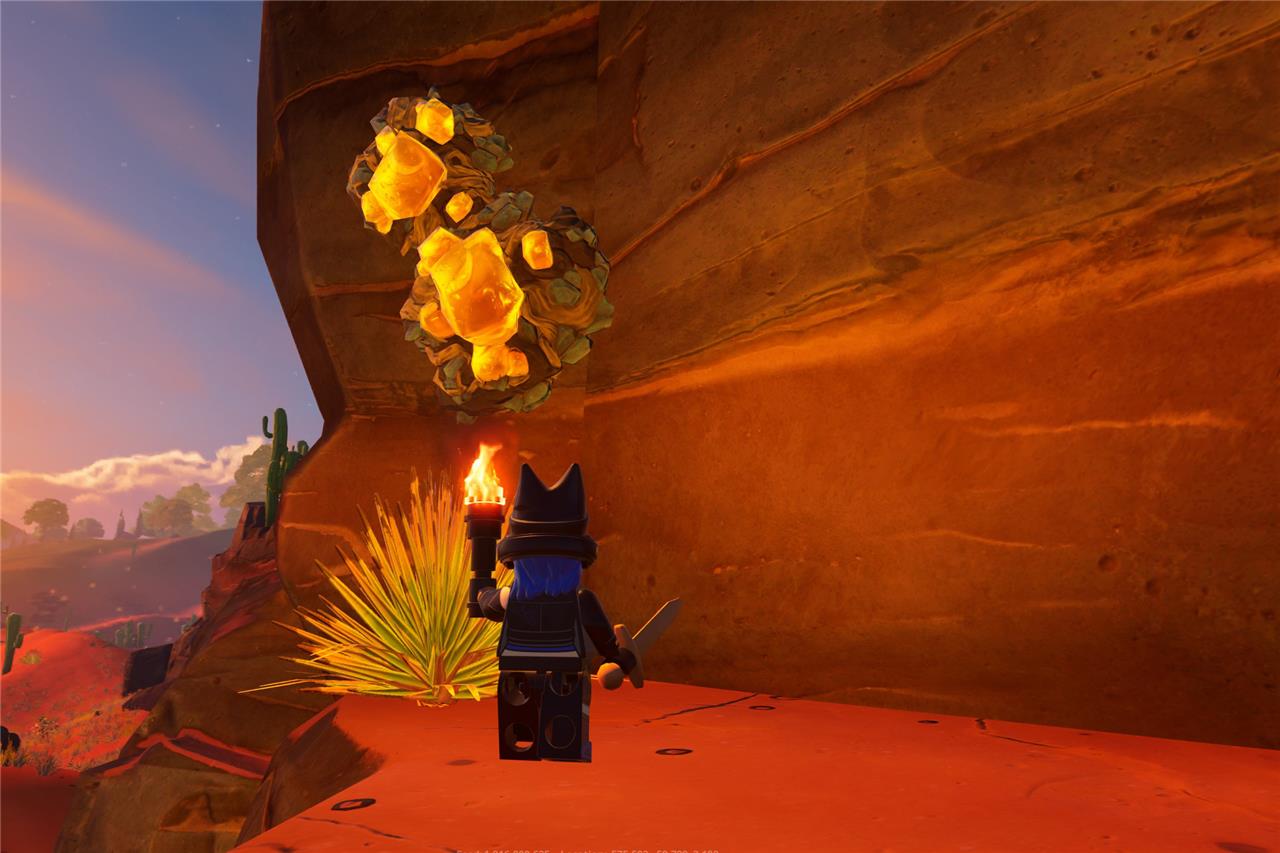
Head to the desert to collect rough amber
The amber will be at the top of these tall cliffs, so bring wood to make stairs to help you get up there. Your uncommon pickaxe will be enough to crack the amber. Bring back as much amber as you can, as you’ll need a lot of it.
Upgrade your crafting bench to rare (blue)
Using 12 knotroot rods, 15 marble slabs, six sand claws, and three sand shells, power up your crafting bench to get access to a new plethora of recipes.
Upgrade your village to 8
For this upgrade, you’ll need 30 marble slabs and 10 rough amber.
Make a gem cutter for cut amber
Using 20 marble slabs, five rough amber, five sand claws, and three sand shells, make a gem cutter, since you’ll need to use it to process your amber.
Make a rare forest axe (the brown axe with a blue background)
Using five cut amber and three knotroot rods, make yourself a fancier axe or two.
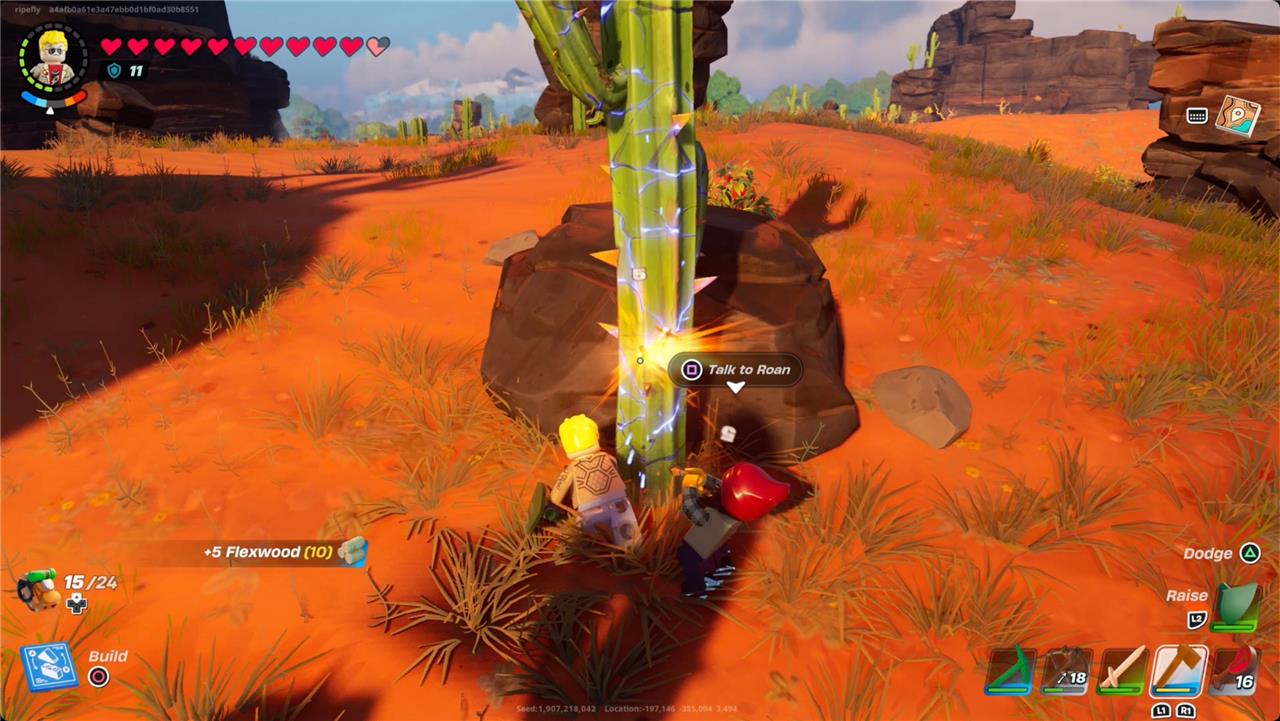
Head back to the desert to farm flexwood
Now that you have a rare axe, you can cut down flexwood, which comes from the cacti. As usual, bring back as much as you can.
Process the flexwood in your lumber mill
Yep, now that you have a new tier of lumber, make sure to keep some of it processed, as you’ll need flexwood rods for upgrades.
Build a loom to process thread and string
Using nine flexwood, eight flexwood rods, and six sand claws, make yourself a loom and start processing your string and thread to make fabrics.
Build a glider now that you have wool
Now we’re getting somewhere! Use six silk fabric, four wool fabric, and eight flexwood rods to make yourself a glider.
Phase 4: Exploring lava caves for obsidian, copper, and rubies
In Phase 4 of Lego Fortnite Odyssey, players venture into the lava caves located in the Dry Valley biome to mine valuable resources such as obsidian, copper, and rubies. These caves are challenging due to the intense heat and hostile enemies like Sand Spiders and Mine Skeletons, so equipping Cool-Headed Charms and carrying healing items like Snowberry Shakes is essential for survival. Obsidian is used for crafting obsidian slabs needed for the metal smelter, copper must be smelted into bars for advanced crafting, and rubies are crucial for enchanting weapons and creating the Inner Fire Charm, which grants resistance to heat. Players should also be cautious of explosive crab enemies that drop blast cores, another key crafting material. Proper preparation and careful exploration of these lava caves will enable players to gather the materials necessary for progressing toward the endgame.
You’re almost at the endgame, and this is when things can get tedious. Ultimately you should just focus on farming as much as you can from lava caves, which we detail below.
Craft a rare pickaxe
Using three flexwood rods and three sand claws, make a stronger pickaxe.
Head into desert caves to farm almost everything else
We mean everything else. There are smaller caves with some material and treasure inside, but ideally you want to find a bigger cave with lava, as this will have way more stuff to mine, including obsidian, ruby, copper, and brightcore. You can also take down enemies inside to get blast cores, which you’ll also need.
These caves will be hot, even if you have a heat resistance charm. You can stack heat-prevention charms for a better effect, if you have the materials to make a bunch of them. Bring lots of food and farm whatever you can.
Upgrade your village to rank 9 and 10
Using 15 flexwood, 15 obsidian, and 10 cut amber, upgrade your village again. If you have the material, shove your obsidian into the stone cutter and you can upgrade straight to village level 10, which is the max. You’ll need 15 flexwood rods, 30 obsidian slabs, and 20 cut amber.
Build a metal smelter
Using three blast cores, 35 obsidian slabs, and 15 brightcores, make yourself a smelter and start sticking copper in there.
Upgrade your crafting bench to epic
Using 15 copper bars, 25 obsidian slabs, and a brute scale, upgrade your crafting bench to the final stage: epic (purple). To get a brute scale, you’ll either need to get lucky with finding one inside of a lava cave chest or by taking down one of those huge dinosaur-like beasts out on the surface.
Phase 5: Getting endgame gear with frostpine, iron, malachite, and sapphire
In Phase 5 of LEGO Fortnite Odyssey, players focus on acquiring endgame gear by gathering valuable resources such as frostpine, iron, malachite, and sapphire. These materials are essential for crafting powerful weapons, tools, and charms that significantly enhance combat and survival capabilities. Frostpine rods are typically found in the cold pine forest areas, while iron and malachite are mined in the more dangerous frost caves, where players face formidable enemies like cursed wolves and skeletons. Sapphire, a crucial gem for high-tier crafting, is also collected here and used to create durable and effective gear. Successfully obtaining and utilizing these resources allows players to upgrade their equipment at crafting stations and the Legendary Forge, preparing them for the toughest challenges ahead, including the Storm King fight.
This is the last phase and there’s no more crafting bench or village upgrades at this point, but we’ll keep going so you can make the best gear.
Craft an epic forest axe
Using three copper bars and three knotroot rods, make yourself a rare forest axe (purple).
Farm frostpine from the snow biomes
Use your new forest axe to hack down the fir trees in the snow to get frostpine.
Process the frostpine in lumber mills
This is the last thing you’ll have to process, so you should be an expert by now. Stick in some wood, don’t use it all, etc.
Make an epic pickaxe
Use eight obsidian slabs and five frostpine rods to make the best-in-the-game epic pickaxe (purple).
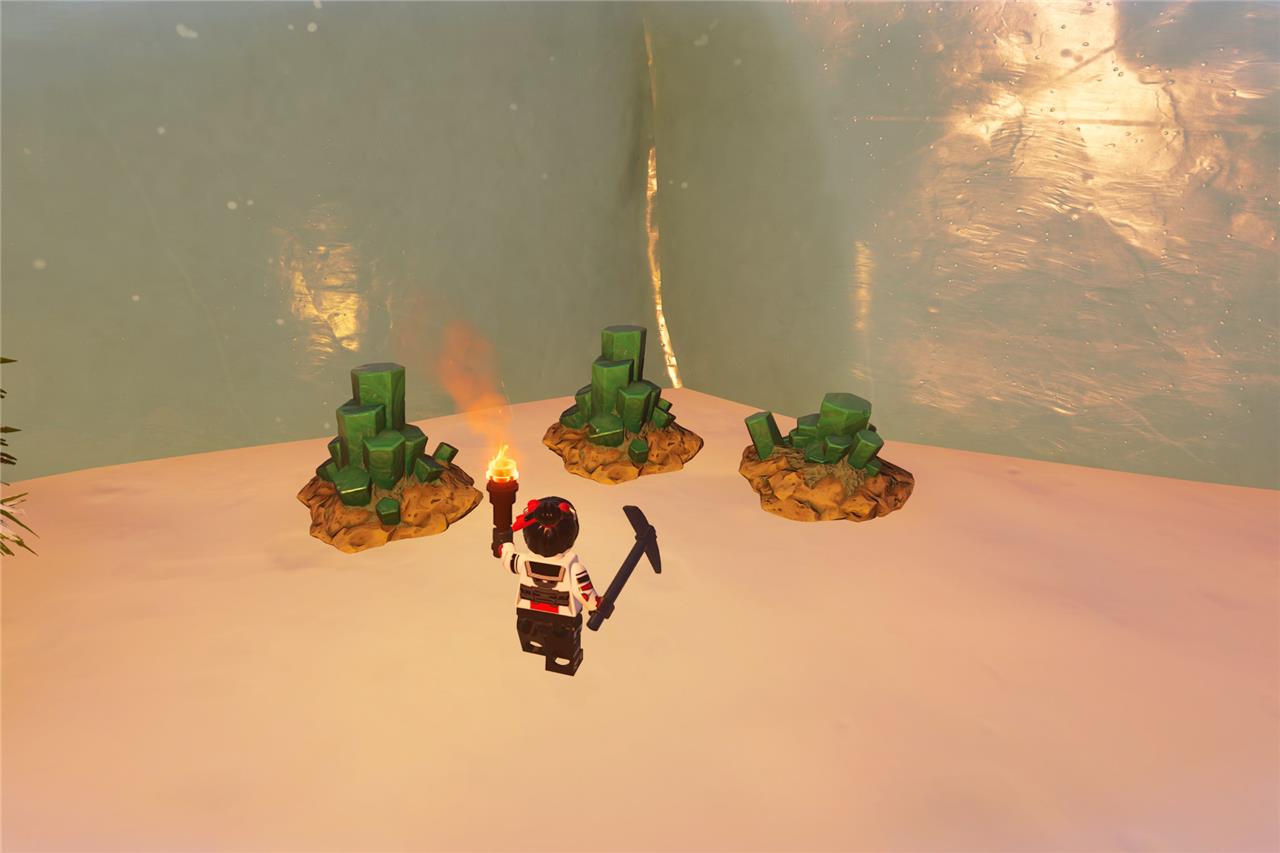
Farm some malachite from the top of the snowy mountain
Use your new fancy pickaxe on some of this sweet green malachite.
Head into ice caves to farm the rest
Just like the lava caves, the ice caves have extreme temperatures that you can avoid with food or stacking cold resistance equips.
Inside these ice caves, you can find sapphire, and iron, which you’ll need to make the last batch of items in the game.
Process your newly acquired materials
Stick the sapphire in a gem cutter, your iron into the smelter, and your malachite into the stone breaker.
Make an essence table
You can technically do this earlier, but we recommend enchanting only the best equips to save on resources. It takes 20 flexwood and six cut amber to make an essence table. You can use your newly found materials to strengthen your equipment’s durability or add other perks.
And that’s it! That’s all there is to fully upgrading all your stuff – for now that is. There isn’t much to use the malachite, sapphire, or iron on outside a few upgraded weapons and enchantments, but if you wanted to stockpile stuff in anticipation for a new update, this is the stuff to hoard.
What secrets and challenges await at the end of LEGO Fortnite Odyssey
At the end of LEGO Fortnite Odyssey, players face a series of intense secrets and challenges that culminate in a multi-stage boss battle against the formidable Storm King, a menacing monarch whose lair tests your combat skills, strategy, and survival instincts. Before reaching him, you must defeat Raven, the Storm King’s right-hand man, to unlock the gateway to this ultimate encounter. Along the way, you’ll confront the Storm King’s Acolytes-elite enemies with special abilities-and navigate dynamic Storm Dungeons that reset every 24 hours with new puzzles and dangers. Additionally, the Legendary Forge allows you to upgrade your weapons to their final, powerful forms to stand a chance against these threats.
Beyond the bosses, the endgame includes exploring perilous caves across diverse biomes-Grasslands, Lava Caves in Dry Valley, and Ice Caves in Frostlands-each filled with unique enemies such as Skeletons, Sand Scorpions, Bone Wolves, and Mine Skeletons wielding explosives. These caves hold rare crafting materials essential for creating top-tier gear and charms needed to survive the harsh environments and formidable foes underground.
The endgame also challenges players with environmental hazards like extreme heat in lava caves and freezing cold in ice caves, requiring careful preparation with special charms and consumables. Vehicle-guided builds like the Lil’ Barge and Storm Chaser enable faster travel across the expansive world, helping players tackle these challenges more efficiently.
In sum, the secrets and challenges at the end of LEGO Fortnite Odyssey demand mastery of combat, crafting, exploration, and strategy to overcome the Storm King’s reign and fully unlock the game’s rich, evolving world.
What hidden dangers do I need to watch out for in the Ice Caves
In the Ice Caves of LEGO Fortnite Odyssey, you must be vigilant against several hidden dangers that mirror real-world ice cave hazards. These include:
-
Unstable Ice Formations: Just like natural ice caves, the icy ceilings and walls can collapse unexpectedly due to vibrations, temperature changes, or combat disturbances, potentially trapping or damaging you.
-
Slippery Terrain: The icy ground and silt layers reduce traction, making movement precarious and increasing the risk of falls or being caught off guard by enemies.
-
Sharp Environmental Hazards: Falling through thin ice or crevices can cause damage or force you into combat with dangerous underground creatures.
-
Hostile Enemies: The Ice Caves harbor aggressive foes such as Bone Wolves and Mine Skeletons that wield explosives, requiring careful combat tactics.
-
Extreme Cold: The freezing temperatures impose environmental stress that can drain health or stamina unless mitigated by special charms or consumables.
-
Avalanche or Icefall Events: Sudden avalanches or falling ice chunks can occur, posing lethal threats similar to real-world ice cave dangers where ice and snow can shift rapidly and unpredictably.
To survive, players need to prepare with appropriate gear, charms, and combat readiness while navigating these treacherous icy tunnels.