Ahead of REPO’s v0.3.0, a fresh wave of sculk stirs-monsters rise where guides once stood, and every new enemy reshapes the hunt.
Every monster in the REPO’s v.0.3.0 monster update
This subtitle should introduce a concise list of each new monster added in REPO’s v0.3.0 update, highlighting their unique traits, abilities, and how players can strategically counter them in Guides, Monsters, and Enemies sections.
Detailing their appearance, behavior, and some tips on how to avoid damage, here’s every new monster in REPO. This list ranks them (roughly) by danger level, so we’ll start with the innocent-unless-provoked darlings and end with the insta-kill terror.
Tick
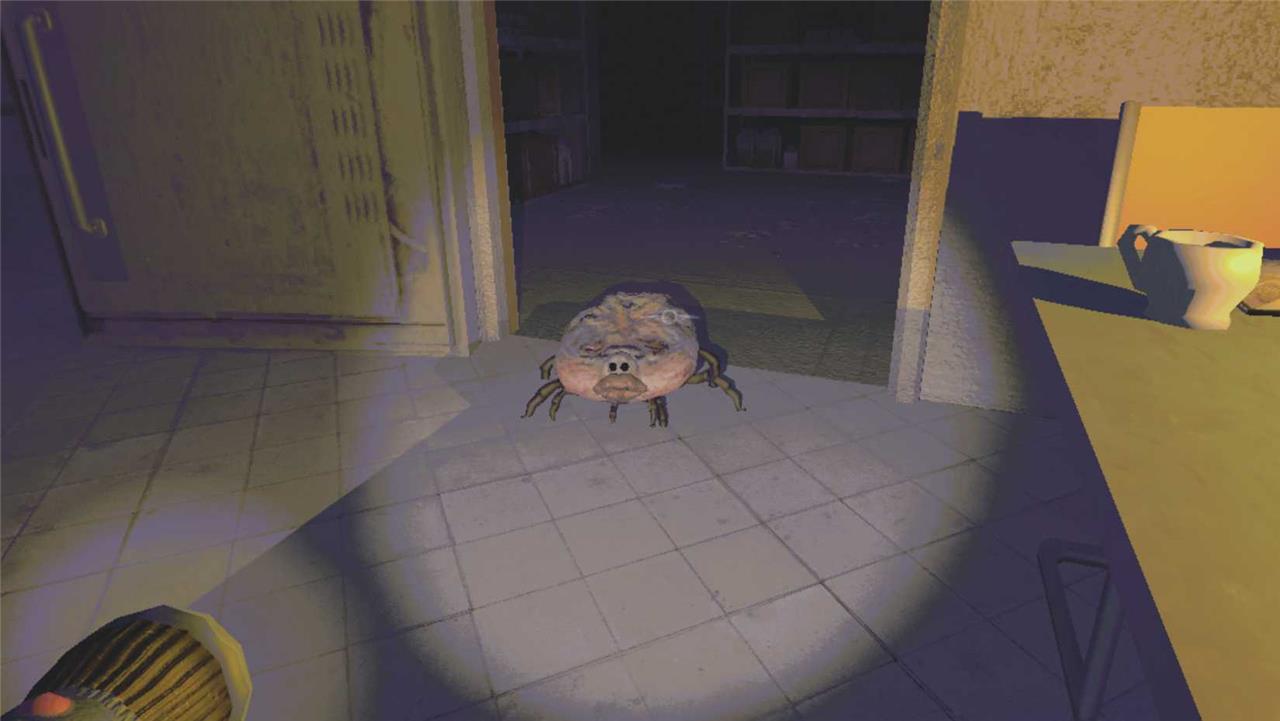
This little fellow just wanders the REPO hallways, minding its own business, unless you try to grab it. If you do, the Tick will drain your HP by 10 points per second, up to 100 points in total. The only way to survive this attack is to smack the Tick against the walls and floors repeatedly or by having more than 100 HP. When the Tick is full, it’ll let go and go back to ignoring you, but don’t repeat the favor; if you kill a Tick, you’ll regain most of the HP it stole from you.
Elsa
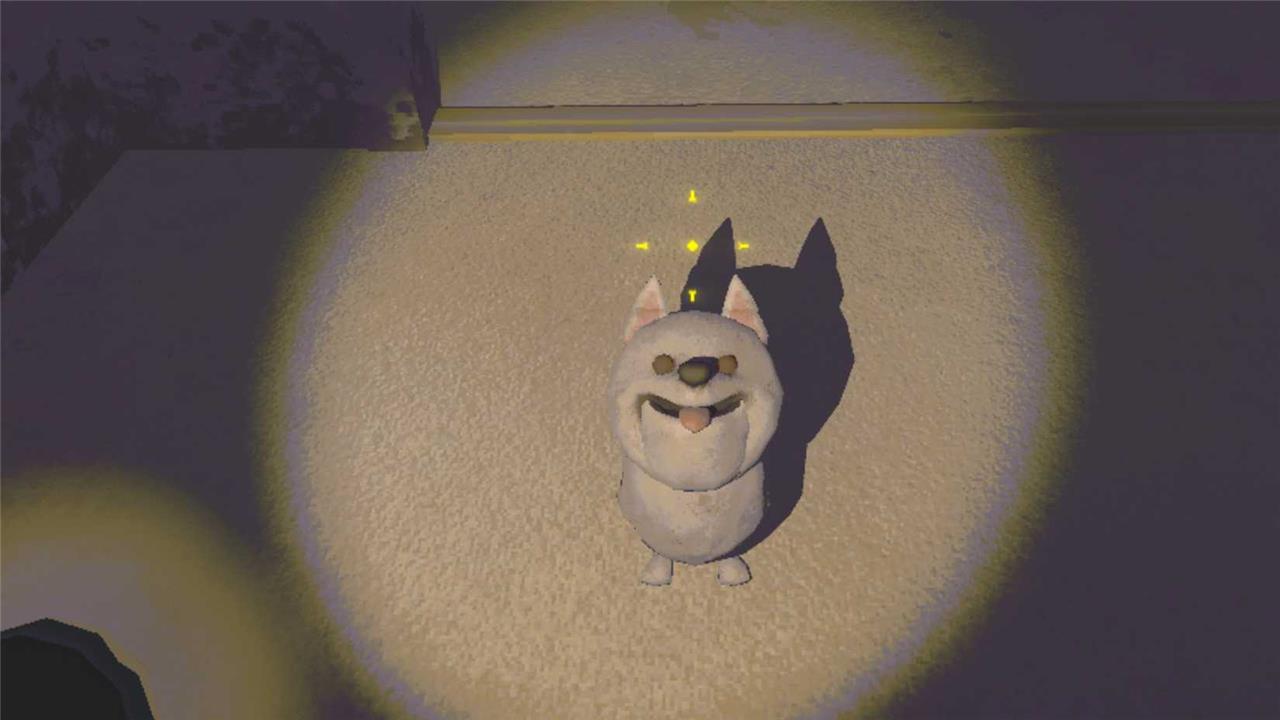
Don’t worry about this cute pupper; Elsa may count as a “monster,” but all she wants is some love. Upon spotting a player, Elsa will follow that player around, begging for pets. If you pet Elsa a few times, she’ll happily go her own way, but if you ignore her, she’ll get increasingly frustrated (besides barking and jumping, her eyes will turn red) and eventually turn into a werewolf-like monster. This will also happen if you hurt her. This burlier version of Elsa is incredibly strong, has very high HP, can run fairly fast, and jumps and crouches like a beast, so she’ll easily kill you if you don’t get a head start during the transformation. Just pet the little stalker, all right?
Bella
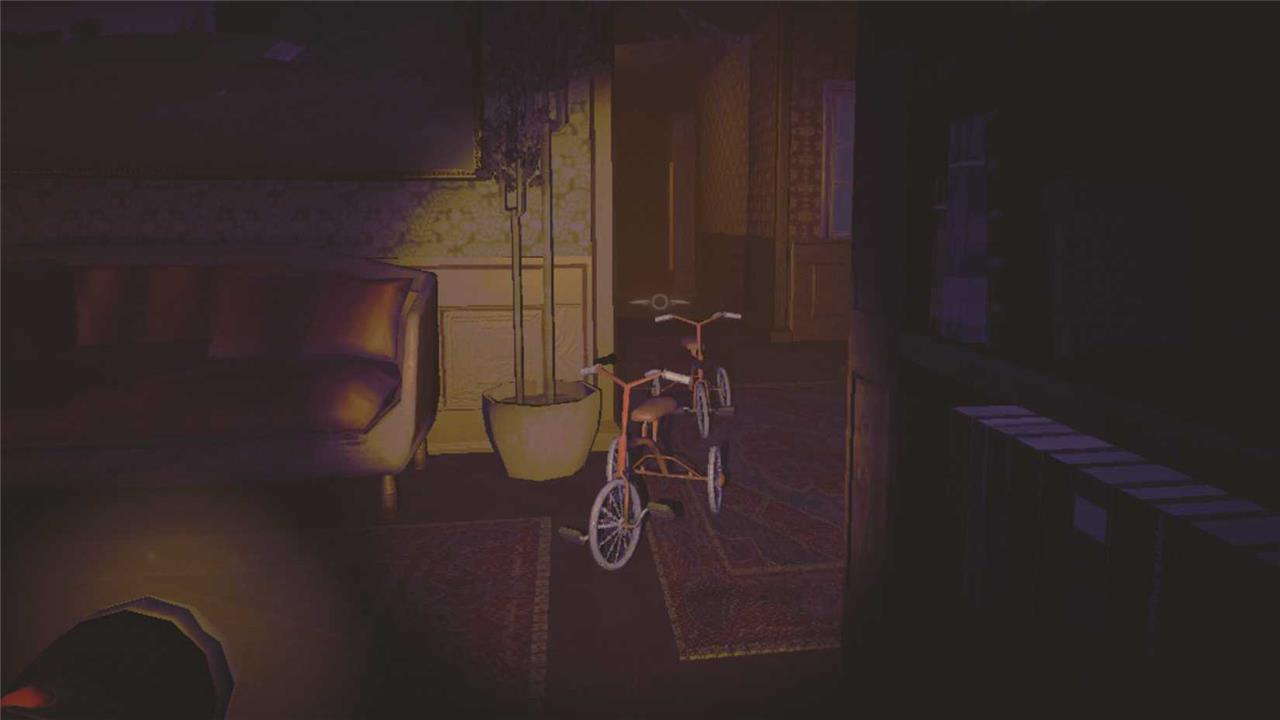
A bit similar to Elsa, REPO‘s tricycle monster, Bella, won’t attack the player unless provoked. Unfortunately, it’s rather easy to do so by hovering around this seemingly riderless tricycle for a few seconds or blocking its path. Keep an ear out for the tricycle’s frantic bell ringing; once it has rung three times, Bella’s angry ghosts will appear on the tricycle and immediately chase you. It’s almost impossible to avoid damage since Bella is incredibly fast. Your best bet is to reach a higher ledge (using the tumble climb ability, for example) or turn some corners and hope Bella gets stuck. That said, Bella only deals about 5 damage per hit and typically disappears after six to 10 seconds, so there’s a good chance you’ll survive the attack if your HP is full.
Birthday Boy
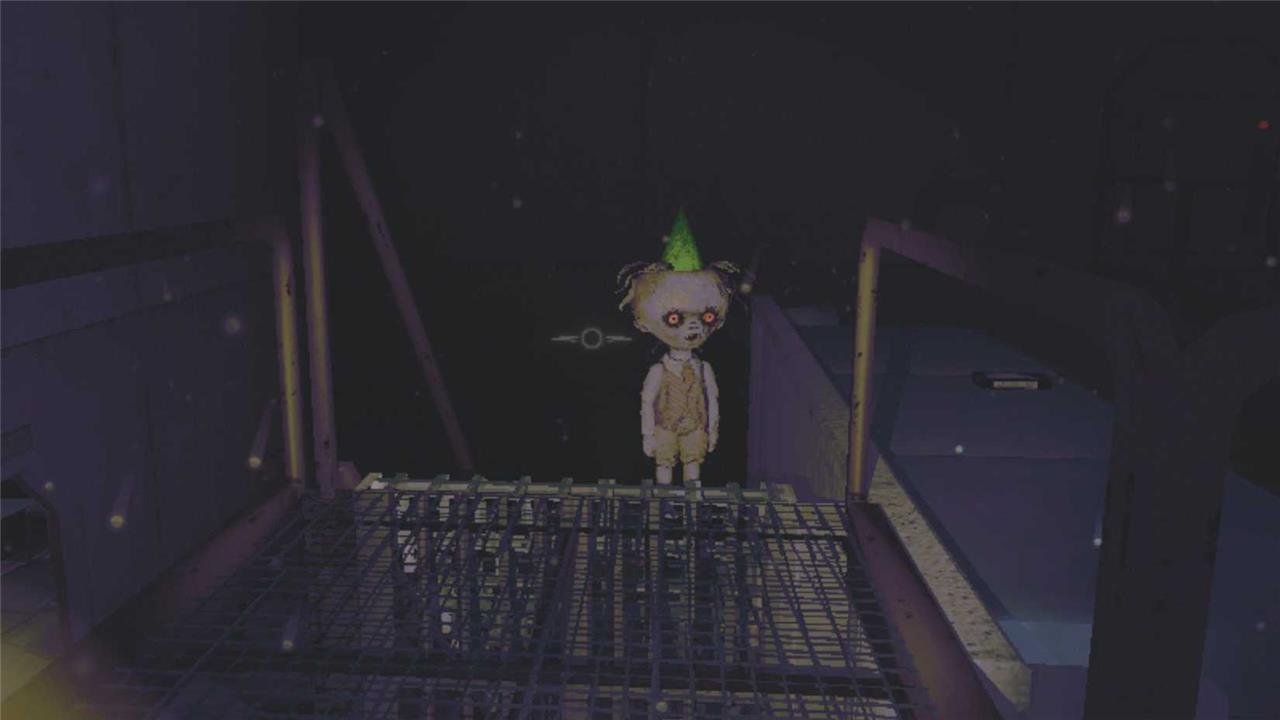
This little boy may look threatening, but he’s quite harmless – until you pop one of his balloons, in which case he’ll chase you around. You can outrun him if you have high stamina, but it’s not easy. If Birthday Boy gets close enough, his fast, successive hits quickly deplete your health by 10 points per hit. It’s surprisingly difficult to avoid aggravating the Birthday Boy as he just keeps dropping more and more balloons everywhere, and a slight touch is enough to pop them. Your best option is to attack the Birthday Boy before he’s had the chance to inflate many balloons, as hitting him directly will scare him off, but not anger him.
Heart Hugger
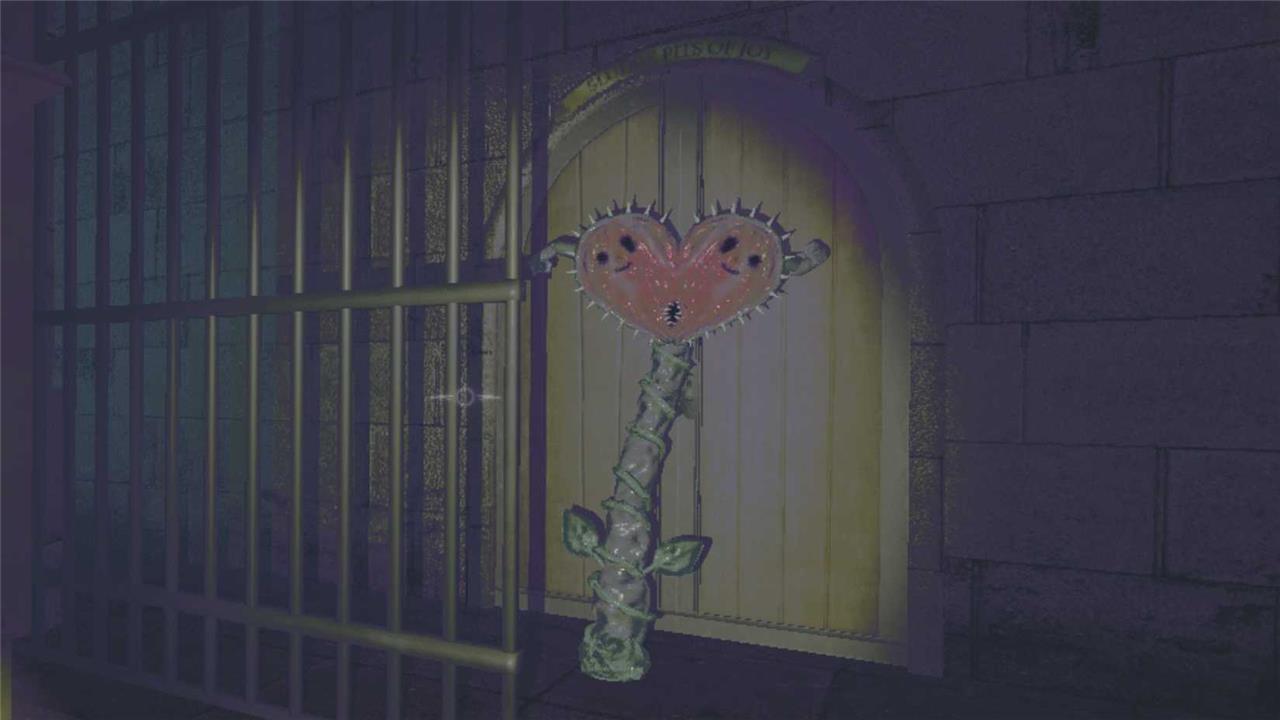
This strange REPO flower is mostly stationary; it can’t move once it has spawned somewhere, but it will respawn fairly frequently. From its rooted position, the Heart Hugger will emanate pink spores toward you and, if it hits you, draw you in. A cute pink heart will appear on the screen for a few seconds before the Heart Hugger depletes between 60 and 90 HP. You can try to kill the Heart Hugger before the attack lands, but since its HP is pretty high, a far safer way to avoid damage is to simply stay out of reach. Luckily, the pink spores don’t travel all that fast.
Gambit
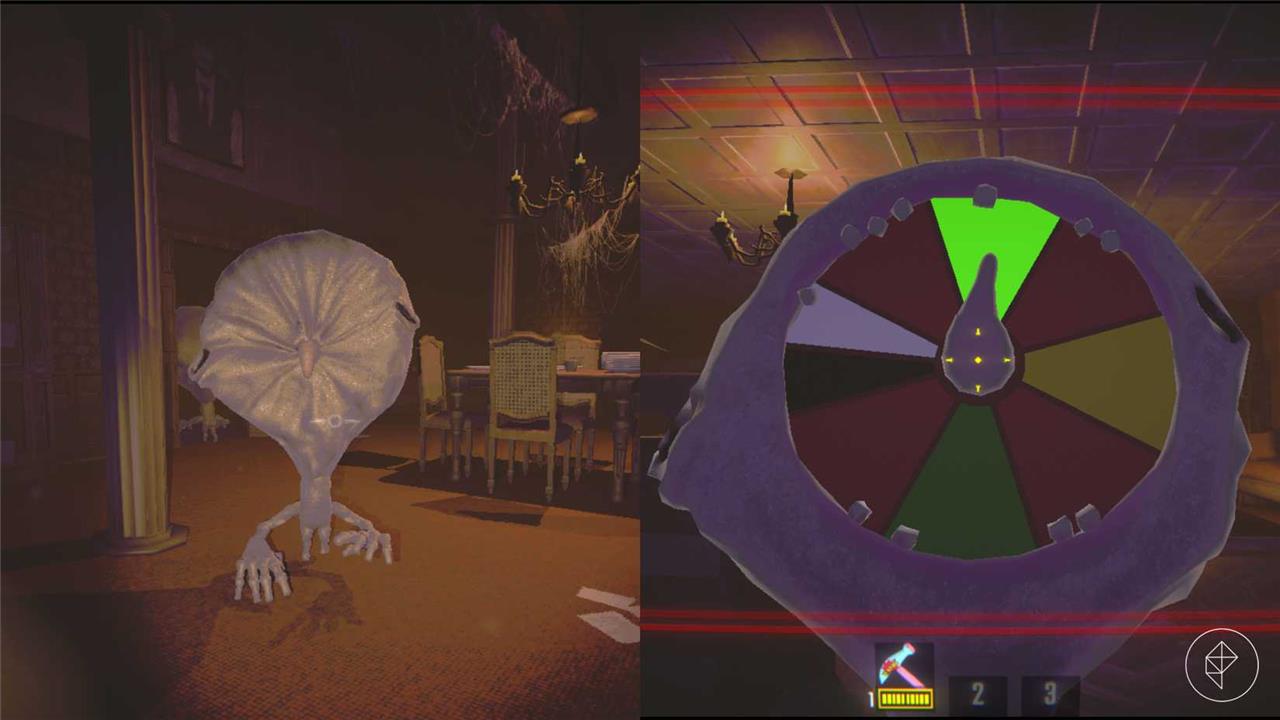
Upon seeing you, this oddly-shaped hugger will chase you around until it catches you. When it does, rather than attack directly, it’ll spin its wheel of fortune. Depending on which color the spinner lands on, here’s what will happen:
- Red: You’ll lose 50 HP.
- Green: You gain 25 HP.
- Yellow: You gain a valuable item worth roughly $1,000.
- White: Your HP is fully replenished.
- Black: Your HP is set to 1.
Meeting the Gambit in REPO can be a blessing or a curse, but it’s slightly more likely to be the latter, as the wheel has four red planes, two green ones, one yellow, and a smaller one shared by white and black. This means that the Gambit’s spinner has a 50% chance to land on red and a 6.25% chance to land on black. If you don’t like those odds, it’s best to kill the Gambit before it grabs you – its HP is on the lower side, comparable to a Birthday Boy or Animal, so you’ve got a good chance of succeeding. Just don’t attack, stun, or grab a Gambit if it has already caught a player, as it’ll deal 60 damage.
Oogly
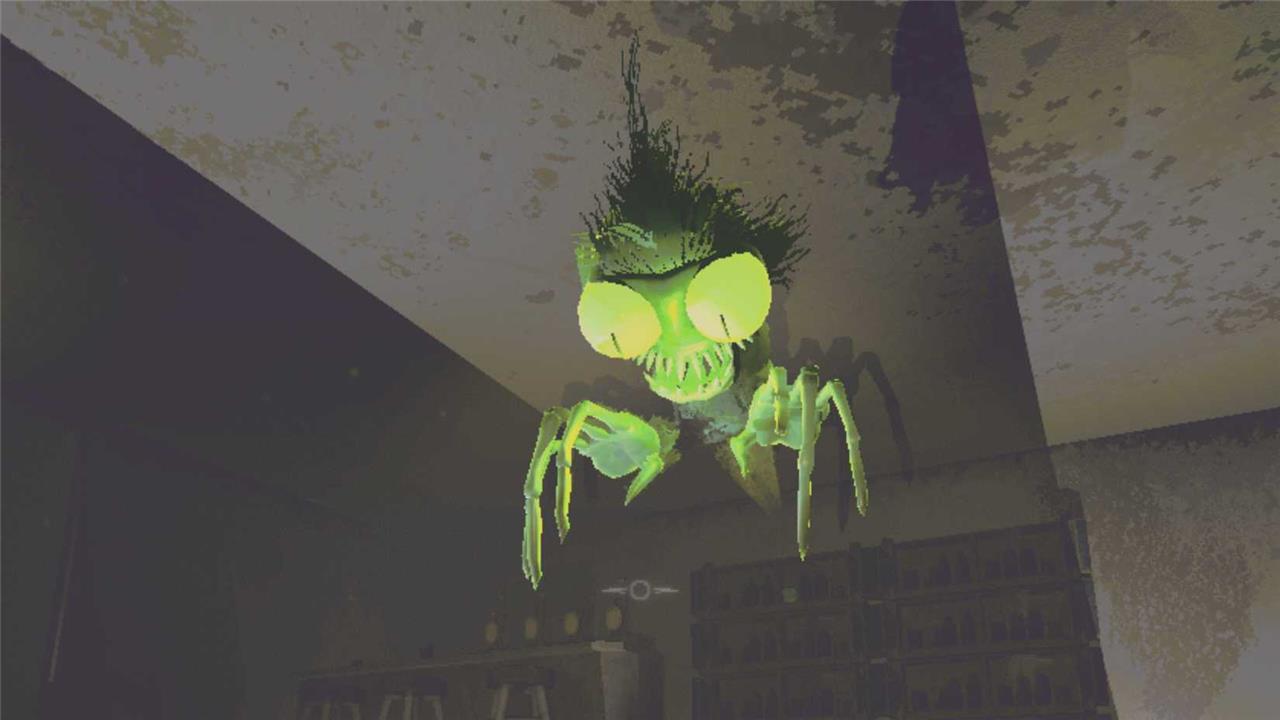
This wasp-like REPO monster flies around the map at a pretty relaxed pace. If it grabs you, it’ll deal 4 damage per hit on top of severe physics damage resulting from being thrown around. However, the Oogly only attacks players caught within its green spotlight (the green light shining down from its belly), so its attacks are often avoidable; just keep an eye out for the greenish glow as you explore the map. If the Oogly does grab you, you can fight back, but it’ll be hard to land any hits.
Headgrab
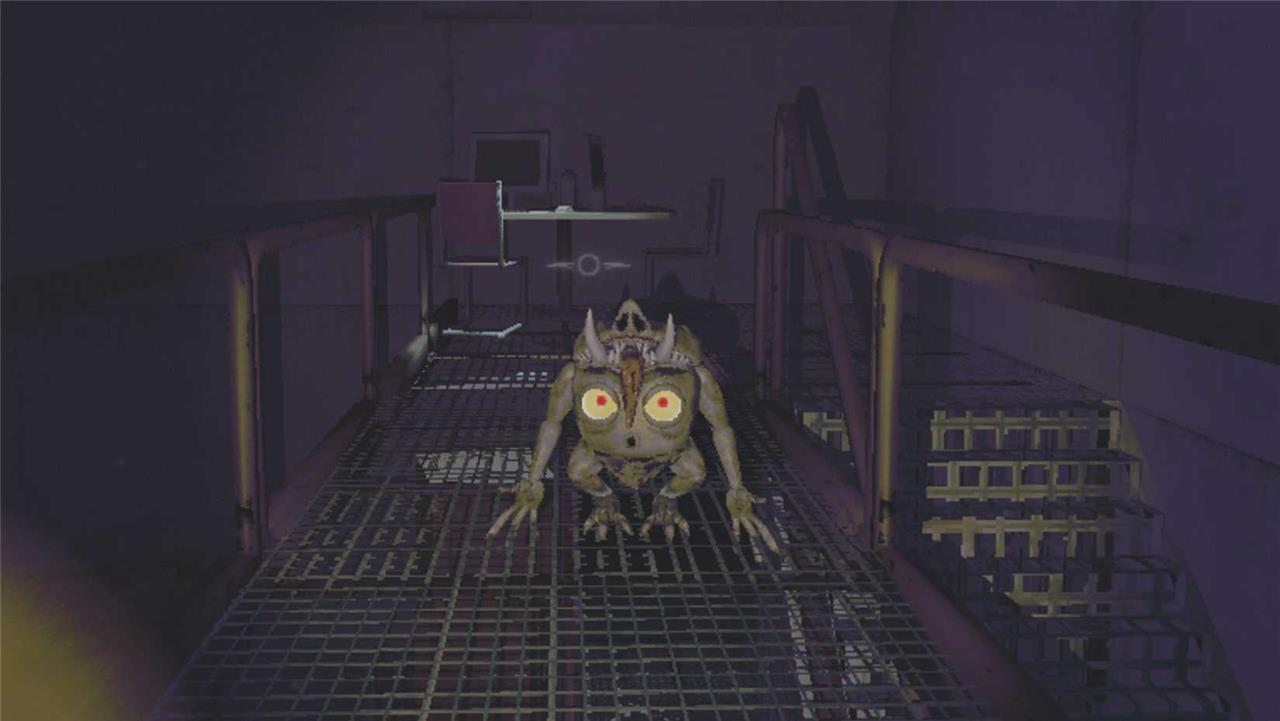
This little ogre roams the map and attacks any player it spots. It’s neither fast nor particularly dangerous; Headgrab usually lands three hits, dealing up to 25 damage in total, before running off. It’ll stare at you for a while, granting an opportunity to attack first, and if you’re lucky, it may not attack at all. Its HP is on the lower side, similar to a Gambit and Birthday Boy. In multiplayer mode, beware that this REPO monster can equip a dead player’s head, making the Headgrab stronger and faster.
Cleanup Crew
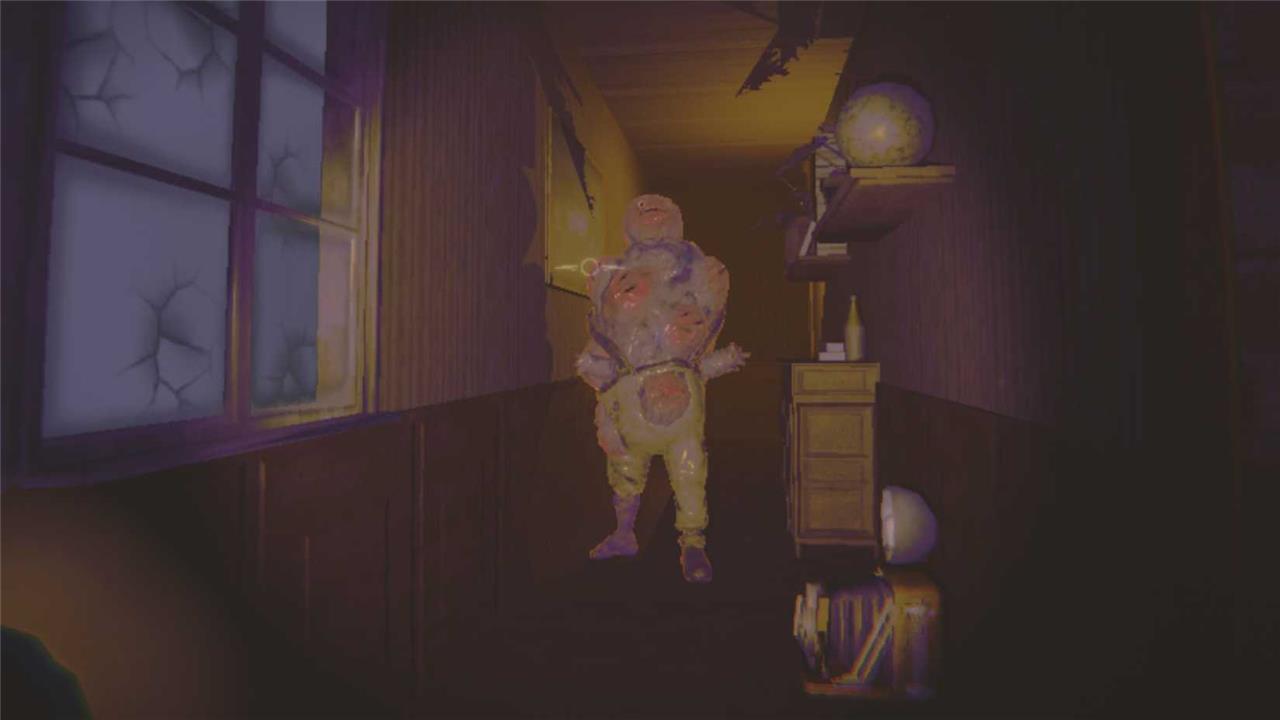
This large, tumored creature is easily recognizable by its heavy footsteps and bright yellow pants. If it spots you, it’ll hurl its own head at you, which will explode after a few seconds. Beware that the head will bounce a few times, so don’t underestimate its range. Although the explosion easily depletes at least 70 HP, followed by a poison cloud that depletes 15 HP per second, you may be able to avoid all damage by dodging the head or grabbing it and throwing it away. The Cleanup Crew needs a few seconds to regrow its head, providing you with an opportunity to attack, but beware that it’ll defend itself with melee attacks if you get close.
Loom
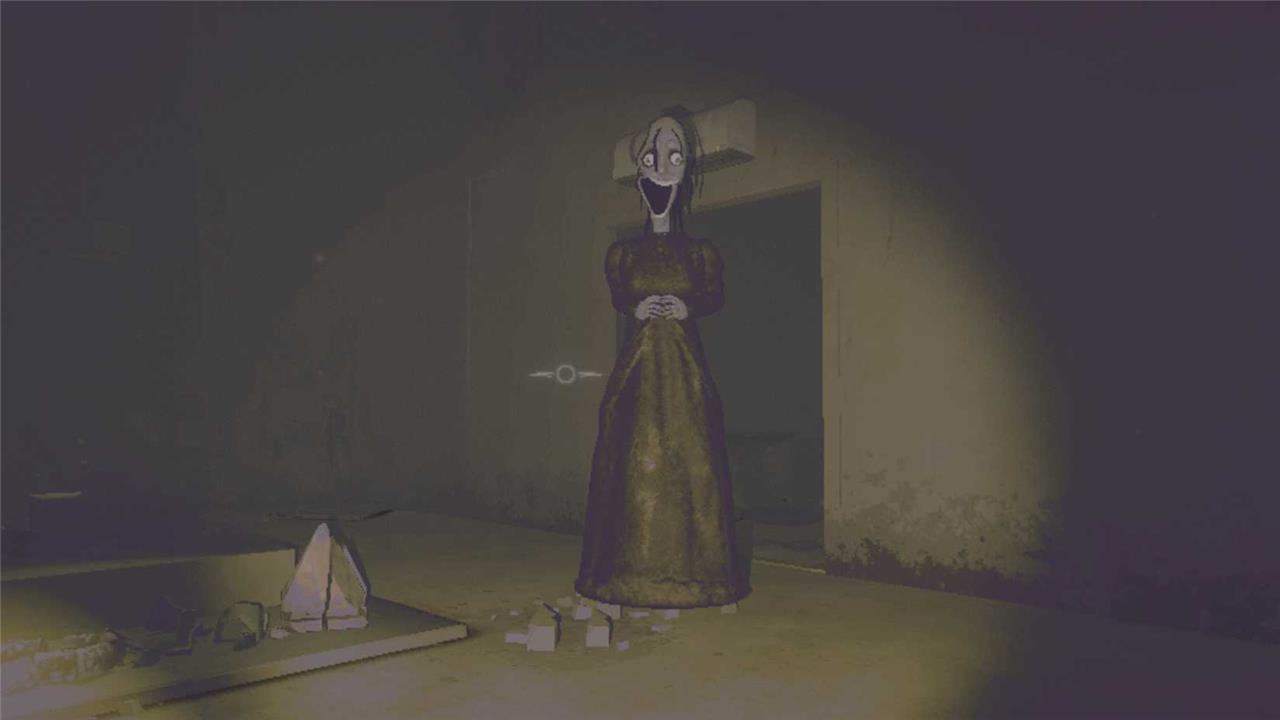
Any last words? If this REPO creep is targeting you, you’ve got a serious problem, as the Loom stalks its prey until they’re dead. Its movement speed is quite slow, so you won’t have too much trouble staying ahead, but it’ll be very tricky to loot and avoid other monsters with this thing on your tail. If the Loom catches you, it deals 100 damage in one hit, which is an insta-kill in early game, even at full HP. Your best bet is to keep avoiding it and hope for the best, take turns distracting the Loom if you’re in multiplayer mode (it’ll switch targets if the other player stands in the line of sight), or attack with a strong ranged weapon. Beware that the Loom has a very high HP.
Which new REPO monster is the most dangerous and why
Among the new v0.3.0 monsters, Loom is generally the most dangerous because it constantly tracks your location, has extremely high health, and can one-shot you if it reaches you.
Why Loom is so dangerous
-
Loom always knows where you are and slowly but relentlessly walks toward you, which means normal line-of-sight tricks or hiding do not shake her off.
-
She has very high HP (reported around 500), so killing her is impractical in normal runs and she functions more like an environmental hazard you must constantly path around.
-
If she catches you, she deals 100 damage in a single hit, effectively deleting a full-health player and ending any mistakes with an instant fail.
How she compares to other new monsters
| Monster | Key threat | Why Loom is worse |
|---|---|---|
| Oogly | Airborne grabs and drops that cause burst and fall damage. | Oogly is dangerous in rooms it patrols, but it can be avoided by watching its spotlight; Loom pressures you everywhere on the map. |
| Gambit | Random “wheel” effects that can take up to 50 HP or debuff you. | Gambit is bursty but doesn’t hard-track you and has strong upside outcomes, unlike Loom’s pure guaranteed threat. |
| Headgrab | Combo hits and power-ups from wearing heads in multiplayer. | Headgrab is lethal in close quarters, yet it must first reach you and can be kited; Loom’s constant homing and one-hit kill are harder to manage long-term. |
| Tick | HP-drain over time when attached. | Tick can be removed or out-healed and is harmless if ignored on the ground, while Loom is always an active, map-wide kill threat. |
In practice, Loom forces route planning and time pressure in ways the other v0.3.0 monsters do not, which is why players and guides single her out as the scariest and most dangerous of the new additions.
How to counter the Apex Predator effectively
The Apex Predator duck is best “countered” by avoiding triggering it at all, and, if you do, by dumping it into a cauldron/pit or using knockback and line-of-sight tricks to neutralize it.
Core safety rules
-
Never click the duck unless you are intentionally setting up a kill; clicking is what turns it from harmless to lethal “Apex Predator.”
-
If it is already aggressive, keep moving in wide circles or strafing around it so it struggles to line up hits, instead of backing straight away from it.
Reliable kill methods
-
Cauldron / toilet method: Lure the duck so it follows your cursor into a green cauldron, then hop in to trigger the explosion; you can do a similar trick with a toilet by flushing it, which destroys the duck when it’s inside.
-
Environmental kills (pits, acid, extraction): Bait it toward death pits, pools, or an extraction point and then knock or tumble-launch it in; once it falls in, it dies before recovering from stun.
Combat and movement tricks
-
Use tumble-launch or a medium-weight melee (bat, etc.) to repeatedly knock it back, potentially into hazards, while stunlocking it so it cannot retaliate.
-
Break line of sight by using corners, walls, or doors so its damage-over-time effect drops off, then reset distance and re-engage only when you have a clear plan to push it into a hazard.
Extra tips to make it easier
-
Deal with other monsters first; the duck is far more dangerous when you are distracted or slowed by other threats.
-
In co-op, coordinate: one player kites the duck around a hazard while another waits in position with a melee weapon or tumble-launch lined up to send it into the kill zone.