Hidden deep within the Faron region, the Utsushok Shrine tests both skill and precision with its clever puzzle mechanics. This guide explains how to reach the site and master every challenge inside for a smooth path to victory.
When you’re done, our shrine locations page and interactive Hyrule map can direct you toward something else to do.
Utsushok Shrine location
Utsushok Shrine is located in the West Necluda region, near the Rabella Wetlands Skyview Tower. You can find it on a small rise southeast of Kakariko Village, around coordinates (0715, -2740, 0091). The area is surrounded by tall grass and gentle hills, making it easy to spot from nearby paths once you reach the village outskirts. Keep an eye out for a clear path leading toward a cluster of trees that mark the shrine’s entrance.
The Utsushok Shrine is found within the Faron Grasslands region, about halfway between the Fural Plain and the Guchini Plain.
The exact coordinates are (0669, -3358, 0072).
Utsushok Shrine walkthrough
Inside Utsushok Shrine, use Ultrahand to move the large metal blocks and create a bridge across the first gap. In the next room, stack the blocks to climb higher and reach the chest on the upper ledge. For the final area, arrange the blocks so you can cross to the altar while avoiding falling into the gaps below. Once all puzzles are solved, claim your Light of Blessing from the statue at the end.
In the Utsushok Shrine, you’ll use Ultrahand to manipulate a series of slapper machines to send balls zipping across rails to nearby switches.
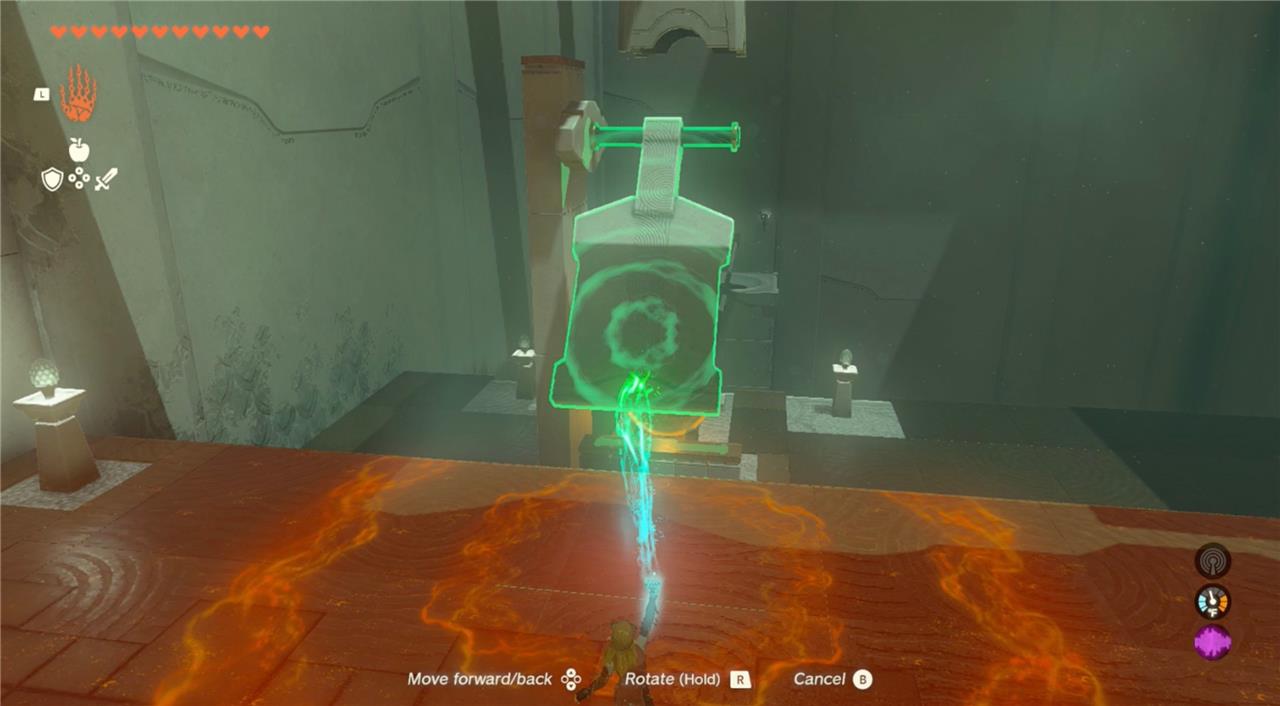
1. Run behind the big slapper slab and use Ultrahand to lift it up high.
2. Release the slab and smack the ball by deactivating Ultrahand.
3. If you’ve hit it hard enough, the ball will drift along the track into the bowl switch and the door to your left will open.
4. Enter the second room.
5. Inside the second room to your right is a cube. Grab it with Ultrahand.
6. Use Ultrahand to place the cube behind the slapper slab and attach the two.
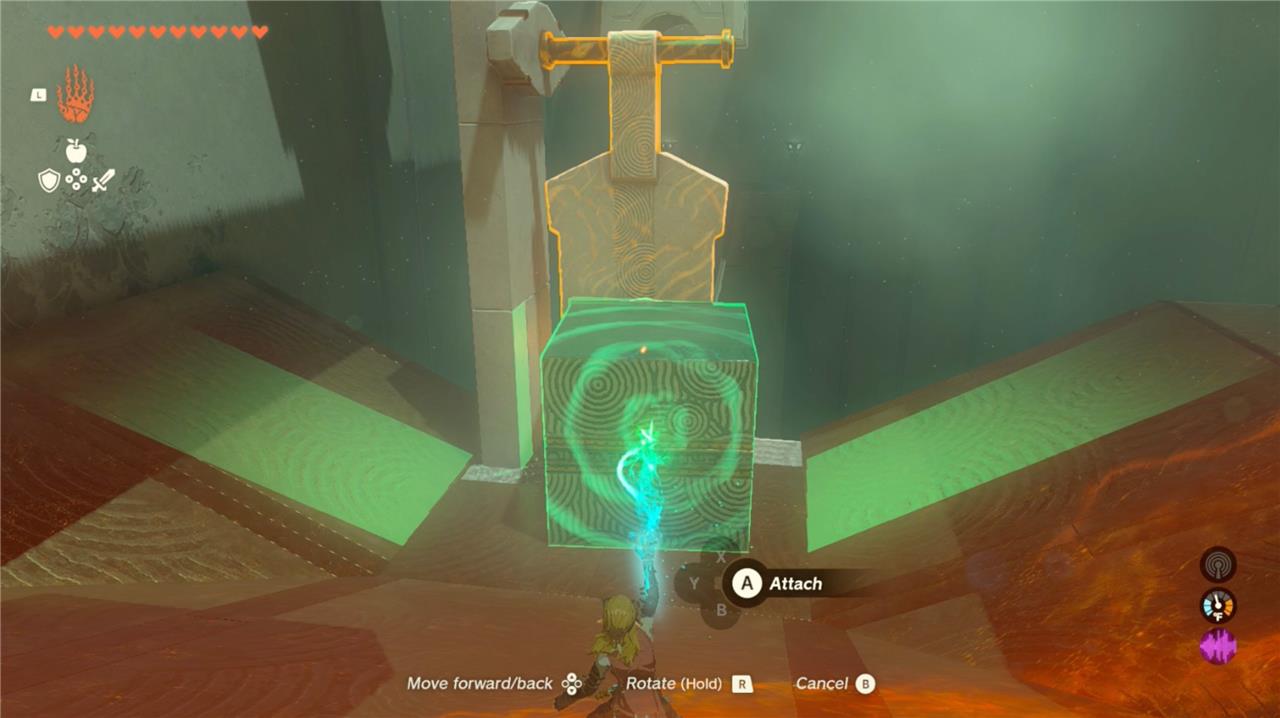
7. Once again use Ultrahand to pull the slapper all the way up to its apex, then drop it down to knock the chamber’s ball into a bowl switch.
8. With the door open, enter the third room.
9. Inside the third room you will find. you guessed it, more balls to hit! Run to the middle of the room to find a metal sheet to grab with Ultrahand.
10. Position the piece of metal in front of the slapper and attach it with Ultrahand.
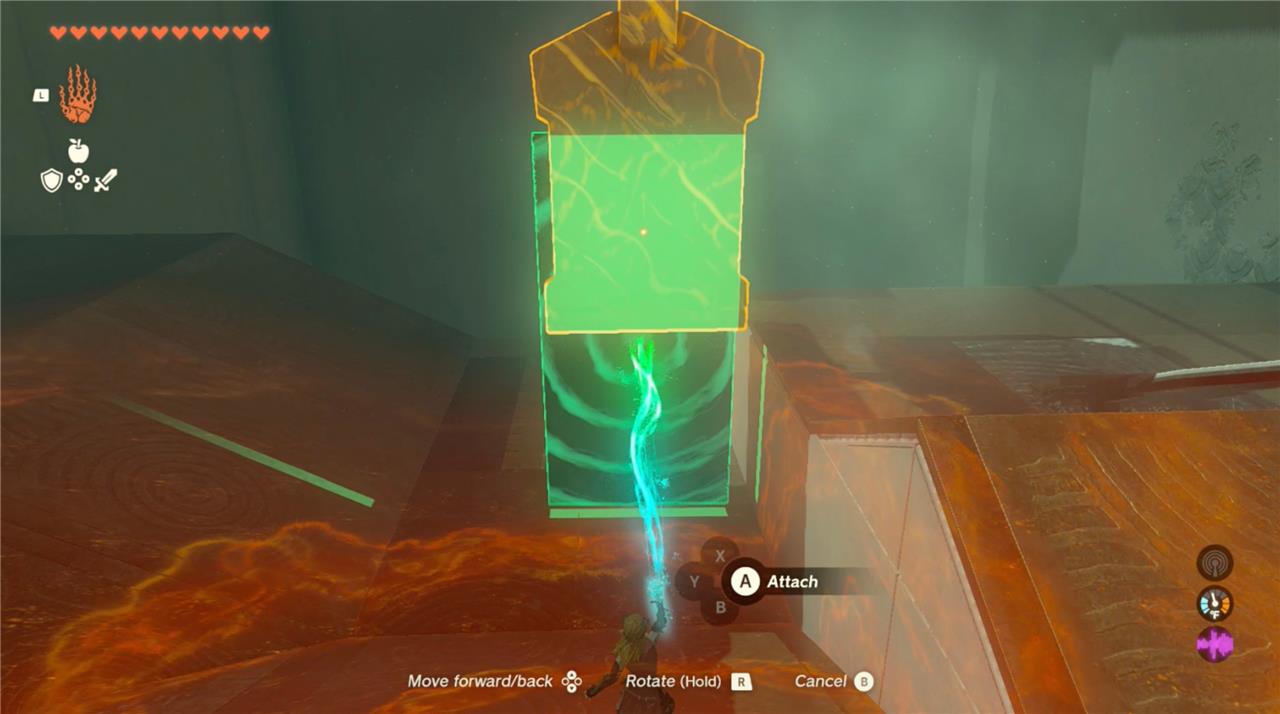
11. Bring the attached metal and slapper up as high as possible, before releasing to hit the ball. Once the ball is in the bowl, the switch will send a cart down to the nearby tracks.
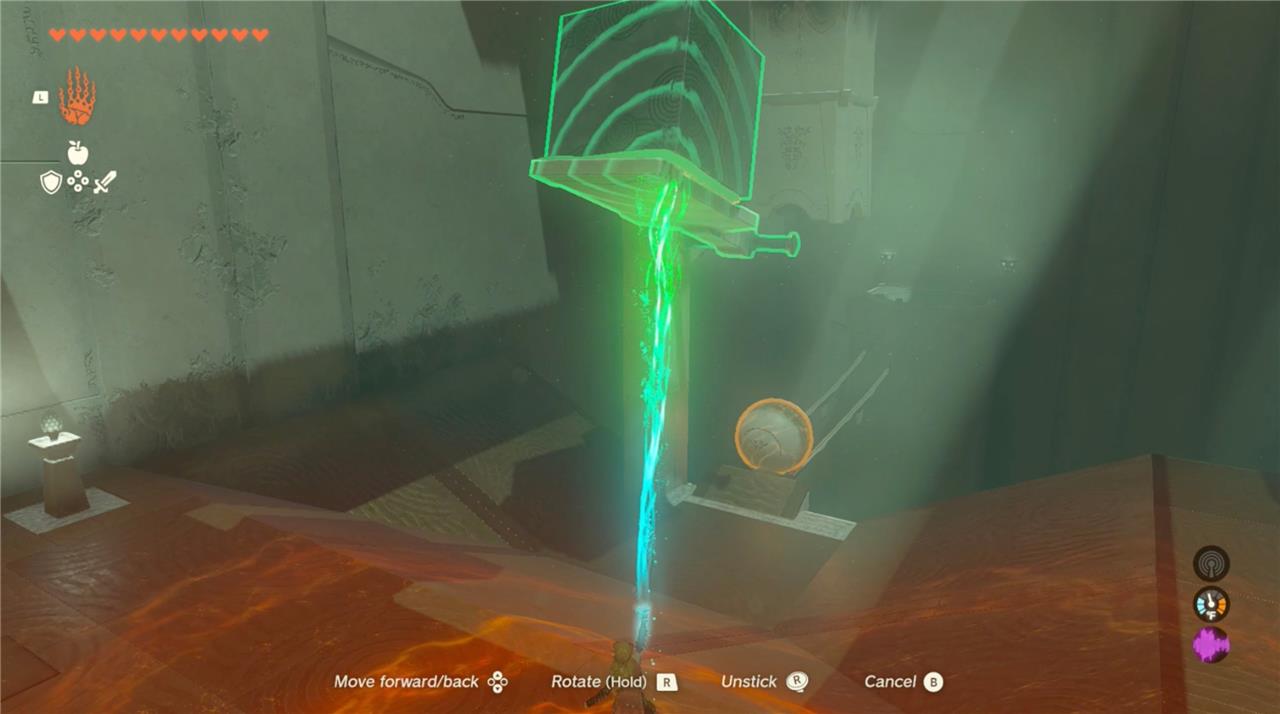
12. To send the cart flying toward the sigil, detach the sheet of metal from the slapper and reposition it so that it extends horizontally across the platform. The goal here is to reformat the slapper so it can send the cart flying with a good push.
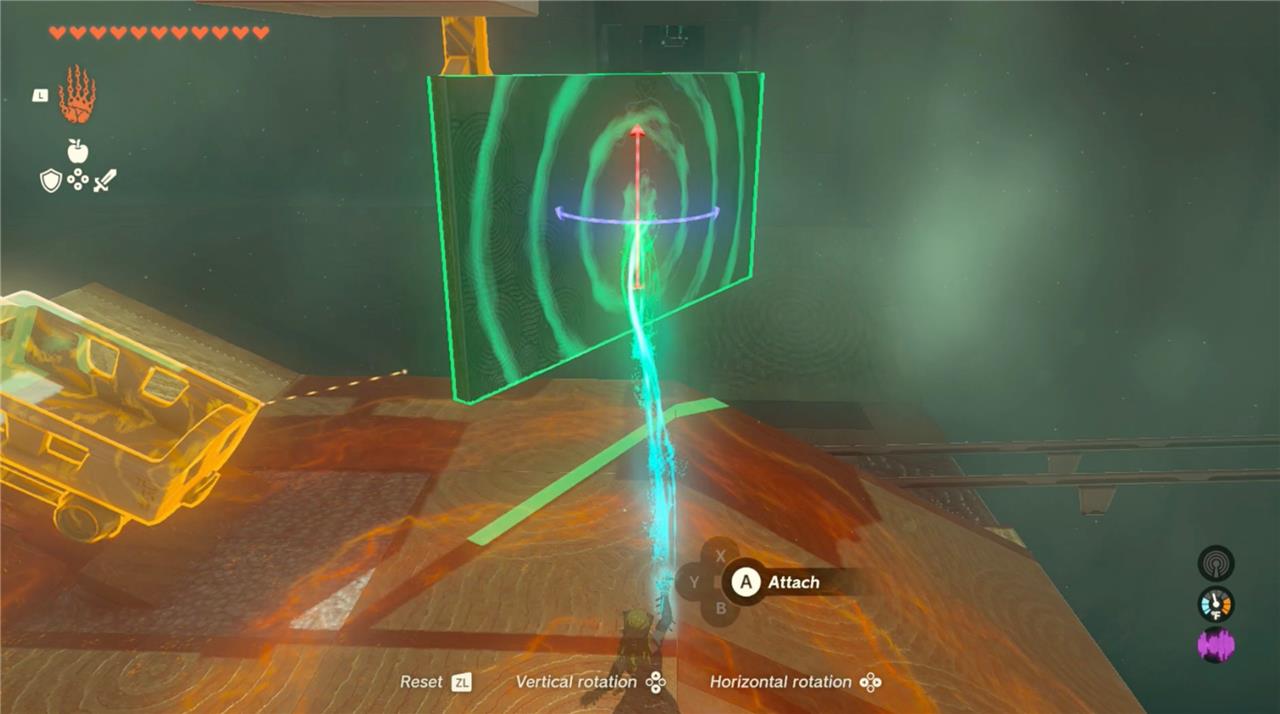
13. After changing up the slapper, jump in the cart, then use Ultrahand to lift up the metal and position it for a hardy swing. But get ready: you’ll want to be quick in the next part.
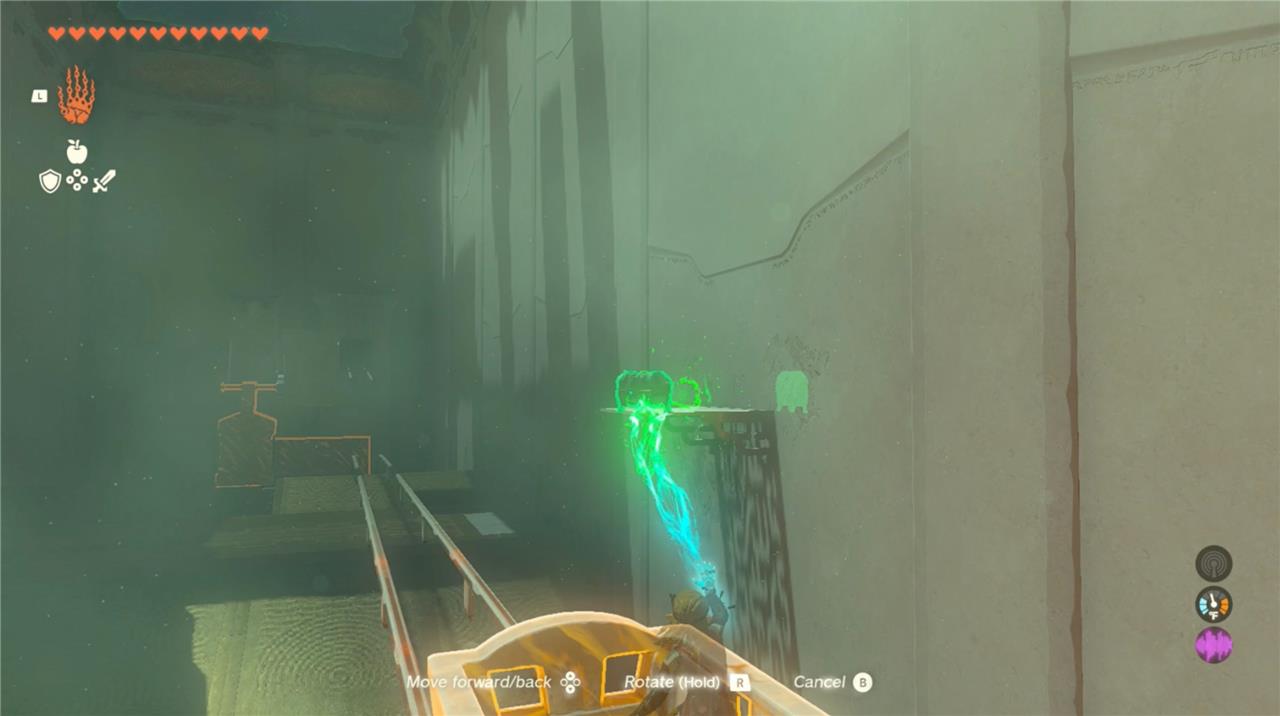
14. As you propel forward toward the sigil, activate Ultrahand to grab the chest sitting on a platform halfway through the ride. Bring it to the other side to open it and reveal a sneaky elixir.
How to reach Utsushok Shrine from Polpa Foothills Skyview Tower
To reach Utsushok Shrine from Popla Foothills Skyview Tower, activate the Skyview Tower first to reveal the map, then launch yourself southward using its catapult mechanism.
Gliding Directions
The shrine sits plainly visible on a grassy hill in the Guchini Plain area, at coordinates 0668, -3358, 0072, directly south of the tower.
Glide straight south; it requires about two stamina wheels, so equip stamina elixirs or food if needed, as the Faron region’s weather can include rain or lightning-unequip metal gear to avoid shocks.
Landmarks and Tips
Look for the shrine between Fural Plain and Guchini Plain, near Highland Stable to the northeast.
No climbing or combat is required; the direct glide path keeps it straightforward despite potential thunderstorms around nearby features like Thunder Island.
Best paraglide route south from Popla Foothills Skyview Tower
The best paraglide route south from Popla Foothills Skyview Tower follows a direct southward trajectory toward Utsushok Shrine in the Guchini Plain.
Launch and Initial Glide
Activate the Skyview Tower’s launch pad to catapult upward, then immediately angle your paraglider straight south to cover the roughly two stamina wheels of distance without landing.
Aim over Fural Plain initially, keeping the horizon clear of major obstacles like hills or forests.
Key Landmarks
Spot Utsushok Shrine as a glowing green structure on a prominent grassy hill at coordinates 0668, -3358, 0072-it’s visible midway through the glide.
Highland Stable lies northeast of the target for reference; avoid drifting east toward denser woods or west into ravines.
Stamina and Weather Tips
Prepare 2-2.5 stamina wheels via food/elixirs, as Faron’s frequent rain reduces glide efficiency-draft off updrafts if storms hit, and unequip metal armor to dodge lightning.
This path minimizes turns for maximum speed and fuel conservation, landing precisely at the shrine entrance.