Unlocking the full potential of Destiny 2’s exotic Barrow-Dyad SMG hinges on conquering the elusive ’Dyadic Ascension’ quest-a multi-step journey through the shadowy Nether within the Dreadnaught. From grinding ranks with the mysterious Shaping Slab to hunting down hidden Taken Osseous Fragments scattered across perilous zones, this quest tests both your exploration skills and patience, especially with its infamous time-gated “Moment of Clarity” upgrade. Ready to elevate your weapon and master the Nether’s secrets? Here’s your essential guide to completing ’Dyadic Ascension’ on PC, PlayStation, and Xbox.
If you don’t have access to this quest yet, or the Barrow-Dyad Exotic, make sure you complete “The Taken Path” quest and the “Derealize” mission. “Dyadic Ascension” will be waiting for you at the slab in Eris’ apartment once those are both complete.
In this Destiny 2 guide, we’ll walk you through where to find all of the Taken Osseous Fragments in Heresy, as well as what the “Moment of Clarity” quest step refers to.
Update (March 12): We’ve added info about the “Moment of Clarity” step.
Where to find Taken Osseous Fragments in Destiny 2
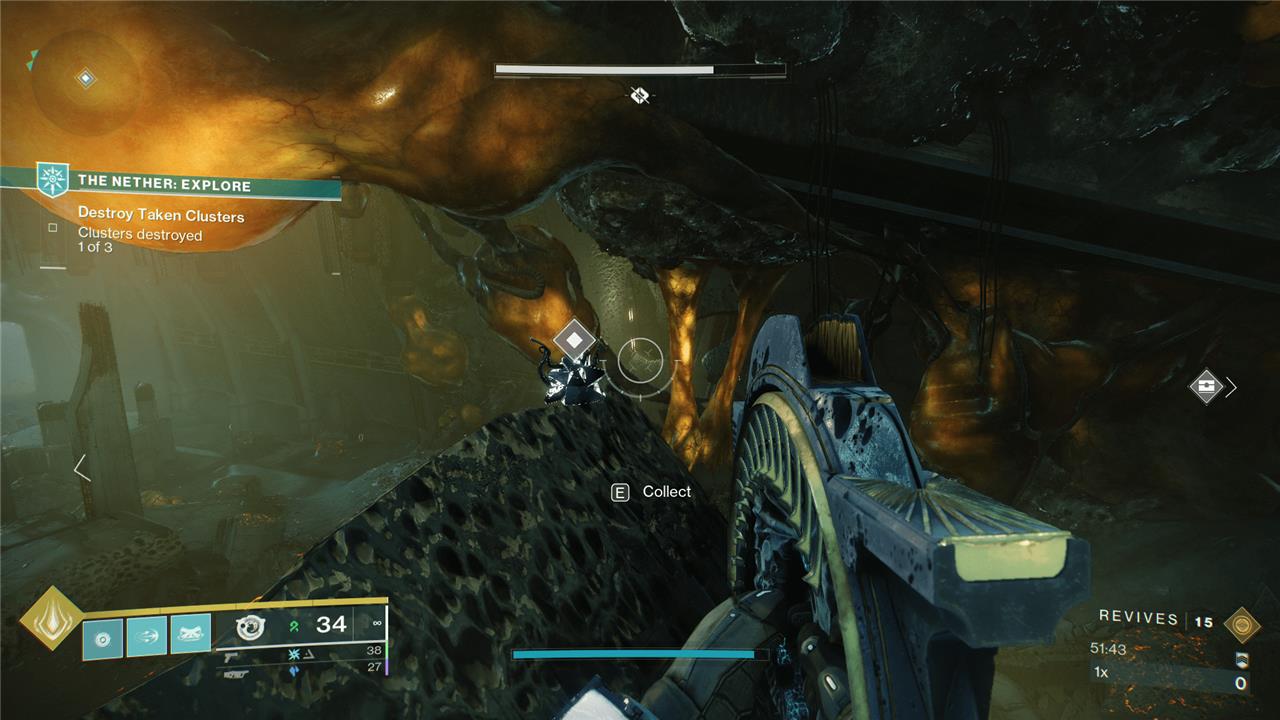
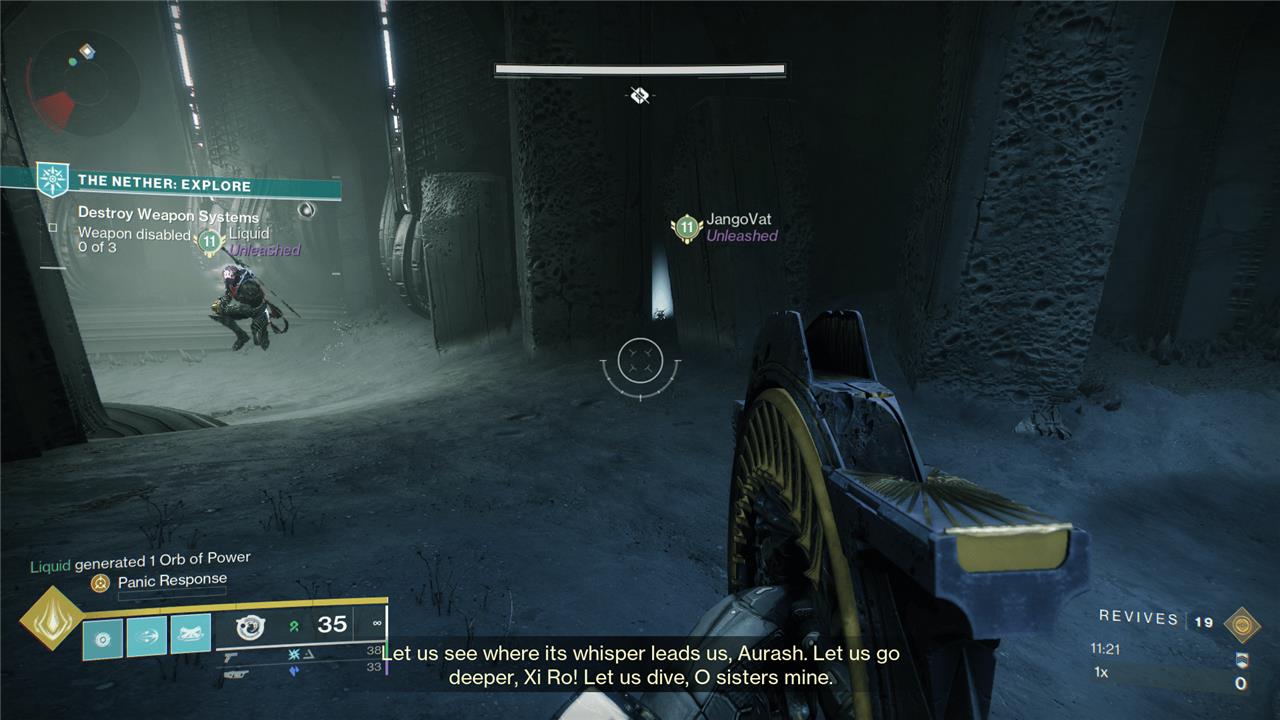
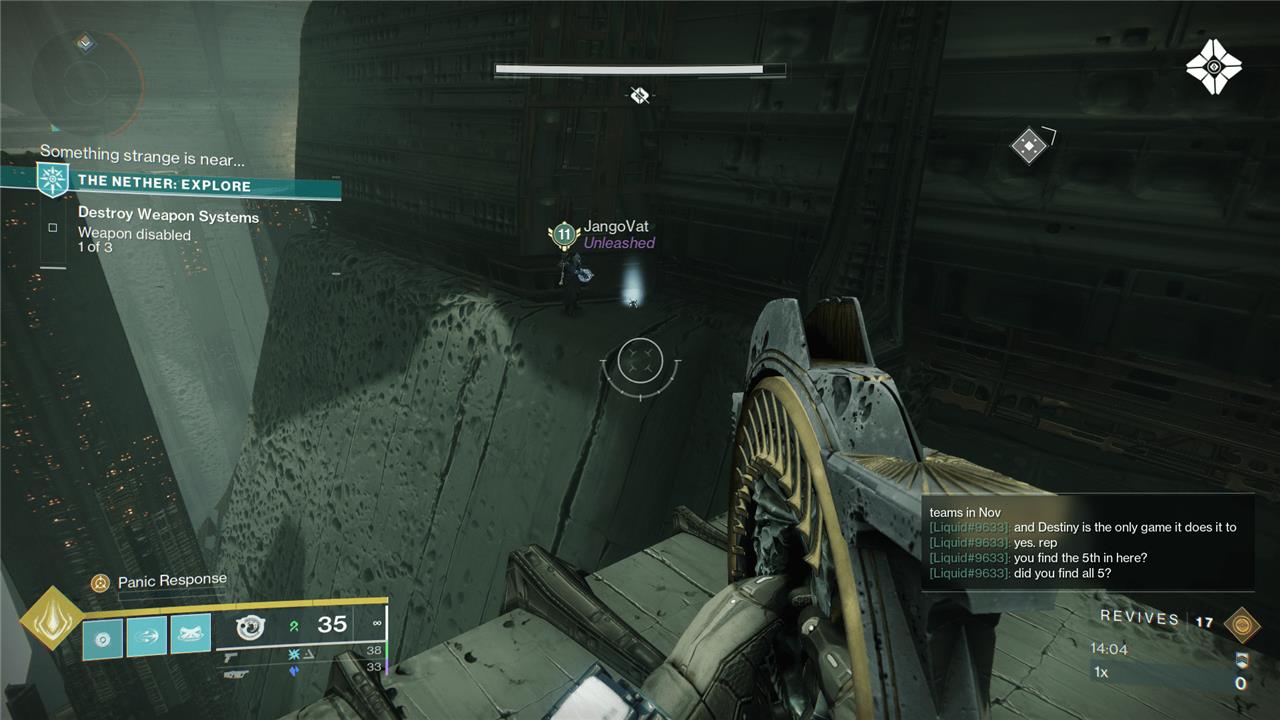
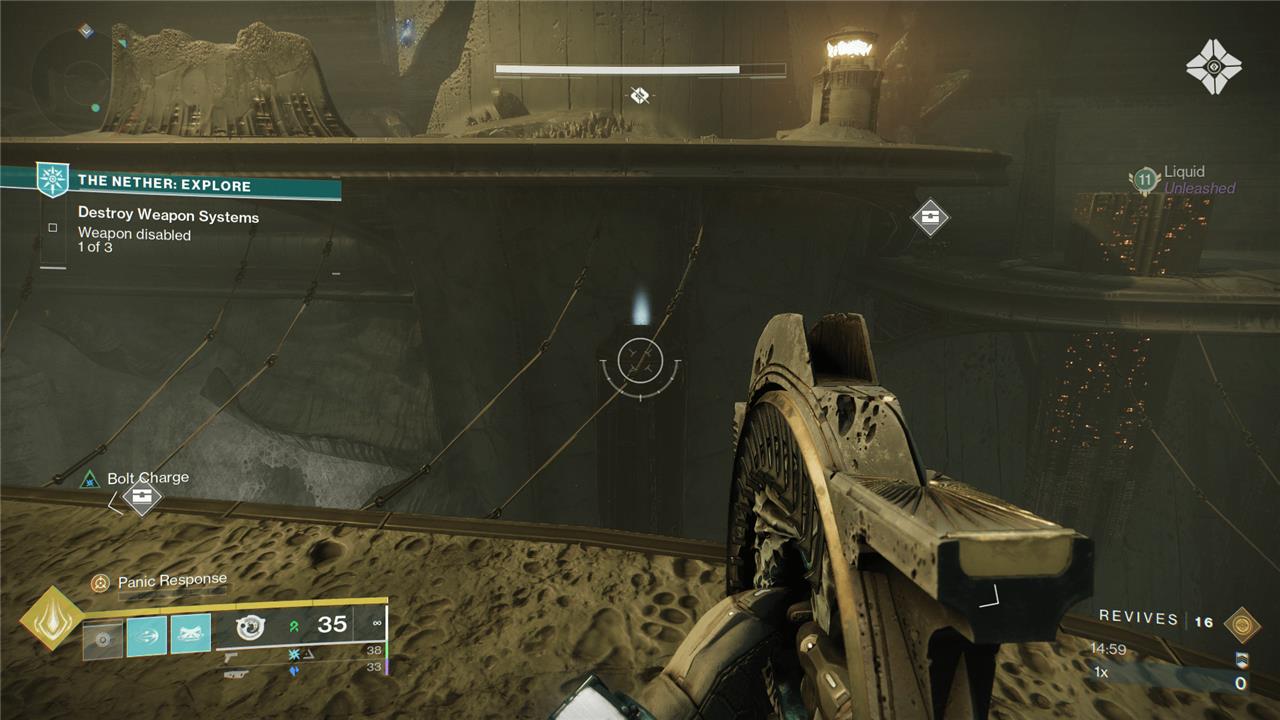
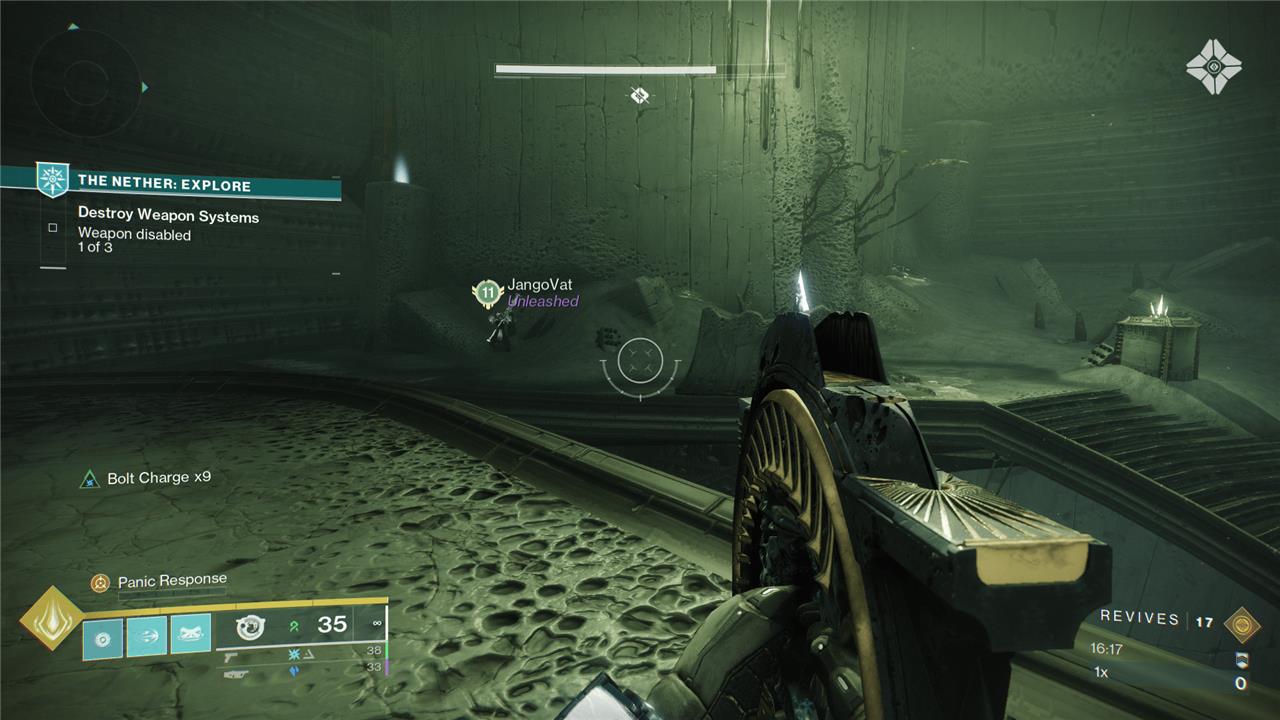
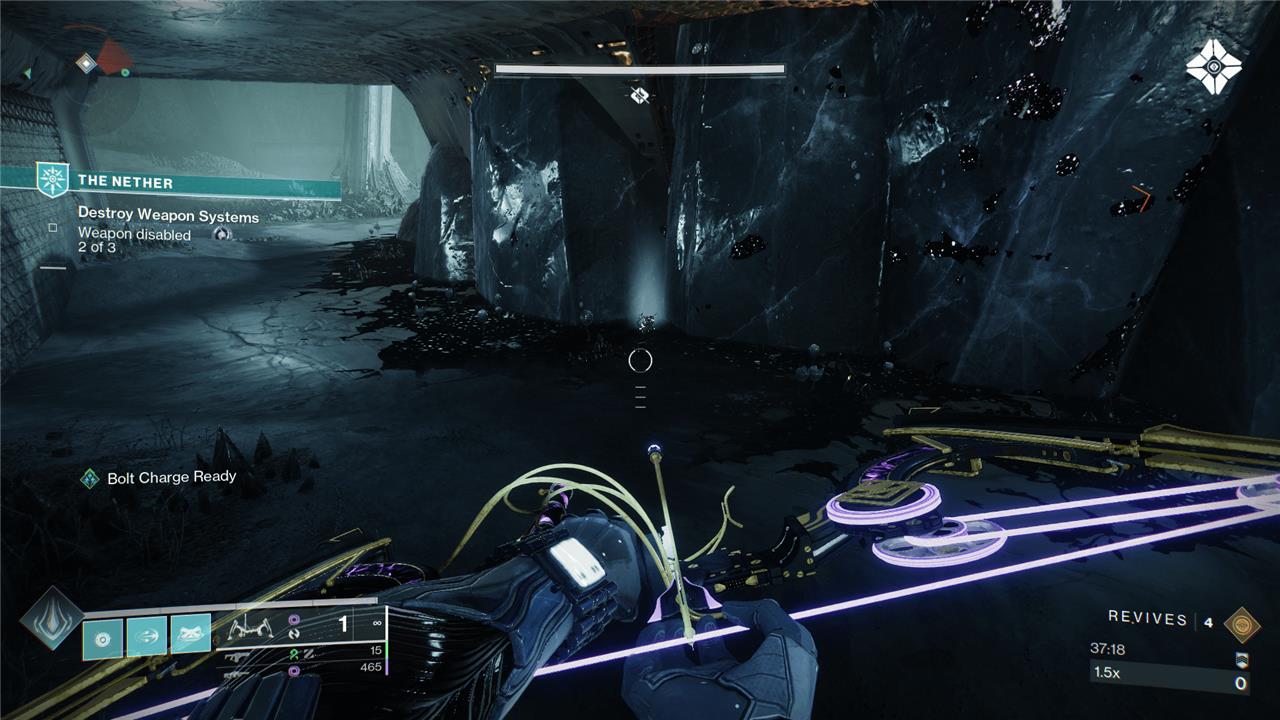
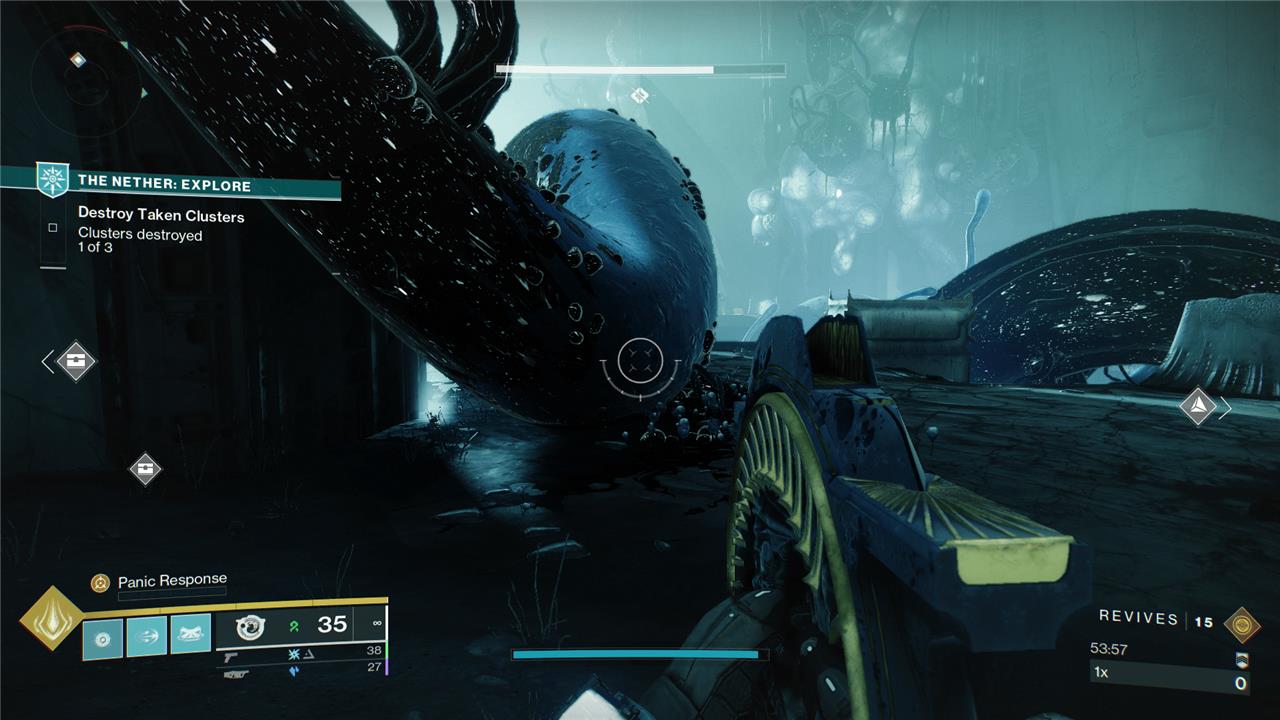
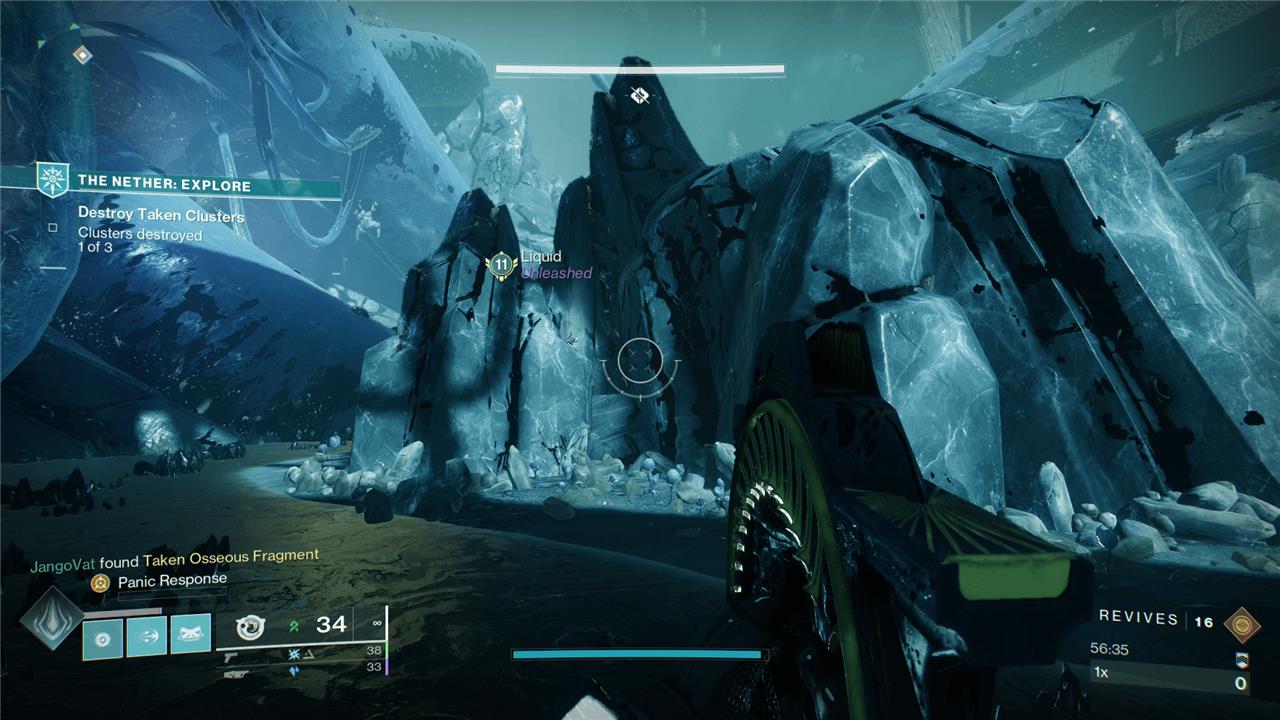
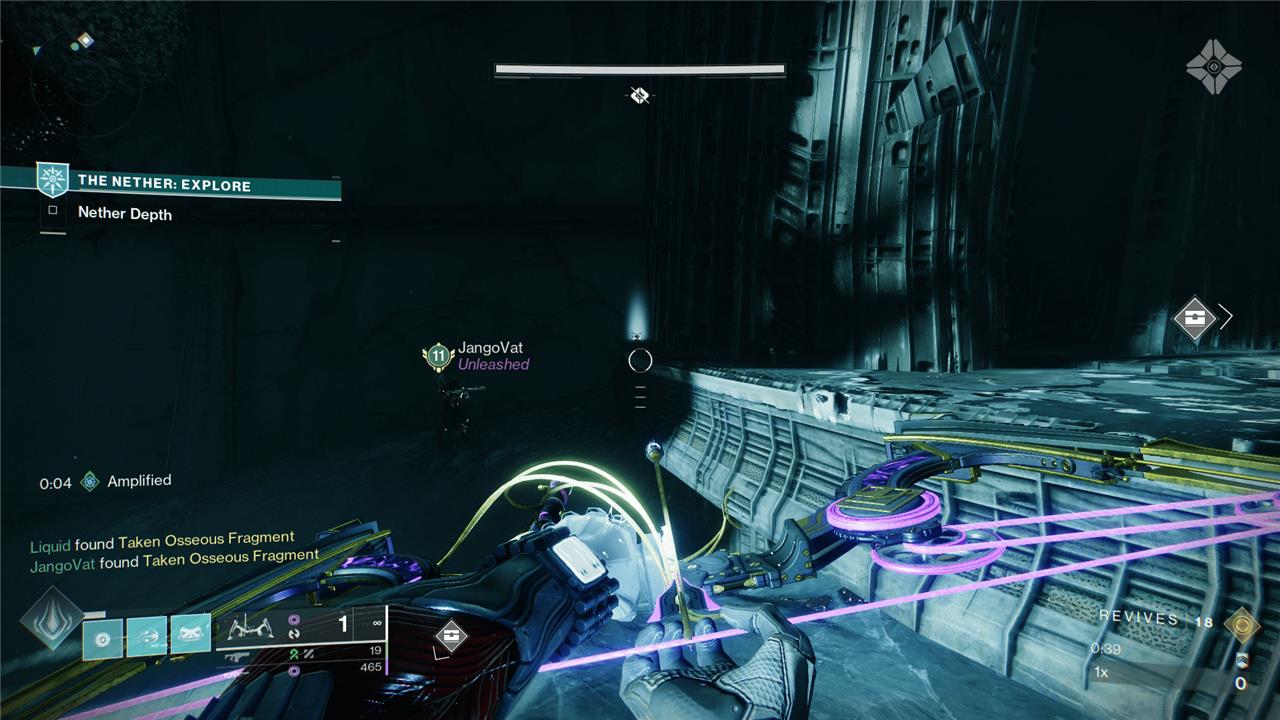
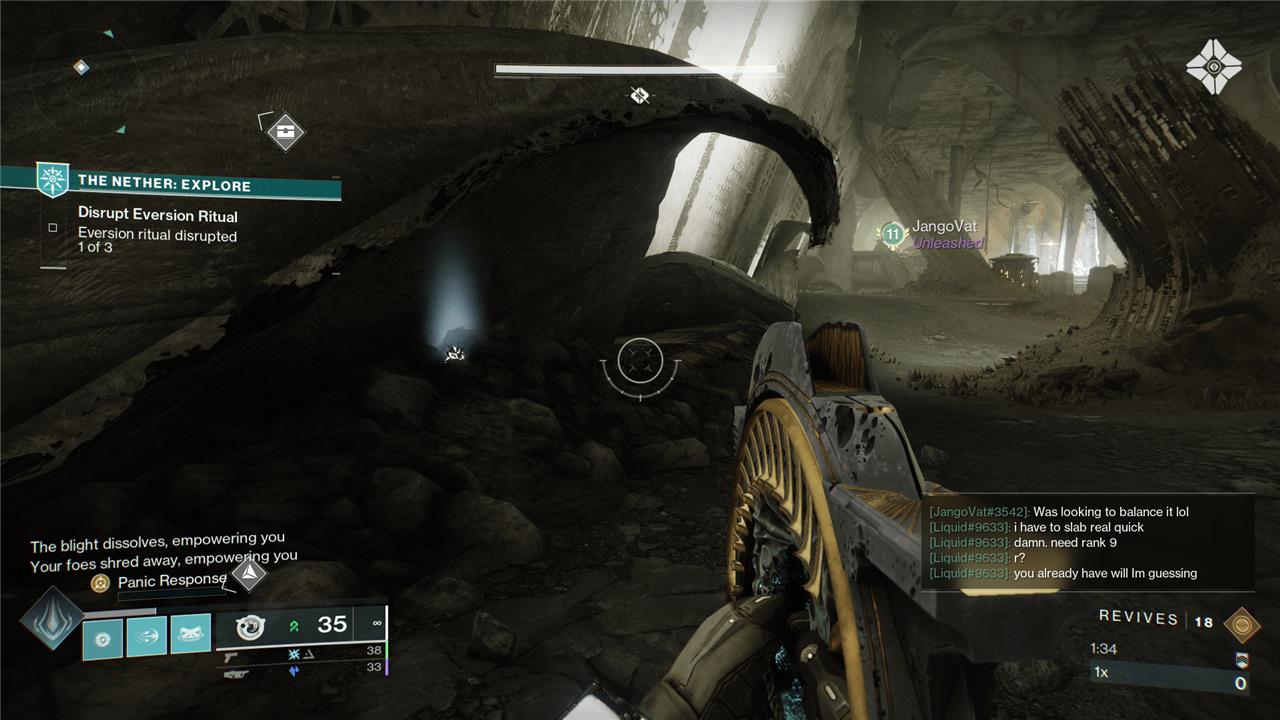
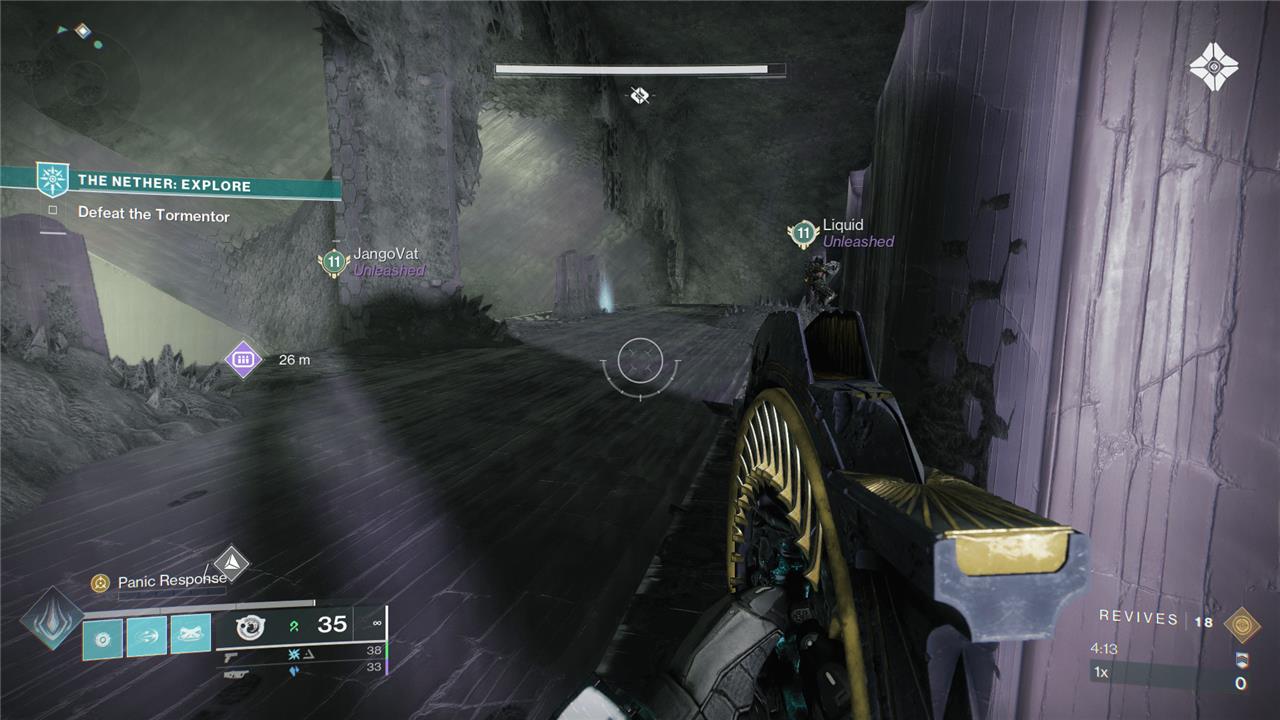
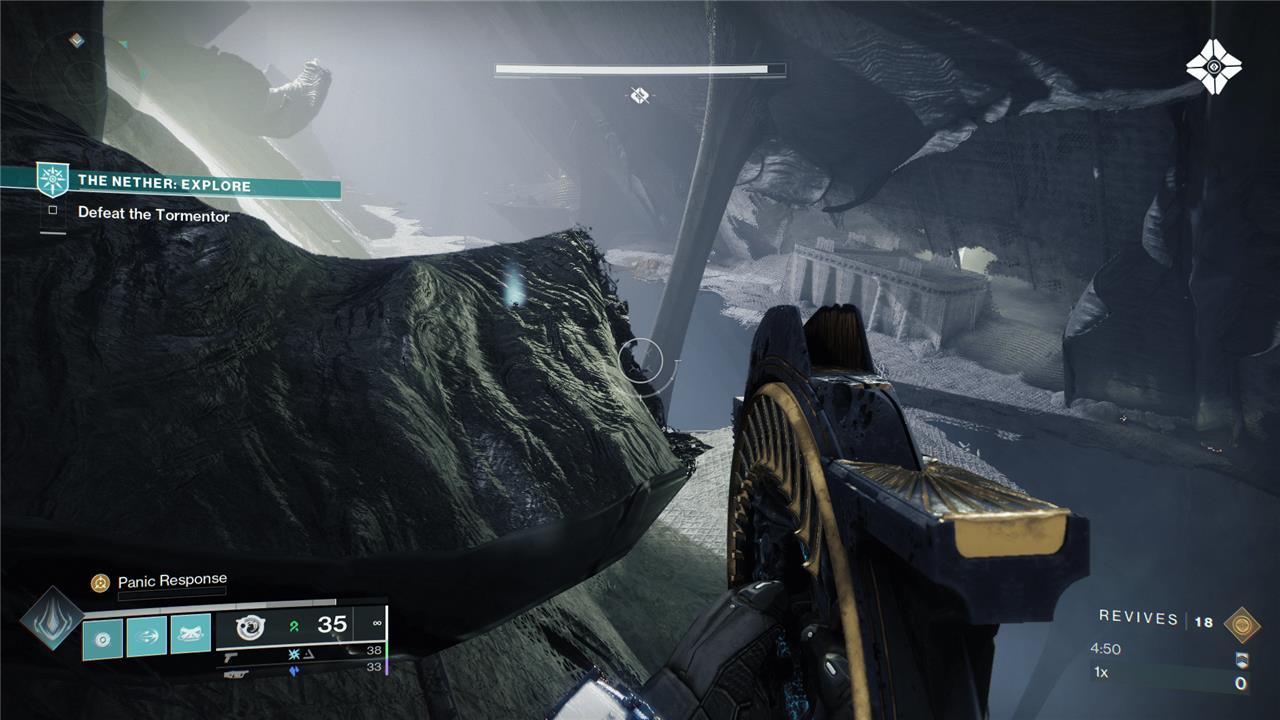
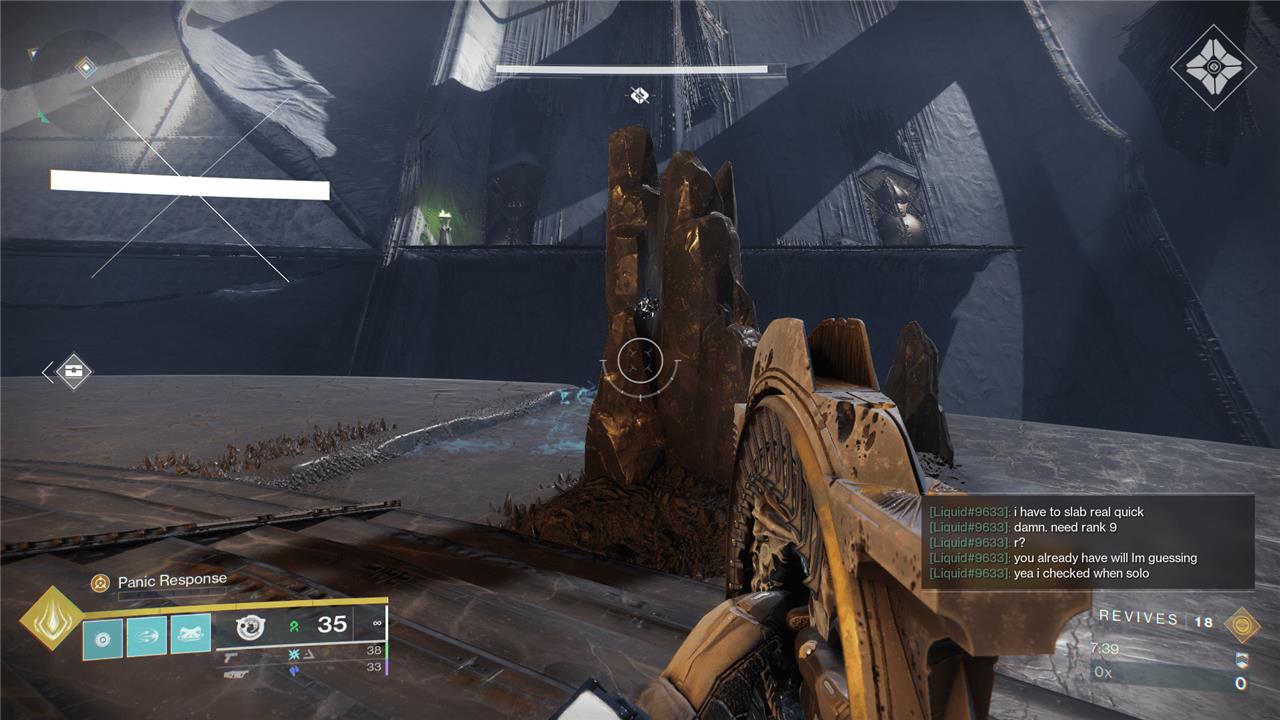
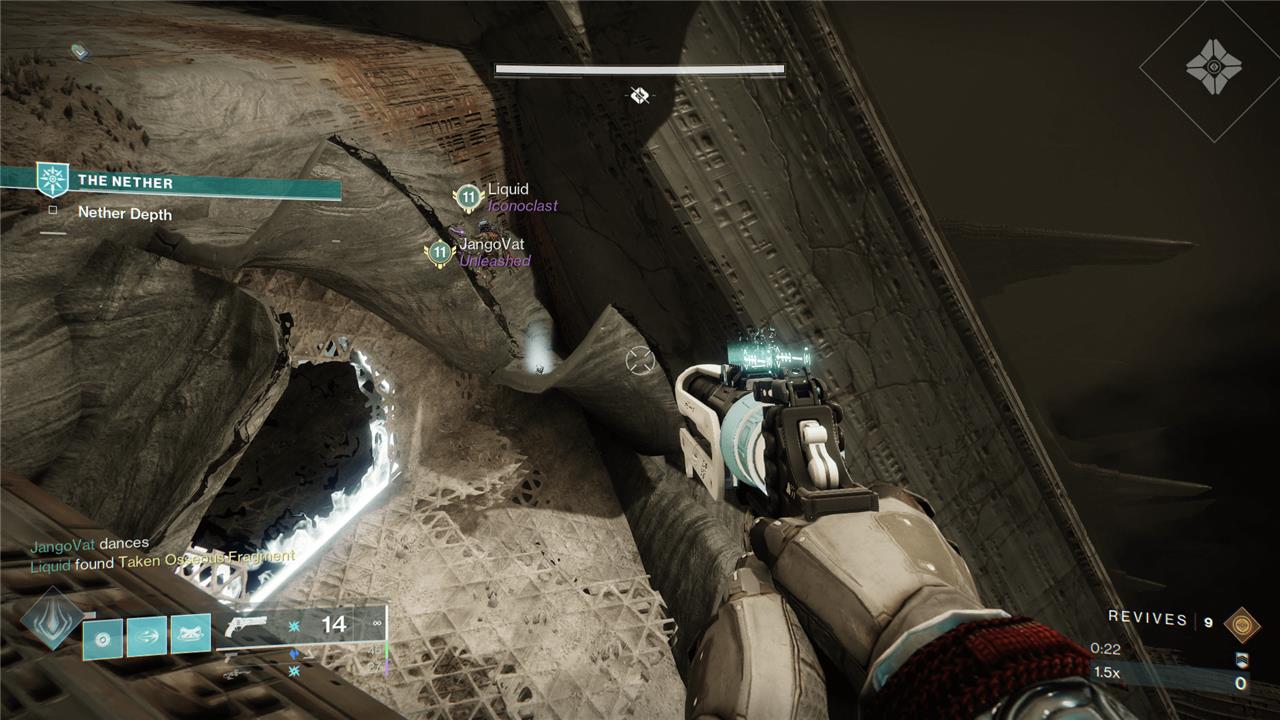
To find Taken Osseous Fragments in Destiny 2 for the ’Dyadic Ascension’ quest, players need to explore the Dreadnaught during The Nether activity. There are 18 fragments scattered across three main areas: the Trenchway, the Hall of Souls, and the Mausoleum, with six fragments in each zone. You only need to collect 12 fragments to progress, but gathering all 18 is recommended for future upgrades. The fragments are often hidden on elevated platforms, under tentacles, near boss arenas, or tucked away in corners and debris. They become visible on your radar when nearby, making it easier to locate them if you know their common spots, such as under bridges, atop pillars, or near warped platforms.
Steps 2 and 4 of “Dyadic Ascension” ask you to hunt down six and then 12 Taken Osseous Fragments inside the Dreadnaught (these steps are collective, so it’s six per step, not 18 total).
These are little collectibles, similar to the ones you found during “The Taken Path,” and they show up on your radar once you’re close to them – making them easy to spot if you know the general locations, which we’ll give you below. As of this writing, there appear to be 18 of them – six in each of the main Dreadnaught areas.
Steps 1 and 3 require you to unlock certain perks on the Mastery of Resolve reputation track. Step 1 requires you to hit rank 5 with the Shaping Slab, which will net you the “Steel Your Nerves” perk. Step 3 will ask you to hit almost max rank, rank 9, to get the “Unbreakable Will” perk.
Rank 5 is extremely quick to hit, and you should be there, or close to there, if you’ve finished the seasonal story thus far. Rank 9 is a bit more of a grind, but you can manage to get it pretty quickly if you play The Nether and get some of the secret chests inside each time.
Below, we’ll tell you where to find the Taken Osseous Fragments in each of the three main areas. You’ll unlock the Panic Response II and Panic Response III Intrinsic upgrades when you finish steps 2 and 4 respectively.
Hall of Souls Taken Osseous Fragment locations
There are six Taken Osseous Fragments scattered around the Hall of Souls, often in places that are easy to fall off of, so make sure you have revive tokens on hand or Strand grapple equipped.
Hall of Souls Taken Osseous Fragment 1
When you spawn into the Mausoleum from the Trenchway – and you have that long, chitinous bridge – to the left of the main arena, head right and through the doorway. You’ll find a Taken Osseous Fragment hiding behind some of the big stone slabs in the hallway.
Hall of Souls Taken Osseous Fragment 2

After Taken Osseous Fragment 1, through the main weapon chamber with the Tormentor, jump down and back when you reach the next bridge to find a Taken Osseous Fragment resting below the platform.
Hall of Souls Taken Osseous Fragment 3
Across the same bridge for Taken Osseous Fragment 2, past The Ravenous enemy, jump along the big pillars and land on a lip to your right, where you’ll find another Taken Osseous Fragment.
Hall of Souls Taken Osseous Fragment 4
Continue jumping on the slabs from Taken Osseous Fragment 3 and round the corner. Walk forward from where you land, and instead of jumping up to the next platform, look under it to find a cylinder with a Taken Osseous Fragment resting on it.
Hall of Souls Taken Osseous Fragment 5
From Taken Osseous Fragment 4, take a left and run through the next chamber until you reach an exit barred off by Taken energy. Facing the door, look to your left and you’ll find the final Taken Osseous Fragment for this area resting on a pillar.
Hall of Souls Taken Osseous Fragment 6
In the side, blue weapon room that houses the event where you have to interact with the Pyramid Crux to drop the shield, there is a back path under the platform that’s blocked off from the front because of crystals. Go through the tunnel and you’ll find the Taken Osseous Fragment resting on the back side.
Mausoleum Taken Osseous Fragment locations
There are six Taken Osseous Fragments in the Mausoleum, including one in the final boss arena.
Mausoleum Taken Osseous Fragment 1

At the back of the area, across from the trench and near the infected ship, you’ll find a Taken Osseous Fragment glowing on top of a pillar.
Mausoleum Taken Osseous Fragment 2
Near the opening of the trench but still on the upper floor, you’ll find a Taken Osseous Fragment hidden under the large tentacle on the left side of the room.
Mausoleum Taken Osseous Fragment 3
Under the elevated platform in the middle of the room, you’ll find the third Taken Osseous Fragment glowing in a corner under the crumbled bridge.
Mausoleum Taken Osseous Fragment 4
Inside the trench, on the way to the final boss, you’ll see a cliff of crystals to your right. There is a Taken Osseous Fragment resting on one of the crystals.
Mausoleum Taken Osseous Fragment 5
In the boss arena, on the right side if you’re facing the Ogre, you’ll find a Taken Osseous Fragment sitting on the back of a rock.
Mausoleum Taken Osseous Fragment 6
From the platform you spawn on – the big, circular disk on the far right of the room if you’re looking at the tentacle trench – jump over the crystals behind you and hug the right side of the Dreadnaught wall. You’ll find the Taken Osseous Fragments tucked in the corner on a little ledge.
Trenchway Taken Osseous Fragment locations
There are six Taken Osseous Fragments in the Trenchway, including three in the boss’ general area, so be careful as you explore.
Trenchway Taken Osseous Fragment 1
To the left of where the boss is standing, doing his ritual, you’ll see a Taken Osseous Fragment resting on a curled up lip of the Dreadnaught. Jump up the pillar to grab it.
Trenchway Taken Osseous Fragment 2
To the left of Taken Osseous Fragment 1, you’ll find another tucked into some rubble on the ground.
Trenchway Taken Osseous Fragment 3
Inside, where the pair of Subjugators typically spawn, you’ll find a rectangular platform. Jump onto it and you’ll find another Taken Osseous Fragment.
Trenchway Taken Osseous Fragment 4
Across the gap from Taken Osseous Fragment 3, you’ll find a large lip curled up on the wall. Jump up to it to get another Taken Osseous Fragment.
Trenchway Taken Osseous Fragment 5
Inside, on the far right side of the arena, you’ll find the area where Oryx’s throne was back in The Taken King – a circular outcropping. Use the invisible platforms to jump over and you’ll find a Taken Osseous Fragment embedded in a stone pillar.
Trenchway Taken Osseous Fragment 6
Outside in the Trenchway, on the far left side (looking from the inside area), on the platform you spawn into the Trenchway on when it’s your starting location, look to your right. You’ll see a small lip with a Taken barrier doorway on it. Next to that doorway is a Taken Osseous Fragment. Jump down and grab it.
How to get past the ’Moment of Clarity’ step in ’Dyadic Ascension’
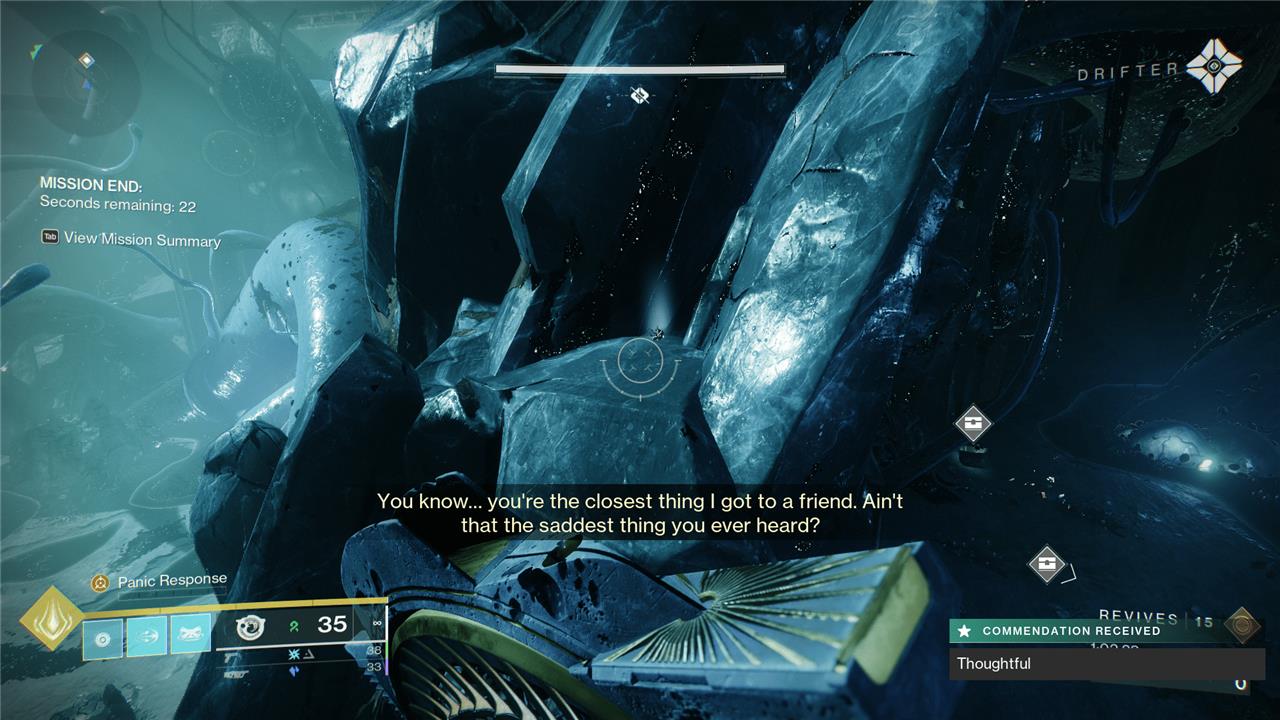
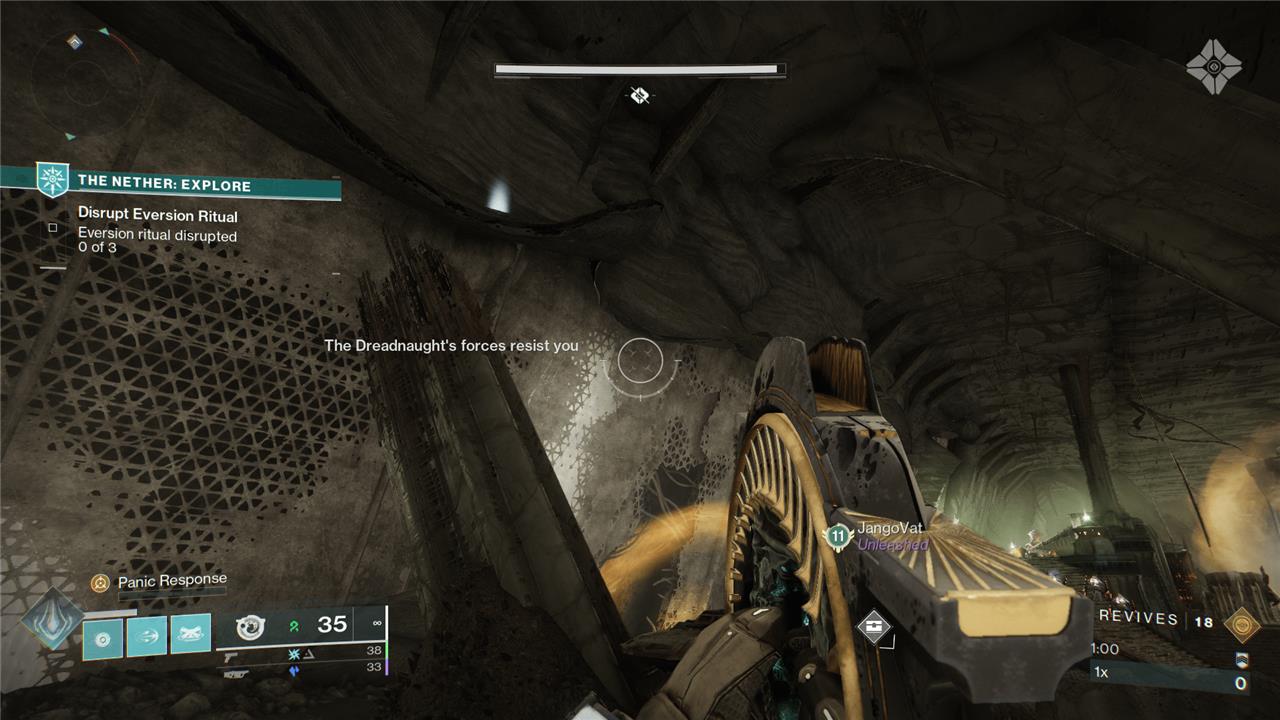
To get past the ’Moment of Clarity’ step in the ’Dyadic Ascension’ quest in Destiny 2, you need to reach Rank 12 with the Shaping Slab, which unlocks the Moment of Clarity upgrade on the Path of Resolve. However, this step is time-gated and was not available until the release of Act 2 of the Heresy episode on March 11, 2025. Until then, players cannot progress beyond this point because the upgrade itself is locked by Bungie. Once the update is live, you can acquire the Moment of Clarity upgrade from the Shaping Slab and then complete an expert difficulty run of The Nether to finish the quest. If you have already done the run, the quest will auto-complete upon claiming the upgrade.
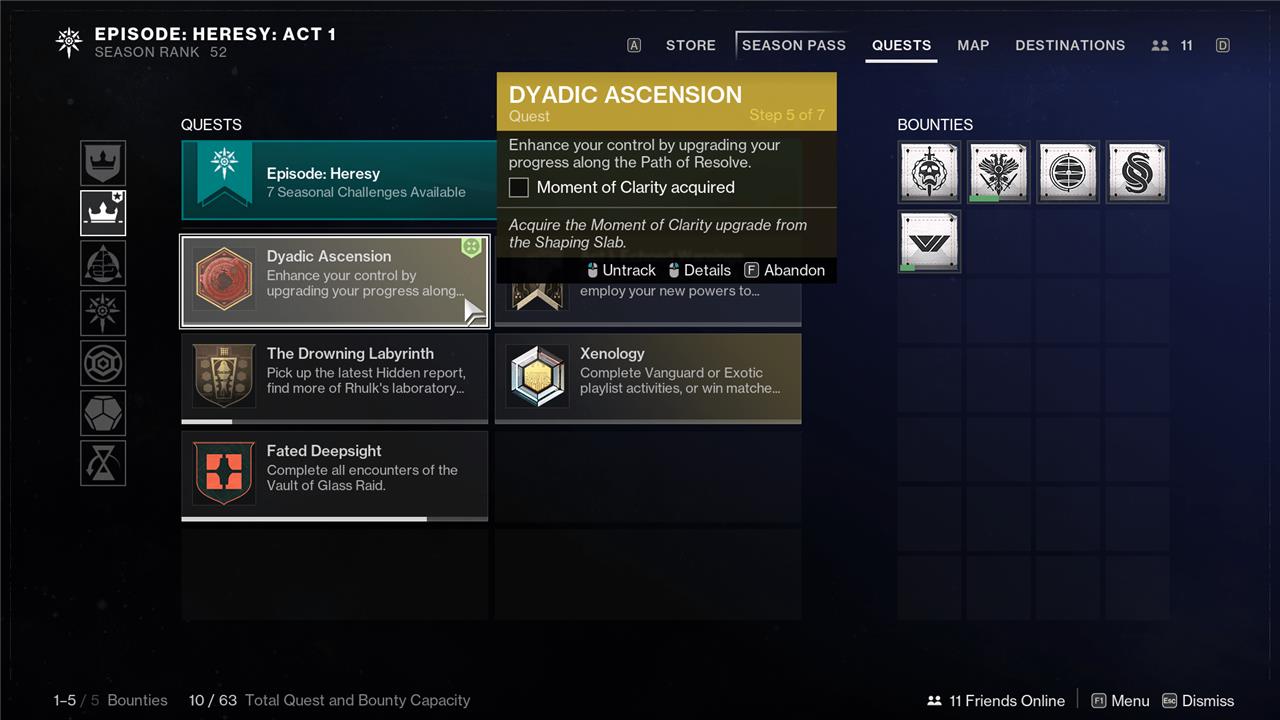
With the release of Act 2, you’re able to get the Moment of Clarity upgrade on the Path of Resolve. To do this, you just need to get your reputation up to level 12 and pick up the Moment of Clarity perk at the Shaping Slab.
The quest will then ask you to collect the rest of the Taken Osseous Fragments (which we’ve listed above). You’ll also need to complete a single Expert difficulty run of The Nether. If you’ve already gotten all the fragments and done an Expert run, getting Moment of Clarity will auto-complete the final two steps of the quest and instantly reward you with the Panic Response IV Intrinsic Upgrade.
Want to unlock the powerful intrinsic upgrade for your Barrow-Dyad
To unlock the powerful intrinsic upgrade for your Barrow-Dyad in Destiny 2, you first need to reach rank 12 on the Path of Resolve at the Shaping Slab in Eris Morn’s apartment, which unlocks the “Moment of Clarity” upgrade and allows you to start the intrinsic upgrades quest. Next, collect 18 Taken Osseous Fragments scattered around the Nether, ideally all in one go for efficiency, then return to the slab to complete the first four intrinsic upgrades. After that, you will receive the “Diadic Perfection” quest requiring you to gather six more fragments in the Sunless Cell strike and complete the strike itself. Completing these steps fully unlocks the intrinsic upgrades, enhancing your Barrow-Dyad’s exotic perks and power.
What are the exact steps to unlock all intrinsic upgrades for Barrow-Dyad
Here are the steps to unlock all intrinsic upgrades for the Barrow-Dyad exotic SMG in Destiny 2:
-
Reach Rank 12 on the Path of Resolve: Level up your Shaping Slab on the Path of Resolve until you unlock the “Steal Your Nerves” path Mastery. Complete various episodic activities, wearing the episodic armor for a boost, to level up until you reach the final level.
-
Collect 18 Taken Osseous Fragments in The Nether: These fragments are scattered throughout the Nether in the Trenchway, Hall of Souls, the Melum, the Fs, and the Asylum. There are six in each starting area. The fragments glow and appear on your radar. It is recommended to collect all 18 fragments in one go.
-
Complete the First Four Intrinsic Upgrades: Return to the Shaping Slab to complete the first four intrinsic upgrades. You can complete these step-by-step, but collecting all 18 fragments at once is more efficient.
-
Acquire the “Diadic Perfection” Quest: After completing the Dyadic Ascension quest and unlocking four of the five intrinsic upgrades, continue the episode’s story until you unlock The Sunless Cell strike. The Shaping Slab will then offer you the “Diadic Perfection” quest.
-
Collect Six More Fragments in the Sunless Cell Strike: This quest requires you to collect six more fragments located in the Sunless Cell strike and complete the strike itself.
-
Complete the Sunless Cell Strike: Finish the Sunless Cell strike to fully unlock the intrinsic upgrades. If you complete the strike while using Barrow-Dyad and only SMGs, pulse rifles, and machine guns, this will count towards your future catalyst quest.