A storm brews atop the frozen peaks of the EDZ, where Destiny 2’s Warlord’s Ruin dungeon awaits-an ancient fortress teeming with Scorn, Taken, and deadly traps. From deceptive chests to labyrinthine puzzles and relentless bosses like Hefnd’s Vengeance, only the most prepared Guardians will survive the climb and claim the coveted Buried Bloodline exotic. Ready to brave the mountain’s secrets and emerge victorious? This guide will chart your course through every peril and reward that lies within.
In this Destiny 2 guide, we’ll teach you how to navigate the Warlord’s Ruin dungeon and slay the final boss, Hefnd’s Vengeance, Blighted Chimaera, plus show you where to find both secret chests.
How the Warlord’s Ruin dungeon starts
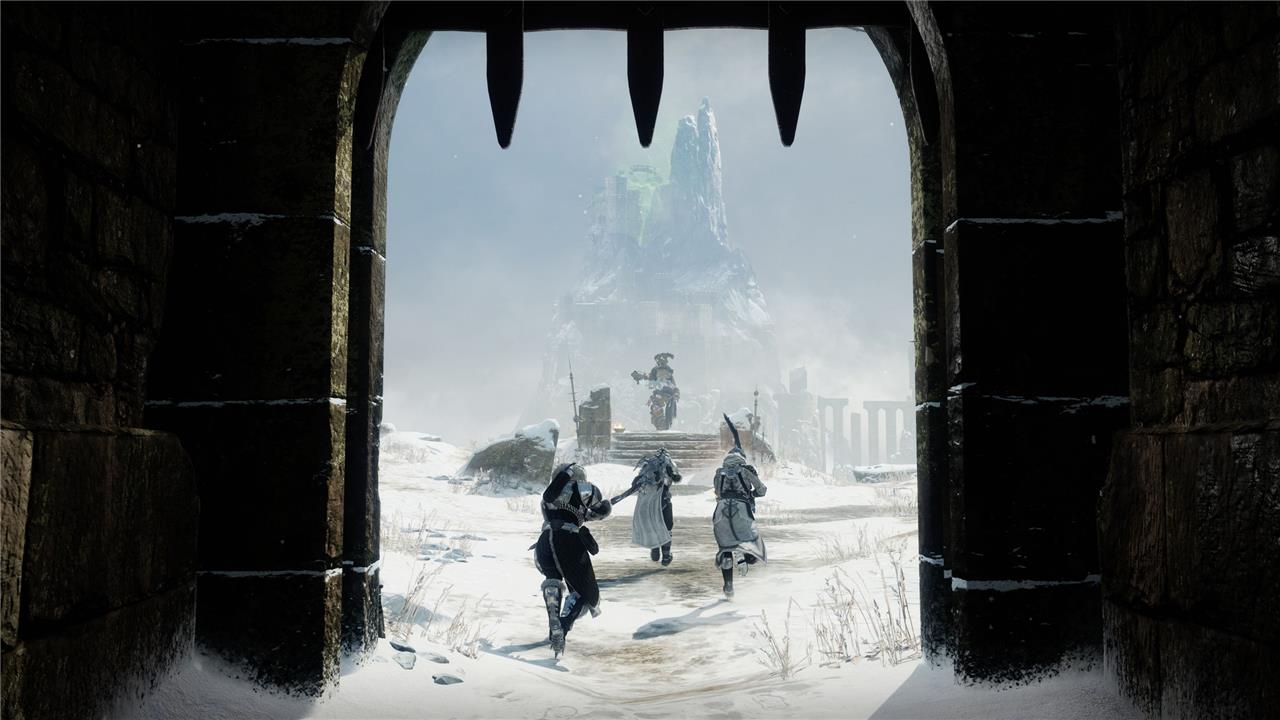
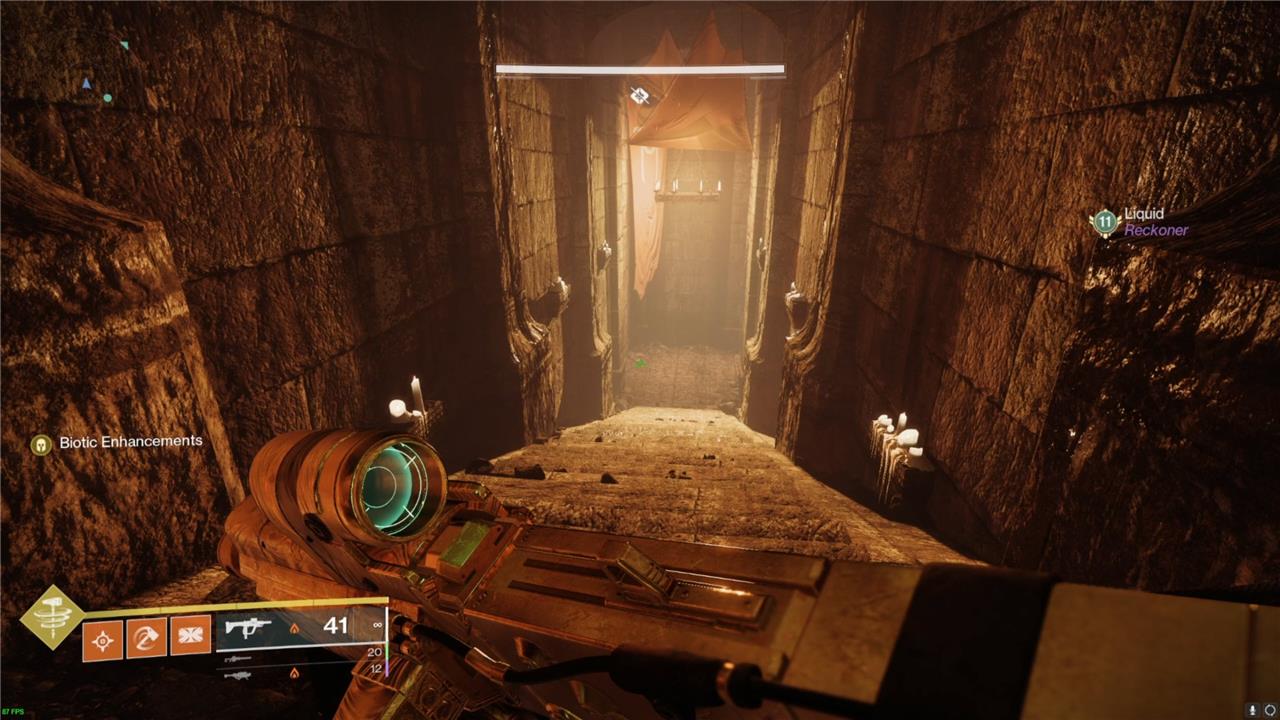
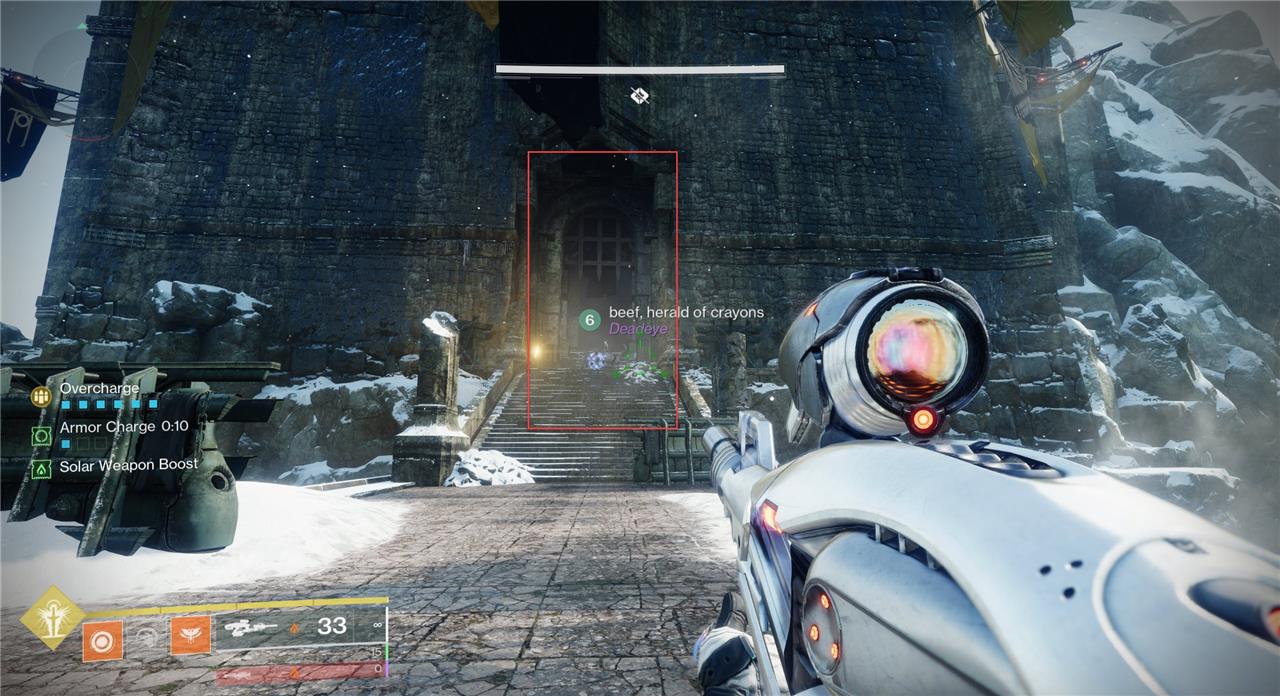
To start the Warlord’s Ruin dungeon in Destiny 2, you first need to visit Ikora Rey in the Tower and pick up the quest called “In the Shadow of the Mountain” (sometimes referred to as “Shadow of the Mountain”). Once you have the quest, open your Director, navigate to the EDZ, and launch the dungeon from the node located on the far right side of the map-where the Farm used to be. Upon entering, you’ll find yourself at the base of a snow-covered mountain; your first task is to ascend by following a series of jumping puzzles, using red flags as visual guides to find the correct path up to the fortress entrance. This traversal section sets the stage for the challenging encounters that await inside.
Unlike most other dungeons, you’re almost immediately dropped into the first encounter, but you’ll have to make your way up the mountain and into the stronghold first.
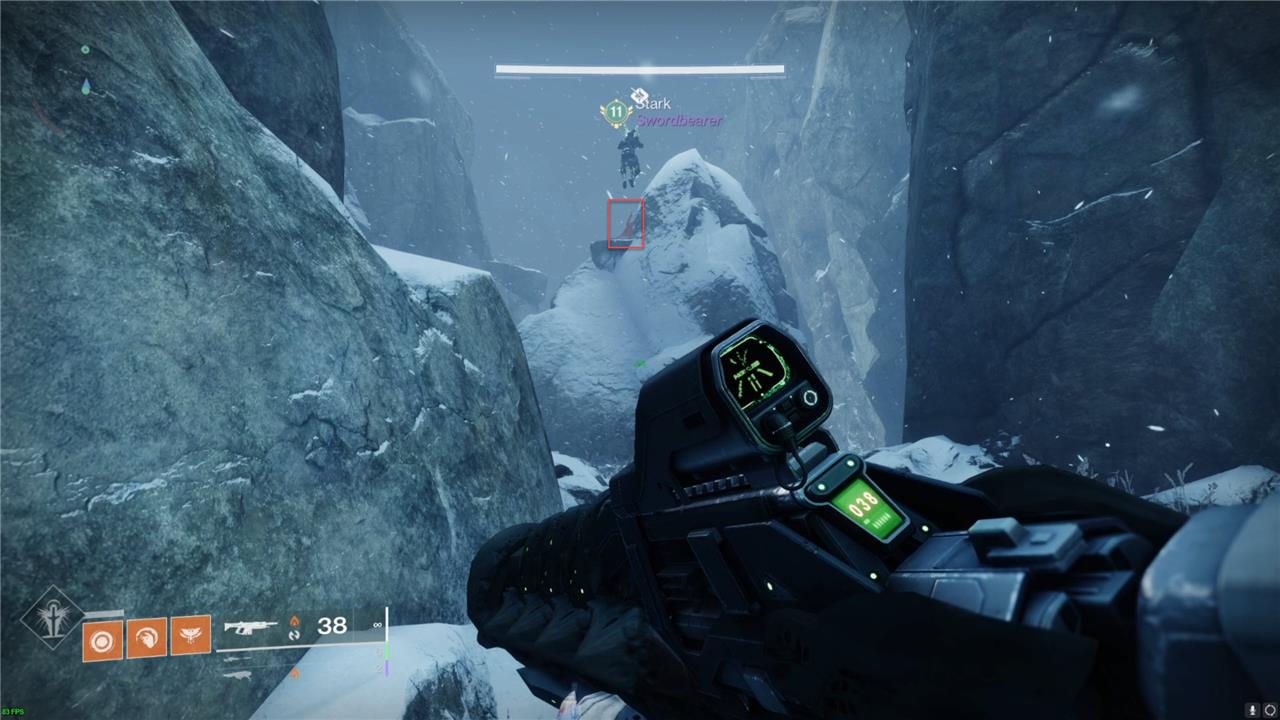
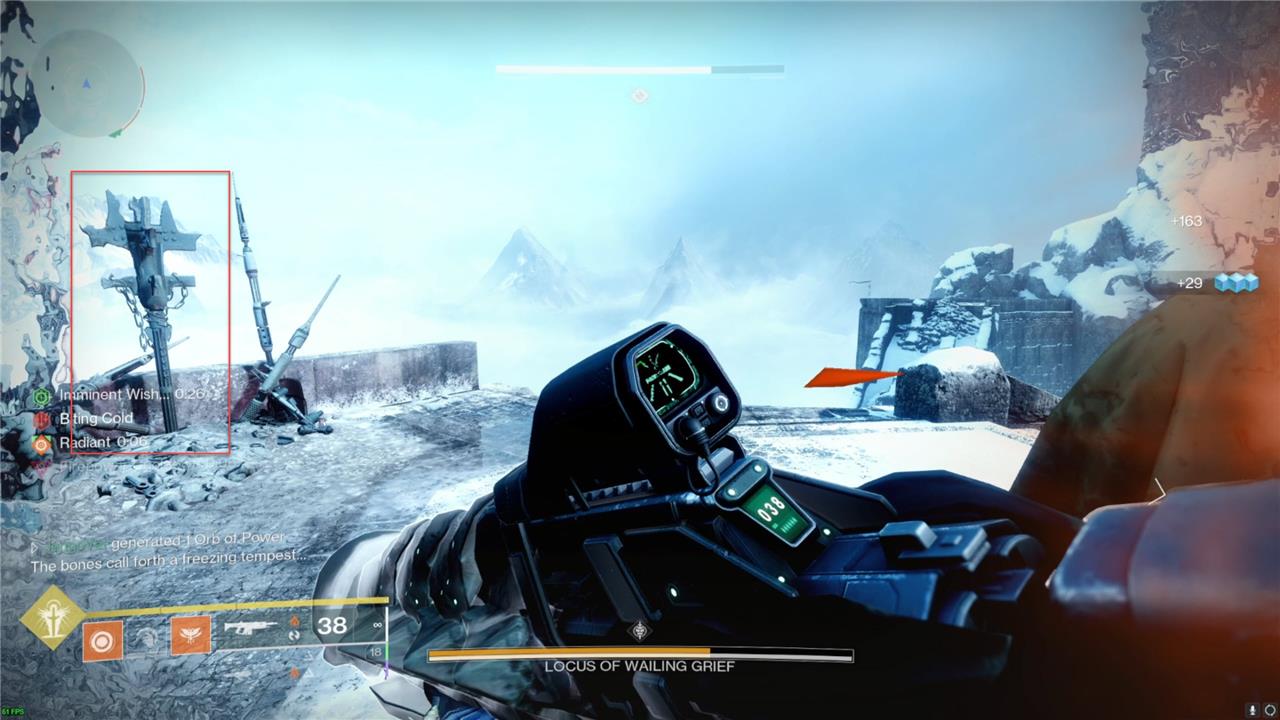
The path is straightforward, but if you ever get lost, keep an eye out for red flags like this one above to help guide your path.
Warlord’s Ruin first encounter – Rathil, Broken Knight Chieftain
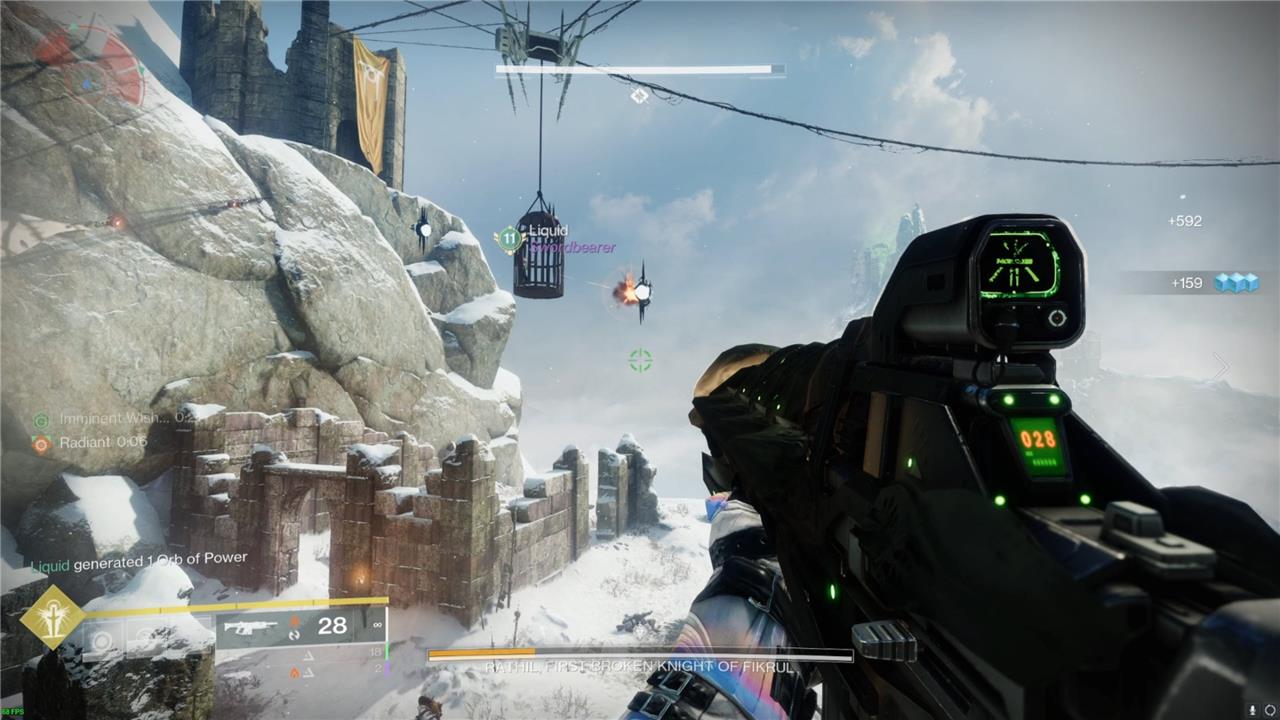
The first encounter in the Warlord’s Ruin dungeon pits your fireteam against Rathil, the Broken Knight Chieftain, and introduces the dungeon’s core mechanics. The battle begins with waves of Scorn enemies and Rathil himself attacking, while players must manage incoming damage and clear the arena. Shortly after the fight starts, all players are teleported into separate cages suspended above the arena, each surrounded by three Blighted Eyes-shooting these eyes is essential to escape before the cages kill you. Once free, the “Imminent Wish” timer begins, and Scorn Lanterns (totems) appear on the field. Stand inside the white circle around each Lantern to cleanse it; the more Lanterns you cleanse before the timer ends, the longer your subsequent damage phase will be. When “Rathil’s hex backfires!” appears, Rathil becomes vulnerable, and the “Naeem’s Wish Empowerment” buff marks your DPS window-use heavy weapons like rocket launchers or swords for maximum damage. If Rathil survives, the cycle repeats until he is defeated, unlocking the next stage of the dungeon.
Once you’ve made it into the stronghold, you’re ready to take on Rathil, Broken Knight Chieftain. This encounter has only a few steps to it, but it serves as a great teaching point for the primary mechanic of the Warlord’s Ruin dungeon.
The Scorn lanterns
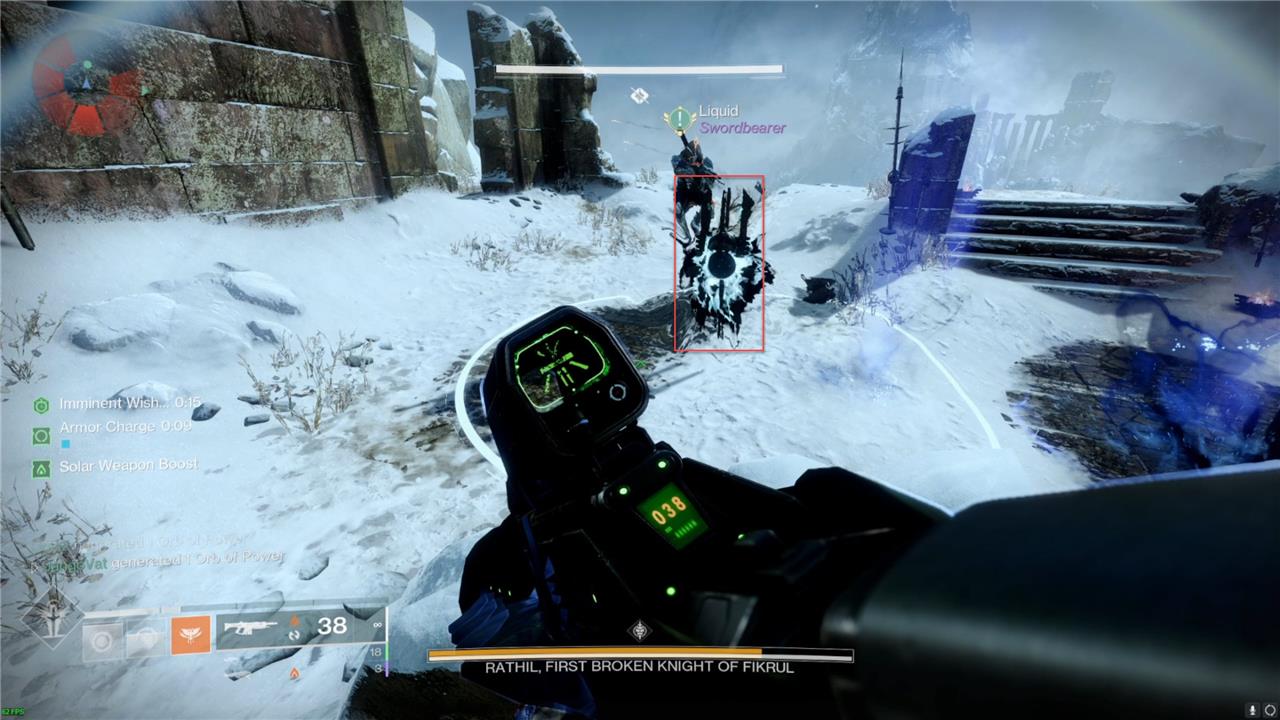
In each of the three encounters of Warlord’s Ruin, the boss or an enemy will drop Scorn lanterns onto the battlefield. The main thing that you’ll want to pay attention to is the small Taken Blight in the center.

Each lantern will have a white circle around it, denoting its radius.

Standing in that white circle will cause the Taken Blight to disappear and fade into a blue light with bones floating inside. This takes about five seconds but goes faster when you have more than one player in the circle. In every encounter, the goal is to do this before the “Imminent Wish” timer on the left side of the screen hits zero.
Coming out of the cage (and how to do just fine)
This first encounter has a very simple cycle. The boss will teleport you into one of the bird cages floating above the arena.
You’ll see three Taken eyes around each cage containing a guardian. The door to the cage will open once you kill the three eyes around you – then you can jump back to the ground.
Note that, if you do not kill the three eyes fast enough, the cage will raise up into a spike and kill you. Once you and your team are out of the cages, activate the Scorn lanterns by standing in the radius. You only need to activate one before the wish timer runs out to get to DPS, but if you activate multiple, you get more time to deal more damage.
DPS
Once the boss’s shield is down, it’s time to do damage. He doesn’t have a lot of health, so you can use whatever you feel most comfortable with, but rockets are always a good strategy.
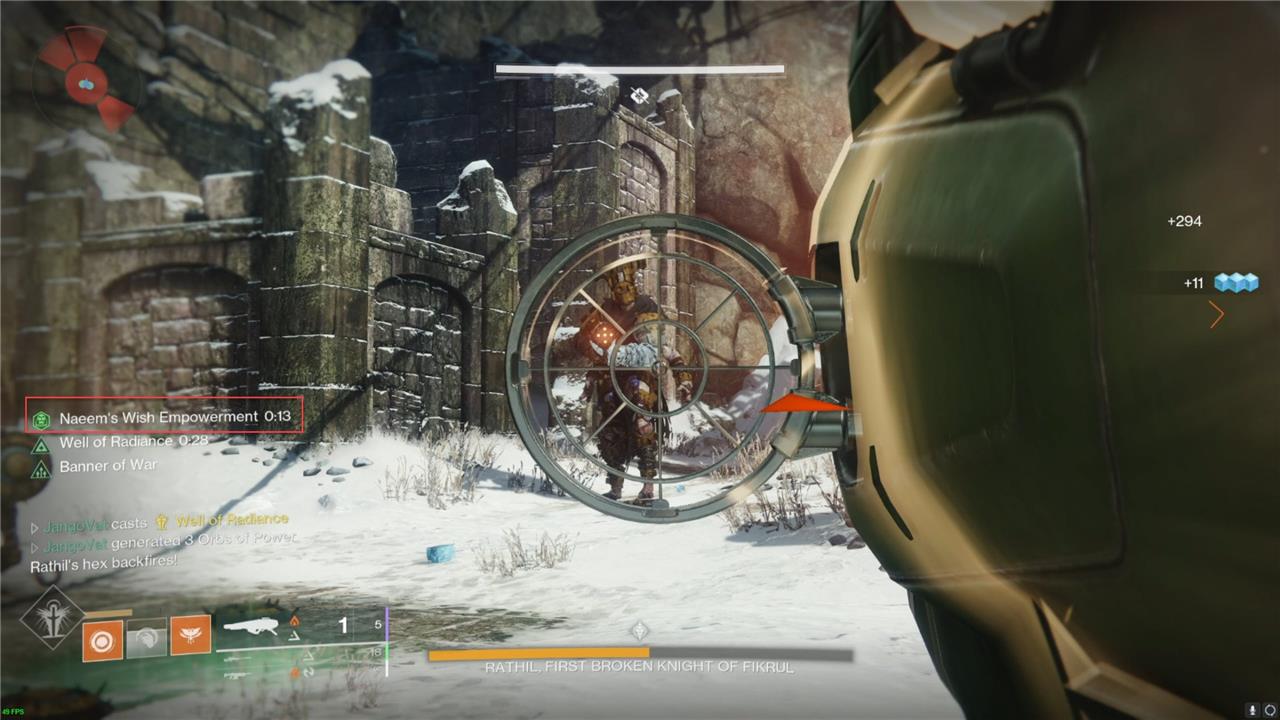
You can damage him until the “Naeem’s Wish Empowerment” buff on the left-hand side of your screen counts down to zero. Once the shield goes back up, repeat the process until you defeat him.
Warlord’s Ruin Cell Puzzle solution
The Warlord’s Ruin cell puzzle in Destiny 2 requires players to coordinate and interpret clues inside their prison cells to escape. Each cell contains a skeleton with tally marks-white marks indicate how many of the six dials (mechanical locks) must spin clockwise, while orange marks show how many must spin counterclockwise. Players shoot each dial to set its direction: one shot starts it spinning counterclockwise, another stops it, and a third makes it spin clockwise. Once the correct number of dials are set in each direction, a player must shoot the lever to unlock the cells. Communication is key in a team, but the puzzle can also be completed solo by moving between cells and setting the dials accordingly.
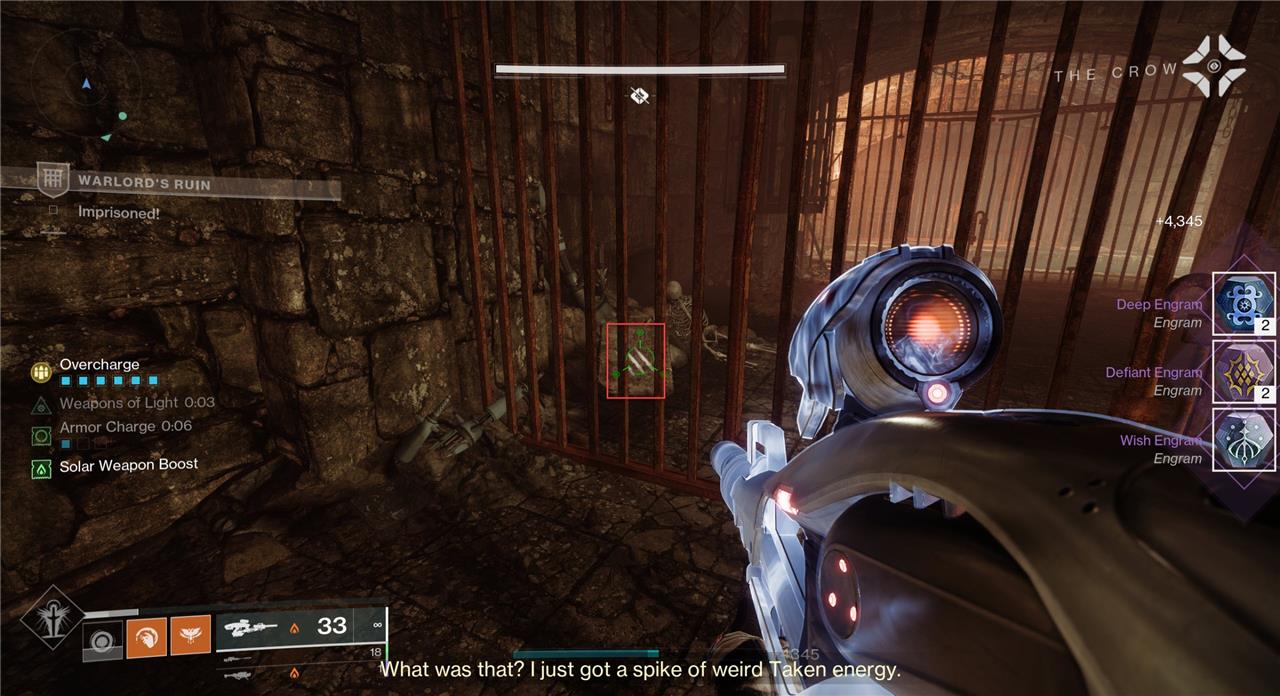
After you defeat Rahil, you’ll be teleported into a prison where you’ll have to break out. You’ll find sets of Roman numerals etched next to a skeleton in two of the cells.
These two numbers, let’s say X and Y, will add up to six.
Around the prison, you’ll see six dials that you can shoot.
- If you shoot them once, they turn on and spin counterclockwise.
- Shoot them again, and they stop spinning.
- Shoot them again, and they’ll spin clockwise.
Your goal is to have X dials spin clockwise, and Y dials spin counterclockwise. So in this example, you’d want three dials spinning counterclockwise and three dials spinning clockwise.
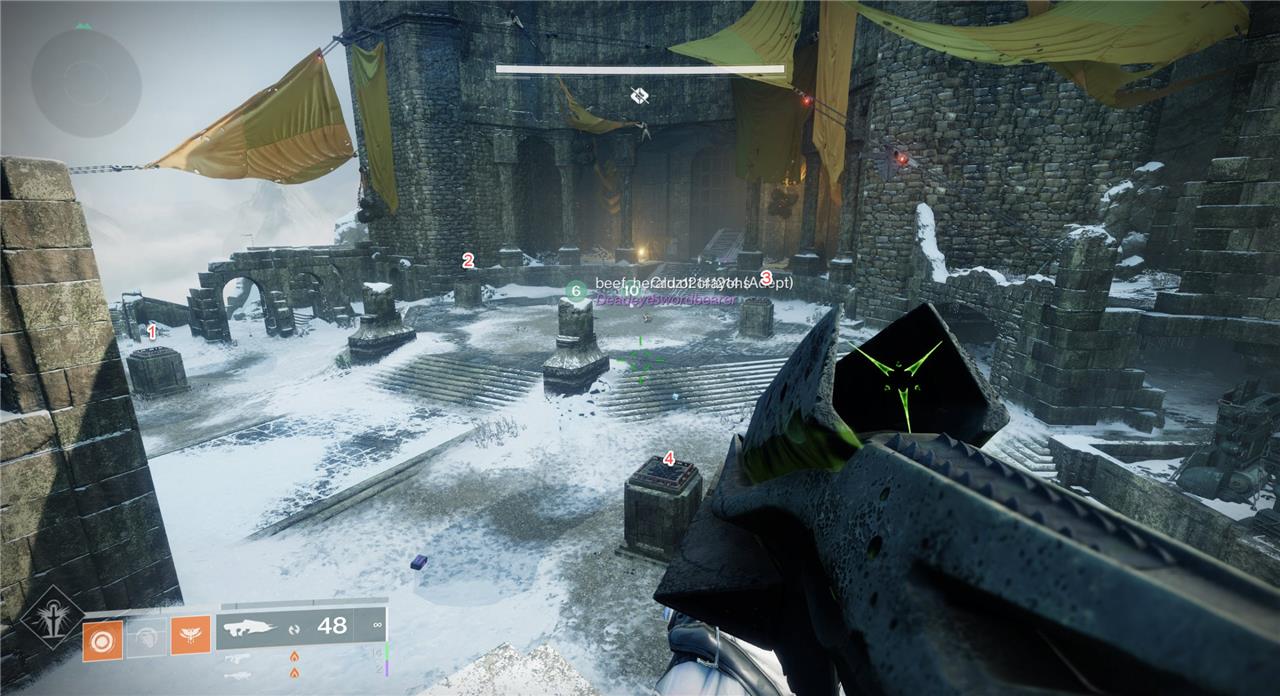
Once they are all spinning in the correct direction, shoot the glowing key in front of one of the cells, shown above, and the doors will open. Proceed through the maze and up the mountain until you reach the second encounter. And along the way you’ll find.
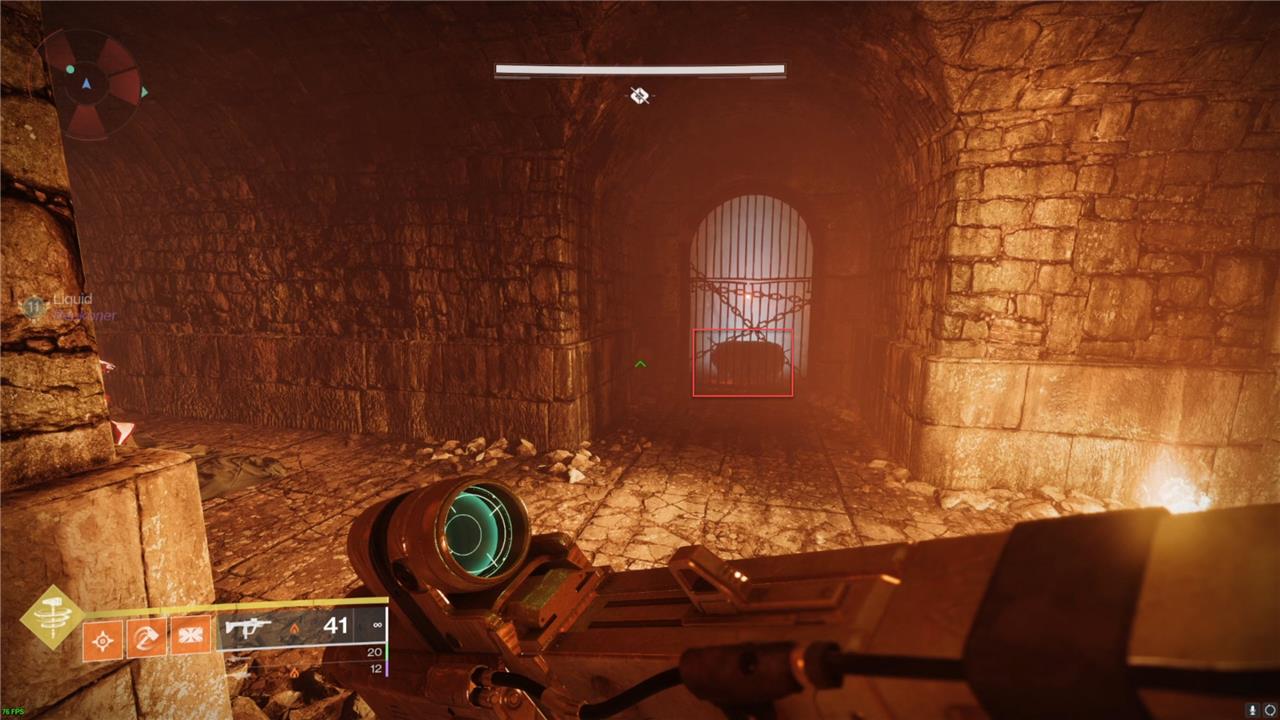
Warlord’s Ruin secret chest location 1
A ton of chests are hidden throughout Warlord’s Ruin, but only two contain loot. The others will spawn Screebs that will blow up and kill you. The first secret chest that contains loot will be in one of three possible locations after you escape the prison. The one that will contain loot for that run will be the one that doesn’t have the blue glowing effect. This effect can take some time to appear, so wait five to ten seconds before committing to that chest.
The first chest is located in the maze where you have to climb up over a small hallway of rubble.
Once you walk down the large stairs pictured above, take a right, then another right. If you can see the chest through the gate, you’ve gone too far. Follow the path over the rubble until you see the first possible chest.
The second possible chest is located in a room in the maze, right after the first chest.
You’ll know you’re in the right spot because a group of Scorn will spawn in the room when you enter it.
The third possible chest is located after you cross over the large bridge.
Once you reach the large set of stairs just below the second encounter, head into the keep instead of continuing along the path to the left.
You’ll find the first secret chest at the top of these stairs.
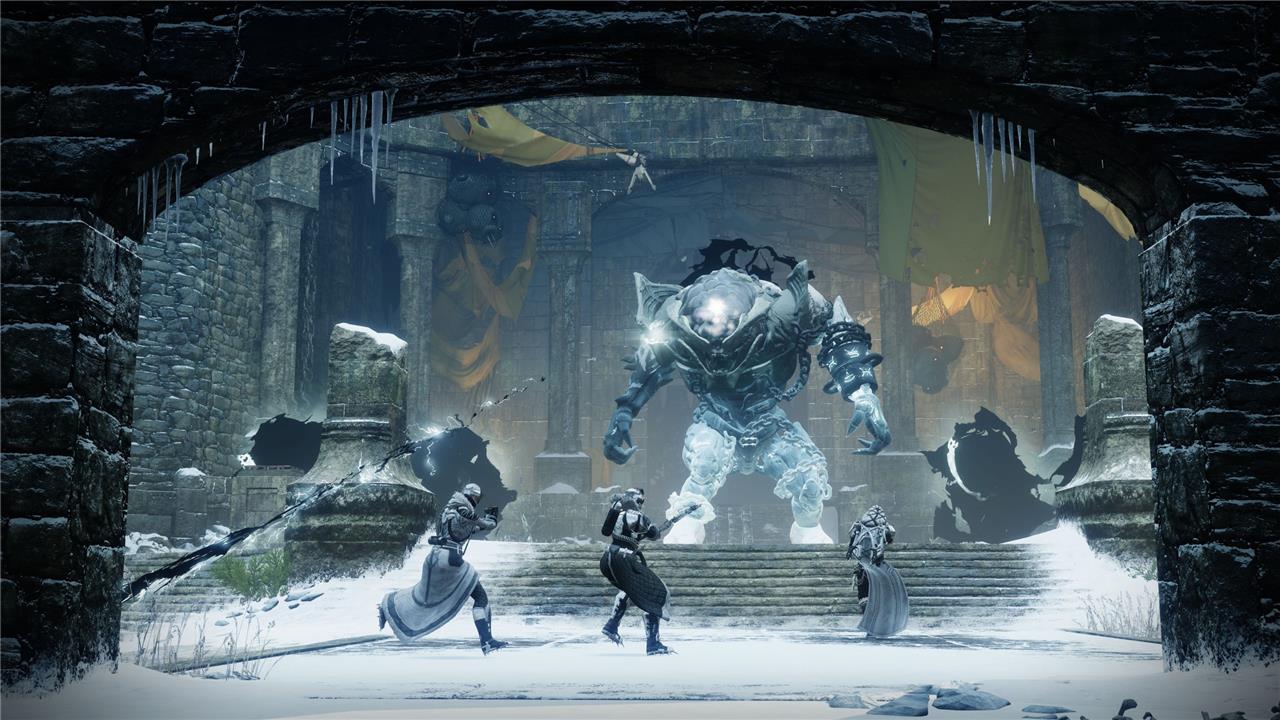
Warlord’s Ruin second encounter, brave the tempest
In the second encounter of Destiny 2’s Warlord’s Ruin dungeon, players must brave a relentless snowstorm while battling the formidable Taken Ogre, Locus of Wailing Grief. The fight begins by shooting the central Blight orb to initiate the boss and spawn waves of enemies. Guardians must then destroy six floating Blighted Eyes, which triggers the blizzard and applies the dangerous Biting Winds debuff-if this debuff reaches a high stack, it will kill you unless you take shelter near burning pillars to reset it. After clearing the Eyes, two Scorn minibosses appear on each side of the arena; defeating them drops totems or orbs needed to ignite the central pyres. You must collect and deposit four orbs to light all pyres, which grants protection from the storm and triggers the damage phase against the boss. Managing the debuff, coordinating pyre ignition, and timing your DPS window are crucial for surviving the tempest and progressing to the next challenge.
The second encounter requires you to brave a snowstorm to light pyres that’ll shield you as you fight a large Taken Ogre. You do this by activating four Scorn lanterns, which spawn four “Burning Desire” orbs. Take these orbs to four pyres around the front boss area to start the DPS phase.
Spawning the Scorn Lanterns
Once the fight starts, you’ll want to spawn the Scorn Lanterns. You do this by killing all of the Taken eyes that spawn around the boss. This will spawn two Scorn Broken Knights – one on each side of the arena. These enemies will drop one lantern when they die, and they can also spawn an additional one if you let them live long enough.

When these enemies spawn, they will start the wish timer like the first encounter, and while this is happening, a snowstorm will start to fill the arena.
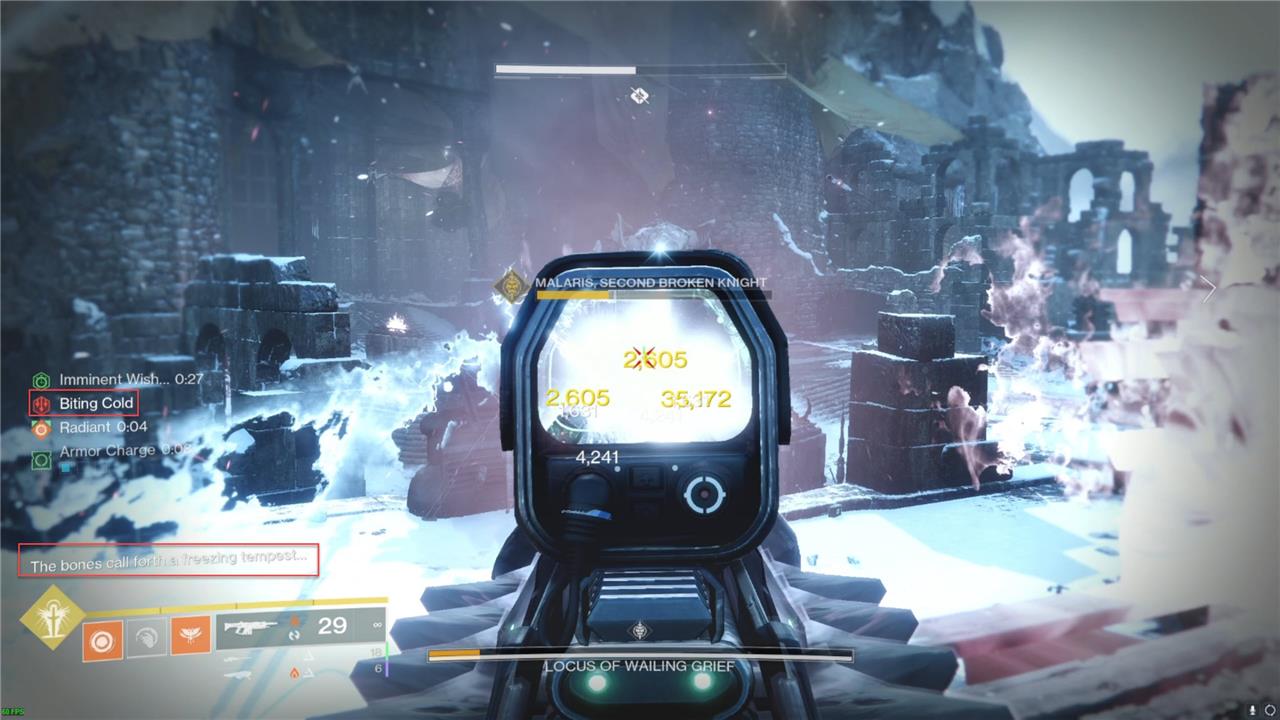
“The bones call forth a freezing tempest” will appear in the combat log when this starts. This storm will start to give you stacks of the “Biting Cold” debuff. If those stacks reach 10, you’ll die. This will go away once the Imminent Wish timer runs out.
You can remove stacks of Biting Cold by running near torches that are placed all along the backside of the arena.
Lighting the Pyres
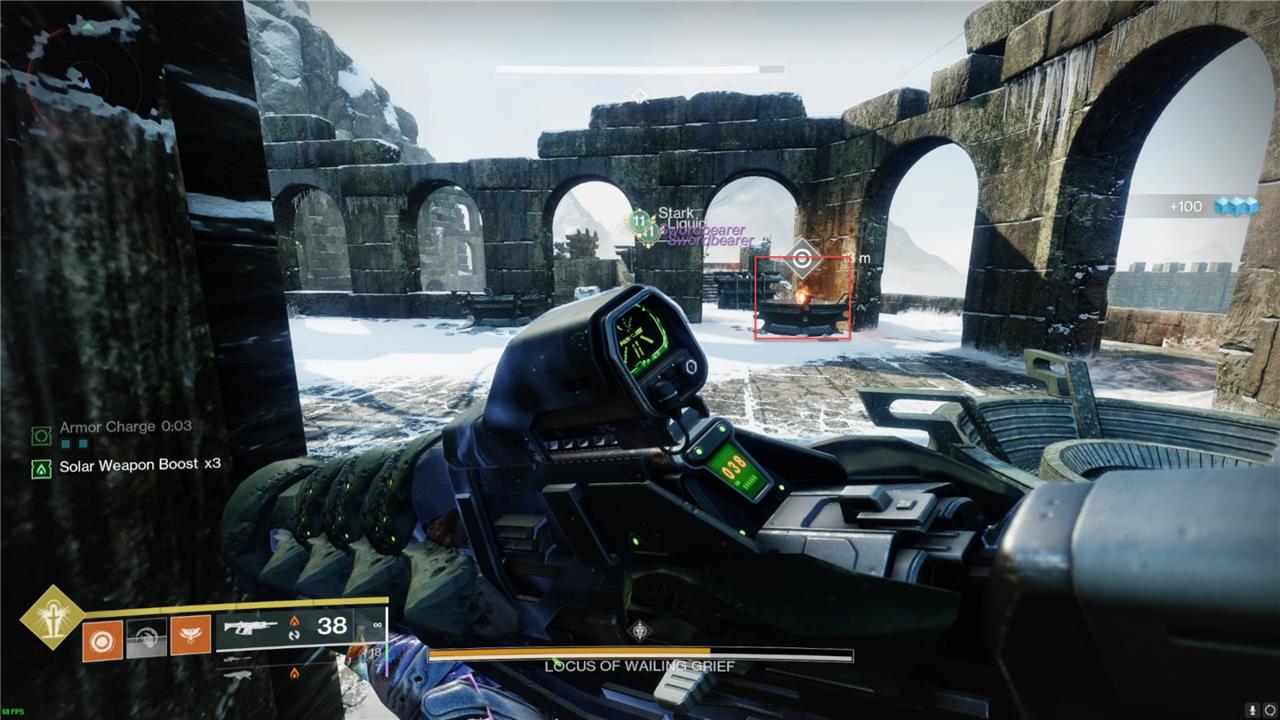
The number of Scorn Lanterns you activate determines how many Burning Desire orbs spawn in the middle, near where the rally flag is. If you’re efficient, you can spawn three or four of these, allowing you to get to DPS faster.
Take each of these orbs to one of the pyres surrounding the boss. Once you activate all four, DPS will begin.
DPS
For DPS, you’re going to want to gather around the last pyre you activated. Each pyre will give you about 15 seconds of DPS, where you can hit the boss. You must stand near the pyres because the snowstorm will come back, and the pyres protect you from the Biting Cold. Once the timer runs out, you’ll need to rotate to the next pyre.
My team always rotated to the left to keep things simple. This boss has a lot of health, so optimize your DPS for a longer encounter. We recommend using rockets and a strong DPS secondary like the kinetic sniper rifle Succession, or the Solar Eremite fusion rifle. Linear fusion rifles are also a good option. Once you run out of time on the fourth pyre, repeat the process to relight the pyres until you defeat the boss.
Warlord’s Ruin secret chest location 2

The second secret chest is after the second encounter. You’ll reach a point where there is a room with six chests. Open the one that is not glowing blue to collect your loot.
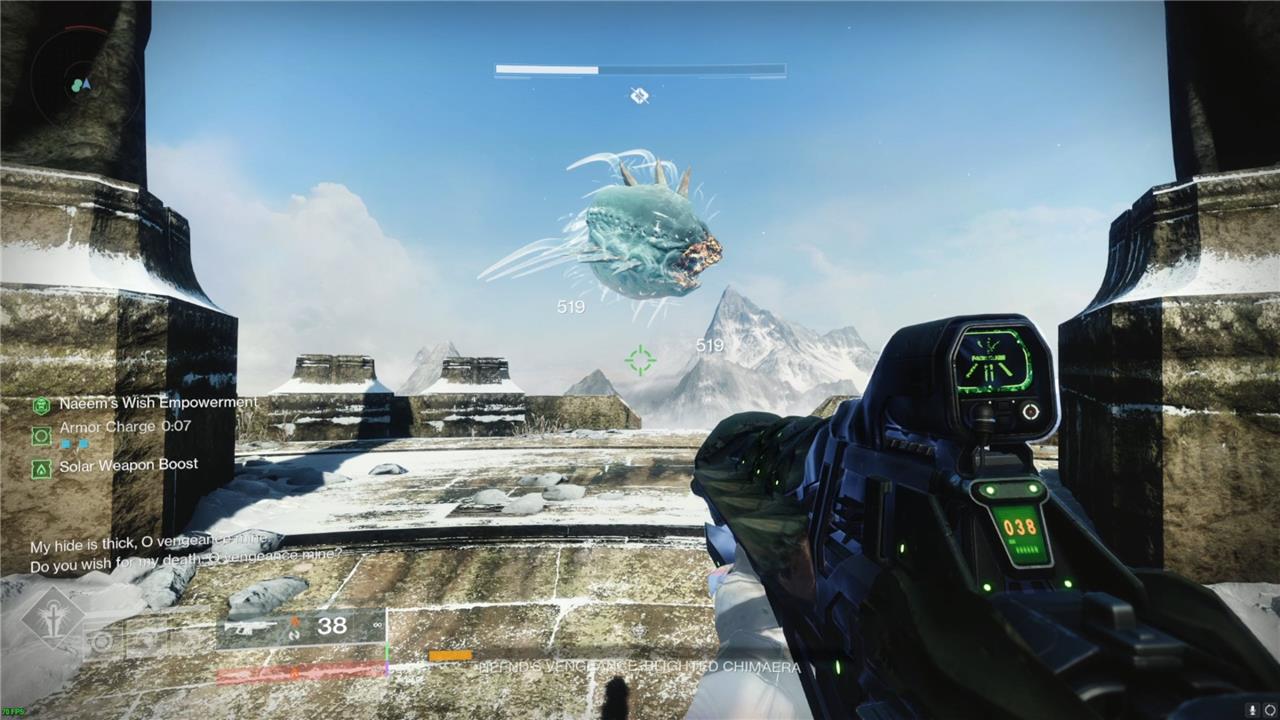
Warlord’s Ruin final boss – how to beat Hefnd’s Vengeance
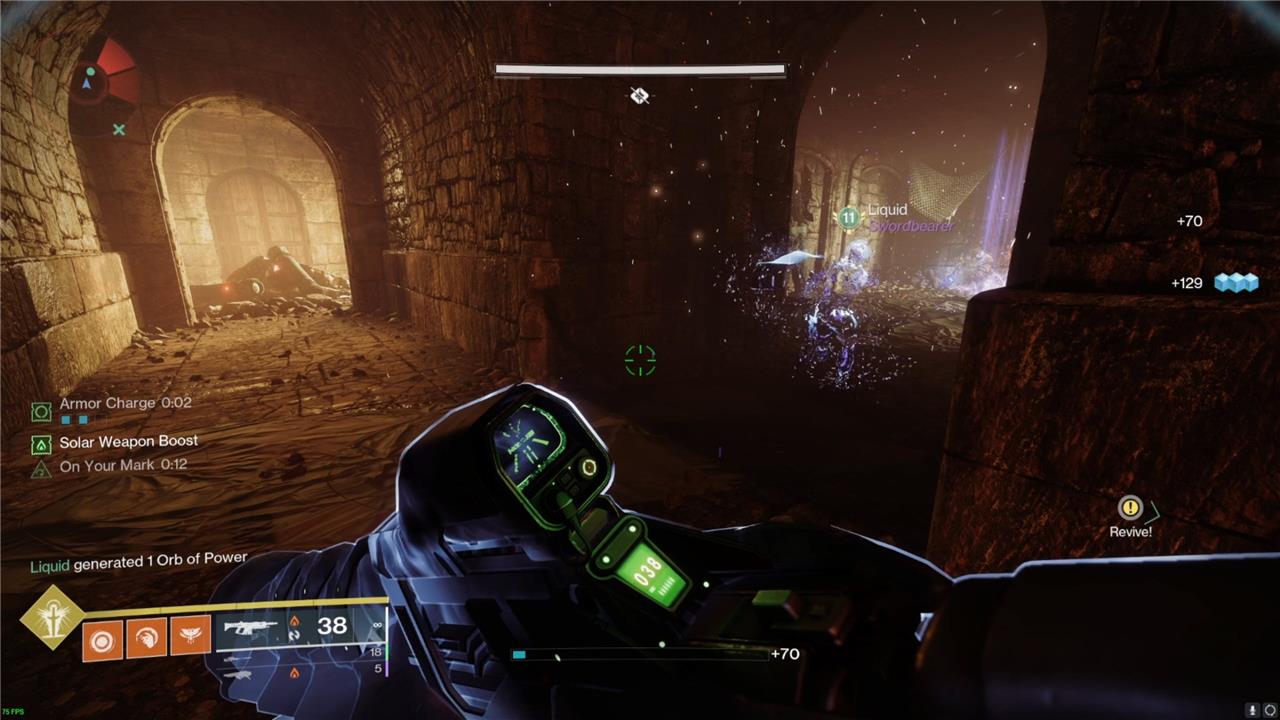
Hefnd’s Vengeance, the final boss of the Warlord’s Ruin dungeon, challenges players with layered mechanics that build on earlier encounters. To begin, shoot the Taken Blight at the arena’s center to start the fight. Quickly clear out waves of Taken and Scorn enemies, then destroy the six Blighted Eyes around the boss to spawn Scorn chieftains. Defeating these chieftains triggers the Imminent Wish timer and inflicts your fireteam with the Hex of Vengeful Corruption debuff-this must be transferred by meleeing the immune Corrupted Hex Drinker enemy, or the afflicted player will die when the timer expires. While the Imminent Wish timer is active, cleanse Scorn Lanterns to extend your upcoming damage phase. Once the timer ends, you’ll receive a damage buff, and Hefnd becomes vulnerable-deal as much damage as possible before the boss retreats to the next platform. The arena consists of three tiers, so repeat these mechanics as you climb. At the top, destroy Blighted Eyes during the DPS phase to extend the damage window, and keep moving as blight floods each section. Strong add-clear weapons and high-damage options like Rocket Launchers or Linear Fusion Rifles are recommended, with subclasses that provide healing or damage buffs, such as Well of Radiance, being especially valuable. Stay coordinated, manage the debuff carefully, and repeat the process on each tier to defeat Hefnd’s Vengeance and complete the dungeon.
The final encounter of the dungeon pits you and your fireteam against the soul of a long-dead Ahamkara, taking the form of a taken Chimara. This fight follows the same basic cycle of the previous encounters, where you must activate the Scorn lanterns to remove the boss’s shield.
Spawning the Scorn Lanterns
Like the previous encounter, you spawn the Scorn Broken Knight enemy, which spawns the Scorn Lanterns, by killing the Taken eyes. Once all of the Taken eyes are defeated, the Scorn Broken Knights will spawn. As before, if you let it live long enough, it’ll spawn an additional lantern.
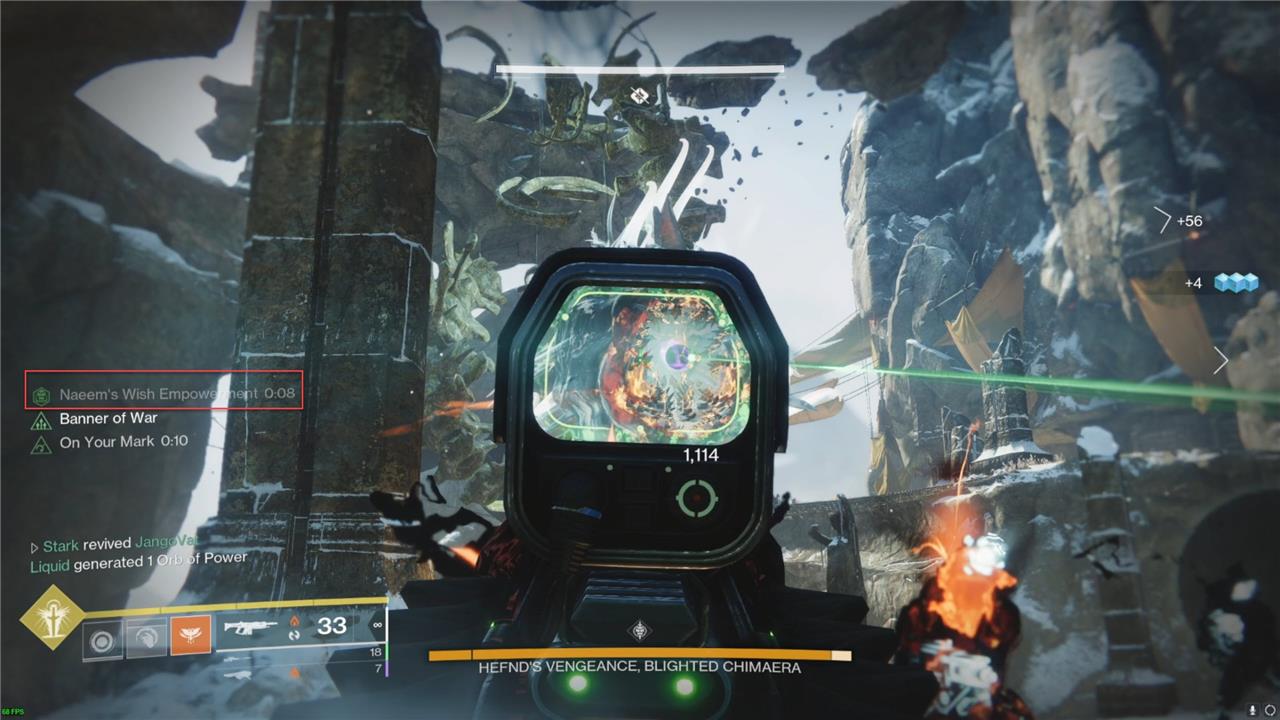
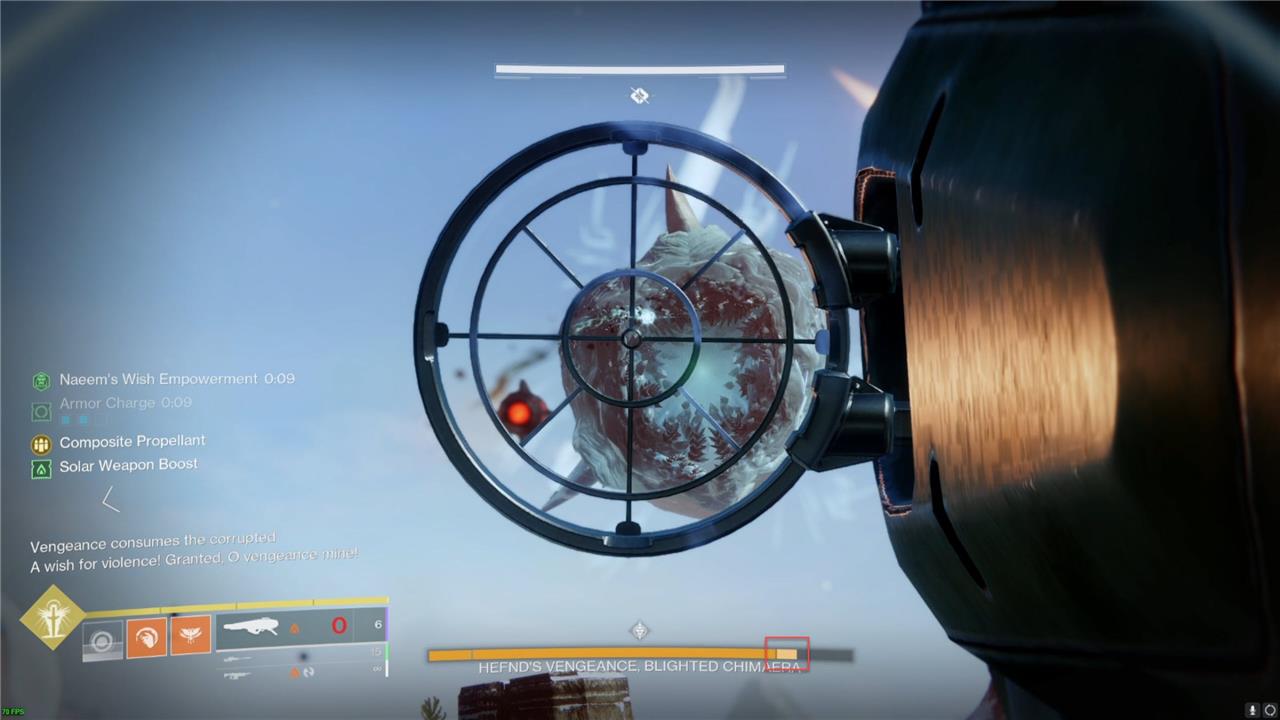
You just need to activate one to lower the boss’s shield, but if you activate multiple, you’ll extend the DPS timer, represented by the “Naeem’s Wish Empowerment” buff on the left side of your screen.
Vengeful Corruption
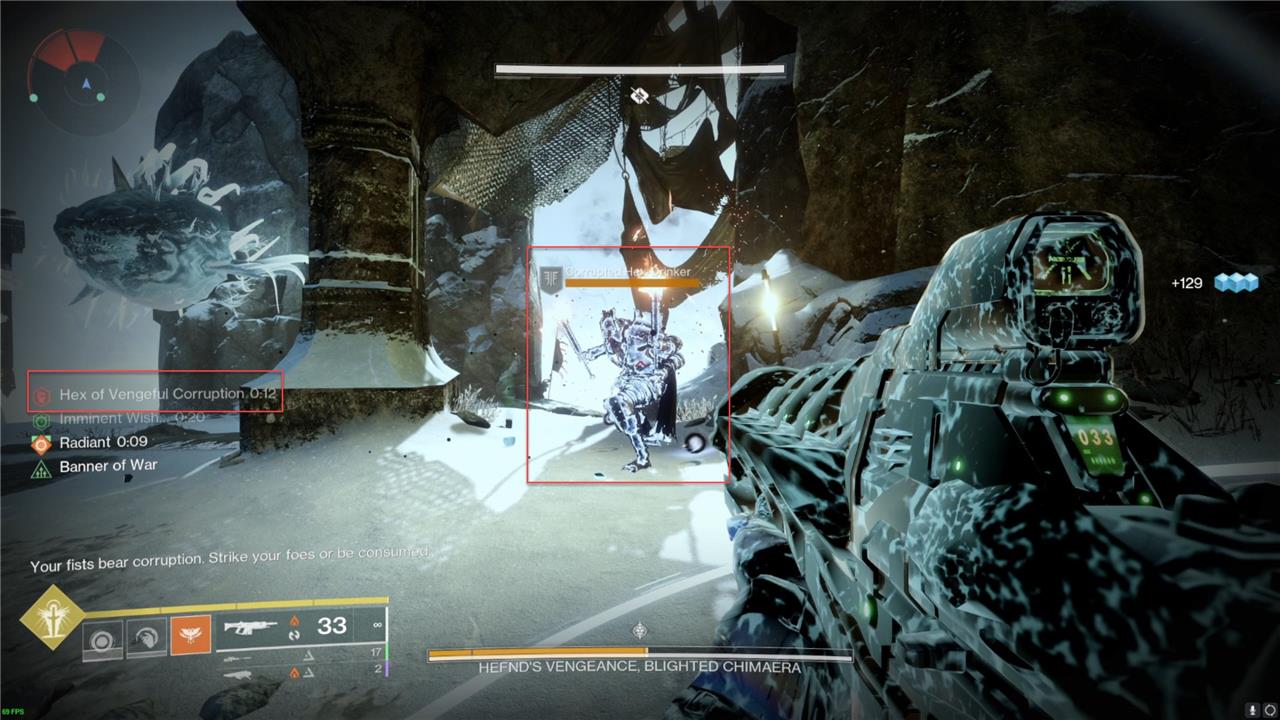
Instead of having to contend with a snowstorm while activating the lanterns, you have to remove a debuff called “Hex of Vengeful Corruption.” If you have this debuff when the timer runs out, you’ll die.
You can remove the “Hex of Vengeful Corruption” by meleeing an enemy called a “Corrupted Hex Drinker.” If they melee you back after you pass it to them, they’ll pass it back to you, so try to keep your distance once you remove the debuff.
Climbing the Arena
If you deal enough damage to the boss, represented by the white portion of the boss’s health bar on the bottom of the screen, it will move up to the next section.
Repeat the process of spawning the lanterns and dealing enough damage to the boss to climb up again. Do this a total of three times, and you’ll reach the top and the start of the true DPS phase.
DPS
Once you’ve climbed all the way to the top, the full DPS phase will start.
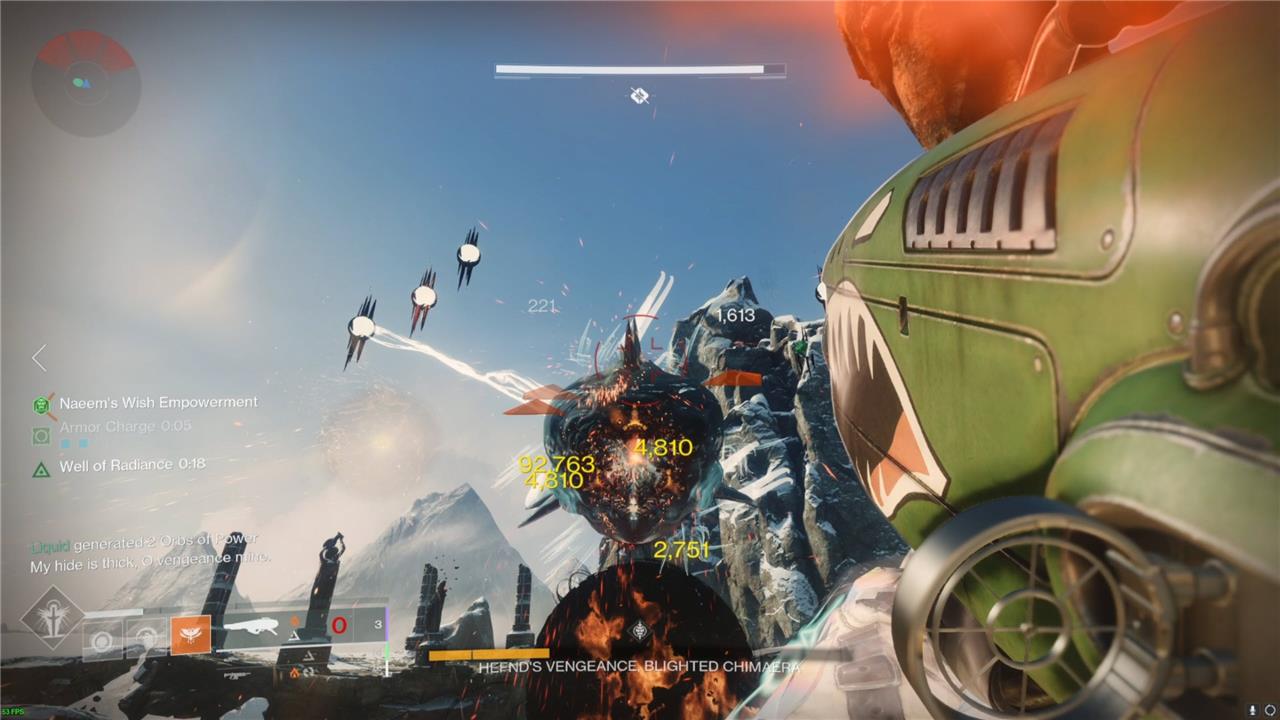
Deal damage until you see “My hide is thick, O vengeance mine” in the combat log. This means that the platform you are currently on will be covered in Taken corruption, and the boss will go immune.
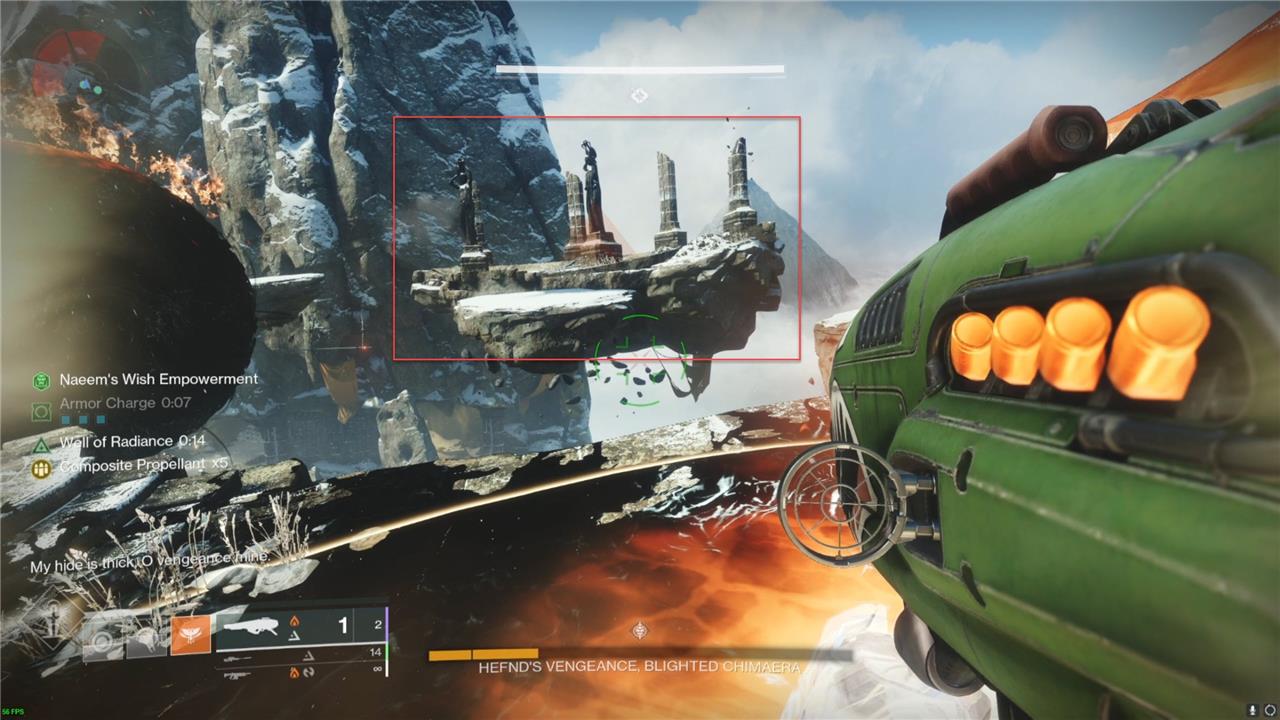
Rotate to one of the other large platforms. (There are three in total.) This will remove the boss’s shield and allow you to deal damage. You can extend the amount of time you have to damage the boss by killing the Taken eyes floating around the boss.
Once “My hide is thick, O vengeance mine” appears in the chat again, rotate to the final platform. Deal damage until the boss goes immune.
It’ll then teleport you to the bottom, where you’ll have to repeat the process until you deal enough damage to get the boss below the small health gate – this can happen while you climb. It doesn’t have to be during the DPS phase at the top.
Final Stand
Once you get the boss to the final stand health gate, it’ll teleport you to an open platform where you’ll have to kill the boss before it kills you.
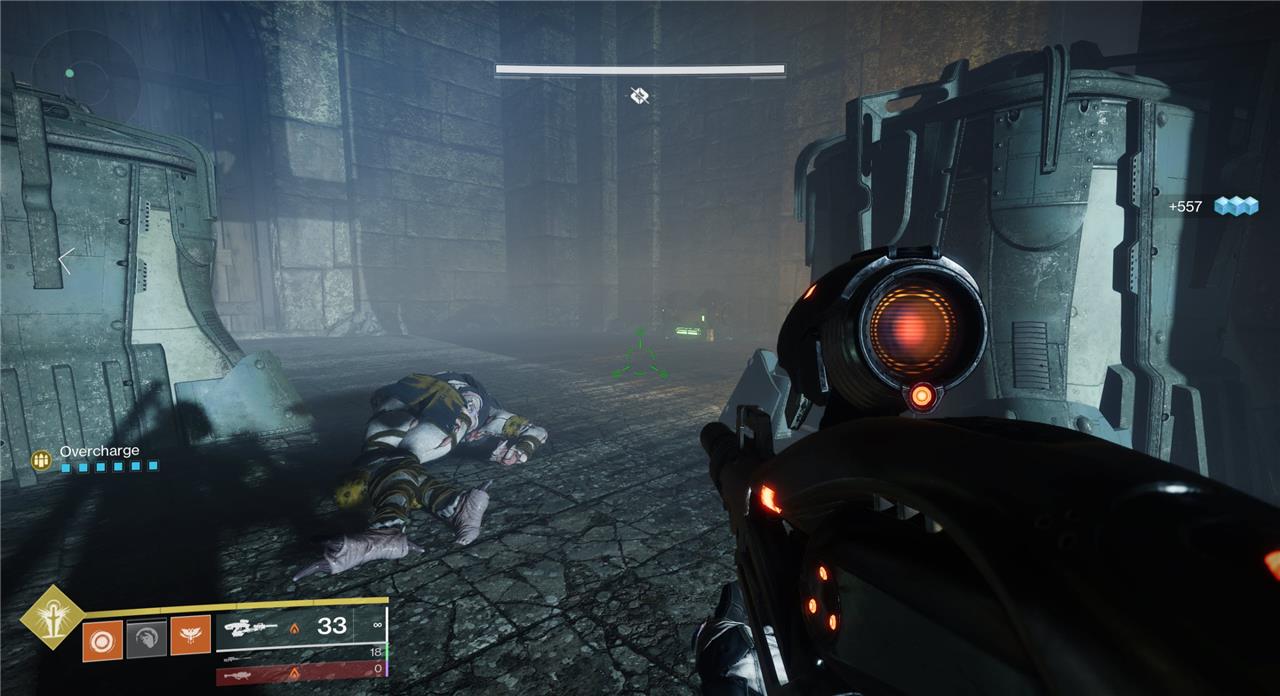
The eyes can be dangerous, so balance dealing damage to the boss and killing the eyes. You can also hide behind the pillars. Once you defeat the final boss of Warlord’s Ruin, you’ll get teleported to the roof where you can collect your loot.
What secrets and hidden challenges await in the Warlord’s Ruin dungeon
Secrets and Hidden Challenges in Warlord’s Ruin Dungeon
Mimic Chests and Deadly Traps
-
Warlord’s Ruin is infamous for its mimic chests-trapped loot containers that, if opened, unleash swarms of Screebs or Scorn enemies instead of rewards. Only two real secret chests exist per run, and their locations change, making it essential to identify the genuine chest by looking for the absence of a faint blue or dark ether glow. The rest are deadly fakes designed to punish the unwary.
Secret Chest Locations
-
The first secret chest can spawn in one of six possible locations, often after the second encounter. Its position varies each run, and the other locations are filled with mimic chests that trigger ambushes.
-
The second secret chest is found between the second and third encounters, often in a room full of chests-only one is real, the rest are mimics.
Ahamkara Bones and Lore
-
Hidden throughout the dungeon are ten mysterious Ahamkara Bones, collectible lore items that add depth and intrigue to the dungeon’s narrative and reward exploration.
Locked Doors and Puzzles
-
Some doors are sealed by Taken magic, requiring players to solve environmental puzzles or defeat specific enemies to progress.
Jumping Puzzles and Environmental Hazards
-
The dungeon features challenging traversal sections, including jumping puzzles along snowy cliffs and broken bridges, where a single misstep can be fatal.
High-Density Enemy Encounters
-
The dungeon is packed with dense enemy waves and minimal cover, making solo runs especially challenging.
Summary Table: Key Secrets & Challenges
| Feature | Description |
|---|---|
| Mimic Chests | Fake chests that spawn enemies; only two real secret chests per run |
| Secret Chest Locations | Vary each run; must identify by glow or lack thereof |
| Ahamkara Bones | Ten hidden lore collectibles scattered throughout the dungeon |
| Locked Doors/Puzzles | Doors sealed by Taken magic, requiring puzzle-solving or combat |
| Environmental Hazards | Jumping puzzles, traps, and deadly drops |
| High Enemy Density | Intense waves of Scorn, Taken, and Screebs, especially challenging solo |
Warlord’s Ruin rewards sharp observation, puzzle-solving, and careful exploration-every corner could hide a deadly trap or a valuable secret.
What are the key indicators to distinguish fake mimic chests from real ones in Warlord’s Ruin
Key Indicators to Distinguish Fake Mimic Chests from Real Ones in Warlord’s Ruin
-
Eerie Blue Glow: The most reliable way to identify a mimic (fake) chest is the presence of a faint, eerie blue glow or aura emanating from the chest when you stand near it. This glow may take a few seconds to appear, so pause briefly as you approach each chest to check for this effect.
-
No Glow Means Real: If a chest does not emit any blue glow after you stand near it, it is most likely a real, safe chest and can be opened for rewards.
-
Clustered Chest Rooms: In areas with multiple chests (such as the courtyard after the second boss), only one chest will lack the blue glow-this is the genuine secret chest. All others with the glow are mimics and will trigger enemy ambushes if opened.
Summary Table
| Indicator | Meaning |
|---|---|
| Blue Glow | Mimic (fake, spawns enemies) |
| No Blue Glow | Real chest (safe, contains rewards) |
Always approach chests cautiously and observe for the blue glow before opening to avoid deadly traps in Warlord’s Ruin.