Taming a ladybug in Grounded 2 starts with an egg, but finding one isn’t as simple as it sounds. Between Ominent patrols and hidden nests, tracking down the right blueprint and creating the perfect hatching spot will test your survival instincts and curiosity in equal measure.
How to get the ladybug nest blueprint and hatch the ladybug egg in Grounded 2
To get the ladybug nest blueprint, first retrieve the Fairy Turbo Optical Disk from the Fairy Garden House and analyze it at a Research Analyzer to add the Ladybug Nest recipe to your crafting menu. Gather the required resources, including processed Chrysalis Leather and Black Ant Parts, then build both a Hatchery and the Ladybug Nest back at your base. Next, head to the Community Garden’s cabbage patch area, where Ladybug Eggs spawn on the ground, and use a fast mount like the Red Soldier Ant to grab an egg and escape the angry adults. Once home, place the Ladybug Egg into the Hatchery with the nest nearby and wait about 12 in-game hours, or speed things up by sleeping, until the egg hatches into your Ladybug Buggy.
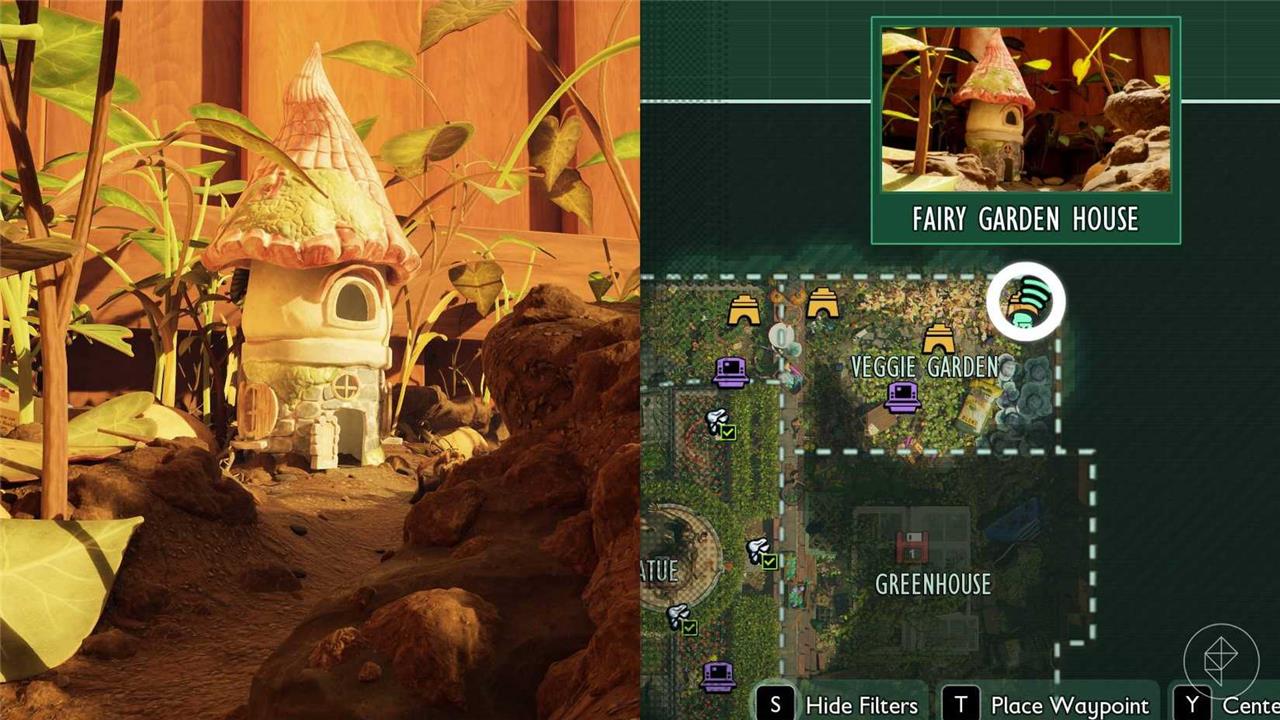
You need a ladybug nest before you can do anything with that egg, and unlocking the blueprint takes a bit of exploration. It’s tied to a disk you find in a secret Ominent candy factory, a location more dangerous than the name might suggest. Before you set out, we recommend you either equip gear that slows sizzle buildup or make a mintito smoothie if you want to take your time in the factory. (You need to acquire and analyze an ice splinter from the ice cream cart to unlock that recipe.)
The candy factory entrance is under the Fairy House point of interest, in the northeast corner of the Veggie Garden map. You can reach this area in a couple of ways. One is by hopping up there from the chard patch, which is much faster if you use the spider buggy. Alternatively, you can follow the hose near the hammer onto the potting bench, then jump down from there.
Either way, make sure you’re ready for a fight or a quick dash once you get there. The area looks tranquil, but there’s a wolf spider patrolling in front of the fairy house. Dash inside the house, and climb down the ladder to enter the facility. You’ll find a dead Ominent worker in the hallway, which is bad for them but good for you, since they have a mintito smoothie you can swipe. This single smoothie is enough for a quick trip to the facility, but if you want to explore further, you’ll want a second one on-hand.
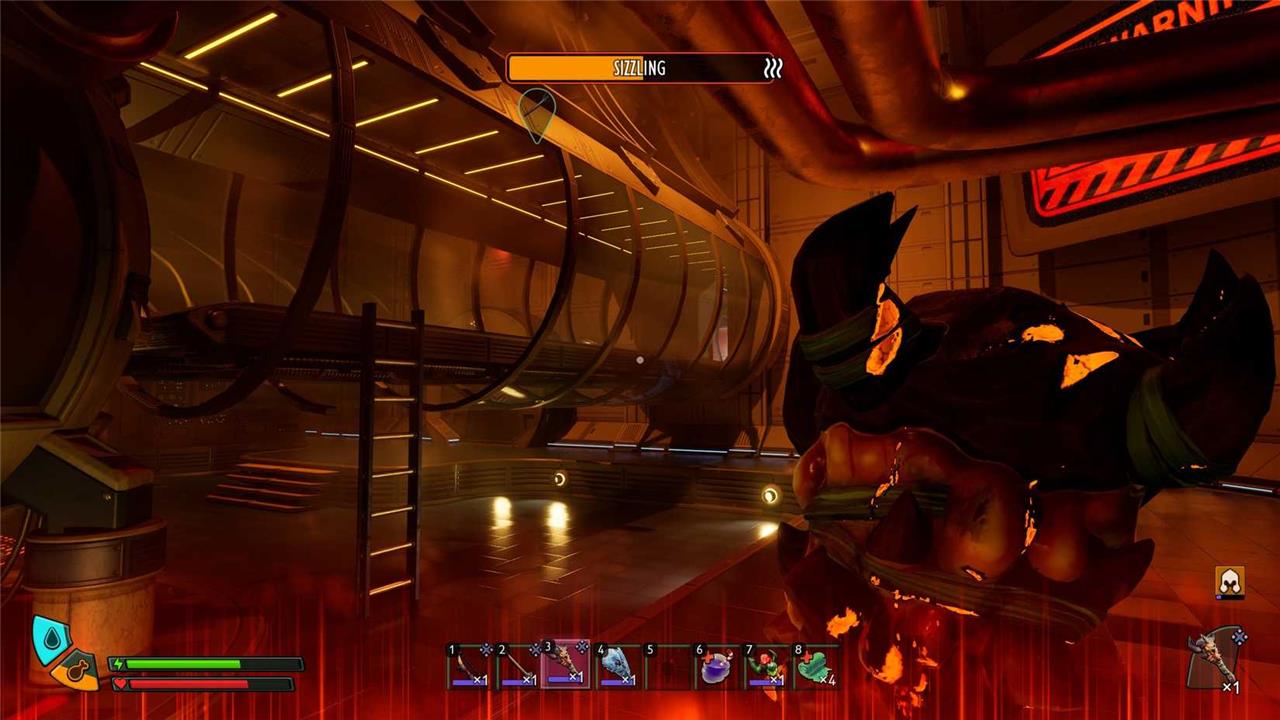
Anyway, a rust beetle is guarding the way into the factory furnace. Its primary attack is spitting juice that builds up your tang meter, which reduces damage resistance when full, and occasionally lunging at you. If you’ve got a two-handed club (which you should), you can just bash it with charged attacks to end this fight quickly. Bonus points if you hit its rear end (the bug’s weak point).
Drink your smoothie once the bug is squashed, head inside the furnace, and walk to the other end of the room. Turn around, and you’ll see a short ladder leading to a conveyor belt. Climb that, and follow the belt into another room. On the left is a door into another (sizzle-free) research room.
Grab the disk from the desk at the room’s entrance, and pop it in the research terminal at the other end of the room to unlock the ladybug nest blueprint.
To build the ladybug nest, you need:
- Lint rope (process lint clumps on the spinning wheel)
- Weed stems (the process of obtaining these is the same as it is other parts of the park)
- Chrysalis leather (hang chrysalis hide on the drying rack, like you do with blueberries and lingonberries
You can find lint clumps on the underside of the picnic table’s cloth or on some vegetables to the west of the Fairy House. Chrysalis hide comes from the chrysalis pods you’ll see hanging down from leaves in the Garden, including in the area where you find ladybug eggs. Shoot them down with an arrow, then use the Omni-Tool’s axe to harvest the hide. However, you’ll need the tier-three axe to harvest both the hide and lint clumps, so make sure to upgrade that first.
Where to find Chrysalis Leather and Black Ant Parts
Chrysalis Leather and Black Ant Parts are key materials for the Ladybug Nest in Grounded 2, mainly sourced in the Garden Biome and nearby areas. They’re obtained by harvesting specific bugs and processing hides.
Chrysalis Leather Locations
Break Butterfly Chrysalises found hanging on plants or structures in the Cabbage Patch and Community Garden (upper right map, near the orchard). Use a Tier 3 Omni Hammer; scan one first to unlock the recipe, then craft 3 Chrysalis Leather from 9 Chrysalis Hide at a workbench or dry on a rack overnight for efficiency. They’re abundant under trees and on elevated garden spots.
Black Ant Parts Locations
Defeat Black Ants (workers and soldiers) at the War-Thorn Anthill in the upper right map corner, en route to the Garden Biome-it’s a warzone between Red and Black Ants, so equip strong gear. Harvest 1-2 parts per ant; farm safely at night or from edges to avoid swarms. Early spots include sandbox edges or trash heaps in prior biomes if accessible.
Tips
You’ll need 9 Chrysalis Leather and 4 Black Ant Parts total for the nest-stock extra for Black Ant armor recipes. Pair with a summoned ant buggy for safe transport back to base.
How to craft Black Ant armor set
Crafting the Black Ant armor set in Grounded 2 requires analyzing Black Ant parts (dropped from defeating them) at a Resource Analyzer to unlock recipes, then crafting at a Workbench. It’s a medium fighter armor suited for the Garden Biome, offering solid defense and the Pincushion set bonus that reflects damage on block.
Unlock Requirements
Defeat Black Ants at War-Thorn Anthill (upper right map, en route to Garden Biome) to gather and analyze 1 Black Ant Head, Black Ant Parts, and Black Ant Mandibles. This reveals all pieces; no special quests needed beyond basic progression.
Materials and Recipes
| Piece | Materials | Defense | Resistance |
|---|---|---|---|
| Black Ant Helmet | 1x Black Ant Head, 3x Black Ant Part, 1x Lint Rope | 4% | |
| Black Ant Arm Guards (Chest) | 6x Black Ant Part, 2x Black Ant Mandibles, 3x Lint Rope | 7% | |
| Black Ant Legplates | 5x Black Ant Part, 4x Chrysalis Leather, 2x Lint Rope | 5% |
Tips
Total cost: ~15 Black Ant Parts, 2 Mandibles, 1 Head, 6 Lint Rope, 4 Chrysalis Leather. Farm during Red-Black Ant wars for efficiency; equip for ant-heavy fights due to +Crit After Block perk. Pairs well with Ladybug Buggy transport.