Early firepower decides everything on Super Earth’s toughest missions. These five Stratagems can turn a chaotic drop zone into a controlled kill zone-if you know how to use them fast and smart.
These Stratagems can manifest as bombs, airstrikes, turrets and more, and are the key to surviving every mission against the bugs and robots plaguing Super Earth. In this Helldivers 2 guide, we’ll recommend our five favorite Stratagems for you to unlock and add to your Helldiver.
Orbital Precision Strike
Orbital Precision Strike delivers pinpoint laser-guided devastation from above, shredding enemy clusters with surgical accuracy. Players call it in to vaporize Automaton dropships or Terminid bug holes before they overwhelm positions. Minimal friendly fire risk pairs with a quick cooldown, making it a reliable opener for missions needing instant crowd control. Pair strikes with Eagle runs to clear landing zones fast.
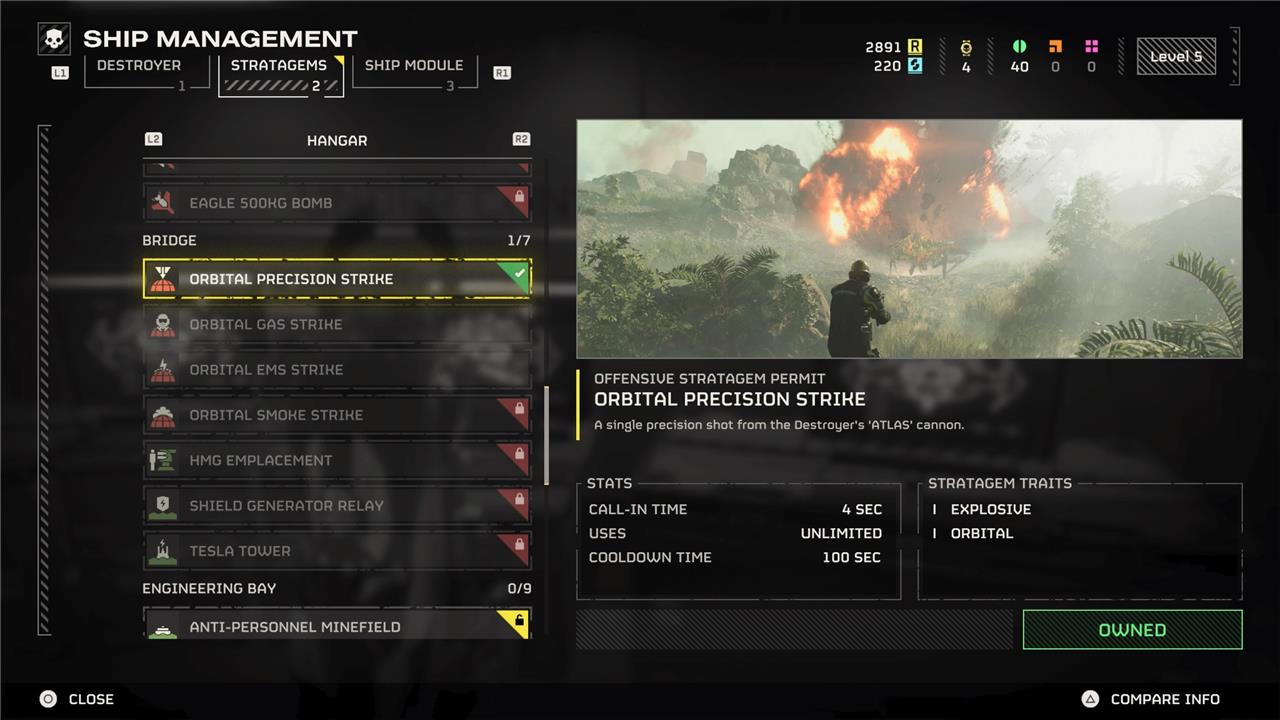
The Orbital Precision Strike is the first Stratagem you start with in Helldivers 2 – it’s the one you learn to use in the tutorial. But even past the tutorial, it’s a great piece of utility to keep with you, and worthy of your precious Stratagem slots.
Orbital Precision Strike deals a lot of damage if you can hit the target you’re aiming for. But what you lose in accuracy, you gain in raw cooldown time. You can use the Orbital Precision Strike every couple of minutes in Helldivers 2, which makes it great for taking out a big bad, a small group of enemies, or hive spawn holes.
It’s a simple Stratagem, and it may be one of the first ones you earn, but it’s worth holding onto until you’re sure you have four other options you like better.
Anti-Personnel Minefield
The Anti-Personnel Minefield is a reliable defensive Stratagem that turns chokepoints into lethal zones. Once deployed, the mines automatically detonate upon contact with enemy troops, offering strong area denial during large-scale assaults. It’s best used to protect extraction zones or slow advancing swarms, giving your squad more breathing room to reposition or reload safely. Timing and placement are key, as careless use can endanger teammates moving through the area.
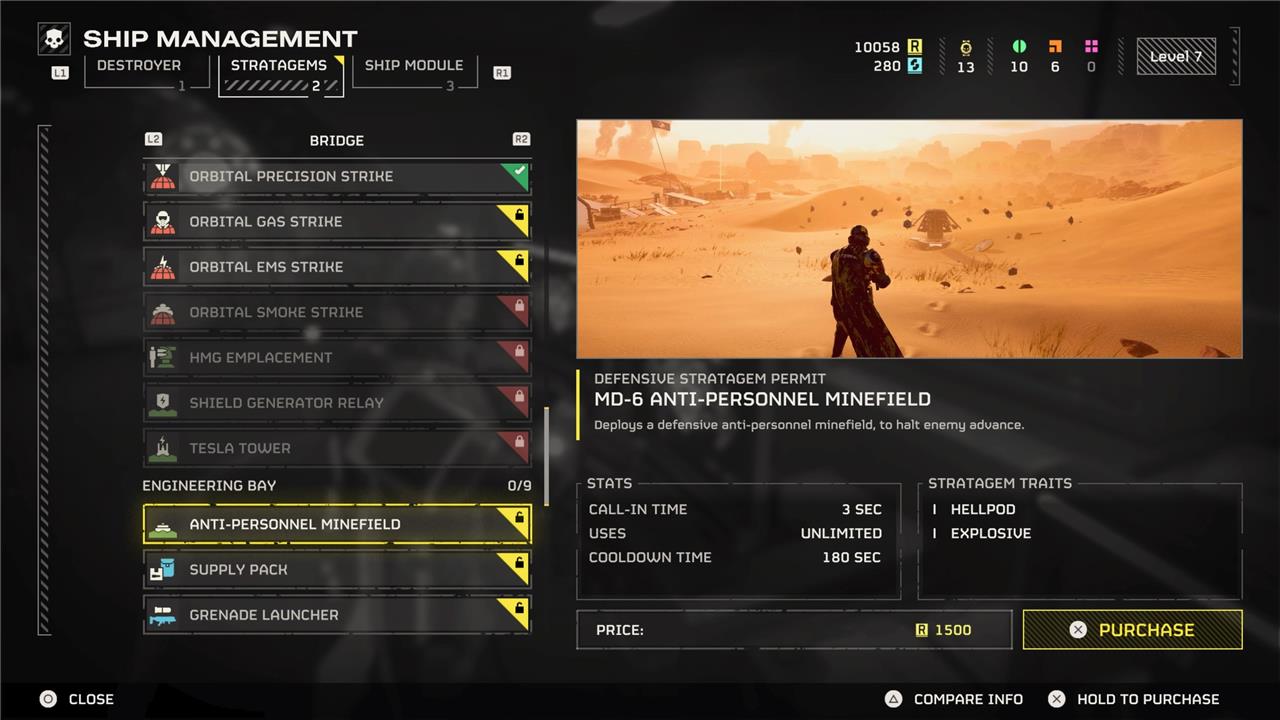
The Anti-Personnel Minefield Stratagem is a difficult recommendation to put on here because bad teammates have screwed me over with it more frequently than good teammates have saved me with it. But a clutch minefield is just too good to ignore.
By throwing one of these down on an entrance to an area you’re trying to defend, you can completely deny a zone from enemies. Either they go through it and the mines explode on their underbellies (removing the threat) or they avoid the mines and take a roundabout path. Win, win.
However, you have to be extremely careful when placing these mines, as putting them on an objective in a panic or through a traffic-heavy area of the map can actually trap your teammates and blow them up. Powerful, but dangerous. I recommend dropping into a few missions solo to get the hang of the mines, otherwise your friends are going to hate you.
Recoilless Rifle
The Recoilless Rifle is an early heavy weapon stratagem that offers strong anti-armor capability once mastered. It demands teamwork, as one player must reload while another fires, but the payoff is worth the coordination. Its slow reload and limited ammo require smart positioning and timing, yet its ability to destroy armored enemies and vehicles makes it a reliable choice for squads tackling tougher missions.
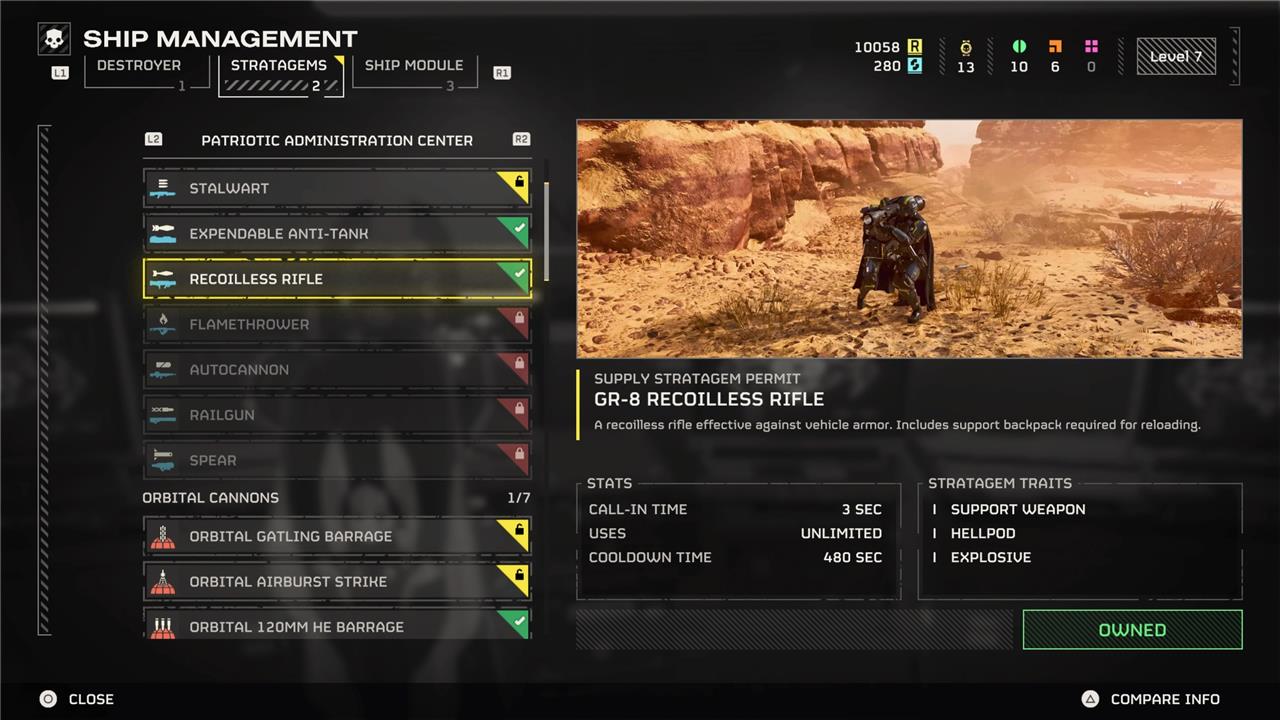
The Recoilless Rifle is excellent for killing big, armored enemies like Chargers. It comes with a backpack loaded up with ammo that either you or a teammate can wear. If you’re accurate, you can use the Recoilless Rifle (which is basically a bazooka with a scope) to punch a hole through enemy armor. It’s extremely effective.
Now, the Recoilless Rifle isn’t very good at killing enemies if you hit their weak spot. So you’ll actually want to aim for a Charger’s head or leg armor to kill it. Still, the Recoilless Rifle is an excellent tool at dealing with big, nasty bugs in the earlier parts of the game before you have many other options for dealing big damage to a single target.
Gatling Sentry
Gatling Sentry delivers relentless automatic fire to pin down foes and protect flanks during early missions. Players drop it near objectives to suppress enemy waves, freeing them to focus on advancing or grabbing samples. Its high rate of fire shreds light infantry like Terminids or Automaton grunts before they close in, while the spinning barrels maintain steady output without frequent resupplies. Position it behind cover for longevity, and pair with a secondary turret for overlapping fields that turn defensive spots into kill zones.
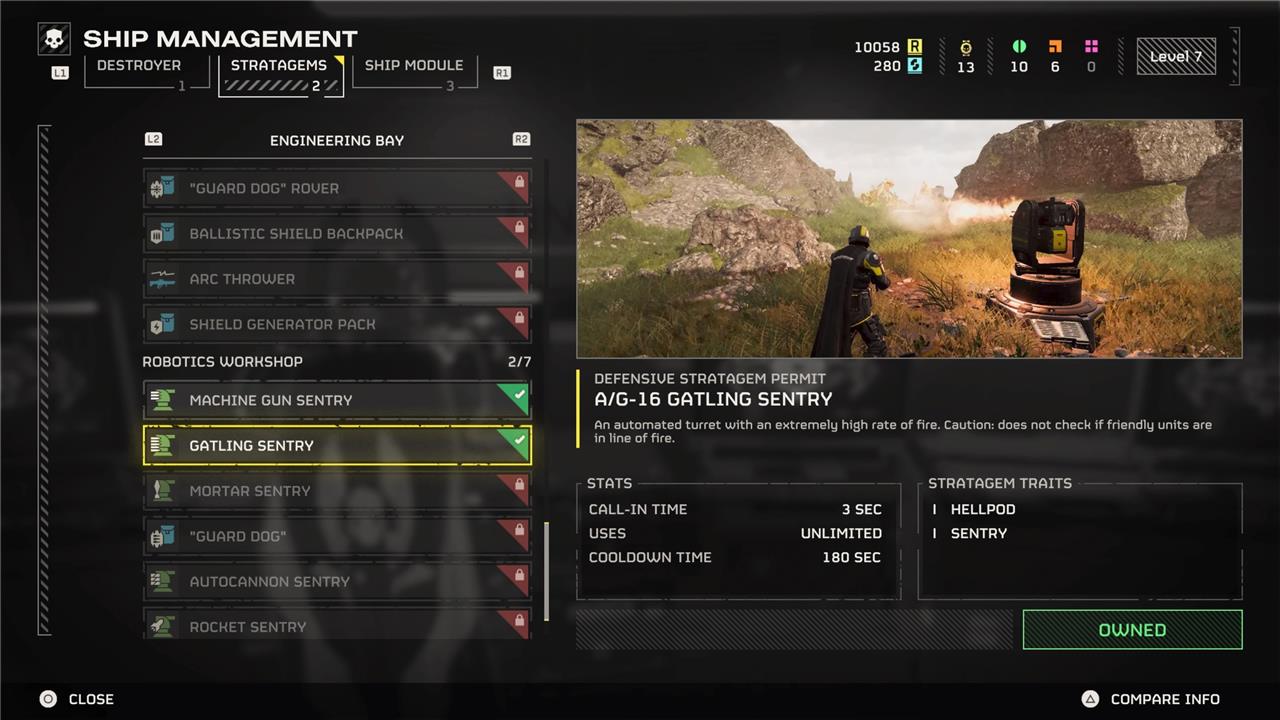
The Gatling Sentry is a powerful tool for locking down an area in Helldivers 2, and it can chew through enemies faster than almost anything short of an explosion. However, just like the mines, the Gatling Sentry can be very dangerous if you’re not careful.
The most common use for a Gatling Sentry is to defend the launch pad while you’re trying to extract at the end of the mission or you’re waiting for an objective to finish. But you can also throw it down near a nest and watch it go to work mowing through countless bugs at a time, or pop it down while fighting a boss so it can shoot while you chase the monster around.
The thing about turrets is that they aren’t smart enough to know if there’s a Helldiver between it and the bug it’s shooting at. So if you get in the turret’s way, or if there’s a bug chasing you and the turret sees, it’s going to cut through both of you. So, like all Stratagems, just be careful.
Eagle Airstrike
Eagle Airstrike delivers fast and precise support, calling down a deadly barrage that clears clusters of enemies or disables tough targets before your squad moves in. Its quick deployment time makes it ideal for breaking ambushes or halting advancing waves. While its area of effect isn’t massive, the sheer force of the explosives rewards careful timing and smart positioning, turning tight situations into clear victories.
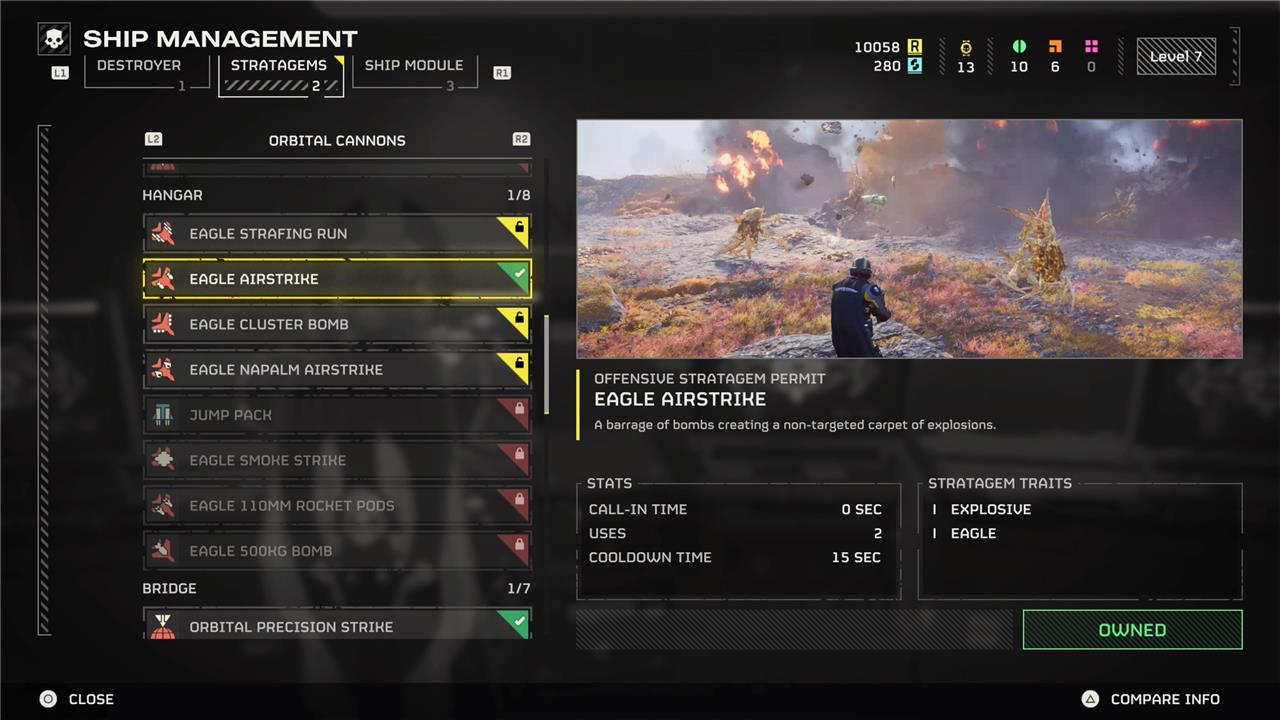
The Eagle Airstrike is one of the best early investments you can make in Helldivers 2. It comes with two charges and lets you summon what is essentially just a bombing run. These bombs rocket across the ground and affect a massive area. It can kill tons of bugs in a single shot and close multiple tunnels as well.
What makes the Eagle Airstrike so good is that after you activate it, it takes mere seconds for the plane to arrive and drop bombs, making it very easy for you to react to unexpected bug movements and take out quick targets.
The big caveat here – other than how easy it is to kill teammates in a bombing run; a running theme in this guide – is that once you use the two chargers for Eagle Airstrike, the Stratagem will go on cooldown for a prolonged period of time. Once the ship is refueled a few minutes later, you’ll have two more charges to spend. But that downtime can leave you in a tight bind if your Stratagem is stuck on cooldown when you really need some explosions.
One bonus tip with the Eagle Airstrike is that you can input a separate Stratagem command to actually reload early if you’ve only used one bomb. So, if you’re not going to be using the Eagle Airstrike for a few minutes while you’re walking to an objective, send it to resupply so that you’re ready for back-to-back airstrikes once you need it again.
Which early stratagems scale best into midgame
Eagle Airstrike and Gatling Sentry stand out among early Helldivers 2 stratagems for their strong scaling into midgame (levels 10-20, difficulties 4-6). They maintain utility against tougher foes like Chargers and Devastators due to reliable area denial and sustained fire.
Eagle Airstrike
This remains a midgame staple for destroying nests, outposts, and heavies with its line-based bombing pattern and quick Eagle rearm time. Players report using it consistently up to Helldive difficulties for preemptive patrol clears and Bile Titan damage.
Its low cost and multiple uses per mission prevent it from being outclassed by later Eagle variants like Cluster.
Gatling Sentry
Effective into midgame when placed on elevated terrain, it shreds infantry waves and provides suppressive fire without needing backpack support. It transitions well to Automaton defenses before upgraded sentries unlock.
High ammo reserves ensure longevity in extract missions versus swarms.
Orbital Precision Strike
Fast cooldown and pinpoint accuracy make it viable for sniping medium threats like Impalers or Hulks throughout midgame. It complements ground weapons without overlapping Eagle roles.
Low level requirement keeps it in rotation for solo or squad flexibility.
Grenade Launcher
Unlock at level 5, it excels at closing bug holes and chipping armored targets, scaling with player aim skill into midgame bot fights. Pairs well with Supply Pack for sustained use.
Bouncing grenades add versatility for objective clears over pure combat.
Supply Pack
Non-combat utility persists into midgame by enabling unlimited resupplies, countering ammo strain from autocannons or LMGs. Every team benefits from one carrier amid escalating enemy density.
Which early stratagems remain effective at high difficulty levels
Eagle Airstrike and Orbital Precision Strike from early Helldivers 2 stratagems retain significant effectiveness at high difficulty levels like Helldive (9+). Supply Pack provides enduring team utility regardless of enemy scaling.
Eagle Airstrike
This stratagem’s line-based bombing destroys bug nests, bot fabricators, and medium/heavy enemies like Chargers or Devastators even on extreme difficulties. Its quick Eagle rearm and multiple uses per sortie keep it viable for patrol clears and objective denial without being phased out by upgrades.
Orbital Precision Strike
With its near-instant deployment and short cooldown, it reliably one-shots high-value targets such as Bile Titans, Hulks, or Impalers throughout high-level play. Precision minimizes friendly fire risks in chaotic endgame fights, making it a staple for solos and squads.
Supply Pack
Ammo resupplies remain critical at high difficulties where sustained fire from autocannons or Stalwarts drains magazines rapidly. It scales passively with team needs, enabling heavier loadouts without backpack conflicts.
Gatling Sentry
Limited high-difficulty use persists in extraction or stationary defenses against light infantry swarms if elevated properly. However, it struggles against armored foes, relegating it to niche support before better sentries unlock.
Mortar Sentry
Effective for Automaton horde control and area denial on high difficulties when paired with EMS strikes, but Terminid rushes and teamkill risks reduce its consistency versus dedicated orbitals.