Hidden deep within Hyrule’s eerily quiet plains, the Mayak Shrine challenges players with clever gravity puzzles and precise timing tests. This guide walks you through its exact location and every step needed to master its mechanics and claim the reward waiting at its core.
When you’re done, our shrine locations page and interactive Hyrule map can direct you toward something else to do.
Mayak Shrine location
Mayak Shrine is located in the Central Hyrule Depths, directly beneath Hyrule Field Skyview Tower. To reach it, use the tower to launch into the sky, glide toward the crater that leads underground, and follow the path illuminated by Lightroots until you reach its entrance. The shrine’s exact coordinates are approximately (-1834, -1176, -0515), making it easier to find using your map sensor. Players often encounter a few hostile creatures nearby, so be prepared before approaching the area.
The Mayak Shrine is found within Eldin Mountain. The exact coordinates are (1270, 3733, 0106).
Mayak Shrine walkthrough
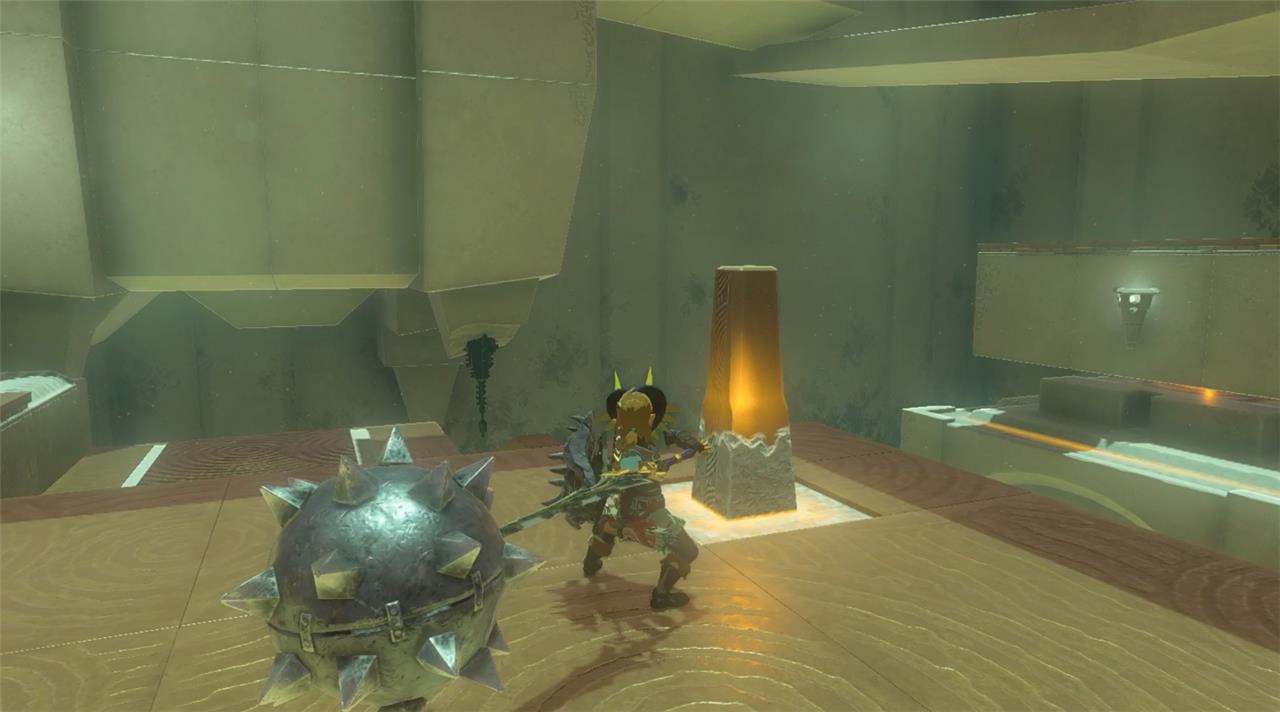
The Mayak Shrine puzzle focuses on moving large stone balls using Ultrahand to trigger pressure plates and open the exit gate. Begin by lifting the smaller ball onto the first switch and then roll the larger one through the slope to the second plate. Use careful timing to avoid letting the balls roll away. Complete the shrine by aligning both weights correctly to activate the final door and claim your Light of Blessing.
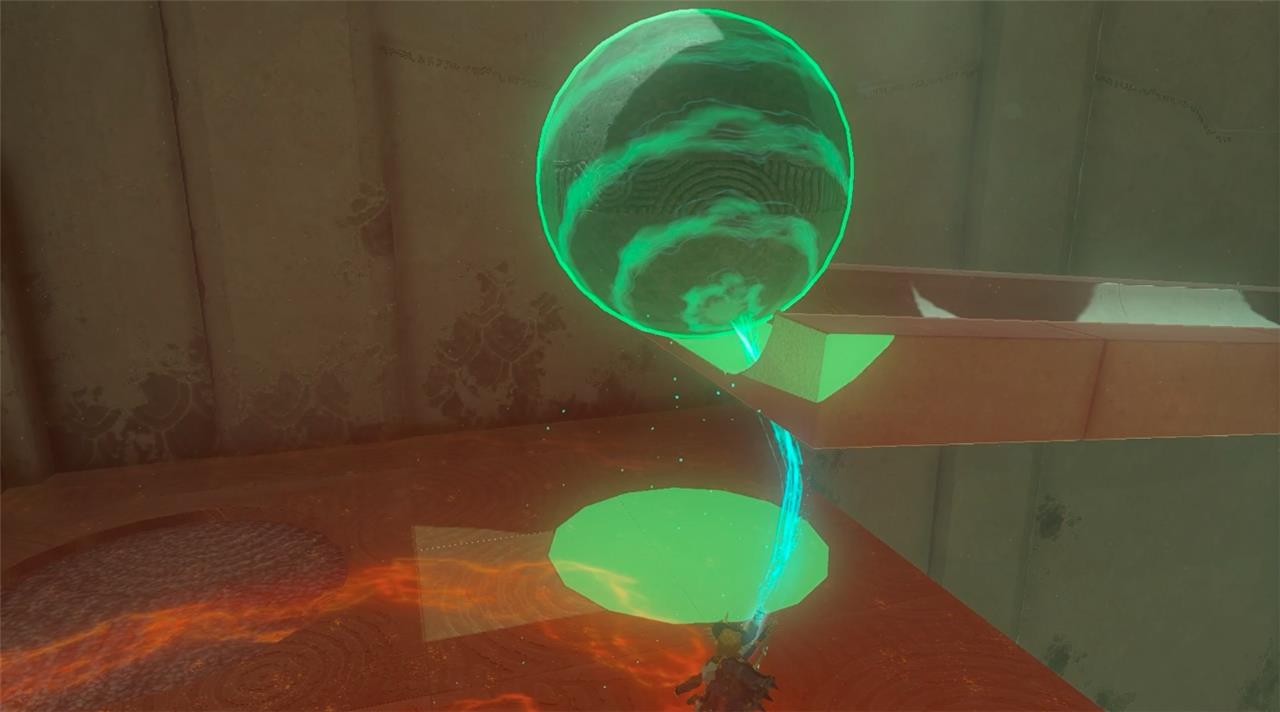
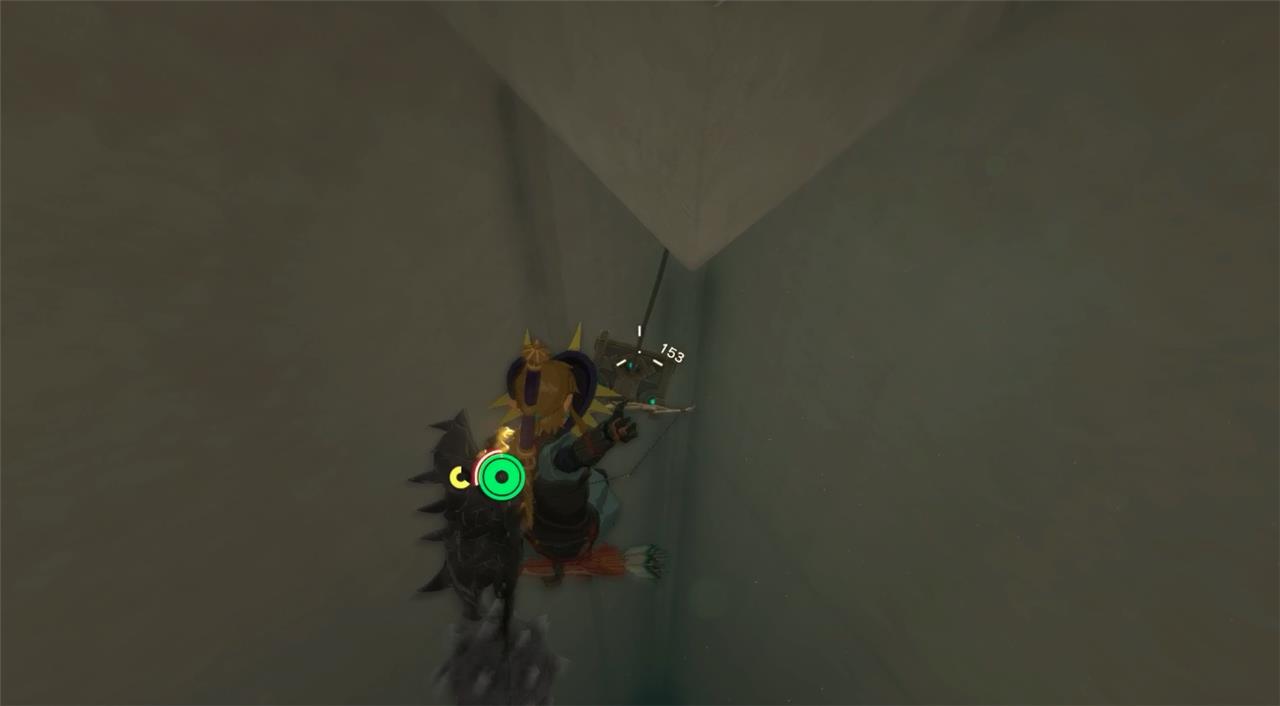
In the Mayak Shrine puzzle, you’ll flex your timing skills as you paraglide around a vertical space and hit a few buttons right on cue.
1. Run down the ramp into the shrine and note the yellow crystal button. When activated, the button triggers a target platform to pop out from under a stone slab in front of you.
2. Head to the left where a pillar jets up and down out of the ground. Wait until it launches you into the air, then paraglide down to the higher platform.
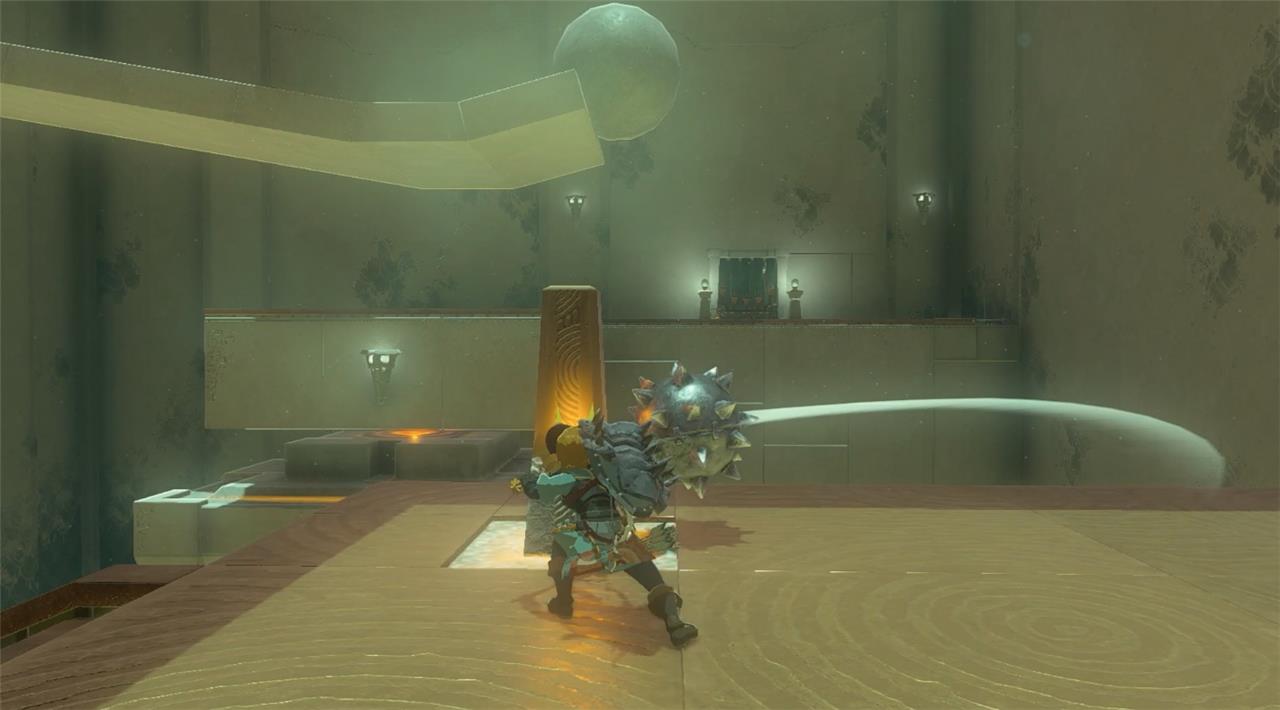
3. Use Ultrahand to place the giant boulder in front of you on the ramp. Then hurry! It’s going to roll down the ramp.
4. As the ball’s rolling, paraglide back over the lower platform by the button and prepare to hit the button to activate the target platform. Because the ramp has a bit of an upward lip at the end, you’ll want to wait to hit the button until the boulder is on the very edge, tipping down to the platform. When the boulder hits the target platform and activates the big button, the door across the chasm will open.
5. Jump back on the undulating pillar and let it propel you again into the air in order to safely paraglide across the room to the door.
6. Enter the second room where you’ll see a crystal button. Ignore it for now, and drop to the floor to find another popping pillar. Jump on and ride to the top of the room (what high ceilings!). Turn left, then paraglide to the visible platform.
7. Paraglide down slowly until you see a treasure chest dangling from under the platform. When you’re close enough, disengage the paraglider, free fall, then grab your bow and arrow to time a perfect shot that can release the treasure chest. Don’t forget to paraglide back down to safety!
8. Open the fallen chest to reveal a large Zonai charge.
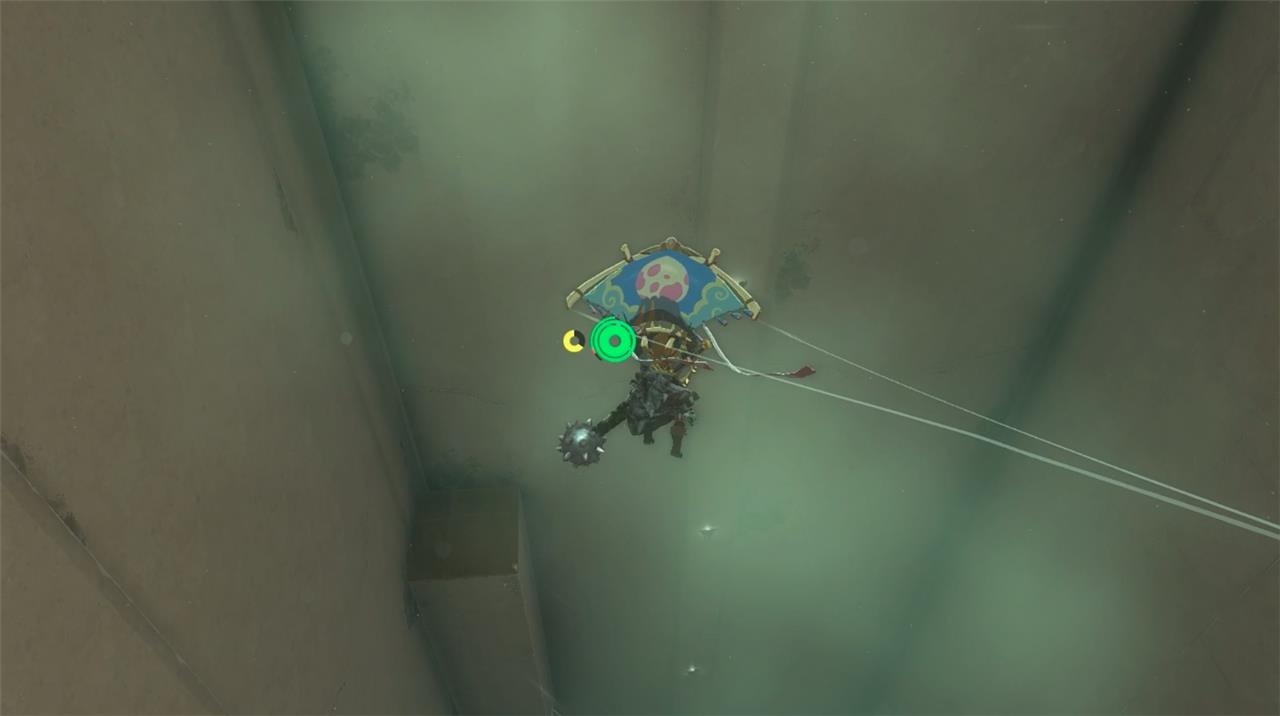
9. Return to the pillar to send yourself airborne again. This time look to the right and sail down to another pillar, which will catapult you even higher up.
10. Sail safely to the highest platform and run over to the visible boulder. Use Ultrahand to place it on the ramp, where it will begin to roll.
11. Leap off the platform, dive when you’re in the air, then paraglide before you hit the floor to make it back to the crystal button in time. Hit the button as soon as you land – the boulder will be right behind you. If it all timed right, the door across the way will open.
How to reach Mayak Shrine from nearby stable fast travel point
Nearest Fast Travel Point
The closest stable to Mayak Shrine is South Akkala Stable, a reliable fast travel spot in northern Hyrule near the Eldin-Akkala border. Thyphlo Ruins Skyview Tower offers another quick option for gliding directly overhead.
Route from South Akkala Stable
Fast travel to South Akkala Stable, then head slightly southwest to avoid dense terrain before turning north. Follow the natural upward slope through rocky paths in the East Deplian Badlands, climbing steadily toward the shrine’s elevated ledge at coordinates 1269, 3733, 0105. Expect a moderate hike of 5-10 minutes on foot; watch for minor enemies but no major threats.
Faster Glider Method
From the stable, sprint or horse north to open ground, then launch from Thyphlo Ruins Skyview Tower (if unlocked) and glide northeast over the badlands. This covers the distance in under 2 minutes, landing near the shrine entrance northwest of Death Mountain. Prioritize stamina food for extended glides.
Best route from South Akkala Stable to Mayachideg Shrine
Mayachideg Shrine lies just northwest of South Akkala Stable in the Akkala Highlands/Eldin Canyon border area, making it a quick trip on foot.
Direct Path from Stable
Fast travel to South Akkala Stable, then follow the main road heading north for a short distance. Veer left onto the obvious cliffy slope rising northwest- the shrine is prominently visible on the elevated cliffside ahead. The hike takes 2-3 minutes with minimal climbing; no major enemies block the route.
Tips for Speed
Mount a horse from the stable for faster initial travel, then dismount to scramble up the rocky incline. Alternatively, launch from nearby Ulri Mountain Skyview Tower (if unlocked) and glide southwest directly to the entrance at coordinates around 3061, 1823, 0216. Equip stamina-restoring food to handle the short ascent smoothly.