Hidden deep within Hyrule’s most dangerous regions lies the Barbarian Armor set-gear that turns Link into a powerhouse capable of devastating blows. Here’s where each fearless piece waits for those bold enough to claim it.
Keep in mind that you may come across treasure maps related to this armor set during your travels, or an NPC might hint at their locations. But you don’t need to acquire this info in-game to physically open the chests containing the Barbarian Armor. If you want to skip the busywork (or just double-check if your hunch is correct), this guide will help. Here’s where to find the Barbarian Armor set locations in Zelda: Tears of the Kingdom.
Barbarian Armor chest piece location
The Barbarian Armor chest piece is hidden inside the Crenel Hills Cave, found east of Lookout Landing in central Hyrule. Enter the cave through a small opening on the hillside and follow the main tunnel until you reach a chamber filled with rock formations and breakable walls. Use bombs or a hammer-type weapon to clear the obstacles, then open the chest at the back of the area to claim the armor piece, which boosts your attack power when worn.
You can find the Barbarian Armor chest piece inside Crenel Hills Cave at the coordinates (0484, 0729, 0041), northeast of Lookout Landing and southwest of “Crenel Hills” when you’re looking at the map. There are Luminous Stone ores on each side, so just follow the light blue ores to the inside of the cave.
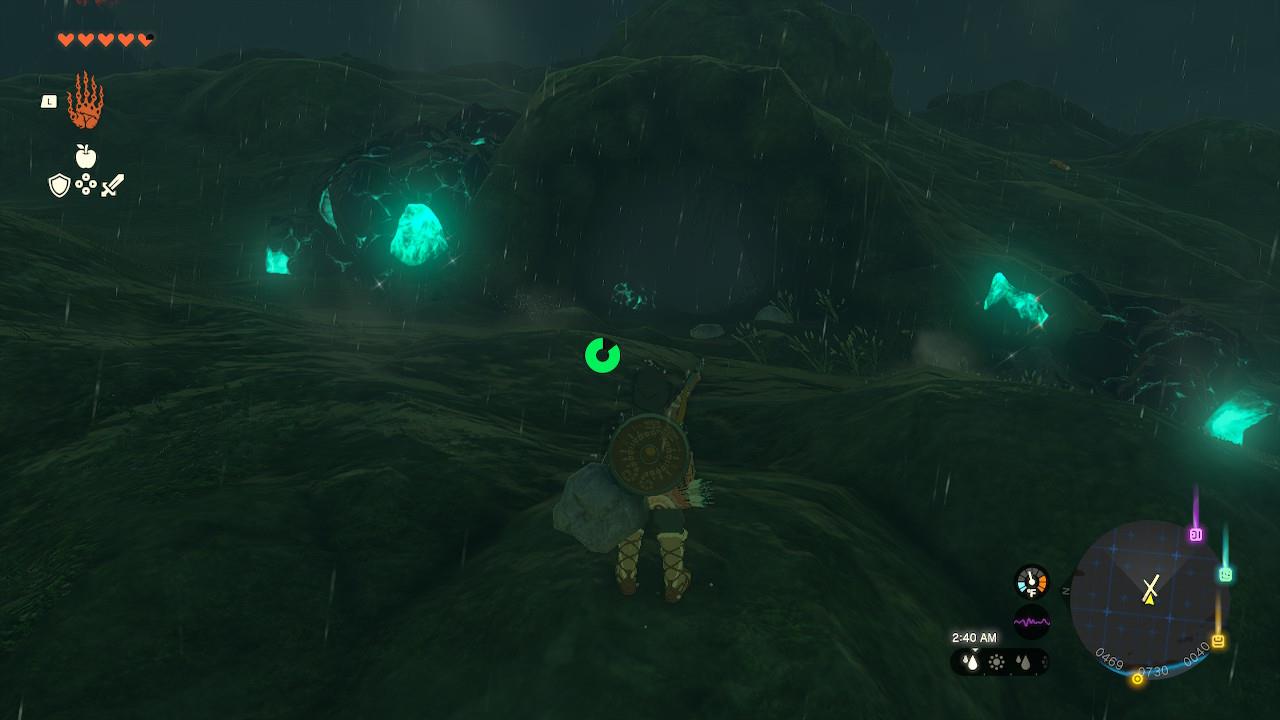
There are plenty of ores to destroy inside. But if your eyes are on the prize only, here’s the gist. The cavern is shaped like a circle with pillars around it. If you head to the center, a Stone Talus will emerge from the water, which can be quite tough to deal with depending on your current equipment.
If you want to avoid the sequence altogether, you can. As soon as you drop off to ground level, stay closely to the wall to your left and just circle the cave around. You’re free to make noise, so destroy ores and pick up items while you’re at it.

Then, once you’re on the other side of the cave (opposite of where you first drop off after the entrance, give or take), you’ll see an open path above.
Climb toward it and, at the very end, you’ll find the chest with the Barbarian Armor chest piece. It has 3 defense by default, and grants 1 attack power.
Barbarian Leg Wraps location
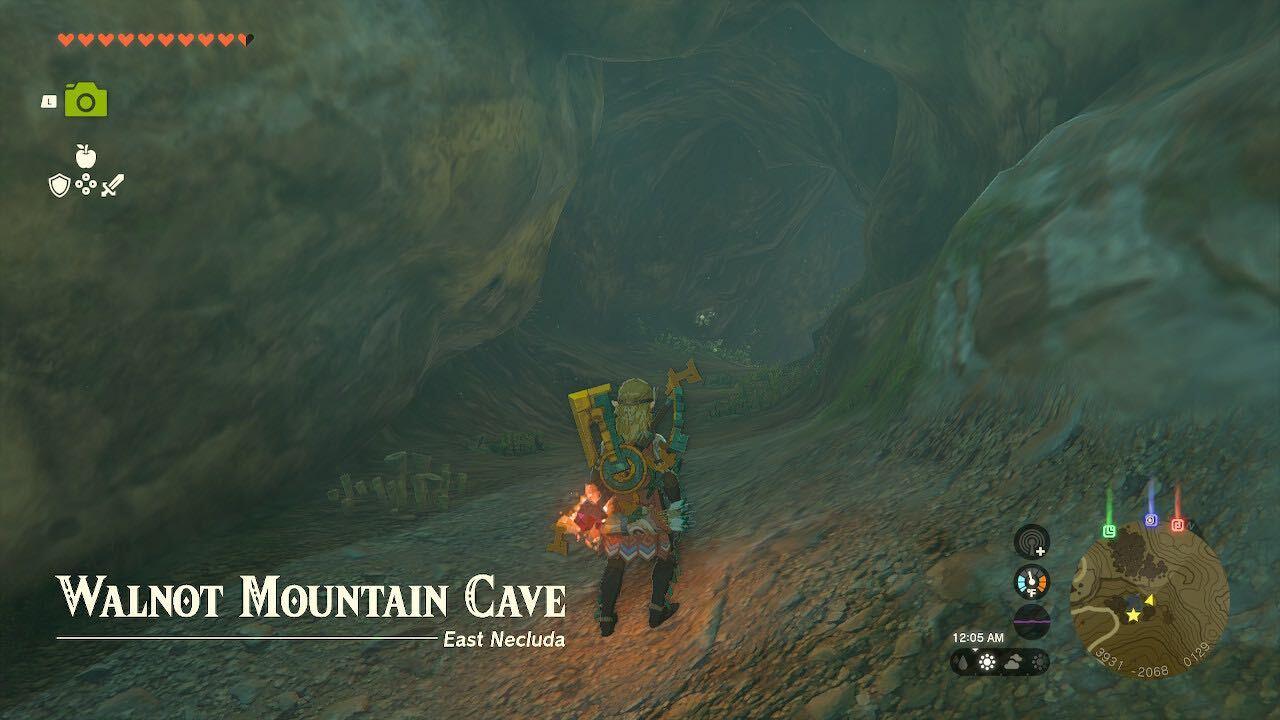
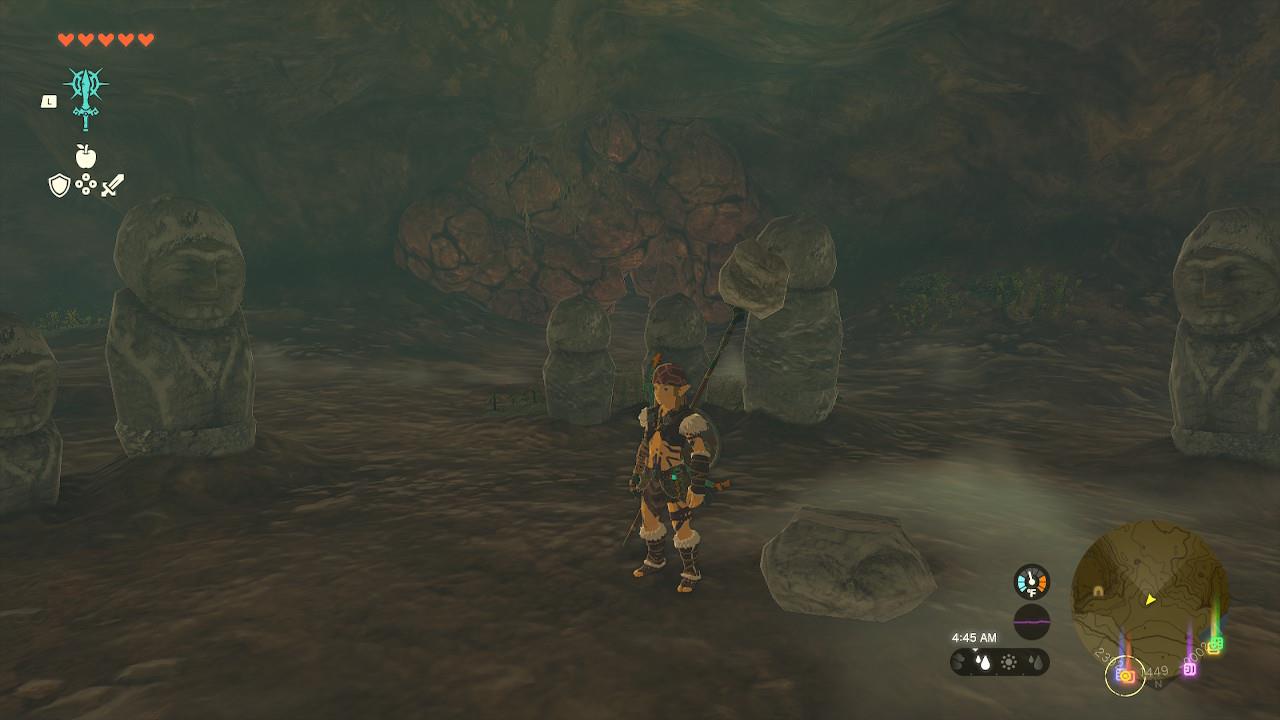
Barbarian Leg Wraps are found inside Walnot Mountain Cave in East Necluda, east of Hateno Village near a small pond and waterfall at roughly coordinates (3931, -2068, 0129). Head into the cave and follow the upper right path past a few Horriblins until you reach an area watched over by an Ice Like, then cross the gap to the small side chamber with a chest frozen in ice. Melt the ice using fire sources such as Fire Fruit-fused arrows, a Flame Emitter, or a simple campfire to open the chest and claim the Barbarian Leg Wraps.
You can find the Barbarian Leg Wraps inside Walnot Mountain Cave at the coordinates (3931, -2068, 0129), east of Hateno Village past the Hateno Ancient Tech Lab. If you zoom in on the map, the entrance is right next to a small lake south of Retsam Forest.
I’ll be honest here: This cave is kind of intense. There are some fairly tough and annoying enemies. A mix of Bokoblins, including a big goblin similar to the one you fight to conquer Hyrule Field’s Skyview Tower; ice Keese; and ice Like Likes await for you inside.
Of course, you’re free to tackle the cave as you see fit. If you’re not approaching it early on, you might have decent gear to survive the encounters. If not, which was my case, I recommend making a run for it to grab the armor.
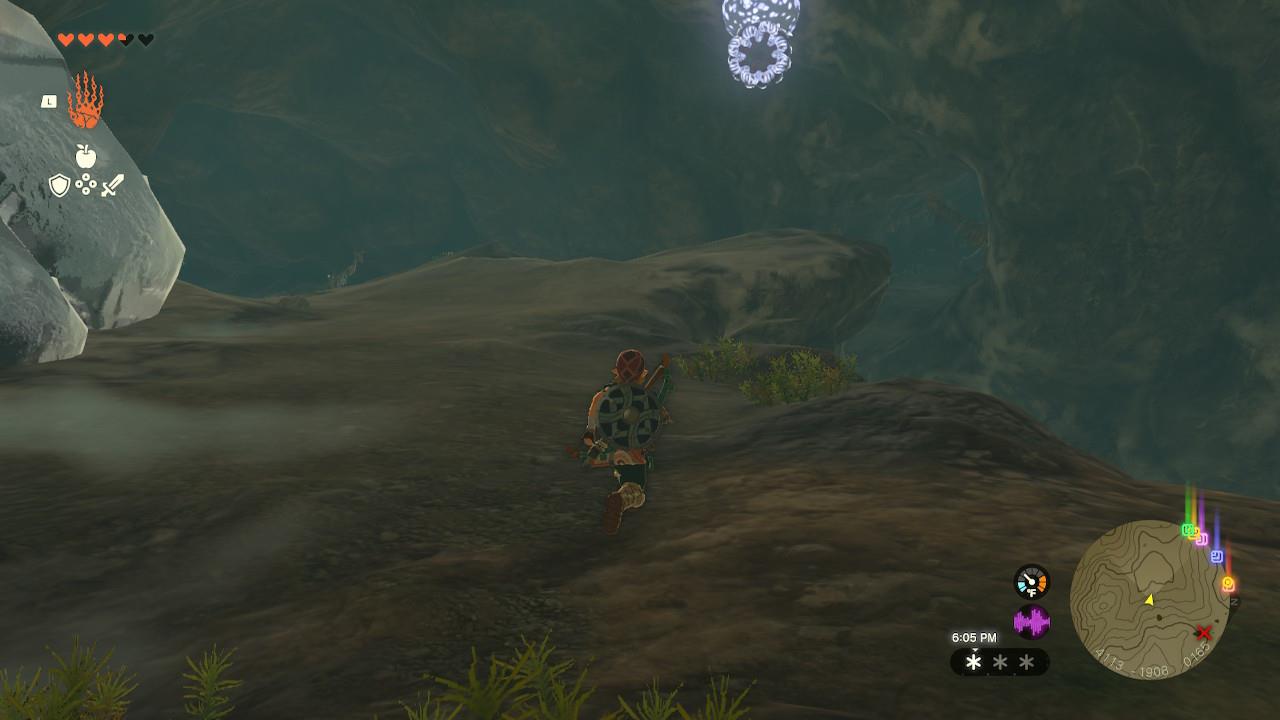
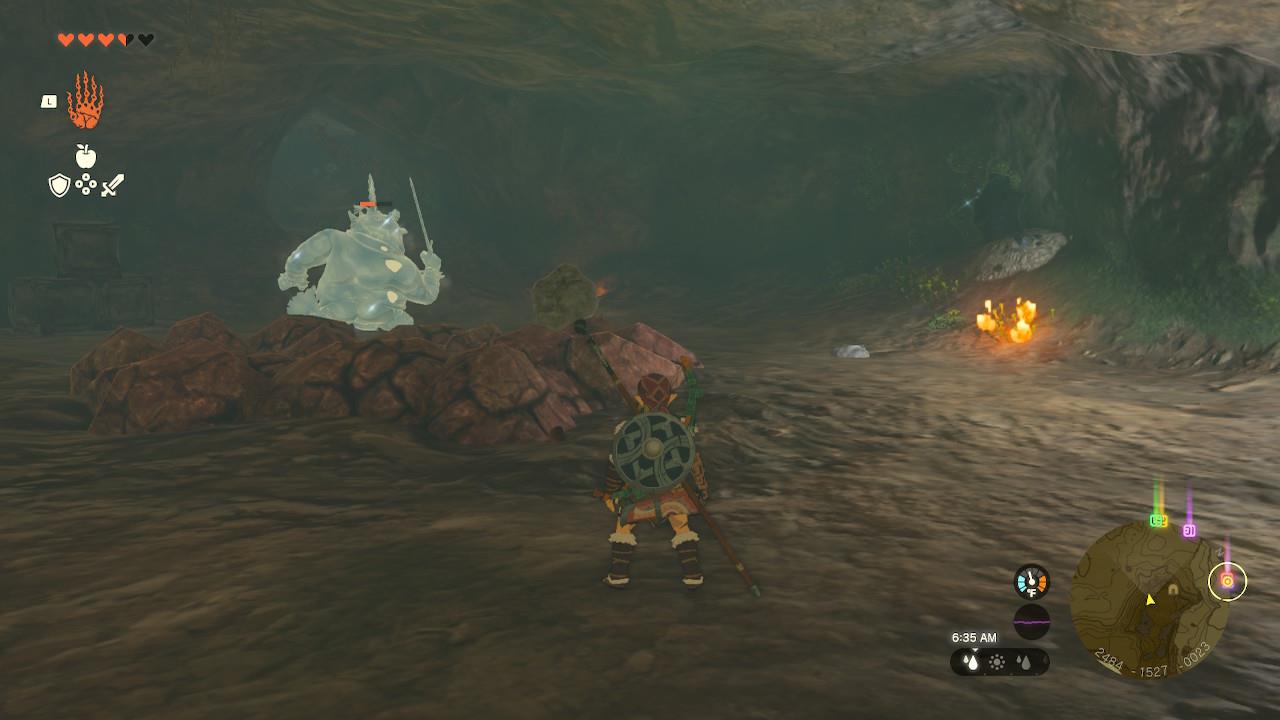
Once you see an opening to climb to the upper level of the cave – where the Bokoblins are usually patrolling – beeline it. You’ll notice that the path naturally leads to another end of the cave, which is protected (and signalized!) by an ice Like Like hanging from the ceiling. Avoid its attacks, and then jump to the gap, which immediately leads you to the chest room.
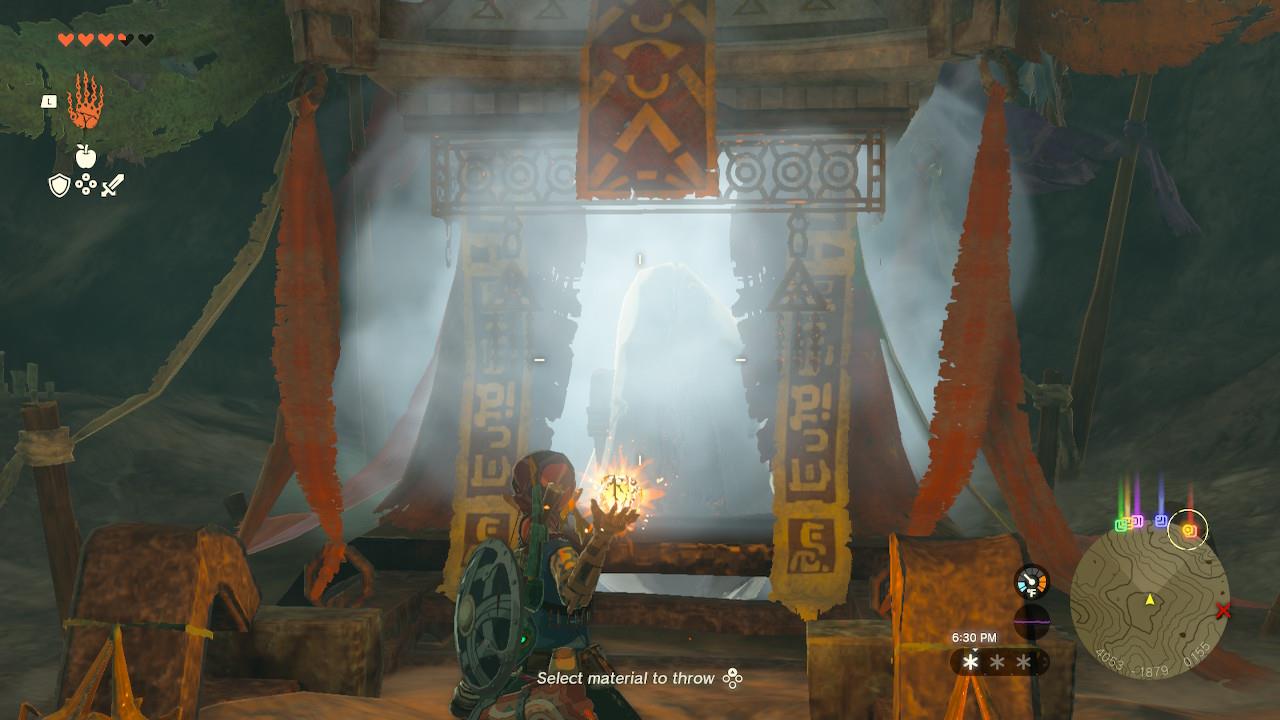
One last step: The chest is trapped inside ice, which is annoying. I threw some fire fruits that I had on me, which slowly melt it with each impact. If you happen to have a lit torch, you can get close to it until it melts, too.
Once you can actually open the chest, the Barbarian Leg Wraps will be yours. This armor piece has 3 defense, and adds 1 attack power.
Barbarian Helm location
Barbarian Helm is found inside Robred Dropoff Cave in East Necluda, southeast of Kakariko Village, near the southern edge of the Phalian Highlands. Glide down into the rocky depression marked by clustered stone statues to spot the cave entrance, then follow the winding paths within until you reach the chest containing the helm.
You can find the Barbarian Helm inside Robred Dropoff Cave at the coordinates (2487, -1467, 0013), southeast of Karariko Village. Thankfully, it’s fairly easy to spot, as there are multiple stone statues that lead to it. Kinda creepy, yes, but also helpful.
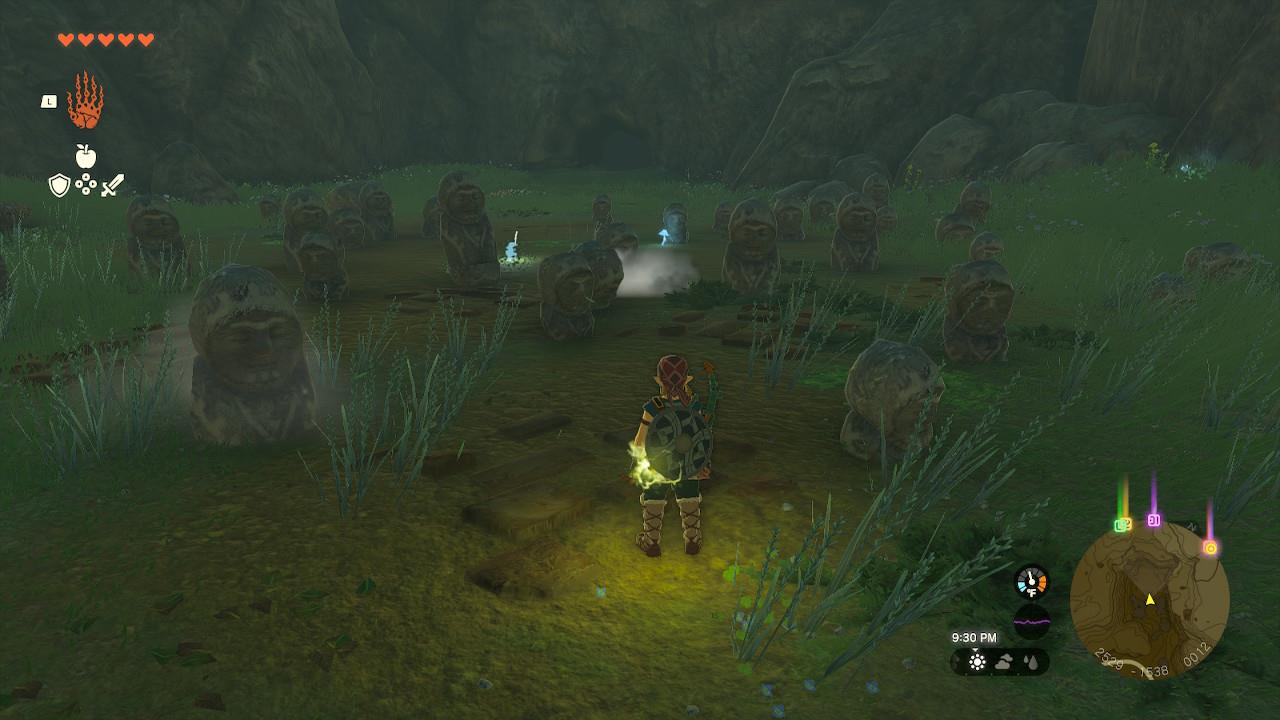
The stone statues, as a message at the entrance warns you about, will show you the path toward the treasure. Now, the cave might sound complicated, but it’s fairly straightforward if you know where to look in advance. As a rule of thumb, if you see stone statues that are looking at a specific direction, they’re subtly pointing you in the right way.
That said, there aren’t any traps if you get lost. Worst case scenario, you’ll end up having to backtrack a bit. Just make sure to have either explosive items like bomb flowers or any weapons infused with a rock, as you’ll have to manually make your way through rock walls.
Speaking of which, the first large room has multiple stone statues groups, and three possible paths. If you look closely, all stone statues are facing the center of circle around them, while a group of three is facing directly at a rock wall – that’s where you should head.
If you’re curious, the other paths go in a circle. You can grab a few useful materials if you want, but if you’re only here for the armor, take the aforementioned path directly.
The path will lead you to a room full of Bokoblins, which is… fun. The chest is on the other side of the room – there are two stone statues facing it, but there is a locked door in between, so it’s a no-no. In order to get to it, you’ll have to destroy the rocks (same color as the rock walls you’ve been destroying thus far) that are right in the center of the room.
If you have bomb flowers, either throw or shoot an arrow Fused with one at the rocks. That should create a gap. If you don’t but you’re carrying a weapon with a stone, you can jump and attack so Link hits the ground, leading to the same result.
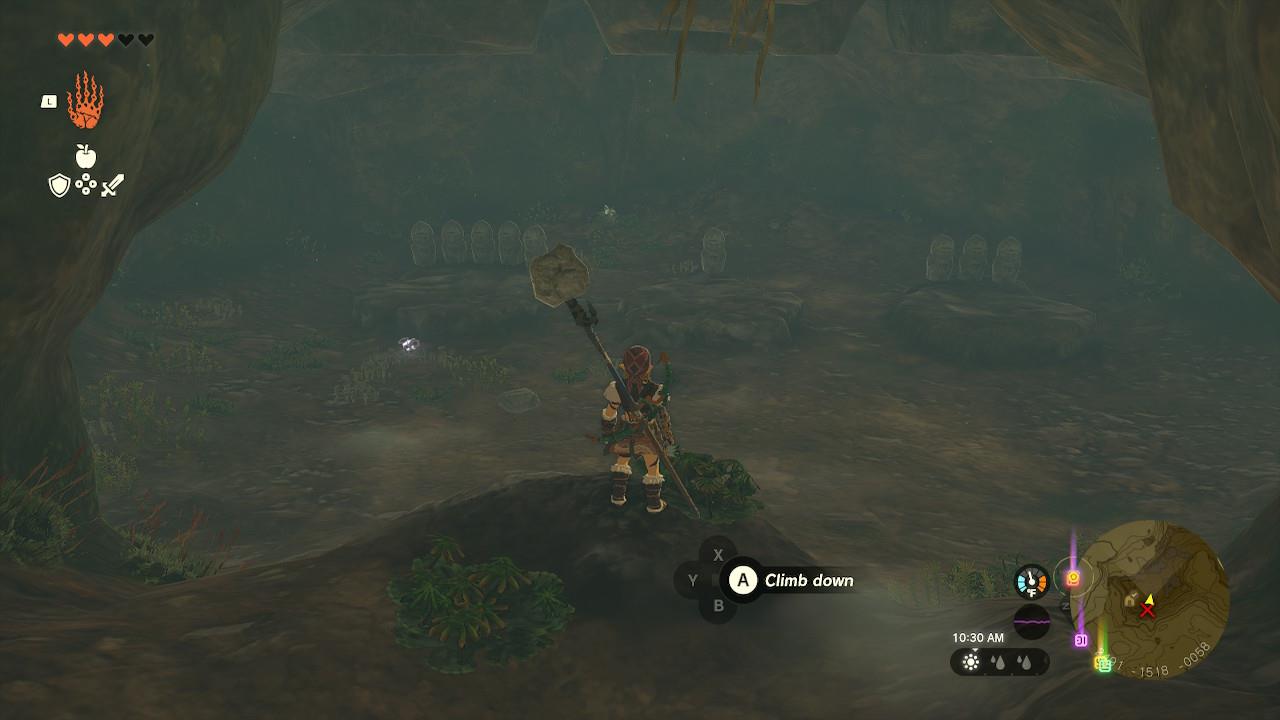
The path in front leads to three stone statue groups. From left to right, the first has five statues, the second has one, and the third has three of them.
Stand in front of the group with three stone statues, where there’s a plateau of sorts, and then use Ascend. This is going to lead you straight into the chest room.
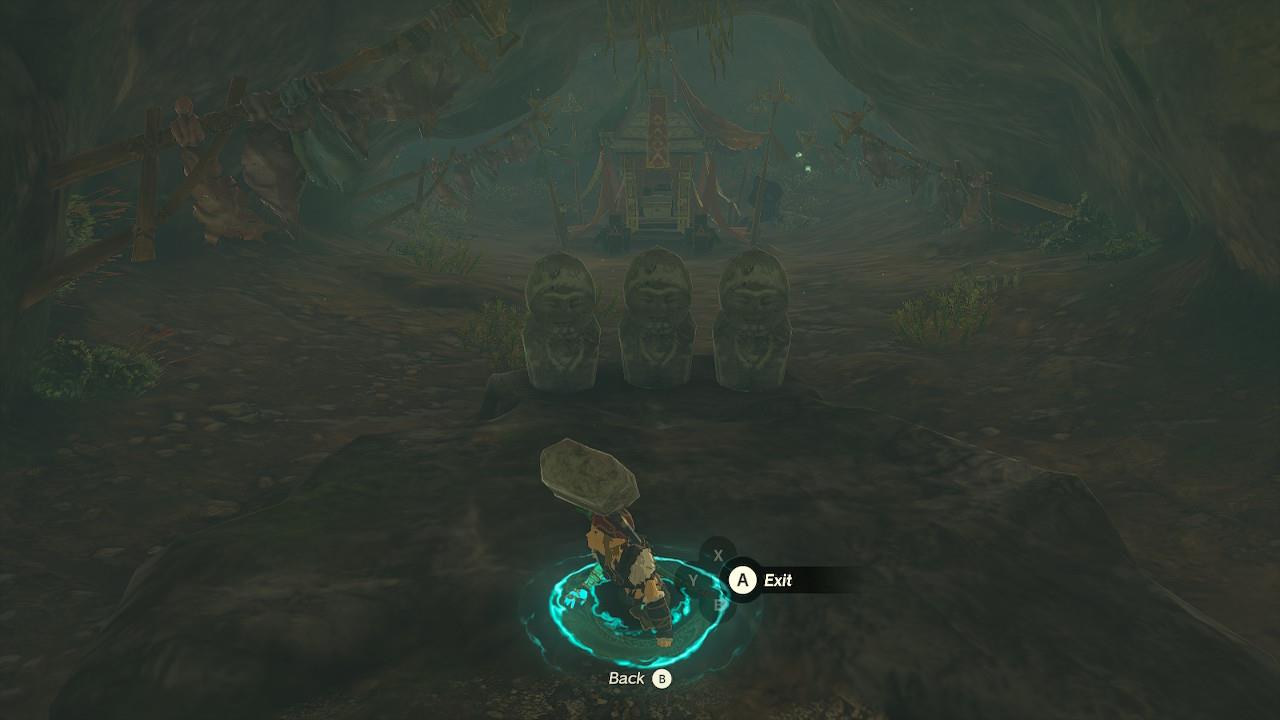
Three similar statues await you above, which is a bit eerie, but that’s the last step. Go ahead and pick up the Barbarian Helm. It has 3 defense by default, and grants 1 attack power. You can then use Ascend again to return to the previous path in the cave, or just fast travel yourself away.
Barbarian Armor set upgrade costs, effect, and set bonus
Each piece of the Barbarian Armor set starts at 3 defense and can be upgraded at Great Fairy Fountains up to 20 defense per piece by spending rupees and rare monster materials, especially Lynel parts and offensive ingredients like Razorshrooms and Mighty Thistle. Every individual piece grants an Attack Up effect, stacking to significantly boost Link’s damage with the full set equipped. After upgrading all three pieces to at least two stars, the set bonus Charge Attack Stamina Up activates, lowering the stamina cost of charged attacks and letting you maintain aggressive combos for longer.
When equipped individually, the Barbarian Armor gives attack up buffs. When the full set is equipped and upgraded to at least two stars, you’ll get a Charge Attack Stamina Up set bonus, lowering the stamina requirement for a charge attack.
You’ll be able to upgrade the armor at a Great Fairy Fountain in exchange for the following materials:
- 1-star (5 defense): 3 mighty thistle, 10 rupees
- 2-star (8 defense): 2 Lynel saber horns, 2 Lynel mace horns, 5 razorshrooms, 50 rupees
- 3-star (12 defense): 3 Blue-Maned Lynel saber horns, 3 Blue-Maned Lynel mace horns, 3 razorclaw crabs, 200 rupees
- 4-star (20 defense): 3 White-Maned Lynel saber horns, 3 White-Maned Lynel mace horns, 3 bladed rhino beetles, 500 rupees
In order to upgrade all the Royal Guard Uniform, you’ll have to collect 9 mighty thistle, 15 razorshrooms, 9 razorclaw crabs, 9 bladed rhino beetles, 6 Lynel saber horns, 6 Lynel mace horns, 9 Blue-Maned Lynel saber horns, 9 Blue-Maned Lynel mace horns, 9 White-Maned Lynel saber horns, 9 White-Maned Lynel mace horns, and 2,280 rupees.
That said, yes, you’ll need to take down a ton of Lynel in order to fully upgrade this hard-hitting set. You can reliably fight one of each kind in the Floating Colosseum in the Depths (where you get Majora’s Mask).
Once you’ve found all three pieces of the Barbarian Armor, consult our list of all armor sets and set bonuses to see what to find next, or check out our recommendations for the best armor.
How to upgrade the Barbarian Armor set
You upgrade the Barbarian set at Great Fairy Fountains by paying rupees and specific materials for each level, and you must upgrade all three pieces to at least 2★ to unlock the Charge Attack Stamina Up set bonus.
Requirements to upgrade (Tears of the Kingdom)
All upgrades are done at any unlocked Great Fairy Fountain, paying rupees plus materials per piece.
The same material list applies to each of the three pieces (Helm, Armor, Leg Wraps).
Per-piece upgrade costs
-
1★ (defense 5): Mighty Thistle ×3.
-
2★ (defense 8): Razorshroom ×5, Lynel Mace Horn ×2, Lynel Saber Horn ×2.
-
3★ (defense 12): Razorclaw Crab ×3, Blue-Maned Lynel Saber Horn ×3, Blue-Maned Lynel Mace Horn ×3.
-
4★ (defense 20): Bladed Rhino Beetle ×3, White-Maned Lynel Mace Horn ×3, White-Maned Lynel Saber Horn ×3.
So, to fully upgrade the whole set (all three pieces), you need in total:
-
Mighty Thistle ×9
-
Razorshroom ×15
-
Razorclaw Crab ×9
-
Bladed Rhino Beetle ×9
-
Lynel Saber Horn ×6
-
Lynel Mace Horn ×6
-
Blue-Maned Lynel Saber Horn ×9
-
Blue-Maned Lynel Mace Horn ×9
-
White-Maned Lynel Saber Horn ×9
-
White-Maned Lynel Mace Horn ×9
Set bonus and tips
-
Set bonus: When all three pieces are upgraded to at least 2★ and worn together, you gain Charge Attack Stamina Up, reducing stamina cost for charged attacks.
-
Farming tips:
-
Mighty Thistle and Razorshroom are common in Faron and forested areas.
-
Razorclaw Crab spawn on many beaches in Necluda and Lanayru.
-
Bladed Rhino Beetles tend to appear on trees in wooded regions; sneaking at night with stealth gear helps.
-
Lynel parts come from Lynels; tougher variants (Blue-Maned, White-Maned) appear as you progress, and give the higher-tier horns you need.
-
Where to farm Mighty Thistle efficiently
The best repeatable Mighty Thistle farm in Tears of the Kingdom is Piper Ridge, with a few strong backup spots in Faron and East Necluda.
Fastest farming route
-
Piper Ridge (west Hyrule, near Rito areas)
-
Go to Piper Ridge, just south of Nero Hill and west of Tabantha Bridge Stable.
-
On the northwest, wet, grassy side of the ridge there’s a tight cluster of Mighty Thistles; you can grab roughly 10-11 in one short loop, then warp away and come back later after a blood moon to reset them.
-
Other good spots
-
Koto Pond / Hanu Pond (East Necluda-Faron border)
-
Between Koto Pond and Hanu Pond, just north of Rabella Wetlands Skyview Tower, you can sweep the surrounding ridges and lower grass for several more Thistles in a compact area.
-
-
Kamah Plateau (Faron)
-
West of Rabella Wetlands Tower and southwest of Mount Floria, Kamah Plateau has multiple Mighty Thistles mixed among palm trees and rocks; do a circular run around the top.
-
-
General regions
-
Mighty Thistle commonly appears in Faron Grasslands and East Necluda, especially near small ponds, on ridges, and in lightly forested, tropical-feeling areas.
-
If you want a single “brain-off” route for Barbarian upgrades, set a loop: warp near Piper Ridge → clear the ridge → warp to Rabella Wetlands Tower → glide to Koto/Hanu and Kamah Plateau → repeat after some in-game time or a blood moon.