Hidden in the options menu of Capcom’s Resident Evil 4 remake are settings that do far more than tweak visuals-they reshape the entire experience. From smarter aim assists to clearer interface cues, these features can make your first run smoother, sharper, and far more immersive.
Even if you don’t particularly seek bigger subtitles or different crosshair colors, some settings can be universally helpful, impacting the way Leon moves and interacts with the world. Here are a few settings you should try from the start in the Resident Evil 4 remake to have a clear and comfortable perception of your surroundings amidst the chaos on screen.
There’s a secondary parry button
The game adds a secondary parry button, giving you a quick, separate input to counter attacks without risking your primary parry timing.
By default, at least on PlayStation, you perform parries with L1. In practice, this is the same prompt you use to ready your knife, so it’s fairly intuitive on its own. If you want to perform quick slashes, you can do so just by pressing R2 – also the shoot button. As long as you don’t aim with L2, Leon will perform knife attacks instead
In the Controls tab of the settings menu, you can select the Parry with R2 option to add it as an additional parry button. The idea is similar: Whenever you’re not aiming down the sights, you can press R2 to use Leon’s knife. Instead of attacks, however, he will parry upcoming strikes. L1 will continue to function as a parry button as well.
If you don’t usually care about using your knife without aiming with it, this can be a good choice. In the heat of battle, when enemies are quick to surprise you with a fatal attack, having a second button at hand to use as a reflex can be beneficial.
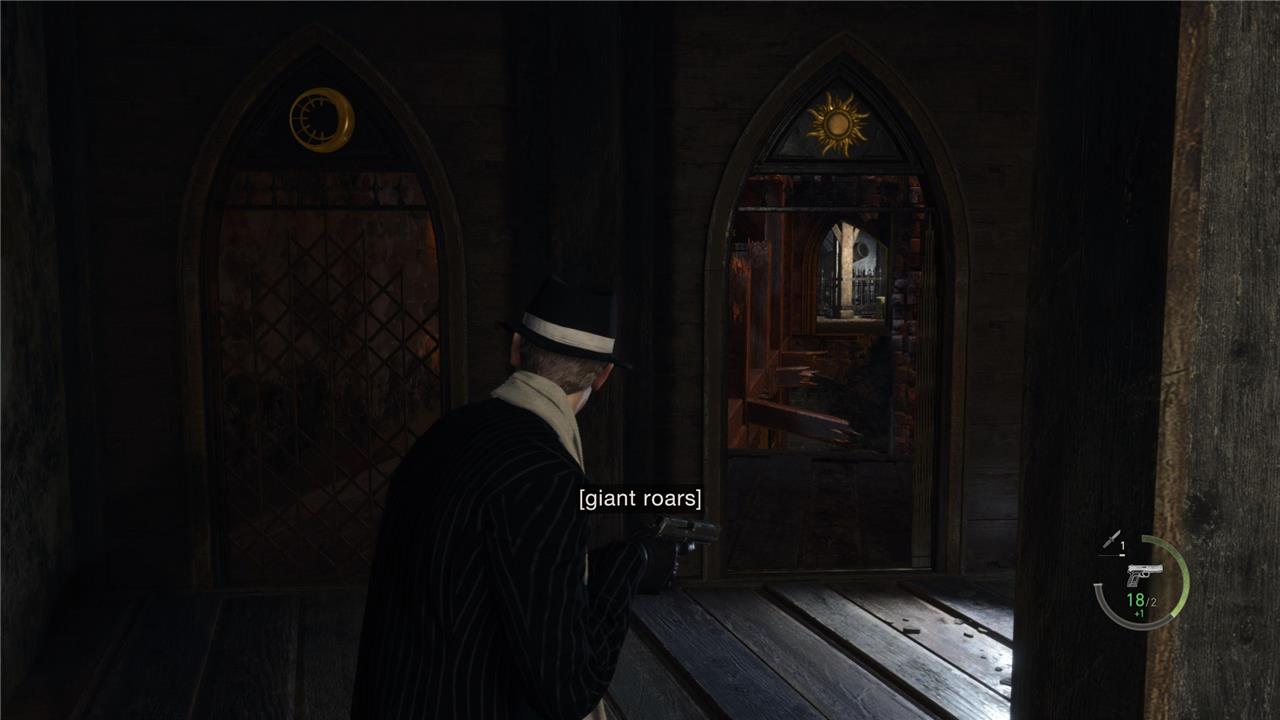
Activate Closed Caption Subtitles from the start
Turning on closed caption subtitles right away helps you catch every detail in Resident Evil 4 Remake, from whispered dialogue to distant enemy noises. They’re especially useful during tense moments where background sounds or heavy accents might make speech unclear. Subtitles can also help identify who’s speaking during chaotic action scenes, keeping story and gameplay moments clear without breaking immersion.
Closed Caption Subtitles is a setting everybody should use in the Resident Evil 4 remake. It not only adds a bit more flavor to the world, signalizing actions and important sounds in the midst of battle, but it’s also really helpful for surprise attacks, traps, and more. You can activate it in the Language menu.
An early example is the tripwire traps you’ll often stumble upon in the village area. Without closed caption subtitles turned on, you’ll need to either hear or see the tripwire to pinpoint its location. If you’re storming into a room or corridor, you might interact with it face-on. With closed captions, you’ll see a momentary “[faint beeping]” line, which gives you a clear and concise warning to watch your step.
The same philosophy applies to many other aspects. If you’re trying to sneak around a group of enemies but one of them happens to see you, the captions will warn you that someone has been alerted.
While fighting against special enemies, you’ll often know when they’re about to either attack or charge against Leon. It also applies to exploration, especially if you’re hunting down collectibles. If you see a subtitle regarding a rat making sounds, that means the rat in that area is related to a request from the merchant.

Adjust the field of view
Adjust the field of view by selecting a comfortable FOV value and enabling dynamic camera options to reduce motion sickness while preserving crucial targets and environmental awareness.
Field of view, found in the Camera menu, tends to be an option almost exclusively for first-person shooters, but it’s present in this version of Resident Evil 4 – and it provides a fundamental difference in visual aid.
This setting is related to motion sickness, so your experiences may vary. It might be the case where you feel more comfortable with a specific degree of field of view, instead of expanding it to the maximum limit, which is what I’d recommend.
All in all, if you can increase it from its default values, a wider field of view will give you a clearer picture of any enemies surrounding Leon. Who knows, it might save you from a surprise attack or two.
Switching from tap to hold can be beneficial in tough situations
Switching certain quick-time actions from a tap to a hold input can make tense encounters less stressful and reduce hand fatigue. This adjustment helps players maintain precision during boss fights or escape sequences without the strain of repeated button presses. It’s a small change that can improve reaction consistency and help avoid mistakes during moments when every second counts.
The Resident Evil 4 remake proudly gets rid of quick-time events, but that doesn’t mean you won’t be pressing specific buttons in designated situations. The option to switch from having to tap a button repeatedly to just holding it isn’t novel, and has thankfully become a fairly common occurrence in AAA games.
In Resident Evil 4, where enemies can often get ahold of Leon while damaging him in the progress until he can break free, the stress of having to mash buttons repeatedly while also keeping an eye out for upcoming enemies or your health bar can be a lot to handle.
Holding down the button, however, will allow you to center your attention on other elements of the screen while the action finishes on its own. You can switch the Repeated Button Input Type option from Tap Repeatedly to Hold in the Controls menu. Considering the frantic nature of the game, knowing that you won’t fail one of these sequences because you didn’t tap fast enough provides a welcome breather.
There’s quick turn… but it’s complicated
A quick turn can save your life in Resident Evil 4 Remake, but configuring it takes a bit of care. The feature lets you whip Leon around fast to respond to sudden threats, yet its sensitivity and timing can feel uneven if not tuned properly. Adjusting camera speed, stick responsiveness, and aim assist together helps make the quick turn feel smoother and more reliable, especially during close encounters or tight escapes.
Let me be honest for a second: I spent more 35 hours with the Resident Evil 4 remake until I learned that quick turn is still present. If you’ve never played the original, quick turn refers to a short action in which, by holding the analog stick down and pressing a button, Leon will turn on 180º on a dime, ready to face whoever is trying to attack him from behind.
In the remake, you can do this by pressing down the analog stick while holding it down – which is an awkward combination, and might explain why I never triggered it even by accident. Or, if you prefer, you can replace it with the crouch button (pressing circle by default on PlayStation). The Quick Turn Type setting is found in the Controls menu.
Detailed steps to enable visual accessibility preset
To enable the Visual Accessibility Preset in Resident Evil 4 Remake from the start, follow these detailed steps based on the game’s options menu structure.
Step-by-Step Navigation
-
From the main menu (or pause menu during gameplay), select Options and press Enter/Confirm.
-
Scroll to the Accessibility tab (typically the first or second option, marked with an accessibility icon).
-
Highlight Visual Preset in the list of presets (Visual, Auditory, Motion Sickness).
-
Select it and set the toggle to On-this automatically applies HUD opacity boost, enlarged subtitles, high-contrast subtitle backgrounds, and improved text readability.
Customization After Enabling
-
Still in Accessibility or move to Sight Settings (under Display or Options sub-menu).
-
Adjust HUD Opacity to 100% for full visibility.
-
Set Subtitle Size to Large and enable Subtitle Background at high opacity.
-
Customize colors: Choose high-contrast options for aim reticle (e.g., bright green/yellow), laser sight, and biosensor scope.
Quick Tips
-
Save changes and test in the tutorial area-restart checkpoint if needed via pause menu.
-
These settings persist across sessions but can be toggled per playthrough.
What does each visual accessibility preset do in RE4 Remake
The Visual Accessibility Preset in Resident Evil 4 Remake automatically configures key display settings for better readability and visibility, targeting players with low vision or visual processing needs.
Automatic Changes
-
Sets HUD Opacity to High, ensuring interface elements like health, ammo, and maps remain fully visible over busy backgrounds.
-
Switches Subtitles to Large size with a high-opacity background for clear text against action-heavy scenes.
Suggested Customizations
The preset prompts (but doesn’t auto-apply) tweaks in Display/Sight Settings:
-
Change aim reticle color (e.g., to bright green or yellow for contrast).
-
Adjust laser sight color and biosensor scope color for easier targeting.
-
Customize subtitle colors and speaker name colors for personalization.