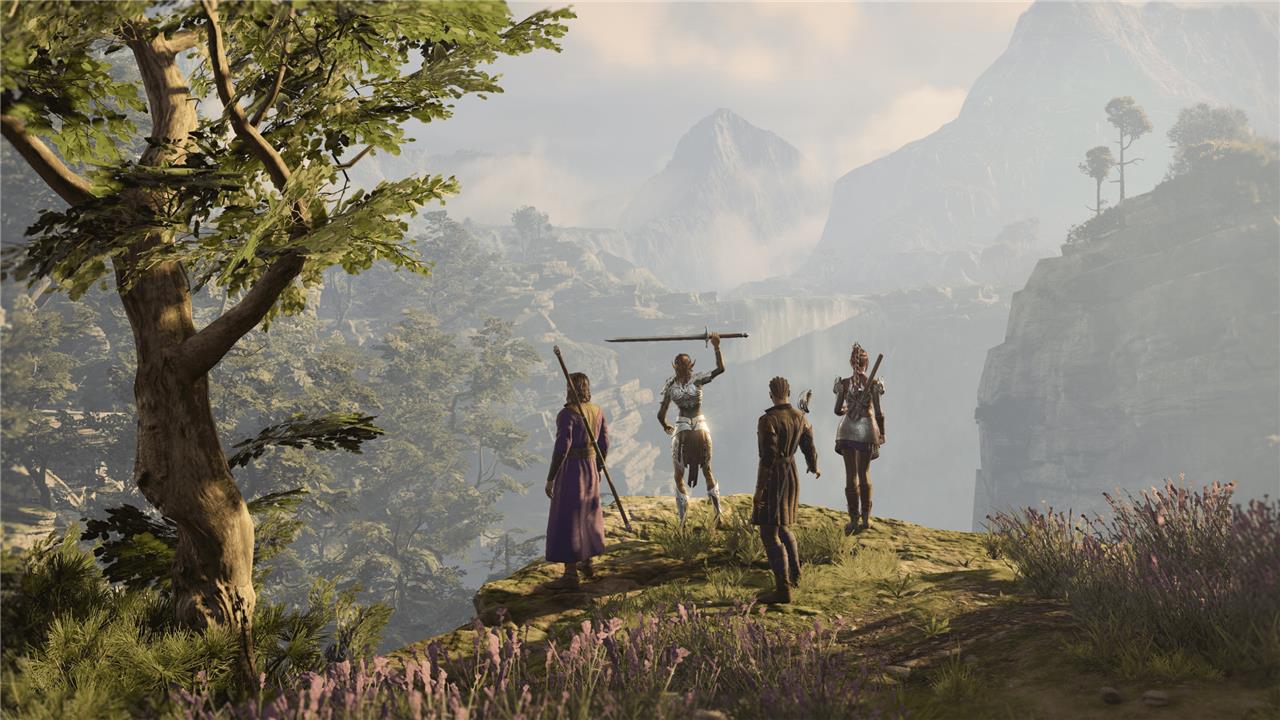
Patch 8 drops Wyll and Halsin recruitment into Act 3-grab them fast before the city’s chaos seals their fates forever.
Gather your crew
Your first hours in Baldur’s Gate 3 become much smoother once you gather a party that complements your strengths. Early companions such as Shadowheart, Astarion, Gale, and Lae’zel each bring unique abilities and perspectives that shape both combat and dialogue. Recruiting them during the opening areas ensures you have healing, magic, stealth, and frontline power before tougher encounters appear. Take time to talk with each character, as their approval and background choices influence future story paths and party dynamics.
If you’re not very experienced in Baldur’s Gate 3 or similar games, it can be a little difficult if you’re adventuring without any companions. Luckily, you’ll meet a few potential companions in the tutorial, but you’ll need to regroup with them once you’ve left the Nautilold. Here are some of the companions that will join you fairly early on:
- Shadowheart – You’ll first meet her on the Nautiloid in the pod, where you can rescue her. If you do rescue her, you’ll find her on the beach just north of the starting location. If you don’t rescue her, you can find her at the ruins northeast of the crash site. Follow the coast north to find her banging on the door of the ruins.
- Astarion – You can find Astarion on the path southwest of the crash site. After you help him with the monster in the bushes, he’ll join you as a companion
- Gale – Gale can be found by the Roadside Cliffs waypoint, which is a sigil on the side of the cliff. You’ll need to interact with the sigil and pull him out to gain him as a traveling companion.
- Lae’zel – Just north of the Roadside Cliffs waypoint, which is where you find Gale, you can find Lae’zel trapped in a cage. If you free her, she’ll come along and help you on your adventure.
- Wyll – When you first make your way to Druid’s Grove, you can find Wyll fighting off the goblins. Afterwards, you can interact with him inside the Druid’s Grove.
Look out for the glowing ancient sigil circles on the walls
The glowing sigil circles scattered across the walls aren’t just decoration – they often hide secrets or trigger magical effects tied to puzzles and hidden passages. Pay attention to their patterns and colors, as they can indicate nearby traps or rewards. Interacting with them may reveal hidden routes, treasure chests, or lore connected to ancient magic that deepens your understanding of the area.
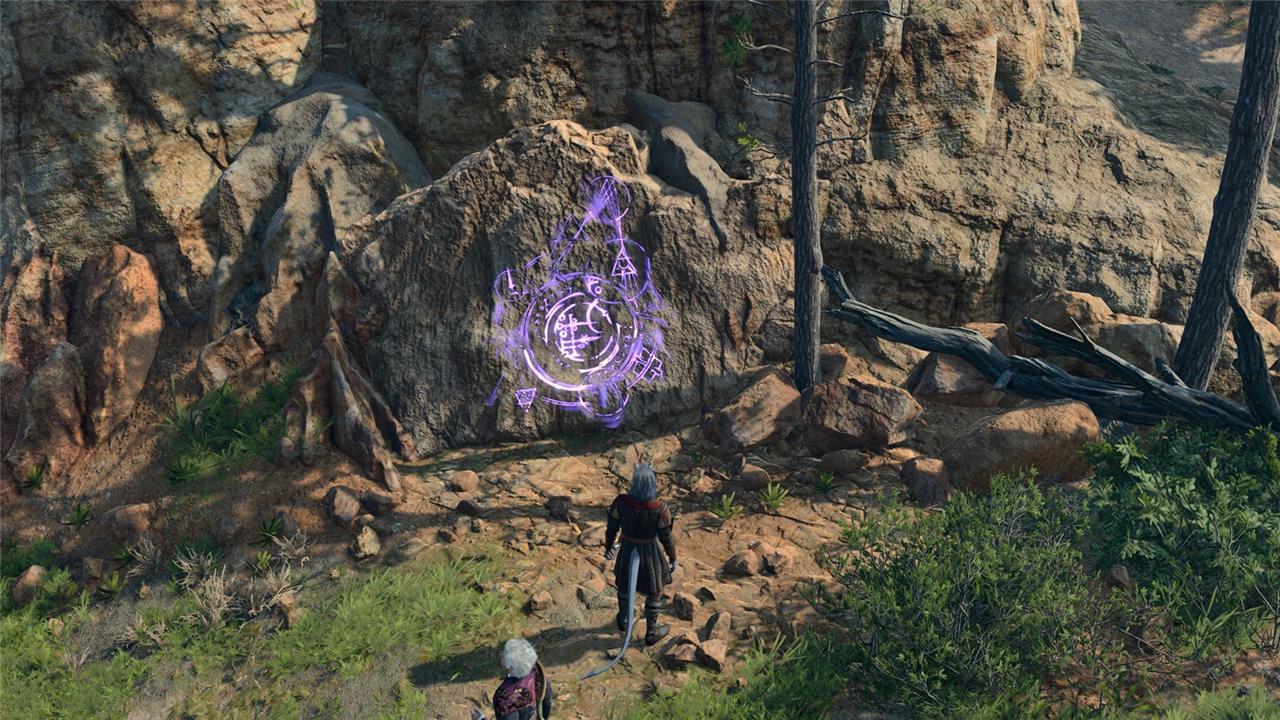
The map of Baldur’s Gate 3 is huge and it takes a while for your character to walk from point A to point B. To make your journeys a little quicker, use the ancient sigil circles as teleport waypoints. Be sure to interact with them; you won’t unlock the teleport waypoints by just walking by, and you may even start an event such as finding a companion.
Explore the ruins near the crash site
The ruins near the crash site hide valuable loot, secrets, and early encounters that shape your first hours in the game. Search through broken walls and scattered debris for weapons, scrolls, and supplies that can give your party an edge. Be cautious-traps and hostile creatures often roam the area, so scout carefully before rushing in. Exploring thoroughly can also lead to new dialogue options and insights into the crashed nautiloid’s aftermath.

Just north of where you wake up on the beach, you’ll find the overgrown ruins, which is home to one vital character for your playthrough. Once you’ve fully explored the ruins, you’ll encounter Withers, an undead skeleton. Withers will join your camp and give you the option to respec your character for 100 gold pieces. If you were ever thinking about restarting because you didn’t enjoy the class you chose, you can keep your progress and experience by visiting Withers at your camp.
Travel to Druid’s Grove
After clearing the beach and gathering your first party members, head toward the Druid’s Grove to progress the main story and meet key characters. The grove serves as a central hub early on, offering quests, traders, and potential companions such as Wyll and Karlach. Exploring the area carefully helps you understand the current conflict between the druids and Tiefling refugees, which sets up major decisions affecting your party and future alliances.

One of the first hubs that you’ll encounter in Baldur’s Gate 3 is Druid’s Grove. Druid’s Grove is home to Tieflings and, obviously, Druids, but it’s also a location full of quests and NPCs that you can interact with, each with their own dialogue options. It’s also a treasure trove for those that can speak with animals as there animals everywhere, even bears.
Visit the dark areas on your map
Exploring the dark areas on your map can lead to hidden treasure, secret encounters, and lore that enriches your playthrough. These places often contain traps, strong enemies, and rare loot, rewarding those who prepare well. Bring a companion with high Perception or a light source to make the search safer, and keep an eye out for shortcuts or alternate routes that connect different regions.
Ultimately, there are so many areas to visit that it’s hard to choose just one. Baldur’s Gate 3‘s world is full of interactions at every corner. Follow the path to find a random dead body on the ground that’ll lead to another side quest, or take the path less traveled to find a wounded Tiefling companion. Every path you take will lead to something to do, making your journey much more exciting.
Continue your search for the cure
After escaping the Nautiloid crash, your next goal is to track down a cure for the parasite lodged in your character’s head. Speak with your companions about possible leads, as each may hold a clue that alters your path. Visiting the druid grove, exploring the nearby woods, and questioning suspicious travelers can reveal new details about the infection. Keep an eye on dialogue options related to the tadpole-some choices open new quests or expose hidden allies who share your condition. Every decision shapes how your search unfolds and which characters will stand beside you as the truth comes to light.
As easy as it is to get lost in the side quests and dialogue, you can’t forget that there is a tadpole swimming around in your head! This parasite is the main driver for the story and leads you from location to location. It will also lead you to some “healers” who have quirky practices, but they proceed to humorous and thrilling storylines. Along the way, you may even decide you like the tadpole that is inhabiting your brain! In the end, it’s up to you whether you want to get rid of the little guy, but the “cure” quests lead you to areas around the map that are full of content.
Which companions are best for a beginner playstyle
For a beginner playstyle in Baldur’s Gate 3, focus on companions who offer forgiving mechanics like healing, crowd control, and straightforward damage to ease early survival without complex micromanagement.
Top Beginner Companions
These four form a balanced, low-maintenance party covering essentials:
-
Shadowheart (Cleric): Provides healing via spells like Healing Word and Sanctuary for protection; her crowd control (Hold Person) stops threats early.
-
Gale (Wizard): Delivers safe AoE damage (Fireball, later) and utility like Misty Step; easy to level with found scr
Which companions are best for easy combat and survivability
For easy combat and survivability in Baldur’s Gate 3, prioritize companions with strong healing, tankiness, and crowd control to minimize deaths and simplify fights.
Optimal Survivability Party
These companions excel at keeping your group alive through Act 1 and beyond:
-
Shadowheart (Cleric): Essential healer with Cure Wounds, Healing Word, and Sanctuary; her buffs and debuffs prevent wipes.
-
Lae’zel (Fighter): High AC tank who draws aggro and dishes reliable melee damage; her Action Surge clears threats fast.
-
Karlach (Barbarian): Rage boosts her damage resistance and health pool, making her nearly unkillable in frontline brawls.
-
Gale (Wizard): AoE spells like Shatter control groups, while Mage Armor and Misty Step add personal durability.
Combat Advantages
This lineup covers healing to recover mid-fight, tanks to absorb hits, and control to avoid being overwhelmed, reducing reliance on perfect positioning. Shadowheart and Karlach shine in prolonged encounters like the Goblin Camp, where sustain matters most.
Usage Tips
Position Lae’zel or Karlach to initiate via jumps, keep Shadowheart in the rear for emergency heals, and use Gale for ranged crowd control. Long rest frequently to recharge, and equip found items like Adamantine Scale Mail for extra tankiness.