Midra, Lord of Frenzied Flame, awaits deep within the shadowy depths of Midra’s Manse, a fearsome optional boss in Elden Ring: Shadow of the Erdtree. Known for his brutal Frenzied Flame attacks and maddening grab moves, Midra challenges even the most seasoned Tarnished with his quick, delayed strikes and relentless assault. But with the right strategy-staying close, exploiting his stagger from bleed effects, and summoning powerful Spirit Ashes-you can conquer this fiery terror and claim the coveted Remembrance of the Lord of Frenzied Flame.
Our Elden Ring guide helps you to beat Midra, Lord of Frenzied Flame, including where to find them in Midra’s Manse as well as how to prepare for this boss fight.
Midra, Lord Of Frenzied Flame location in Elden Ring DLC
Midra, Lord of Frenzied Flame is an optional Legend boss located in Midra’s Manse, a large manor situated in the southwestern part of the Abyssal Woods region in the Elden Ring: Shadow of the Erdtree DLC. To reach Midra, players must first navigate the perilous Abyssal Woods, an area filled with dangerous enemies that can one-shot the player and where the Spectral Steed cannot be summoned. Inside Midra’s Manse, players will find the boss on the upper floor in a room called the Discussion Chamber, with the nearest Site of Grace being the Second Floor Chamber. The path to Midra involves solving puzzles such as pulling levers and dealing with powerful enemies guarding the way.
The path to find Midra is a dangerous and long one. This boss arena is inside the Midra’s Manse dungeon, an abandoned building in the southwest corner of the Abyssal Woods area.
Within Midra’s Manse, you need to find the path hidden behind illusory walls and paintings to find the Second Floor Chamber Site of Grace. In the next room, you will find the boss in their initial form. Although you can’t summon friendly NPCs to help you in this fight, it’s possible to use your Spirit Ashes.
Midra, Lord Of Frenzied Flame weaknesses and how to prepare
Midra, Lord of Frenzied Flame is particularly weak to bleed effects, which build up faster on him compared to many other DLC bosses, making bleed-based weapons and attacks highly effective. He also takes significant stagger damage from heavy weapons, allowing players to break his poise with strong jump attacks and heavy hits. Physical damage is generally more effective than fire, as Midra has high resistance to fire attacks. Additionally, summoning Spirit Ashes can help by drawing Midra’s aggression away from the player, creating openings for attacks. To prepare for the fight, equip heavy weapons that cause bleed, consider using spells with holy damage rather than fire, and practice dodging his delayed but fast attacks, possibly using the Bloodhound Step skill to avoid taking damage. Patience is key, as Midra leaves brief windows to strike after his combos.
Midra, Lord of Frenzied Flame is a fierce enemy, but it’s possible to employ more than one strategy to defeat them. As the first step to prepare yourself for this fight, you want to have your Scadutree Blessing at level 10 or higher – even at level 10, it’s possible to die after getting hit two or three times.
Holy damage is a solid option here. You can take off considerable chunks of their health bar with these attacks. Prioritize weapons with fast-casting skills or imbue them with Holy damage by using Holy Grease.
Avoid using Fire Damage, since the Lord of Frenzied Flame has high resistance against Fire damage. You will also have a hard time inflicting other detrimental effects such as Poison on the boss.
Instead, a good strategy is a Bleed build – Midra is more susceptible to blood loss buildup than other bosses in the DLC. Katanas such as Nagakiba or Rivers of Blood work well.
That stacks well if you also focus on breaking Midra’s stance. This boss’s resistance against Heavy attacks seems lower than the other bosses in the DLC, so it only takes a few hits to stagger them. Because of this, jumping attack builds, weapons infused with the Ash of War: Lion’s Claw, or double-heavy weapon builds are pretty effective against Midra.
Consider running weapons that can inflict blood loss such as Bloodhound’s Fang, Morning Stars, or the DLC’s Bloodfiend’s Arm to combo Bleed with stance damage.
Also look for skills and spells that shoot projectiles since you can stop one of Midra’s attacks with them.
While Midra constantly casts Frenzied Flame attacks, becoming inflicted with Madness should only be a concern if you’re having a difficult time avoiding them. If this is your case, you just need to run talismans or pieces of gear to increase your Focus since it’s the stat that raises your resistance against Madness. A few options are the Clarifying Horn Charm, the Mottled Necklace, and pieces of the Prophet Set.
How to Beat Midra in Elden Ring DLC
To beat Midra, Lord of Frenzied Flame in Elden Ring: Shadow of the Erdtree, focus on exploiting his susceptibility to Bleed damage, as he has high resistance to Fire and other status effects like Poison. Use a Bleed build and heavy weapons to stagger him, and consider summoning Spirit Ashes to help manage his aggression. Midra’s attacks are fast and can be difficult to predict, so patience is key-wait for him to finish combos to strike during his brief openings. Utilize the Bloodhound Step to dodge his delayed but swift attacks, and be ready to dodge his powerful ranged fire bursts. Staying close to him and timing your heavy attacks after his combos will increase your chances of victory without getting overwhelmed by his damage output.
Midra is an intense enemy. They don’t have a vast and complex set of moves, but the ones Midra has are enough to kill you with a couple of hits. They have more than one way to close the gap between you, giving you very few opportunities to pop a flask and heal yourself.
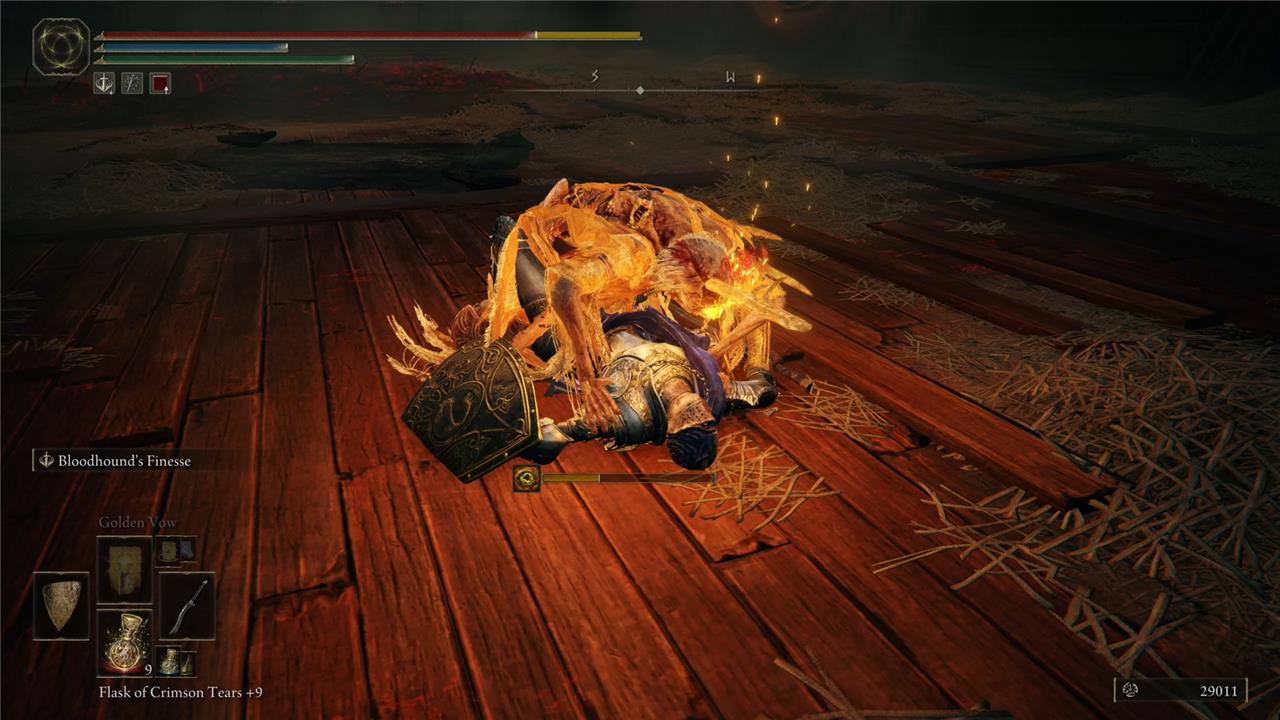
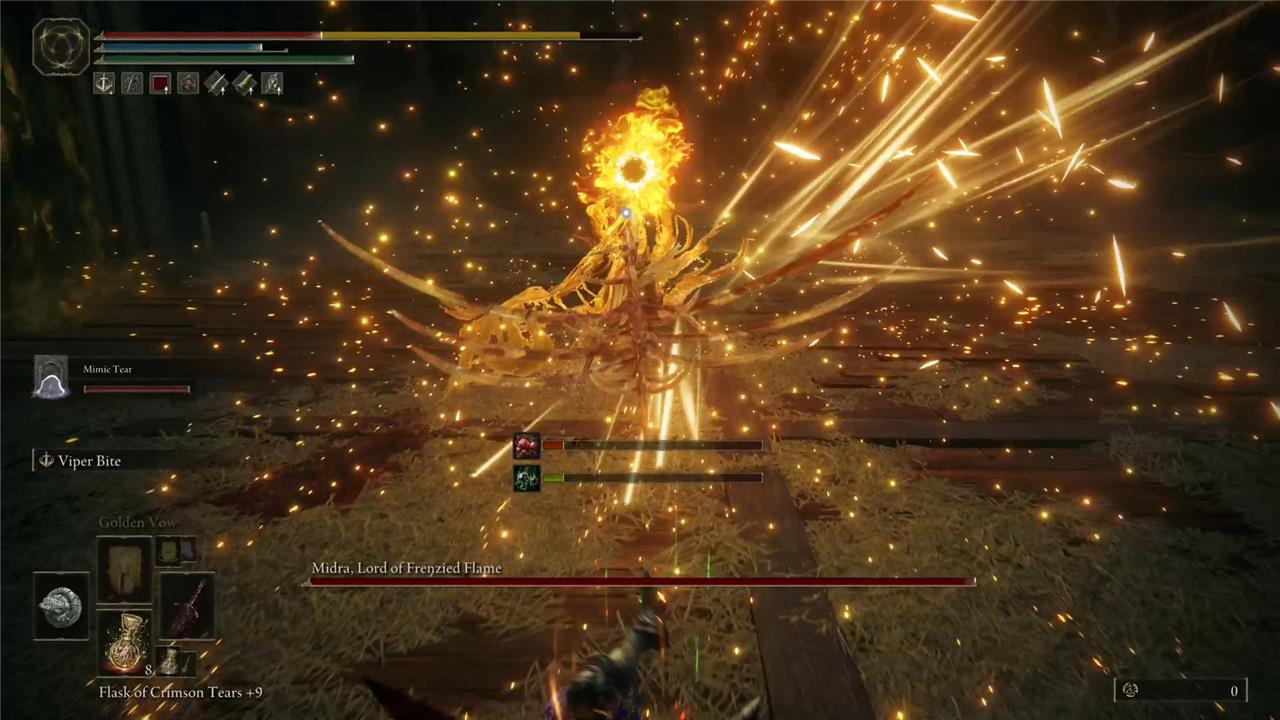
Before the actual fight begins, you’ll find Midra by themselves in their initial form as a regular enemy. You need to kill them to start the fight, but do not underestimate them even now – Midra can jump at you and take a large chunk of your life as well as use Howl of Shabriri if you don’t stagger or kill them quickly.
The best approach is to attack them while they are still talking and stagger them. Once you defeat this initial version, you’ll have time to use your Flask of Wondrous Physick or incantations before the boss fight begins.
Midra boss fight phase 1
During this phase, you learn all the basic abilities and moves Midra uses during the whole fight. Most of them aren’t difficult to dodge but they are very punishing if you fail to do so. Your main goal is to escape Midra’s onslaughts and hit them as hard as you can within the few windows you have.
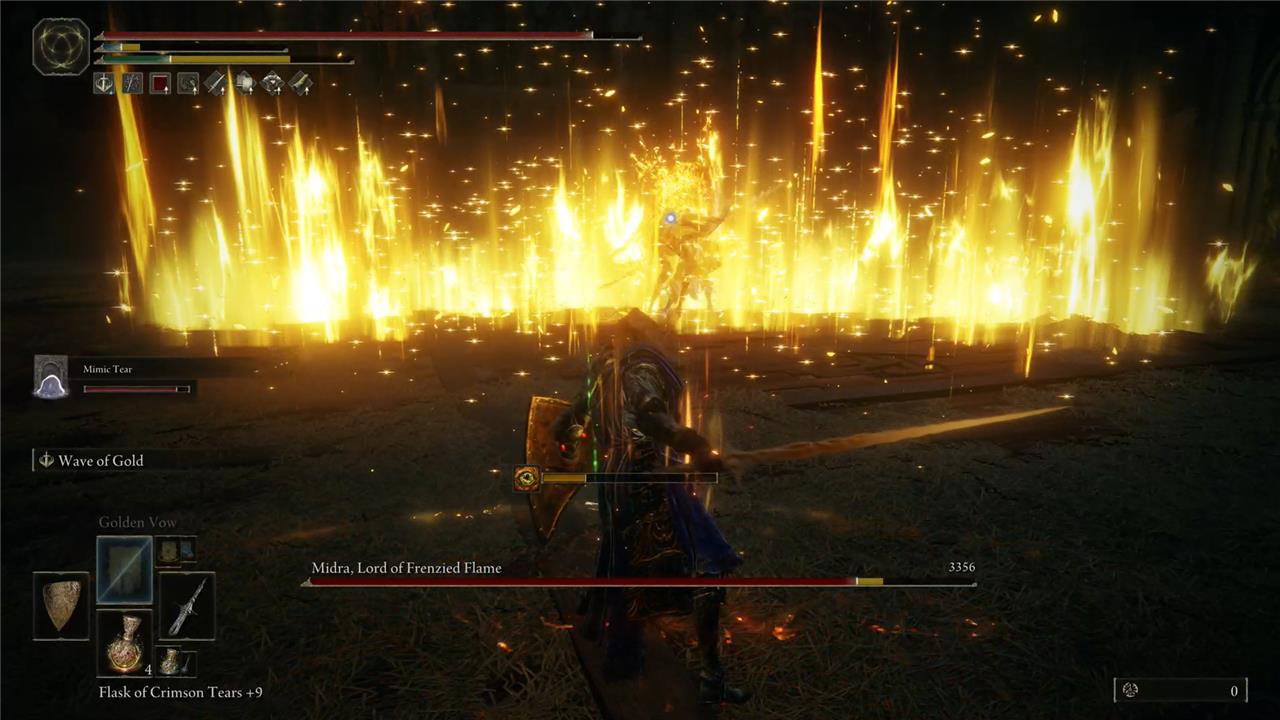
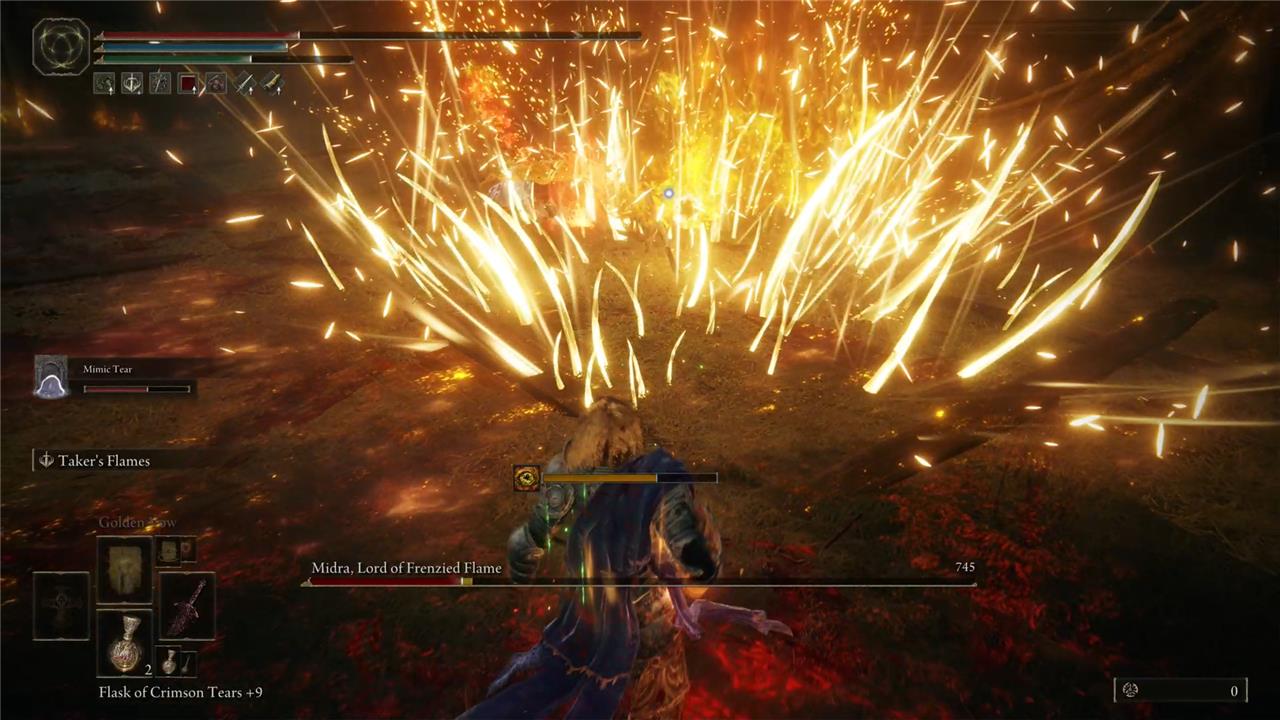
At the start of the fight, Midra always begins casting a sequence of two The Flame Frenzy, which shoots projectiles of fire in a cone. Usually, they follow this attack up with a couple of Unendurable Frenzy casts. If you get hit by them, you take damage along with Madness buildup, so run or roll sideways to avoid them.
One strategy for this initial segment of the fight is to get behind Midra and land a couple of blows. If you can attack Midra before they cast the initial Flame Frenzy sequence, they won’t use Unendurable Frenzy.
Alongside the Frenzy incantations, Midra has a set of deadly physical attacks to easily kill you. They tend to perform a three-hit swing attack with very slow animation but long range. To avoid them, dodge toward the direction from where Midra is swinging their weapon. The timing here is a little bit tricky but you eventually learn the right moment to act. This attack has a variation, although it’s not common to see it. In it, instead of performing three swings, Midra will do only one and then perform a dash attack.
After Midra finishes sweeping their weapon around, you have a good window to attack them. Land a couple of hits and then get far from them. Otherwise, Midra might use the knife in their left hand to stab you.
More often than not, Midra will use one of the two versions of their spinning attack. The first one is a single slow spin. When Midra performs this one, they advance toward you fairly fast, attacking you only once. You can recognize when they are about to use this spinning attack because they get into the air while twisting their body. The other variation of this move is when, on the ground, Midra rotates their body moving in your direction three times. The last spins are faster so take this into consideration when rolling out of them.
You don’t need to worry about timing your dodges when trying to escape the spinning attacks if you hit them during the animation. If you’re running weapons, spells, or incantations that you can hit them from afar while they are flying or rotating toward you, Midra’s attacks are interrupted.
The last move that you need to familiarize yourself with during phase 1 is the thrust attacks. Midra can use their bone-made greatsword to perform a single thrust attack, but there’s nothing too special about this one. Just roll out of it and you might be even able to attack them back. However, the variation of this attack is way more dangerous. This time, Midra performs two thrusts and then their sword expands causing an explosion. To avoid this attack, roll toward them and get as far as possible from Midra before the second thrust is triggered.
Midra boss fight Phase 2
Phase 2 of this fight begins once Midra gets around 60% of their health bar. Besides having at their disposal all the attacks listed in phase 1, Midra also starts using different moves to kill you.
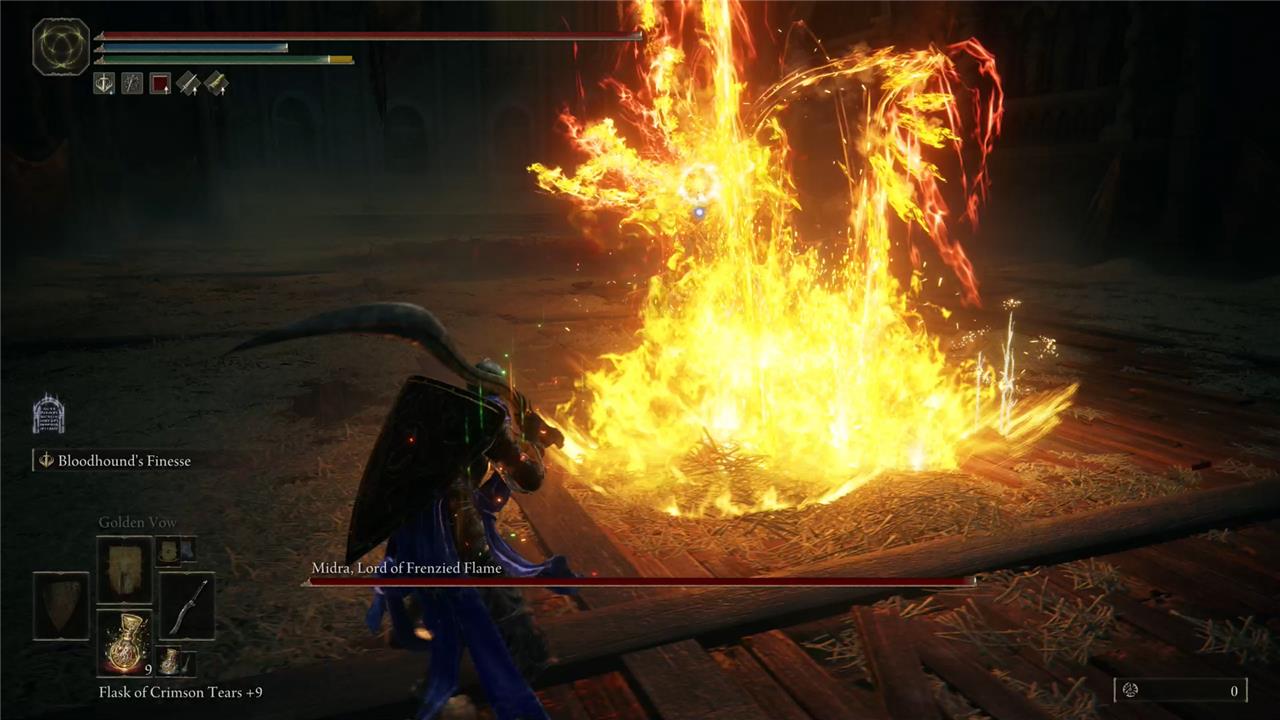
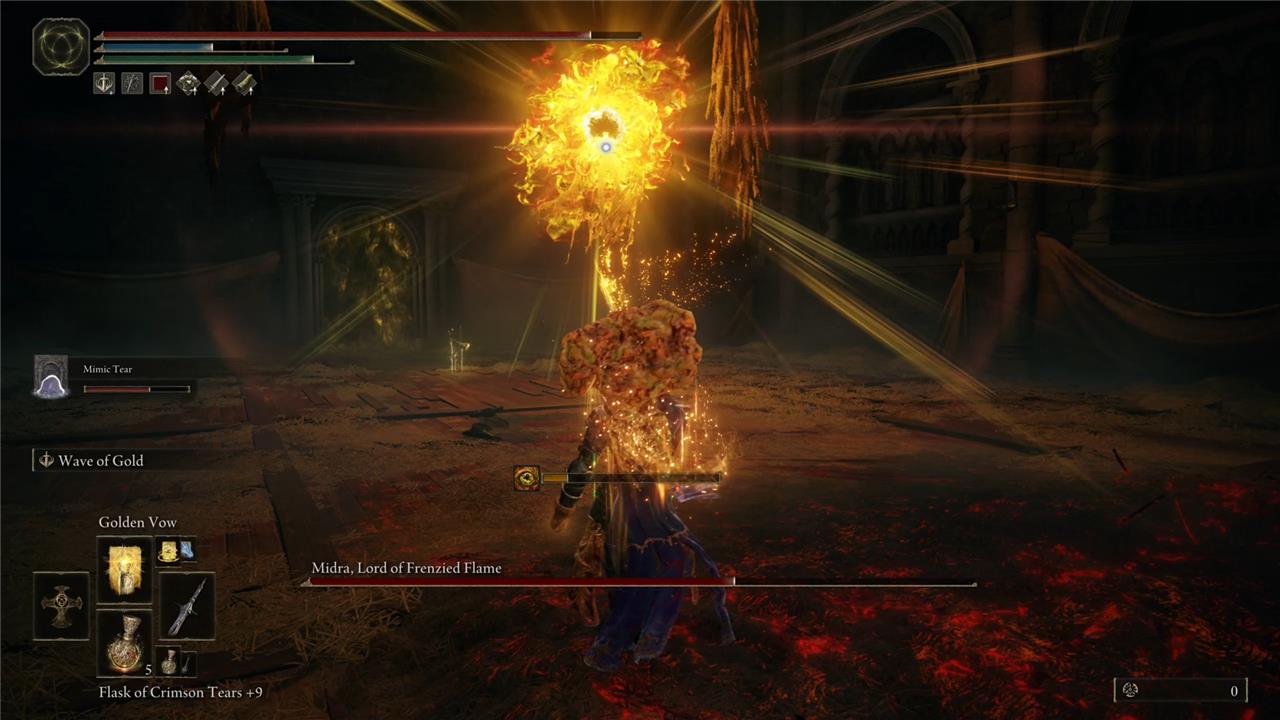
To mark the beginning of the phase, they float into the air, charge. and, after a few seconds, launch themselves in your direction, creating a massive explosion and leaving the room on fire. This is a new attack that Midra will constantly use during this phase. To avoid it, you can run from it or roll before Midra hits the ground. If you can get near them after the explosion, you have enough time to attack Midra a few times.
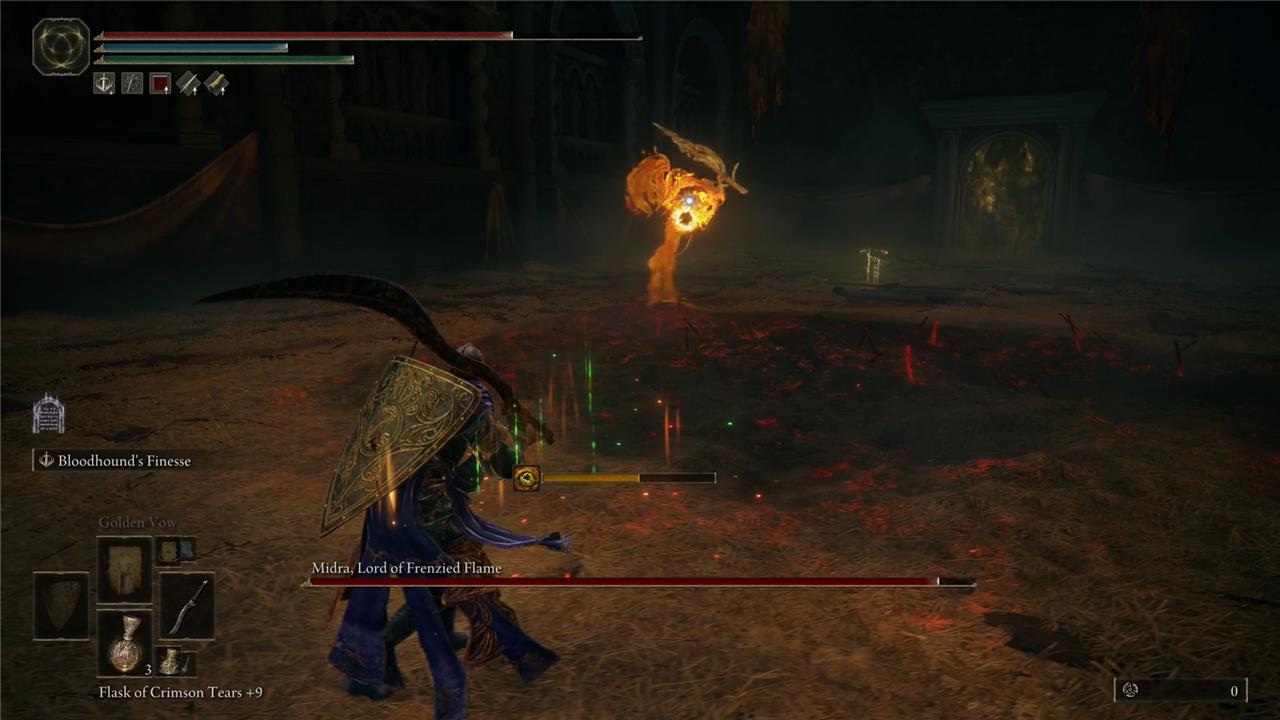
The Flame Bomb attack is Midra’s second area-of-effect skill that can cause a lot of damage. They launch a sphere of fire which will explode after a few seconds if it doesn’t directly hit its target. This is not a good time to get near Midra to attack because the area affected by the explosion is quite large. Get as far as you can from it and be ready for their next attacks.
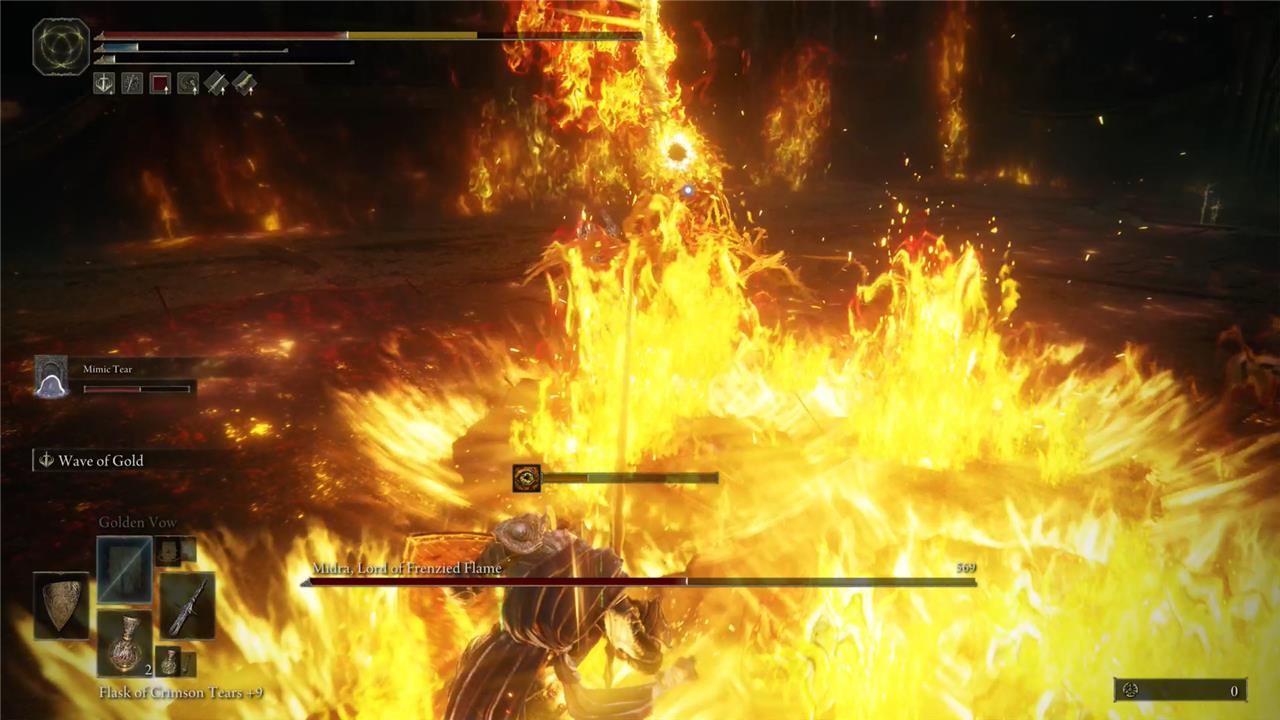
Midra’s swinging attack gains a new variation in phase 2 where their greatsword is imbued with fire and each sweep is followed by a sweeping flame attack that covers the ground. This version of the swinging attack makes rolling toward Midra and getting to their back a safe bet. Once you become familiar with the timing of each swing, it’s easier to just roll out of it.
Phase 2 adds a stronger version of the Frenzied Burst spell to Midra’s arsenal of frenzied flame incantations. They shoot a barrage of fire projectiles in a straight line. Watch for when Midra’s head starts charging flames because it indicates they are about to use Frenzied Burst. Running sideways is an easy method to escape this attack. You can try to get closer to them as you run from the spell and land a couple of hits before they start using another move.
Alongside all these new attacks, Midra starts to use the Golden Crux. This is Midra’s Greatsword of Damnation signature move where they leap up and stick the sword into the ground. After a second, they press the sword deeper, making golden spikes come out of the ground around where Midra lands. Although it’s easier if you just roll out of the initial segment of the attack and run from there, this is a great opportunity to attack Midra if you can dodge the spikes.
With patience and focus, you can defeat Midra to earn the Remembrance of the Lord of Frenzied Flame and 410,000 runes.
Want to know the secret to surviving Midra’s deadly attack patterns in Elden Ring
To survive Midra’s deadly attack patterns in Elden Ring: Shadow of the Erdtree, the key lies in mastering precise dodging and positioning. Sprint to the left or right and dodge just before his Frenzied Flame attacks hit, or if close, dodge behind him to avoid damage and create openings for counterattacks. Watch for his explosive head move by dodging behind him as soon as he leans forward, and be ready to roll forward at the right moment to evade his leaping grab plunge. His greatsword combos are swift but predictable-rolling toward the weapon’s origin during attacks helps you avoid damage and land heavy hits during his recovery. When he prepares his devastating Big Flame Explosion, sprint to the arena’s edge to avoid a lethal blast. Staying close often helps, as some ranged attacks are slower and easier to dodge up close. Above all, patience and timing your attacks carefully while maintaining a balance between offense and defense will turn the tide in this fierce battle.
What is the most effective way to dodge Midra’s Big Flame Explosion
The most effective way to dodge Midra’s Big Flame Explosion in Elden Ring: Shadow of the Erdtree is to create as much distance as possible by running to the edge of the arena as soon as you see Midra levitate and prepare the attack. Rolling just before he slams down can also help avoid the blast if timed perfectly, but generally sprinting away is safer since the explosion covers a large area and can deal massive damage or even one-shot you at close range.