Facing Promised Consort Radahn in Elden Ring’s Shadow of the Erdtree DLC is a trial by fire that tests every ounce of your skill and preparation. This imposing, lion-helmeted God Boss wields colossal swords and commands devastating gravity magic, making him one of the toughest challenges in the game. To conquer Radahn, you’ll need to master his brutal attack patterns, exploit his vulnerability to bleed, and summon allies to survive his relentless assault. Ready your weapons and sharpen your strategy-this is the fight that will define your journey through the Shadow of the Erdtree.
Our Elden Ring DLC guide explains how to beat Promised Consort Radahn, including some tips on how to exploit his weaknesses and what to expect from each phase of the battle.
Promised Consort Radahn location in Elden Ring DLC
Promised Consort Radahn is located at the very top of the Enir-Ilim Legacy Dungeon in Elden Ring’s Shadow of the Erdtree DLC. To reach him, players must first defeat Messmer the Impaler and Romina, Saint of the Bud, then use Messmer’s Kindling to burn the Sealing Tree behind the Church of the Bud, which teleports them to Enir-Ilim. From the Divine Gatefront Staircase Site of Grace, players ascend through the dungeon, overcoming various enemies and mini-bosses, including Miquella’s Followers, before finally reaching Radahn’s boss chamber. This fight is mandatory to complete the DLC’s story.
Promised Consort Radahn waits for you at the top of Enir-Ilim, Shadow of the Erdtree’s final dungeon. The arena for this fight is at the top of the Divine Gatefront Staircase. Consort Radahn is a mandatory DLC boss if you want to complete Shadow of the Erdtree’s story.
Promised Consort Radahn weaknesses, resistance
Promised Consort Radahn in Elden Ring: Shadow of the Erdtree DLC is notably resistant to many elemental attacks, including Holy, and boasts naturally high defenses and poise, making him a formidable opponent. However, he is particularly vulnerable to status effects like Hemorrhage (bleed) and Frostbite, with bleed being the most effective for dealing significant damage over time. Scarlet Rot can also be inflicted on him, albeit less reliably. Despite his high poise making him difficult to stance break, repeated heavy attacks and guard counters can help. Radahn can also be parried, which opens him up to critical hits. Players are advised to build their strategy around exploiting these weaknesses to overcome his swift and brutal attacks, especially in the second phase where he gains enhanced powers.
Consort Radahn has a couple of major weaknesses that you can exploit regardless of your build. Like most Shadow of the Erdtree bosses, Radahn is especially prone toFrostbiteand Hemorrhage, so you’ll want to approach him with a build centered on one of those. Hemorrhage is ideal, which we’ll get to in a minute. He is also susceptible to Scarlet Rot and Poison, but is completely immune to both Sleep and Madness.
In terms of resistances, Radahn is able to naturally block a lot of your damage. According to the Elden Ring Wiki, he has 40% damage resistance to standard, slashing, striking, magic, fire, and lightning damage. He has only 20% damage resistance to piercing damage. Meanwhile, he has 0% holy damage resistance during the first phase, but acquires 40% holy damage resistance in the second phase.
How to prepare your build to fight Consort Radahn
To prepare your build to fight Promised Consort Radahn in Elden Ring: Shadow of the Erdtree, focus on maximizing your Vigor (around 60) and Endurance (30+), and invest heavily in Strength to wield powerful weapons like the Giant Crusher with prayerful strike and heavy affinity. Equip armor that provides high poise without fat rolling, such as the Gaius set, to withstand Radahn’s attacks and maintain offensive pressure. Incorporate bleed or Scarlet Rot-inflicting weapons or spells, as Radahn is highly vulnerable to these status effects in both phases. Use talismans that boost poise, stamina regeneration, and damage output, such as Lord of Blood’s Exultation and Dragoncrest Greatshield for defense. Keep your equipment load medium to allow medium rolling for better dodge capability. Buff with Golden Vow and use healing and stamina potions strategically. Summoning Spirit Ashes like Mimic Tear can also aid in managing aggro and damage. Prioritize learning Radahn’s attack patterns, especially to survive the brutal second phase.
In terms of the recommended level for Promised Consort Radahn, you ideally want to be above 150-160. The higher the better, obviously, but once you’re in that ballpark, you’re really benefiting as much as you’ll likely benefit from levels. Getting plenty of Scadutree Fragments to get your Blessing up as high as you can – ideally to 20 – will make the biggest difference here.
For your build, grab a standard weapon that suits your stat spread, one you can imprint an Ash of War on, and imbue it with cold or bleed effects. Heavy weapons are effective, but if you’re having trouble breaking Consort Radahn’s stance, you might end up taking more damage than you can heal. Lithe weapons let you land more strikes and build the status ailment meter more quickly. Milady from Castle Ensis or the Backhand Blade are solid choices that don’t require you to get too close.
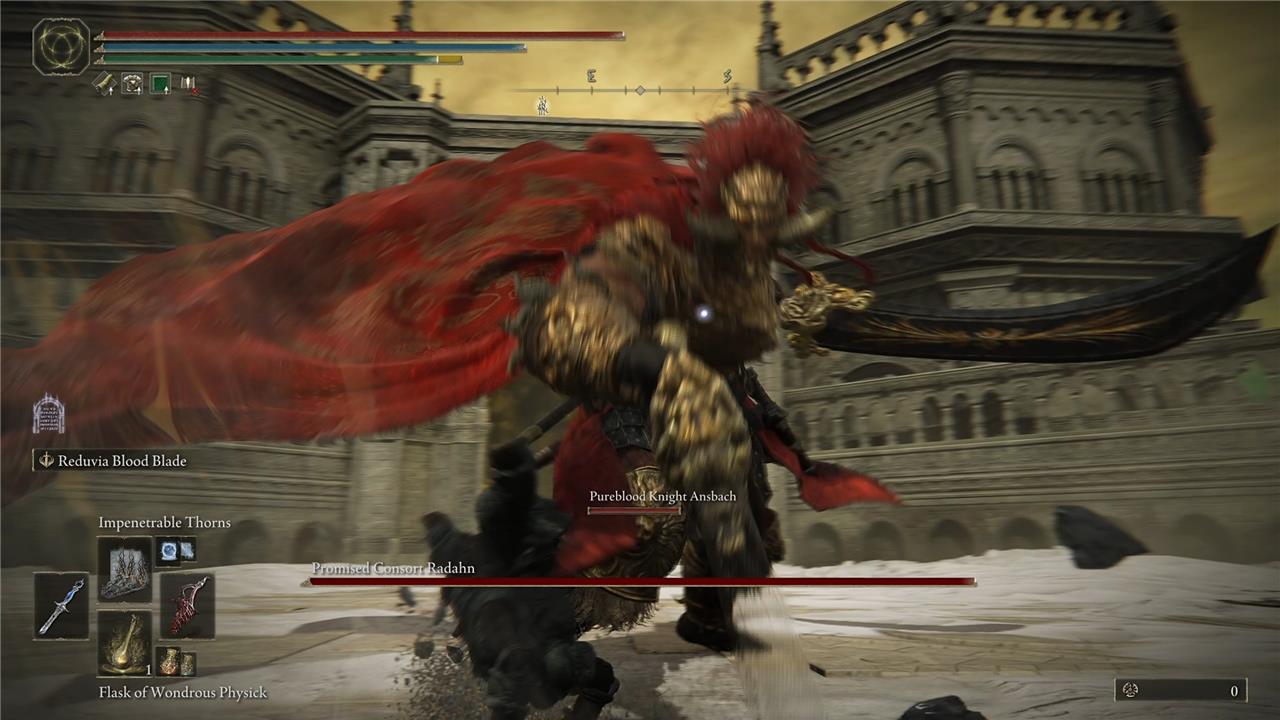
Adding the Rolling Sparks skill to the Chilling Perfume Bottles lets you deal several instances of ice damage with one attack, and since Radahn’s a big lad, the skill is likely to land without issue if you’re within range. That said, it seems like he loses his cold weakness in the second phase, so running a bleed build is probably your best choice.
If he’s giving you too much trouble, and you just want to finish the fight, you can make a bleed build that lets you take hefty portions of his HP out in a few hits. You’ll need:
- Impenetrable Thorns and enough faith to run the spell. Arcane over 30 is a good idea as well
- The Albinauric Staff or Staff of the Guilty – ideally the former, as it increases how quickly the blood loss meter builds
- A weapon that builds the blood loss meter. Rivers of Blood or Eleonora’s Poleblade are strong choices, though the Reduvia dagger is faster and lets you stack blood loss from a distance with its skill. You can also get by without a weapon, but this method gives your Mimic Tear the option to play more aggressively
- A maxed-out Mimic Tear Spirit Ash
Similar to the frost build we recommended for the Messmer boss fight, the goal here is to exploit Consort Radahn’s weaknesses with every attack. Avoid including other spells aside from Impenetrable Thorns, so your Mimic Tear won’t waste time on them, and make that spell your primary attack.
It builds blood loss more than any weapon that I tested, including those listed above, and the HP loss it results in for you is comparatively minimal, assuming you have a Vigor stat over 50. Keep casting Impenetrable Thorns when you can – when Radahn isn’t attacking you, in other words – and after every two hits or so, you’ll inflict Hemmorhage and reduce Radahn’s HP by roughly 2,000.
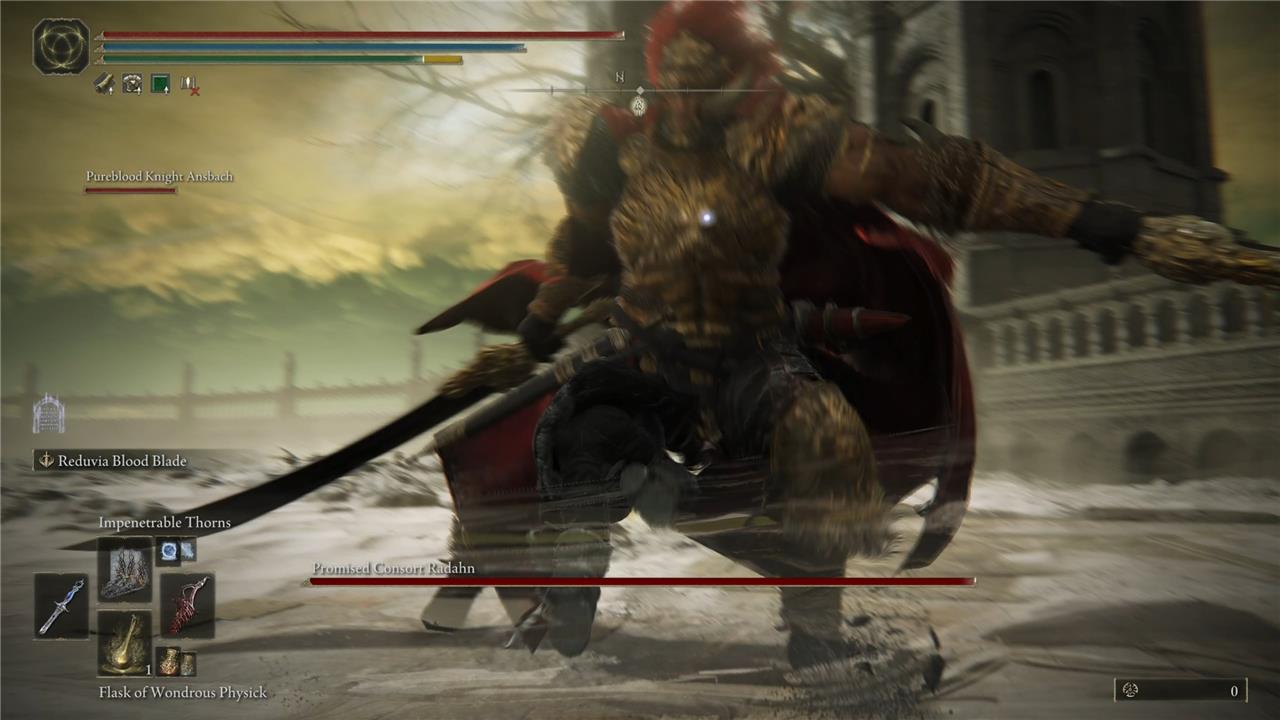
Bloodfiend’s Arm infused with a blood Ash of War is a popular choice, but as it’s a colossal weapon, timing your hits isn’t the easiest thing to do.
Your Mimic Tear won’t stand much of a chance at Revered Spirit Ash levels lower than eight, so track more ash down if you need to. Ideally, you want to hit the max level of 10, though you can potentially swing it at level nine. Find enough Scadutree Fragments to attain Scadutree Blessing level 15 or higher – the higher the better. You’ll still receive a lot of damage even at the max Scadutree Blessing level of 20, but it’ll take more than just two hits to finish you off.
Make sure to fully max out how much HP and FP your Flask of Tears restores as well, and go in with more Crimson Tears charges than Cerulean Tears. (If you’re running a Thorns build, you really don’t need Cerulean Tears at all.) Finally, it’s a good idea to put Holyproof Pickled Liver in your item shortcut menu, along with a Marika’s Blessing charge, if you happen to have one.
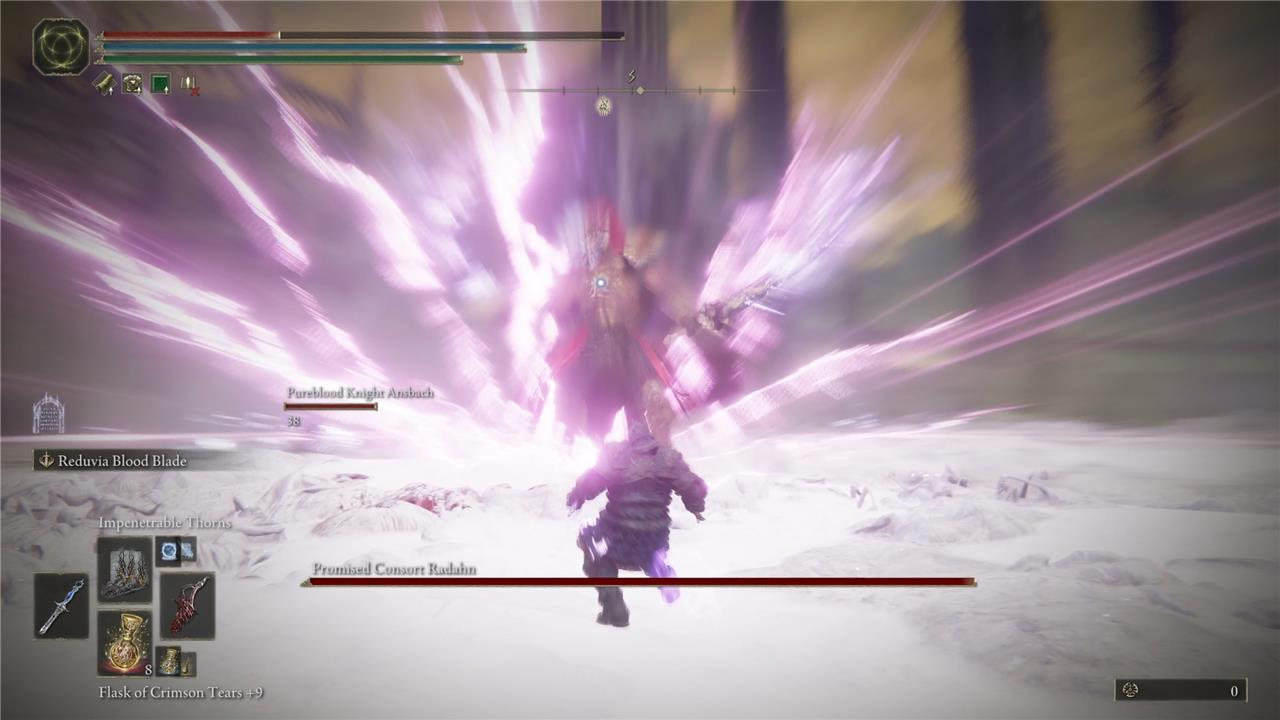
For your Flask of Wondrous Physik, I recommend the Opaline Hardtear and either a Crimsonspill Crystal Tear or Opaline Bubbletear. Use it in the battle’s second phase when Radahn, Consort of Miquella rises into the air to summon blasts of holy light, and it’ll negate almost all the attack’s damage.
On the talisman front, equipping these is a good idea:
- Dragoncrest Greatshield
- Two-Headed Turtle Talisman
- Haligdrake Talisman 2
- Lord of Blood’s Exultation (if using a bleed build) or Pearldrake Talisman 2 (if not)
The holy light Miquella summons in phase two really eats away at your health over time, so negating it with the drake Talisman’s makes that part of the battle a little less of a nightmare.
Finally are the NPC summons. Depending on what happened in the Leda fight, you may be able to summon Thiollier, Ansbach, Hornsent, or a combination of whichever among them is still alive. Don’t summon all of them. More than one NPC makes the fight nearly impossible with how much extra HP Radahn has. Even one gives him a sizeable health boost, but I do recommend bringing one NPC ally along, if only for the chance to distract Radahn.
How to beat Radahn, Elden Ring DLC final boss
To beat Promised Consort Radahn, the final boss of the Elden Ring Shadow of the Erdtree DLC, focus on exploiting his major weaknesses: Frostbite and Hemorrhage. A build centered on inflicting Hemorrhage is highly effective, using weapons like the Antspur Rapier infused with Blood affinity and a strong greatshield such as the Fingerprint Stone Shield to block his powerful attacks. Maintain a medium equipment load to allow for medium rolling and dodging, and invest heavily in Vigor (around 60) and Endurance to survive his brutal combos and sustain stamina for blocking. During the fight, strike after Radahn finishes his sword combos, and use Spirit Ash summons like Mimic Tear to help manage the fight. Upgrading your weapons fully and using buffs such as Flame, Grant Me Strength, and Golden Vow can further increase your damage output. Careful timing, pattern memorization, and patience are key, especially in the challenging second phase of the battle.
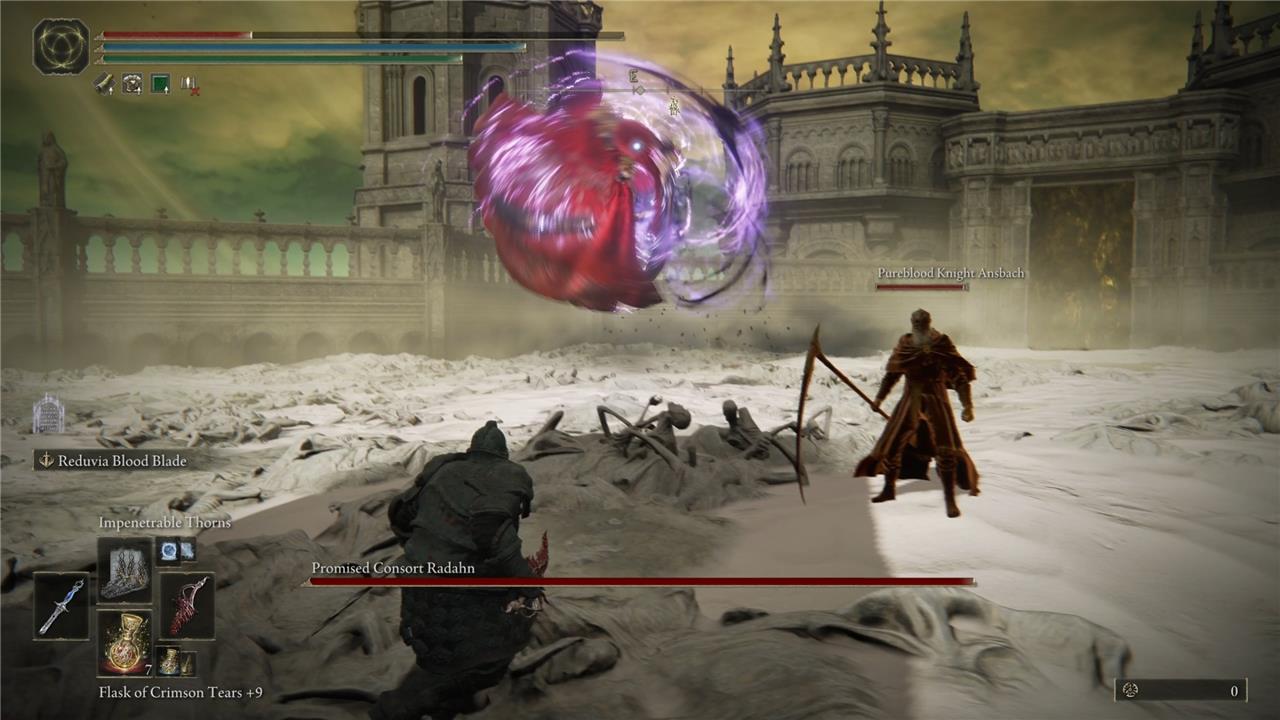
The fight’s first phase opens with Radahn flying through the air in a whirl of gravity magic. He crashes down and raises a few little stone blades around him, but you can dodge right before he lands to avoid both hits. If you summoned an NPC, it’s a good idea to stay near the arena’s entrance instead of running away from Radahn. It makes it easier for your NPC ally to start attacking quickly, which draws Radahn’s attention away from you and creates a moment where you can summon your Mimic Tear.
Consort Radahn’s sword combos are close to what they were in the second part of his original fight in the base game. He’ll swing one sword, then swing the other twice, and sometimes end with a final downward thrust. He also swings both swords in one direction, then the other, before bringing them both crashing into the ground, though he’ll frequently add more slashes in the mix before ending the combo.
Sideways dodges are likely to get you caught with the back edge of his slash attacks. Backwards dodging works, though forward dodging forces Radahn to change direction and gives you a slightly larger window of evasion. The downside is the camera movements make it easy to lose track of yourself and Radahn, so you may want to stick to backwards dodging.
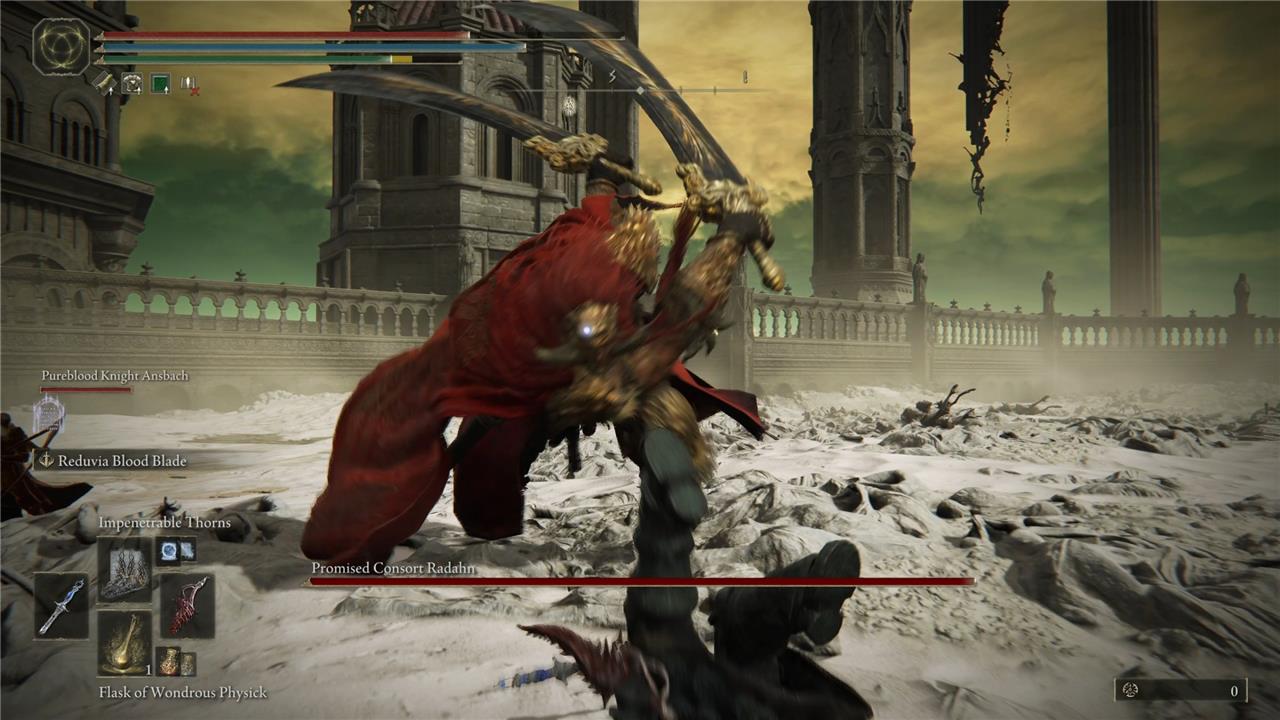
There’s really no time to attack during these combos, as he strings each together seamlessly. However, there is a brief moment at the end of a heavy combo – where he slams into the ground, for example – where you can cast a spell or land some weapon attacks. If he’s targeting someone else, approach from behind, and unleash a few attacks of your own. Just make sure you’re within range, so you actually deal damage before attracting his attention.
If you’re close to Radahn and in front of him, he’ll slash at the ground in an X-shape. The attack knocks you down, like most of his attacks, but you can dodge backward to avoid it. He sometimes launches stomps on the ground or thrusts his swords in the ground, and both attacks summon a cone of rocks that damage you.
He’ll also hurl himself into the air with his swords and crashes down where you’re standing, and there’s a 50/50 chance he’ll follow with an upward strike. If that upward attack catches you, he’ll launch you into the air and slam you back into the ground. Dodge backwards and away after the first attack to make sure the second one doesn’t happen.
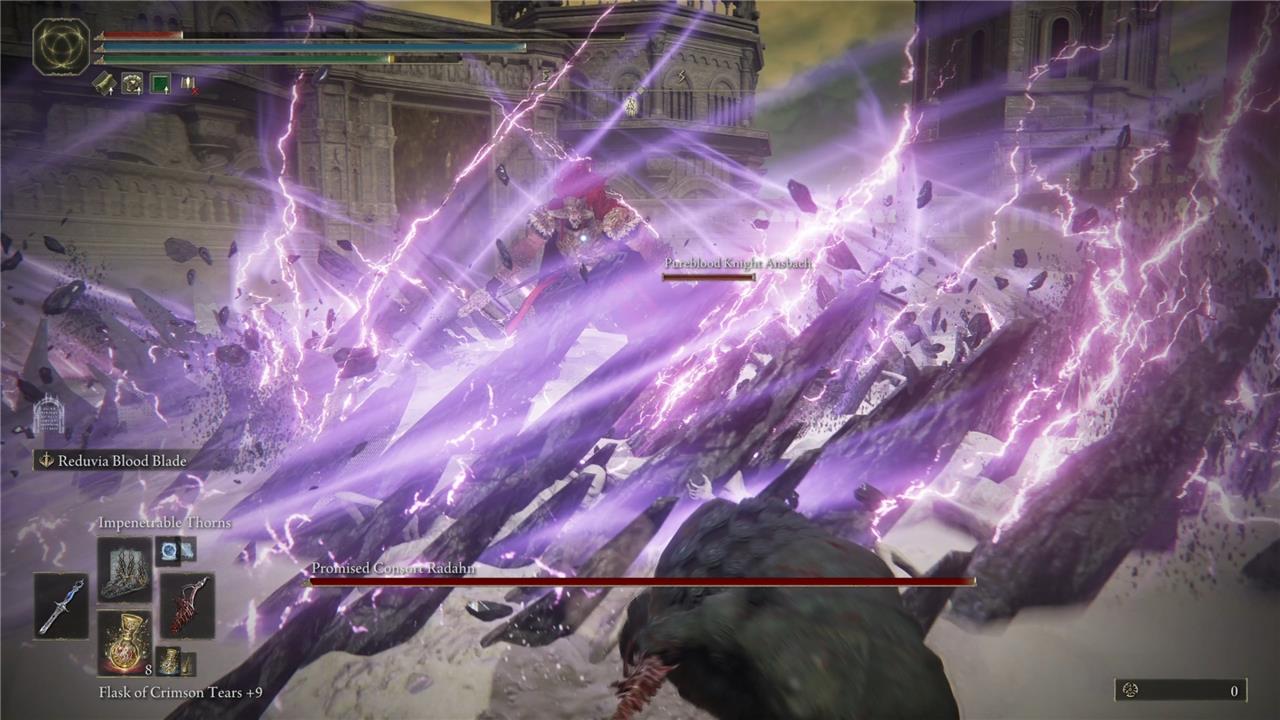
Like during the Caelid fight, Radahn has some gravity tricks up his stolen Mohg-shaped sleeves as well. He’ll imbue his swords with gravity magic and plunge them into the ground, then jerk them upward and create several meteors. The upward strike can damage you if you’re close, so make sure you dodge back or sideways to avoid it in time. The meteors crash down after two seconds, and the dodge timing here is tricky. Dodge sideways right as the first meteor is about to hit you, and you’ll manage to evade the whole lot.
He’ll pull you in and damage you with gravity as well, and he likes to follow this attack with one that raises a circle of rotating stone blades from the ground. I never found an effective way to dodge up close. Your best bet is to back away after the gravity pull, then dodge backward as the blades emerge. If you stay near Radahn during this, you’ll take multiple hits.
Once Consort Radahn’s HP drops to about a third of its max value, a new phase begins.
How To Beat Radahn’s final phase
To beat Radahn’s final phase in Elden Ring: Shadow of the Erdtree DLC, focus on exploiting his vulnerability to bleed, as his frost weakness disappears in this phase. Radahn is accompanied by Miquella and gains powerful holy attacks, including pillars of light and enhanced sword combos that summon holy blades and meteors. Dodge these attacks by moving back or sideways, especially the pillars of light which can be evaded by dodging forward or backward. Use a build with high holy damage negation, such as the Golden Braid talisman, and buff with defensive incantations like Golden Vow and Black Flame’s Protection. Summoning the Mimic Tear and a cooperator like Ansbach can help maintain pressure. Stay close to Radahn to bait and punish his sword swings, and be prepared for his gravity-based moves and devastating combos. Patience and precise timing are crucial to survive and chip away at his health until victory.
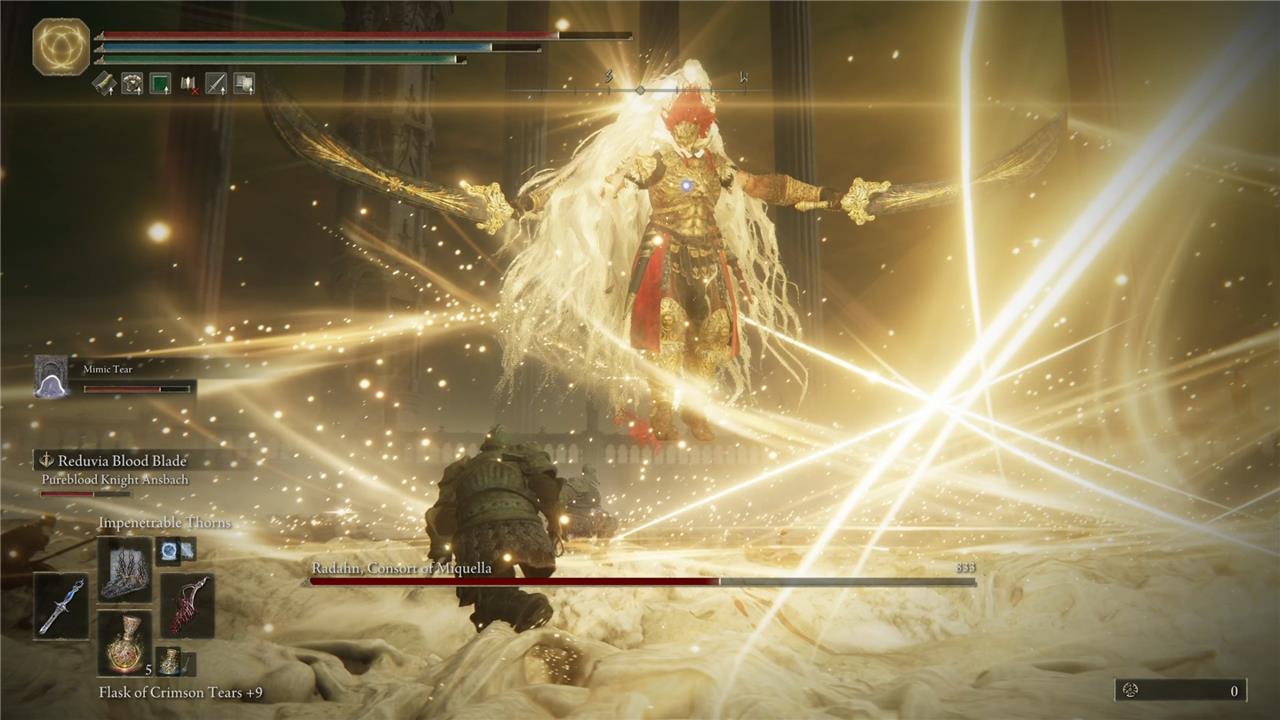
Miquella descends and gives Radahn a helping hand or six for the remainder of the fight. This is where it seems like Radahn’s frost weakness vanishes, so if you’re wanting to take advantage of vulnerabilities, now’s the time to focus on bleed.
During this phase, Radahn has all the same attacks as in the first phase, with a few important differences. When he plunges his swords into the ground to raise stone blades, he raises holy blades of light instead. Dodging back and away is still the best method of dodging. He’ll also add blasts of holy light at the end of each sword slash. These are usually single pillars of light you can dodge in any direction, though the final attack in a combo typically summons a horizontal line of pillars. Dodge forward or backward to evade.
He’ll also still create meteors in the sky, pull you in with gravity, and fling himself across the field in a whirling jump.
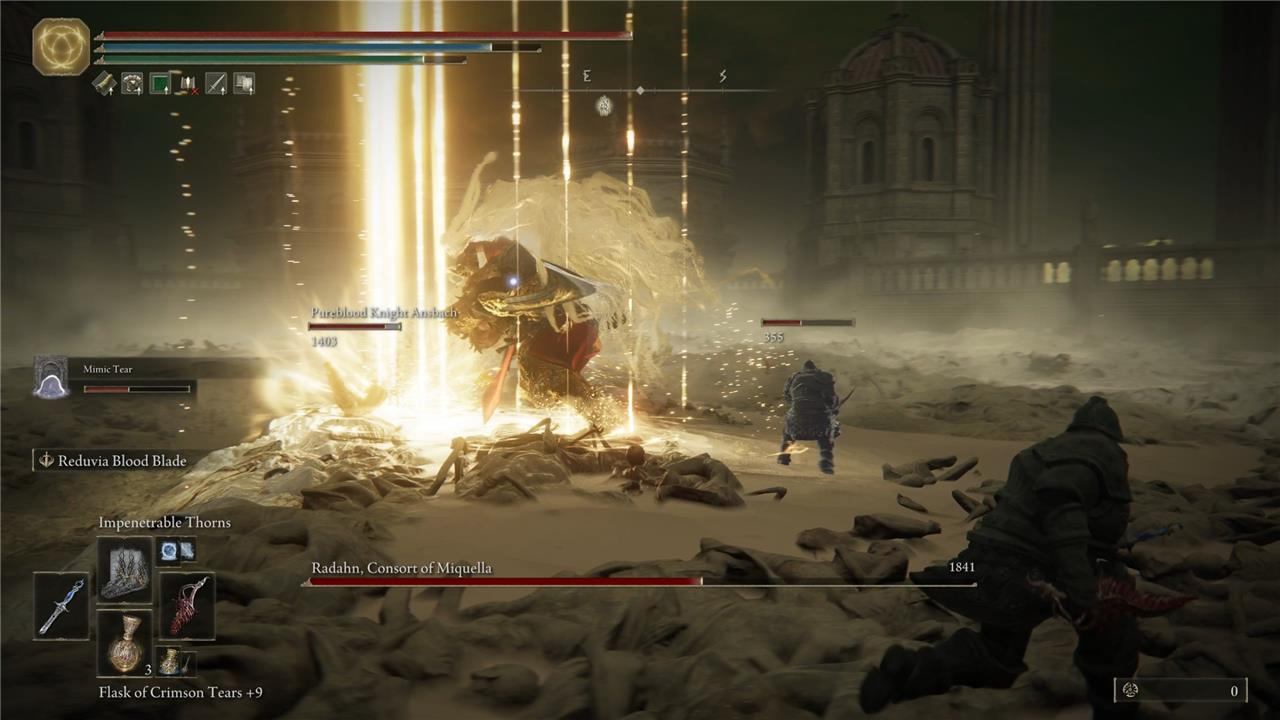
More challenging to deal with are his new moves. Radahn usually begins this phase by rising into the air and summoning Miquella’s Light, a rain of holy pillars of light that scours the battlefield in a large circle. If you’re far enough away when he starts the casting process, you can run out of the area of effect. If not, you can try dodging just as the light reaches its brightest. There are multiple pillars, though, so you’re almost guaranteed to take damage. Drink your Mixed Physik during the casting to negate most of the damage, and you can also use that time to attack Radahn while he casts, if your weapon can reach him.
One of his most dangerous new attacks sees Radahn teleport away from you, then approach quickly with a slash, and he’ll sometimes follow it with a third slash. It’s tough to tell whether he’s targeting you or an ally, but if you see him facing you when he teleports the first time, you’ll know it’s you he’s after. Sometimes he’ll target an ally first and then hit you with his third attack.
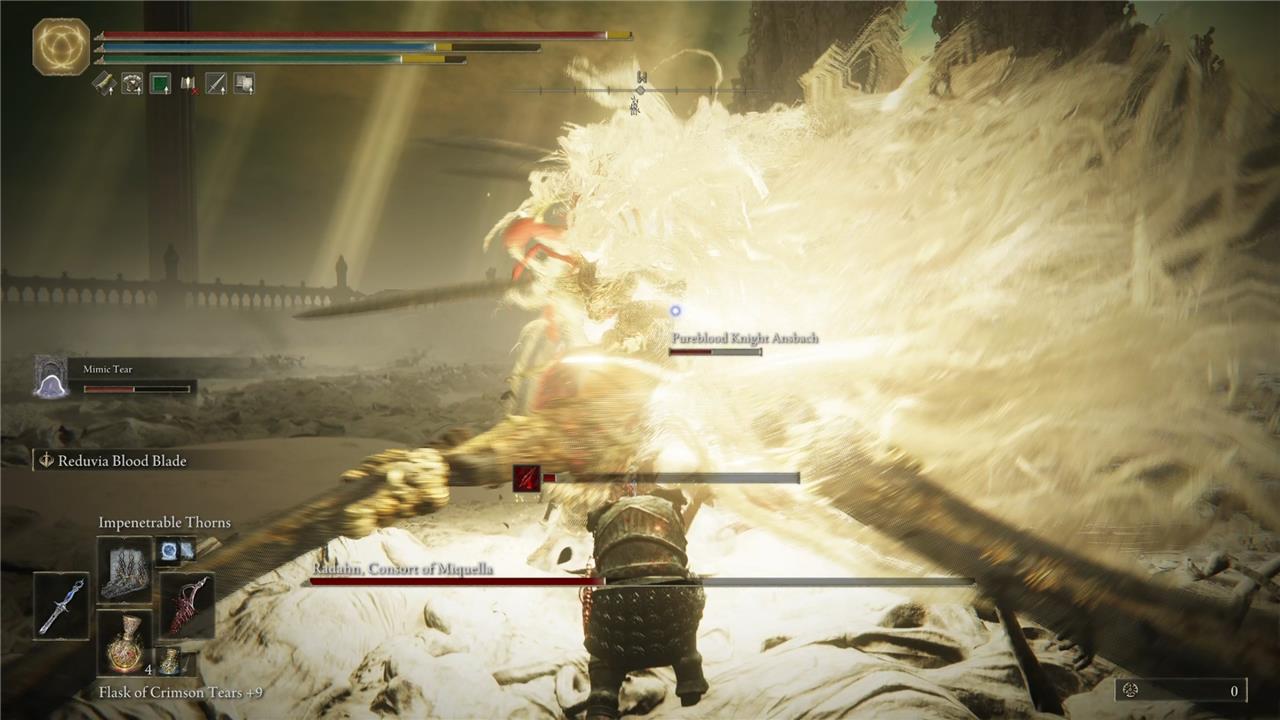
Radahn might leap into the air and rush you with five quick attacks. These are very difficult to dodge. Sometimes, you can dodge sideways to evade the whole thing, but Radahn often starts at an angle that still catches you after evading. Dodging forward is more likely to let you escape. He’ll sometimes imbue both swords with holy and then half a second later unleash a massive blast of light. The timing is tough to get here, but try to dodge as he draws his swords up toward his shoulders.
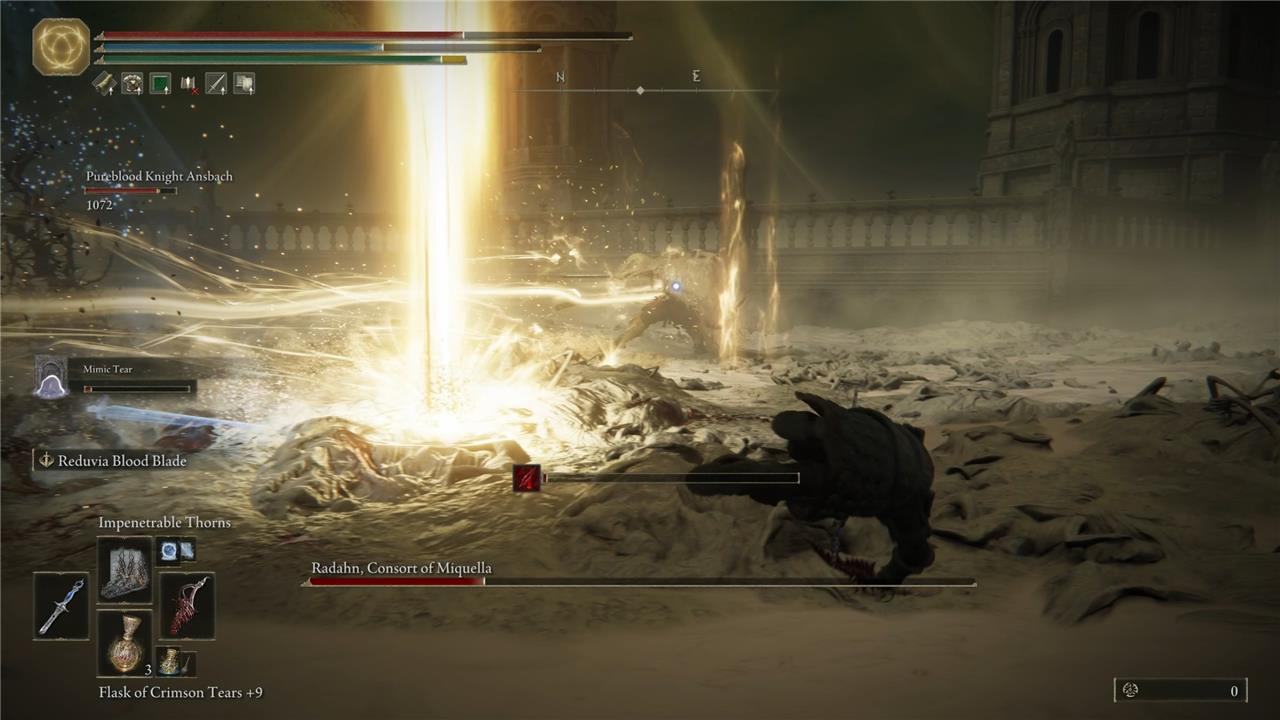
Finally, Radahn brings his comet crash attack back, but it’s holy-aligned this time. You can try dodging right as he lands or running to the edge of the arena, but you’re almost guaranteed to take damage. If you’re lucky (or unlucky?) enough to be near him when he lands, you can take advantage of a few seconds where he’s still and prone to attack.
There’s also one moment near the start of the phase where Miquella grabs you or the nearest ally and tries charming you. The affected character has Miquella’s sigil over their head for the rest of the fight, but I have absolutely no idea what affect this has. Radahn is immune to damage until the character is released, so take this opportunity to heal, assuming Miquella didn’t grab you.
Radahn, Consort of Miquella is a bit like Base Serpent Messmer. He’s faster and far more dangerous than in his first phase, but he also has a few more openings during which you can land some attacks. He stops for a second or two after his most devastating holy attacks, which include when he summons Miquella’s light, when he attacks you five times in a row, and when he does his teleportation trick that ends in a heavy slash. He also pauses for a second after firing off discs of holy light, but since he usually does this when you’re at a distance, there’s less chance to sweep in and attack before he’s back on the move.
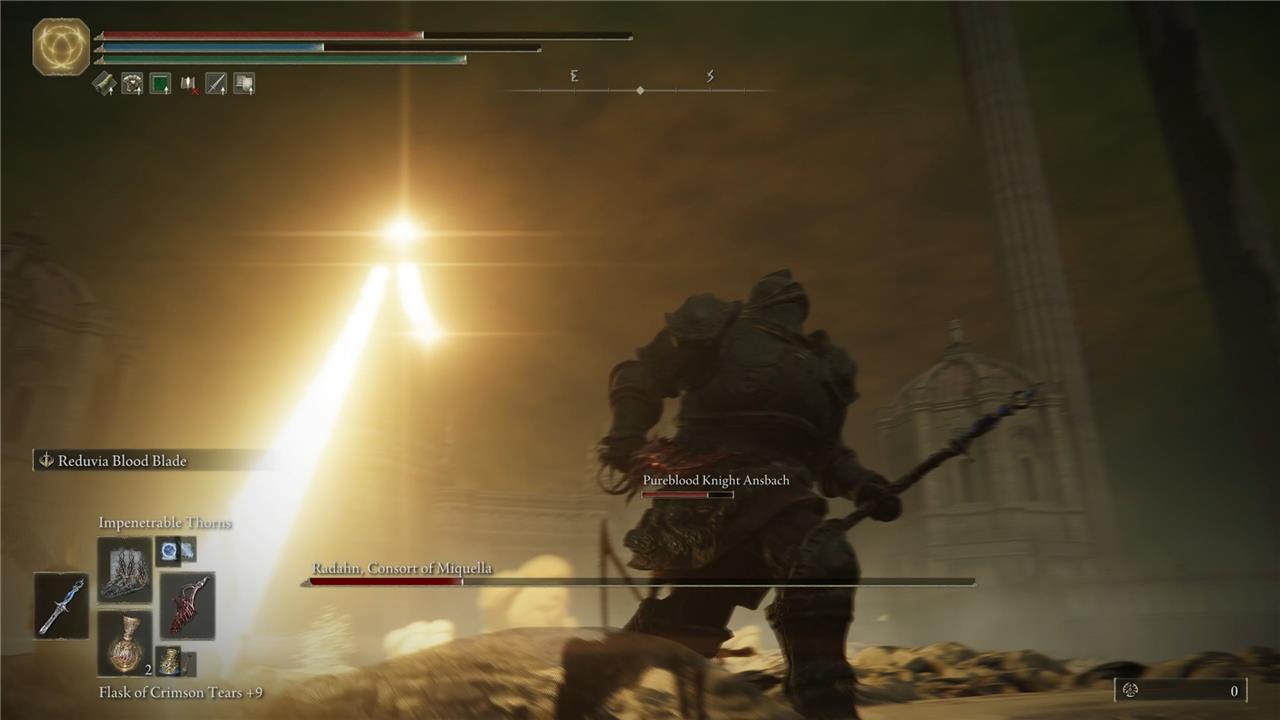
Bleed is just as effective in this phase as in the first, and it’s the fastest and safest way to bring Miquella’s dreams of a better world to an end. Once Miquella and his consort vanish, you receive Miquella’s crown and the duo’s Remembrance. There’s also one last cutscene, floating in a golden bubble next to where you picked up the crown – but don’t expect answers from it.
How to cheese Promised Consort Radahn
To cheese Promised Consort Radahn in Elden Ring’s Shadow of the Erdtree DLC, one effective method involves using a highly tanky build combined with a greatshield to absorb his powerful attacks. Before the fight, talk to the merchant Moore at the Main Gate Cross, then head north of the Church of the Crusade to trigger an invasion by Moore, whom you can quickly defeat with well-timed backstabs. This grants you useful items for the cheese strategy. During the fight, focus on blocking Radahn’s attacks with your greatshield and patiently counterattack when openings appear, minimizing the need for complex dodging or timing. This approach allows you to withstand Radahn’s heavy damage and steadily wear him down with less risk, making the encounter much easier, especially for players who prefer a defensive playstyle.
This boss fight is very difficult, and nobody would ever blame you for wanting to take the easiest route. There are a few “cheeses” for Promised Consort Radahn that can help you take him down relatively easily.
The video from YouTuber Cainfoe above shows a very powerful iteration of the most common cheese for this fight: the shield and poke method. While Cainfoe goes into great detail and uses some magical spells to make things even better, most “easy” solutions for Radahn involve a massive shield (like the Black Knight’s Shield) and a thrusting weapon (like the Frozen Needle rapier). You can get even more recommendations from the community in this handy Reddit thread.
While you’ll still need to dodge some of Radahn’s biggest magical attacks by running away or to the side, poking at him from behind a shield is a very consistent way to bring his health to zero. If you’d like to see this strategy executed perfectly, check out the video above.
What secret strategies can help me finally defeat Radahn in Elden Ring DLC
To finally defeat Promised Consort Radahn in Elden Ring’s Shadow of the Erdtree DLC, several secret strategies can turn the tide in your favor:
-
Use Morgott’s Great Rune to boost your HP, increasing your survivability against Radahn’s brutal attacks.
-
Equip the Golden Braid talisman for increased holy resistance and the Dragoncrest Shield talisman for physical damage reduction to mitigate his diverse damage types.
-
Apply Uplifting Aromatic Perfume to reduce incoming damage during the fight.
-
Summon strong Spirit Ashes or NPC allies to distract Radahn and split his aggro, giving you crucial openings to attack or heal. Although this increases his health, the benefit of divided attention is often worth it.
-
Learn to dodge roll his gravity pull and jumping attacks precisely; rolling away at the right moment avoids devastating damage, especially his gravity wave slam and meteor attacks.
-
In the second phase, Radahn gains new, powerful moves including holy light pillars and a deadly spinning slash combo. To survive, “hug” his right side and roll repeatedly to avoid the spinning slashes, and use the brief window after these attacks to deal damage.
-
Watch for his grab attack that can instantly kill if it lands twice; it is telegraphed by his body glowing with light and can be dodged with careful timing.
-
Use the downtime when Radahn is casting large attacks like Miquella’s Light to heal, buff, or summon Mimic Ashes for additional support.
Mastering these tactics-combining defensive gear, precise dodging, smart use of summons, and exploiting attack patterns-will help you overcome Radahn’s relentless assault and claim victory in this punishing DLC boss fight.
How can I use NPC summons to split Radahn’s aggro effectively
To effectively use NPC summons to split Radahn’s aggro in Elden Ring’s Shadow of the Erdtree DLC, follow these key strategies:
-
Summon multiple NPCs before entering the boss arena to increase Radahn’s health but gain the advantage of divided attention, making the fight more manageable.
-
Keep summoning NPCs repeatedly as they fall; Radahn will relentlessly target whoever is closest, so having a constant stream of allies keeps him distracted and away from you.
-
Summon NPCs on foot before mounting your horse to avoid immediate gap-closer attacks from Radahn, then call them in after dodging his initial leap attack.
-
Use tanky NPCs who can absorb hits and keep Radahn occupied, giving you breathing room to heal, buff, or land attacks safely.
-
This approach turns the fight into a “raid boss” style battle, where the NPCs act as a frontline, allowing you to focus on damage and survival rather than solo tanking all attacks.
-
Be aware that while NPC summons help split aggro, Radahn’s health pool increases, so balance summoning with your own damage output for efficiency.
By continuously summoning and leveraging NPCs as distractions, you can effectively manage Radahn’s aggression and create openings to land critical hits and survive his punishing moves.
