Unlocking the secrets of the Imbaru Engine in Destiny 2: Season of the Witch is no small feat. This final puzzle challenges Guardians to navigate a complex web of rune activations, hidden flames, and cryptic symbols, all while piecing together clues scattered across Savathun’s sinister domain. Ready your wits and gear-solving the Imbaru Engine’s ultimate test promises not only rare rewards but a glimpse into the deeper mysteries of the Witch Queen’s legacy.
On Nov. 7, Bungie updated the Imbaru Engine with an intricate puzzle that not only offers some unique cosmetic rewards but also unlocks a teaser for Twitter, the final Destiny 2 season ahead of next year’s Final Shape expansion.
In this Destiny 2 guide, we’re going to walk you through how to unlock final puzzle in the Imbaru Engine and how to solve the Test of Truth and Lies.
How to unlock the Test of Truth and Lies, the final Imbaru Engine puzzle
To unlock the Test of Truth and Lies, the final Imbaru Engine puzzle in Destiny 2: Season of the Witch, you must first complete the other three tests-Cunning, Strength, and Navigation-and collect the Opaque Card from the Altars of Summoning activity at the Altar of Feracity. After claiming the card at the HELM, return to the Imbaru Engine and proceed to the portal room following the Test of Navigation, entering through the square portal. Interact with the central object to spawn three braziers, then activate Deepsight in the Test of Cunning area to locate a flame you can grasp. The other two flames are found in Altars of Summoning and Savathun’s Spire activities. Once all three flames are grasped, return to the Imbaru Engine, light the braziers, and activate the runes in the correct order to gain the Truth and Lie buffs. Using these buffs, interact with the statues scattered throughout the Imbaru Engine to discern the correct symbols, solving the complex “two lies, one truth” puzzle. Successfully completing this opens the final door, allowing you to claim unique rewards and conclude the mission.
To fully unlock the Test of Truth and Lies, you’ll first need to collect Opaque Cards, complete the other Imbaru tests, and “grasp” three different flames.
Find all the Opaque Cards, including the Parting Gift card
The Test of Truth and Lies comes after the Test of Cunning, the Test of Strength, and the Test of Navigation, all of which you unlock via Opaque Cards located in the game’s world and from activities.
Chances are, if you’re here, you already have most of the Opaque Cards in the game. If not, check out the video linked above from 360GameTV. Note that you’ll need to complete your elemental affinities to collect some of the cards, so make sure you finish the Season of the Witch storyline before attempting to unlock the Imbaru Engine puzzles.
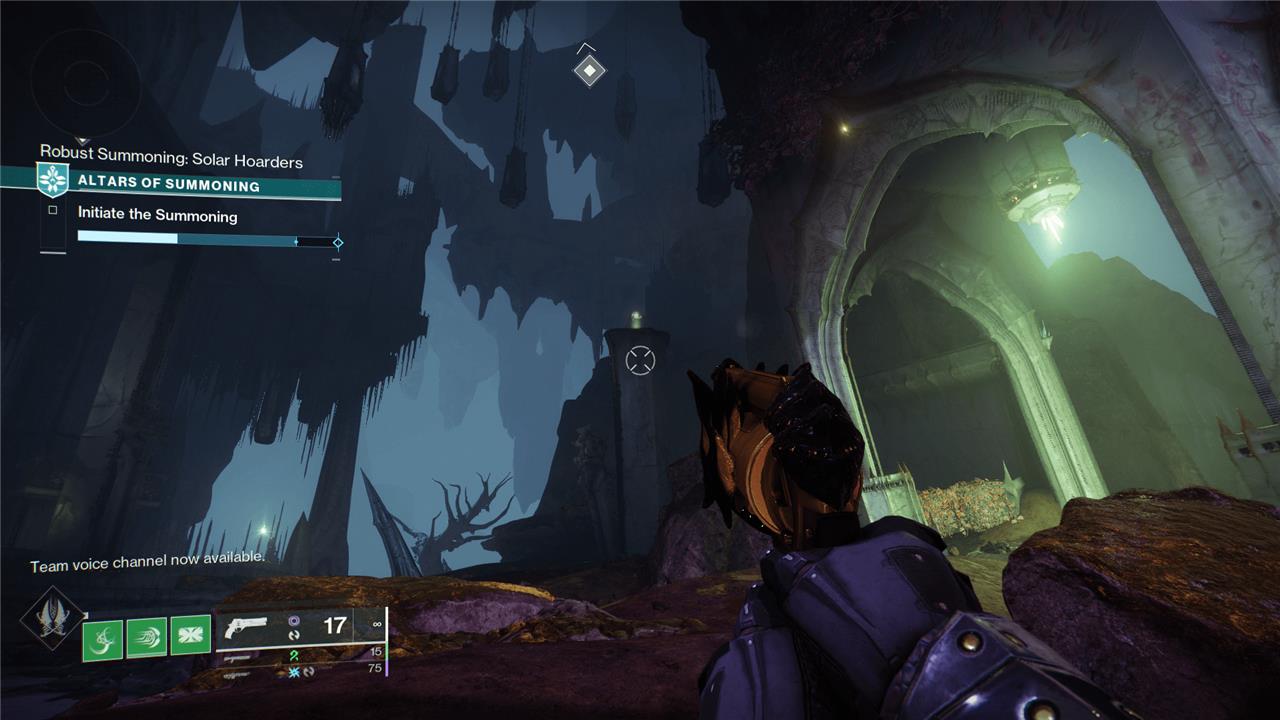
Alongside the Test of Truth and Lies, Bungie also added the final Opaque Card into Destiny 2 on Nov. 7. To get it, drop into the Altars of Summoning and turn right once you reach the main symbol area. Looking into the rightmost arena head on, you’ll see a tall pillar towering over everything just to the right of your view. Climb this pillar to reach the final card: A Parting Gift.
With all of the Opaque Cards in your possession, return to the Lectern of Divination inside the HELM and activate them. Note that you’ll need to complete the other Imbaru Engine tests before you’re able to click on some of the other Opaque Cards, so if you haven’t completed the test of Cunning, Strength, and Navigation, you’ll need to come back to the Lectern later.
Complete the Test of Cunning, Strength, and Navigation in the Imbaru Engine
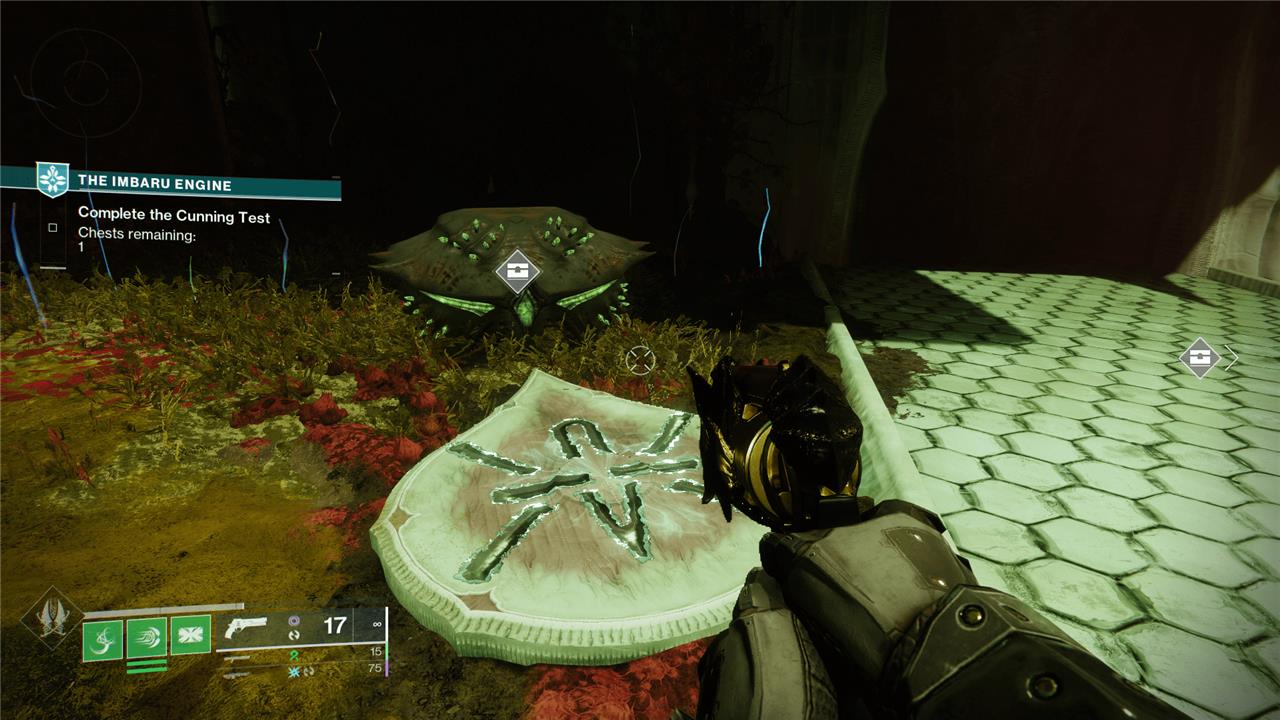
Once you have all the Opaque Cards, it’s time to solve some simpler puzzles to get to the really complex one.
Head into the Imbaru Engine and complete the Test of Cunning. This is the first one you’ll need to do and the game walks you through it. But, just for a refresher, you’ll need to open the correct chests marked with the symbol that looks like an X and avoid chests marked with the symbol that looks like a jellyfish. Look for the hidden symbol next to each chest before opening it. Some of these are hidden on nearby walls or even under platforms.
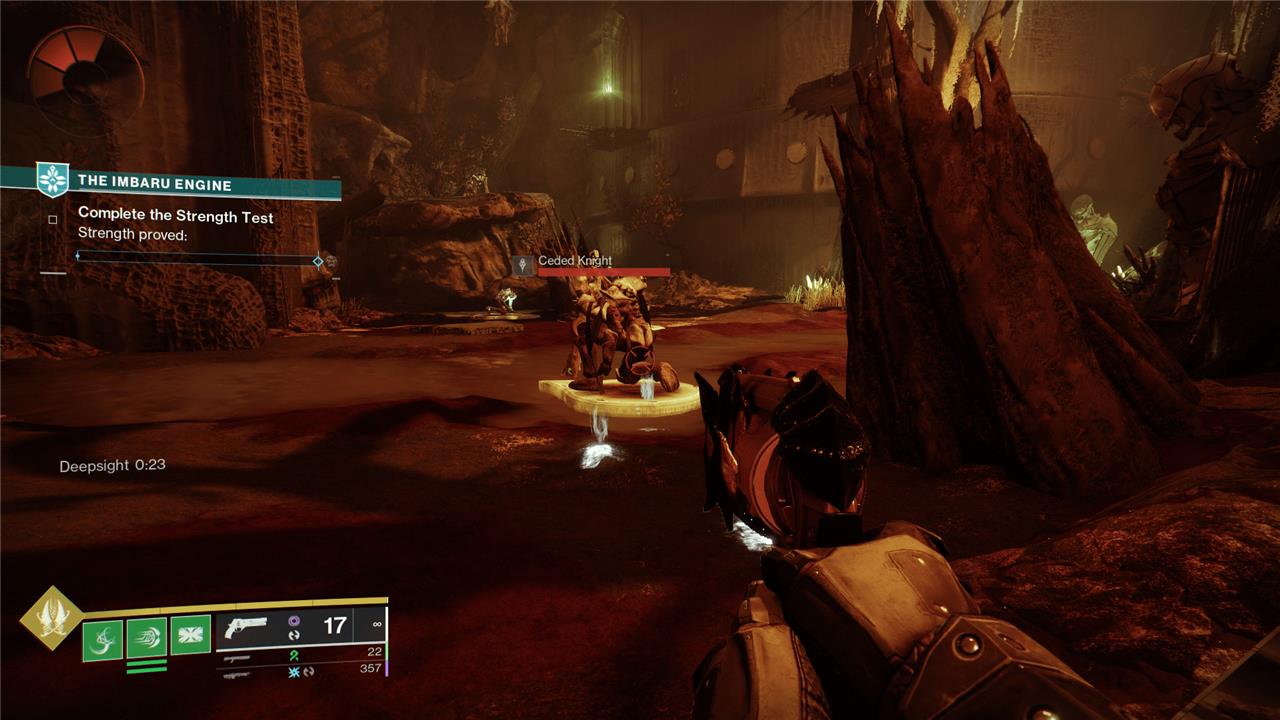
With the Test of Cunning out of the way, continue to climb the tower until you reach the Test of Strength. Head inside and use the Deepsight on the right side of the arena to view footsteps. Follow these to the first Knight that starts the sequence.
The idea here is that you need to kill an enemy and then follow the arrow under them precisely to the next enemy in the sequence – including enemies on the other sides of walls. The trick here is that there’s a pattern. A Hive Knight means you kill the next enemy in the sequence. A Cursed Thrall means you skip the next enemy in the sequence and kill the one after it instead (you still follow the arrows, however).
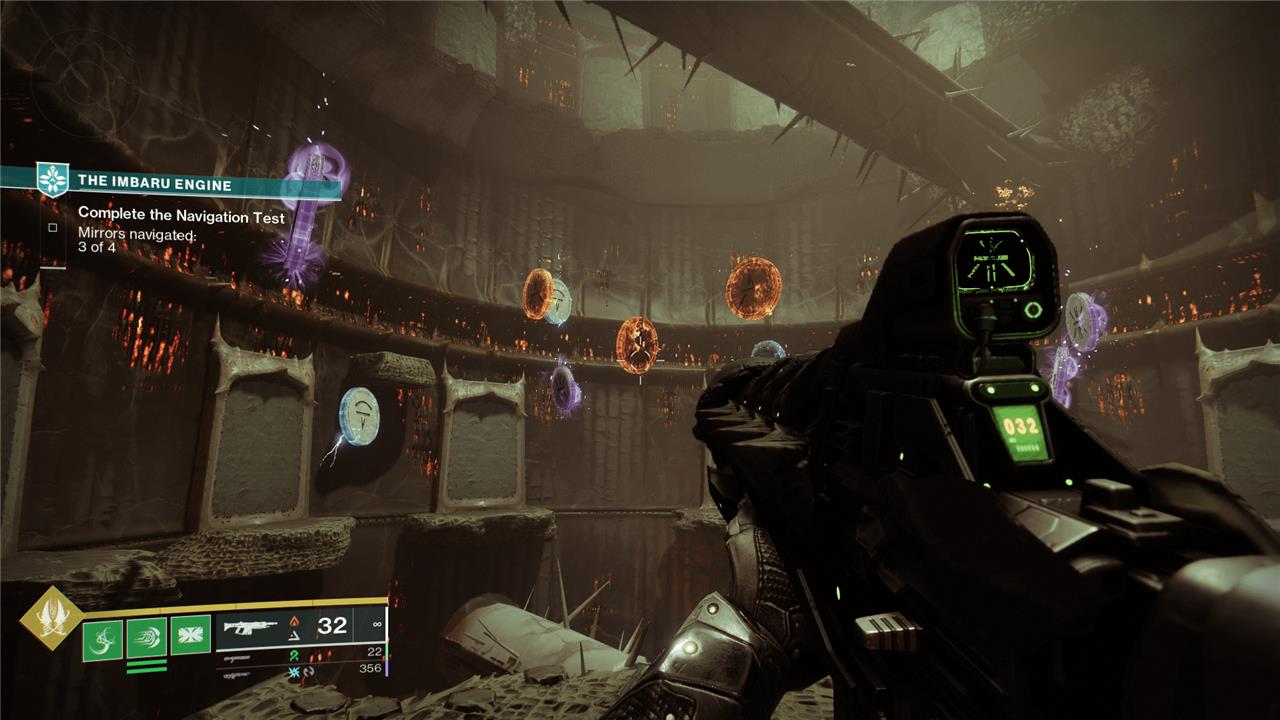
Once you pass the Test of Strength, keep going up to the Test of Navigation. Walk inside the room with all the spinning traps and start the puzzle. You’ll see a bunch of elemental runes – like the ones from Savathun’s Spire – pop up around inactive portals in the room.
Look behind you at the door you walked through and you’ll see an elemental rune above the door, or to your left or right. Make note of the rune’s color and symbol and turn back around to face the empty portals.
You’re looking for the portal with a rune in the mirrored position. So, if the Arc rune was on your left while facing the door, look for an inactive portal with an Arc rune to your left while facing it. When you find the correct rune, shoot it with corresponding elemental damage and then go through the portal.
You’ll need to do this four times, and it gets slightly more complex each time. The toughest one is the final one, where all the runes are floating in the middle of the area. For this one, you just need to imagine how the runes would fit into the walls if you pushed them back a bit.
Note that if you die from a trap during this section, you’ll need to start over from the beginning of the Test of Navigation – meaning you’ll need to redo any completed cycles as well – so watch your jumps.
It’s worth noting here that you only need to pass each of these tests one time. Even if you leave the Imbaru Engine, you can walk up to the exit door of each puzzle the next time you come through and instantly move on, which will help you reach the top faster on subsequent visits.
How to ’Grasp the Flame’ in the Imbaru Engine
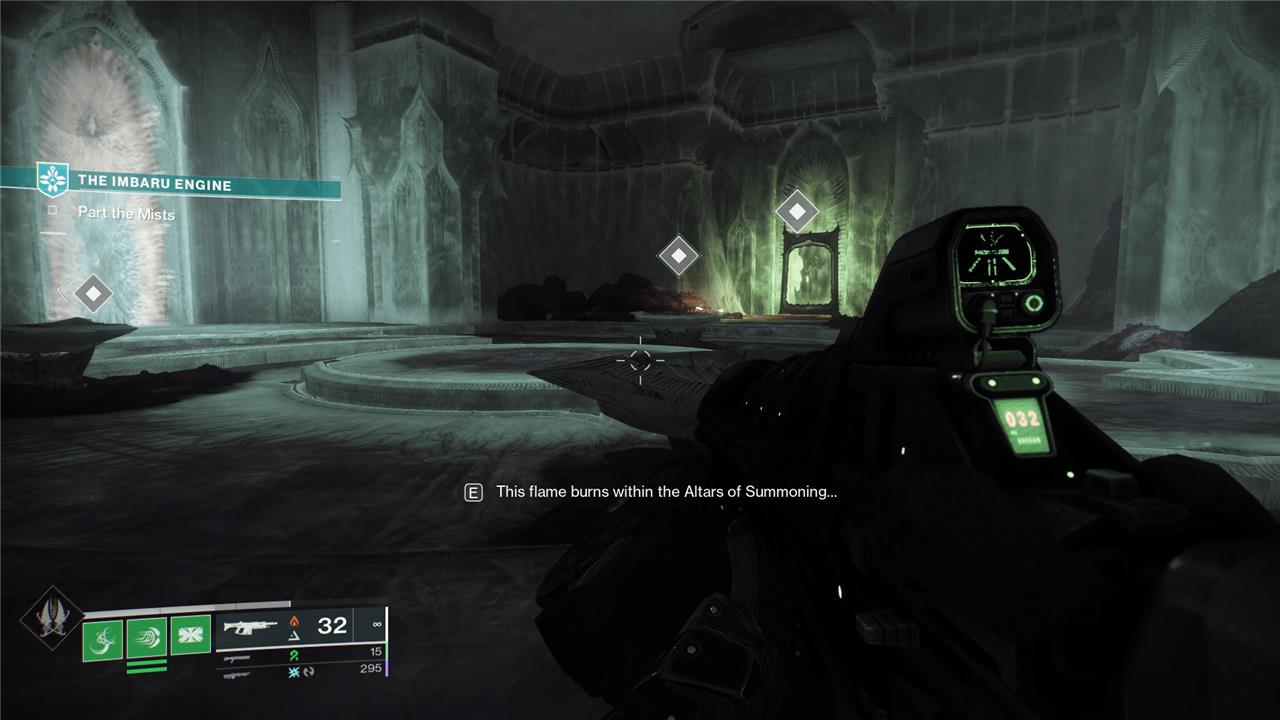
Once you leave the Test of Navigation and activate the Parting Gift Opaque Card, turn right and walk into the portal by the Navigation room. This will teleport you to the highest part of the tower, which includes a new area for you to interact with.
Start the ritual by interacting with the green circle and you’ll activate the three braziers in the room. Each one will ask you to collect a flame, giving you a clue as to where they are:
- “This flame burns within the Altars of Summoning,”
- “This flame burns within the halls of the Spire“
- “This flame burns within the mist below.”
Where to find all three flames for the Imbaru Engine
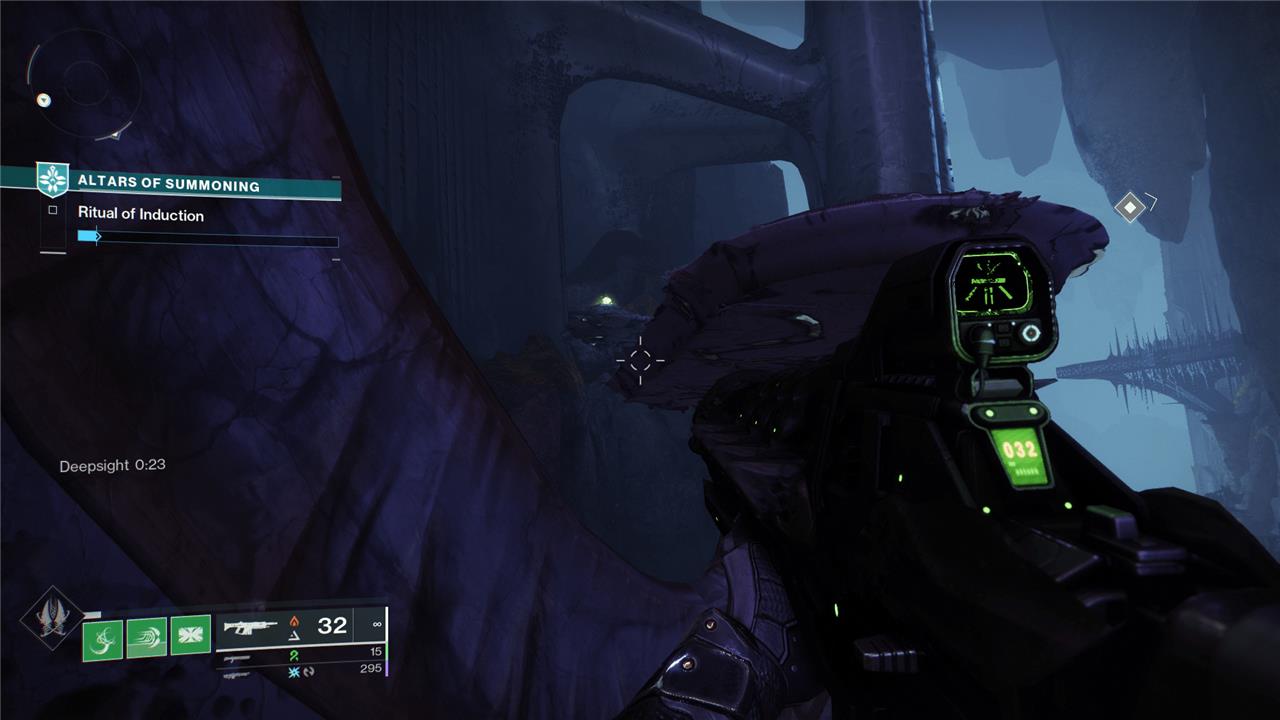
Head back to Orbit and go into the Altars of Summoning activity to “Grasp the Flame” there. This will lead you to the first green flame.
Once you spawn in and reach the opening area with all the symbols, walk forward toward the big door and look to your right. You’ll see a Deepsight node. Activate it and then jump up on the platforms that appear. Quickly make your way up and to the right, where you’ll find a green flame burning in a brazier. Collect it.
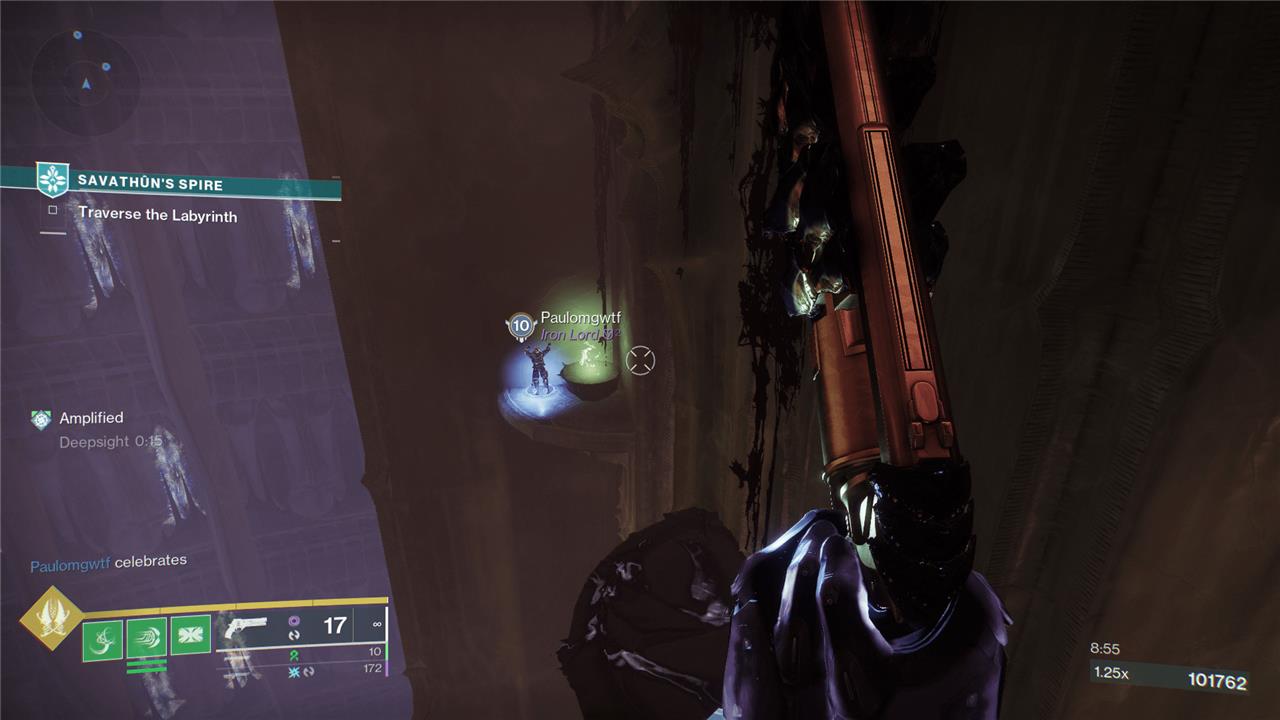
When you finish your Altars of Summoning, launch Savathun’s Spire to find the second green flame.
Progress through the first two encounters. While you’re climbing your way to the third encounter, stop as soon as you reach the pendulum that swings between the two grinders.
Walk to the next platforming section. From there, you’ll see a Deepsight sitting on a disc. Activate the Deepsight and turn around the way you came. Follow the new platforms down and around the corner to reach another green flame. “Grasp the Flame” and head back to the Imbaru Engine.
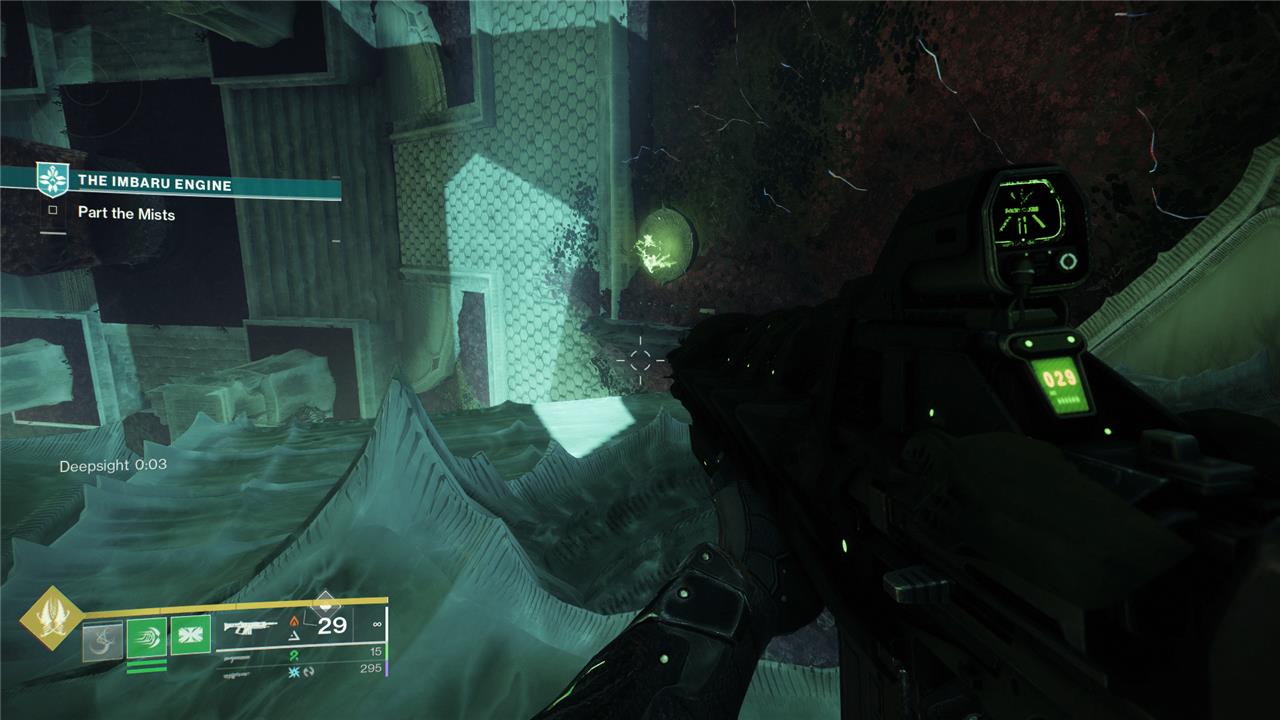
With the two flames in hand (they’re invisible in your inventory, but they’re definitely there if you followed the steps above), head into the Test of Cunning to get the third green flame.
Instead of leaving out the door, look for a Deepsight in the area. Activate it and then follow the mysterious platforms all the way up the wall to a brazier opposite the big door. You’ll see the final green flame here. Grab it and head back up to the brazier room.
With all three flames in hand, activate the braziers and then light them. This will reveal a new door, which will lead you into the Test of Truth and Lies.
How to solve the Test of Truth and Lies, the final Imbaru Engine puzzle
To solve the Test of Truth and Lies, the final Imbaru Engine puzzle in Destiny 2: Season of the Witch, start by obtaining the final Minor Arcana card located atop a pillar in the Altar of Feracity within the Altars of Summoning. Unlock this card at the Athenaeum, then enter the Imbaru Engine and proceed up the spire past the Navigation Test doorway. Near the staircase, enter the glowing portal to reach the puzzle room. You must first collect three green flames found in the Imbaru Engine, Altars of Summoning, and Savathun’s Spire, and place them in the corresponding braziers. The puzzle involves activating 16 statues scattered across the rooms, each highlighting three symbols-two lies and one truth. By carefully tracking which symbols are true or false using the statues’ clues, you can determine the correct runes to activate on the walls. Once the correct runes are activated, interact with the glowing triangle console in the center to complete the puzzle, triggering a cutscene and earning unique rewards like the Twisted Space emblem and the Forbidden Wish shader.
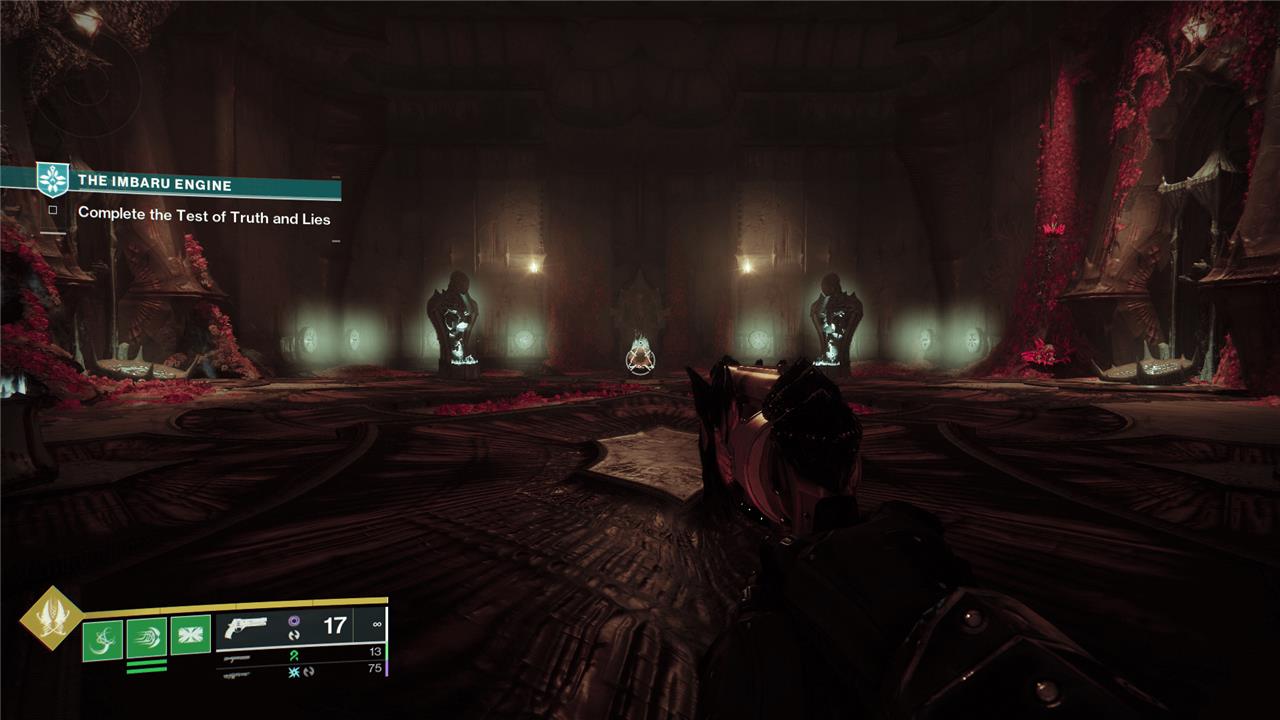
This section includes a diagram with spoilers for the solution. If you just want some hints to point you in the right direction without giving away the solution, skip the section titled “Test of Truth and Lies solution” and read “How to solve the Imbaru Engine final puzzle” instead.
Test of Truth and Lies solution
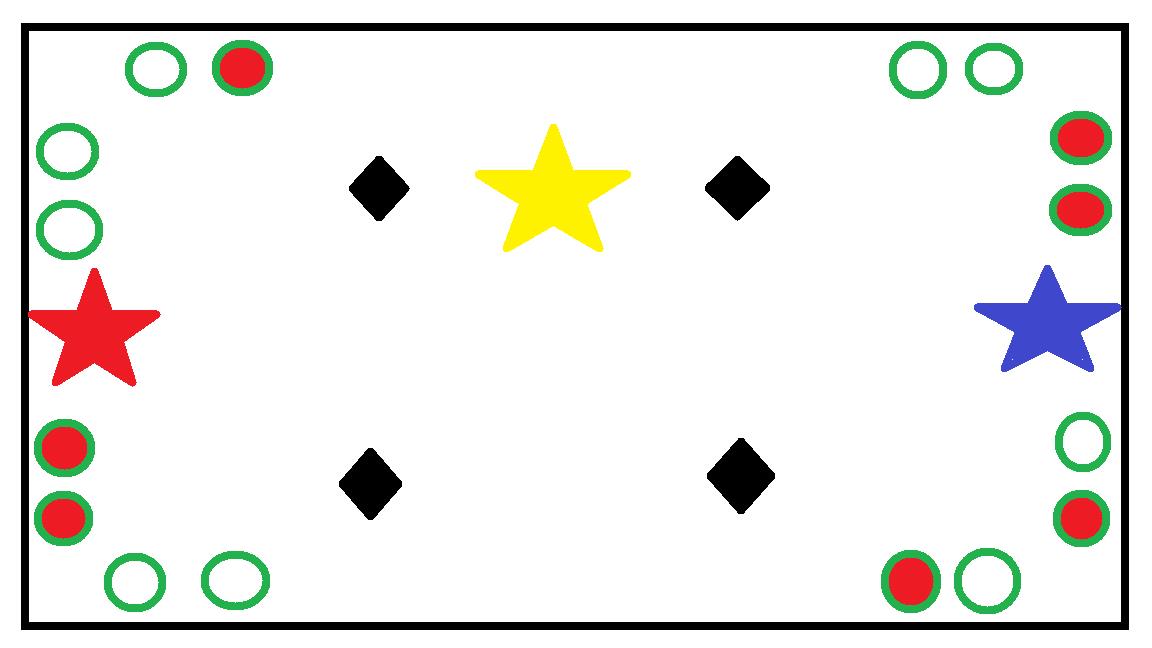
The Test of Truth and Lies room is pretty small compared to the others. It’s got four Thrall statues, two mysterious buffs carved into towers on either side of the room, 16 unique Hive symbols, and a scary depository with a big triangle on it.
To solve this puzzle, you just need to activate the correct runes around the room and then activate the center console with the triangle on the front. If you follow our lovely diagram above (it’s not a real Destiny puzzle if you don’t break out paint), activate the seven runes that are filled in with red, and then “Submit Your Final Tribute” at the gold star.
If you’re unable to view our chart, here’s a written version of the sequence. To read it, position yourself from the entrance, walk to the middle of the room, and then face the walls in question (you’ll start facing what we call the back wall). Then read the runes left to right.
- Back wall: Pass, Activate, Pass, Pass
- Right wall: Activate, Activate, Pass, Activate
- Entrance wall: Pass, Activate, Pass, Pass
- Left wall: Activate, Activate, Pass, Pass
Once you solve the puzzle, head into the back room and claim your reward.
How to solve the Imbaru Engina final puzzle
In the video above, YouTuber Skarrow9 gives an excellent explanation of the puzzle, how it works, and how he solved it (complete with the physical notebook he used to take notes in).
When you first walk into the Test of Truth and Lies, you’ll need to pick up the Truth buff on the right, and the Lies buff on the left – both are sitting on little statues. Once you have them both, you’ll notice that the Truth buff just says Truth, but the Lies buff has a little (x2) next to it. This is a hint at what you’ll need to do to solve the puzzle.
The other hint you need to know before you get started is on the depository for the solution, which is emblazoned with a big triangle. This is telling you what you’re solving for. You need to find all the symbols that are lies (triangles) in the room, activate them, and then submit your answer via the depository.
You’ll want a notebook for this, so go ahead and grab one if you want to try for yourself.
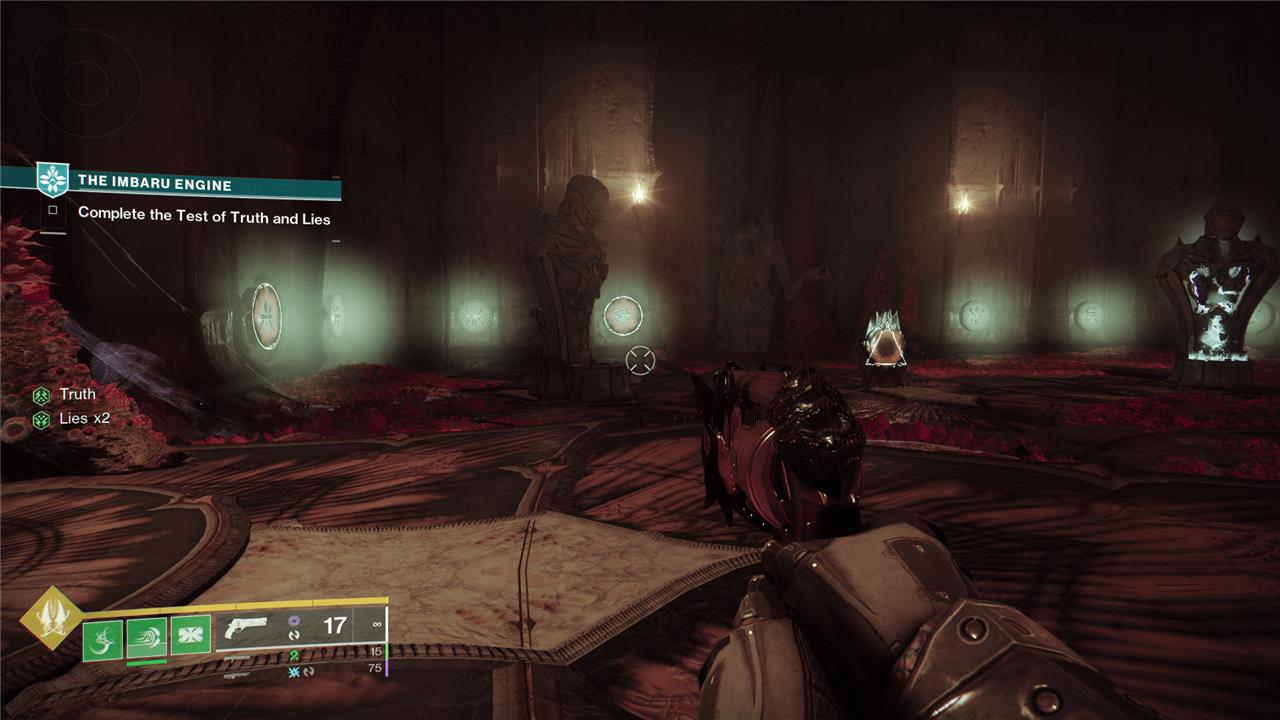
With both buffs, you’ll be able to activate the Thrall statues around the room. Each statue will activate circle or triangle markers on three of the 16 runes around the room. Now what do we know about these statues based on our buffs? They’re telling two lies and one truth. That means one of the denotations it’s showing you (circle or triangle) is that rune’s true symbol, and the other two are lies.
Basically you’ll need to go around the room, activating statues, and make notes on what each statue is claiming each rune is – a triangle or a circle. Once you’ve done that in the Test of Truths and Lies room, you’ll need to take your notes and go down to the other test rooms as well, which each have 16 runes and Thrall statues of their own.
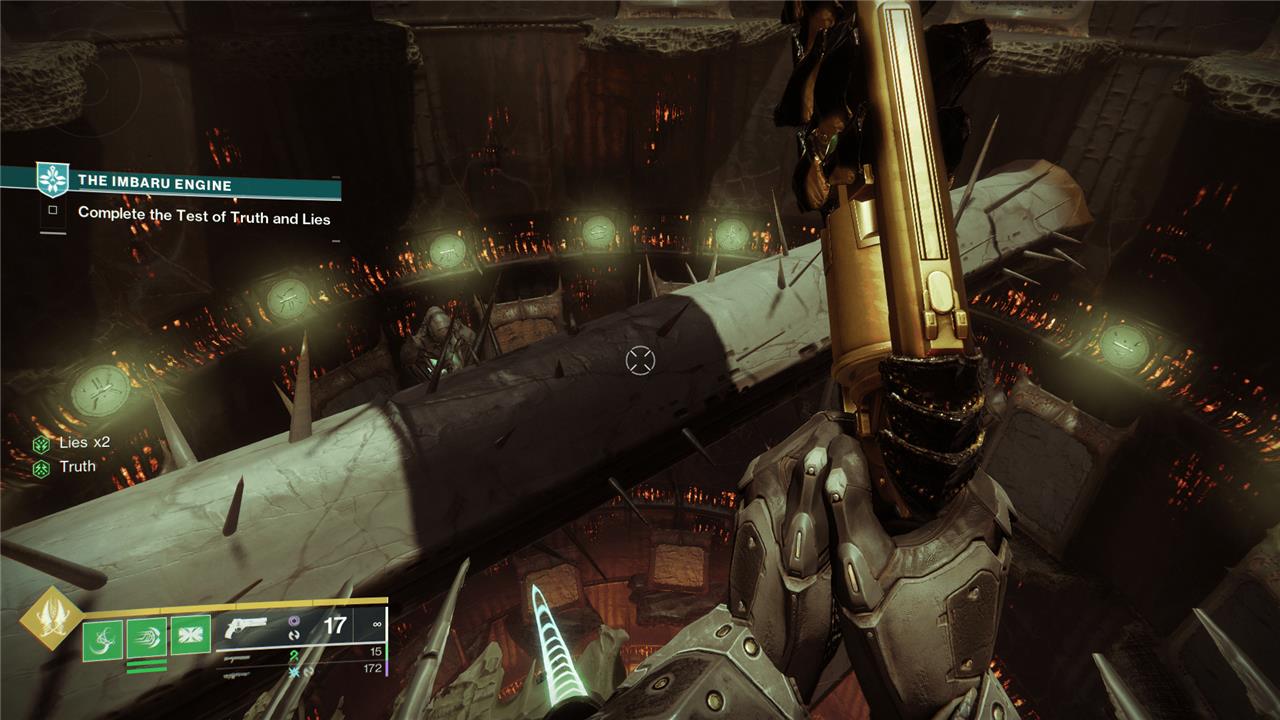
Activate all 16 Thrall statues scattered throughout the Imbaru Engine and take notes on the three symbols it gives you. Then you’ll need to go through and deduce, based on all the information you have, which of the symbols was the Thrall statue telling you the truth about. Cross reference your information and start eliminating possibilities. If multiple statues suggest one rune is a circle and then one suggests it’s a triangle, that means either three of those statues are telling the truth, or three of them are lying.
Once you discover each statue’s truth and each statue’s lies, you’ll be able to determine which runes are circles and which are triangles. Activate all the runes you know to be triangles and then activate the central console and “Submit Your Final Tribute.” If you’re successful, the Thrall at the back of the room will disappear, and lead you down a secret corridor.
Here you’ll find an uncorrupted Ahamkara egg – which is a big deal, since they’re supposed to be extinct. Interact with the egg to end the mission and earn yourself the Twisted Space emblem and the Forbidden Wish shader. Once the mission timer ticks all the way down, you’ll be treated to a surprise cutscene revealing that Savathun has hid the 15th Wish – first teased back in 2018 (!) in the Last Wish raid – hidden somewhere in the symbols of her wings.
What secret clues will help me unlock the final Imbaru Engine puzzle
To unlock the final Imbaru Engine puzzle in Destiny 2: Season of the Witch, several secret clues are essential:
-
First, you must collect the final Opaque Card by exploring the Altars of Summoning, specifically the rightmost arena near the massive doors leading to the Leviathan Eater boss fight.
-
Next, gather three bits of Hive Soulfire hidden around Savathun’s Spire, but only after attuning to the beacon inside the Imbaru Engine by completing the Trial of Cunning and accessing a hidden door leading deeper into the Engine.
-
The three Soulfire braziers are located inside the Imbaru Engine, the Altars of Summoning, and the Savathun’s Spire activity. Each brazier must be lit with the corresponding green flame collected from these locations.
-
Inside the final puzzle room, you will find four Hive statues, each accompanied by four Hive runes. The statues provide clues about the shapes of these runes-some claims are lies, and one is true. Your task is to determine which runes are triangles and which are circles by analyzing these contradictory statements and then submit the correct tribute based on these deductions.
-
Additionally, activating certain Deepsight points reveals platforms and hidden chests that aid in progressing through the puzzle.
Following these clues and carefully interpreting the statues’ hints will allow you to solve the final Imbaru Engine puzzle and unlock exclusive rewards like the Forbidden Wish shader and the Twisted Space emblem.
What hidden hints indicate the correct order to light the Hive flames
The hidden hints indicating the correct order to light the Hive flames in the Imbaru Engine puzzle are found in a drawing on the wall featuring symbols associated with numbers: a clover represents 4, a pair represents 2, a trident represents 3, and a lone tree represents 1. These symbols correspond to the sequence in which the Hive flames should be lit to solve the puzzle.
