Hidden deep within the Gerudo Highlands, the Mayamats Shrine challenges players with clever mechanics and gravity-defying puzzles that test both timing and precision. This guide breaks down every step so you can claim its hidden Light of Blessing without missing a single secret.
Mayamats Shrine location
Mayamats Shrine is found in the Gerudo Highlands region, west of Central Hyrule. Its exact coordinates are (-4639, -1515, 0452), positioned on a high ridge surrounded by snow-covered terrain. To reach it safely, equip cold-resistant armor or consume warming food. The shrine can be accessed by gliding from nearby cliffs or climbing with stamina-boosting elixirs, as the area is steep and often affected by harsh weather.
Mayamats Shrine is found within the Gerudo Highlands region. Its exact location is (-4637, -1514, 0452). You’ll find it on the south side of the highlands west of the Gerudo Highlands Skyview Tower.
Mayamats Shrine walkthrough
Enter Mayamats Shrine on Great Sky Island at coordinates (0378, -0398, 1943). Inside, use Ultrahand to lift the two large stone slabs from the starting platform and attach them into a makeshift bridge spanning the gap ahead. Cross to reach the next chamber, where Recall on the moving platform sends it back to align with the higher ledge. Jump across, then attach a slab to the fan mechanism to create a sail that propels you upward through the wind tunnel. At the top, burn the leafy vines blocking the altar with a Fire Fruit arrow to claim the Light of Blessing.
Mayamats Shrine, like the “A Route for a Ball” challenge suggests, is about solving a series of challenges with Ultrahand and balls.
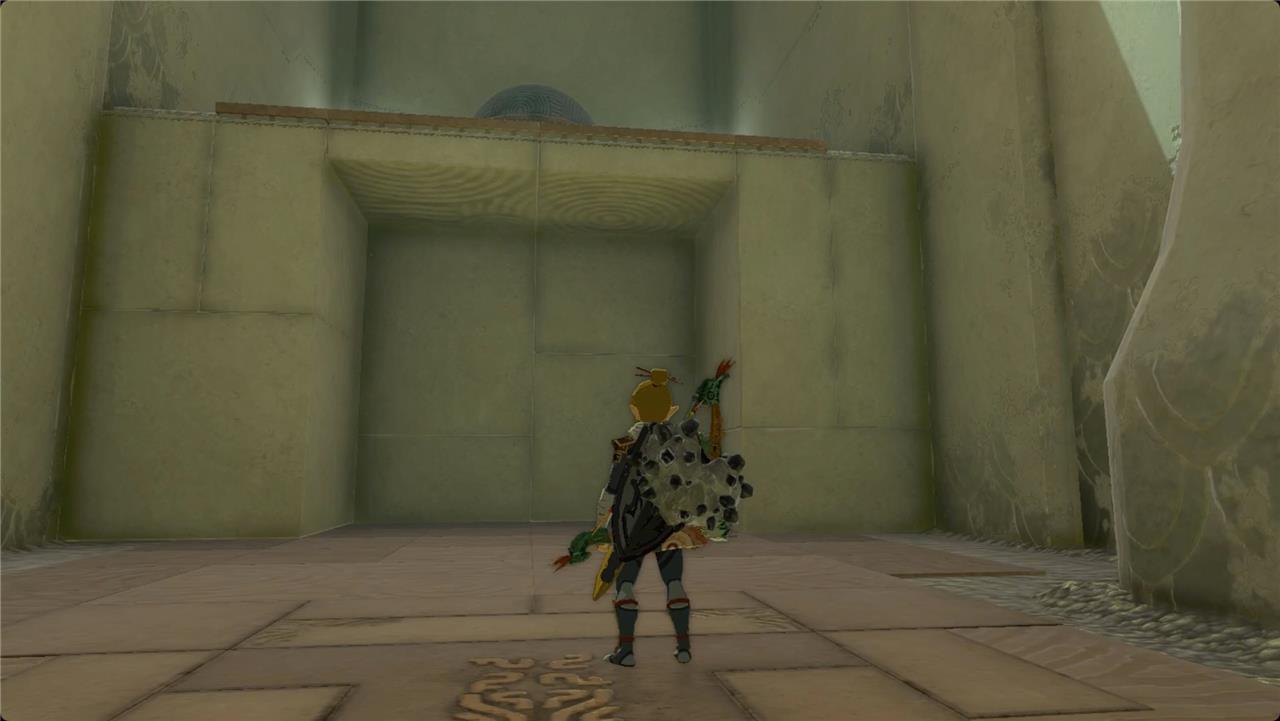
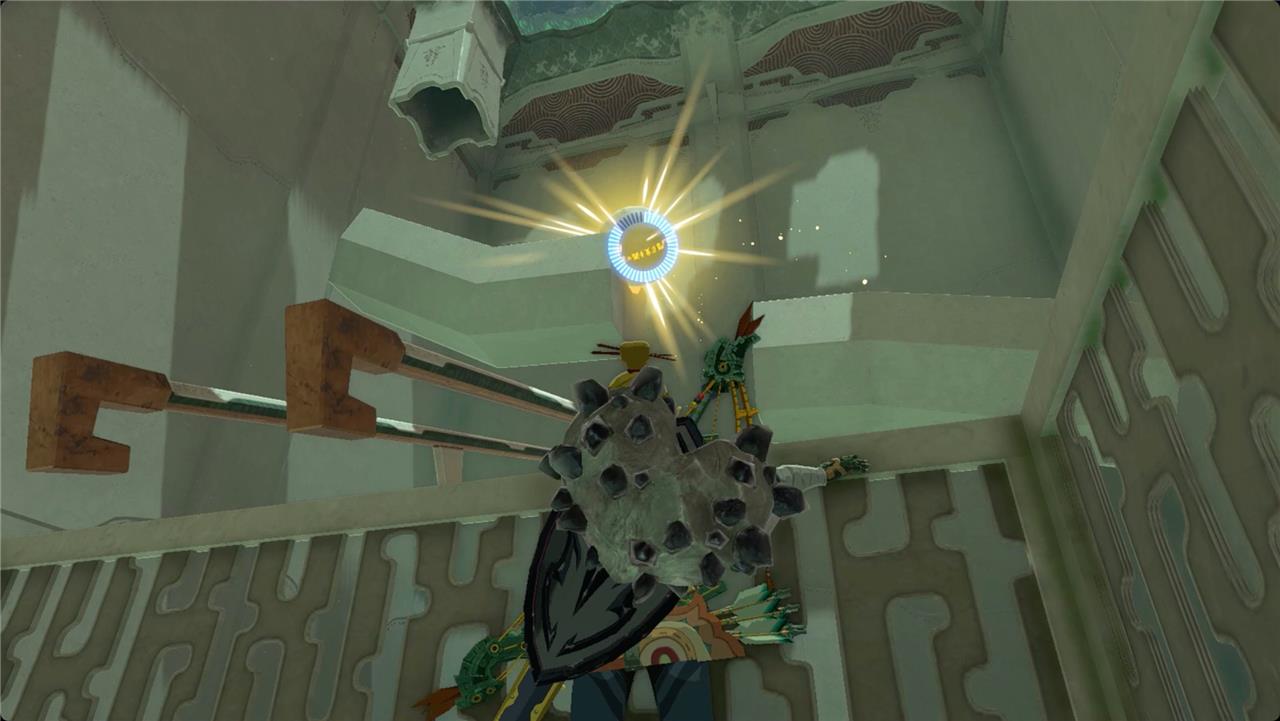
1. When you come down the steps into Mayamats Shrine, there will be a bowl for a ball on your left and the exit will be right ahead of you. But you can’t do anything about it yet.
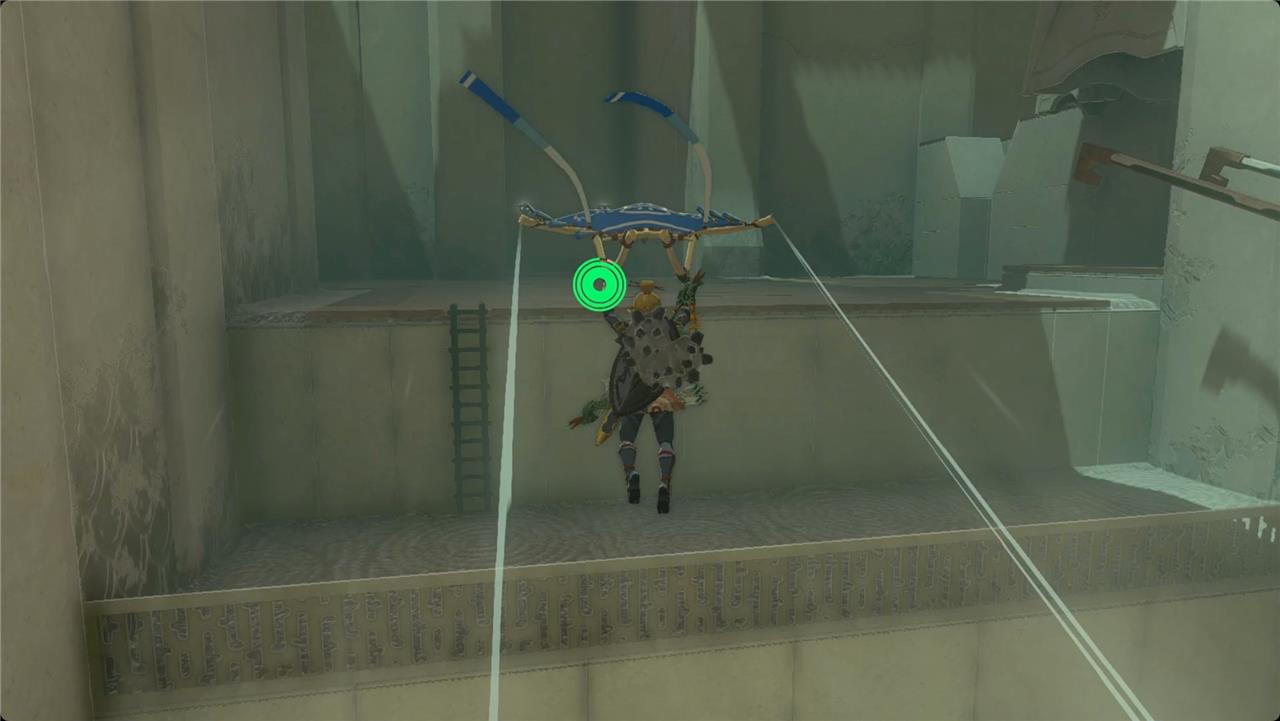
2. Head around to the left and use the air vents to paraglide up to the next level.
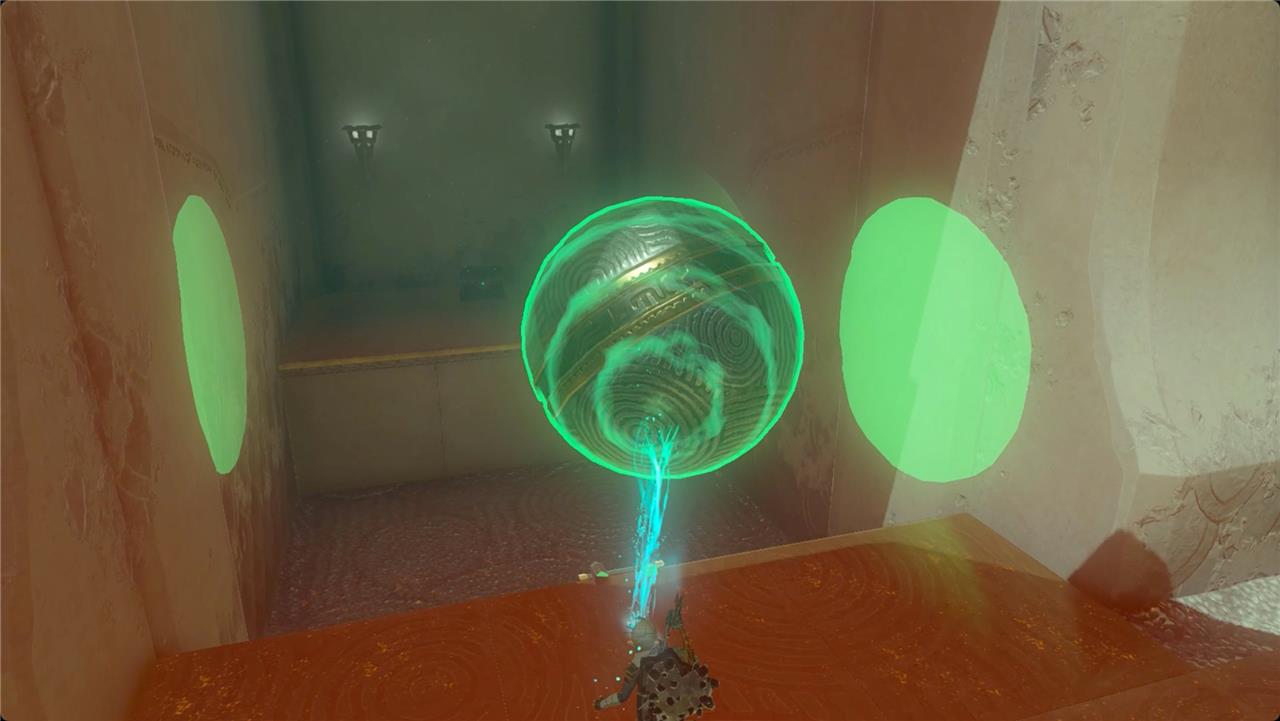
3. Take a left to find a ball on a shelf that’s out of reach.
4. Step into the alcove below it and use Ascend to hop up to the ball.
5. Grab it with Ultrahand and drop it to the floor.
6. Carry the ball back the way you came and drop it into the trench on the left.
7. Hop across the ball to reach the chest on the far side with a large Zonai charge inside. If you’re having trouble, you can use Ultrahand and Recall to make the crossing easier.
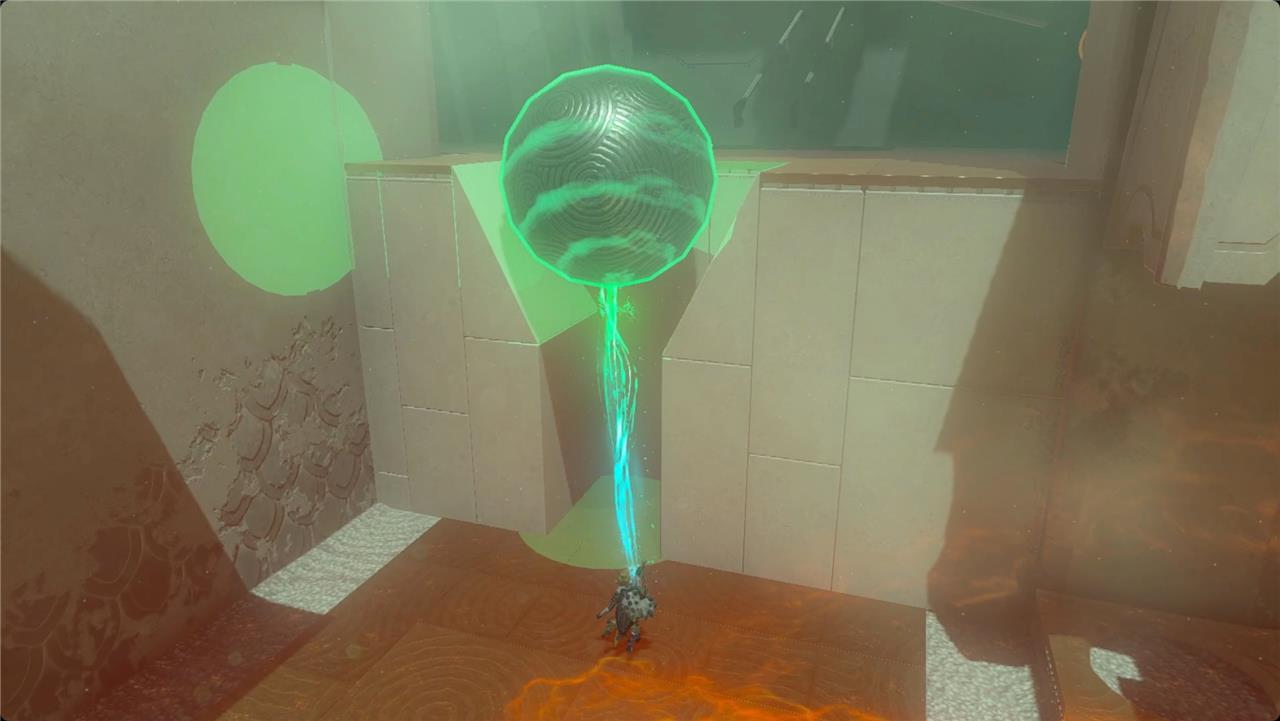
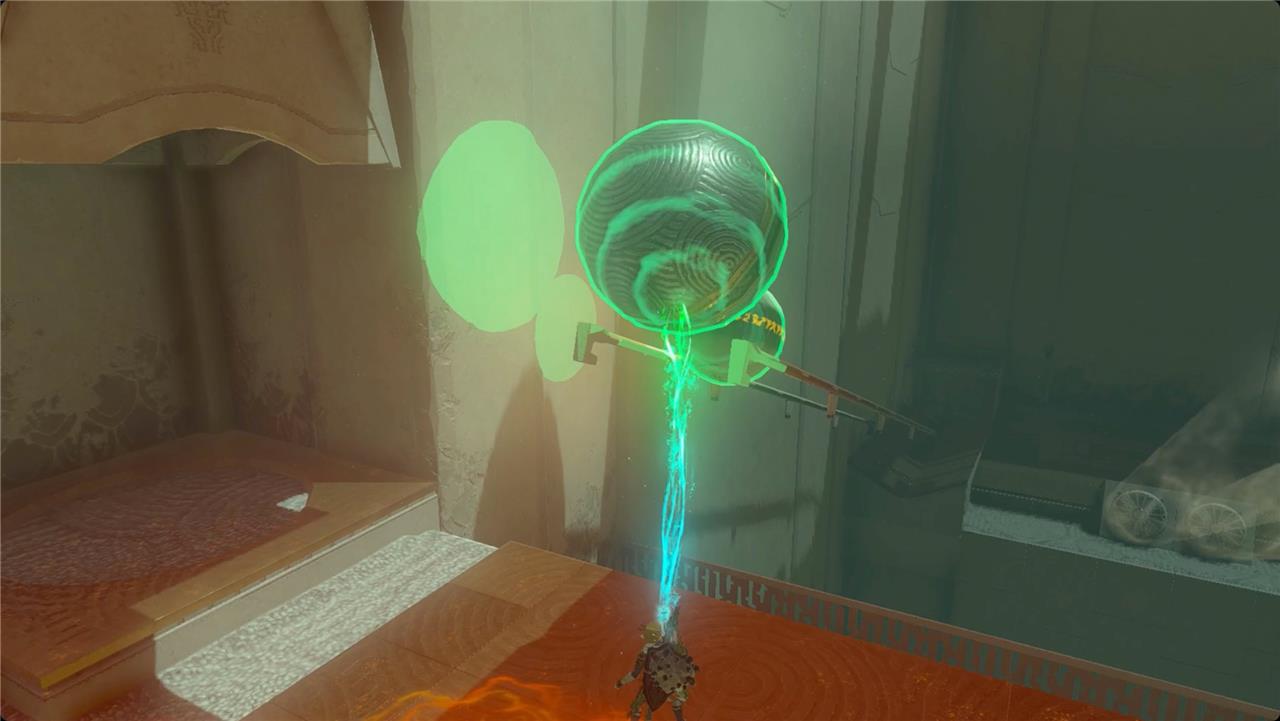
8. Carry the ball farther to the right. You’ll find a vertical channel in the wall there with a funnel shape at the top.
9. Drop the ball into that funnel, and then use Ascend to climb up through it.
10. In the next area, you’ll see a smaller ball rolling from left to right across some ramps on the wall ahead of you.
11. Use Recall to pause the rolling ball on the left ramp. Let it back up a little and then unpause your Recall ability. This will remove the ball’s momentum so it falls onto the rails below the gap.
12. Carry the smaller ball back and attach it to the larger one.
13. Take the pair back to the rails leading down to the start of the shrine. Place the larger one on the rail and let it slide down, carrying the smaller ball with it.
How to get Large Zonai Charge in Mayamats Shrine
Large Zonai Charge Access
The Large Zonai Charge is in a chest inside Mayamats Shrine, accessible early in the puzzle before the main ball route challenge. Retrieve the metal sphere from a high platform to bridge a gap leading to the chest.
Step-by-Step Retrieval
From the shrine entrance, use the updraft to reach a left overhang and activate Ascend to grab the large metal sphere on the upper platform. Carry or roll it down, then position it precisely in the narrow gap directly in front of the chest alcove-jump or paraglide across the sphere to reach and open the chest for the Large Zonai Charge.
Tips for Success
Ensure the sphere fits snugly in the gap without falling; Ultrahand helps fine-tune placement if it slips. This chest remains available after completion, as shrine objects respawn, but grab it first to avoid backtracking.
How to complete Mayamats Shrine full walkthrough
Mayamats Shrine, titled “A Route for a Ball,” requires guiding spheres using Ultrahand, Ascend, and Recall to complete its physics puzzles.
Chest Access First
Enter the shrine and ignore the floor bowl initially. Use the updraft on the left to paraglide to the higher platform, then Ascend through the overhang to reach the large metal sphere. Drop it down, position it in the gap before the alcove chest, and jump or paraglide across to claim the Large Zonai Charge.
Upper Platform Advance
Carry the large sphere to the right wall’s funnel-shaped channel and wedge it in place. Ascend through the sphere to reach the next area, where a small puzzle ball rolls endlessly between two ramps.
Small Ball Capture
Activate Recall on the small ball when it’s on the left ramp, stopping it mid-motion so it drops onto the lower rails below. Grab the small ball with Ultrahand and attach it to the front of the large metal sphere.
Final Rail Descent
Place the attached spheres on the entrance rails with the large one first (to prevent overshooting). Paraglide down after them, catch with Ultrahand at the bottom, and detach the small ball into the floor bowl to open the gate. Proceed to the altar for your Light of Blessing.