Hidden within the cliffs of the Gerudo Highlands, the Rakashog Shrine tests both precision and timing. This guide reveals its exact coordinates, puzzle mechanics, and the quick tricks you need to clear every challenge inside.
When you’re done, our shrine locations page or interactive Hyrule map can direct you toward something else to do.
Rakashog Shrine location
Rakashog Shrine is located in the Thunderhead Isles region of the sky, southeast of Faron. You can reach it by gliding or using the sky islands that connect from the Popla Foothills Skyview Tower. The shrine sits on a floating island surrounded by storm clouds, so make sure to bring lightning-resistant gear or food. Its exact coordinates are roughly (1759, -1208, 0924), making it easier to find on your map.
The Rakashog Shrine is found within the East Gerudo Sky Archipelago region, southwest of the South Hyrule Sky Archipelago. Its exact location is (-1715, -2119, 1149).
Rakashog Shrine walkthrough
Inside the Rakashog Shrine, you’ll face a series of moving platforms and timing puzzles that test your precision with Recall and Ultrahand. Begin by using Ultrahand to place the platforms so you can cross the first gap, then use Recall to reverse their motion and ride them back across. In the main chamber, adjust platform heights to align with fans and gliders, creating a stable path forward. Finish by activating the final mechanism that opens the door to the chest and the Light of Blessing.
The Rakashog Shrine’s “A Reflective Device” trial mostly tasks you with using Ultrahand to position a series of mirrors to aim beams of light at sensors that unlock gates.
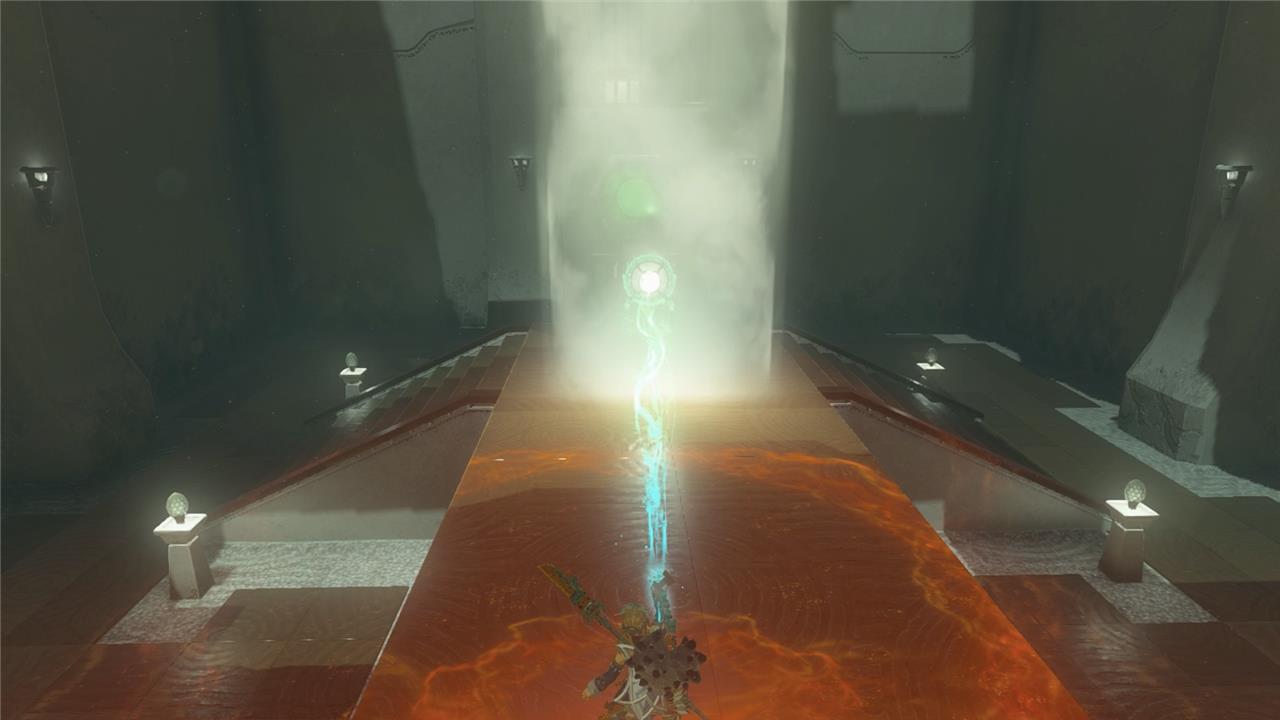
1. In the first room of Rakashog Shrine, you’ll see a large beam of light pouring down from the ceiling. Walk past the beam and you’ll see a yellow hexagonal light sensor above a locked gate and a mirror on the floor to the left of the gate.
2. Using Ultrahand, grab the mirror and pull it into the beam of light, then rotate it so the light beam is reflected toward the sensor, opening the gate.
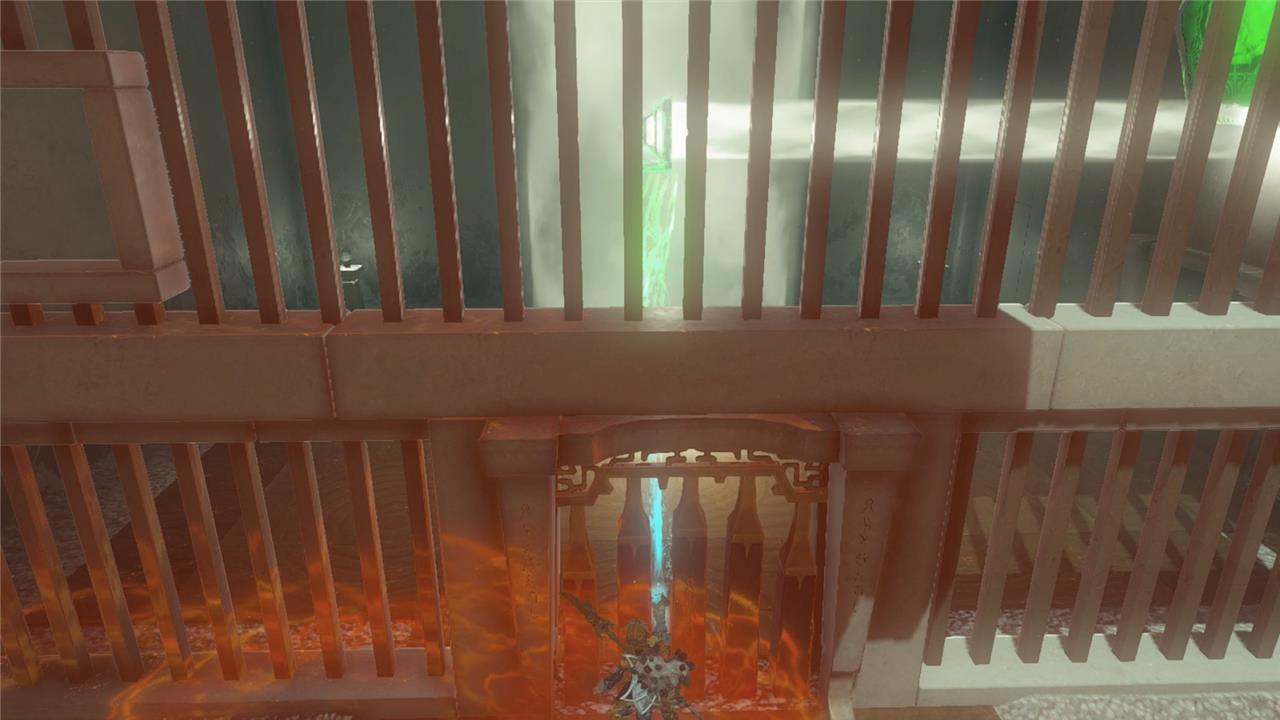
3. Head to the next room – you can leave the first mirror behind – for another light-reflecting puzzle. Using Ultrahand, grab the mirror and pass it through the small opening in the bars into the vertical beam of light, and rotate it so the light beam is reflected at the sensor on the right wall.
4. Move forward into the next room, again leaving the mirror that you just used behind (it should have fallen to the floor after letting go with Ultrahand, but will be in the perfect position for the next puzzle).
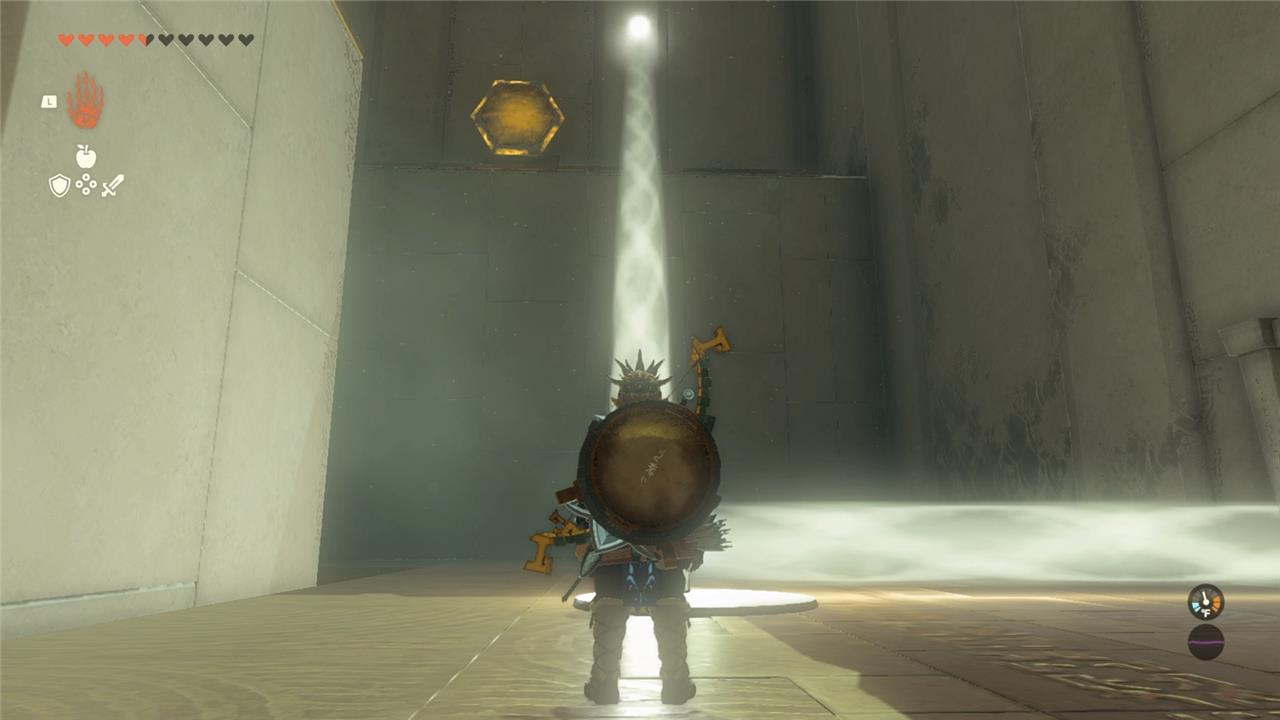
5. Use Ultrahand again to grab a mirror and angle the beam of light downward at a sensor on the floor. This will activate a platform that moves up and down. Ride that platform up to the top and you’ll see another light sensor, a gate with a treasure chest behind it, another mirror, and a large block that can be moved with the Ultrahand.
6. To the left of that is a room a light beam pouring down from the ceiling where two Construct guards are patrolling. Defeat them both to acquire a mirror club, which can be useful for angling Rakashog Shrine’s light beams with a little more finesse.
7. Take the moving platform down, bringing a mirror down with you. Using the beam of light emitting from the second room, use Ultrahand to angle a beam of light upward at a 45-degree angle, aiming it the light sensor above Link. If you can’t get the angle quite right, don’t worry – there’s still a mirror above you and the movable block that will aid in reflecting the light beam.
8. Head back up, using the remaining mirror and block to aim the light beam at the sensor. The gate will unlock and open access to Rakashog Shrine’s chest, which contains a large Zonai charge.
9. Return to the room where the Constructs were patrolling. Just one more light beam puzzle to solve. There are two mirrors in here; position one directly beneath the overhead light beam, then the other to reflect the reflected light beam at the final light sensor. (You can also equip the Mirror Club here to angle the light.)
What rewards are in Rakashog Shrine treasure chest
Rakashog Shrine has one main treasure chest, and it contains a Large Zonai Charge.
How to get the Large Zonai Charge chest in Rakashog Shrine
You get the Large Zonai Charge from the locked chest on the upper level of the third main room in Rakashog Shrine by “stealing” light from the final room and bringing it back to that side sensor.
Here’s the process step by step (starting from the moving elevator room with the big block and mirror on top):
-
Ride the elevator up
-
Use a mirror in the lower part of the room to activate the floor sensor and raise the elevator, then ride it to the upper level with the big stone block, another mirror, and the locked chest behind a gate with a light sensor above it.
-
-
Set up the “relay” in the upper room
-
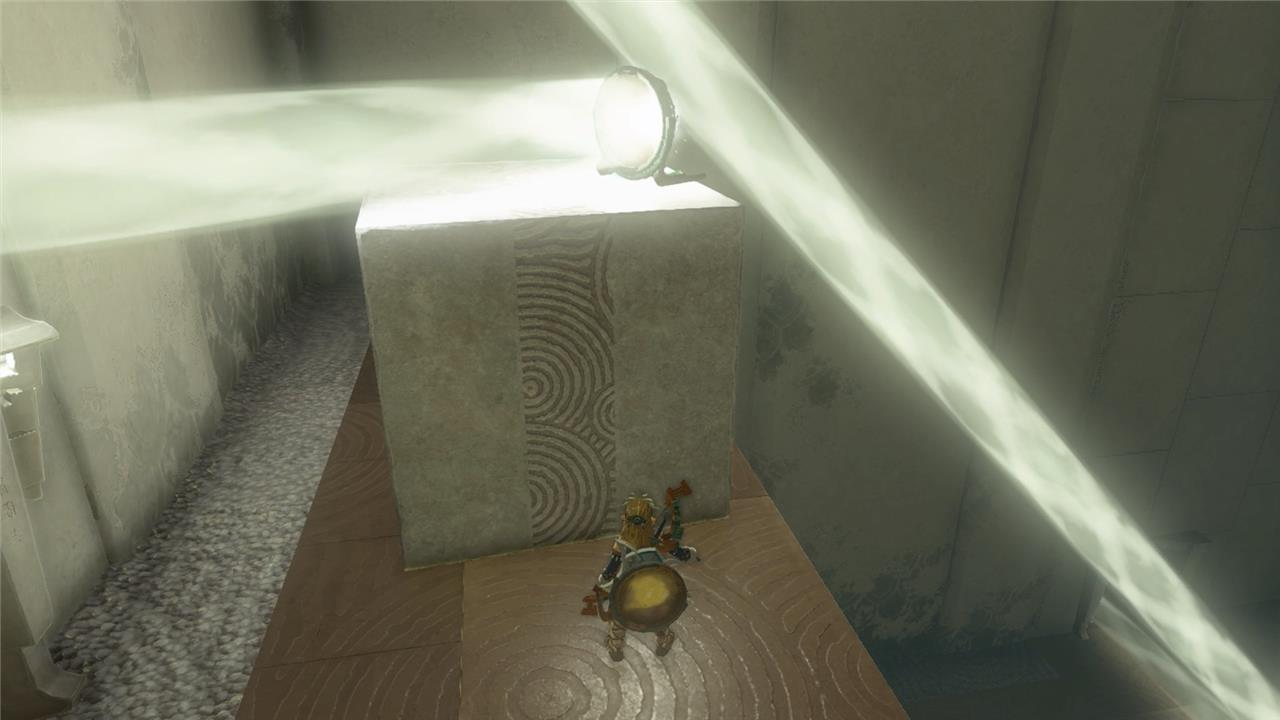
Attach the spare mirror to the side of the big stone block with Ultrahand so it sticks out like a periscope.
-
Position this block so that its mirror can catch a light beam coming from below and point it toward the chest’s sensor above the gate (you won’t have the light yet, you’re just setting the angle now).
-
-
Send light up from the lower floor
-
Go back down to the previous section where a vertical beam of light is coming through the floor/ceiling gap between rooms.
-
Place another mirror in that beam so it reflects straight upward through the hole, aimed toward where your block-mirror setup is on the upper level.
-
-
Link the beams to the sensor
-
Return to the upper level. The light from below should now be hitting the mirror attached to the block.
-
Adjust the block (and, if needed, slightly tweak the mirror’s rotation) so that the reflected beam lands directly on the yellow light sensor above the chest’s gate; when the hexagon turns green, the portcullis lifts.
-
-
Open the chest
-
Go into the now-open alcove and open the chest to receive the Large Zonai Charge.
-
If your angles feel off, focus on making the lower mirror send a perfectly vertical beam up, then only fine-tune the block-mirror’s tilt until it locks onto the sensor.