Hidden beneath the shifting sands of Gerudo Desert, the Soryotanog Shrine challenges players with clever light puzzles and hidden paths. This guide reveals the exact location and step-by-step solutions to every section, helping you solve its secrets and claim your well-earned rewards.
Our guide will help you find the Soryotanog Shrine location and solve the “Buried Light” puzzle to earn the shrine’s treasure chests and Light of Blessing. You might not immediately notice the shrine in the small Gerudo Town area; it’s actually located on top of it. Don’t worry – we’ll show you.
When you’re done, our shrine locations page or interactive Hyrule map can direct you toward something else to do.
Soryotanog Shrine location
Soryotanog Shrine is located in the Gerudo Desert region, southwest of the Gerudo Town. You can find it partially buried beneath the sand at coordinates (-3883, -2960, 0123). To reach it safely, prepare for the desert heat during the day and cold at night. The easiest way to spot the shrine is by using the Gerudo Town Skyview Tower, then gliding southwest across the dunes.
Soryotanog Shrine is found within Gerudo Town in the Gerudo Desert at the coordinates (-3883, -2964, 0123).
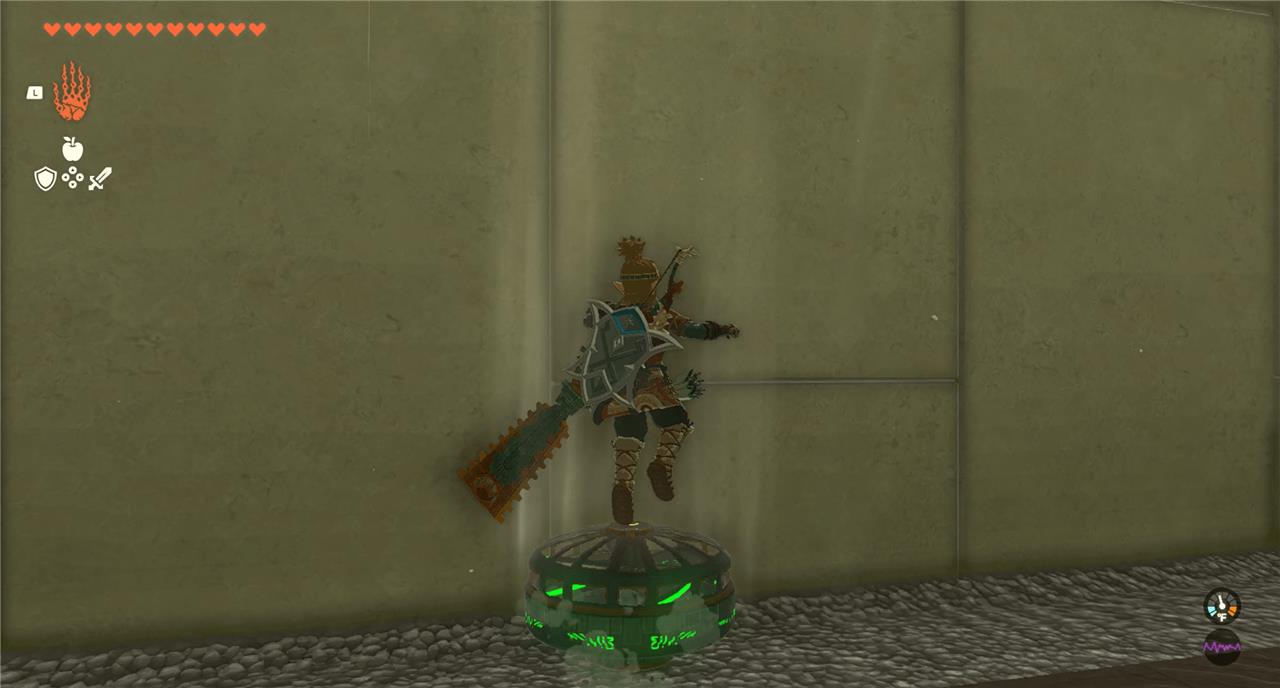
Soryotanog is located at the very top of Gerudo Town, and you’ll have to use Ascend to get there. You’ll meet Riju in front of a fortress structure and a cutscene will play so you can see the area where the shrine is located. (It’s the tall rock structures.) Climb the stairs to the right of Riju and make your way into what looks to be her bedroom – her diary is on a desk. Use Ascend to move through the ceiling, and keep doing it until you reach the shrine.
Soryotanog Shrine walkthrough
The Soryotanog Shrine focuses on using light and mirrors to solve its puzzles. Begin by adjusting the movable mirror panels to direct beams of light toward the crystal switches scattered across the chamber. Each successful reflection opens new sections or activates lifts leading deeper into the shrine. Watch for hidden alcoves that contain treasure chests, often accessible by redirecting a beam through a small opening. Once every light path is aligned and the main door mechanism is triggered, the final chamber reveals the Monk and your reward.
Soryotanog Shrine uses fans and mirrors in its puzzles. The fans are largely to get around and clear piles of sand covering key elements, while the mirrors are necessary to redirect light to open a locked gate. The Buried Light puzzle name makes sense now, huh?
1. Head forward into the first chamber. Use Ultrahand to pull the fan out of the pile of sand in the back-right corner of the room.
2. Hit the fan to activate it and blow away that pile of sand.
3. Grab the fan and bring it over to the piles of sand on the left side of the room.
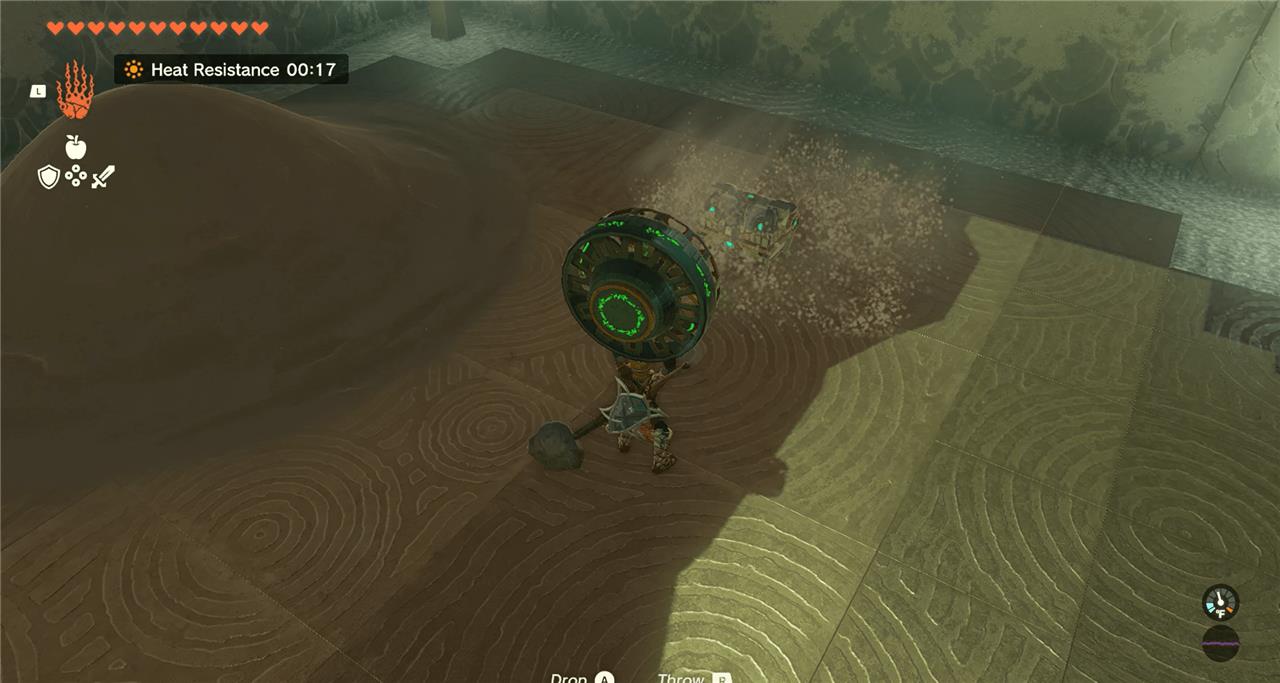
4. Blow away the sand piles to reveal a treasure chest.
5. Open the chest to retrieve a small key.
6. Use the small key to open the door on the right-hand side of the room, near the sand pile where the fan originated.
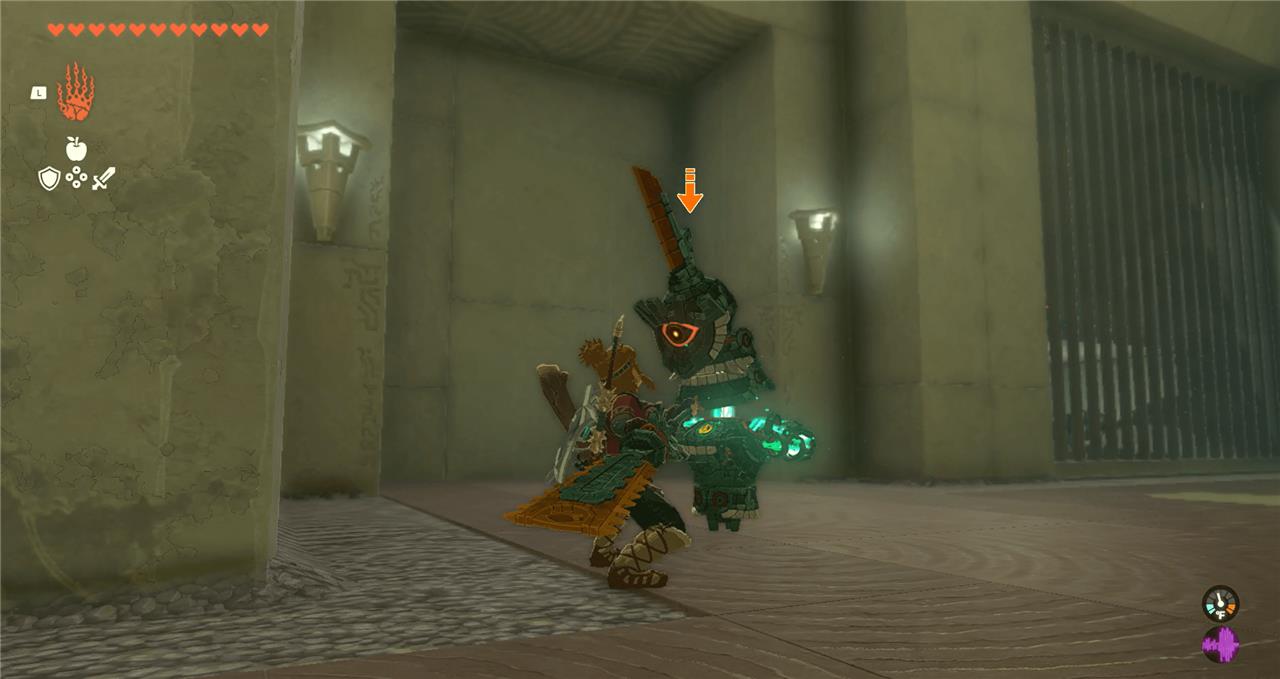
7. Enter the room and bring your fan with you. Straight ahead, there’s another pile of sand with an object lodged in there. To get there, you’ll have to fight a Construct. Drop the fan to fight before moving on.
8. Grab your fan and head to the right side of the room to clear another sand pile. It’ll reveal a small opening. Drop the fan and head in.
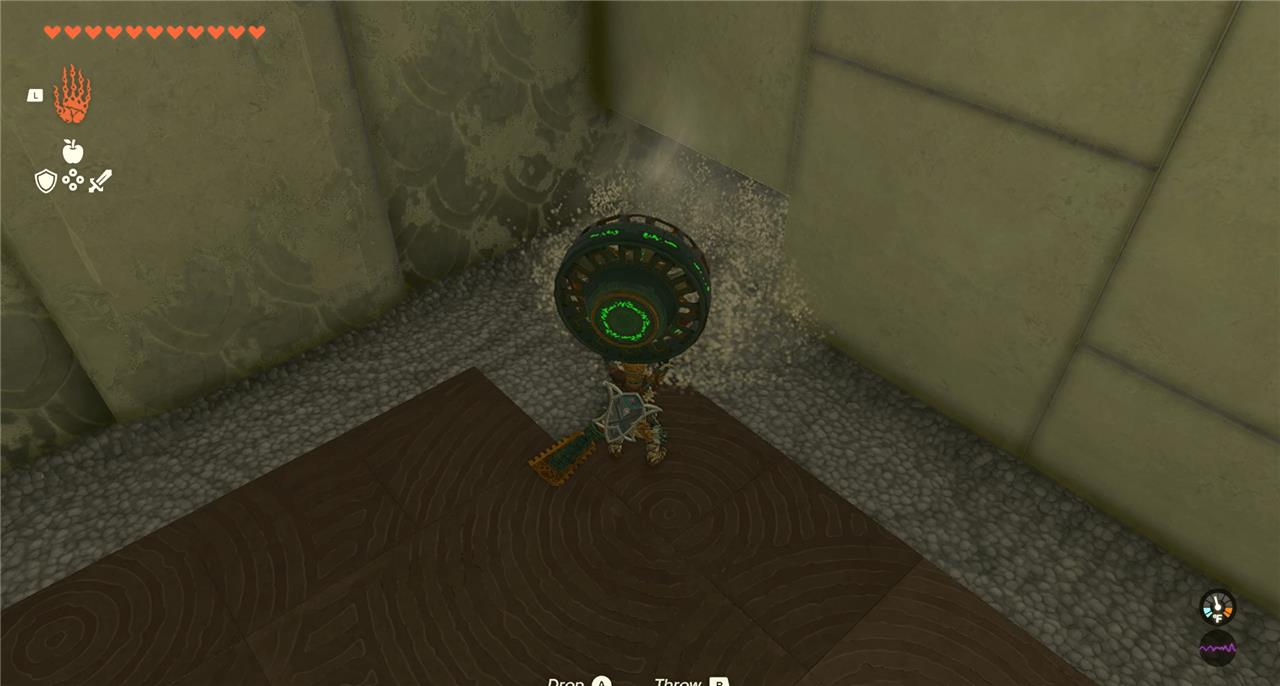
9. Inside, there’s another pile of sand and another fan. Grab the fan using Ultrahand and clear the piles. There’s a Construct in one of them.
10. Defeat the Construct and take the dropped fan guster.
11. Place the fan on the floor with the wind pointing upward toward the ledge. Activate it and glide up to the next floor.
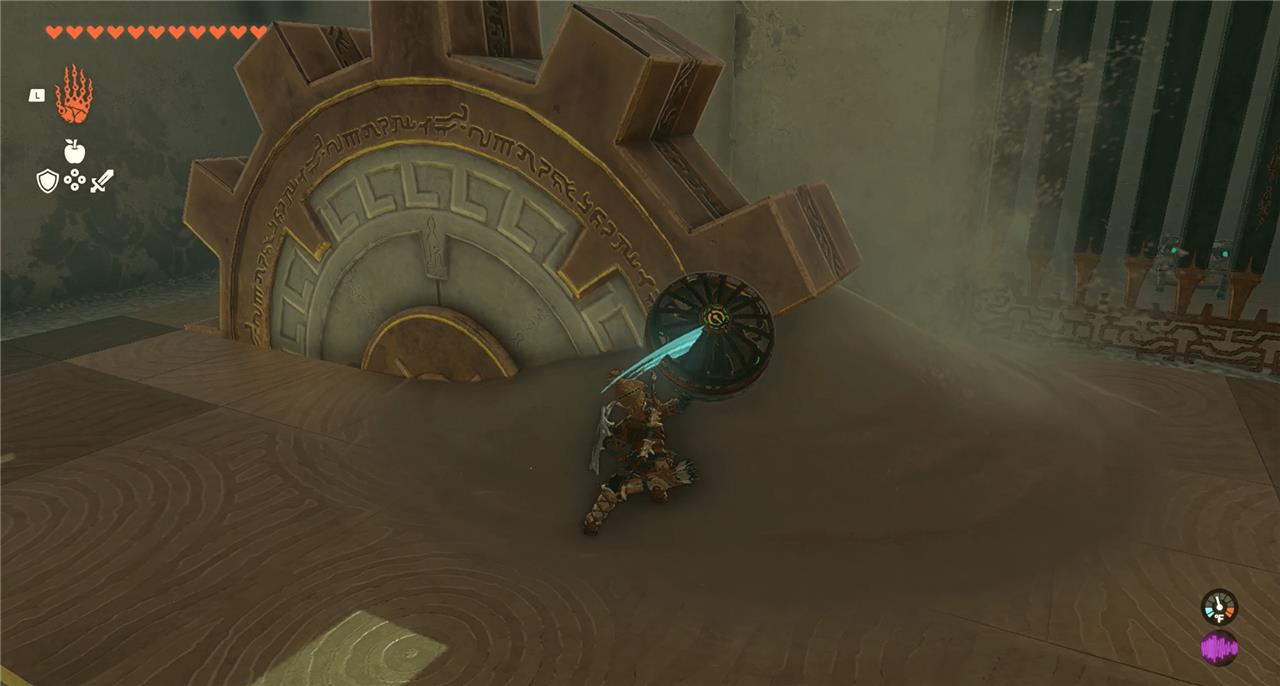
12. Hit the pile of sand blocking the cogwheel with the Fan Guster, which will blow away the sand.
13. The cogwheel will activate once it’s cleared. A gate will open to a treasure chest with 10 arrows inside.
14. Drop back down to the room, then through the secret passageway you came in from. You’re now back in the chamber where you fought the Construct.
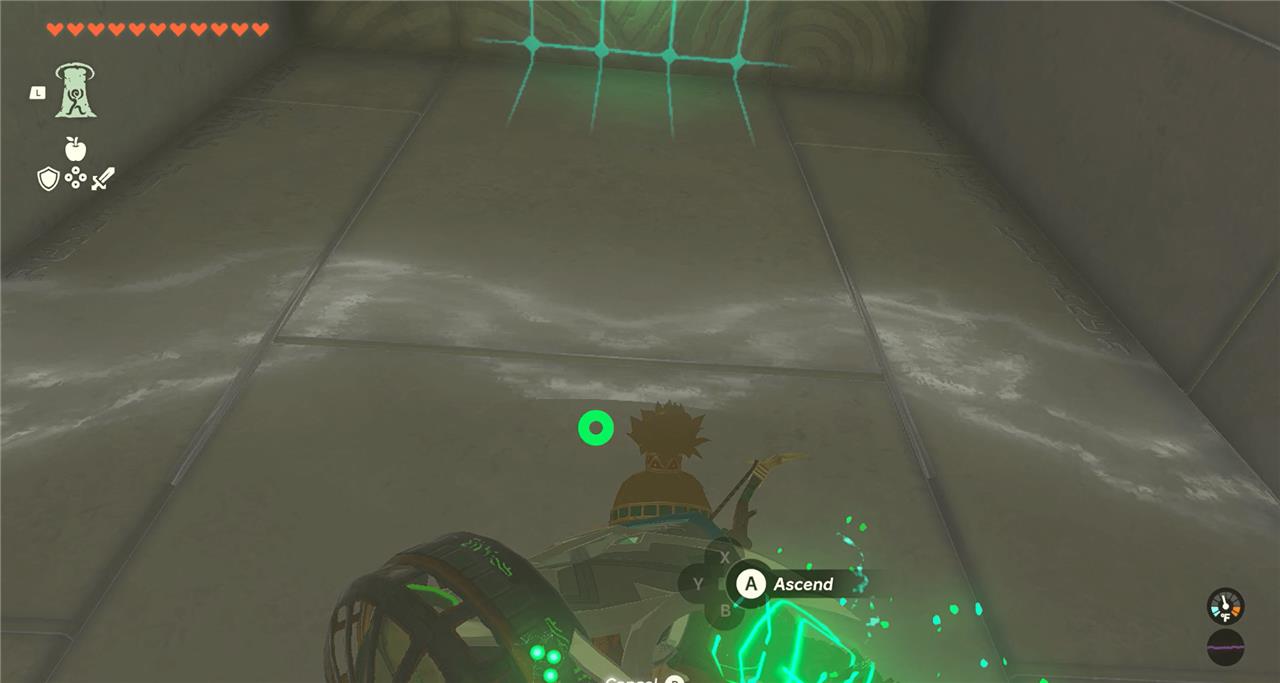
15. Look up toward the other side of the room and you’ll see a ledge. Use Ascend to get to the next floor through that ledge.
16. Drop down to the next room. There’s a Construct on the elevated platform toward the back of the room. Defeat it.
17. Clear the sand piles.
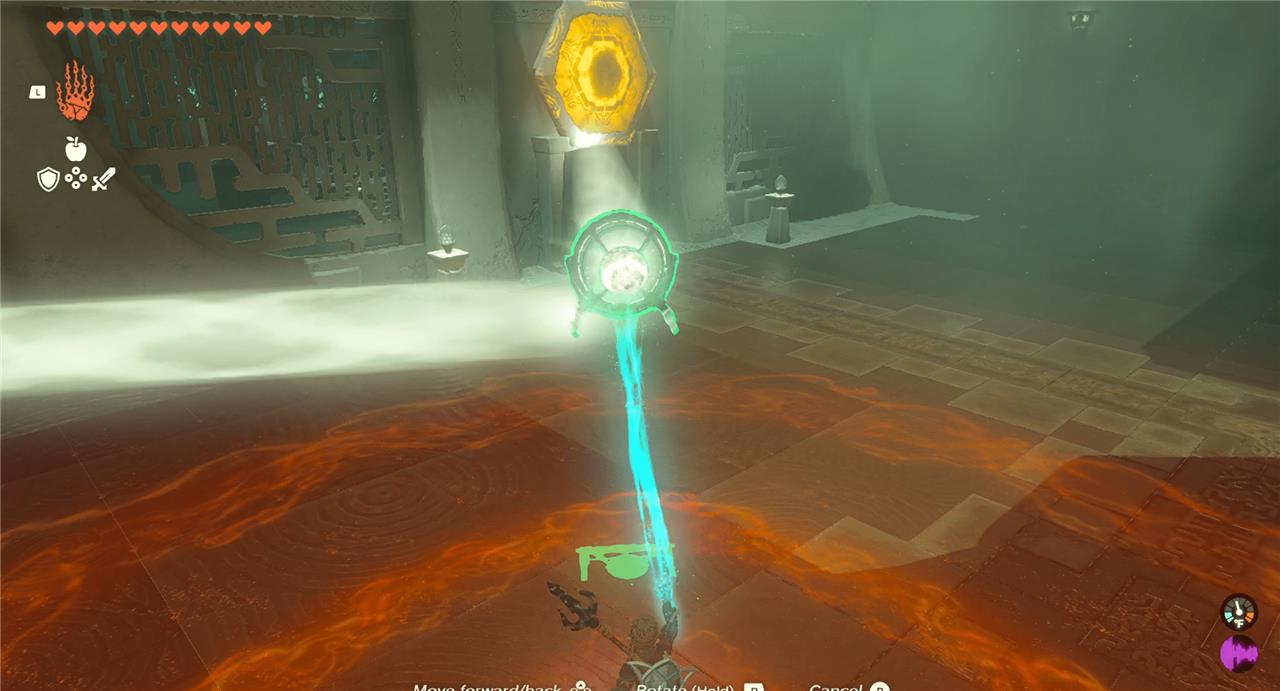
18. You’ll clear a beam of light and a mirror device. Pick up the mirror and place it on top of the light source under the platform overhang.
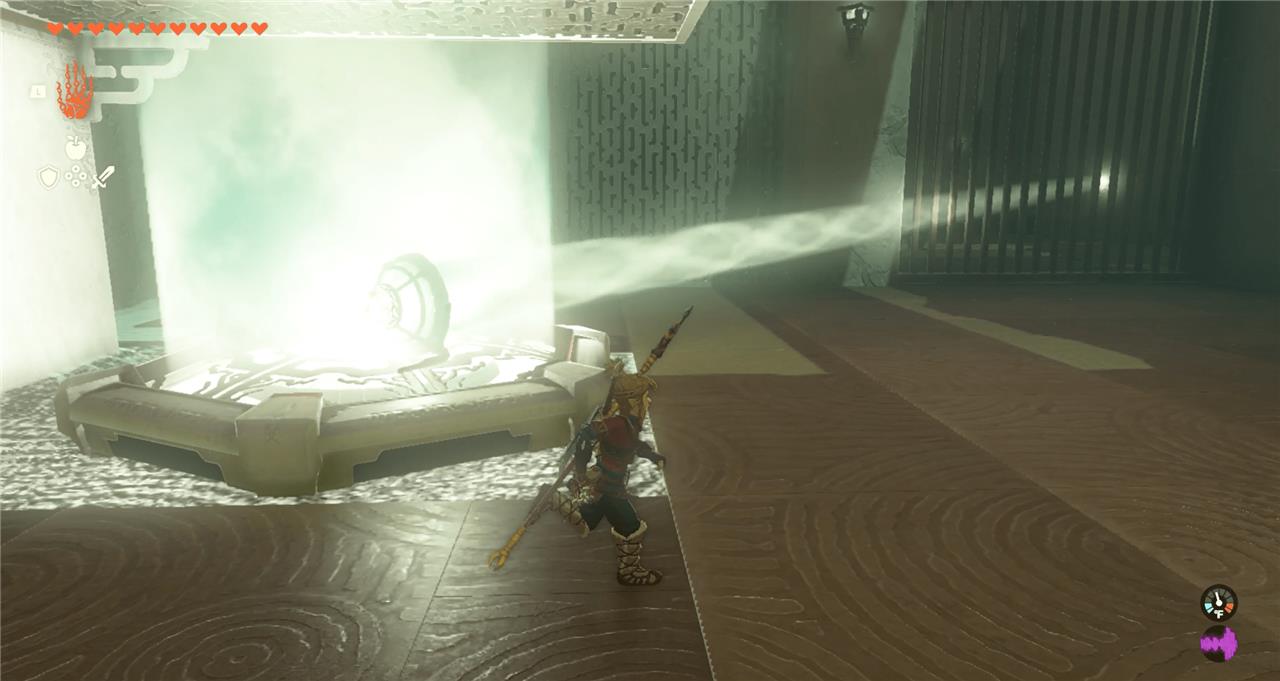
19. Rotate the mirror so it’s pointing in the direction of the previous room.
20. Use Ascend to return to the platform where you entered the room and glide down to the other chamber.
21. Pick up the mirror on the floor using Ultrahand and place it into the beam of light.
Best route to reach Gerudo Town for Soryotanog Shrine
Gerudo Town lies deep in the Gerudo Desert southwest of Hyrule, shrouded by a persistent sandstorm that obscures your map until you clear it via the Regional Phenomena quest. The optimal route prioritizes heat and storm resistance while unlocking key fast-travel points like shrines and the Gerudo Canyon Skyview Tower.
Starting Path
Head south from Central Hyrule through Hyrule Field, past Outskirt Stable and over Digdogg Suspension Bridge into Gerudo Highlands. Answer the Gerudo guard Naia’s questions correctly at the pass (vai appearance, sand seal rental knowledge) to proceed without combat.
Skyview Tower Launch
Activate Gerudo Canyon Skyview Tower (-2442, -2951, 0390) to reveal the map, then glide southwest toward Kara Kara Bazaar. Stock up on heat-resistant elixirs or wear Archaic Warm Greaves here, as daytime desert heat is lethal. Travel at night if possible to avoid scorching.
Sandstorm Crossing
From Kara Kara Bazaar, trek straight west into the sandstorm toward Gerudo Town (-3800, -2900, ground level). Expect Gibdo enemies-use fire or shock arrows to stun them first. Build a fan-powered sandboard for speed or follow faint rock pillars as landmarks.
Town Access and Shrine
Enter Gerudo Town’s throne room, then use Ascend repeatedly from Riju’s bedroom (behind the throne) to reach Soryotanog Shrine atop the palace (-3884, -2964, 0123). Activating it creates a vital fast-travel point, skipping future sandstorm treks.
Fastest way to cross the Desert Rift to Gerudo Town
The fastest way to cross the Desert Rift-a large canyon encountered en route to Gerudo Town during the sandstorm-relies on gliding from updrafts for speed and minimal stamina drain. This approach skips lengthy climbs or detours around the rift.
Preparation
From Kara Kara Bazaar (after activating Mayatat Shrine), head west into the storm toward Gerudo Town coordinates (-3820, -2898, 0044). Equip heat resistance like Desert Voe gear, and fully upgrade stamina to ensure safe gliding. Use coordinates on your Purah Pad (which still function in the storm) for straight-line navigation.
Crossing Method
Spot the first updraft near the bazaar’s cooking pot; ride it high above the storm to orient toward the town pin, then glide straight west. When you reach the rift, catch another updraft at its edge to gain height, then paraglide directly across to the opposite ledge-aim for rock pillars as visual guides to stay on course. Avoid landing in the canyon to prevent enemy ambushes or stamina loss from climbing.
Alternatives for Speed
Attach fans and rocket Zonai devices to a sled for a powered glide over the rift if stamina is low. Post-crossing, continue via updrafts until town appears; activate Soryotanog Shrine upon arrival for future fast travel.