Finding the Twilight Armor in The Legend of Zelda: Tears of the Kingdom isn’t as straightforward as spotting a gleam on the horizon. This rare set, inspired by Twilight Princess, demands patience, sharp eyes, and a bit of luck-especially if you’re relying on Amiibo drops. Here’s how to track it down and complete your collection.
Full disclosure: Tears of the Kingdom‘s aptly named Twilight Armor doesn’t give you the ability to transform into a wolf. I know, I know, boo hiss. But! It is very stylish. Whatever you may think of Twilight Princess as a game, you gotta admit Link was absolutely dripped out during that bizarre adventure.
In Tears of the Kingdom, you can unlock the Twilight Armor via amiibo. While the randomness and once-a-day limit to amiibo scanning can be frustrating, this may be your best option if you’re still early in the game or otherwise ill equipped for obtaining the Twilight armor under your own auspices. The trials and tribulations leading to each piece – the Cap of Twilight, Tunic of Twilight, and Trousers of Twilight – can be difficult depending on when and how you decide to tackle them.
Cap of Twilight location
The Cap of Twilight can be found inside a chest hidden within the Coliseum Ruins, west of the Great Plateau. To access it, defeat the Lynel that guards the area, as it appears once you approach the center of the ruins. After the fight, open the chest that appears to claim the Cap of Twilight, completing one of the three parts of the Twilight Armor set.
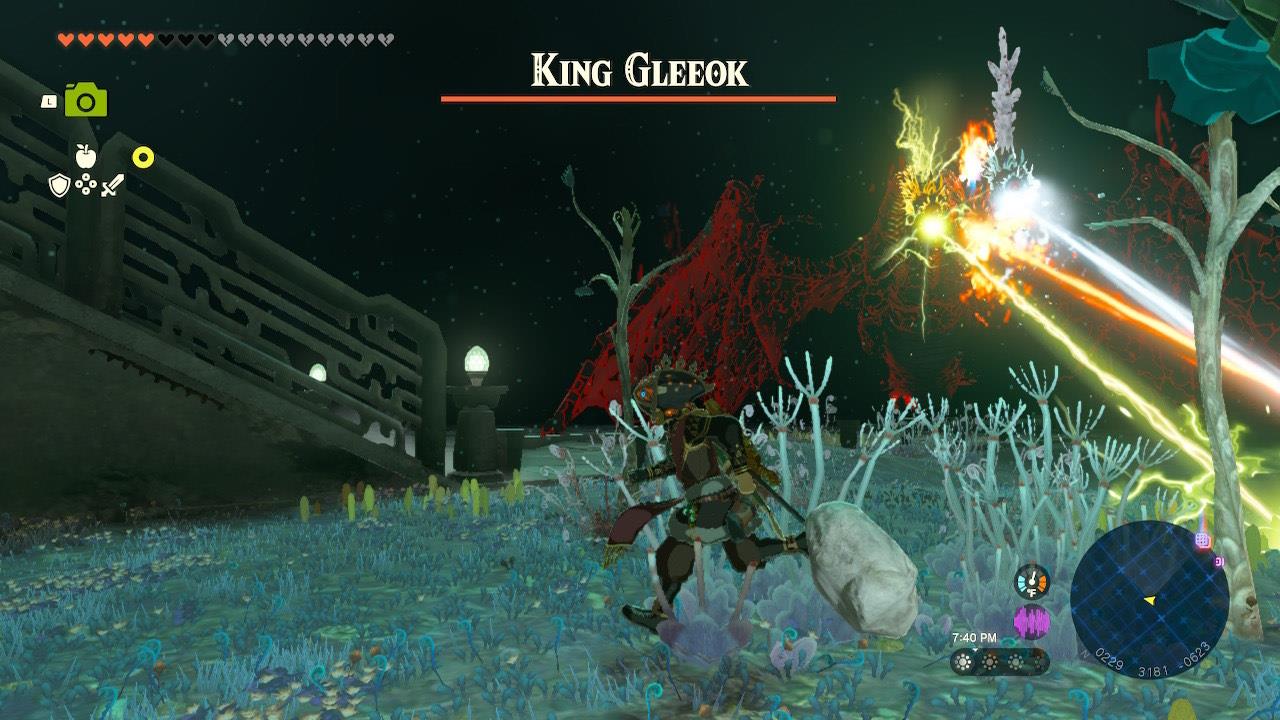
Tears of the Kingdom‘s Cap of Twilight is by far the most difficult of the three to grab for one huge reason: It’s guarded by a King Gleeok. And no, you can’t just run into the monstrous creature’s cave, steal the hat, and bounce; you need to kill the damn thing before the chest holding the garment unlocks.
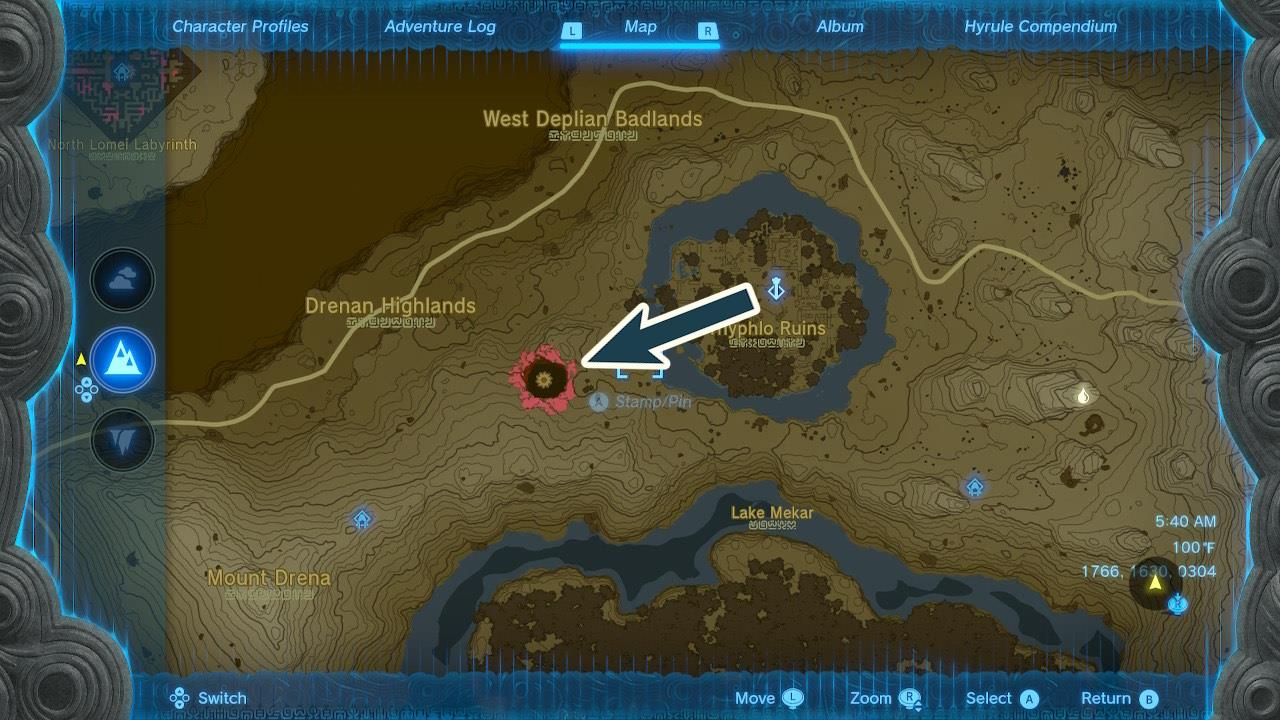
But first things first. If you haven’t spent much time exploring the underground depths, the quickest route to where the Cap of Twilight is being hoarded starts on the surface. Head to Typhlo Ruins Skyview Tower north of the Lost Woods (you know, the place with the giant talking tree) and let the contraption fire you into the sky. Once you’re back in control, orient yourself southwest toward the giant hole emanating malevolent energy. It’s hard to miss.
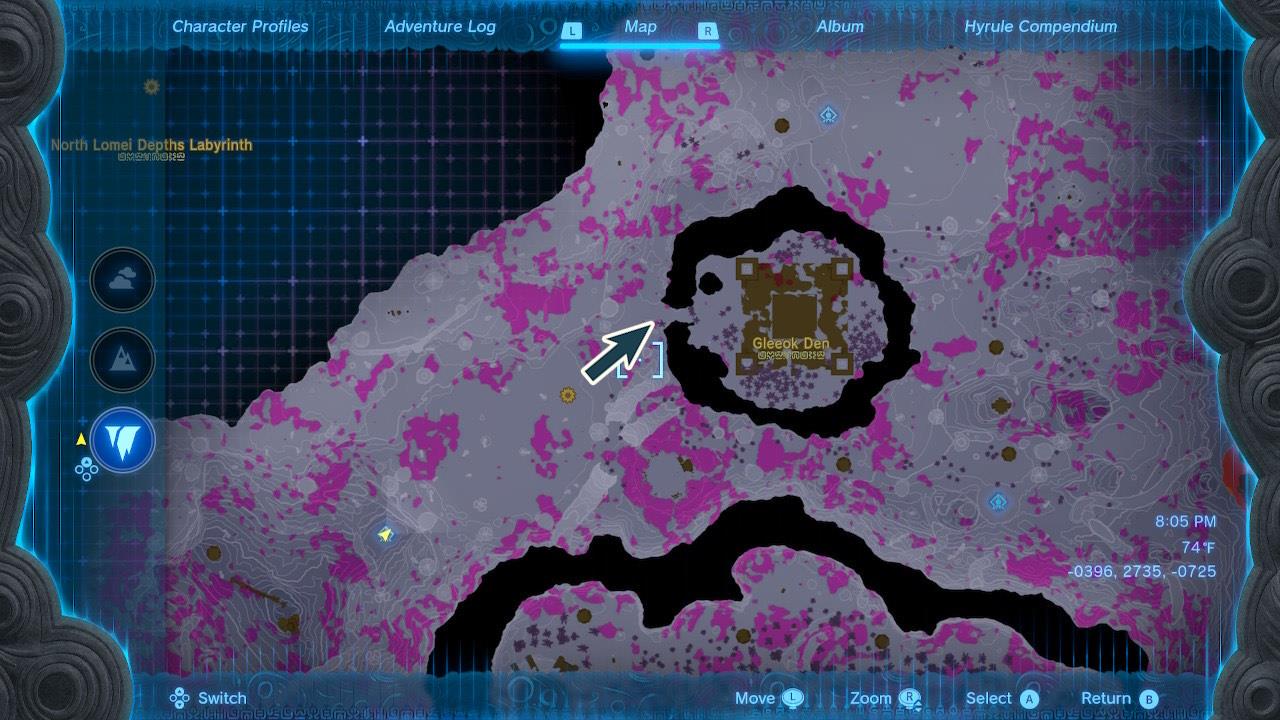
After you plunge into the chasm and find safe footing in the darkness, your destination is just a short trip northeast to the Gleeok Den. If you feel like illuminating the area first instead of relying on brightbloom seeds to light your path, you have a few options: Nikakik Lightroot to the southwest (it’s in a small valley so you’ll need to be prepared to climb back out if you go this route), Katenin Lightroot directly north of Gleeok Den, or Uukukis Lightroot to the southeast. You can also use the map to fast travel to any of these locations if you’ve already found them to save yourself some time.
As for defeating King Gleeok, well, that’s easier said than done. If you thought the regular, surface-based dragons were bad, just wait until you face off against a Gleeok drenched in gloom and wielding multiple elements. Our guide on defeating a King Gleeok can help you prepare for this intense battle. Good luck!
Tunic of Twilight location
The Tunic of Twilight sits inside a chest on the third basement level of the Lost Woods’ Ancient Tree Stump in Hyrule Ridge. Enter the massive stump from the surface at coordinates (-1320, 1340, 0025), then glide down through the hollow interior while dodging Keese. Drop to the lowest chamber, smash the breakable rocks blocking the path, and open the chest to claim it. This piece pairs with the Twilight Helm and Trousers for the full set’s Gloom resistance.
Thankfully, the other two pieces of the Twilight Armor doesn’t require such an involved process.
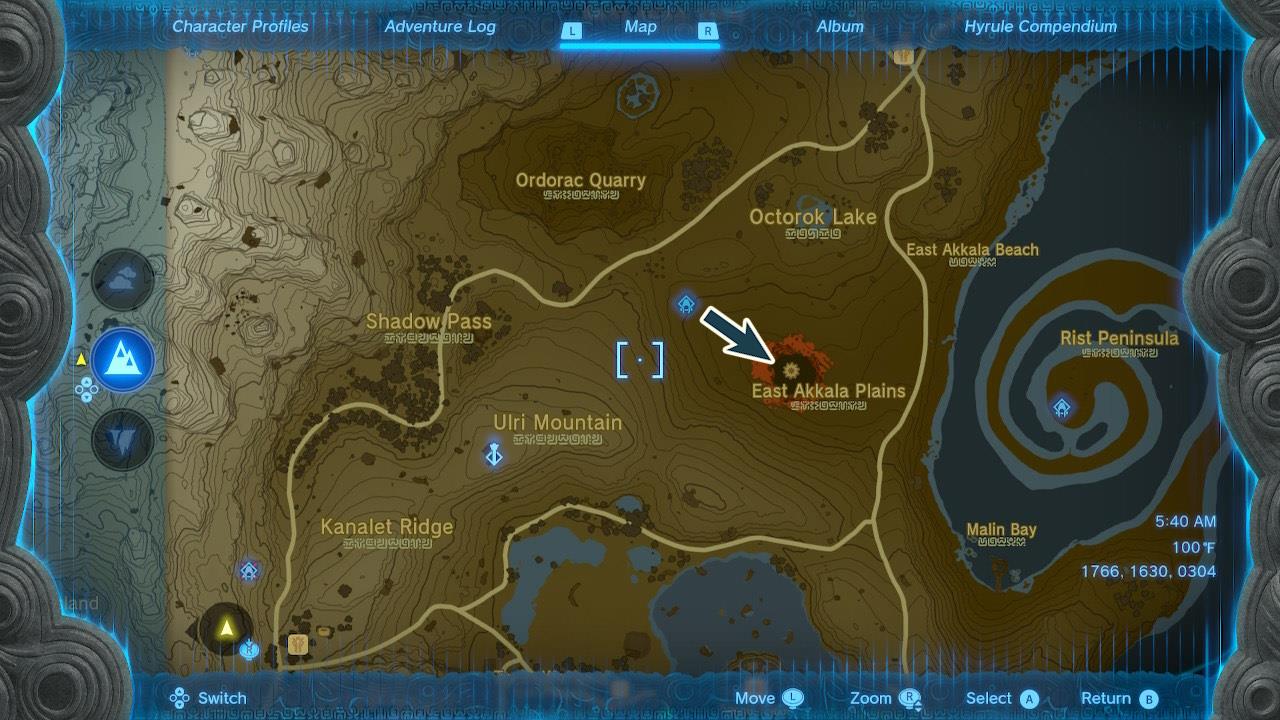
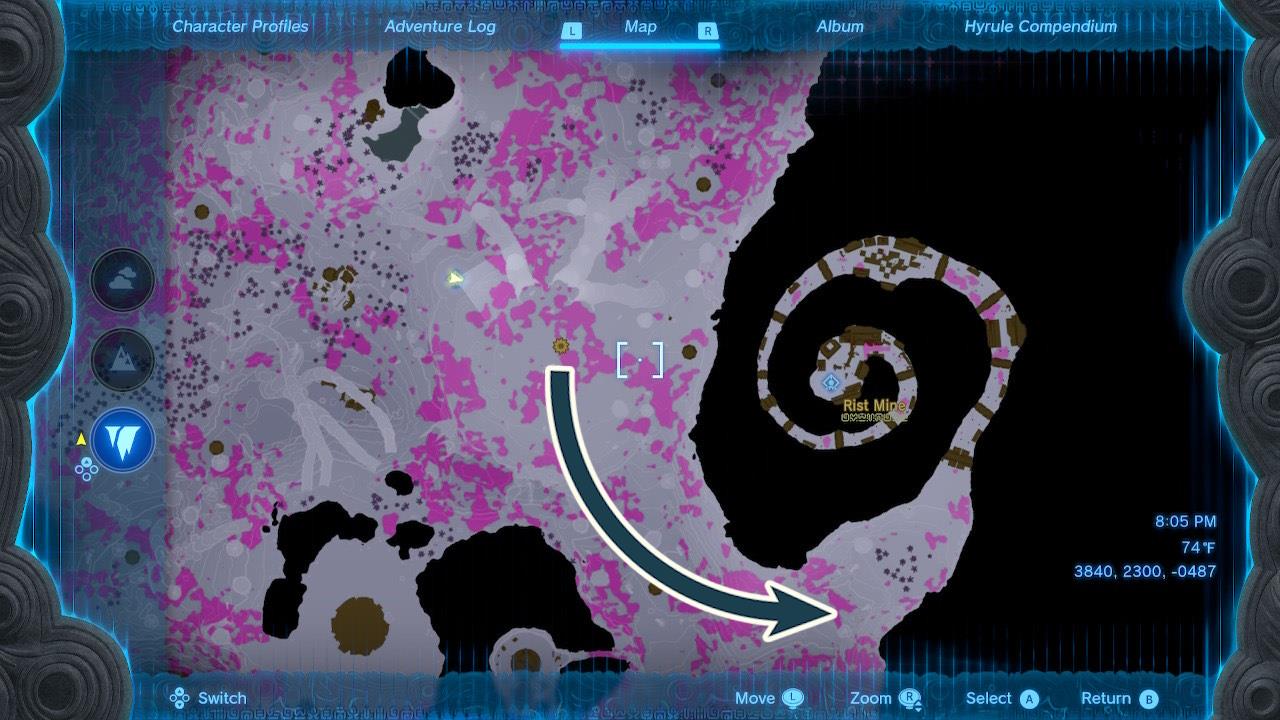
Reaching the Tunic of Twilight is a matter of jumping into the chasm southeast of Sinatanika Shrine in the surface world’s Akkala Highlands or fast traveling to Akinatanis Lightroot in the Depths. Either way, your ultimate destination, Rist Mine, will be to the southeast. The biggest danger you’ll face here is an Obsidian Frox, but there’s no need to fight it if you’re not ready. Just give the giant frog a wide berth and be on your way.
Rist Mine is a large spiralling tunnel filled with all manner of nasty but low-level creatures, including Bokoblins, Moblins, and packs of Little Frox. And while it may seem prudent to rush through the cavern en route to your treasure, I encourage you to take your time. The enemies are generally easy to ward off and there’s an opportunity to mine massive amounts of Zonaite, which you can then use to expand the battery that powers all of your contraptions.
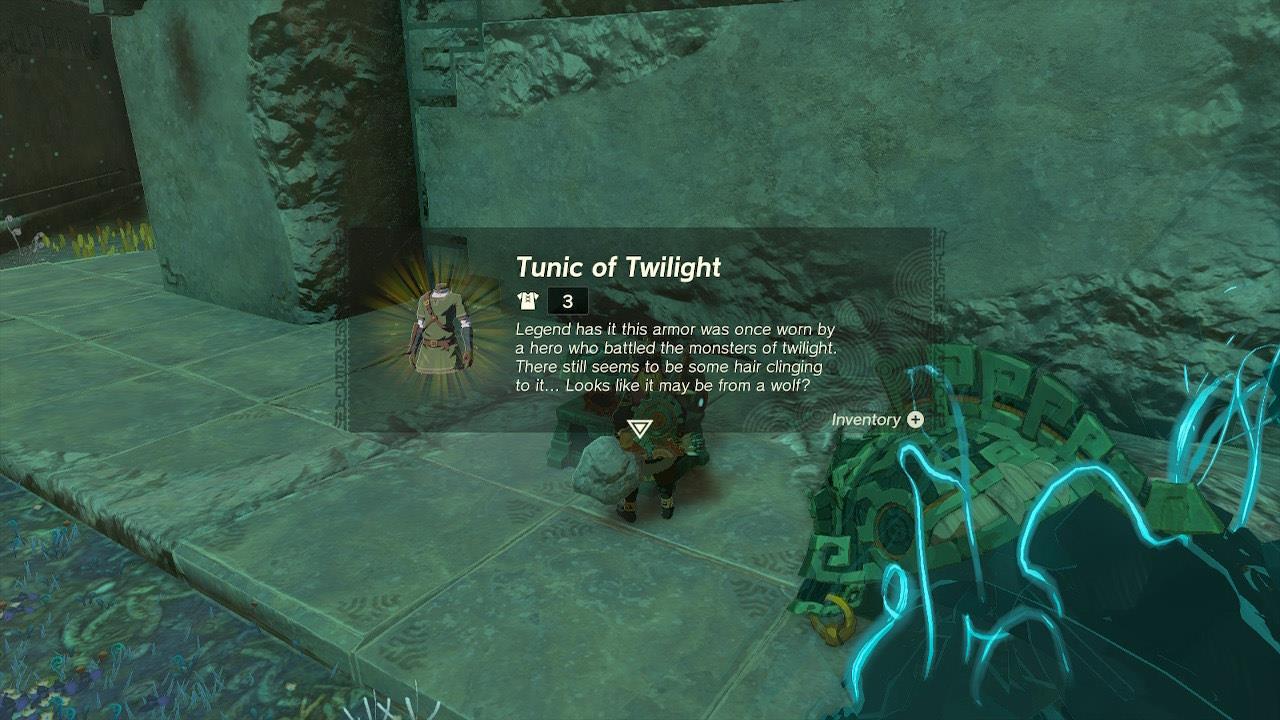
It may seem like Rist Mine goes on forever, but you’ll eventually reach the end. Don’t expect any surprises, however, just an inconspicuous chest holding the Tunic of Twilight.
Trousers of Twilight location
The Trousers of Twilight can be found in the Depths beneath Hyrule Field, hidden inside a chest guarded by monsters near the Hyrule Field Chasm. To reach it, descend through the chasm and follow the nearby Lightroot to orient yourself in the darkness. The chest lies on a small structure surrounded by Gloom, so bring food or gear that boosts your Gloom resistance before retrieving it.
And if you thought that was anticlimactic, the quest for the Trousers of Twilight may just put you to sleep.
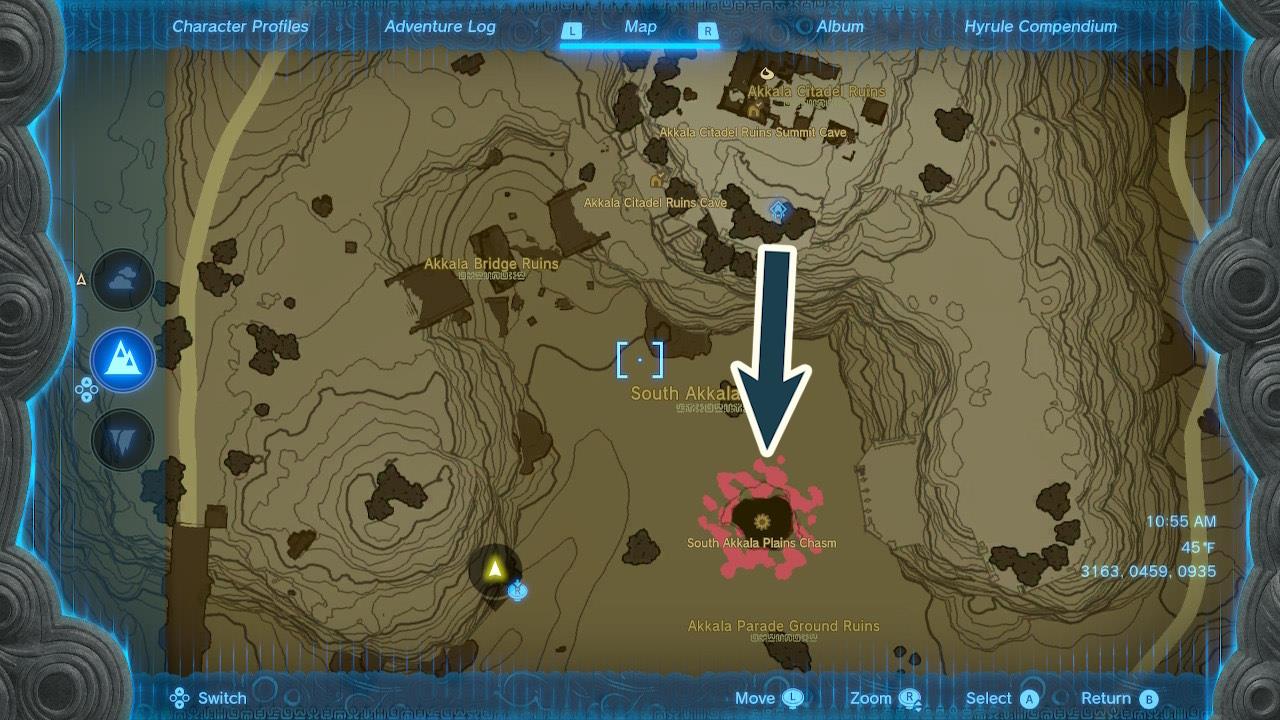
The beginning of the journey is much like the other armor pieces. Discover or fast travel to Domizuin Shrine in the Akkala Highlands, then travel southeast for your date with yet another menacing chasm.
Additionally, you can make your way to Niuzimod Lightroot in the Depths.
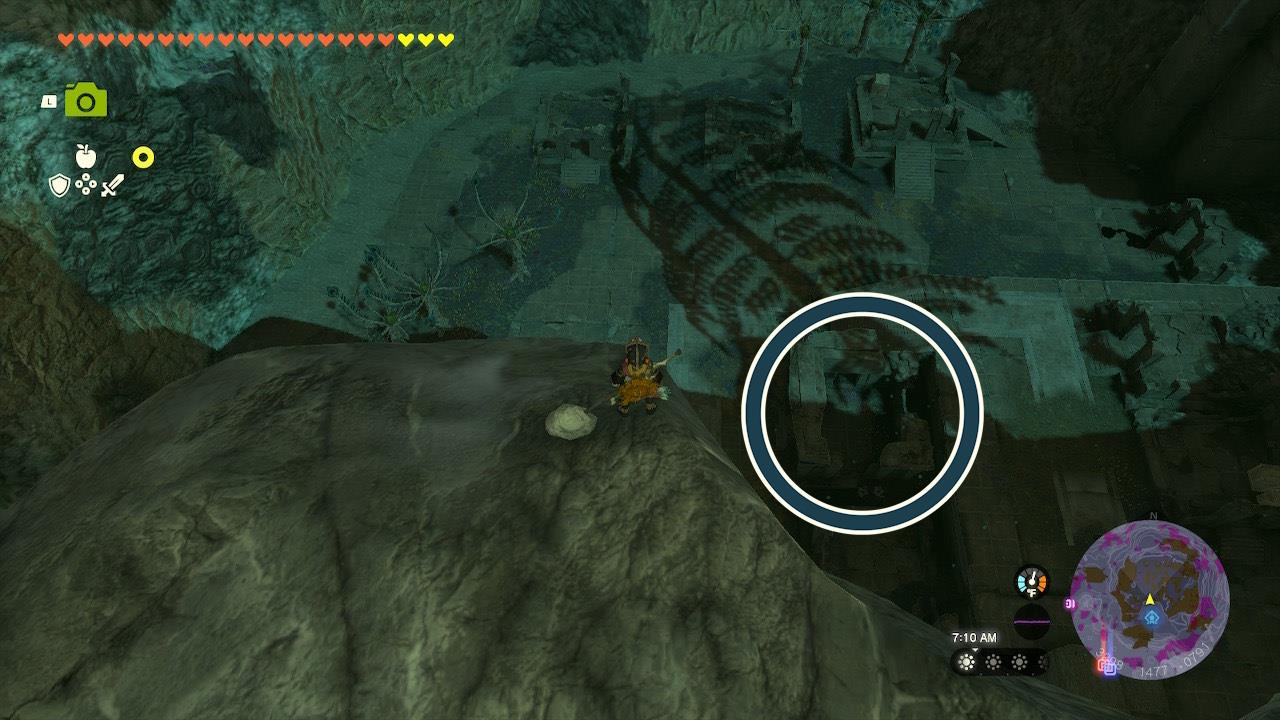
Either way, the next step is a short jaunt northward towards the Ancient Underground Fortress.
This small castle is full of monsters, but nothing that should give you too much trouble. The fleet-footed Lizalfos can be annoying, especially when you’re being attacked from the air by Arrocuda, but the biggest hazard (both literally and figuratively) is the portly Blue Bokoblin Boss patrolling the grounds. Not up for a fight? Simply skydive into the fortress, grab the Trousers of Twilight, and fast travel out of there before anyone notices.
Well would you look at that: all three pieces of the Twilight Armor set! Sure, they only give a measly 9 defense (before upgrades, of course) without any additional bonuses when combined, but at least you look cool. And isn’t that really all that matters?
Twilight Armor upgrade costs, set bonus, and effects
Upgrading the Twilight Armor requires materials like Luminous Stones and monster parts at Great Fairies, with costs rising from 40 stones and 10 horns for the first level to 100 stones and 30 fangs for the max tier. The full set bonus activates the Twilight Form at night or in darkness, granting a long-lasting glow that reveals hidden objects and enemies while boosting stealth. Each piece provides solid base defense of 3, scaling to 12 fully upgraded, plus Gloom resistance to counter enemy attacks in shadowy areas.
When equipped individually, the Twilight Armor offers no effects. However, after upgrading each piece to at least two-stars or more and equipping the full set, you’ll get an attack up buff.
You’ll be able to upgrade the pieces of the Twilight Armor at a Great Fairy Fountain, in exchange for the following materials:
- 1-star (5 defense): 1 topaz, 1 star fragment, 10 rupees
- 2-star (8 defense): 4 topaz, 1 star fragment, 50 rupees
- 3-star (12 defense): 6 topaz, 1 star fragment, 200 rupees
- 4-star (20 defense): 10 topaz, 1 star fragment, 500 rupees
Where exactly is the Cap of Twilight located in the Depths
Cap of Twilight Location
The Cap of Twilight is in the Gleeok Den within the Depths, directly below the Typhlo Ruins in the Great Hyrule Forest region. Head north from the Depths map’s center or enter via the Drenan Highlands Chasm.
Exact Coordinates
Use these precise coordinates: 0250, 3122, -0623 or nearby 0263, 3121, -0623 / 0264, 3124, -0623. A gloom-covered chest sits at the center, unlockable only after defeating the King Gleeok boss.
Reaching the Site
Drop into a nearby chasm from the surface (e.g., near Typhlo Ruins), then navigate north to the glowing Gleeok Den entrance. Light your path with Brightbloom Seeds due to darkness and gloom hazards.
How to defeat the King Gleeok in Gleeok Den
King Gleeok in Gleeok Den is a tough three-headed boss (flame, frost, thunder) that guards the Cap of Twilight chest. Defeating it requires strong ranged attacks to stun heads, followed by melee damage when it crashes.
Preparation Tips
Stock up on 50+ arrows, Keese Eyeballs or Aerocuda Eyeballs for homing shots, Dazzle Fruit to stun, and elemental items (Fire Fruit, Ice Fruit, Shock Fruit) to exploit head weaknesses: ice on flame, fire on frost, physical or shock on thunder. Bring melee weapons with 30+ attack power (e.g., fused Lynel gear), Lynel or Royal Bows for multi-shots, Rocket Shields for flight boosts, and gloom-healing food since attacks inflict gloom in the Depths. Activate at least four Sages for distractions and upgrade hearts/stamina.
Combat Strategy
-
Hide behind pillars in the arena and shoot eye-fused arrows at heads to deplete their health bars; multi-shot bows can hit all three at once.
-
Use Dazzle Fruit arrows to interrupt attacks, then resume shooting until the Gleeok falls-rush in with melee on its body, but dodge wing gusts.
-
Repeat until phase 2: it flies high, raining elemental attacks-use updrafts from impacts or Rewind, rocket shields to reach it, and slow-mo arrow volleys on heads.
Depths-Specific Advice
Light paths with Brightbloom Seeds against gloom; the fight ends with drops like Gleeok parts and the chest accessible post-victory [conversation_history].