Hidden far beneath Hyrule’s surface, the “Camera Work in the Depths” quest challenges players to track mysterious markings, master their new camera ability, and uncover evidence of the strange gloom spreading below-one photo at a time.
Starting in the Central Hyrule region’s village, the Camera Work in the Depths quest is a journey – naturally – into the Depths designed to make use of Link’s handy camera. Josha, the Head of Depths Research, needs help with her work. She thinks there’s evidence of ancient race of people, and can’t go down herself. You’ll help by getting her a picture of any found evidence.
Along with the camera, this quest also award you with zonaite, a mining material that’ll come in handy for crafting.
Camera Work in the Depths quest steps
Link starts the “Camera Work in the Depths” quest after talking to Josha and Robbie in Lookout Landing. Josha asks Link to assist Robbie in exploring the Depths and testing the Purah Pad’s camera feature. After speaking with Robbie, travel to the Great Plateau South Chasm and descend into the Depths. Follow the brightbloom seeds to find Robbie near the Iayusus Lightroot. There, repair the Purah Pad’s camera by completing Robbie’s request to capture an image of a statue resembling those found on the surface. Once the photo is shown to Robbie, the quest concludes, and the camera function becomes available for future use.
If you’re looking for the tl;dr for “Camera Work in the Depths,” here you go.
- Head south until you hit the chasm.
- Jump into the Depths.
- Find Robbie at the Iayusus Lightroot
How to start the Camera Work in the Depths quest
You can begin the “Camera Work in the Depths” quest after completing “The Camera” side adventure with Robbie. Speak to Josha and Robbie in the Lookout Landing research area once you’ve activated the first Skyview Tower. They’ll discuss the strange statues in the Depths, and Robbie will agree to investigate further. After this conversation, the quest will appear in your log, guiding you toward the Depths entrance south of Lookout Landing.
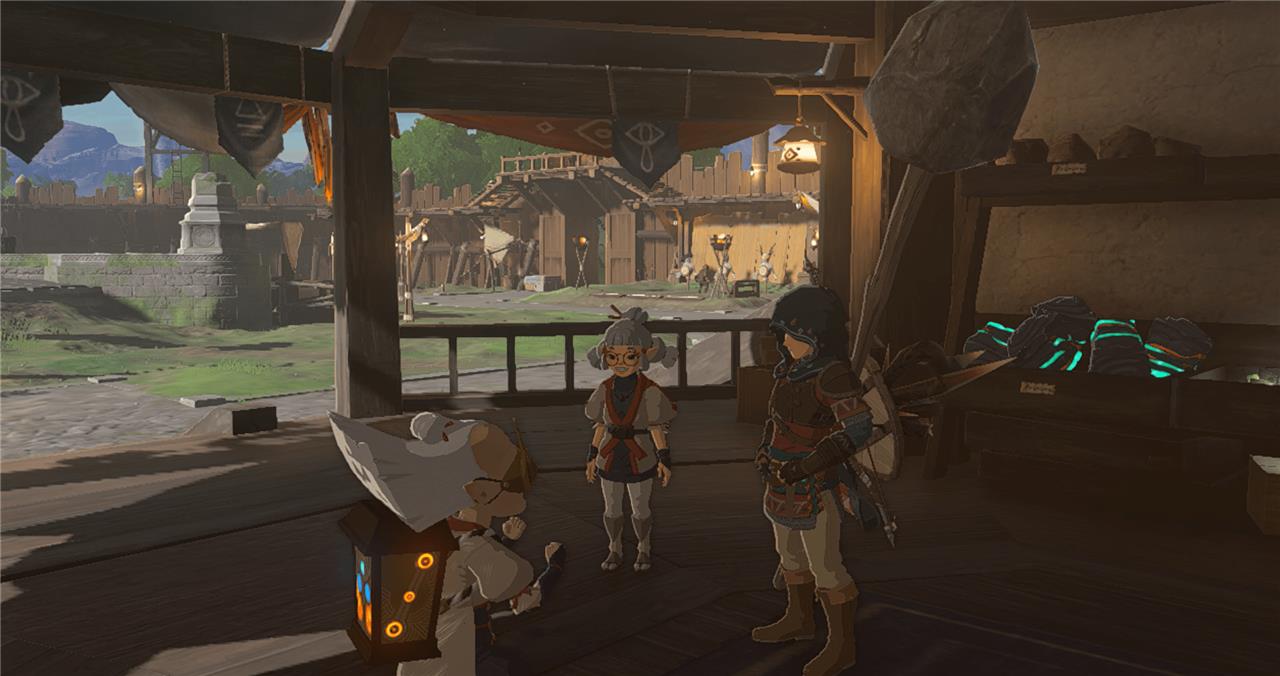
The quest kicks off after Link returns to Purah and Depths researcher Josha with a map scan in Lookout Landing; Josha will run off to find an old man she calls Goggles. Follow her and she’ll introduce you to Robbie, a familiar face from Breath of the Wild, who can assist you into the depths. Link, as you might expect, is the hired sword.
Robbie runs off ahead, but before you go, Josha hands over 10 brightbloom seeds, which are described as seeds that “root and bloom” when struck, “giving off a faint light from a small flower” – an item handy for the darkness of the Depths. She also gives you five arrows.
Head to the chasm to meet Robbie
Make your way to the chasm and descend into the Depths to find Robbie. Use the map marker or coordinates for the exact spot near the Great Abyss. Equip bright armor or Zonaite devices for visibility in the dark. Robbie waits there with instructions on camera adjustments for surface signals. Talk to him to advance the quest.
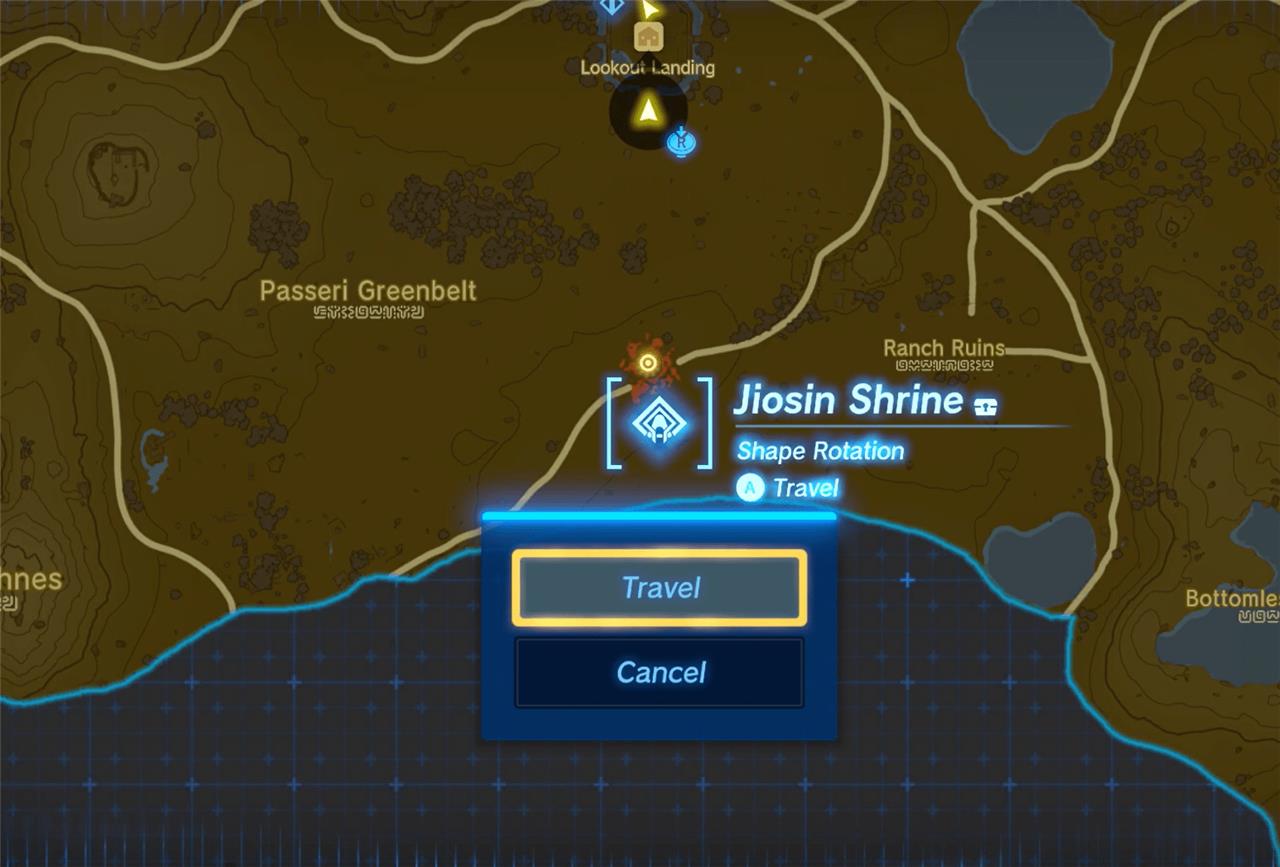
The first step is to meet Robbie at the chasm south of Lookout Landing, where you leave Josha. Leave through the southern gate and head south. The marked location on the map is nearly perfectly straight from the small city. If you already completed the Jiosin Shrine, you can teleport there for easy access – the marked area for “Camera Work in the Depths” is just northwest of the shrine. You see the chasm – it’s the big hole in the ground. Dive in!
Oops, Robbie’s missing
Robbie has disappeared after heading into the Depths, and it’s up to Link to find out where he went. You’ll begin by following Josha’s directions at the Research Lab in Lookout Landing, which lead to a chasm nearby. Once inside, search for clues and light roots to guide your path. Keep an eye out for Robbie’s trail markers-each one brings you closer to his location and advances the quest toward your next camera upgrade.
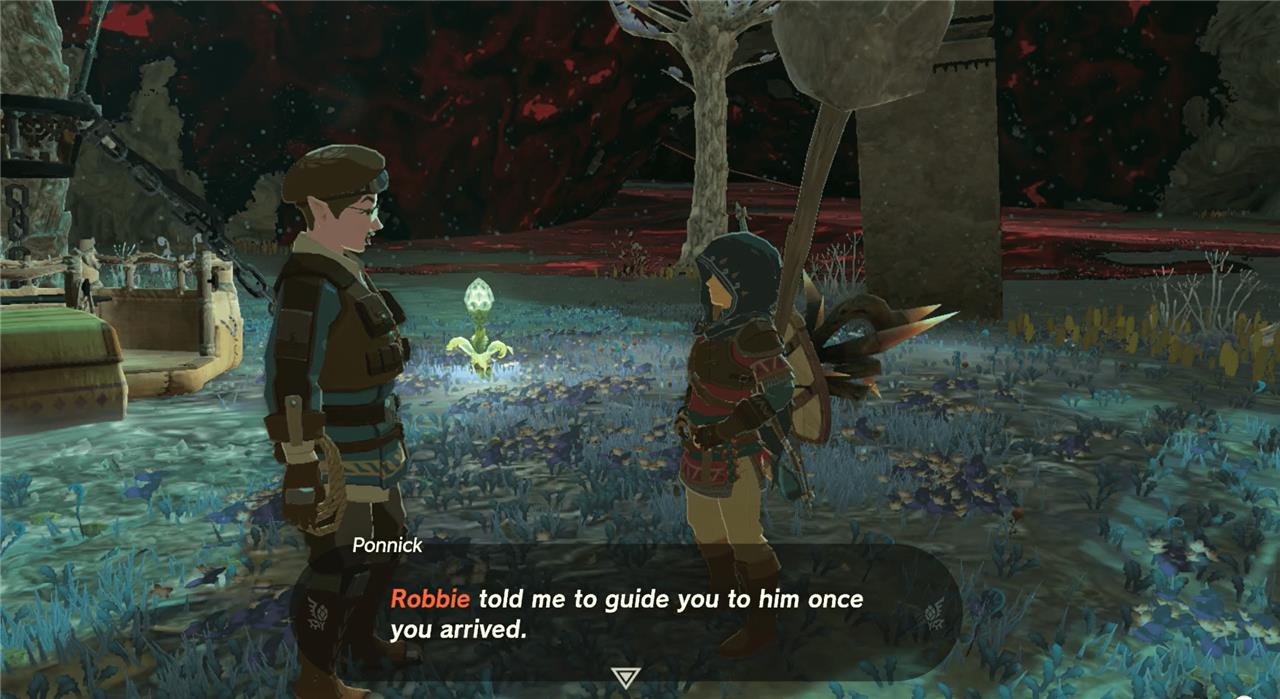
There’s a small camp at the base of the chasm. A person is standing near the fire. His name is Ponnick, from the Zonai survey team. Talk to him, and he’ll tell you that Robbie went ahead. Follow his tracks to find him. First, head over to the Sisoij Lightroot, the glowing area Ponnick pointed to earlier. There’s a small fire and note beside it.
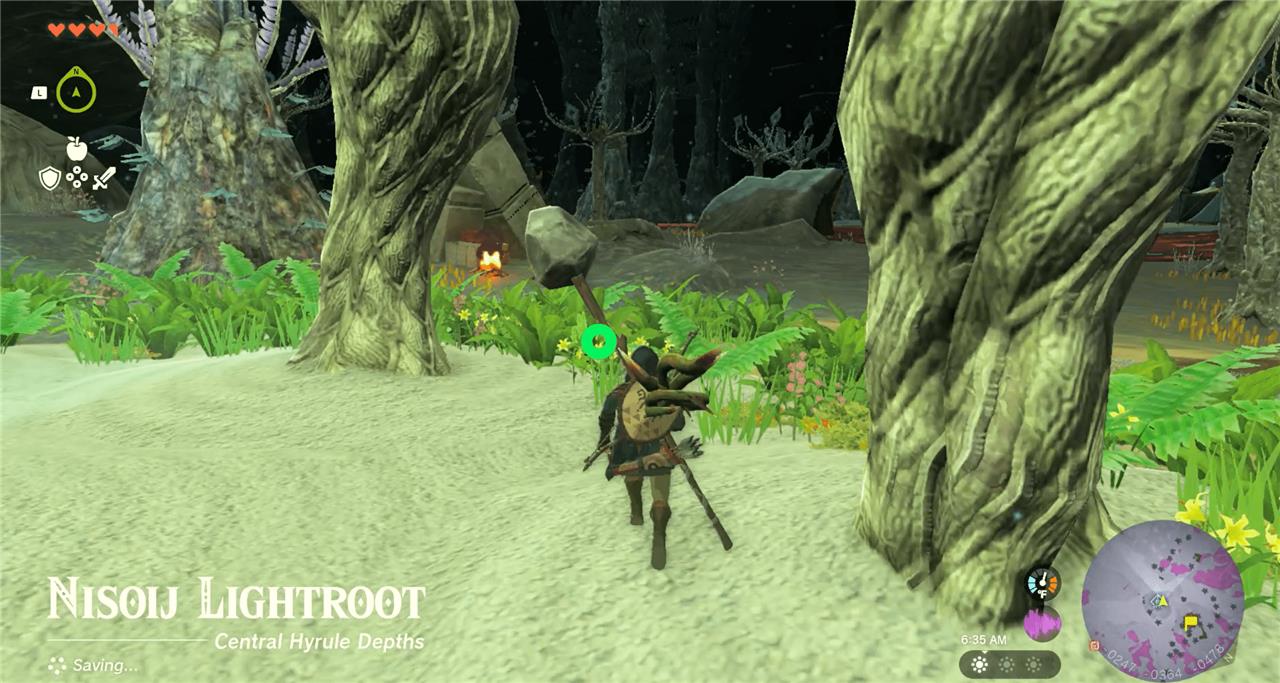
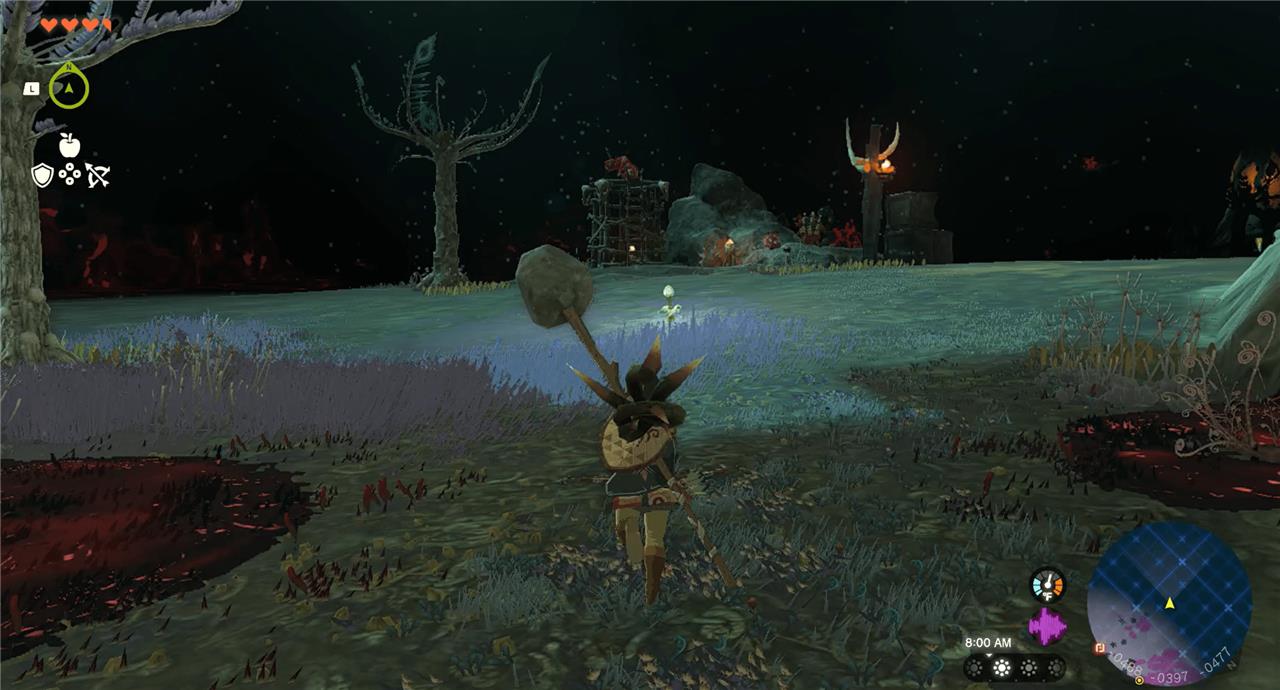
Head west until you spot another fire and a small tent setup. There’s another note from Robbie. Keep heading west, heading into the darkness. Use your brightbloom seeds attached to arrows to light up the darkness. If you don’t light the way, you risk breaking your heart containers by stepping on gloom, which is the tar-like substance spread across the depths. For more information on illuminating the darkness of the depths, see how how to light caves explainer.
Continue heading west toward a glowing red light in the distance. (On your way, there are lots of opportunities to pick up bomb flowers, too. They seem to grow around roots.)
The next campsite is guarded by four Bokoblins. You’ll have to fight them to get to past and continue to the faint glowing light in the distance. Two are on the ground and one is posted up on a raised platform. In this area, you can also mine Zonaite by hitting the glowing green blocks. Fight the bokoblins, then resume your path, lighting up the cave with brightbloom seeds.
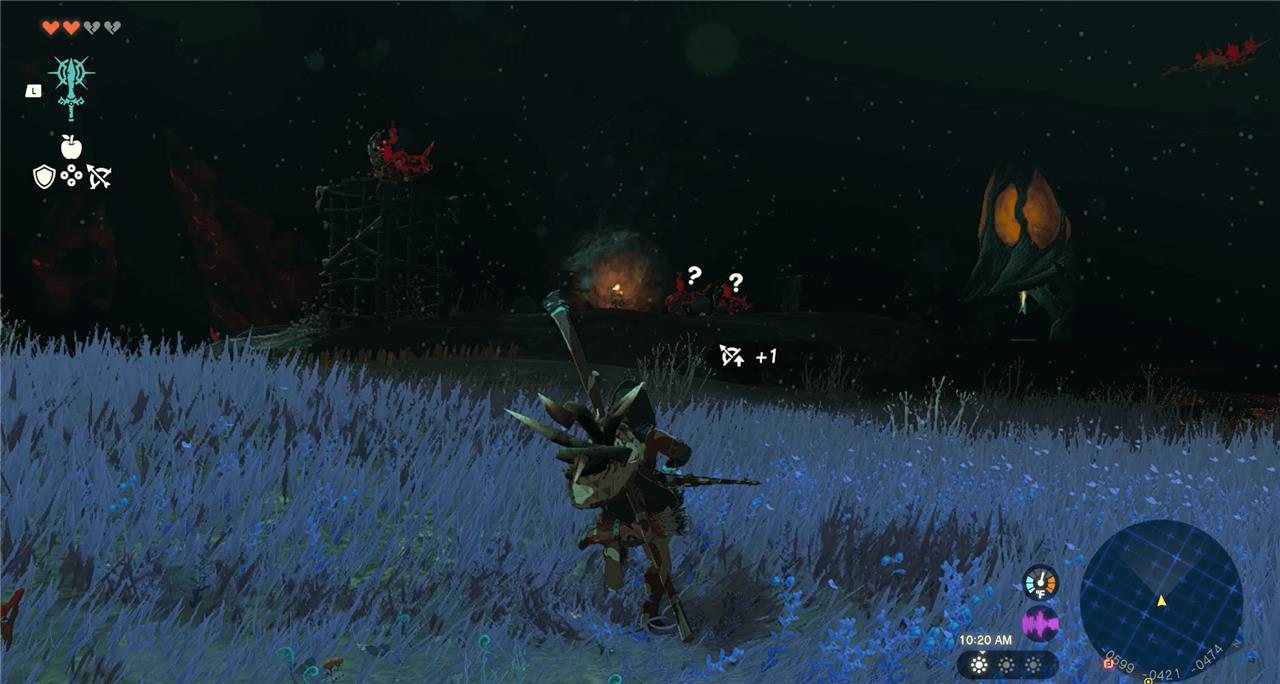
There is one more pocket of enemies to dispatch on the way, again, with Zonaite to mine.
Reaching the Iayusus Lightroot and unlock your camera
To reach the Iayusus Lightroot, descend into the Depths using the nearby chasm south of the Great Plateau. Follow the faint glow of other lightroots to guide your path through the darkness, keeping an eye out for hostile creatures along the way. Once you locate the Iayusus Lightroot, activate it to brighten the area and reveal nearby structures. From there, interact with the terminal to gain access to your camera function, allowing you to capture images needed for future tasks in the quest.
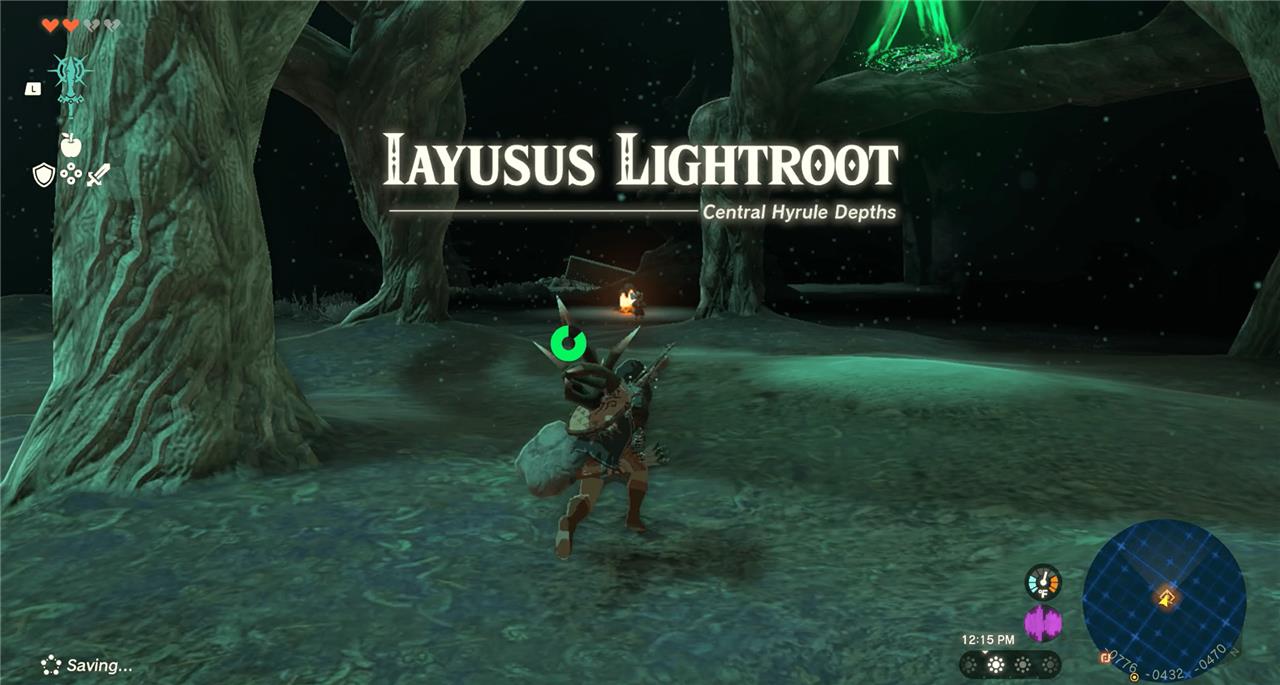
When you reach the glowing root, it’ll activate and remove the fog from your map of the depths. It’s located at the coordinates (-0786, 0433, 00469) on the Depths map.
There’s a small campfire at the edge of the lightroot. Robbie’s over there. Go talk to him. He’ll point you to a nearby statue then teach you how to use your camera. He’ll also unlock the Hyrule Compendium.
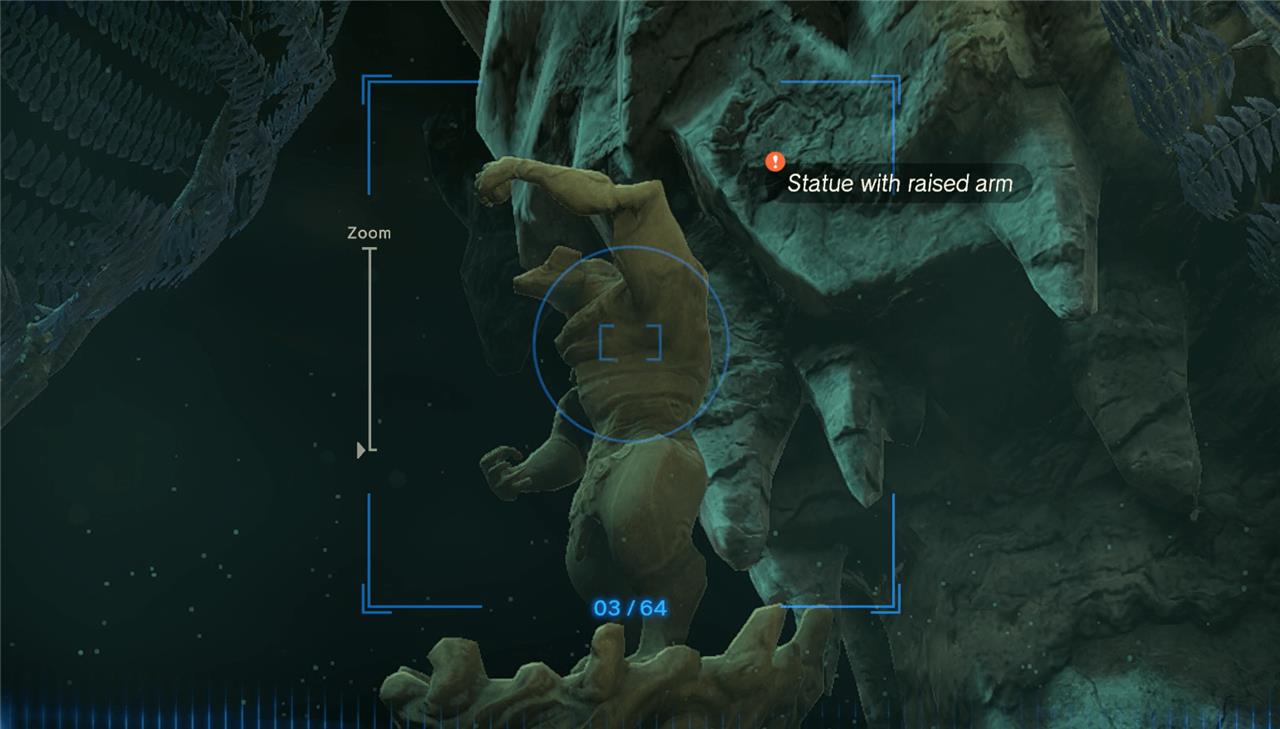
Go take a picture of the statue, which is very close by – just behind the fire moving away from the lightroot. You won’t even have to move from the spot you’re standing. Save the photo to your album. You’ll be prompted to show Robbie the photo. You’re a natural!
Head back to Lookout Landing
Return to Lookout Landing and speak with Josha to report your findings. She’ll analyze the photos you captured in the Depths and update her research notes. After your conversation, the quest will officially conclude, confirming your successful use of the camera and completion of the Depths investigation.
You can fast travel to Lookout Landing‘s Skyview Tower. Head to your left to find Josha in the same spot you left here. There’s a prompt to show her the photo.
Camera Work in the Depths reward
Completing Camera Work in the Depths grants the Camera Work in the Depths reward, a key item that expands your Purah Pad’s photo album with new display options for Great Sky Island shots. This upgrade lets you organize and view surface images separately from those taken underground, making it easier to track progress across layers. Players receive it after snapping pictures of the three designated Lightroots in the Central Hyrule Depths as part of the quest from the Hudson Construct at Lookout Landing. The reward simplifies album management during extended exploration sessions below ground.
Josha will give you five Zonaite, which is the mining material you may have picked up already in the Depths.
How to survive enemies in the Depths during the quest
Enemies in the Depths hit hard, apply gloom, and are harder to see, so your goal during this quest is to avoid most fights, light your path, and bring a few key items/meals.
Before you jump into the chasm
-
Cook a few meals with Sundelion (e.g., Sundelion + meat or mushrooms) to restore hearts that are “greyed out” by gloom damage.
-
Bring lots of Brightbloom Seeds and arrows so you can light up the area from a distance instead of walking blind into enemies and gloom puddles.
-
Carry extra weapons and shields; weapon drops in the Depths are less frequent early on, so breaking your last weapon there is dangerous.
While moving through the Depths
-
Stay on high ground when possible (ledges, tree trunks, rocks) so you can see enemies before they see you and glide away if needed.
-
Use arrows fused with Brightbloom Seeds to mark a safe path ahead, then walk only where you’ve lit; this keeps you out of hidden gloom and enemy camps.
-
Sneak past camps instead of fighting: crouch, move slowly around the edges of their light, and only engage single enemies you’re confident you can beat.
Handling gloom and damage
-
Avoid standing in black-red gloom pools; each step permanently removes a heart until you leave the Depths or heal the gloom.
-
If you do lose hearts to gloom, retreat to a lit, safe spot and eat a Sundelion meal to restore those max hearts before pushing on.
-
Activate any lightroots you see as soon as possible; they light a big area, reduce danger, and give you a safe zone to regroup.
Fighting only when you must
-
Open fights with strong fused arrows (Bomb Flower, elemental fruits, or Chuchu jelly) to kill or stun enemies from range instead of trading melee hits in the dark.
-
Prioritize archers and enemies with big weapons first, then weaker ones; clearing the most dangerous target quickly reduces how fast you take damage.
-
If you see Gloom Hands (many red-black hands from the ground), climb a nearby tree or tall rock and glide away-fighting them early on is usually not worth it.
If you tell me what gear and hearts you currently have, I can give a tailored “do this / don’t do this” route for just the Camera Work in the Depths path.
Best locations to farm Sundelion for Depths trips
The best Sundelion farming spots are on specific sky archipelagos and a couple of easy surface ruins you can loop through between Depths runs.
Top sky island routes
-
South Eldin Sky Archipelago: Glide here from Eldin Canyon Skyview Tower or warp to Kadaunar Shrine; you can grab roughly 15-25 Sundelions in one sweep across the connected islands.
-
North Necluda Sky Archipelago: Reach it from the nearby skyview tower or Josiu Shrine; this route gives another big cluster (around a dozen) and is easy to repeat between Blood Moons.
-
General rule: on sky islands, check sunny cliff edges and around Zonai ruins/paths-Sundelions tend to sit on exposed stone or near fallen blocks.
Good surface spots
-
Forgotten Temple (Tanagar Canyon): Run through the main corridor toward the final chamber with Impa; several Sundelions grow among the interior ruins and fallen sky debris.
-
Around fallen sky-island chunks in Hyrule Field and Eldin Canyon: look where sky rubble has crashed into the surface-Sundelions often grow on or beside these chunks.
-
Random Yiga encounters: defeating Yiga soldiers has a chance to drop Sundelions as extra loot while you travel between farming spots.
Farming efficiency tips
-
Make a 2-3 island “loop” (for example: South Eldin → North Necluda → one more sky island), then sleep or wait by a campfire to advance time and encourage respawns.
-
Blood Moons refresh gathered plants, so revisit your favorite islands right after one to restock quickly.
-
Later, unlock and upgrade Sensor+ to track Sundelions specifically, letting you ping any that you have in your Compendium while flying across the skies.
If you tell me which towers you’ve already activated, I can suggest a concrete 1-2 hop route you can repeat before each Depths trip.