Chaos grips Hyrule Castle as darkness spreads through its halls once more. This walkthrough guides you through every key location, puzzle, and hidden passage in The Legend of Zelda: Tears of the Kingdom, revealing the path to restore peace to the heart of the kingdom.
Once you have returned to Purah to make a startling discovery: Princess Zelda is waiting for you at Hyrule Castle. Purah will tell you to go save her, of course, so you gotta do that.
Here’s how the Crisis at Hyrule Castle quest works.
How to prepare for Crisis at Hyrule Castle
Before facing the crisis at Hyrule Castle, make sure Link is well-equipped with upgraded armor, plenty of healing meals, and a range of elemental weapons. Stockpile arrows, especially bomb and shock types, as they prove useful against the castle’s strong defenses and enemies within. Completing key quests that boost stamina or hearts will improve survival chances. It also helps to scout nearby shrines for fast travel points, giving a quick escape route if the battle gets overwhelming.
Note that this is not the final battle, so you don’t need to prepare for the end. You should, however, still prepare for some pretty tough battles ahead of you. Bring lots of food, some of your best weapons, and appropriate attachments for your arrows (bomb flowers, fire fruit, etc.). You should also have your best armor about halfway upgraded at this part from visiting the Great Fairy locations throughout Hyrule.
Also, if possible, come with the Travel Medallion unlocked to make exploration much easier.
That all being said, time to infiltrate Hyrule Castle.
How finding Zelda locations in Crisis at Hyrule Castle works
Finding Zelda’s locations during the Crisis at Hyrule Castle involves tracking her presence across several key points within the castle grounds and lower passages. Players need to follow the objective markers that appear after major cutscenes, paying attention to changes in the environment and enemy appearances that signal the next stage of her trail. Each area leads closer to the castle’s core, where Zelda’s last known position is revealed through a scripted event, guiding players to the final confrontation sequence.
Zelda will hide out in several locations and every time you run into her, she’ll summon a swarm of enemies, and then vanish to a new location. Hyrule Castle is not in ruins the same way it was in Breath of the Wild, so rather than a huge dungeon, it’s broken up into several parts, with different entrances around.
You should be using all four of your Sage abilities throughout your journey in Hyrule Castle, as enemies come in plentiful bunches and your allies will help the enemy focus off of you.
Below, we’ll list out the locations Zelda appears, in order, and what enemies she spawns, so you’re prepared to take them down.
How to enter Hyrule Castle
Approach Hyrule Castle from the north side using the floating debris as cover to avoid Guardian fire. Glide from a nearby Skyview Tower or high ground to reach the upper levels safely. Keep an eye out for Gloom deposits that sap health and avoid prolonged contact. The outer courtyards host several strong enemies, so prepare plenty of healing meals and weapon fusions before advancing inside. The safest path leads through the crumbled walls on the west side, where fewer patrols guard the entrances.
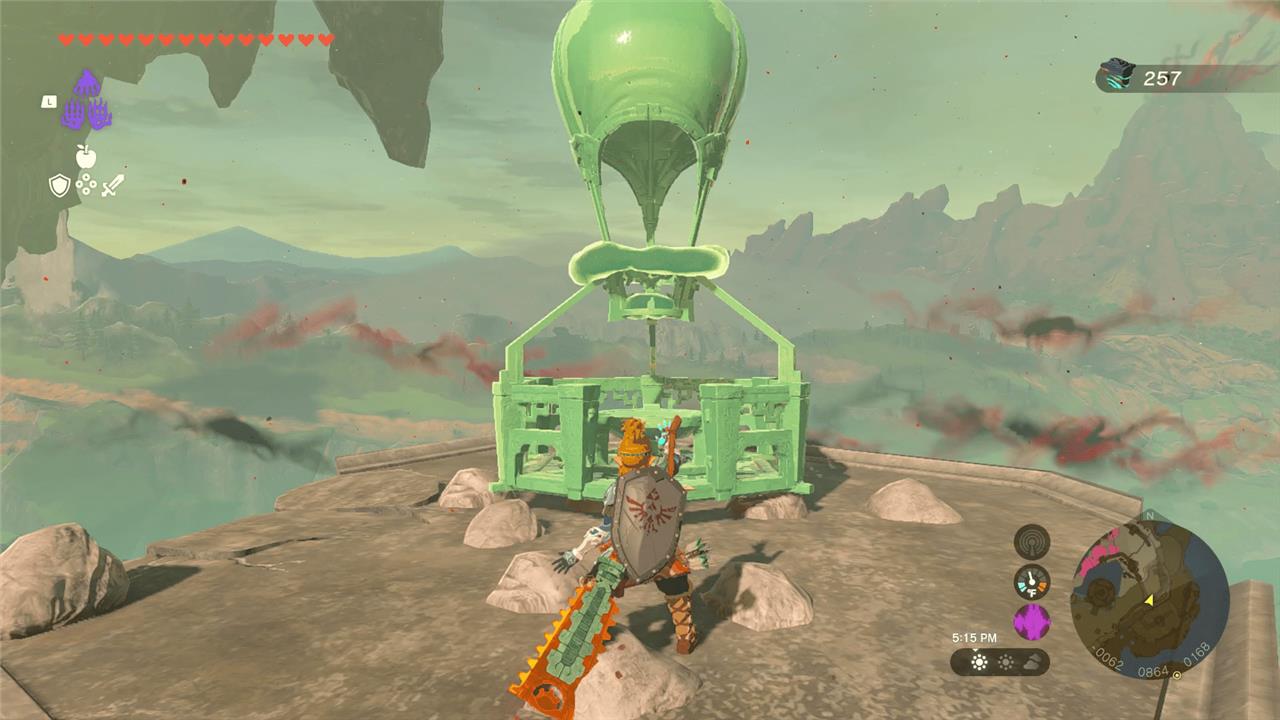
The trick here is to get high as you can using Ascend, Zonai rockets, balloons – whatever you can get your mitts on. You can also build a bird structure using some fans, a wing, a steering stick, and a couple of batteries.
If you have tons of stamina, you can even use Tulin’s wind to help you glide there from Lookout Landing Skyview Tower (though this requires a ton of stamina – remember, the ability to respec is an option).
You can also use these devices to lift yourself at least close enough to one of the many waterfalls pouring out of the castle and swim up using Zora armor.
This place is truly a test of what you’ve learned so far. We used the Autobuild feature to give us a sweet balloon lift:
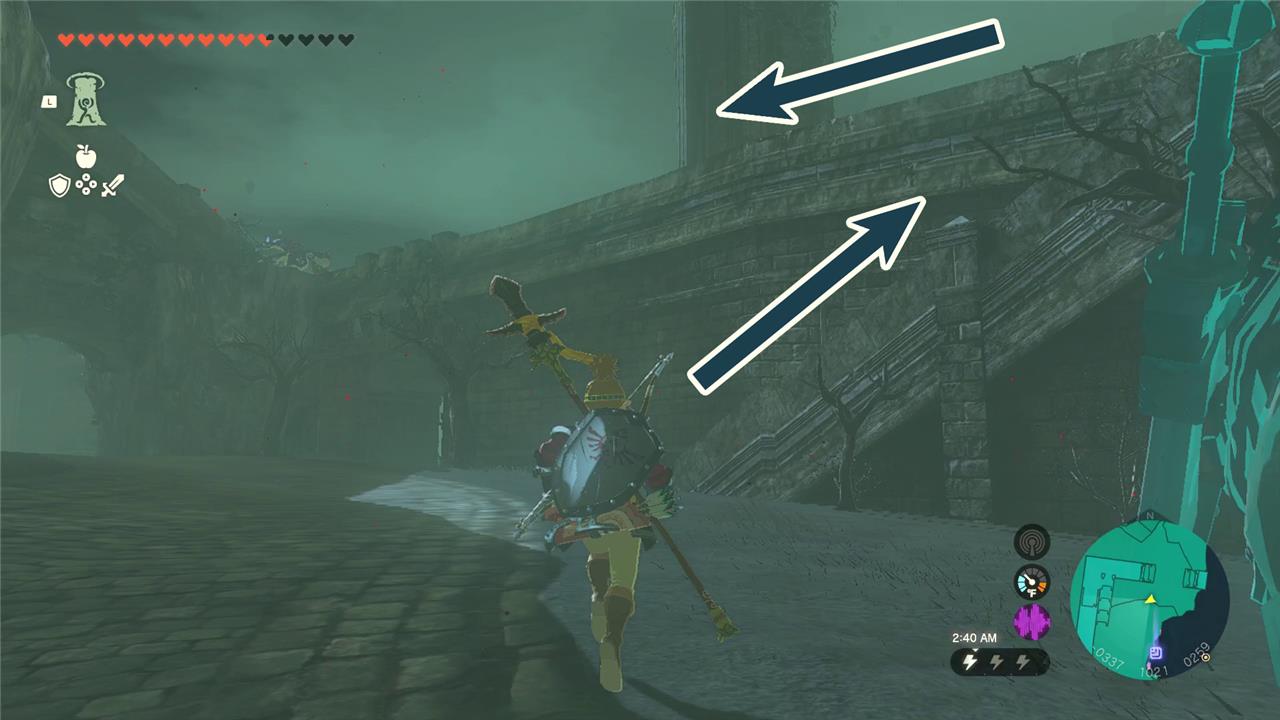
Once you land at Hyrule Castle, you can Ascend and climb up the walls to go up and down the floors. Notably, there’s a shrine (Serutabomac Shrine) on the northeast side that you should definitely unlock for easy teleportation.
To go the extra mile, I would strongly recommend Ascending and climbing as far up Hyrule Castle as you can and placing a Travel Medallion at the top, if you have it. This way, you can glide to wherever you want easily and just teleport back to the top when you need to head to a new point.
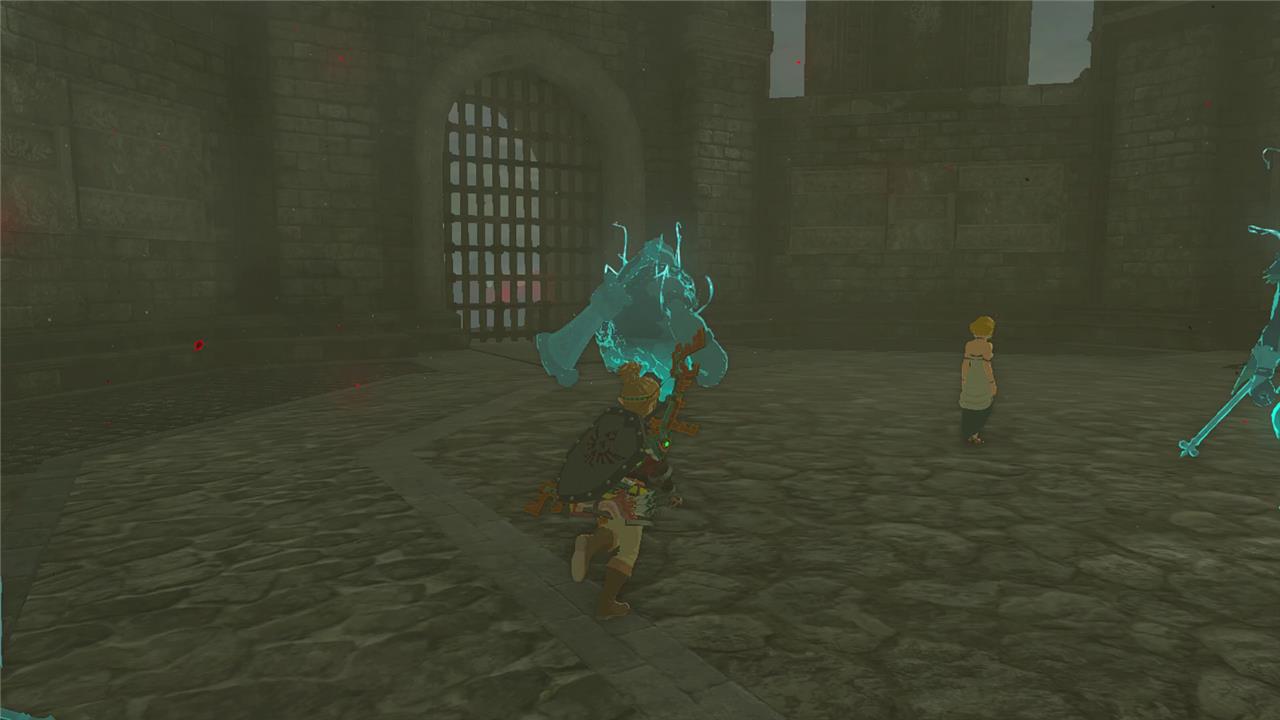
Zelda location #1 (second gatehouse)
The second gatehouse sits on the castle’s upper level, guarded by groups of heavily armored Bokoblins and a captain leading them. Use the height of the walls to your advantage by taking out ranged enemies first, then move in with melee attacks. Watch for explosive barrels that can clear clusters of foes quickly. After the fight, search nearby chests and inspect the battlements for hidden arrows or materials to restock before continuing deeper into the stronghold.
You’ll need to head over to the marked building from above and drop in through the windows.
Once you do, Zelda will poof away and summon two Black Bokoblins and a Black Boss Bokoblin. One of the Bokoblins will have a bundle of Yellow Chuchu jelly, which it’ll drop and you can hit for a big electrical shock attack.
Otherwise, these are relatively small fry in comparison to some of the other things you’ll be fighting here. Take care of them the way you would any other bokoblin and move on to the next location.
Zelda location #2 and #3 (library)
Zelda location #2 takes you deeper into Hyrule Castle, where dark corridors lead to the lower chambers filled with roaming monsters and hidden chests. Proceed carefully, as many of the enemies here coordinate attacks, forcing you to use cover and quick dodges. Zelda location #3 is found near the castle’s library, a large room lined with ancient books and glowing runes. Search every corner for clues and items linked to Zelda’s trail, and be prepared for a mid-level enemy that guards one of the key story notes in this section.
The second Zelda location is in Hyrule Castle B3, but you’ll need to access the stairs there from B2. You can drop in on B2 if you put a Travel Medallion down, otherwise you’ll just have to run on the edge of the castle grounds to get there.

Once you arrive in, Zelda will summon a Black Hinox, and one of each element of Chuchu. To beat the Hinox, you’ll want to shoot arrows directly at its eye and beat on it when it falls. You can use the explosions from the Chuchus to deal some preliminary damage to it when the fight first starts.
The Sages were helpful during this segment, as fighting the Hinox in closed quarters is a pain in the butt, since there’s not a lot of room to create distance for some safe arrow-firing. The Hinox will focus your Sages as they deal damage to him, giving you an opening from time to time.
Once you finish the Hinox off, Zelda’s next location will be nearby – in fact, it’s just up the stairs you came through. But, before you go, you’ll want to investigate some hidden bookshelves.
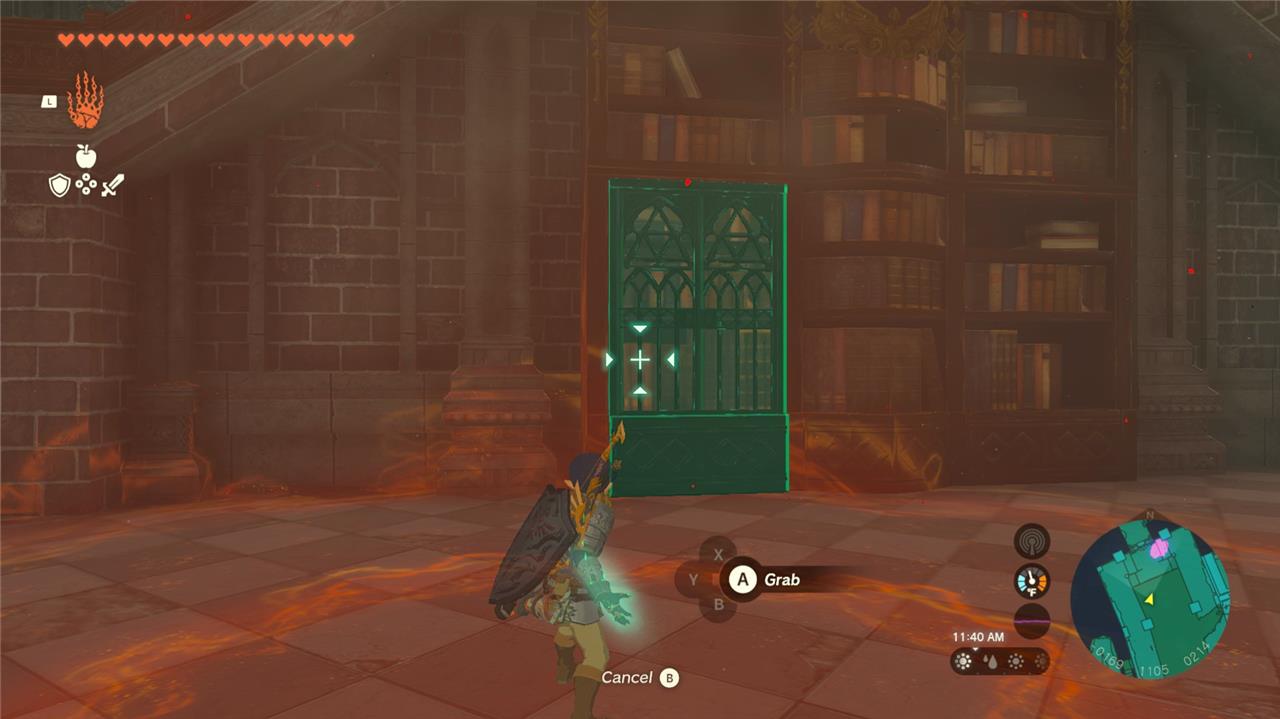
Use Ultrahand on this bookshelf on this bookshelf in the west to get a Shard of Dinraal’s Spike in a chest:

Now use Ultrahand on the bookshelf under the library entrance in the north to access the King’s Study, where you can get a set of Royal Guard Boots from a chest and a Royal Guard’s Shield behind it.
As you approach Zelda, she’ll summon a swarm of Gibdo and leave. Use elemental arrows or weapons to expose the Gibdo and then use physical attacks to finish them off.
Zelda location #3 (Princess Zelda’s room)
Princess Zelda’s room lies on the upper floor of Hyrule Castle, behind a locked door that can be accessed after progressing through key story events. Inside, players can explore elegant chambers scattered with personal notes, artifacts, and clues tied to Zelda’s recent activities. The room also contains valuable items and hidden details that help piece together what happened during the castle’s crisis, making it a place worth examining closely before moving on.
If you’re not using the Travel Medallion trick, leave the library by going up the stairs and run into the cave straight ahead. There are a ton of Horriblins in there, so make sure you have your Sages out and you’re ready to clear them away.
Once you make it out of the cave, head up these stairs, where there’s some Lizalfos and a Moblin waiting for you.
Defeat them, and keep moving up the stairs. Once you hit this blockade in the wall, Ascend up and enter the castle ruins.
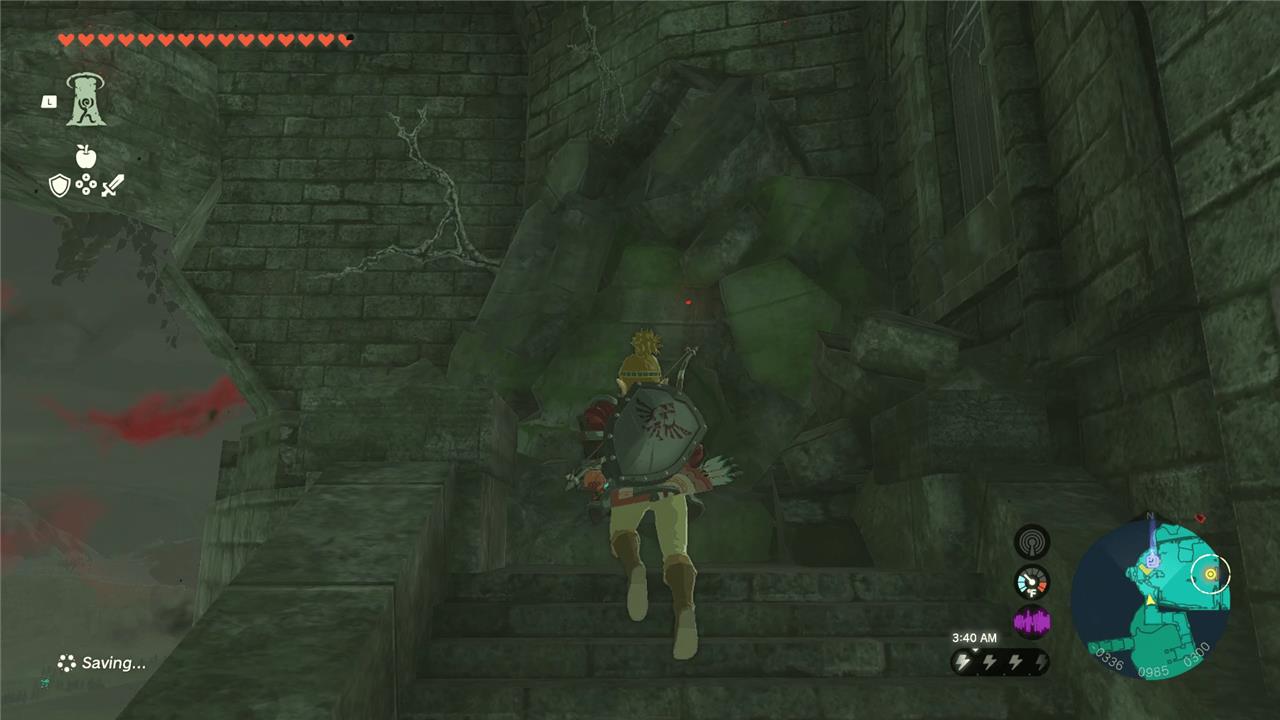
Jump into the hole to take on the next swarm of enemies.
Again, you’ll see Zelda for only a moment before she summons three Fire-Breath Lizalfos and disappears.
These go down the same way other enemies do, but just be mindful of where they all are, since there’s a bunch of them in such small quarters.
Once you’re done taking them out, open the chest behind the partition in the northwest corner of the room to get a Royal Guard Cap.
Zelda location #4 (unnamed basement room)
This hidden basement room under Hyrule Castle contains scattered debris, old storage crates, and faint traces of past battles. The air feels heavy, and a faint glow from the torches reveals markings on the stone walls. Enemies may appear in the shadows, so stay alert while searching chests for valuable supplies or clues. This location often connects to deeper tunnels, making it an intriguing spot for uncovering lost secrets.
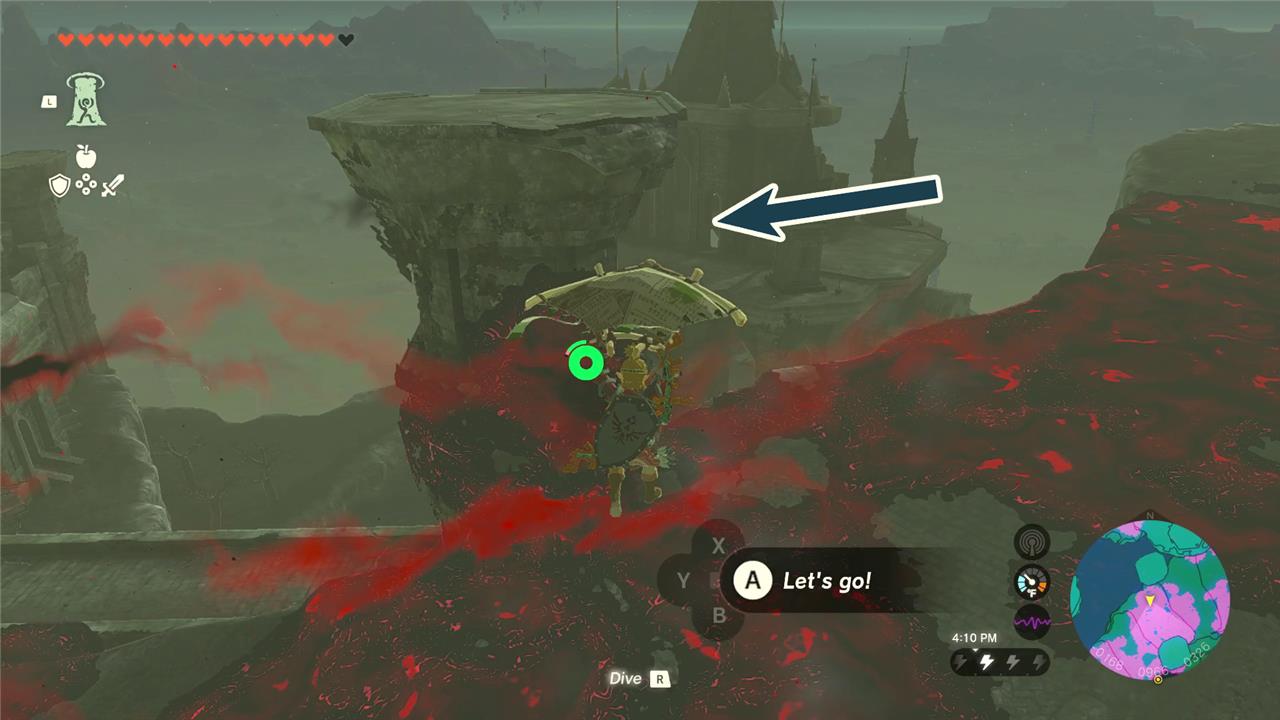
To get to the next location, just glide off the western side of the castle and enter this door here:
This time, Zelda summons a Silver Moblin, which is a very powerful enemy if you’re not prepared, and a few Ice Keese, which are less of an issue. What’s worse is that she summons the Moblin behind you, so if you’re caught unaware, it will just whack you and possibly do your entire bar of hearts in one shot. 🙁
While keeping your distance, quickly deal with the Ice Keese first and then take down the Silver Moblin. You can choose to keep your distance and fire off arrows to its head, or you can fight it head on with a sword and shield. Because this thing hits so hard, we recommend using a one-handed sword and a shield, so you can block its monstrous attacks.
Don’t forget to use the Sage abilities as well, as Riju’s lightning, Sidon’s water slash, and Yunobo’s charge are all great ways to deal out some decent damage.
Zelda location #5 (unnamed basement hallway)
This dim, stone hallway lies beneath the main castle corridors and connects several storage chambers. Flickering torches cast long shadows across the cracked walls, hinting at years of neglect. You’ll find scattered debris and a few hidden containers with useful supplies, but enemies sometimes patrol here, so move carefully. Follow the faint sound of dripping water to locate the next stairwell leading deeper into Hyrule Castle’s lower levels.
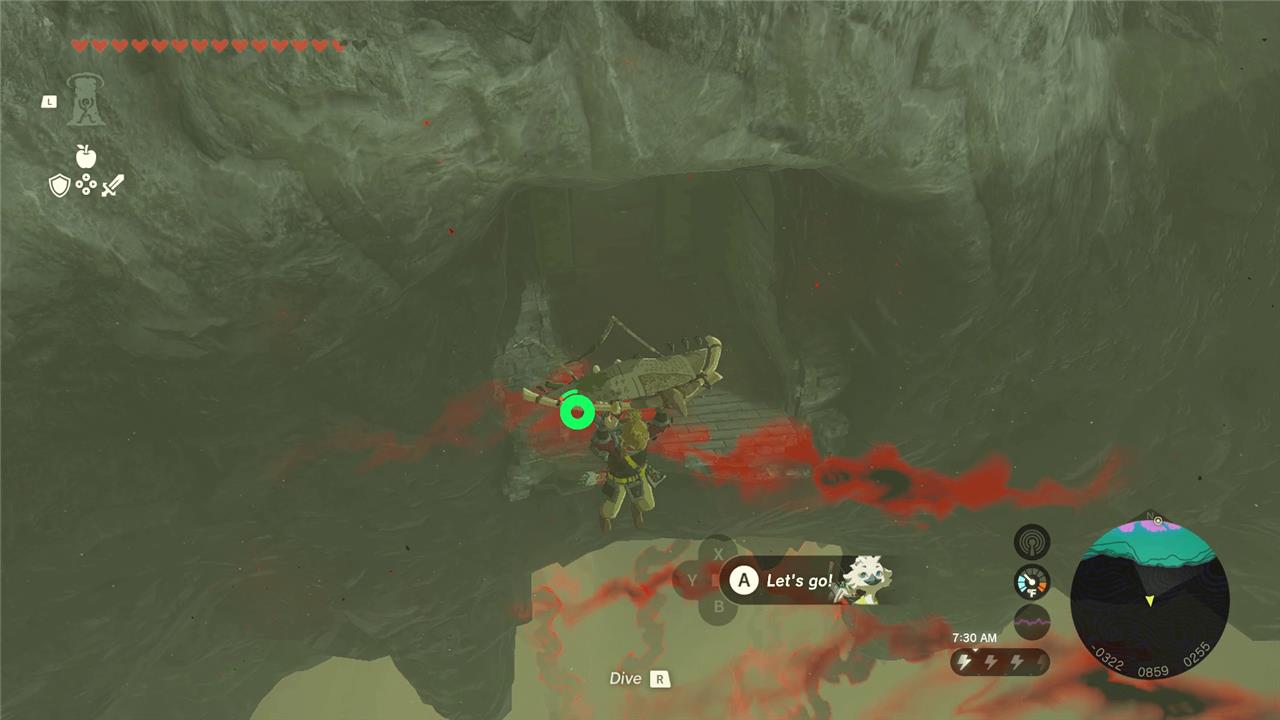
From the outdoor stairs you took for location #3, head south instead of going up the stairs, past an Ice Like. After passing the Ice Like, either head down the stairs on the right or jump off the cliff directly behind the Fire Like hanging from the castle ceiling and glide into the opening shown below:
This time, you’ll have to fight three Shock Likes, which is annoying. Fight them from closest to farthest and focus on dodging their electric orbs. Don’t get greedy with your attacks and take your time clearing them out one by one.
The first Shock Like will drop a Royal Guard’s Bow, the second one will drop a Royal Guard’s Shield, and the third will drop a Royal Bow – all of which are valuable.
Zelda location #6 (sanctum)
The Sanctum serves as the final area within Hyrule Castle during the Crisis mission. Here, Link confronts powerful enemies while uncovering deeper ties to the events surrounding Princess Zelda. The atmosphere is tense, filled with lingering darkness and signs of the castle’s recent turmoil. Keep your best weapons ready, as the fight ahead demands precision and timing. After the battle, the scene reveals critical details that push the main story forward.
This is the last location, so before you even head over, you should strongly consider replenishing your hearts and restocking on food and supplies. While you did just get some good gear from the group of enemies, make sure you have food on hand. We recommend bringing a ton of arrows, at the very least.
You should also consider bringing gloom resistance, if you have any.
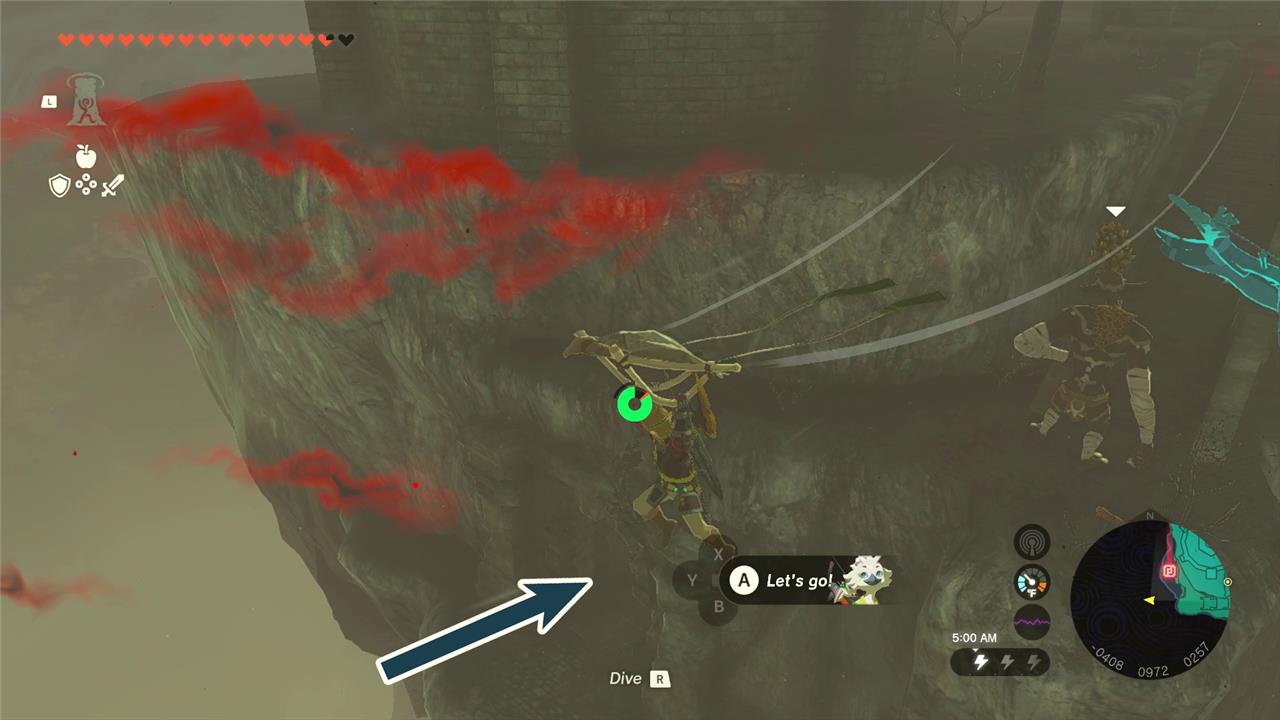
To get to the sanctum, we Ascended from Princess Zelda’s room and then took the bridge outside towards the cliff. From there, we did a cheeky little Ascend on the slanted cliff side, very carefully like this:
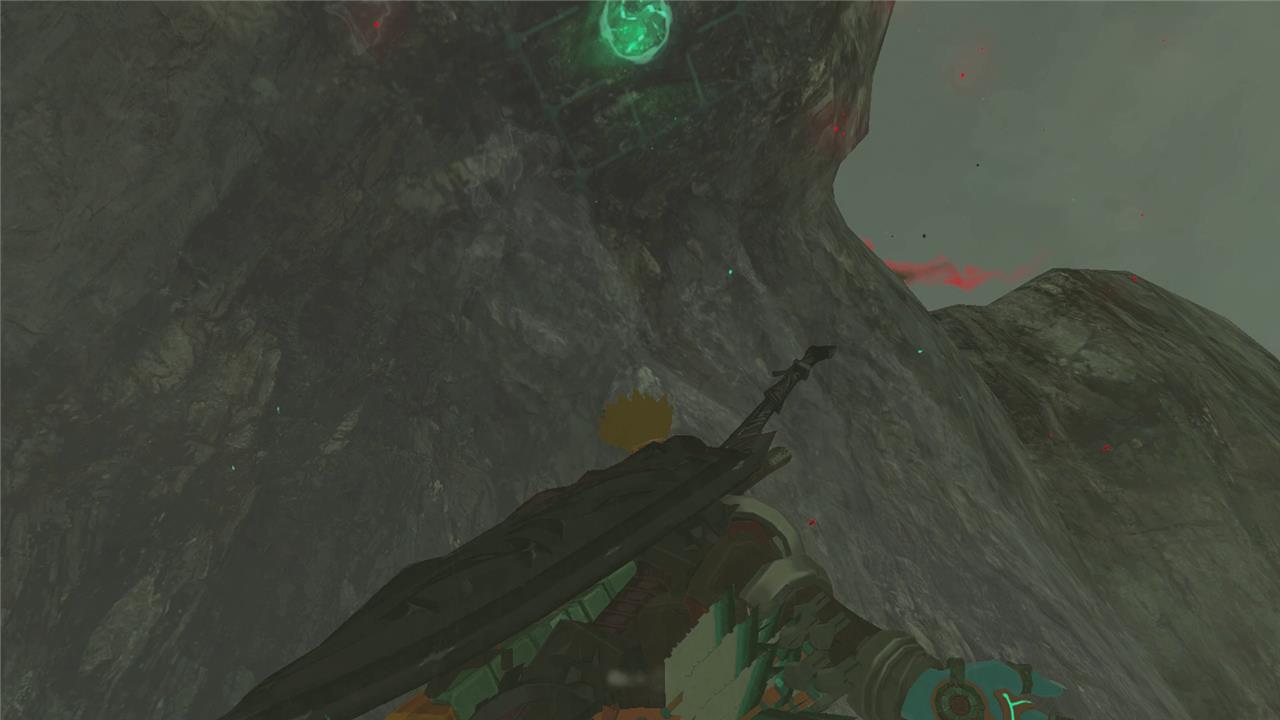
Once you do this, it’s a straight shot into the Sanctum, so head in once you’re ready for the boss battle of this segment.
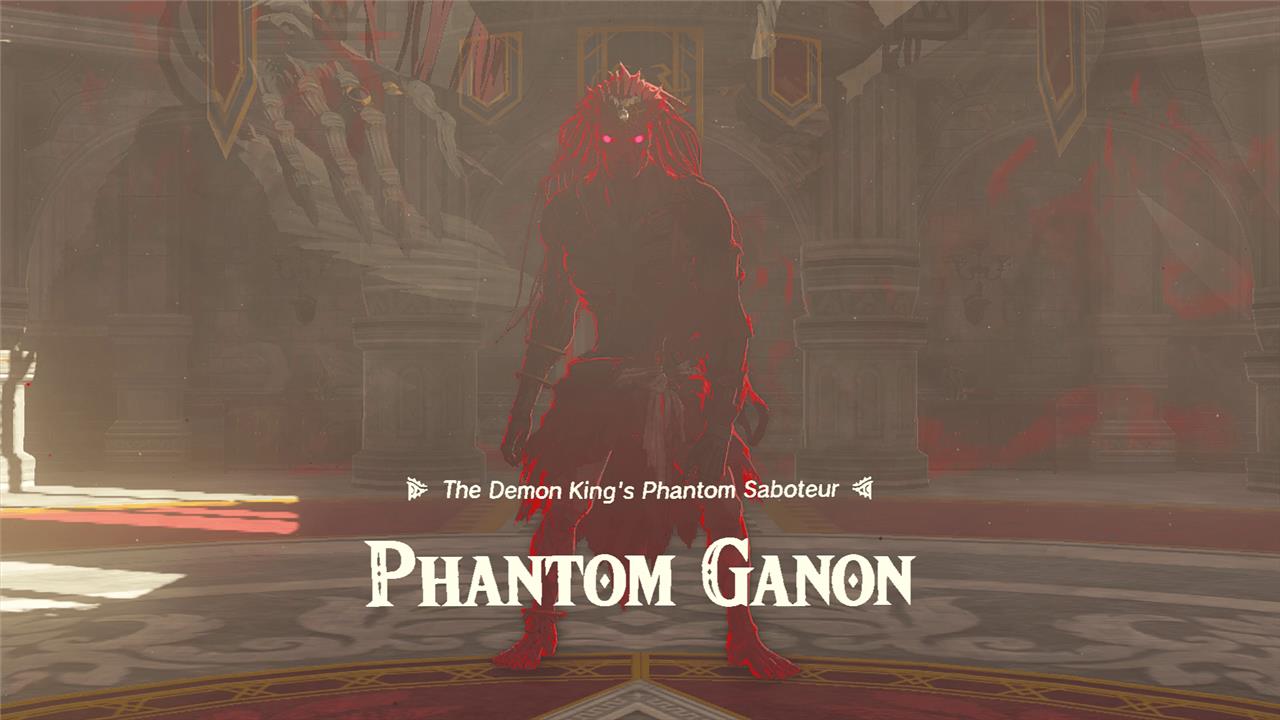
Phantom Ganon (x5) boss fight strategy
Use the Master Sword’s beams to hit Phantom Ganon from a distance and keep moving to avoid poison puddles spreading across the floor. Each version fights aggressively, so focus on one at a time and use Flurry Rush whenever possible. After defeating the initial wave, the phantoms reappear together-use crowd control attacks such as Urbosa’s Fury or powerful charged strikes to thin them out quickly. Keeping your health up with meals or elixirs that resist gloom damage is key to surviving the fight’s later stages.
Not only will you need to fight Phantom Ganon, which you may have encountered already while exploring, but you’ll actually need to fight five of them at once.
Luckily, with yourSages most of the Ganons will be occupied, taking on their own Sage and sometimes turning their focus to you. The best thing to do is focus one at a time, while using a one-handed sword. This way, you can actually use your shield to block its hard-hitting attacks.
You can also use arrows to land headshots on the Phantom Ganons while they’re distracted by different Sages. Your Sages will not die, so you don’t need to worry about that.
Eventually, you’ll be able to pluck the Phantom Ganons off one by one, and the second phase will start.
The fight is essentially the same, but now there is one Phantom Ganon that will make gloom spread on the floor over time. Prioritize the gloom-spreading Ganon immediately whenever you see him start. The gloom will ensnare and paralyze your Sages, which in turn makes all the other Ganons focus on you, which is not what you want. You can shoot the gloom-spreading Ganon with arrows as soon as you see it to take it down quickly.
The gloom will also take away all your hearts (as it’s done in the Depths), so the faster you get rid of them, the better.
Once you finish off the Phantom Ganons, that’ll be it for now. A lengthy cutscene will play out and you’ll get a Heart Container for you trouble.
There will also be spoils of war all over the ground: Demon King’s bows, gloom spears, and gloom swords a plenty. Grab what you want before you leave.
How to find Captain Hoz exact location in Hyrule Castle
Captain Hoz is on the upper level of the First Gatehouse on the road into Hyrule Castle during the “Crisis at Hyrule Castle” quest.
Step-by-step directions
-
Start from Lookout Landing
-
Exit through the north gate and follow the road toward the ruins of Hyrule Castle Town and then up toward the castle.
-
-
Reach the castle gates
-
Continue straight until you reach the huge closed castle doors.
-
Either use Ultrahand to pull the doors open or climb/walk around the left side to bypass them.
-
-
Follow the path to the First Gatehouse
-
Stay on the main uphill road.
-
You’ll pass some soldiers; one will mention that Captain Hoz is at the First Gatehouse ahead.
-
The First Gatehouse is the large stone building that straddles the road a short way beyond the main gate, with soldiers outside.
-
-
Get inside the First Gatehouse
-
Go through the doorway at road level and into the interior of the gatehouse.
-
Look for the wooden inner walls/corners and climb up to reach the first interior ledge/balcony.
-
-
Reach Hoz on the upper floor
-
From that interior ledge, stand under the ceiling above you and use Ascend to pop up to the roof/upper balcony; or continue climbing the outer walls if you prefer.
-
Follow your quest marker on this level; Hoz is the soldier in armor overseeing the search party on top of the gatehouse.
-
If you tell me what you see right now (e.g., “I’m at the big doors” or “I’m inside a tower with soldiers”), I can give you exact “turn left / climb here” instructions from that spot.
What to do after meeting Captain Hoz in Crisis at Hyrule Castle
After you talk to Captain Hoz on top of the First Gatehouse, the next step is to leave Hyrule Castle and report back to Purah at Lookout Landing.
Immediate next steps
-
Retrace your path down from the First Gatehouse and follow the road back through Hyrule Castle Town Ruins to Lookout Landing.
-
Go up to Purah’s workshop (the big building with the telescope) and speak to Purah to update her about what Hoz saw. This advances “Crisis at Hyrule Castle.”
Rest and Skyview Tower
-
After talking to Purah, she’ll tell you to rest in the Emergency Shelter: talk to the soldier by the central hatch, go down the ladder, and sleep in a bed.
-
When you wake up, go back up and talk to Purah again at the Skyview Tower. She has you activate it, which also gives you the Paraglider and unlocks tower launches.
What comes next in the main story
-
From here, Purah points you to two key main quests:
-
Camera Work in the Depths (from Josha and Robbie in Lookout Landing) to unlock the Camera and Depths map.
-
Regional Phenomena, which sends you to the four main regions/temples and is required to progress the story.
-
If you tell me what your current objective text says in the Adventure Log, I can walk you through the very next interaction step by step.