Running out of weapon or shield slots in Tears of the Kingdom can turn a big victory into a scramble for space. Here’s how to expand your inventory, find more Korok Seeds, and carry everything you need for your next fight or adventure.
Wondering how to increase your inventory in Zelda: Tears of the Kingdom? We’ve got you covered. What follows is an explanation of how the mechanic works, and a rundown of what to keep in mind to plan your inventory upgrades ahead of time.
How to increase your inventory in Zelda: Tears of the Kingdom
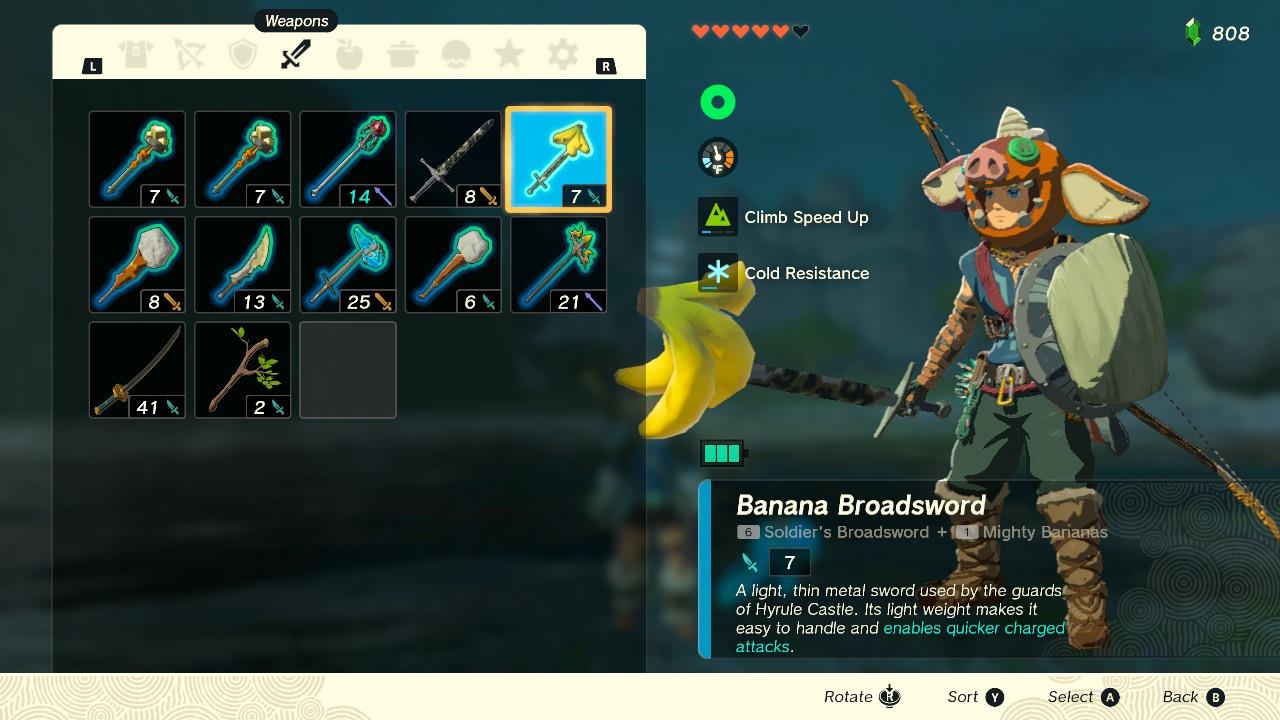
To expand inventory space for weapons, bows, and shields in Zelda: Tears of the Kingdom, locate Hestu by completing the “Hestu’s Concerns” side adventure, which begins near Lindor’s Brow Skyview Tower. Gather Korok Seeds from puzzles across Hyrule and trade them to Hestu, who moves to Lookout Landing and later Korok Forest; each trade adds one slot per category, with costs rising per upgrade (one seed initially, up to dozens later). Prioritize weapons first since they fill fastest, then bows, as shields break less often.
If you’re wondering what all those Korok Seeds you’ve collected are for, you can trade them to Hestu for extra pouch slots. You can increase the inventory space of your weapon, bow, or shield stashes, gaining one slot for one stash with each upgrade.
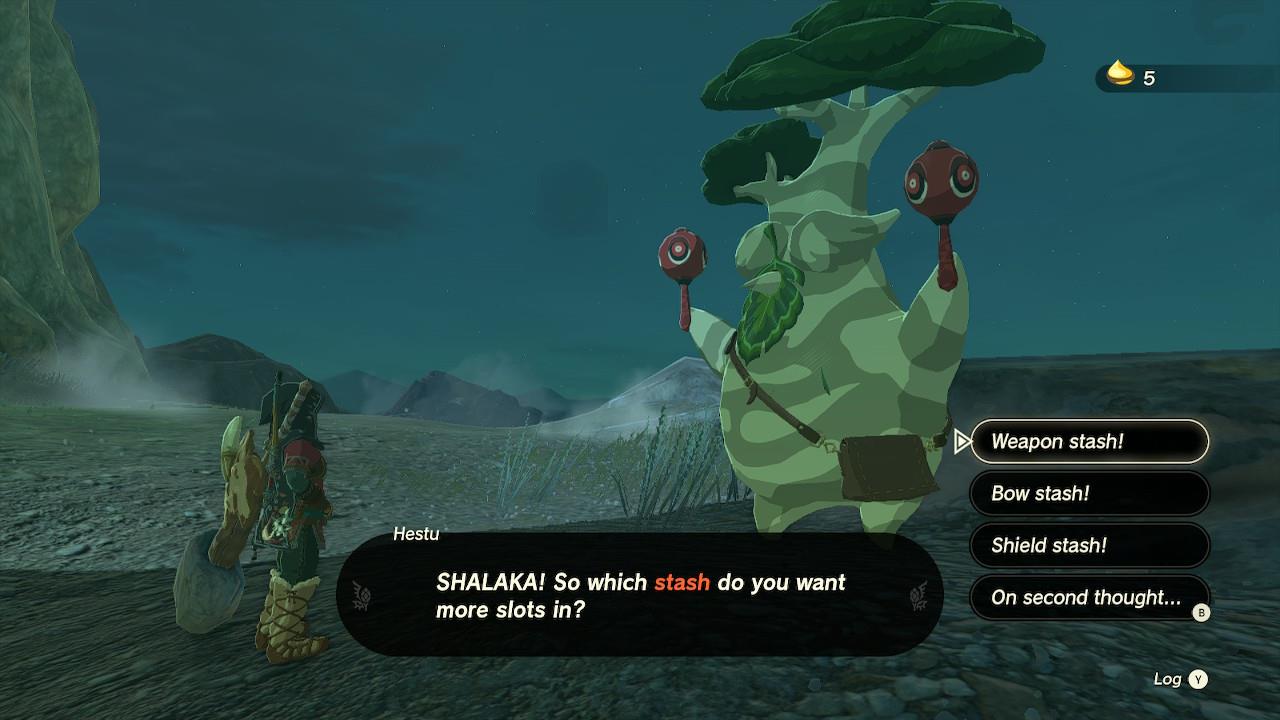
Once you’ve managed to find Hestu in Hyrule, talking to him will start a dialogue where you can choose which inventory stash you want to upgrade. Bear in mind he will move somewhere else after your first encounter, so plan accordingly. (Our dedicated page on Hestu’s locations will help.)
The initial fee is a single Korok Seed, but the cost will increase for each subsequent upgrade you do. Still, each additional slot you can get for your inventory counts, especially the further you progress into the game.
The cost increments are only for the category you’re selecting, mind you. If you’re upgrading the weapon stash, for example, subsequent upgrades will cost more for that category alone, but won’t have an impact on the bow and and shield inventory costs. Each category is independent of one another. As such, you won’t see an increase for bow stash inventory slots until you start upgrading the bow stash (and same for shields).
If you want a broader idea of how many Korok Seeds you’ll need for inventory space upgrades, below is an early list of how much each upgrade will cost you during your first handful of visits to Hestu:
- Weapon stash: 1 Korok Seed, 2 Korok Seeds, 3 Korok Seeds, 5 Korok Seeds, for a total of 13 slots
- Bow stash: 1 Korok Seed, 2 Korok Seeds, 3 Korok Seeds, for a total of eight slots
- Shield stash: 1 Korok Seed, 2 Korok Seeds, 3 Korok Seeds, for a total of seven slots
Where to find Hestu early in the game
Hestu can be found very early on the northwest road out of Lookout Landing, on the way to the Lindor’s Brow Skyview Tower and Rito Village. This is usually the first and easiest place to meet him for inventory upgrades.
First early-game location
-
Head northwest from Lookout Landing toward New Serenne Stable and the Lindor’s Brow Skyview Tower.
-
Before reaching the tower, look just west of the main road in the Hyrule Ridge area; Hestu is near some hostile, moving trees that he’s scared of.
What to do when you find him
-
Defeat the attacking trees so Hestu feels safe; talk to him afterward to start upgrading your weapons, bows, or shields with Korok Seeds.
-
After a few upgrades or more story progress, Hestu will later move to Lookout Landing, and eventually to the Great Deku Tree area in Korok Forest, but that northwest hillside spot is his earliest intended location.
Best route to reach Hestu from Lookout Landing
From Lookout Landing, the best early route to Hestu is simply to follow the main northwest road toward Lindor’s Brow Skyview Tower in Hyrule Ridge.
Step-by-step path
-
Exit Lookout Landing by the northwest gate and get on the main road that heads toward Hyrule Ridge and Rito Village. Stay on this road instead of cutting cross-country.
-
Cross Carok Bridge, keep following the road past New Serenne Stable, then continue north along the same path. This keeps you safe, gives you a fast-travel stable, and lines you up directly with Hestu’s position.
Where you’ll see Hestu
-
After New Serenne Stable, keep going north on the road toward Lindor’s Brow Skyview Tower; Hestu appears just off this road, cowering near some hostile trees around -,,-1714, 1067, 0202-,,.
-
When you see the tower up on the hill ahead, slow down and scan the left side of the road; deal with the animated trees menacing him, then talk to Hestu to unlock inventory upgrades and the “Hestu’s Concerns” side adventure.