Hidden deep within the Deplian Badlands Cave lies the Minetak Shrine, a test of courage and precision that rewards those who can master its traps and mechanical puzzles. This guide reveals the exact route through the cave’s twisting tunnels and how to activate the shrine’s ancient mechanisms without losing your way.
Minetak Shrine location
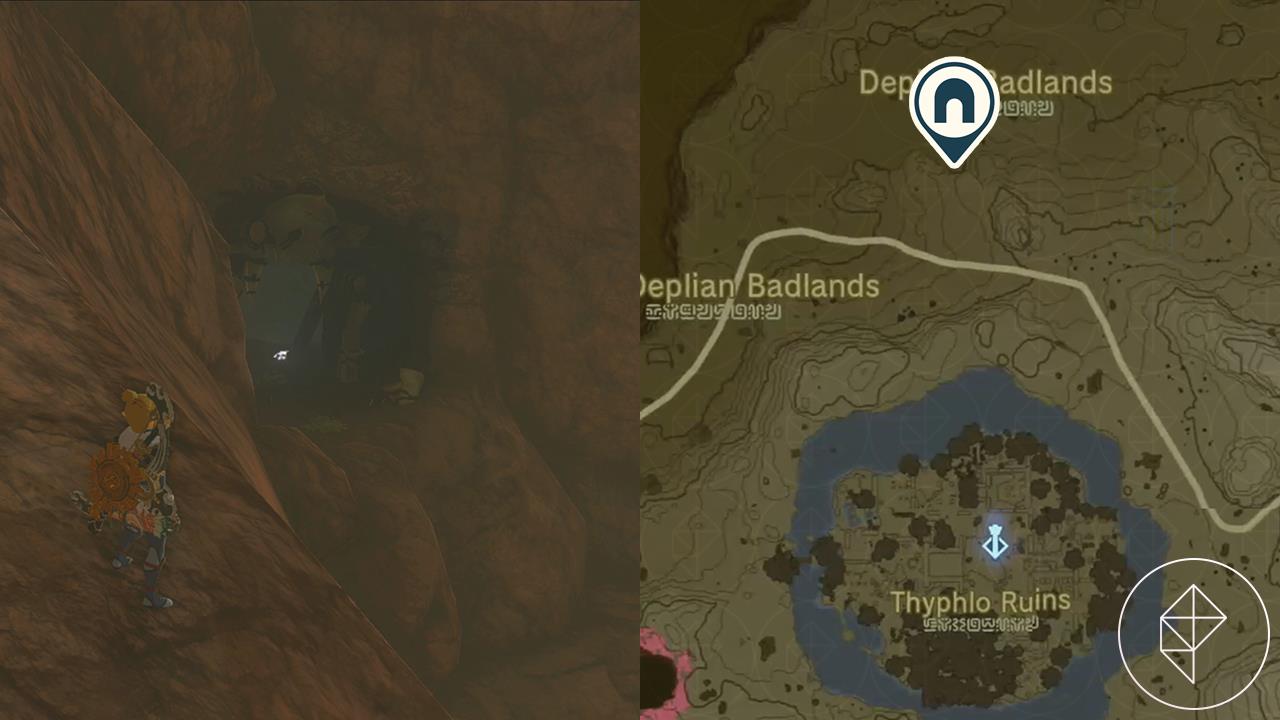
Minetak Shrine is found inside Deplian Badlands Cave, located in the far northwestern area of the Hyrule map, within the Gerudo Highlands region. The cave entrance sits on the edge of a cliff at coordinates roughly (-3679, -1979, -0513). To reach it, glide from the nearby high ridges or approach from the desert side, keeping an eye out for the rocky opening marked by mineral deposits. Inside, the path to the shrine is straightforward but filled with ore veins and low ceilings that require careful movement.
The Minetak Shrine is found deep inside the Deplian Badlands Cave in the Eldin Mountains region. Its exact coordinates are (0394, 3484, 0068), although you might find it easier to navigate to the entrance of the cave instead at (0304, 3583, 0089), which you can see below:
Immediately after entering the cave, Link will face a steep drop into the darkness, with a few brightbloom seeds and a lit torch gleaming in the distance. Collect these or use your own stash of brightbloom seeds to light up the area.
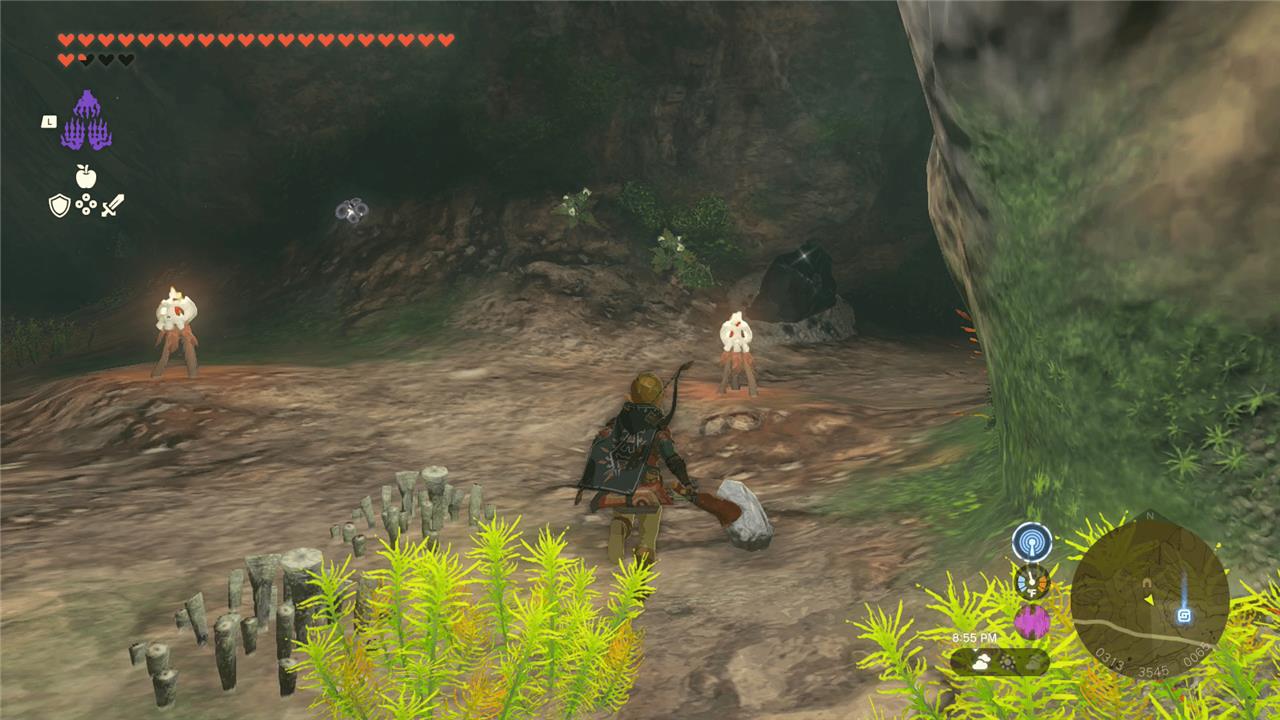
At first, the cave will be empty except for ore deposits, brightbloom seeds, and brightcap mushrooms. Steel yourself, because there will be a lot of Horriblins to fight in this cave before you reach Minetak Shrine. But also, soothe yourself with the knowledge that the shrine doesn’t contain a puzzle; battling Horriblins and trekking through the cave are enough to earn you a blessing from Rauru.
The cave’s corridors are a bit twisty and circuitous, but the area is not that big, and if you collect all of the cave’s resources as you go, you’ll be able to avoid walking in circles and getting lost. At the first fork in the cave, we headed left and ran into a Blue Horriblin hanging from the ceiling. (By the way, if you instead head right at this fork, then turn left, you’ll find this cave’s Bubbulfrog.)
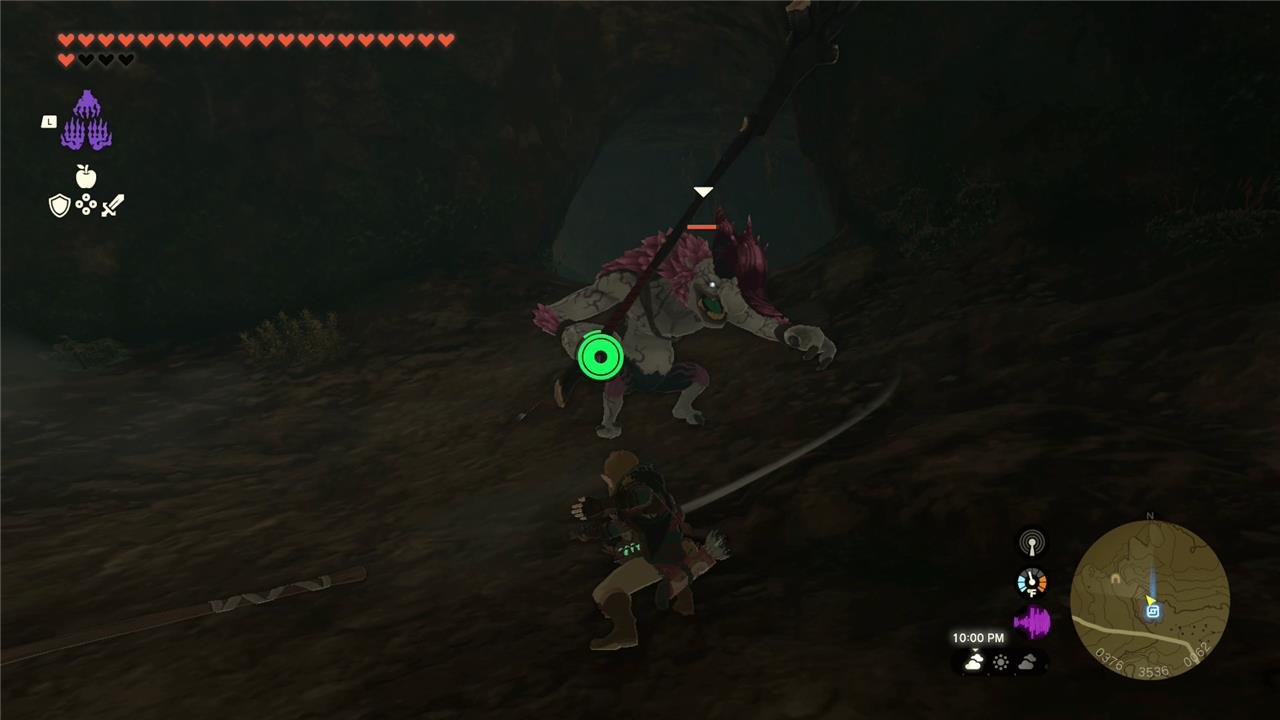
After you get past the first Blue Horriblin, the cavern will open up slightly into an area with another Blue Horriblin and a Silver Horriblin. Defeating them will unlock a treasure chest on a wooden platform; use Ascend to get up there and grab the soldier’s-claymore stick.
Head into the next cavern where you’ll find another two Blue Horriblins and a Silver Horriblin, as well as yet another chest (on a wooden platform) that will unlock as soon as you defeat these three enemies. This second chest contains a forest dweller’s spear.

Hop off of that wooden platform and turn right; this corridor is almost completely dark, so fire off a brightbloom seed or two for visibility. You’ll run into a Fire Chuchu on the way; fire an arrow at it from a safe distance and collect the red Chuchu jellies. Bear left at the fork and you’ll find a Fire Like and some more Ore Deposits.
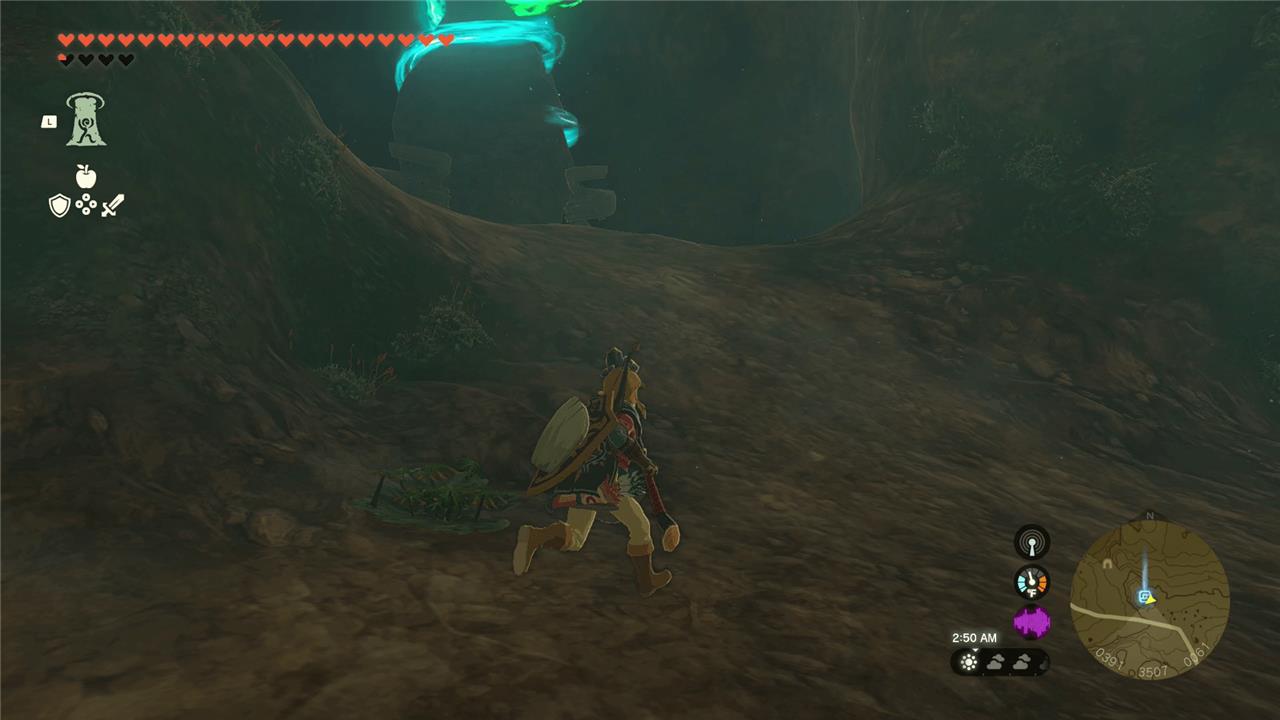
Turn back around and take the other fork, and you’ll see Minetak Shrine on your right-hand side. You made it!
Minetak Shrine walkthrough
Inside Minetak Shrine, use the available Zonai devices to move mine carts along the rails and reach higher platforms. Activate the nearby fans to propel the carts forward, and adjust their direction with careful positioning. Collect the treasure chest along the way before reaching the final platform. Once all rails are aligned and the fans are correctly used, the path to the shrine’s end will open, allowing you to claim the Light of Blessing.
Best route to reach Deplian Badlands from Thyphlo Ruins skyview tower
Best Route Overview
The fastest way to reach Deplian Badlands from Thyphlo Ruins Skyview Tower in The Legend of Zelda: Tears of the Kingdom involves launching skyward and gliding north. This method covers the distance efficiently while avoiding ground hazards like enemies or rough terrain.
Step-by-Step Directions
Launch from the Thyphlo Ruins Skyview Tower pad to gain maximum height. Orient northward (look for the Deplian Badlands marker on the map) and deploy your paraglider immediately. Dive periodically to adjust altitude and conserve stamina, aiming for the cave entrance at coordinates (0306, 3581, 0089) near a Bokoblin camp with a skull structure.
Landmarks and Tips
Spot the enemies’ hideout or mountain ridge ahead as your target; land on the slope in front. From there, head downhill to the cave mouth below. Stock up on Brightbloom Seeds beforehand for the dark cave interior, and watch for stamina drain during the glide.
Which paraglider drop point is safest from the tower to the cave
Safest Drop Point Overview
The safest paraglider drop point from Thyphlo Ruins Skyview Tower to Deplian Badlands Cave targets the elevated slope directly above the cave entrance in The Legend of Zelda: Tears of the Kingdom. This rocky ledge minimizes ground enemies and avoids jagged terrain or updrafts that could disrupt landing.
Approach Strategy
Launch from the tower and glide north, keeping stamina in check by diving occasionally to regain height. Aim for the ridgeline crowned by the Bokoblin camp’s skull structure at (0306, 3581, 0089); its broad, flat top offers a stable landing away from patrolling foes below.
Landing Execution
Touch down on the camp’s perimeter ledge, then descend cautiously to the cave mouth downhill. This spot sidesteps lava flows and aggressive mobs common on lower paths, ensuring a secure entry for Brightbloom Seed prep inside.