A strange cube, a shifting platform, and an unexpected twist in gravity – the Sitsum Shrine in Zelda: Tears of the Kingdom turns simple movement into a puzzle of timing and perspective. Here’s how to solve it and claim your reward.
Our guide will help you find the Sitsum Shrine location and solve its puzzles to get its chest and Light of Blessing. One of the challenges itself is getting up Death Mountain to enter the shrine; we rode a Zonai-powered rail cart up the mountain’s prebuilt rail system – all with an assist from a Goron, who was helpful in bowling over enemies.
When you’re done, our shrine locations page or interactive Hyrule map can direct you toward something else to do.
Sitsum Shrine location
Sitsum Shrine is located in the Hebra Mountains, northwest of Rospro Pass Skyview Tower. The shrine sits on a rocky ledge surrounded by snow-covered cliffs, so players will need cold-resistant gear or elixirs to reach it safely. A convenient way to approach is by gliding from the nearby tower or using Zonai devices to traverse the icy terrain. The entrance becomes visible once you climb up the final ridge overlooking the frozen valley below.
The Sitsum Shrine is found on Death Mountain at the coordinates of (2367, 2598, 0790), and you’ll likely first encounter it as part of the Yunobo of Goron City quest.
We followed the mountain’s built-in rail system, using a Zonai-powered cart to travel up the mountain. (Yunobo came along for the ride, useful in bowling over enemies in the pathway.) Eventually, we reached a platform where the rail system stopped. Just below the railway’s ledge is where you’ll find Sitsum Shrine.
Sitsum Shrine walkthrough
Sitsum Shrine challenges players with puzzles based on manipulating airflow and gliding across gaps. Begin by using the fan devices to control wind direction and reach higher platforms. Arrange fans carefully to move floating platforms into position, then glide to the next area while managing stamina. The final section requires precise timing to ride air currents and reach the exit platform, where completing the shrine rewards a Light of Blessing.
Sitsum Shrine is all about controlling vehicles. It’s a pretty simple demonstration of the steering mechanic that you can plop on any of your vehicles. Handy!
1. Straight from the shrine’s entrance there’s a simple, four-wheeled platform. (In fact, there’s a few – two to the right side.) Hop on the one waiting by the fire river. There’s a steering device that’ll kick off the ride.
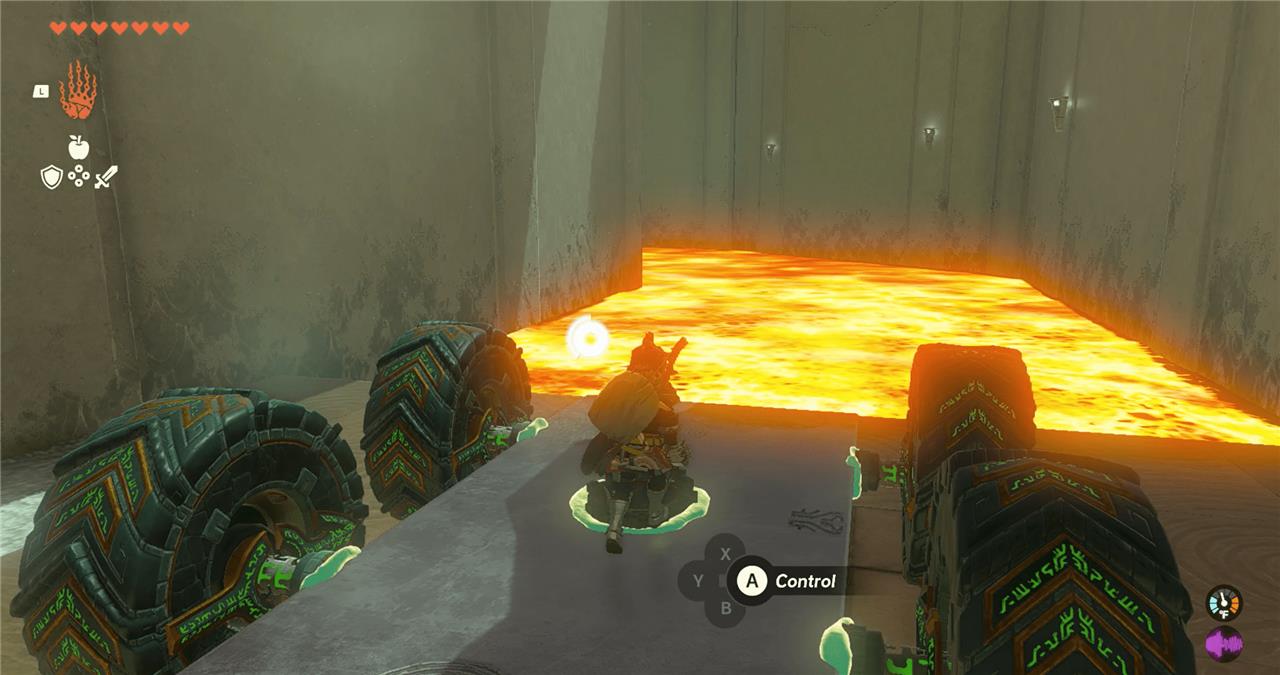
2. Head straight into the river, steering around the curves.
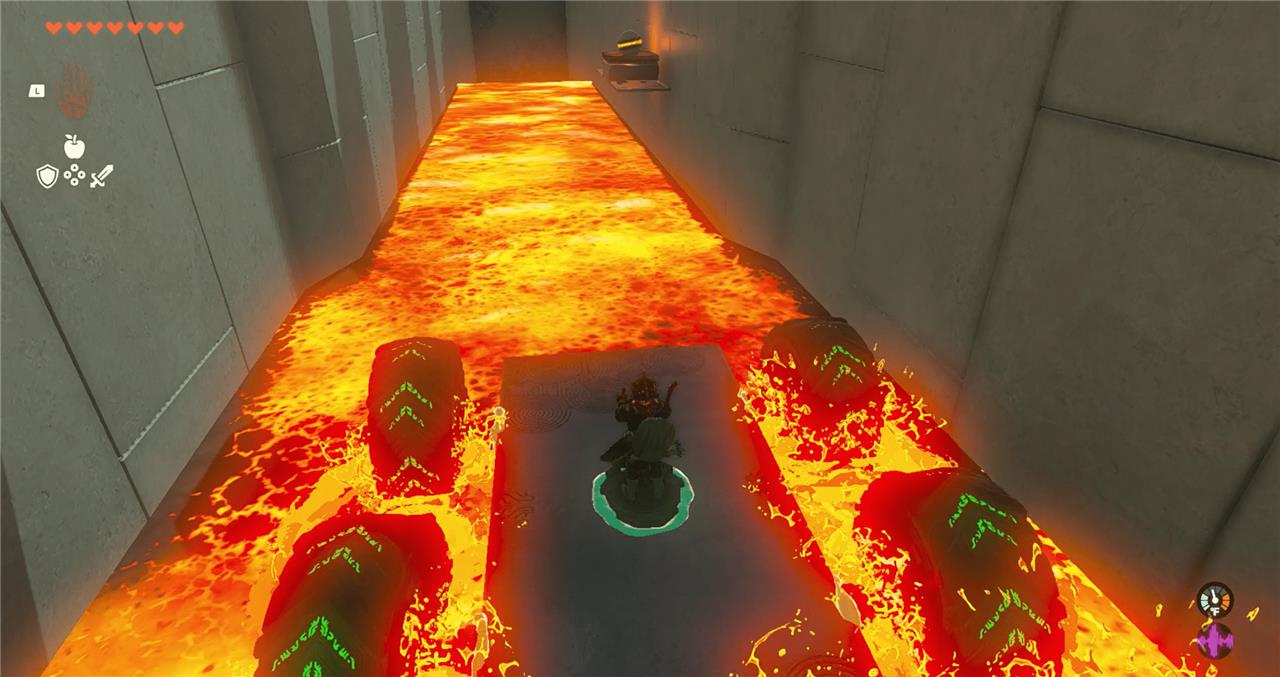
3. The next chamber splits three ways – you can turn left, right, or head straight up the center. Take the first right-hand turn.
4. There’s a ball on a ledge a ways down the narrow hallway. Use Ultrahand to grab it, then attach it to the vehicle for safekeeping.
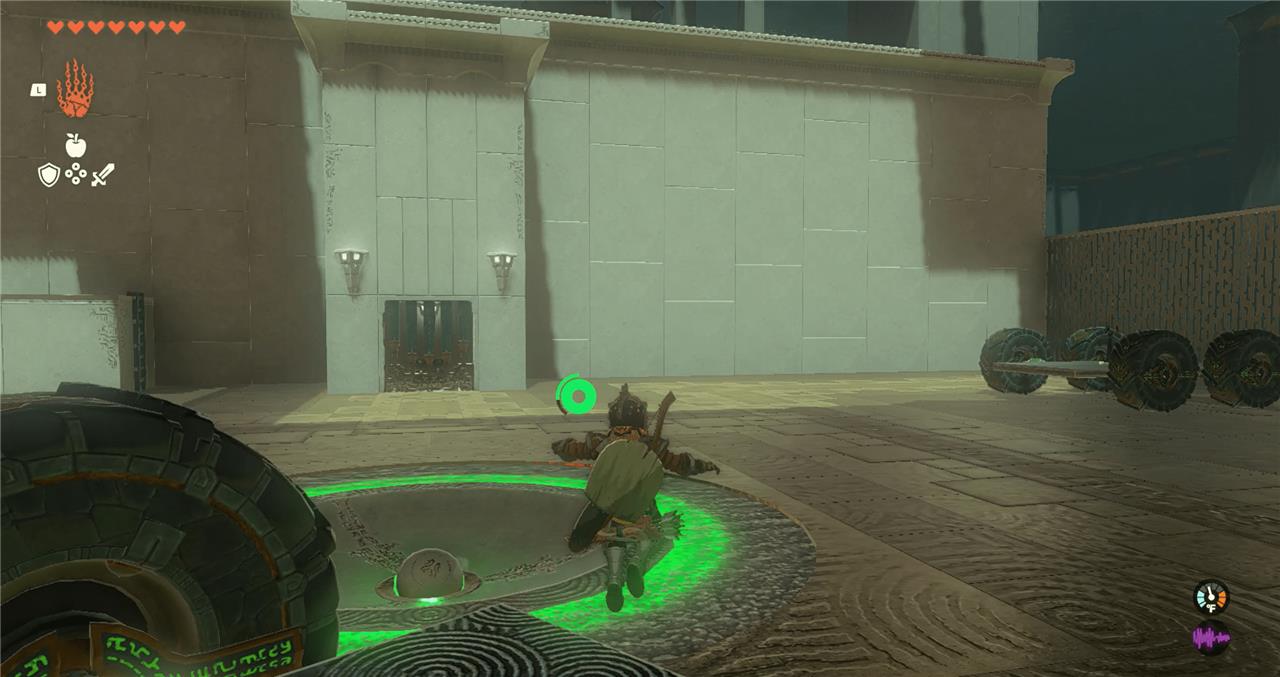
5. Use Recall to rewind time to back out of the hallway and into the chamber where you started. Make your way to the center platform.
6. Put the ball in the indent in the floor. The gate for the chest will open. There’s a mighty Construct bow inside.
7. Leave the middle platform and turn right – you are facing the opposite way from where you originally came from, so what was originally a left-hand turn is now the right.
8. Defeat the Construct that’s waiting on the platform.
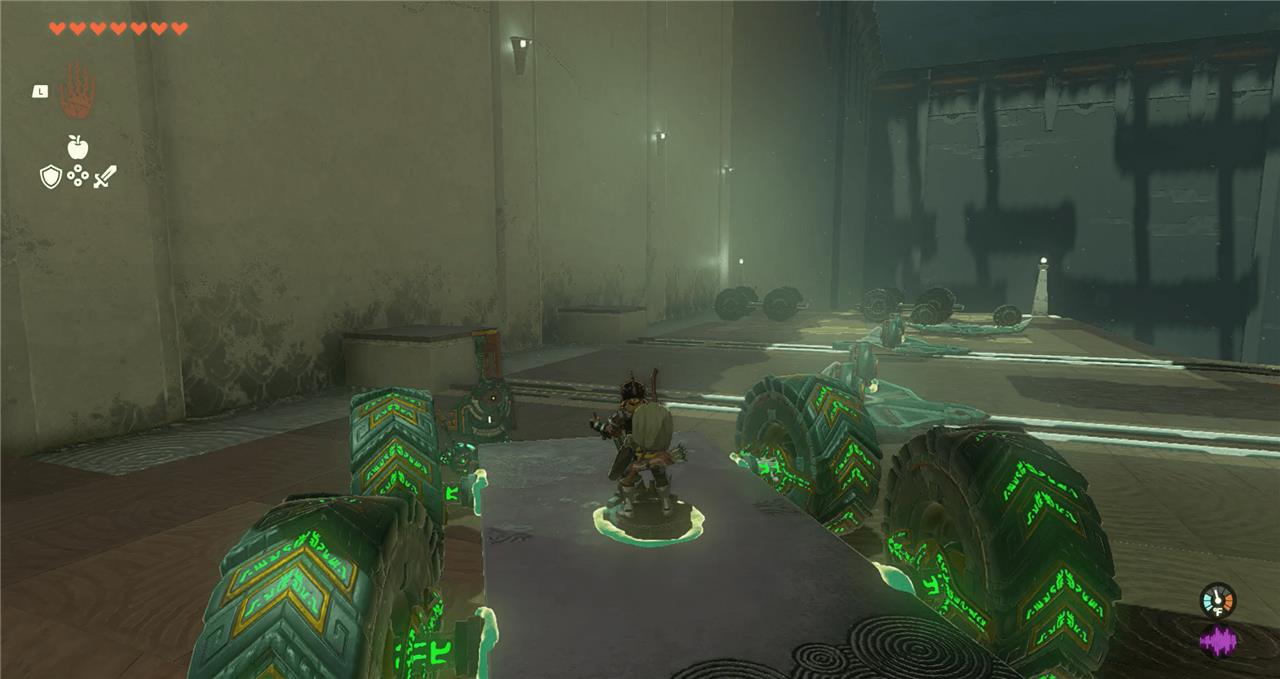
9. There are several flying vehicles and more four-wheelers in this area. Two of the flying vehicles are positioned to lead out into two runways.
10. Pull a steering device off one of the four-wheelers and attach it to the flying vehicle of your choice.
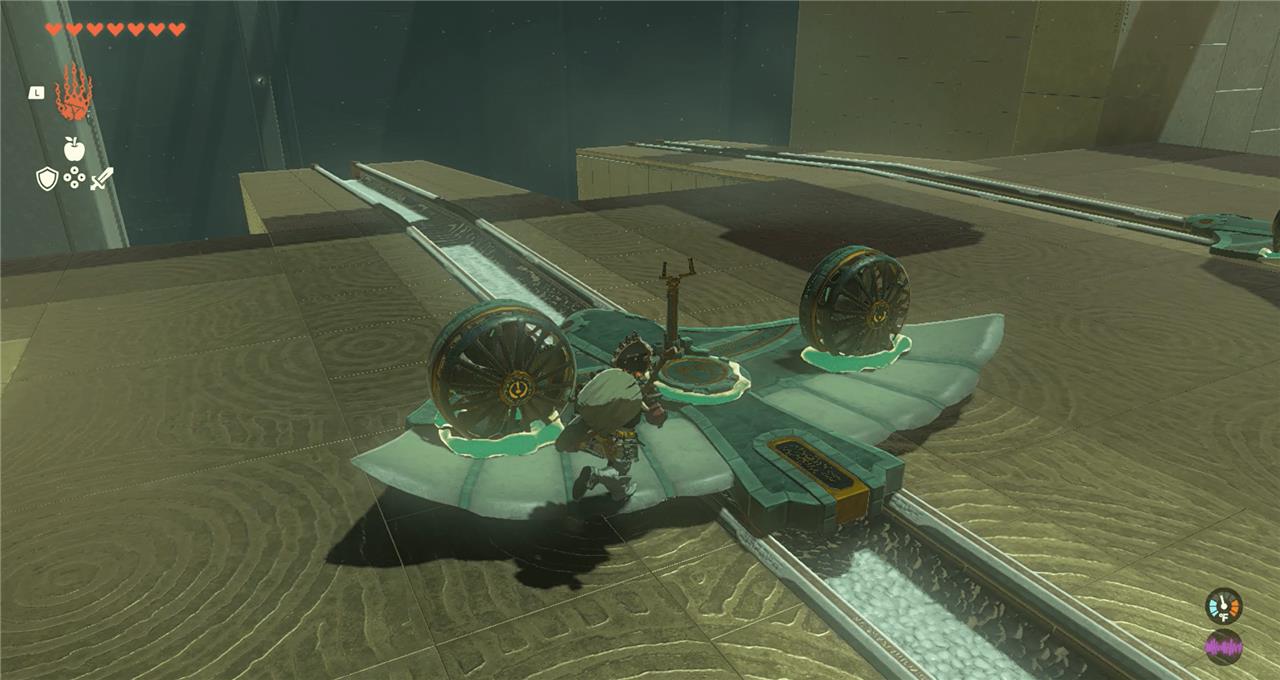
11. Hop on and get soaring.
12. Fly toward the back of the shrine and to the left to reach the shrine’s exit. Jump off the plane or land it gently on the platform – your call! Examine the sigil to complete the shrine and get the Light of Blessing.
How to reach Death Mountain for Sitsum Shrine
Sitsum Shrine is high on the east side of Death Mountain, and the easiest way up is to ride minecarts on the rails that circle the volcano.
Quick coordinates and region
-
Sitsum Shrine coordinates: 2369, 2595, 0790 (near the summit of Death Mountain, Eldin region).
-
It’s just east of Goron City and near the Death Mountain West Tunnel / Death Mountain West Site area.
Fastest route if you have Goron City
-
Fast travel to a shrine in Goron City (for many players, Marakuguc Shrine in the city).
-
From Goron City, go up toward Death Mountain along the minecart rails that leave the city and head to the volcano.
-
Look for a mining cart and a Zonai fan near the rails; attach the fan to the back of the cart with Ultrahand.
-
Place the cart on the rails, hit the fan, and ride the cart up as the rails spiral around Death Mountain toward the summit area.
-
Stay on the inside track when tracks split; this brings you up toward the east side of the peak where Sitsum Shrine is perched.
Route from Death Mountain West Tunnel side
-
Go to Death Mountain West Site / Death Mountain West Tunnel on the west side of the volcano.
-
Here you’ll also find a minecart and a fan; attach the fan behind the cart and set it on the nearby rails.
-
Ride the cart up the rails as they curve around the mountain; follow them until you reach the upper section near the summit where the track basically ends close to Sitsum Shrine’s ledge.
Final approach to the shrine
-
When the upper rails end, dismount and look toward the east side of the mountain; Sitsum Shrine is on a ledge slightly below the very peak.
-
Climb the last bit of rock or use Ascend / stamina food if needed to reach the ledge and activate the shrine.
If you tell me your nearest unlocked shrine or whether you’ve reached Goron City yet, I can give you a tailored step-by-step route from your exact point.
Sitsum Shrine walkthrough and puzzle solutions
Sitsum Shrine, titled “A Controlling Device,” teaches mastery of steering sticks on Zonai vehicles in Zelda: Tears of the Kingdom.
Initial drive
Head down the stairs to find a minecart with a steering stick. Hop on, activate the stick, and drive straight across the lava into the next chamber, then turn right into the narrow side path for the optional chest.
Chest puzzle
Stop midway in the path, dismount, and use Ultrahand to grab the orb from the high ledge. Attach it firmly to the top of your cart (don’t just drop it), reverse out carefully, drive up the ramp to the socket, detach the orb, and place it in the hole to open the gate. Open the chest inside for a Mighty Construct Bow, then climb the ladder and glide over to fight the Soldier Construct II (run it over or attack normally).
Glider setup
Detach a steering stick from one of the nearby carts (wiggle the right stick to free it). Attach it to the center “feet” area of a Wing glider on the rails. Stand on the Wing, activate the stick with A-the fans spin up automatically-and steer through the open chamber, dodging pillars toward the back-left altar.
Shrine completion
Land at the green-lit statue (crashing is fine if you dismount safely), interact to claim your Light of Blessing, and unlock the shrine for fast travel.