Hidden high above Hyrule’s skies, the Mayasiar Shrine challenges players with clever gravity puzzles and precise aim. This guide shows where to find it and how to solve every step to earn your Light of Blessing with ease.
When you’re done, our shrine locations page or interactive Hyrule map can direct you toward something else to do.
Mayasiar Shrine location
Mayasiar Shrine is situated in the Lanayru Sky Archipelago, high above the eastern region of Hyrule. Players can reach it by gliding from Mount Lanayru Skyview Tower and navigating toward the cluster of floating islands in the area. The shrine’s coordinates are approximately 3482, -2172, 0148, placing it in a remote section that often requires precise stamina or vehicle assistance to access safely.
The Mayasiar Shrine is found within the Gerudo Highlands Sky region. The exact coordinates are (-3544, -0320, 1965).
The shrine is tucked away in the North Gerudo Sky Archipelago in a place called Starview Island, which is the big sphere that looks like the Death Star. You’ll start your journey toward it at Gerudo Highlands Skyview Tower.
How to get to Starview Island and find Mayasiar Shrine
To reach Starview Island, glide east from the Rospro Pass Skyview Tower toward the large cluster of floating platforms visible in the distance. Use the Updrafts and Zonai Devices along the way to maintain altitude and control your direction. Once you land on the island, follow the path leading upward past the Zonai constructs until you spot a circular structure on the highest platform. The Mayasiar Shrine is at the top, near the center of the island, easily recognizable by its glowing entrance.
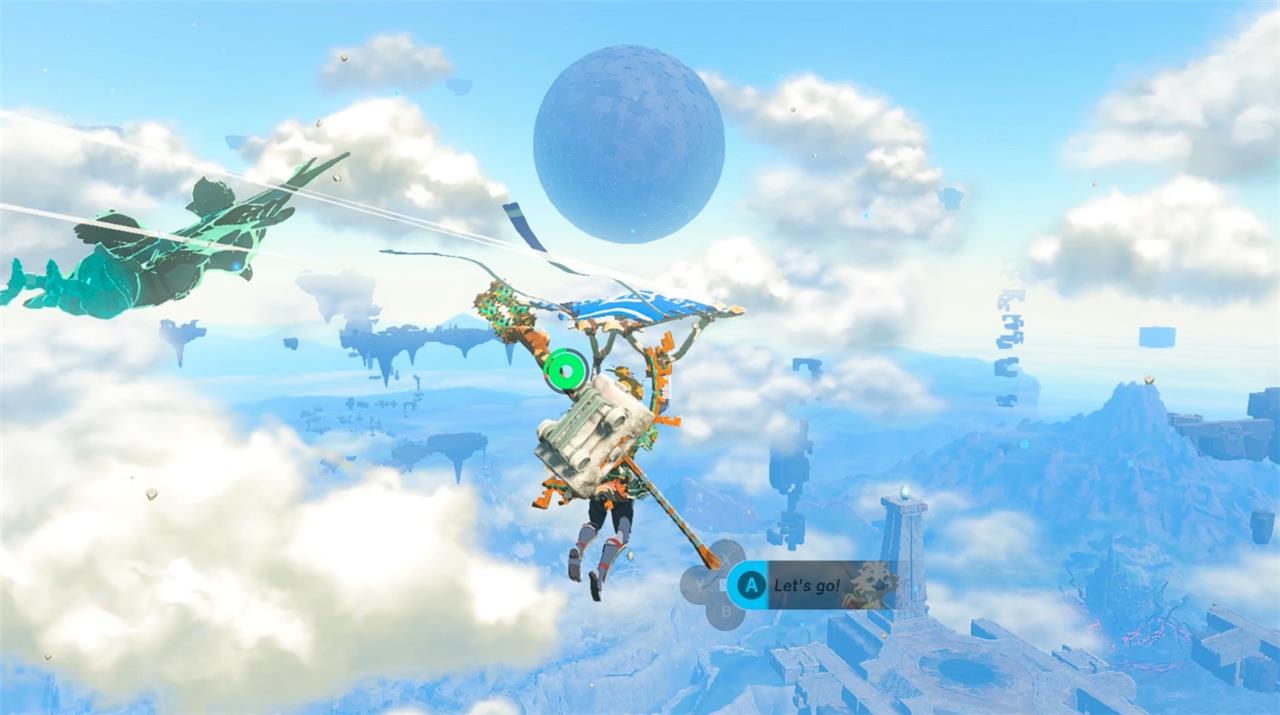
1. Use Gerudo Highlands Skyview Tower to take to the sky. Once in the air, glide northeast toward the closest visible island, around (-3664-0852, 1965) on the map. (You’re going the right direction if you see the Starview Island sphere island in front of you.)
2. Land on the island to find a Zonai floating block and rockets. Use Ultrahand to blast yourself off toward the sphere.
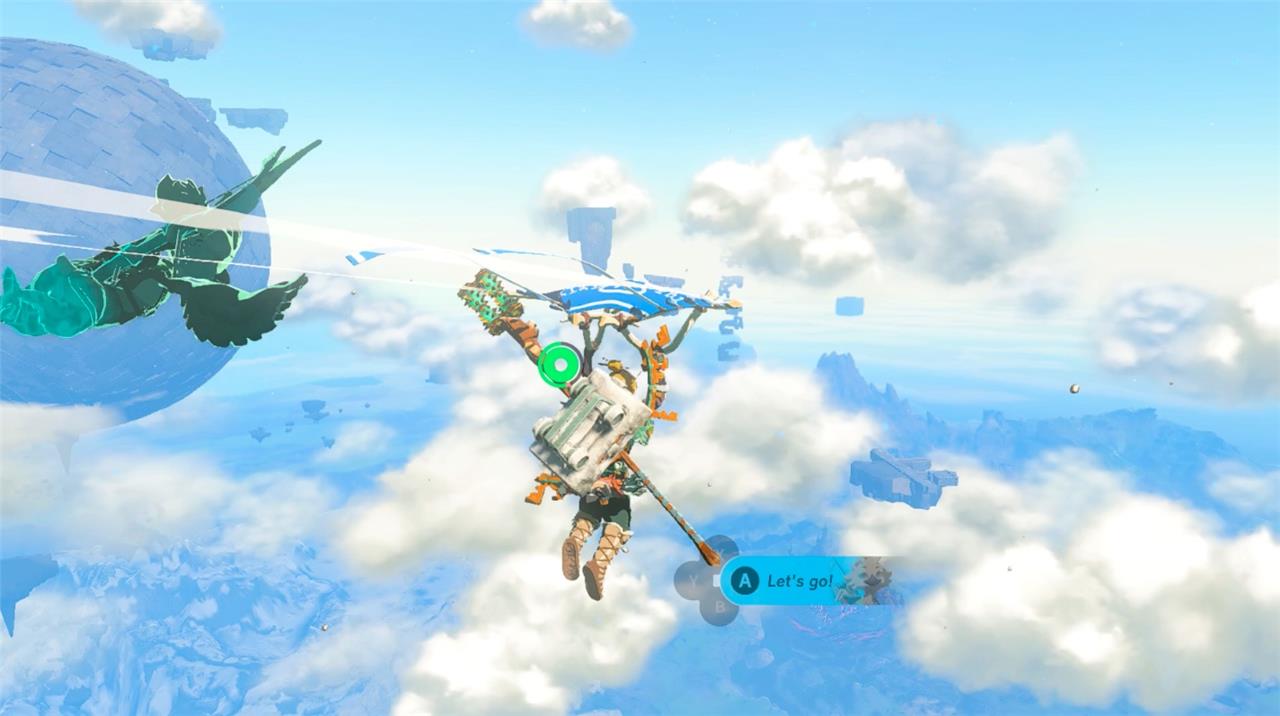
3. You likely won’t have the height or momentum to make it all the way around to the other side of the sphere, so once you’re in the air, head northeast again to the next visible island, and use Ultrahand to build another floating block/rocket combo to get back up in the air.
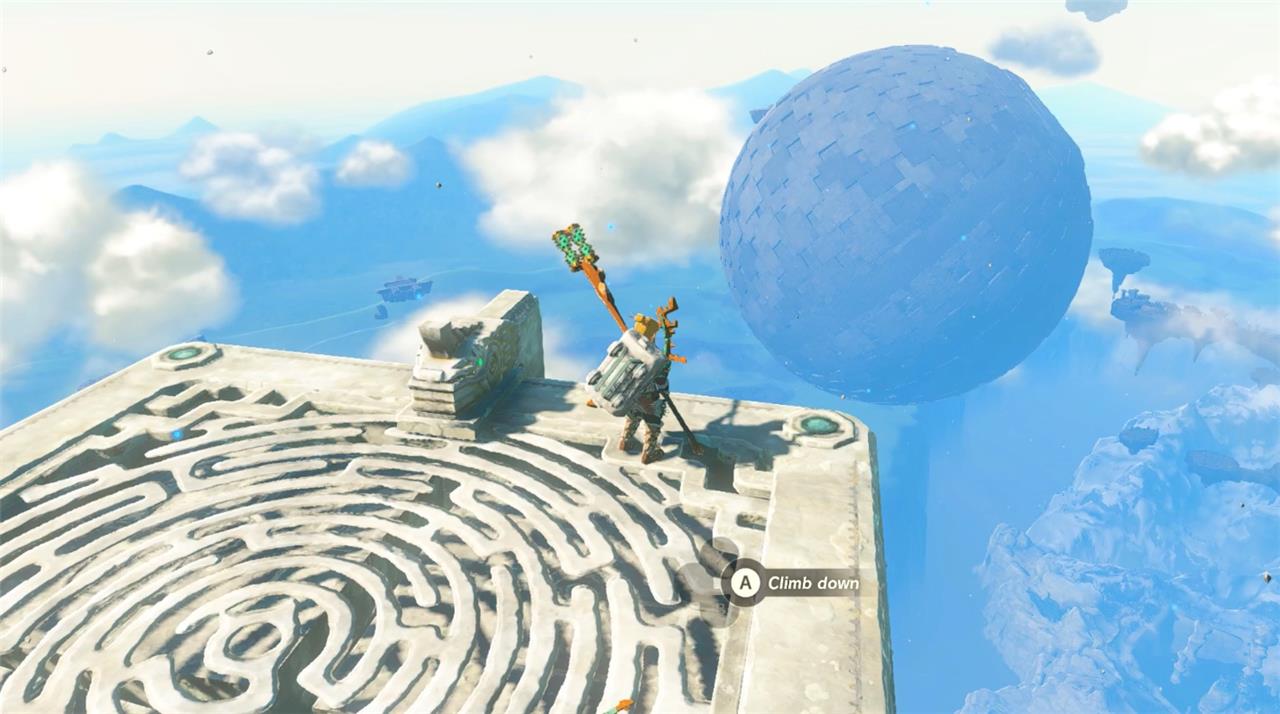
4. Once you’re positioned across from the southeast side of the sphere, paraglide toward the entrance, which faces to the northeast. Sail in to discover Starview Island.
Starview Island walkthrough and the Mayasiar Shrine puzzle
Starview Island is located high above the North Gerudo Sky Archipelago, reachable by using the nearby Skyview Tower and gliding toward its floating platforms. Once there, the Mayasiar Shrine challenge focuses on directing beams of light through mirrors to activate switches. Adjust the angles carefully so the light connects each target in sequence, then use the resulting platforms to progress. Completing the puzzle grants access to the shrine’s chest and Light of Blessing reward.
To unlock Mayasiar Shrine, you have to complete Starview Island’s mirror and lights puzzle. Feel free to do your Indiana Jones impression throughout.
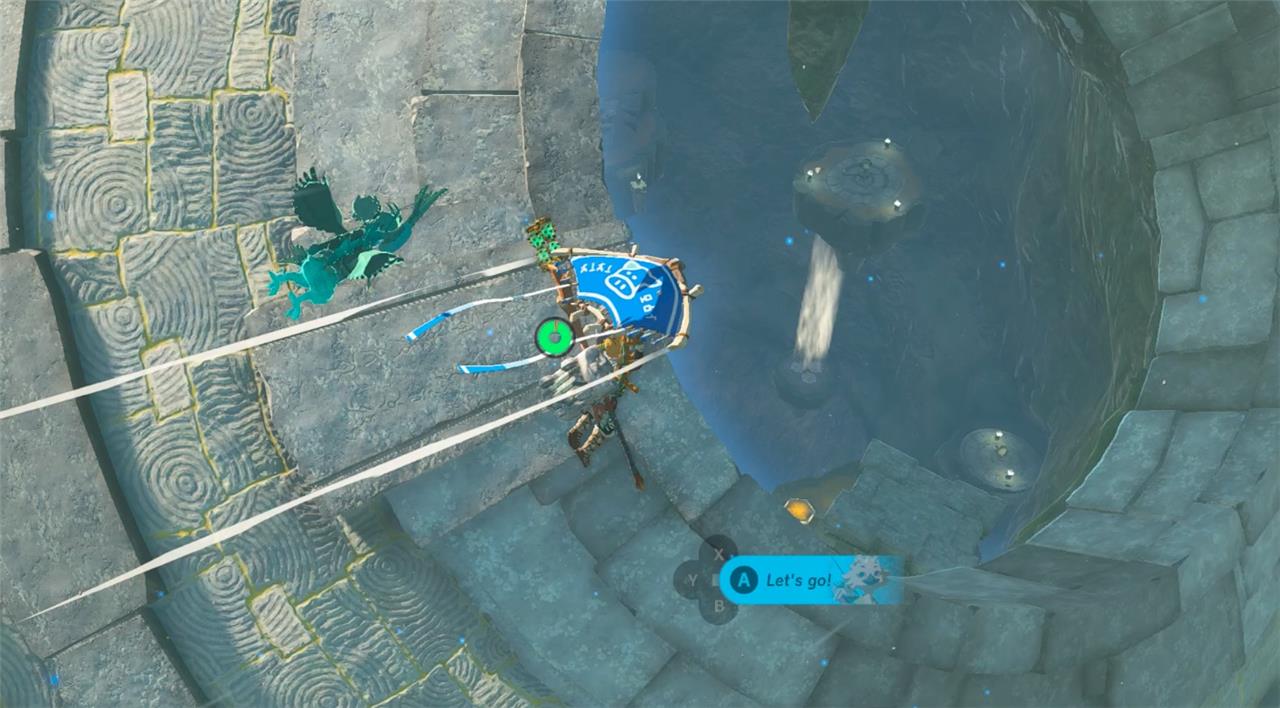
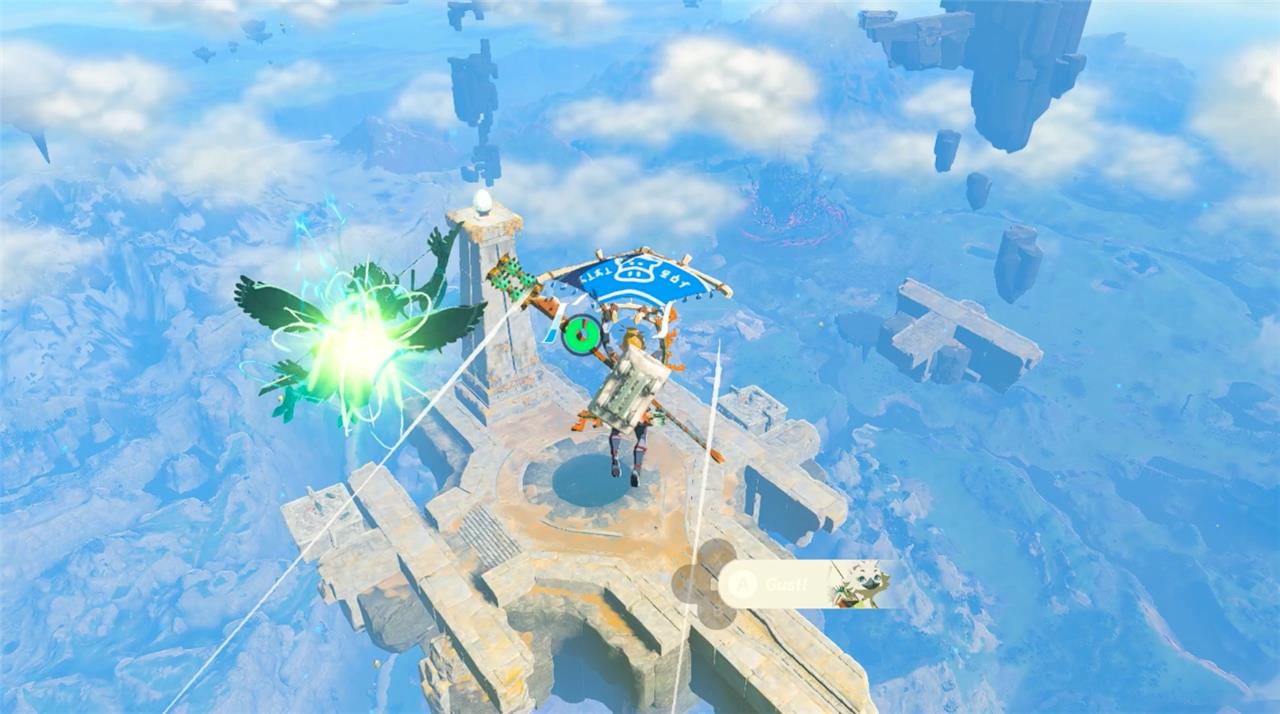
1. Paraglide down to the center platform in Starview Island. Push the wheel on the main platform to direct the lights toward the mirror on the outer platforms.

2. Jump out to ride the gust of wind back up to the higher levels. On the platform opposite the entrance you’ll find another wheel with a mirror on top. If the middle light is placed correctly, there should be light bouncing into it from the lower mirror’s source. Rotate the wheel mirror clockwise to position it toward yet another mirror just below and to the left of the Starview Island entrance.
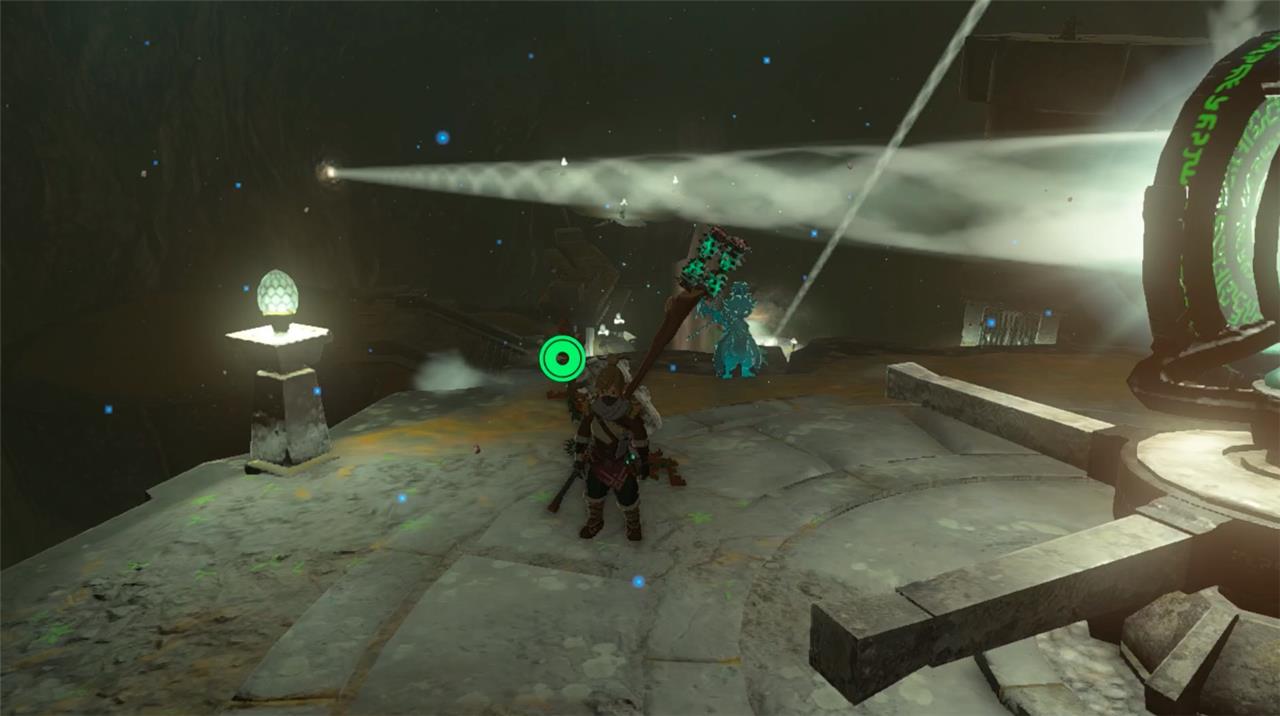
3. Paraglide across the room to the mirror you just illuminated. Push its wheel counterclockwise about 180 degrees to position it toward another unlit mirror on the south side of the room.
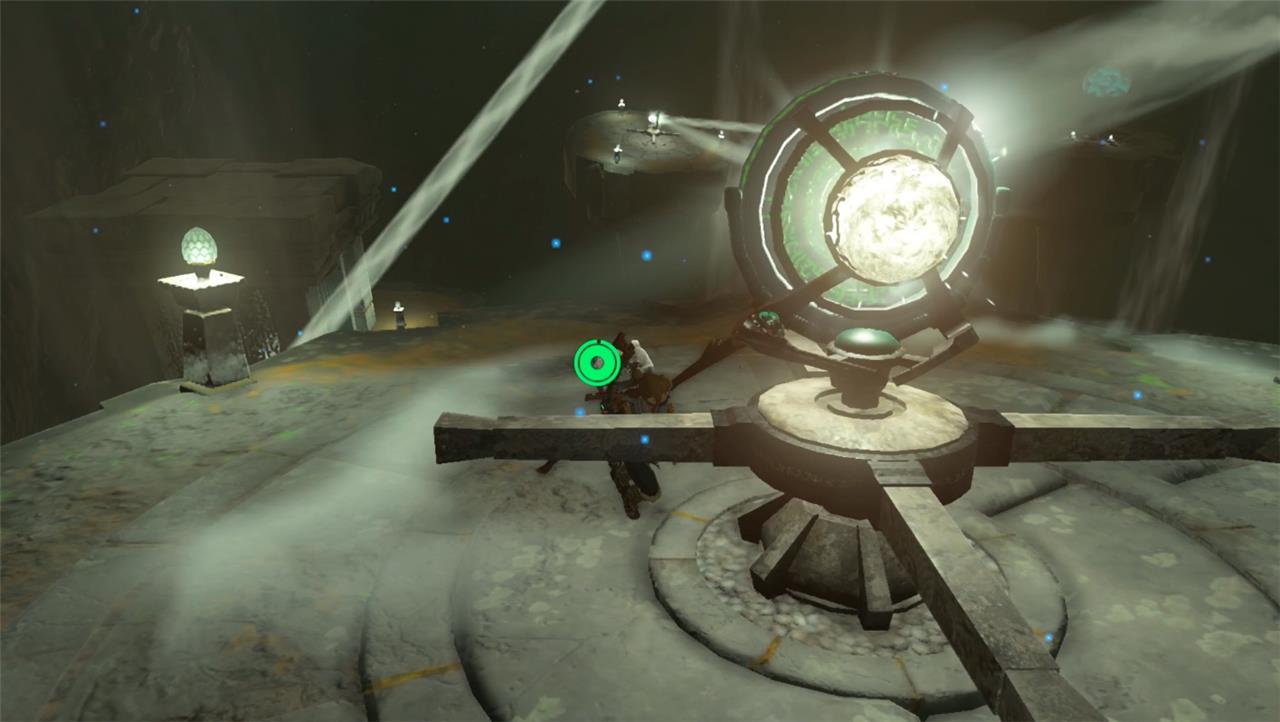
4. Paraglide over to the newly lit mirror and push wheel to position it toward the unlit mirror in the center of the room. If all the mirrors are in the correct position, the center mirror should light up and direct the beam toward the yellow sensor, activating the shrine.
How to align mirrors in Mayasiar Shrine
Mirror Alignment Overview
Aligning mirrors in Mayasiar Shrine involves reflecting light beams from the central rotating mechanism to outer platforms, progressively lighting up unlit mirrors until the beam hits a yellow hexagonal sensor to reveal the shrine. Use updrafts and paragliding to navigate between floating platforms inside Starview Island.
Step-by-Step Alignment
Start on the central platform and rotate the main wheel counterclockwise to direct its mirror toward an outer mirror at the same level, typically the one opposite the entrance (often needing to point west or toward a green mirror). Ride the wind updraft to the newly lit mirror on a higher platform and turn its wheel clockwise or as needed to aim at the next unlit mirror on the ceiling or another platform.
Continue this chain: Glide to the southern platform mirror, rotate it 180 degrees counterclockwise to hit the next one; then to the northern platform, adjusting to point downward or southeast; and finally to the northwest or final mirror, directing it toward the center and the yellow sensor. If lights go out during adjustments, reposition the central wheel to realign beams westward.
Tips for Success
Trial and error is common-follow the light path backward from the sensor if stuck, ensuring each mirror reflects to the next without missing links. A chest with a Sage’s Will unlocks via a separate northeastern pad, but focus the final beam on the western sensor for
Mayasiar Shrine chest location
Chest Location Overview
The chest in Mayasiar Shrine contains a Star-Fragment Staff and is located directly inside the shrine on its central pathway, as it’s a Rauru’s Blessing shrine with no additional puzzles. A separate optional chest with a Sage’s Will is accessible outside on Starview Island before entering the shrine.
Inside Shrine Chest
After activating the light beam on the western yellow sensor to reveal the shrine entrance, proceed straight inside to find the stone chest right in the middle of the main room. Open it for the Star-Fragment Staff, then continue to the altar for your Light of Blessing.
Optional Sage’s Will Chest
On Starview Island, align the final mirror (northwest platform) to hit the northeastern yellow pad instead of the western shrine sensor; this opens a gate to the chest containing the Sage’s Will. Reposition mirrors as needed since the same light chain activates both pads.