Hidden deep within Tears of the Kingdom’s Gerudo Highlands, the Kumamayn Shrine challenges players with shifting platforms and clever use of momentum. Here’s how to outsmart its moving parts and claim the treasure waiting inside.
When you’re done, our shrine locations page and interactive Hyrule map can direct you toward something else to do.
Kumamayn Shrine location
Kumamayn Shrine is located in the Gerudo Highlands, southwest of the region’s central plateau. You can find it on a cliffside overlooking the desert, slightly east of the Gerudo Summit area. The shrine is exposed to cold weather, so prepare gear or food that provides cold resistance before heading there. Its exact coordinates are roughly (-5050, -2050, 0520), making it easier to spot from higher elevations or by gliding in from nearby peaks.
Kumamayn Shrine is in the East Necluda Sky region of Hyrule, just east of the Rabella Wetlands Skyview Tower. The exact coordinates are (2856, -2858, 1212).
Visiting the Kumamayn Shrine location will start the “East Necluda Sky Crystal” shrine quest.
East Necluda Sky Crystal shrine quest solution
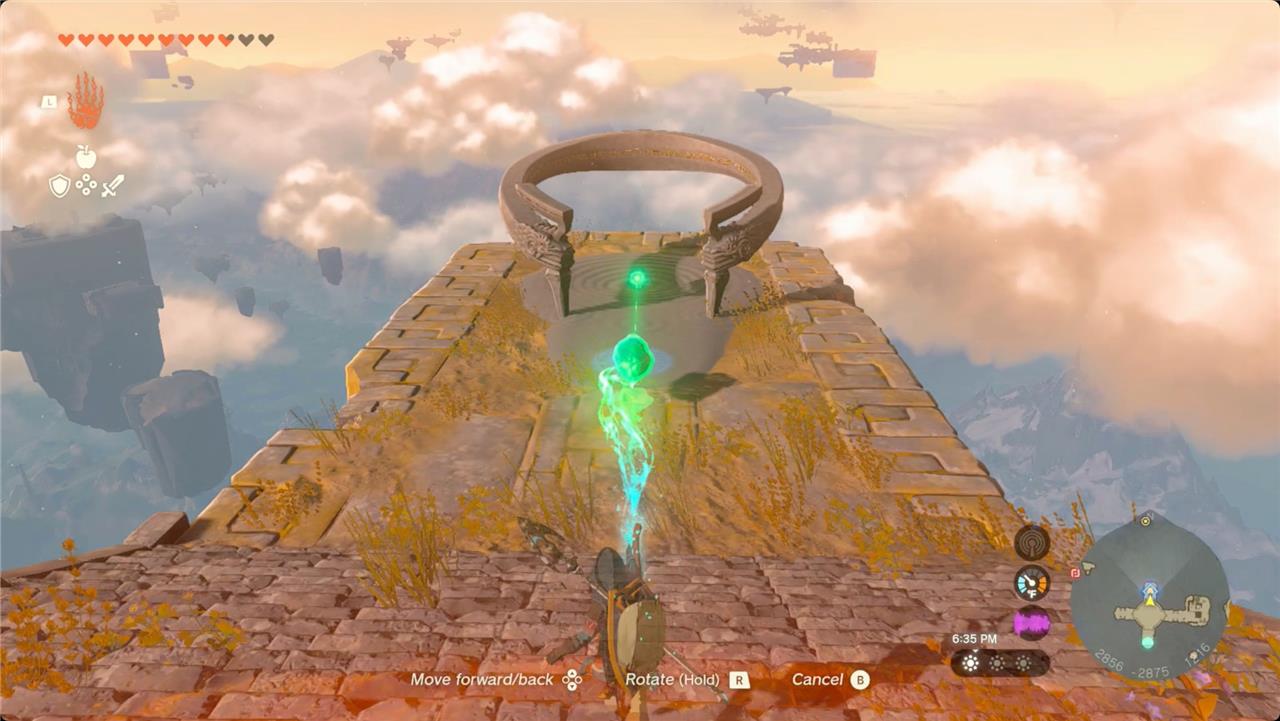
To complete the East Necluda Sky Crystal shrine quest for Kumamayn Shrine, glide from the nearby sky island toward the green beam marking the shrine’s location. Find the crystal on a small floating island guarded by constructs. Defeat them, attach the crystal to a nearby Zonai Wing using Ultrahand, and ride it back toward the shrine area. Land carefully, detach the crystal, and place it on the shrine pedestal to activate Kumamayn Shrine and gain access inside.
The crystal you need to open Kumamayn Shrine is nearby, but it’s attached to a Flux Construct 3. Head northwest to the large, round island to find it.
The fight against this Flux Construct is like any other fight you’ve had against others, but it’s dialed up a bit. The target block you’re looking for will change positions in the construct frequently and it just hits harder.
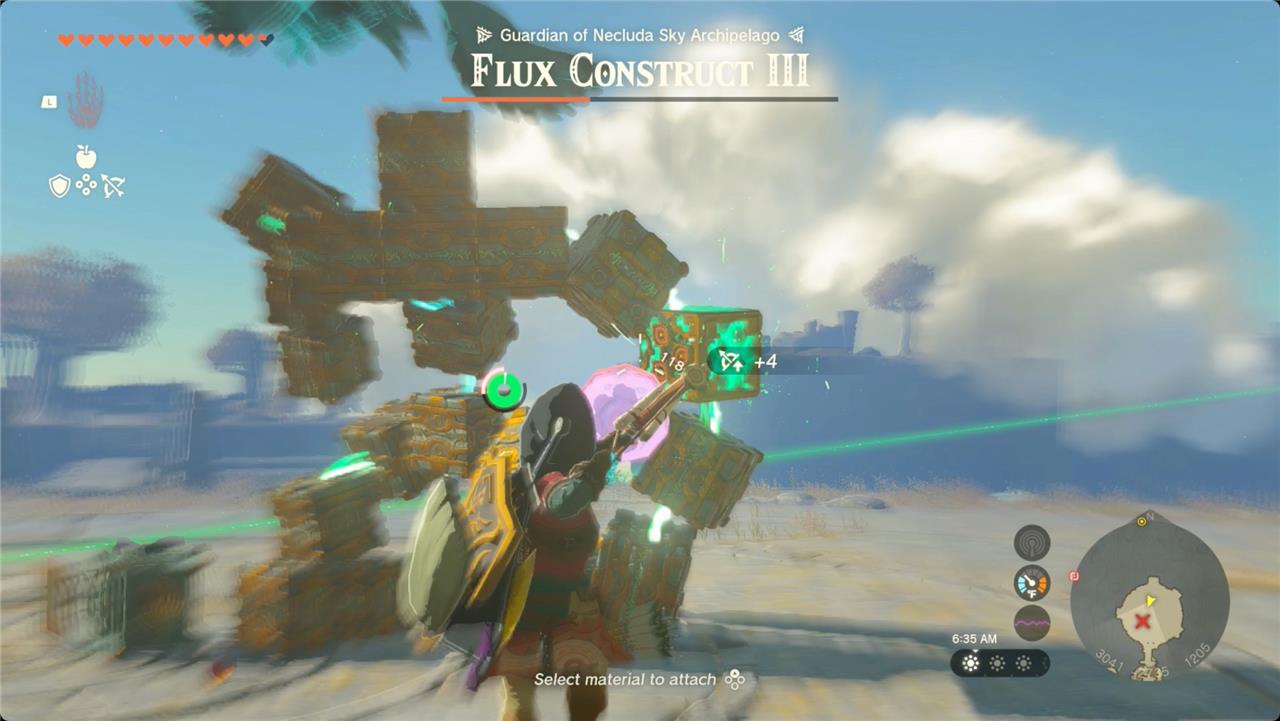
Luckily, there are a handful of Zonai springs scattered around. Use them throughout the fight to launch yourself, and then draw your bow to slow time. That will give you a shot on the target block before it moves. Aerocuda and Keese eyes also help your arrows find their target.
All Flux Construct fights have three parts: humanoid, floating platform, and cube.
- When the Flux Construct is shaped like a person, keep moving so it can’t hit you until it pauses. At that point, target the glowing block with your bow to stun it and deal some damage. If you’re quick, you can also grab the main block with Ultrahand and pull it out. That will collapse the construct and give you a chance to beat on the main cube with melee weapons.
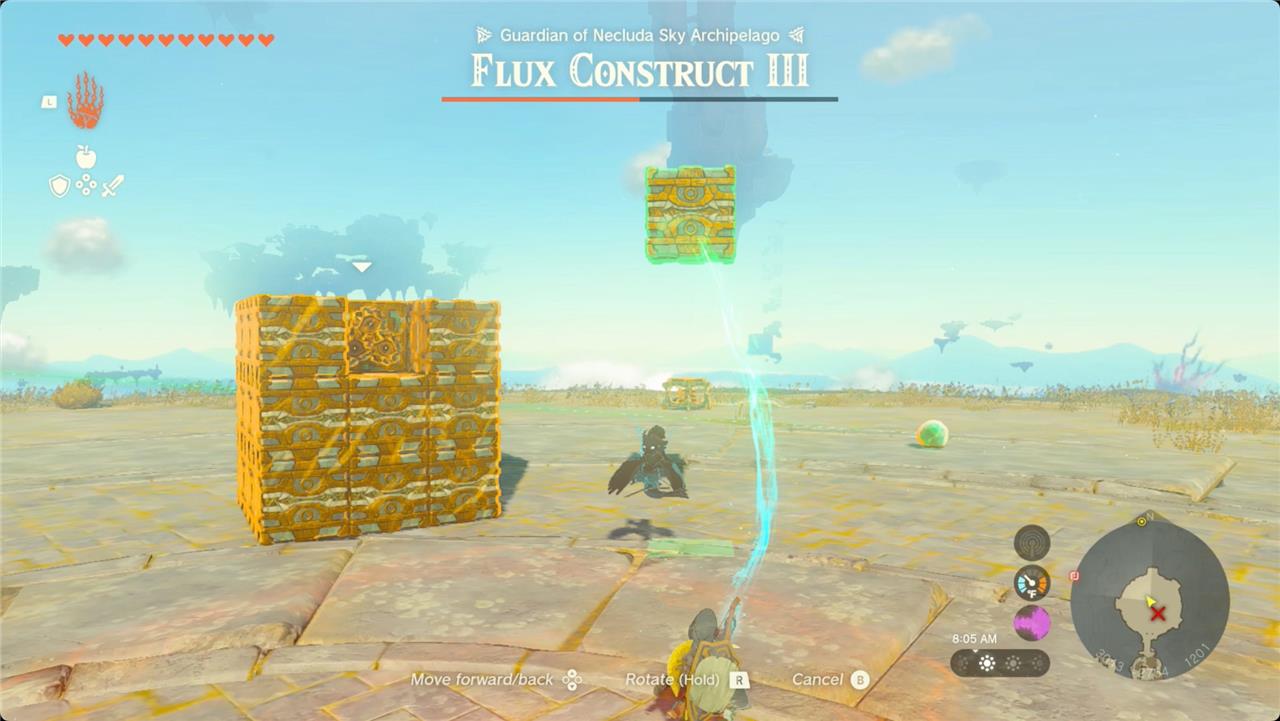
- In floating platform mode, the construct will position itself high above you and rain down cubes. Dodge the cubes when they land, and then use Recall to ride one back up to the platform so you can target the main block.
- For the cube phase, run away as the cube rolls and chases you. Keep running until the cube jumps and tries to slam you. At that point, either hit the target cube with some arrows (if you can see it), or start pulling cubes off with Ultrahand – once you pull off enough, the construct will collapse and you can switch back to melee weapons.
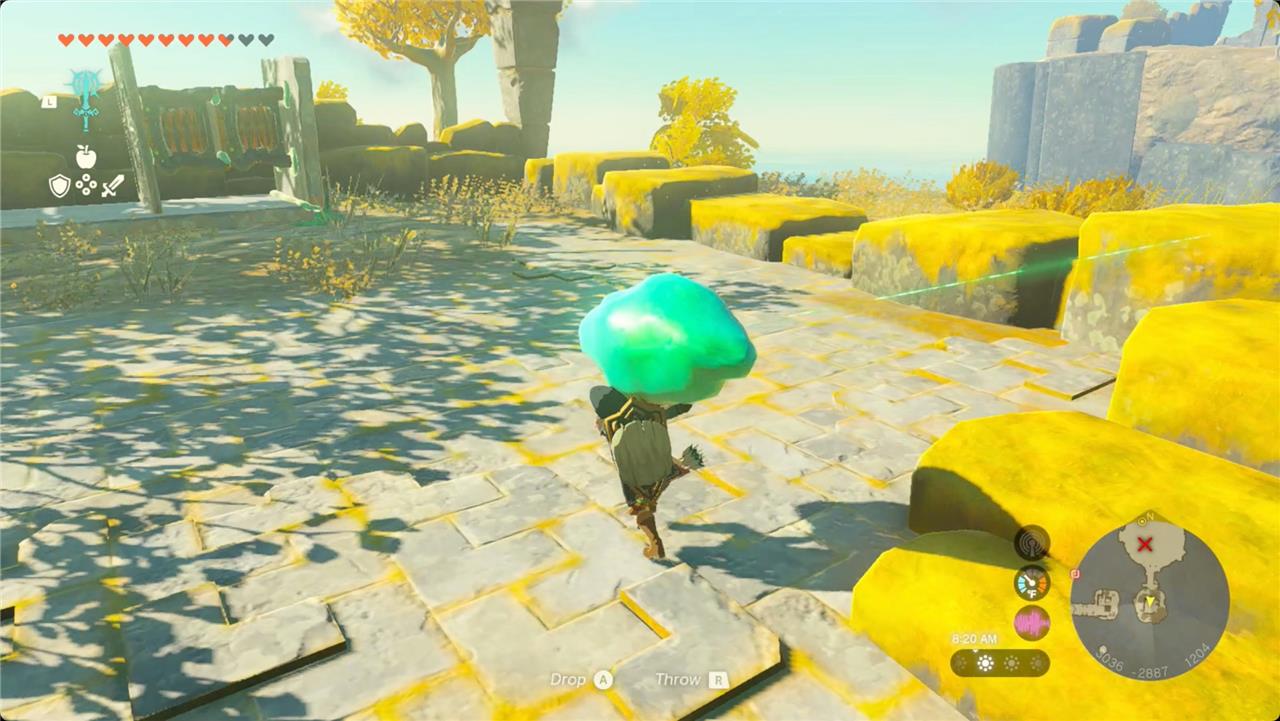
After the Flux Construct is defeated, carry the sky crystal south. At the corner, you’ll see some ruins and an L-shaped Zonai construction with two large springs.
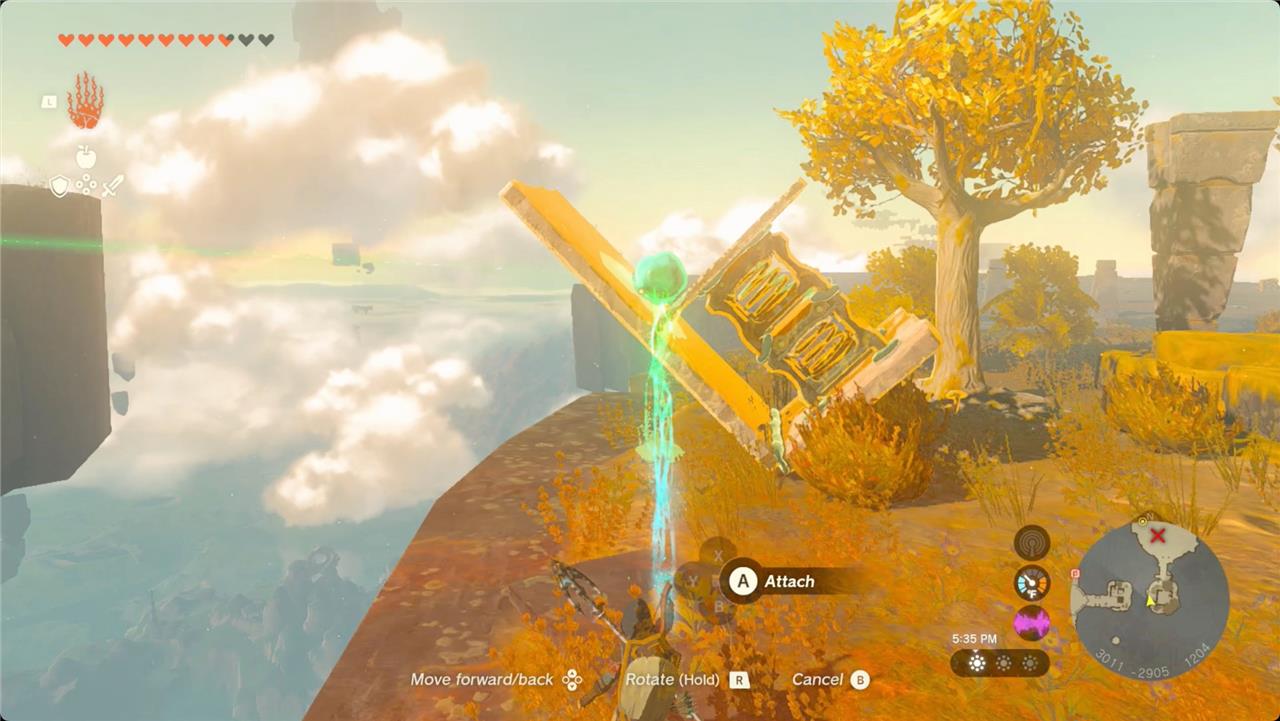
Grab that prebuilt assembly and carry it to the right. There’s a stake on the back side, so you can position it however you want. Rotate it up 45° and stake it into the ground near the edge of the island. Place the sky crystal on top of the springs and launch it over to the first island to the west.
Launch it, and then launch yourself to follow it. Carry the sky crystal over to the shrine to complete the “East Necluda Sky Crystal” shrine quest.
Kumamayn Shrine puzzle solution
Inside Kumamayn Shrine, use Recall on the moving platform to reverse its motion and reach the higher ledge. Next, grab the large sphere with Ultrahand and place it into the socket to open the gate. For the chest, ride the platform again, stop it midway with Recall, then shoot upward to glide across. Complete the puzzle by using Recall once more on the sphere platform to cross and reach the shrine’s end.
Best weapons and armor for Flux Construct III fight
For the Flux Construct III fight in Zelda: Tears of the Kingdom, prioritize weapons that excel at exposing and smashing its weak spot core, along with armor that boosts attack or defense for quick clears.
Top Weapons
Strong melee weapons with high base damage work best once the core is exposed; fuse them with Silver Lynel Saber Horns, Flux Construct Cores (from prior fights), or Gibdo Bones for +20-64 attack boosts. Examples include Royal Halberd fused with Silver Lynel Blade Horn or Scimitar of the Seven for 80+ power.
Multi-shot bows like 5x Savage Lynel Bow paired with Bomb Arrows or Eyebulins rapidly dismantle early phases from range.
Use Ultrahand on the glowing core block in every phase (tower, robot, platform, or rolling form) to stun it for melee rushes-no specific weapon needed.
Best Armor
Barbarian Armor set fully upgraded boosts melee attack-up to 80% without food buffs, ideal for core-smashing.
For defense against physical smashes, Miner’s Armor or any physical-resistant set reduces chip damage; pair with Attack Power food if skipping Barbarian.
No elemental resistances needed since attacks are blunt physical force.
Quick Strategy
In phase 1 (tower), snipe the eye core with arrows. Phase 2 (robot), Ultrahand the shifting core block. Phases 3-4 (flying/rolling), Recall blocks or rocket-jump to reach and yank it. Rewards include Flux Construct III Core (prime fuse material), Large Zonai Charges, and chests.
Which weapons deal the most damage to Flux Construct III
Weapons fused with Flux Construct III Cores deal the highest damage to Flux Construct III once its weak spot is exposed, as the core adds a massive +32 Fuse Attack Power boost to strong base weapons.
Silver Lynel horns (+25 to +64 power) or Gibdo Bones on Royal or Scimitar weapons also shred the core rapidly during stun phases.
Top Damage Weapons
-
Flux Construct III Core fusions: Attach to Mighty Zonite Sword (base 16 → 48+), Spear (base 10 → 50+), or Halberd for peak output; the core’s synergy makes it hit hardest against the boss’s eye block.
-
High-power melee: Royal Claymore or Gloom weapons fused with Lynel horns exceed 80 attack power, ideal for charged spins on the stunned core.
-
Bows for setup: Multi-shot Lynel Bows with Bomb Flowers or Eyebulins expose the core fast from range, though melee finishes the job.
Why These Maximize Damage
Flux Construct III has 1080 HP and only takes damage to its shifting eye core block, so raw attack power on melee hits during 15-second stuns determines clear speed.
Elemental weapons underperform due to resistance; blunt physical force from fused heavies is optimal.
Farm prior Flux Constructs for cores to craft these on the Necluda Sky island before engaging.