Koboh hides secrets behind every ridge and ruin-chests packed with upgrades, Force tears that test your skill, and essences that strengthen Cal’s connection to the Force. Here’s where to find them all.
Star Wars Jedi: Survivor features literally hundreds of collectibles. We’re only focusing on those that have a tangible impact on how you play the game: essences (which power you up), Force tears (trials that reward you with a skill point), and chests (which contain cosmetics that make Cal and BD-1 look worthy of an Coruscant Daily Newsfeed cover shoot). Some chests contain the same cosmetic item – the first unlocks the item, and the second unlocks materials (color options) for it.
Over dozens of hours, you’ll visit each planet in Star Wars Jedi: Survivor multiple times. This guide covers collectibles you can get during your first visit.
Our Star Wars Jedi: Survivor Koboh collectibles guide will help you find every chest, Force tear, and essence on Koboh in the Gorge Crash Site, Derelict Dam, Southern Reach, Riverbed Watch, Hunter’s Quarry, Sodden Grotto, Pyloon’s Saloon, Smuggler’s Tunnels, Chamber of Duality, Rambler’s Reach Outpost, Foothill Falls, Mountain Ascent, Harvest Ridge, Untamed Downs, Swindler’s Wash, Basalt Rift, Forest Array, Rehabilitation Wing, Bilemaw Den, Nekko Pools, and Bygone Settlement regions.
Gorge Crash Site collectibles
The Gorge Crash Site on Koboh holds a range of collectibles, including chests, Force essences, and databank entries hidden among the wreckage and cliffs. Players can find valuable upgrades and cosmetic items by exploring the crashed ship areas, underwater passages, and ledges that require advanced traversal abilities. Careful observation and returning with new powers reveal additional secrets that are easy to miss on the first visit.
There are 14 collectibles in the Gorge Crash Site region of Koboh: two chests, one essence, four databank entries, one Force tear, two treasures, and four seed pods.
Chest 1 – Scrapyard photoreceptors BD-1 component
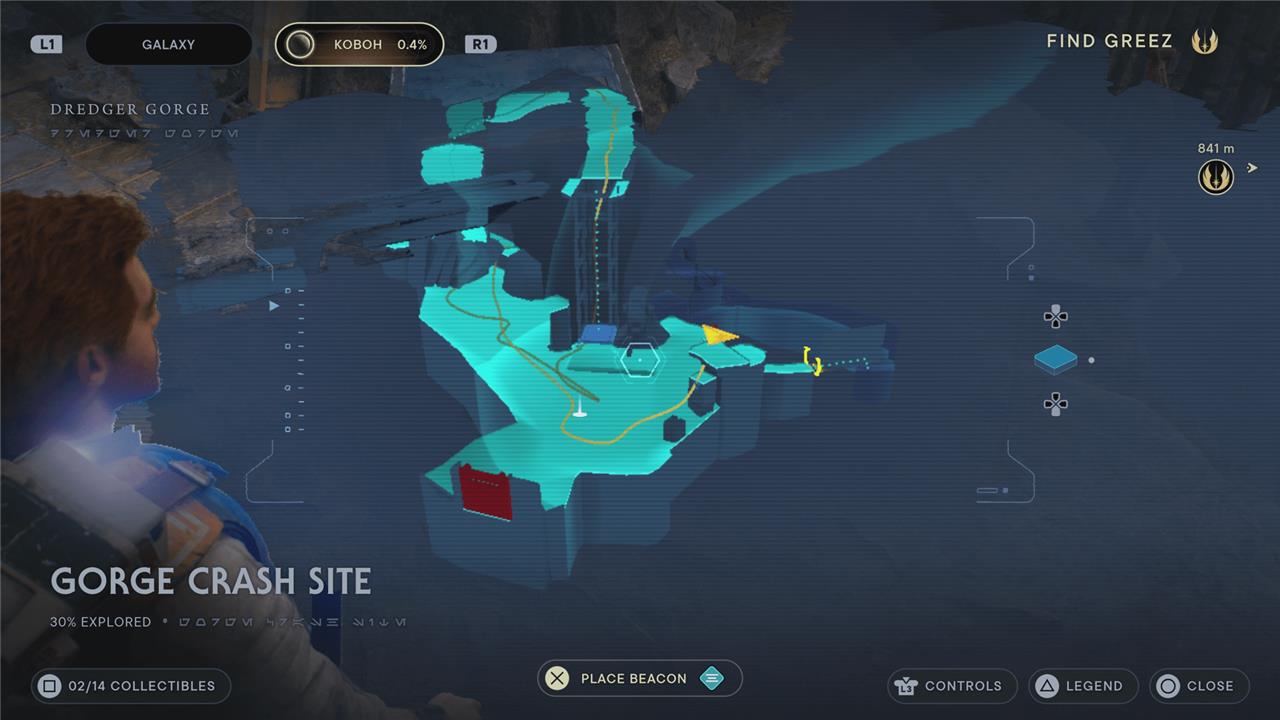
At the meditation point, face the elevator. Use your ascender to climb up to the crates on your right to find the first chest with the ScrapyardphotoreceptorsBD component inside.
Chest 2 – Short beard
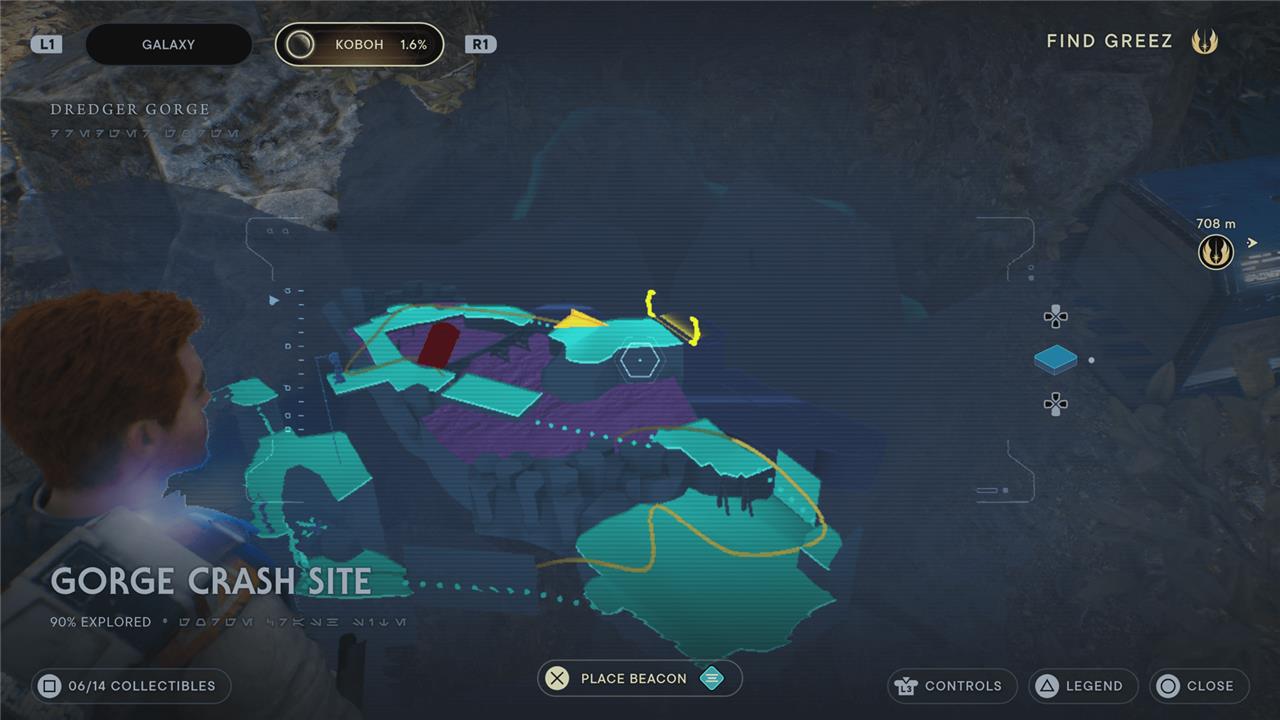
After you blow a hole in the first tar dam, you’ll loop around past a pit droid who you can’t help yet. When you jump the gap just past it, open the chest on the right for Cal’s short beard cosmetic item.
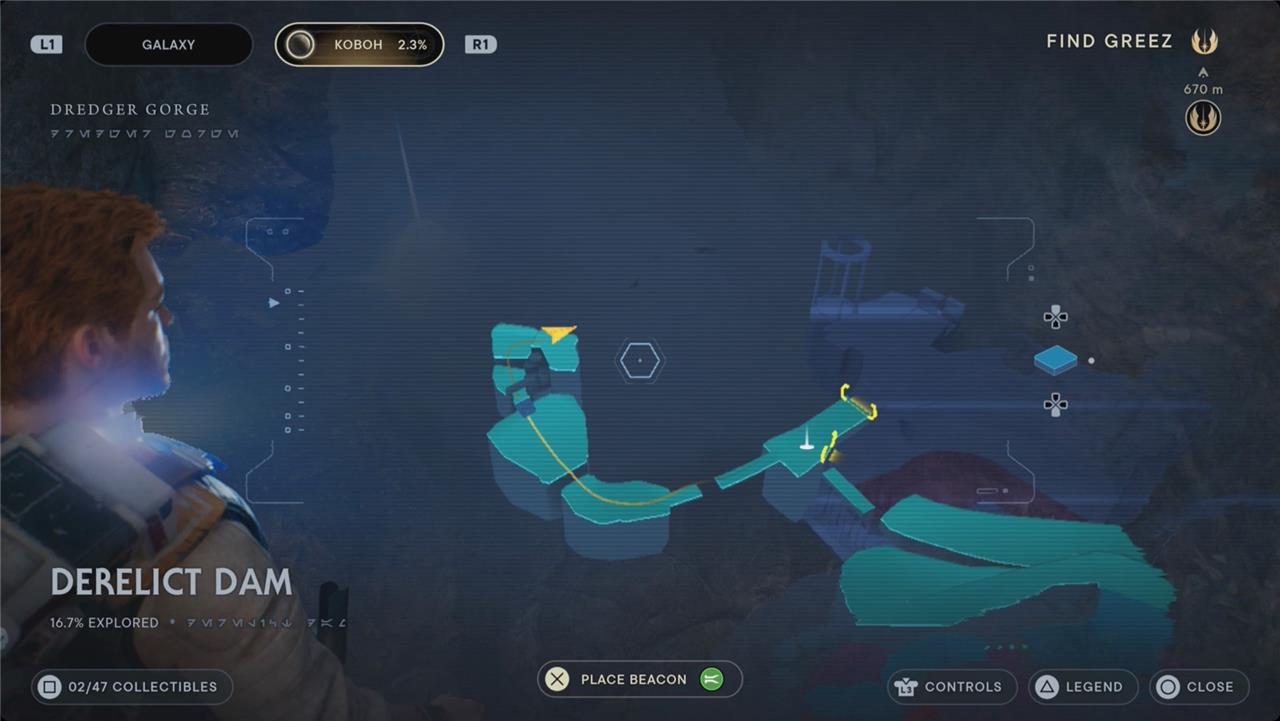
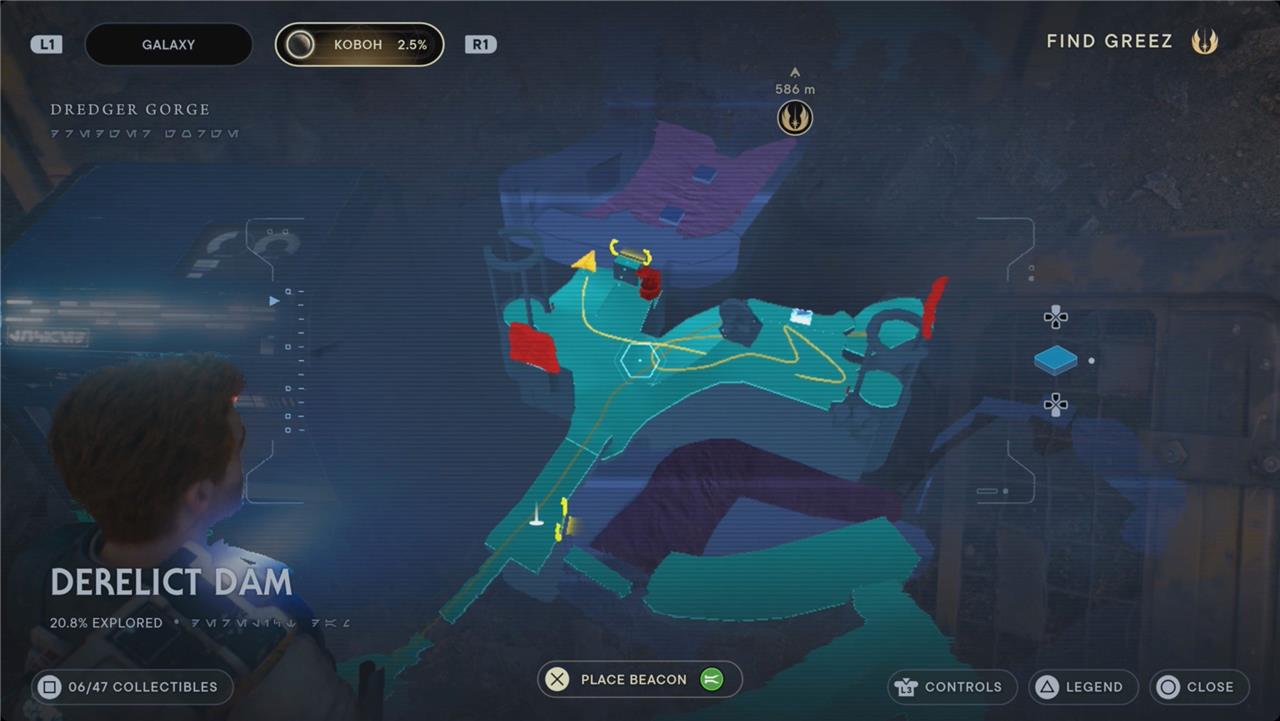
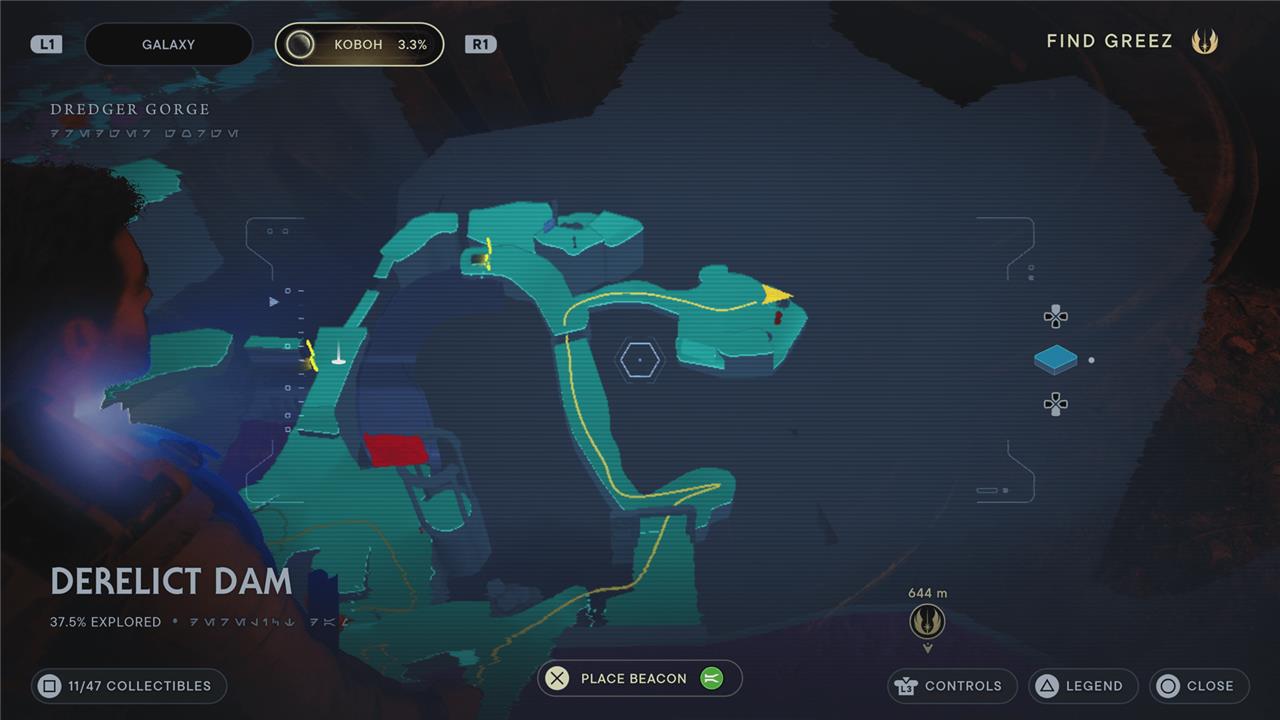
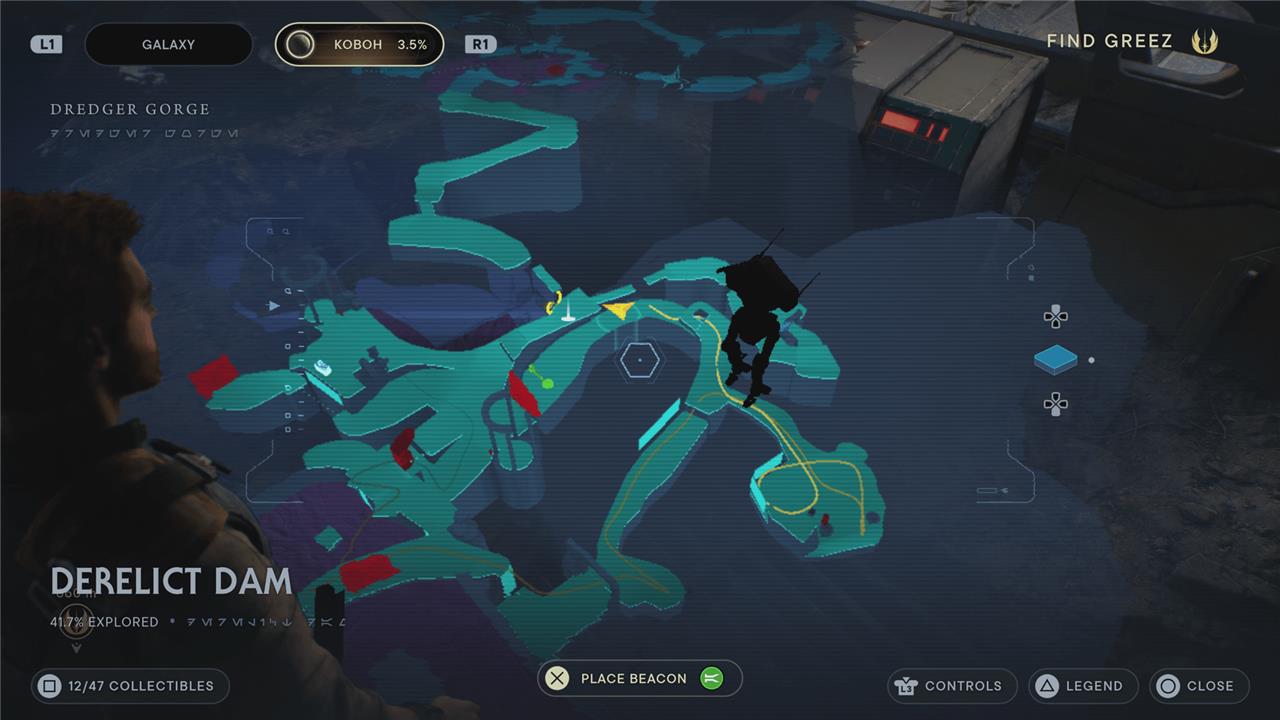
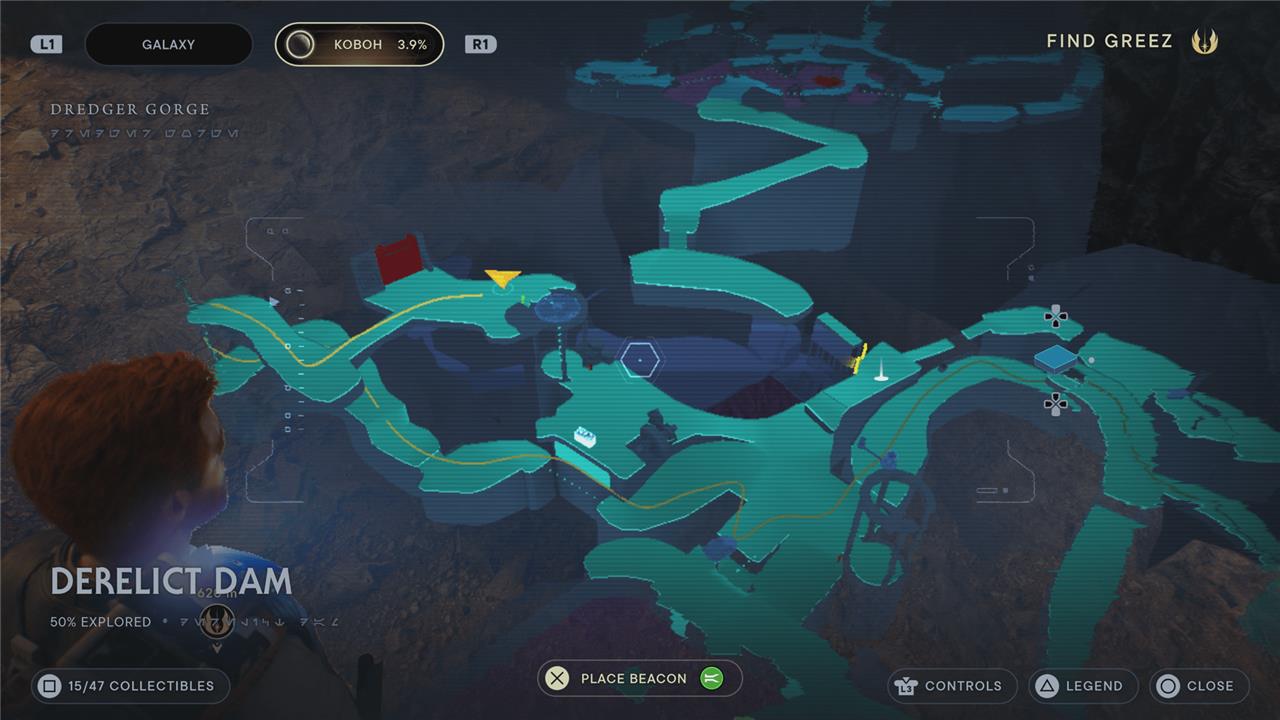
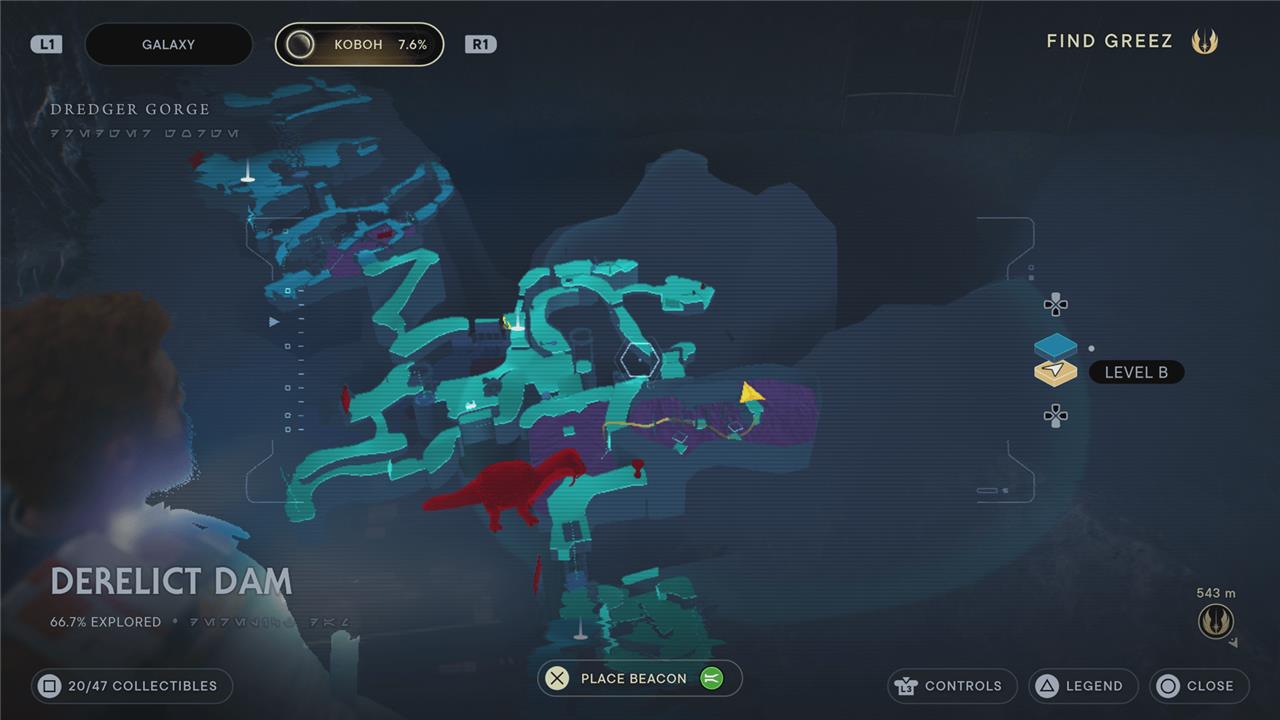
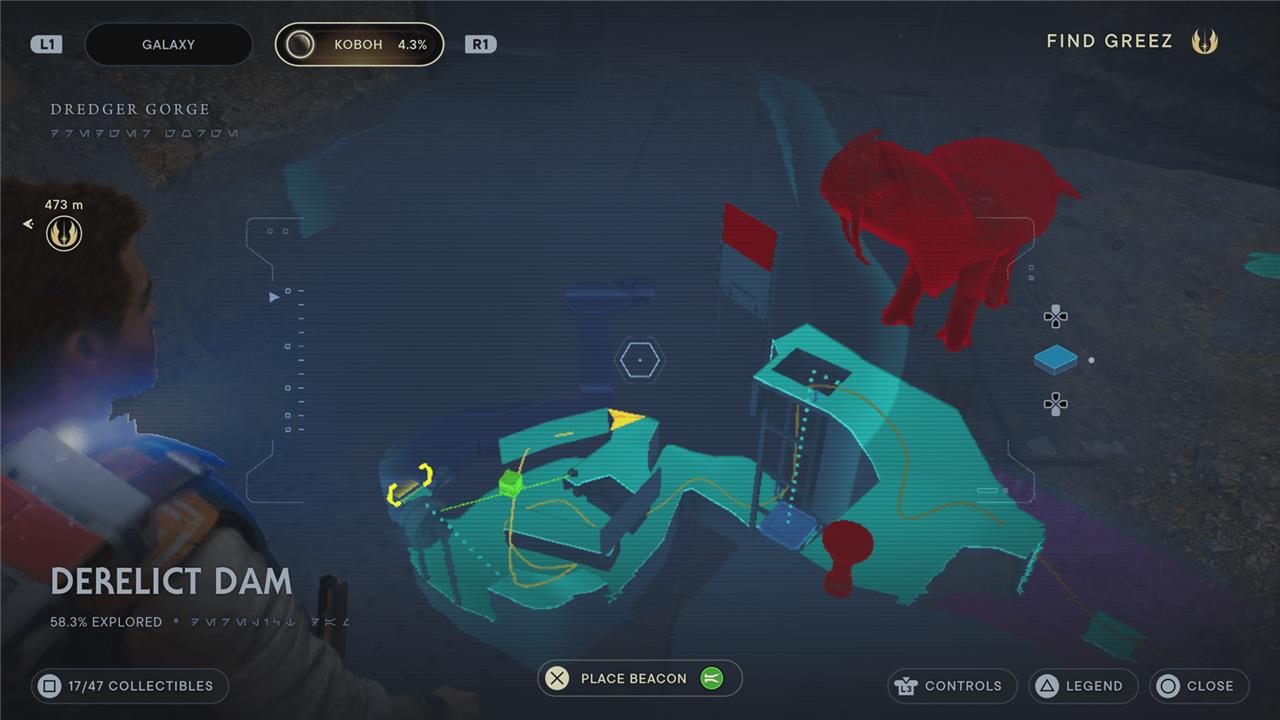
Derelict Dam collectibles
The Derelict Dam holds several collectibles on Koboh, including two chests and one Force Essence. One chest sits near the entry point by the broken bridge, reachable after dropping down from the ledge above. The second chest requires climbing vines and crossing a beam inside the main structure, past the derelict machinery. Players grab the Force Essence by using Force Pull on a loose panel high up, then jumping to the platform it reveals. Check the area thoroughly after flooding recedes to spot these items.
There are 47 collectibles in the Derelict Dam region of Koboh: eight chests, five essences, 10 databank entries, one Force tears, 10 treasures, and 13 seed pods.
Essence 1 – Health
From this area’s meditation point, head left (opposite the direction for the main story) and across the hanging bridge. Around the corner, you’ll have to take out a gorocco. Once it’s handled, Force Pull the hatch on the wall and go inside. Just past the first corner with the Gorocco Nest database entry, you’ll find a health essence along the wall on your left.
Chest 1 – Light metal weapon material
Take a right from the meditation point and follow along the main story path. When you reach the clearing (you’ll know you’ve reached it when you see a workbench to your right), head toward the lift to your left. As you approach it, look to the right to find a chest along the cliff edge with the light metal weapon material inside.
Chest 2 – Anodized metal BD-1 material
Climb up above that chest and look left. Use your Ascension Cable to zip over to the vines on the wall just to the right of where BD scanned, and then climb up. Head to the left. A couple more droids and Bedlam Raiders – and two new roller mines – later, you’ll enter a tunnel with the A Desperate Escape databank entry to the right.
To the left of that databank, head deeper into the tunnel. Just past the commando droid, climb the wall and take the first right. In the next room, wall run up the walls on the right side to reach a ledge and a chest with the anodized metal BD material inside (there’s another chest on the left we can’t open yet).
Chest 3 – Tactical jacket
Back in the main tunnel, follow it up and drop through the hatch in the floor. After you get jumped by a hiding Bedlam Raider, have BD slice the chest at the corner for a tactical jacket for Cal.
Essence 2 – Force
You’ll exit that tunnel by having BD turn on a roller mine dispenser. Get one of the mines to follow you to the right and down the path along the cliff edge (that passes below the workbench). Wall run across the gap (you’ll land next to some priorite) to the left when you land, and then Force Pull the roller mine across the gap. Use it to blow open the wall.
After a fight against another gorocco, follow the tunnel to the end, climb the rope, and deal with the droids and roller mines. Cross the bridge, and you’ll find a Force essence along the cliff edge on your left.
Chest 4 – Mullet
Back at the roller mine dispenser, get another one to follow you to the tar pit and use it to blow open the dam on your left. That will level out the tar in the two pools. Jump forward onto the platforms on your side. At the second floating metal platform, turn left and climb the vines to the top of the dam (you were here earlier). This time, turn to the right and look for a pipe to cross. Use it to get to the center of the pond and drop down. Loop around the right side of the rocks and climb the wall to find a chest with the (sigh) mullet hairstyle for Cal.
Chest 5 – Scrapyard head BD-1 component
Shortly after you pass the Trontoshell and take the elevator down, you’ll enter a storage area with a few droids to handle. Once they’re dealt with, use the Force on the large crate to wall run along the wall on the right side. You’ll reach a ledge with a chest holding Scrapyard head BD component.
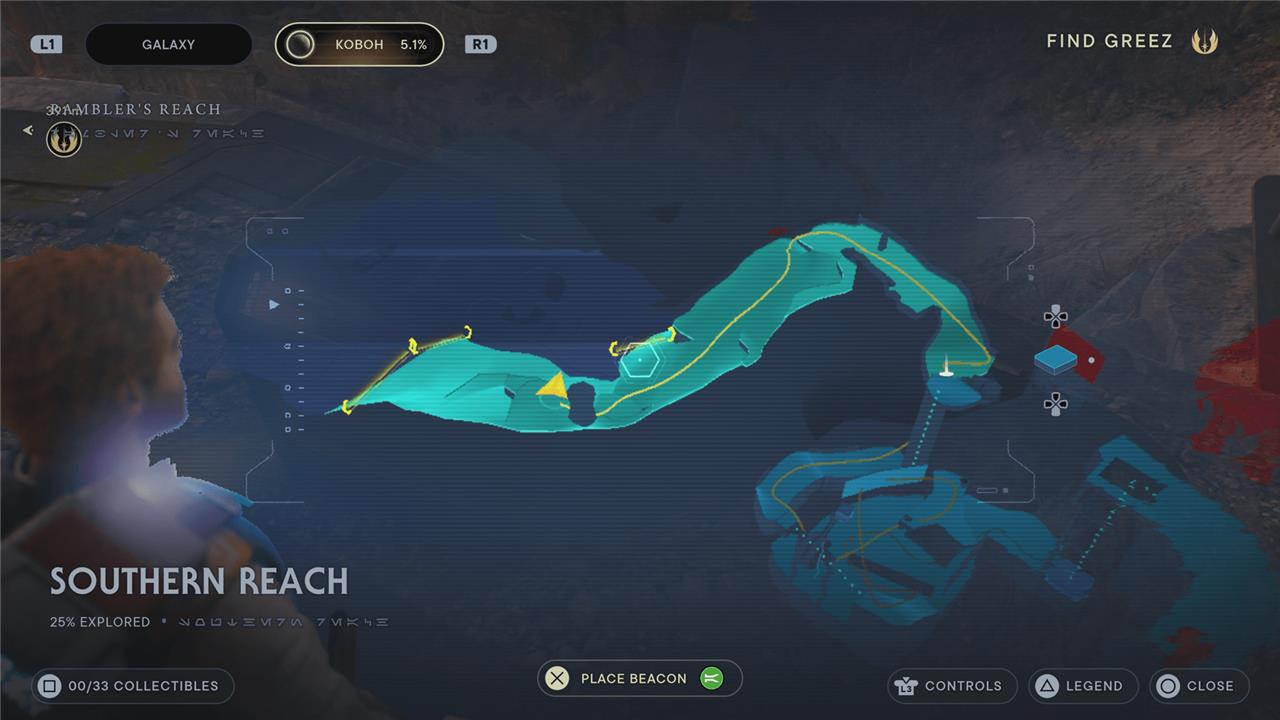
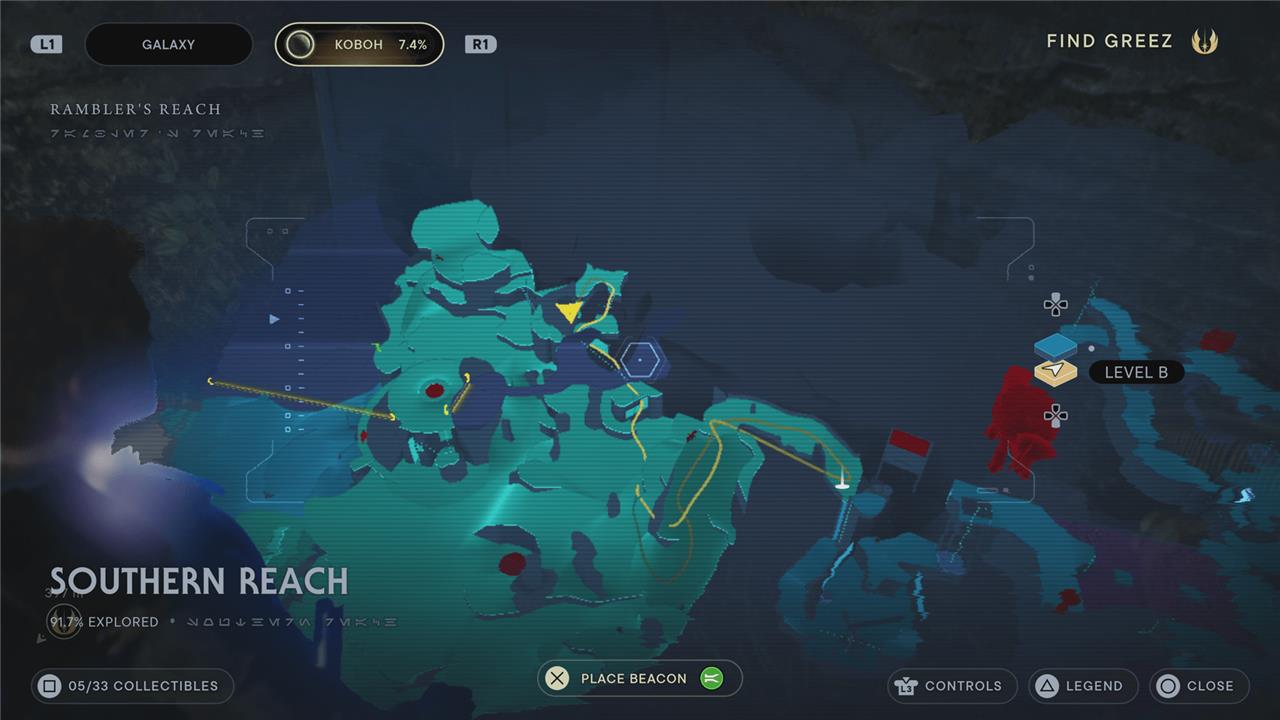
Southern Reach collectibles
The Southern Reach area on Koboh contains several collectibles, including chests with cosmetic items, Force Tears that challenge your combat and platforming skills, and Essence upgrades that expand Cal’s abilities. Many collectibles are hidden along narrow paths, high ledges, or behind puzzle mechanisms near the outpost. Using BD-1’s scanners helps reveal hidden routes and interactable objects, making it easier to locate each secret. Completing this region grants meaningful upgrades and aesthetic options that enhance both gameplay and exploration.
There are 33 collectibles in the Southern Reach region of Koboh: three chests, one essence, three databank entries, seven treasures, and 19 seed pods.
Chest 1 – Full beard
After you meet Mosey on the outskirts of Rambler’s Reach, follow her down the path to where she’s hanging out with Brutus the Nekko. Jump up to the ledge behind them to find a chest with a full beard cosmetic item for Cal.
Chest 2 – Kashyyyk paint weapon material
Face away from Mosey (and Brutus), and cross Southern Reach to the far side – there’ll be a waterfall to your right. Climb up the vines on the wall, and use the poles to swing across the gap. After the poles, take a right into the tunnel (you’ll have to hack through some vines). Swing across another pole, and then loop around the waterfall to find this chest with Kashyyyk paint weapon material inside.
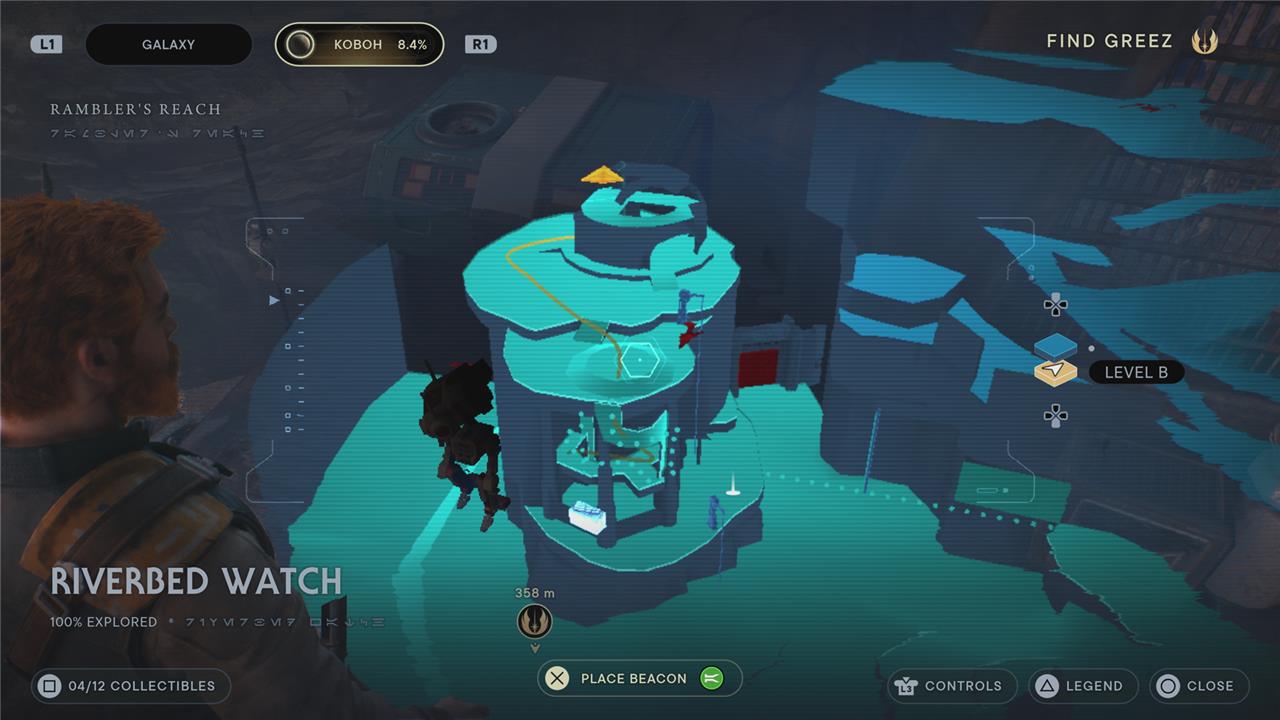
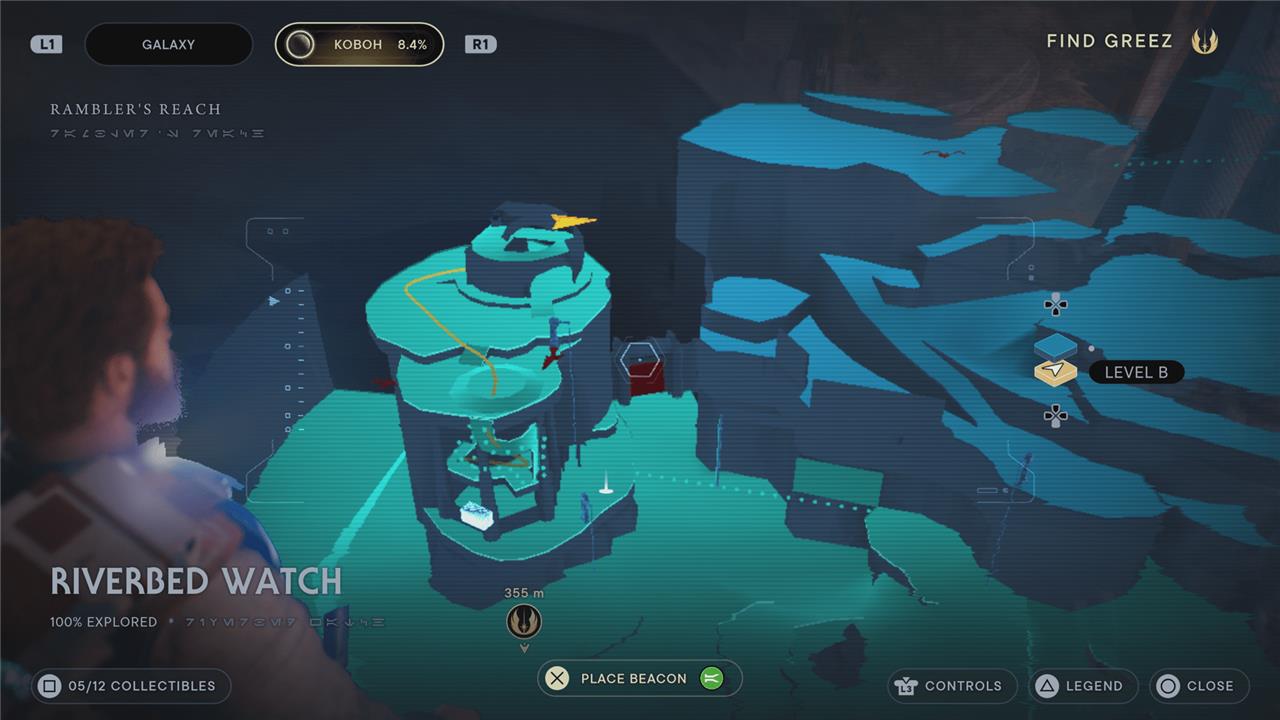
Riverbed Watch collectibles
Riverbed Watch collectibles are scattered along the eroded banks and rocky paths near the Koboh riverbed. Players can find chests containing cosmetics, materials, and perks hidden among debris and narrow ledges. Some spots require precise wall runs or Force abilities to access, while others become reachable only after story progression. Thorough exploration often rewards players with valuable items that support both combat and customization upgrades.
There are 12 collectibles in the Riverbed Watch region of Koboh: one chest, one essence, four databank entries, two treasures, and four seed pods.
Chest 1 – Bun hair
From the Riverbed Watch meditation point, head into the building (past the workbench) and wall jump up the shaft at the back, and use the netting outside to climb to the roof. After you deal with a whole lot of droids, head back into the building (to deal with more droids). Climb the toolbox and cages up to the next roof. The chest with the bunhairstyle for Cal is to your right.
Essence – Health
From the chest with Cal’s bun hairstyle, head to the other side of the roof and take out the super battle droid waiting there. The health essence is right next to it.
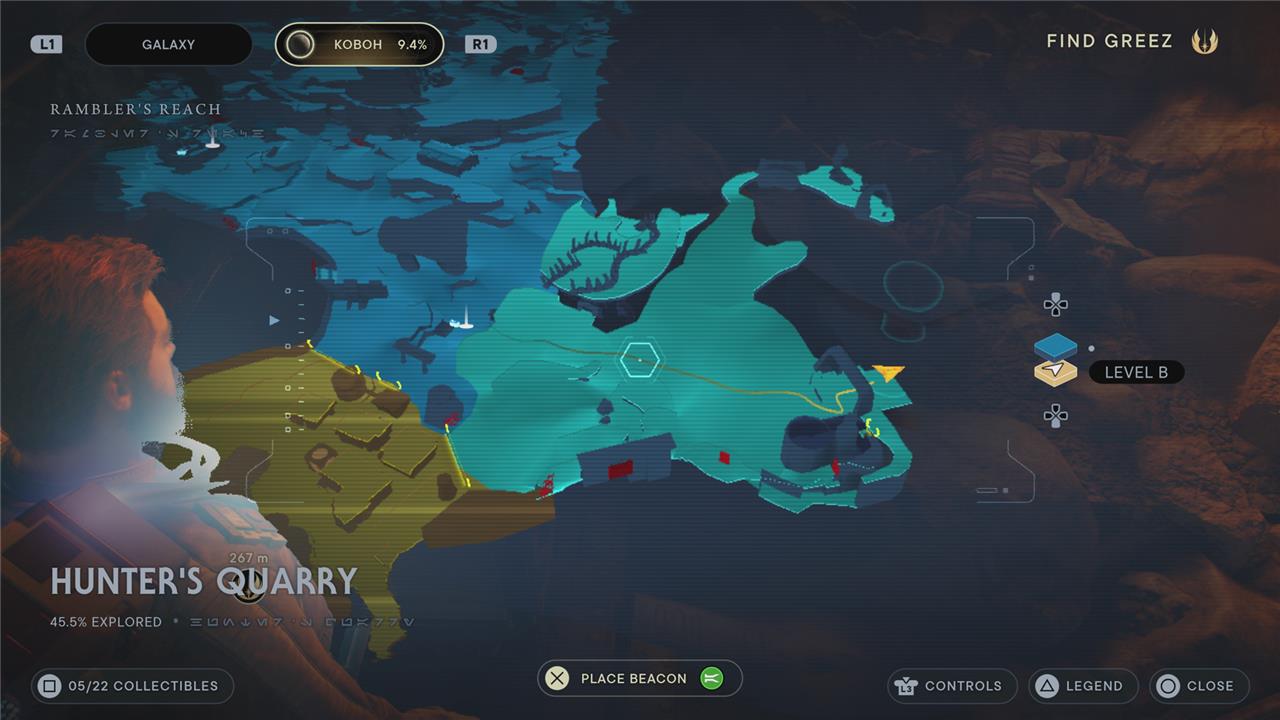
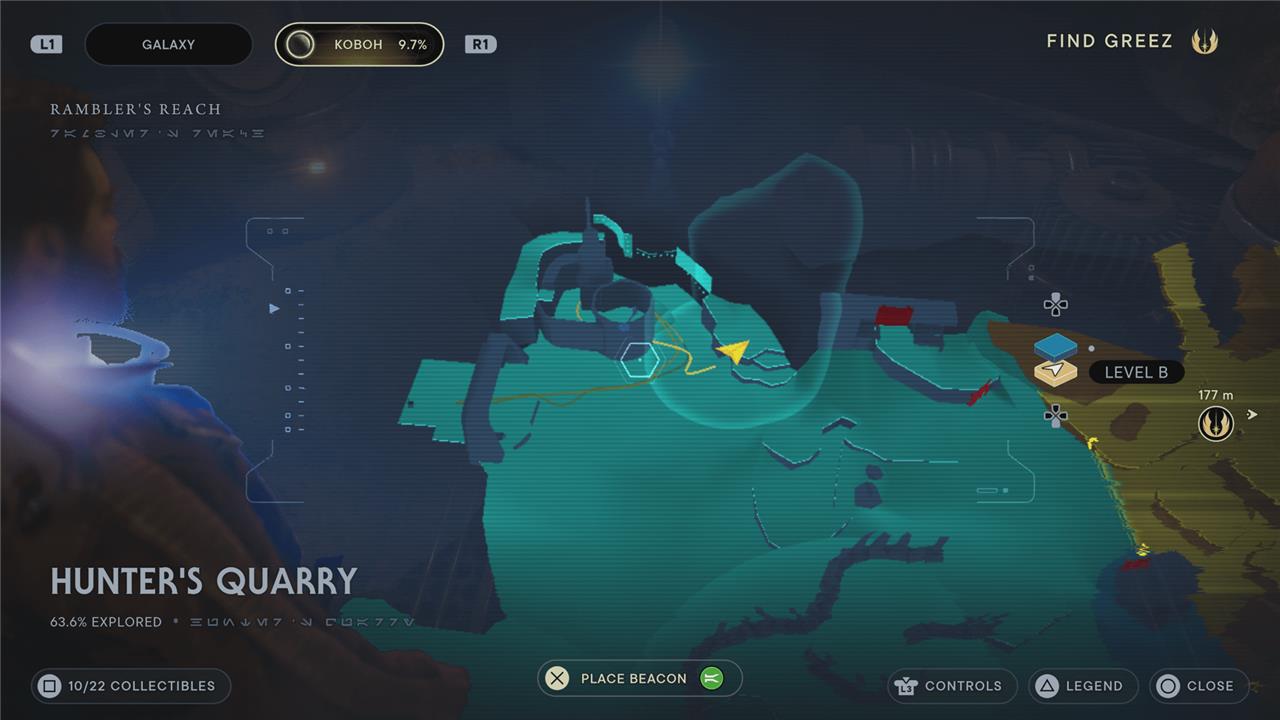
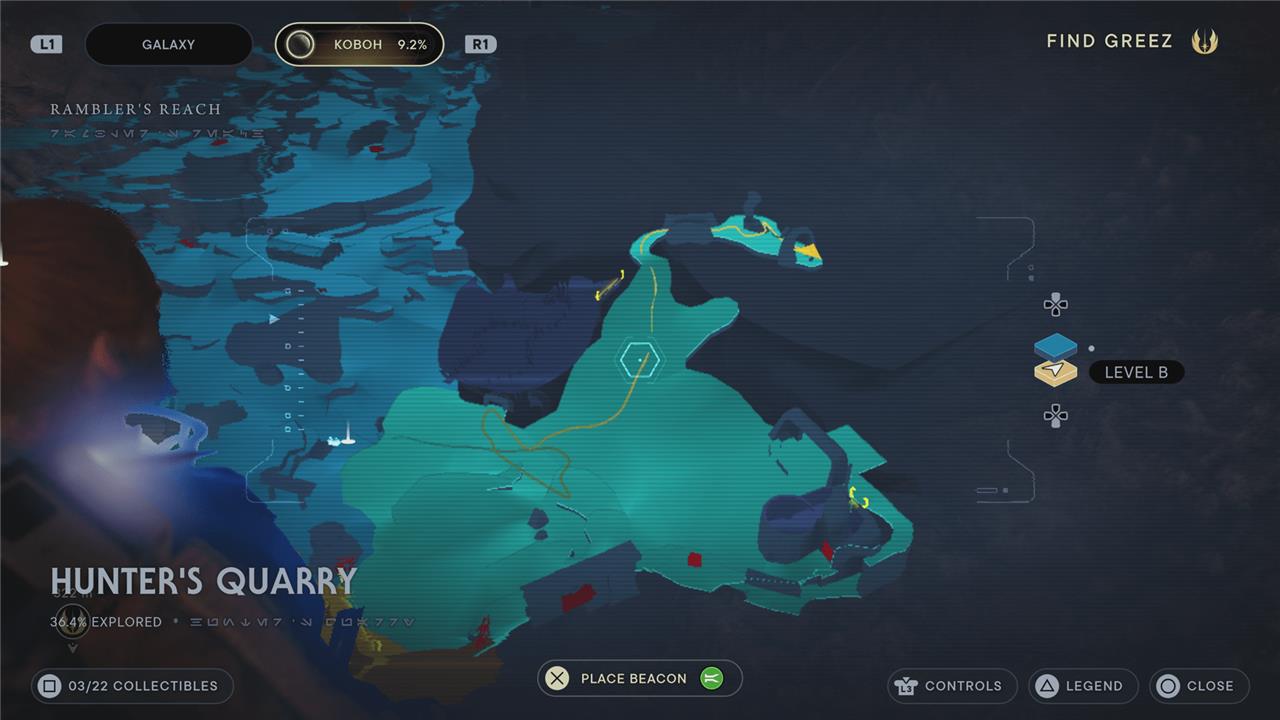
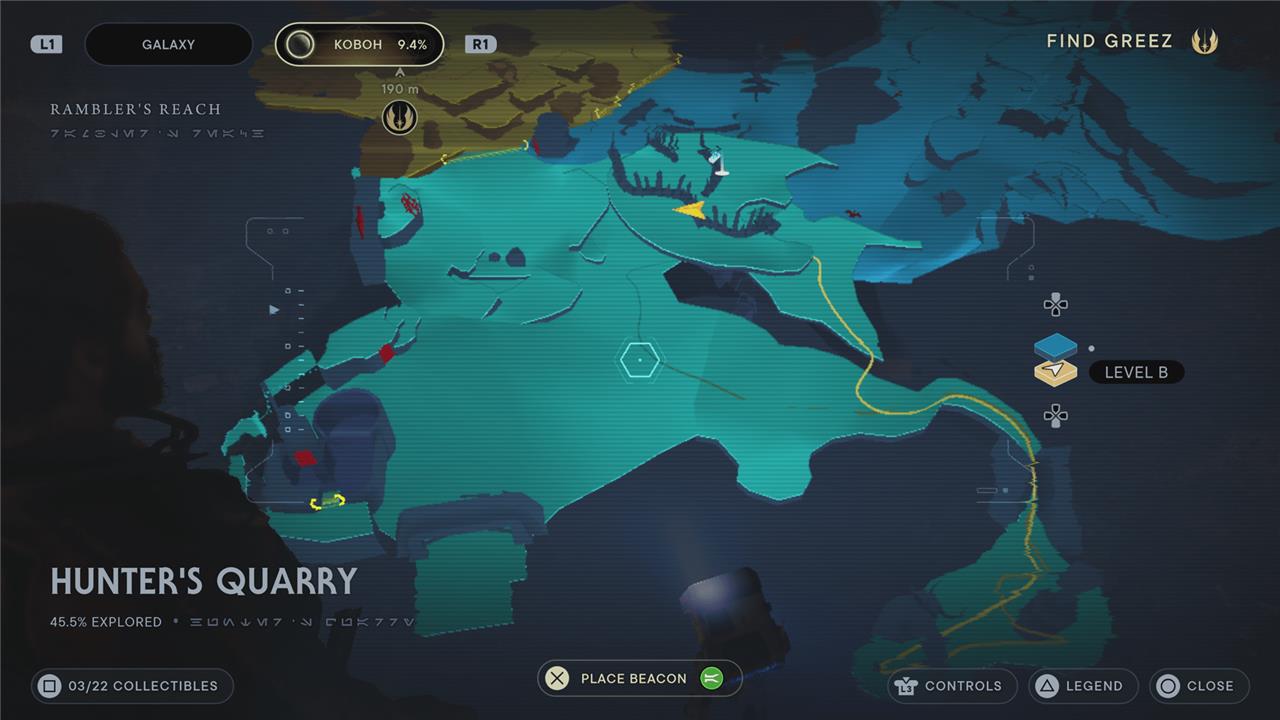
Hunter’s Quarry collectibles
Hunter’s Quarry hides several collectibles spread across its rocky terrain and narrow paths. Players can find chests containing cosmetics and upgrades, Force Tears that test skill challenges, and Essences that boost abilities or health. Many items are tucked behind climbable walls or guarded by Bedlam Raiders, so exploration and combat readiness both matter. Checking every ledge and side path ensures you don’t miss any rewards in this rugged area of Koboh.
There are 22 collectibles in the Hunter’s Quarry region of Koboh: three chests, two essences, nine databank entries, two treasures, and six seed pods.
Chest 1 – Light metal BD-1 material
From the lower Southern Reach meditation point (just outside of Rambler’s Reach), head to the left. At the far side, you’ll see a large hangar with some droids and a raider fighting off a herd of gorgers. Wait for them to wear each other out, and then clean up the survivors. You’ll find this chest at the back of the room. Open it for the light metal BD-1 material.
Essence – Force
As you leave that hangar, there’s a building on your left. Use the ledges, walls, and vines along the left side to wall run and climb up to the roof. Drop inside to find a roller mine dispenser. Use the first one to blast open the melted metal door leading back outside. Grab another and lead it out the door you just blew open. A little way down the path, there’s another melted metal door on your left. Blow it open to find a Force essence
Chest 2 – Bomber jacket
All the way at the top of the hill in Hunter’s Quarry, there’s a narrow tunnel on your right. In the cave that opens up, deal with the entire herd of gorgers, and then look for this chest in an alcove at the back. Open it for the bomber jacket.
Chest 3 – Hunter jacket
On your way back down the hill from the bomber jacket cave, watch on your right for a ledge you can climb to. There’s a gorocco to your left guarding the chest containing the hunter jacket.
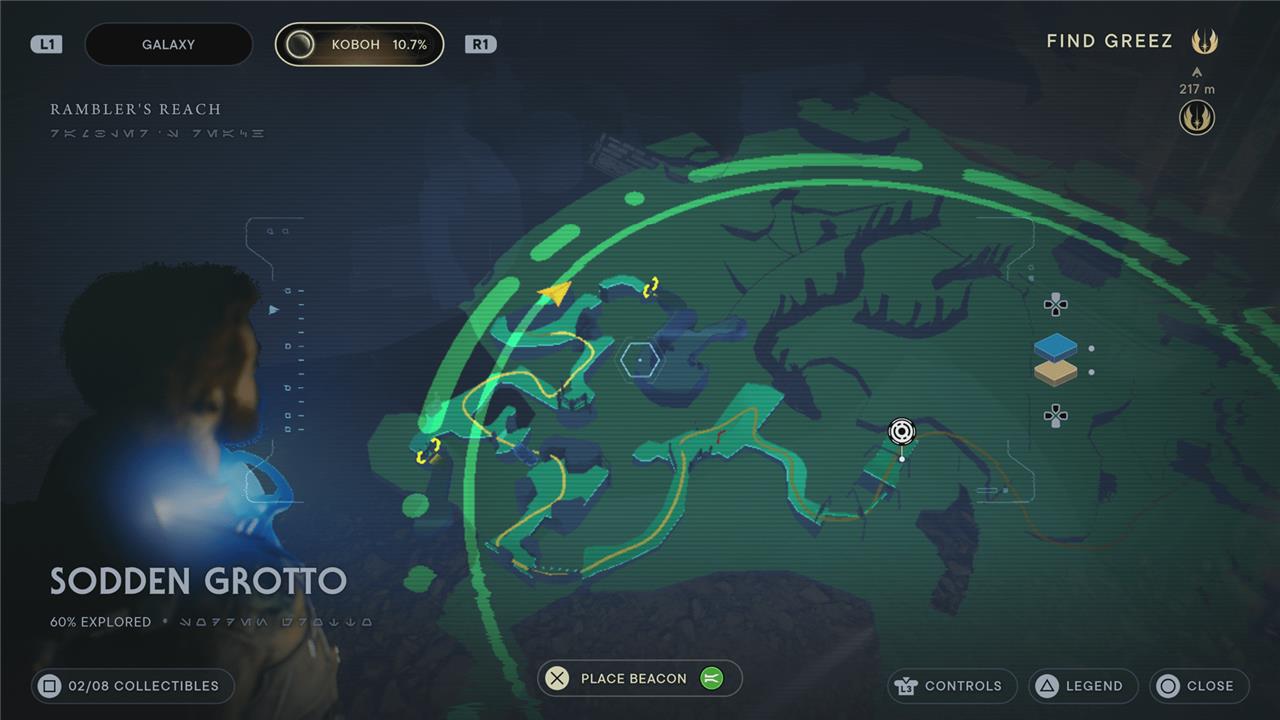
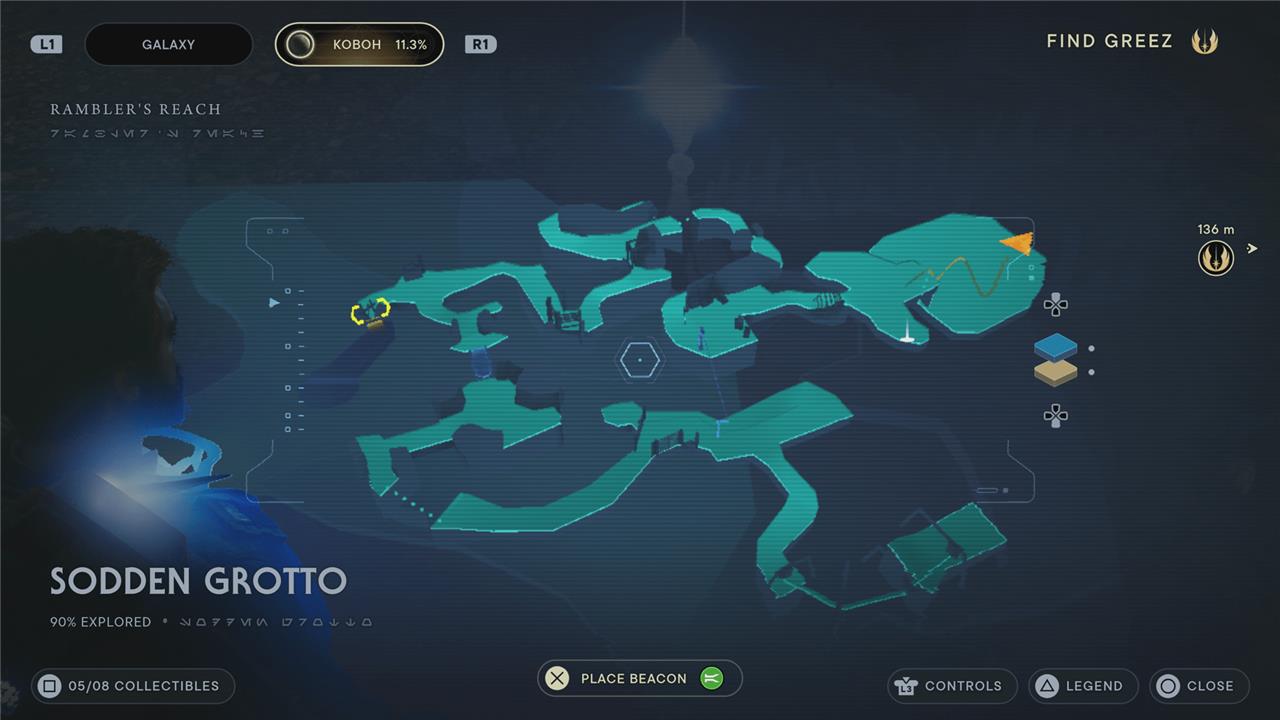
Sodden Grotto collectibles
The Sodden Grotto on Koboh hides a mix of collectibles tucked between flooded caverns and narrow tunnels. Players can find chests containing cosmetic items and upgrades, as well as Force tears that challenge combat and movement skills. Several essences are located in deeper chambers, rewarding exploration and puzzle-solving. Careful observation of wall cracks, climbable surfaces, and submerged passages helps reveal items that are easy to overlook on the first visit.
The Sodden Grotto entrance is in Hunter’s Quarry just past the lower Southern Reach meditation point. You’ll head there as part of the Find Missing Prospectors rumor. There are eight collectibles in the Sodden Grotto region of Koboh: one chest, one essence, four databank entries, and two treasures.
Chest 1 – Scrapyard legs BD-1 component
Quite a way into the cave, you’ll pass through a narrow gap and surprise a scavenger droid. Take a left, and follow the path around (past two Bramliks) to find the chest with the Scrapyard legs BD-1 component.
Essence – Shatter Perk
You’ll find this area’s meditation point just before the boss fight – there’s a rancor hiding down here. It’s a tough fight, but when (if) you can get past it, you’ll find the Shatter perk against the far wall.
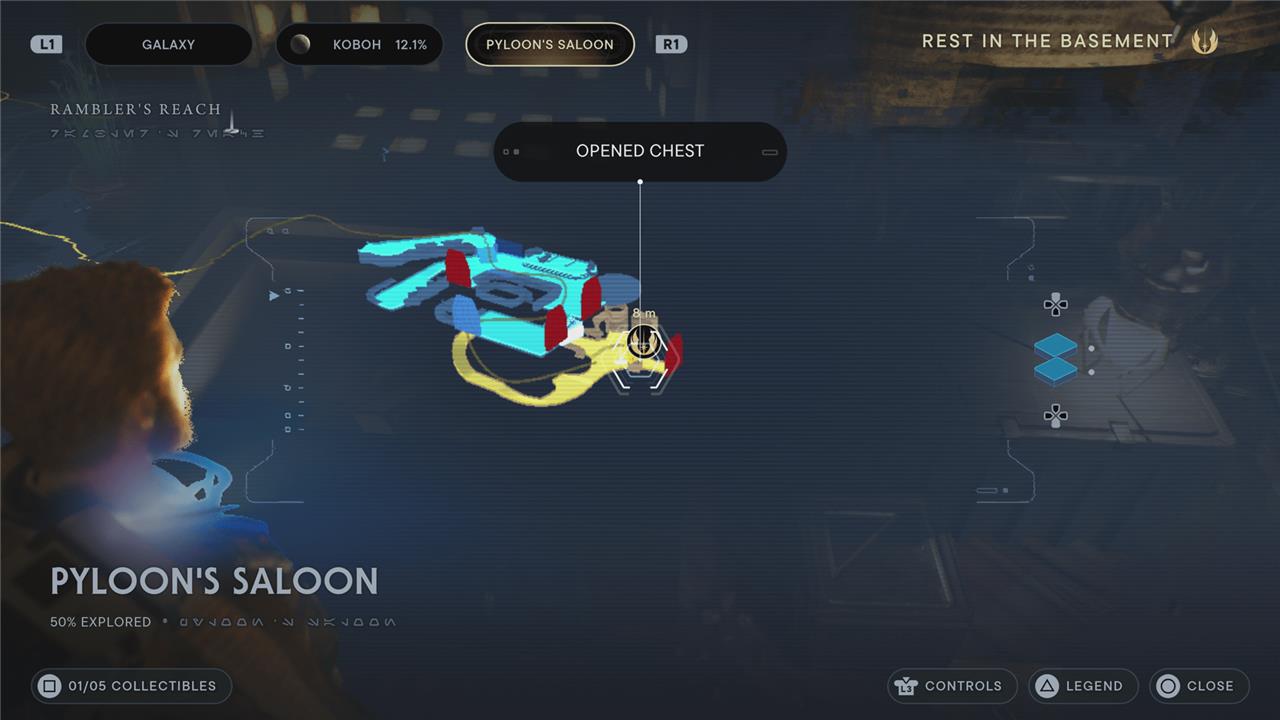
Pyloon’s Saloon collectibles
Pyloon’s Saloon serves as a hub where players can track their progress, trade items, and interact with various NPCs who offer collectibles, decorations, and customization options. Each collectible found across Koboh can be brought back here, enriching the saloon’s atmosphere and rewarding exploration with new furnishings and upgrades. It’s also a convenient place to revisit characters, check on completed objectives, and view tangible progress through the evolving environment.
Once you make it to Rambler’s Reach Outpost, you’ll have to head to Pyloon’s Saloon where you’ll face and defeat the Bedlam Raider named Zeik. Inside, you’ll reunite with Greez, and he’ll send you down to the room he keeps for Cal in the basement. There are five collectibles in the Pyloon’s Saloon region of Koboh: two chests, two databank entries, and one treasure.
Chest 1 – Scrapperoutfit
When you reach the room in the basement, look to the right of the meditation point for a large chest. Open it to find Cal’s scrapperjacket, shirt, and pants.
Smuggler’s Tunnels collectibles
Smuggler’s Tunnels hide several collectible items that reward careful exploration. You’ll find chests containing cosmetics and materials scattered across narrow passages and hidden rooms. Some Force Tears challenge your combat and movement skills, while Essence pickups grant permanent upgrades to health, Force, or skill points. Keep an eye out for alternate routes using Force powers and wall runs to reach tucked-away sections you might miss on your first visit.
After you take a nap in Pyloon’s Saloon, Greez will show you the smuggler’s tunnels behind the closet. There are 13 collectibles in the Smuggler’s Tunnels region of Koboh: one chest, two essences, five databank entries, one Force tear, and four treasures.
Essence – Skill Point
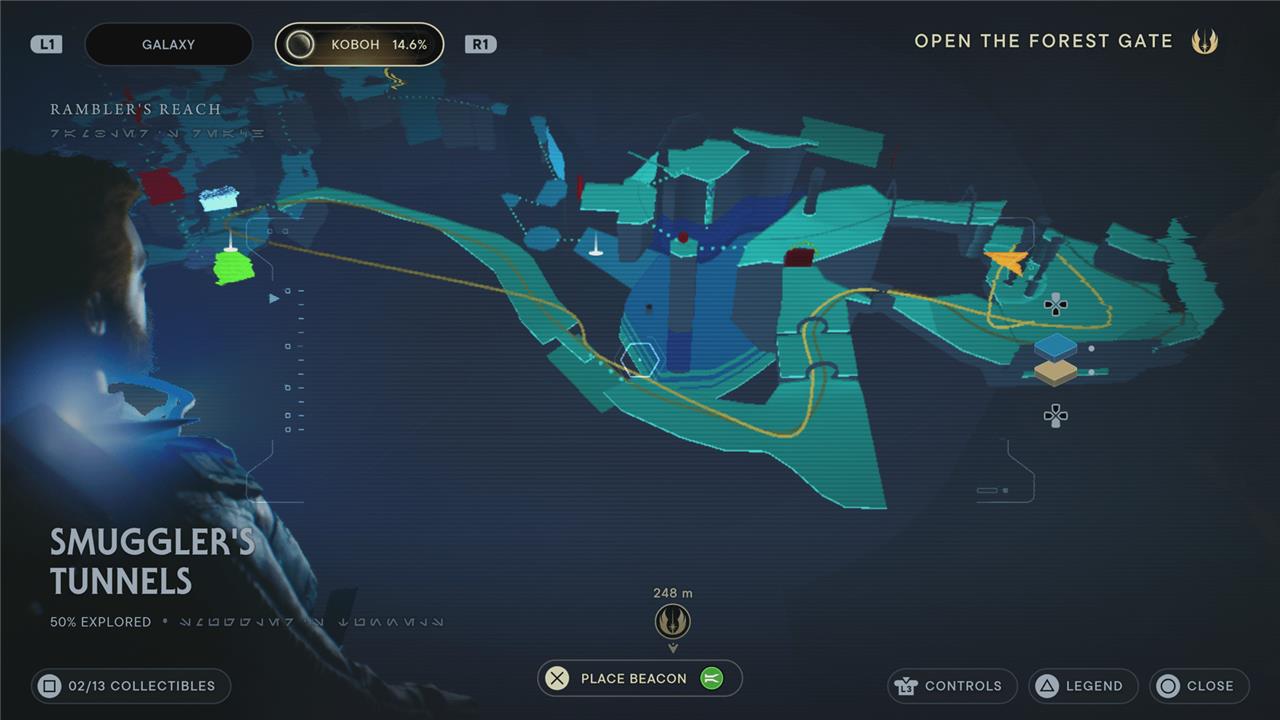
Follow the tunnels until you come to the green shielded door. Take a right and squeeze through a gap in the wall. Drop into the shallow water on the floor and deal with the gorgers and shiverpede there. The skill point is behind the pillars to the left of where you came in.
Chest 1 – Tactical pants
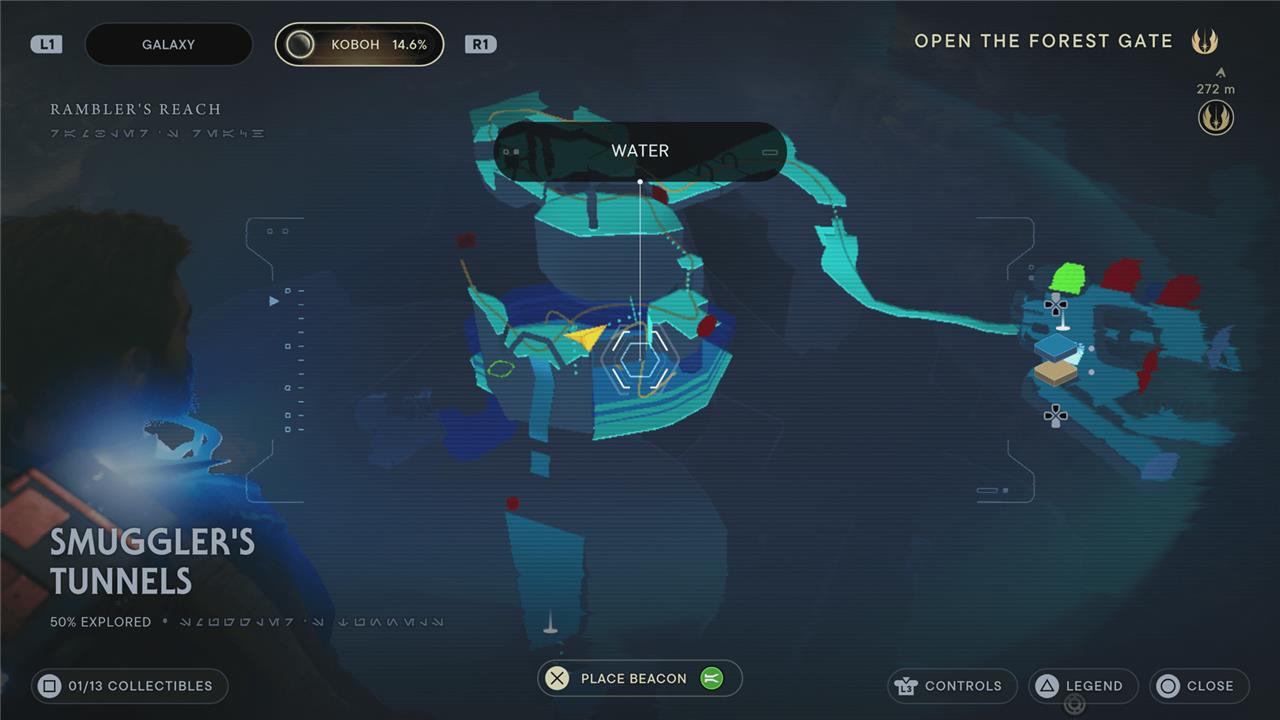
Keep following the Smuggler’s Tunnels until you come to a large room with deep water at the bottom. The gyro you’re after is along the wall on the far side. Before you reach it (or when you come back down here), you’ll have to swing across a pole. At that pole, drop into the water. Hit square/X to dive underwater, and the chest with tactical pants is at the bottom.
Essence – Force
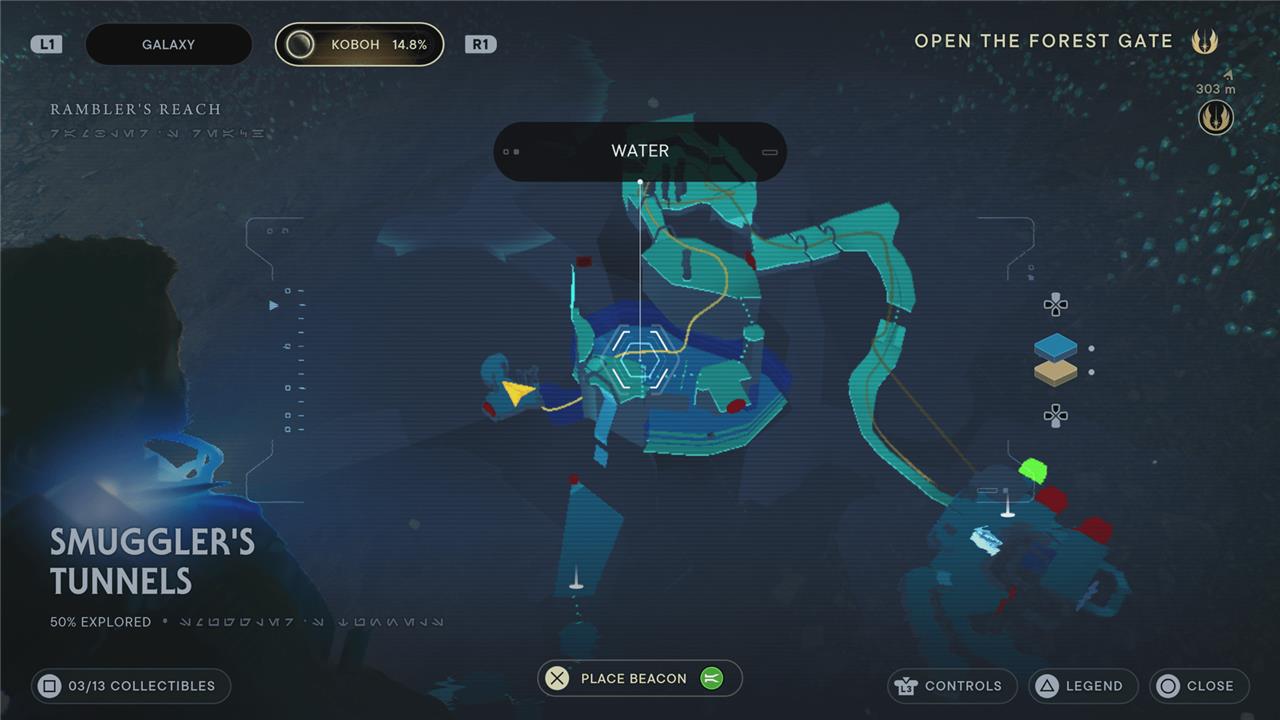
Still underwater in that same room, look on the far side for a tunnel leading down. Swim down and follow the tunnel to the end, and then surface. The door on your left is locked, and the Force essence is to your right.
Chamber of Duality collectibles
The Chamber of Duality on Koboh hides several collectibles that reward careful exploration. Players can find a variety of chests containing cosmetic items, as well as Force essences that enhance Cal’s abilities. Some areas require solving light reflection puzzles and manipulating platforms to reach hidden paths. Pay attention to vertical spaces and side chambers, as many collectibles are tucked behind movable objects or above eye level. Completing this chamber fully grants useful upgrades and contributes to overall progress in Jedi: Survivor’s exploration objectives.
There are four collectibles in the Chamber of Duality on Koboh: one chest, one essence, one databank entry, and one treasure.
We’ll point you to them all in our Chamber of Duality walkthrough.
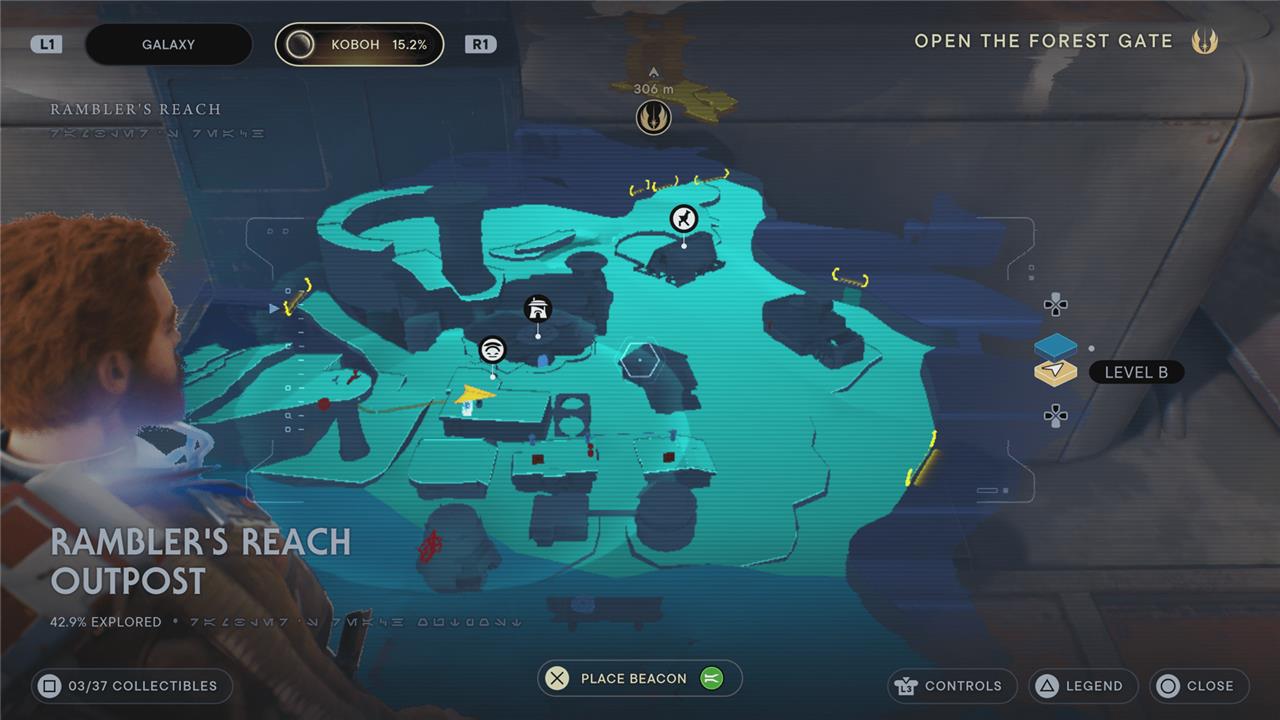
Rambler’s Reach Outpost collectibles
Rambler’s Reach Outpost serves as the central hub for many of Koboh’s collectible items, offering a dense mix of chests, essences, and Force tears hidden in plain sight or tucked behind ability gates. Players can explore rooftops, side alleys, and interior rooms to find rewards such as cosmetics, skill upgrades, and BD-1 parts. Several collectibles appear after key story events or require specific traversal skills, so returning later can reveal new opportunities. Keeping track of each area systematically helps ensure nothing is missed in this busy settlement.
We’ve saved Rambler’s Reach Outpost until after you’ve completed the first couple main story objectives there – it’s a lot easier to navigate afterward. There are 37 collectibles in the Rambler’s Reach Outpost region of Koboh: 10 chests, two essences, six databank entries, two Force tears, seven treasures, and 10 seed pods.
Chest 1 – Stim
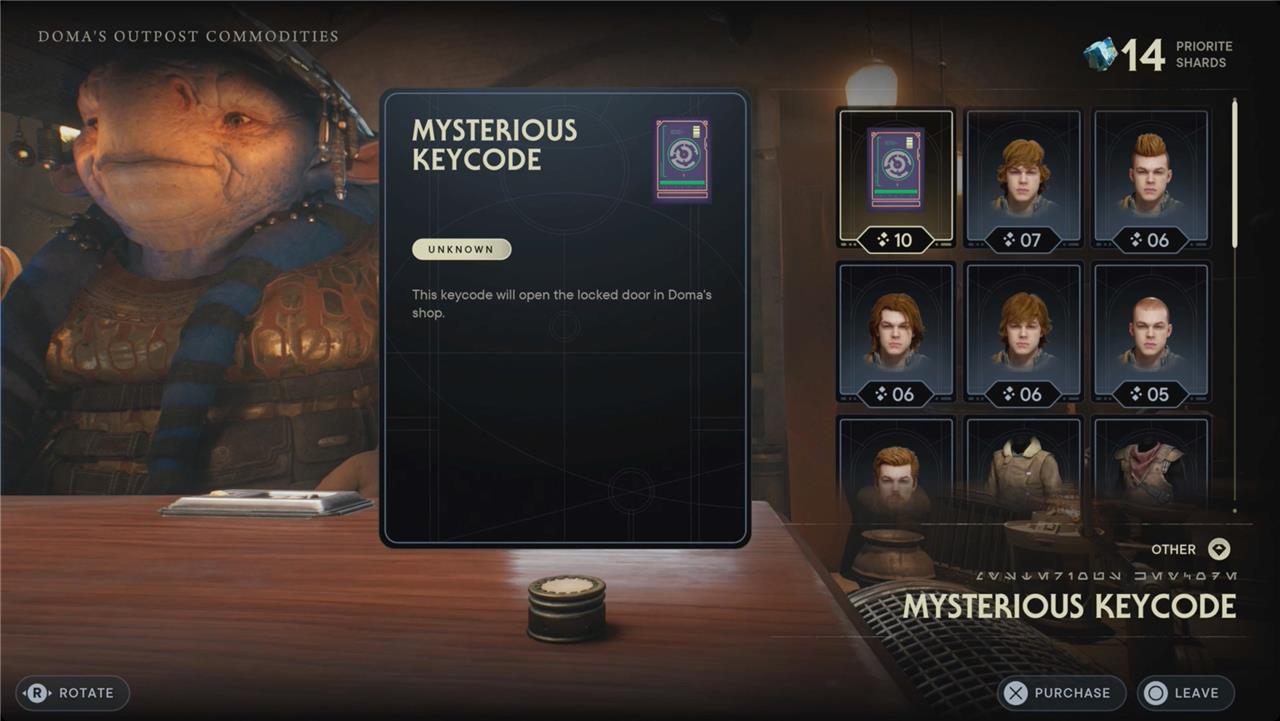
Head to Doma’s Outpost Commodities directly across the street from the saloon. Shop with her, and spend 10priorite to purchase the Mysterious Keycode. BD will use it on the locked door to the left of Roma’s counter. Head inside to find a chest with a stim inside.
Chest 2 – Tactical shirt
Exit Doma’s through the side door – the one to the right of the workbench. Outside, turn around and jump up to the roof. Open the chest there for the tactical shirt.
Foothill Falls collectibles
Foothill Falls is packed with collectibles that reward exploration through its cliffs and hidden paths. Players can find several chests containing cosmetics and upgrades, along with Force Tears that test combat and traversal skills. Essence pickups are scattered across the area, granting boosts to abilities and health. Careful platforming and environmental awareness are key to reaching each collectible, as some require solving small environmental puzzles or using advanced movement abilities.
Between the saloon and Doma’s shop, there’s a slope that leads up to Foothill Falls. There are 12 collectibles in the Foothill Falls region of Koboh: four chests, four databank entries, two treasures, and 2 seed pods.
Chest 1 – Patience pommel lightsaber component
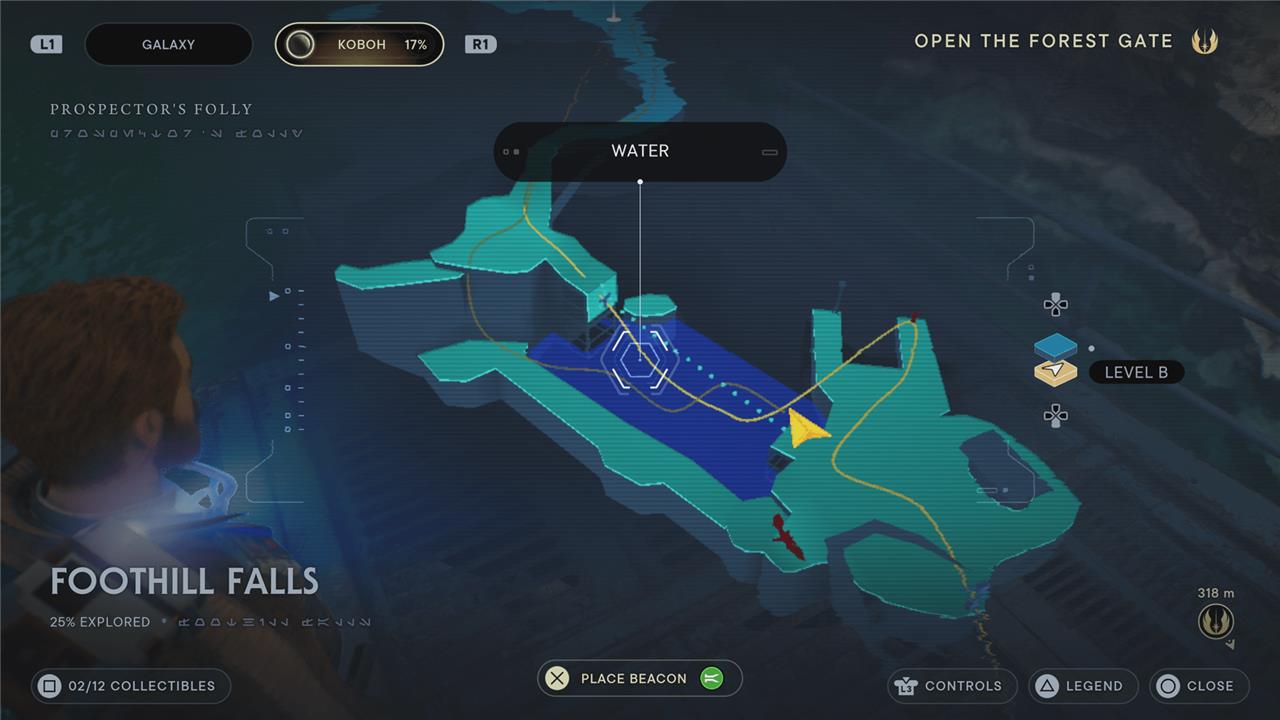
After a ride across a zip line, you’ll meet Skoova Stev by a pool of water at the top of the eponymous falls. Dive into the pond and swim down to find the chest with the Patience pommel lightsaber component.
Mountain Ascent collectibles
The Mountain Ascent area on Koboh features several collectibles scattered across narrow cliffs, caves, and high ridges. Players can find chests containing cosmetic items and materials, Force tears that test reflexes and combat skills, and essences that boost health, Force, or stamina. Careful exploration and the use of traversal abilities like wall running and gliding are key to reaching hidden spots. Keep an eye out for breakable walls and zip lines that lead to secluded areas with rare rewards.
When you climb up above the Foothill Falls, you’ll make your way into the Mountain Ascent. There are 12 collectibles in the Foothill Falls region of Koboh: six chests, four databank entries, four treasures, and four seed pods.
Slice: Security Droid BD-1 ability
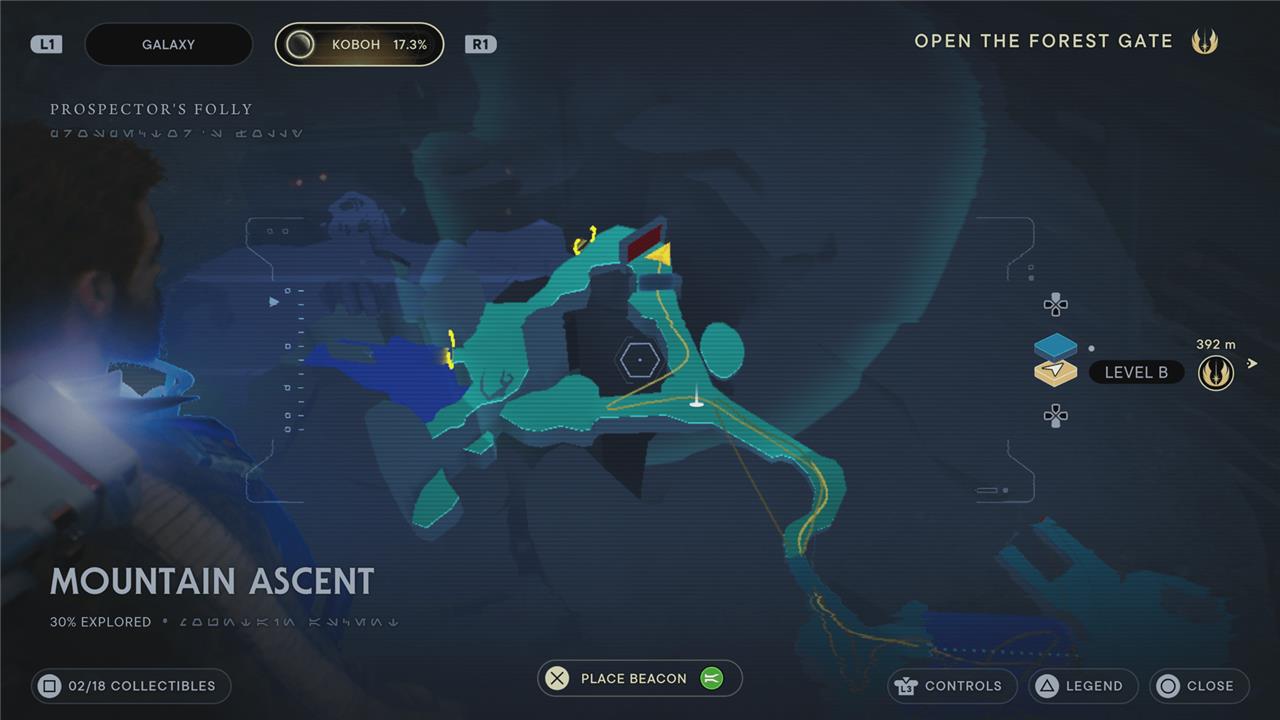
When you reach the Mountain Ascent’s meditation point, head over to the right. There are two stormtroopers behind a shield there. Use Force Confuse on one of them to charm your way inside. Once they’re dealt with, slice the terminal to pick up the Slice: Security Droid BD-1 ability.
Harvest Ridge collectibles
Harvest Ridge is packed with collectibles hidden among its rocky terrain and farmland structures. Players can find several chests containing cosmetic items and upgrades, along with Force tears that test agility and combat skills. Essence locations grant valuable increases to Force, health, or skill points, often tucked away behind puzzles or environmental challenges. Exploring every ridge and cave pays off for completionists seeking to upgrade Cal’s abilities and customize his appearance.
From the entrance of Rambler’s Reach Outpost, turn right and cross the (shallow) river. When you climb up, you’ll be in Harvest Ridge. There are 23 collectibles in the Harvest Ridge region of Koboh: two chests, one essence, one databank entry, one treasure, and 18 seed pods.
Ashe Javi and DD-EC
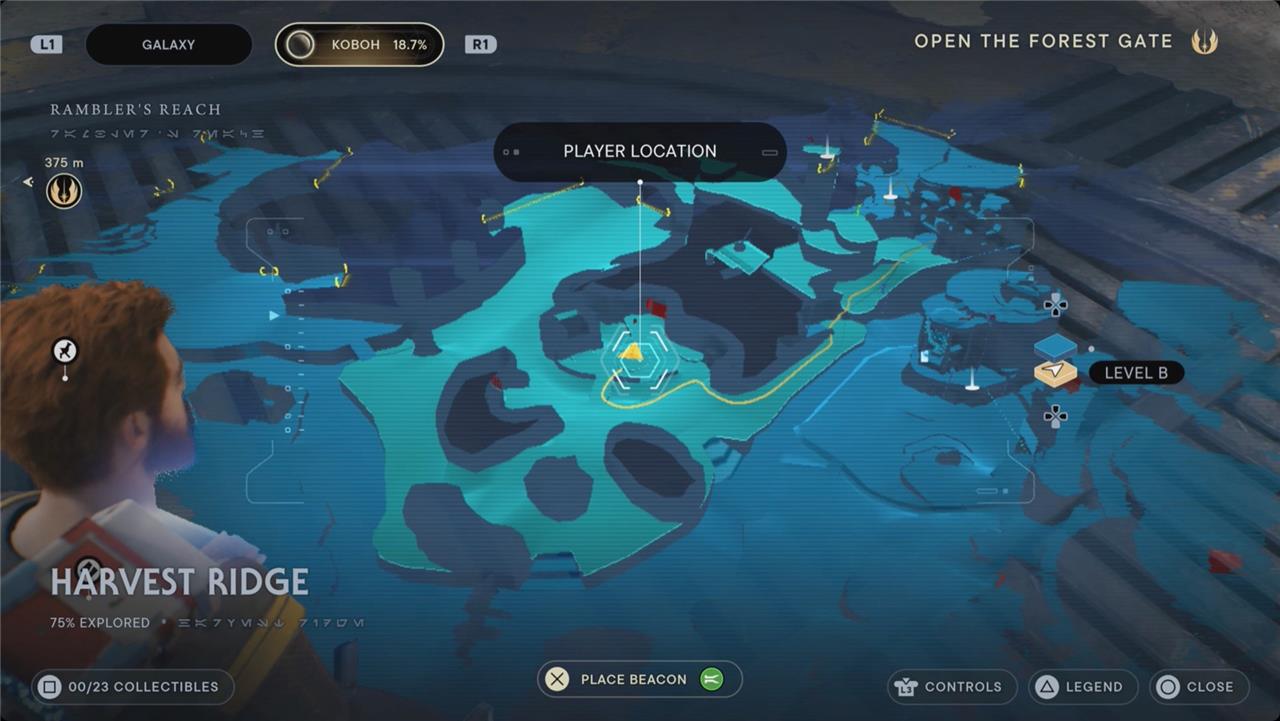
As you enter Harvest Ridge, head across the metal bridge and over to the human and droid standing by the big turbine. Talk to Ashe Javiand DD-EC to invite the pair to Pyloon’s Saloon.
Untamed Downs collectibles
Untamed Downs holds a mix of scattered collectibles that reward exploration with useful upgrades and cosmetics. Players can spot chests tucked between rock formations, while Force tears test combat and traversal skills. Essence upgrades in this area often boost core abilities, making careful observation worthwhile as you move through the open terrain and wildlife-filled paths.
There are 31 collectibles in the Harvest Ridge region of Koboh: six chests, two essences, 14 databank entries, six treasure, and three seed pods.
Chest 1 – Mountaineer jacket
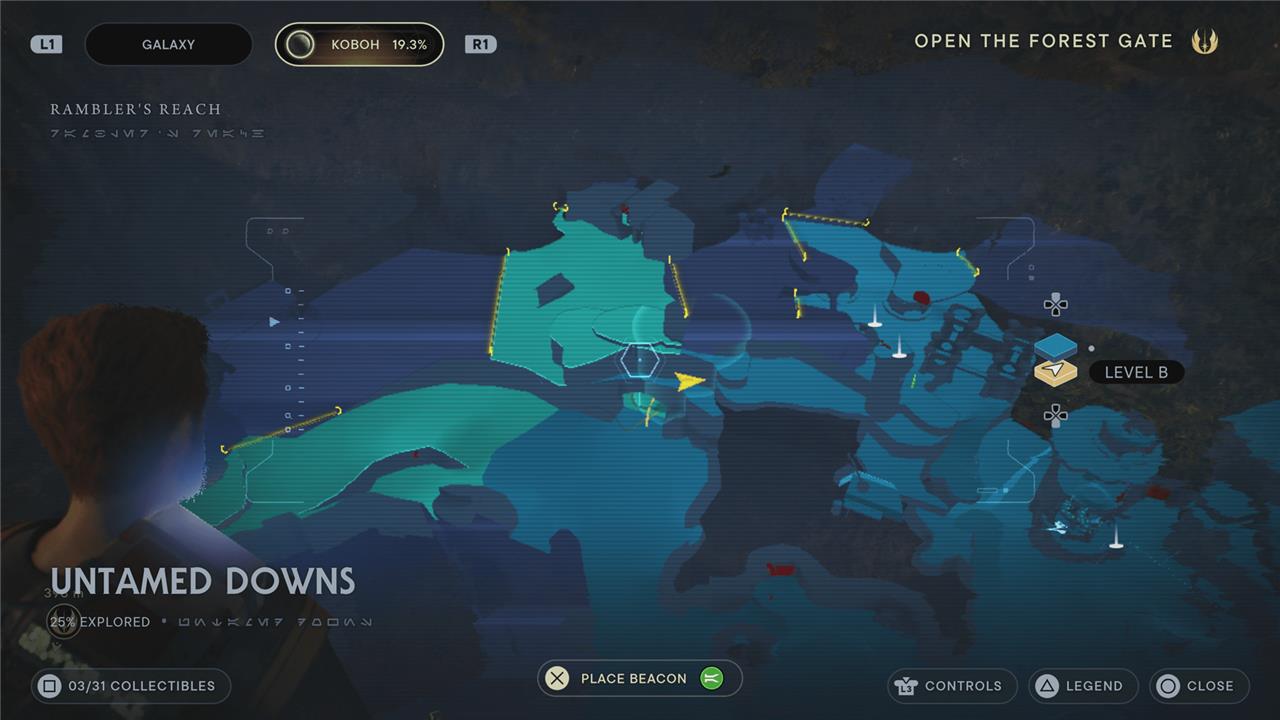
Head to the left of Ashe and DD-EC in Harvest Ridge and under the stone arch to get to the rest of Harvest Ridge and the edge of the Untamed Downs. Keep to the right to find a cave with a bilemaw inside. Once it’s dealt with, climb the vines on the pillar to the ceiling. You’ll loop through another tunnel and then jump to the vines on the other side of the pillar, and climb across the ceiling again. This time, you’ll land on a ledge where you can talk to Garra. Force confuse them, and open the chest they were sitting on for the mountaineer jacket.
Chest 2 – Geonosian audio sensors BD-1 component
You can only reach the next chest after you’ve completed “The Key to Tanalorr” in the Forest Array and go through the Bygone Settlement.
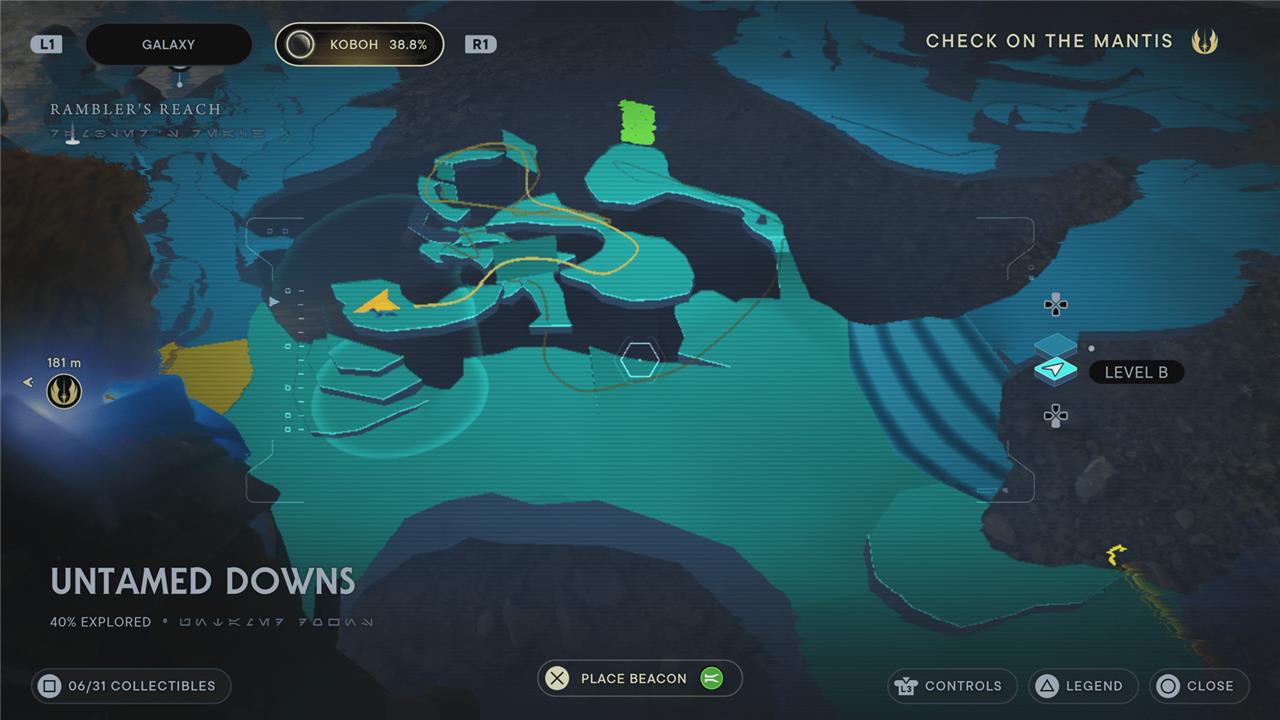
When you exit the Bygone Settlement, you’ll go down a (slippery) slope into the Untamed Downs. There are two caves on your right. Super jump off of your (a) nekko and into the second cave. Follow the cave as it loops around and climb across the ceiling to find a mogu to fight. Once it’s defeated, step outside. Wall run across the wall to the right and you’ll land on a ledge with a chest containing the Geonosian audio sensors BD-1 component.
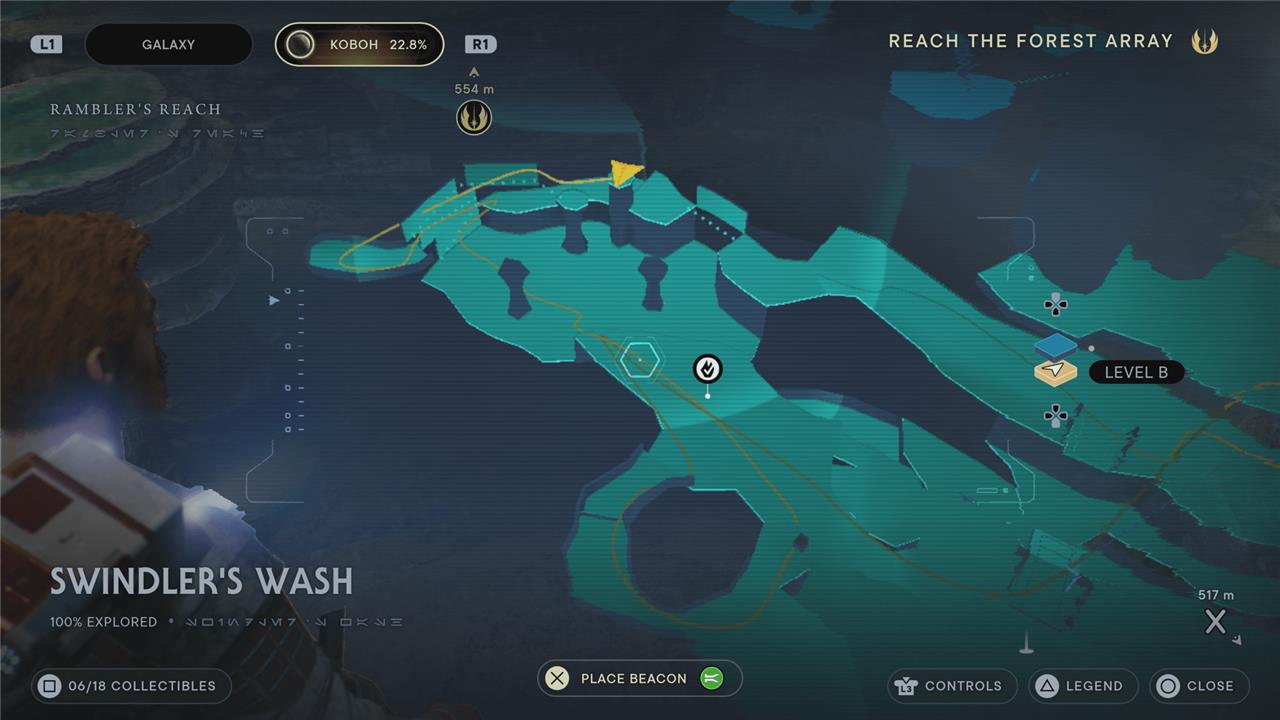
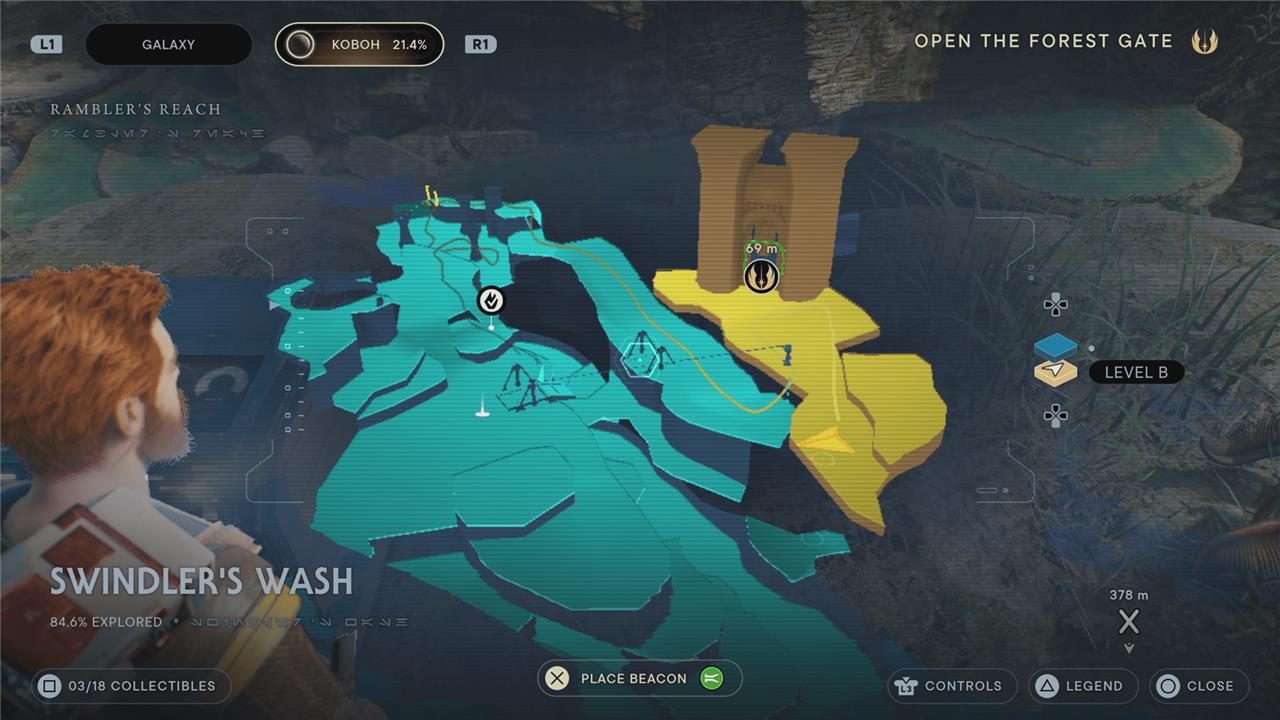
Swindler’s Wash collectibles
Swindler’s Wash hides several collectibles scattered through its rocky terrain and riverbed paths. You can find treasure chests containing cosmetics and currency, Force essences that boost abilities, and databank entries that expand the area’s lore. Some rewards sit behind environmental puzzles or require upgraded traversal tools such as the ascension cable or glider. Keep an eye out for hidden caves and elevated cliffs-many secrets are tucked away off the beaten path.
There are 18 collectibles in the Swindler’s Wash region of Koboh: two chests, one essence, one Force tear, three treasure, and 11 seed pods.
Chest 1 – Tactical pants
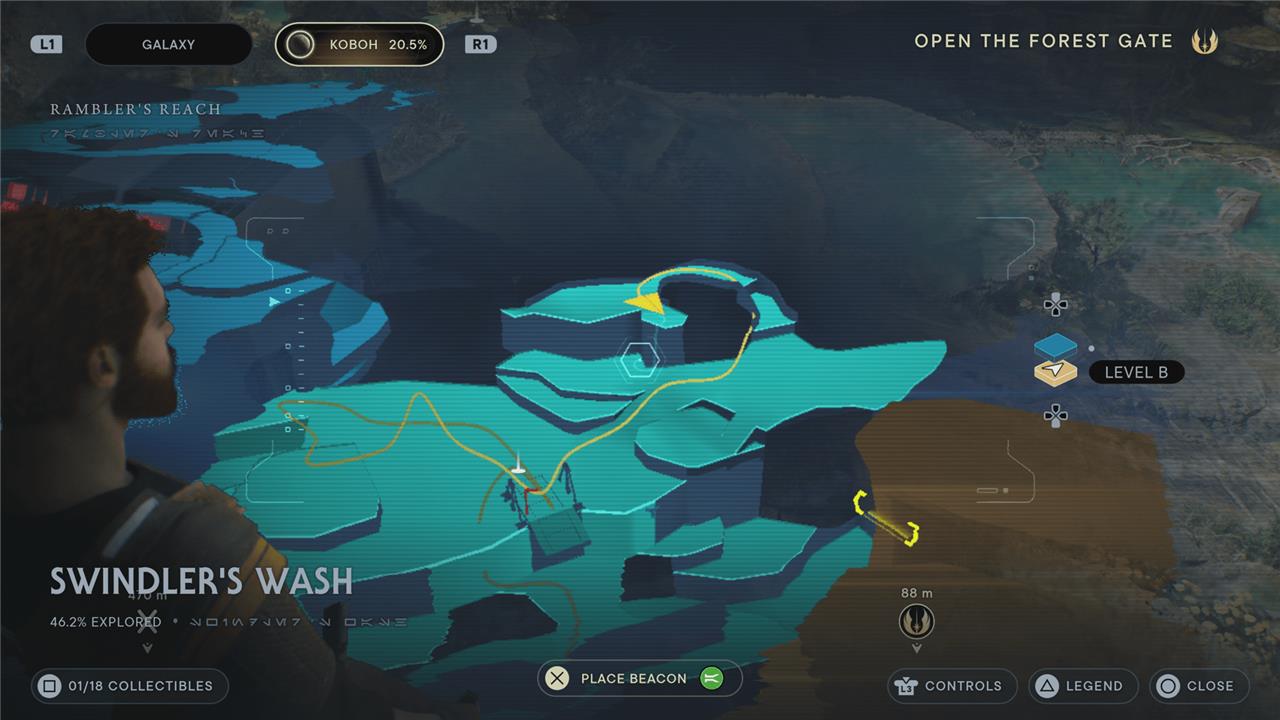
When you reach the meditation point in Swindler’s Wash (by the left half of the broken bridge), face the bridge and turn left. There’s a tunnel to climb into on your left and a couple droids to take out. Keep following the tunnel around to the left to find a chest with the tactical pants inside. If this is the second time you’ve grabbed the tactical pants, this unlocks color options for them.
Force Tear 1 – Fractured Reserve
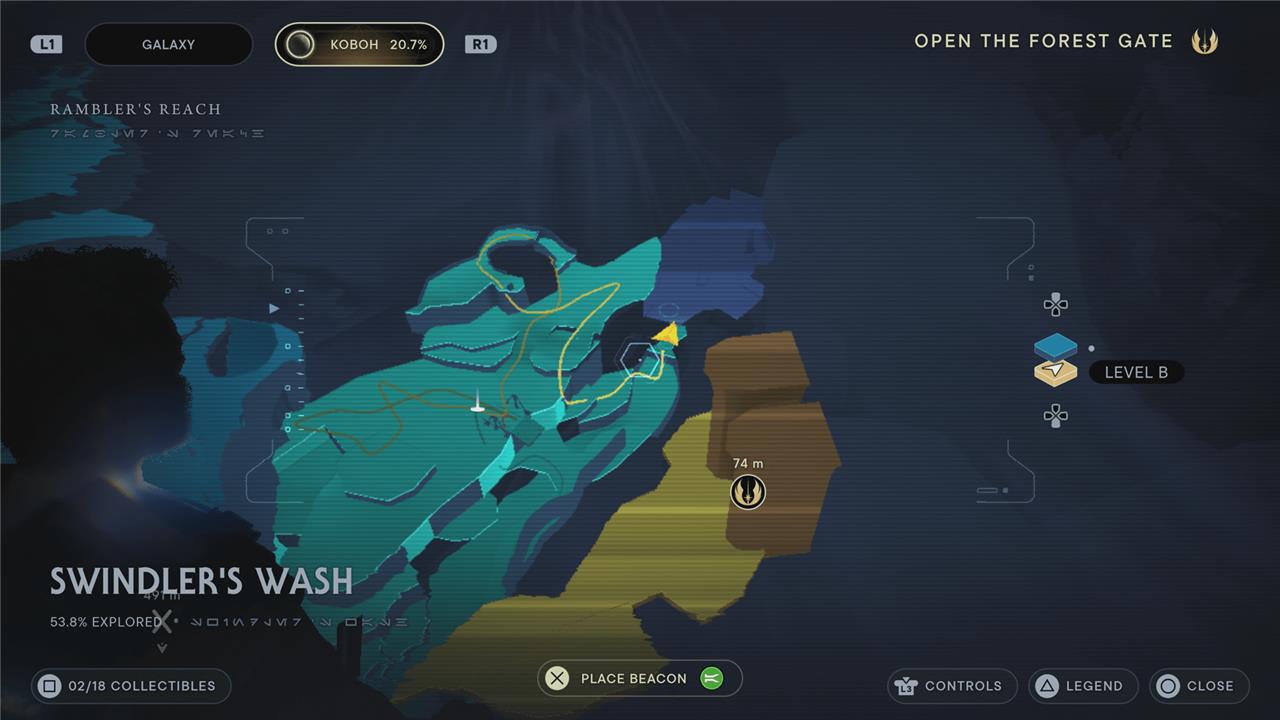
In the river below the meditation point, follow it up to the waterfall. There’s a cave behind the base of the waterfall where you’ll find this area’s Force tear.
You’ll have to navigate an obstacle course with moving shields that change sides every time you jump. At the end of the race, you’ll receive a Skill Point.
Essence – Health
Above the Force Tear – on the same level as the meditation point – take out the bilemaw in the upper pool with all the pillars. Use the wall behind the (upper) waterfall to wall run up and to the left. Use the two walls to wall run over to the lowest pillar, and then jump up to the next one. You’ll find this health essence there.
Chest 2 – Tactical shirt
Work your way around Swindler’s Wash and over to the gate leading to the Basalt Rift. Continue past it and back downstream (stop to activate the shortcut across to the meditation point on your way). At the end of the cliff, you’ll find a chest with the tactical shirt.
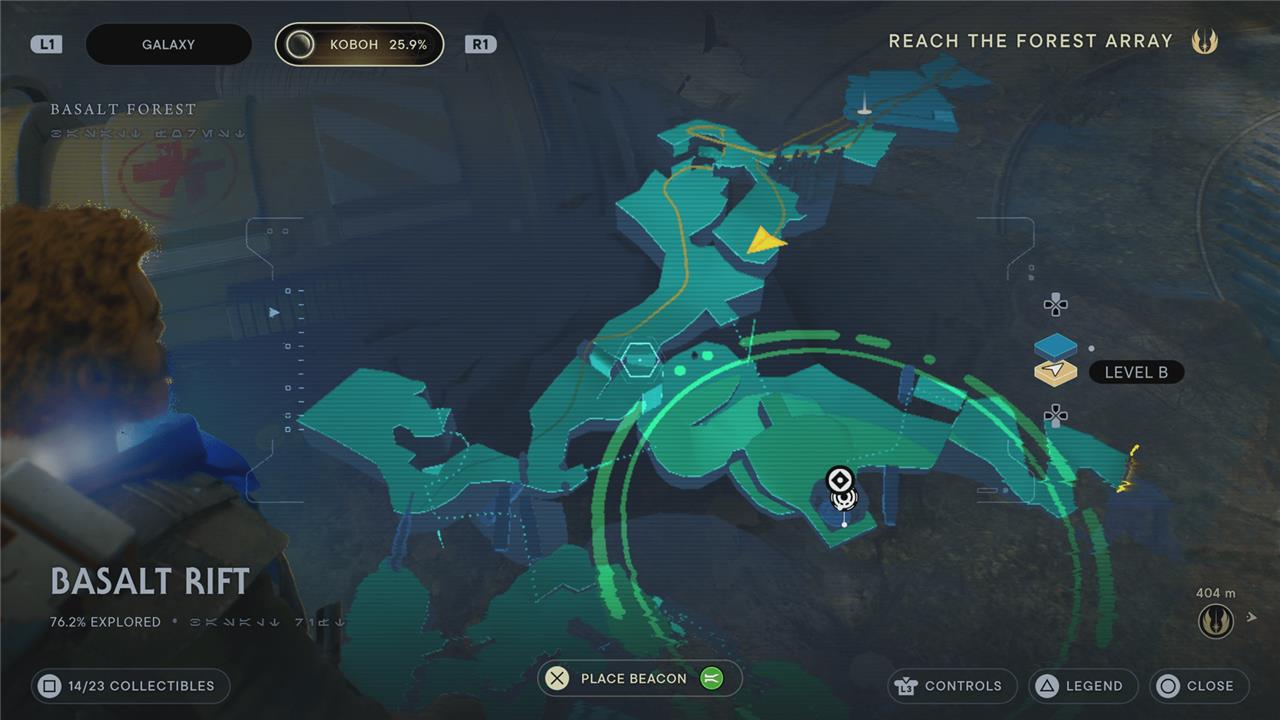
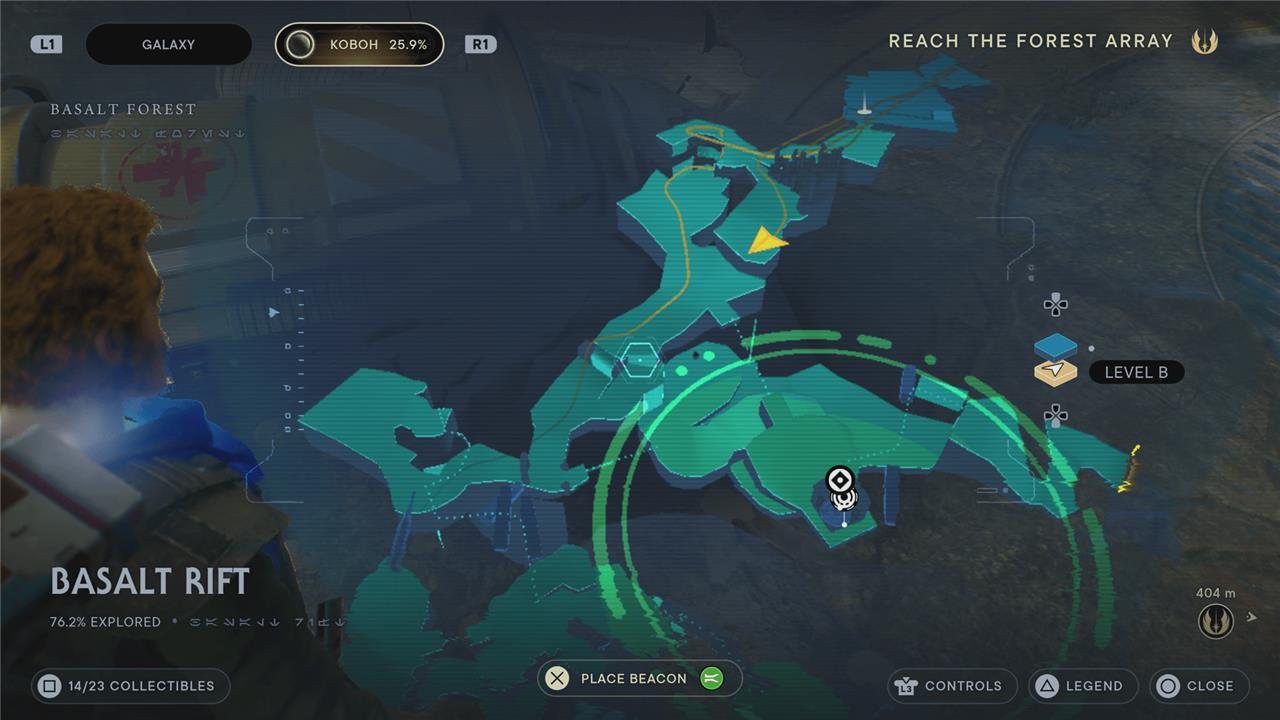
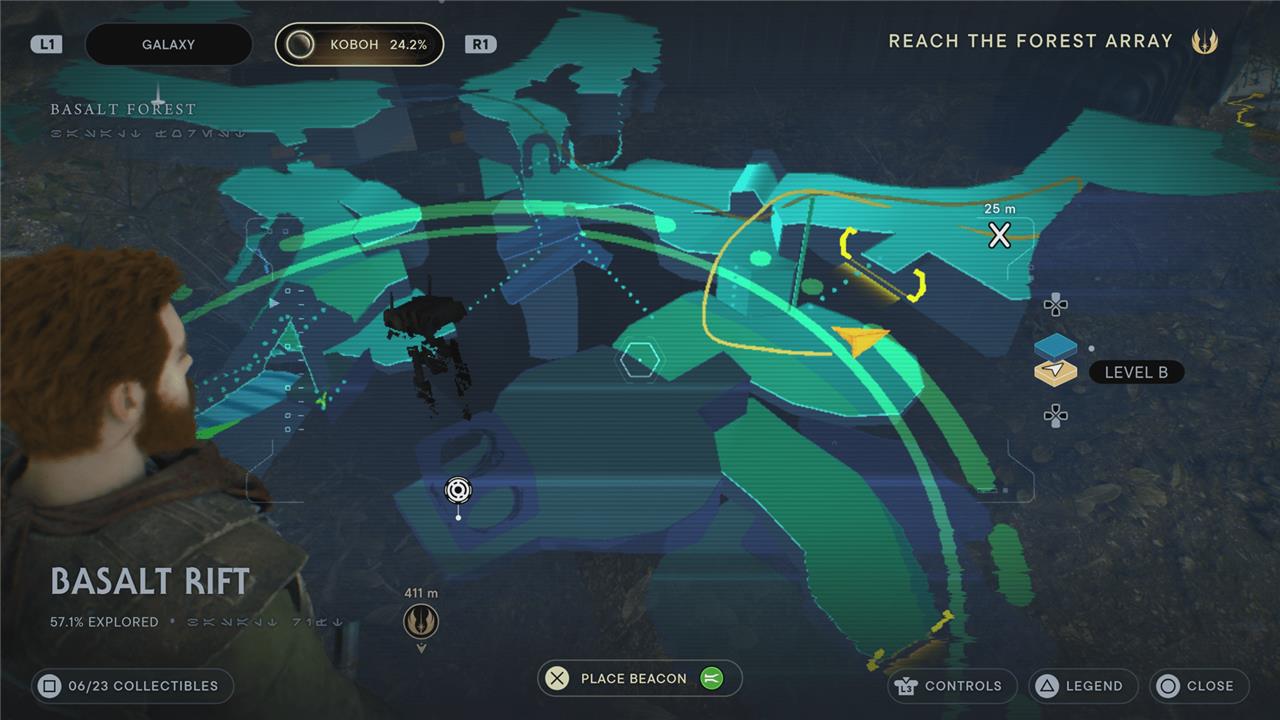
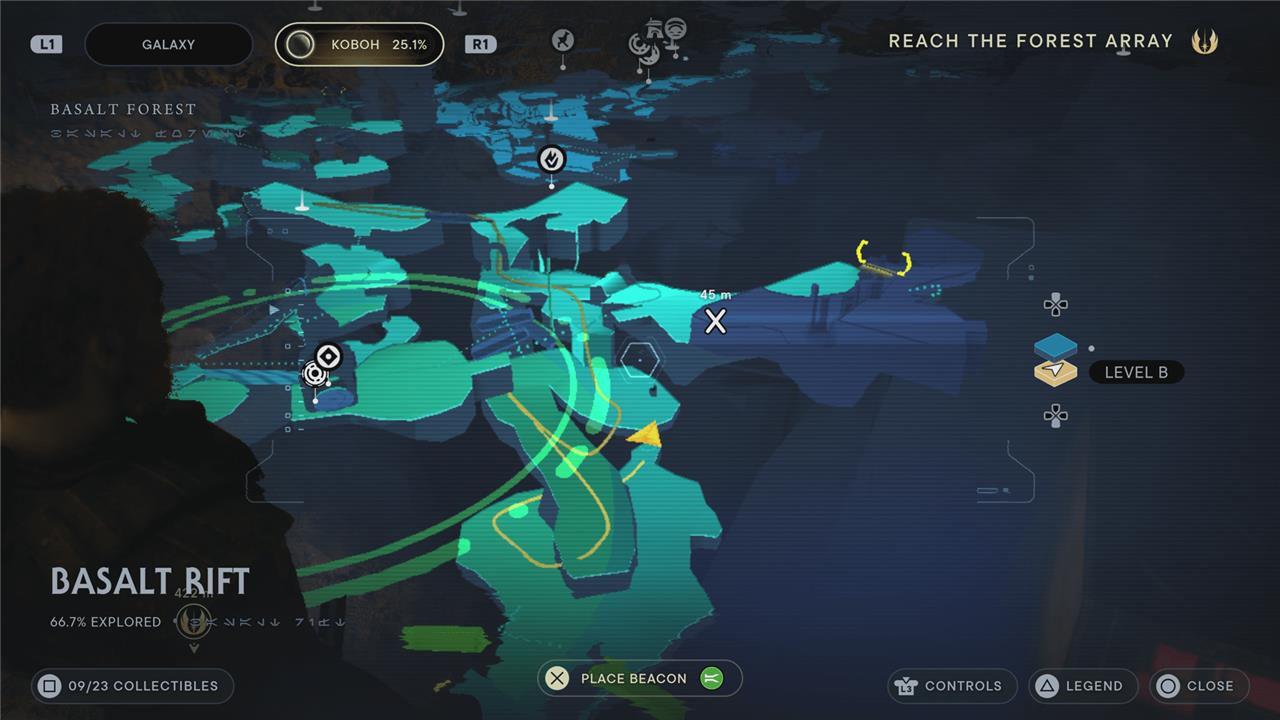
Basalt Rift collectibles
The Basalt Rift on Koboh features collectibles scattered across its rocky terrain, including hidden chests, Force tears, and essences that reward players with cosmetic items, skill points, and character upgrades. Many of these items are tucked behind climbable walls, sliding paths, and puzzle areas guarded by enemies. Careful exploration using Cal’s full range of abilities-such as Force Pull and Dash-helps reveal secret routes leading to hard-to-reach collectibles. Revisiting the area after gaining new powers is often necessary to complete the collection fully.
There are 23 collectibles in the Basalt Rift region of Koboh: five chests, eight databank entries, five treasures, and five seed pods.
Chest 1 – Hunter pants
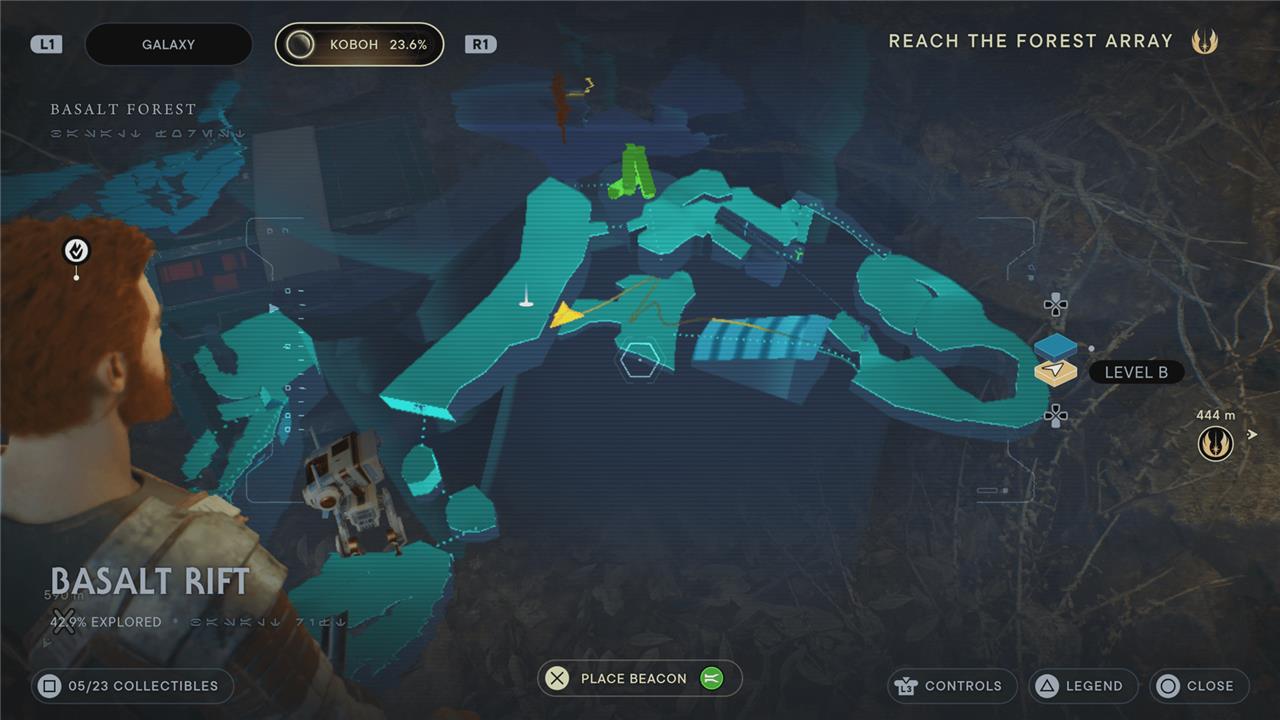
A ways after Basalt Rift’s meditation point, you’ll slide down a slope to where a pair of stormtroopers are fighting a bilemaw. Once they’re all dealt with, head into the cave there to find a chest with the hunter pants.
Toa
Just past that chest, you’ll have to Force Pull some basalt columns to continue. After a bunch of climbing, you’ll meet Toa at a campfire. She’ll give you the “Explore the High Republic Chamber in the Forest” rumor. She’ll head back to the saloon and supply you with more rumors later in the game.
Chest 2 – Stim
Just past where you meet Toa, you’ll unlock a shortcut back to the meditation point. Take a left and hop over the pillars that fall onto the stormtroopers. At the top of the slope, you’ll see a mogu (which is not the same as a wampa, apparently) beat the crap out of a stormtrooper. Take it out, and then use the walls behind it to wall run up and out of the area. Go up the slope a little (the door at the top leads to the Rift Passage region), and take the first right to find a chest with a Stim inside.
Chest 3 – Crew cut
Back at the basalt pillars that fell and blocked your path, look to your right and drop to the area below you (it’s across from and below the Jedi Chamber) instead of climbing the vines. Deal with the troopers, and continue to the left to find a chest with the crew cut hairstyle for Cal.
Chest 4 – Diligence pommel
Facing the crew cut chest, there’s a slope down behind you. Take it to the bottom, and turn right before you attack the bilemaw – there’s a scavenger droid to kill for a priorite shard there. Take another right into the tunnel and deal with the rawkas. Take the first left inside the tunnel to find the chest with the Diligence pommel.
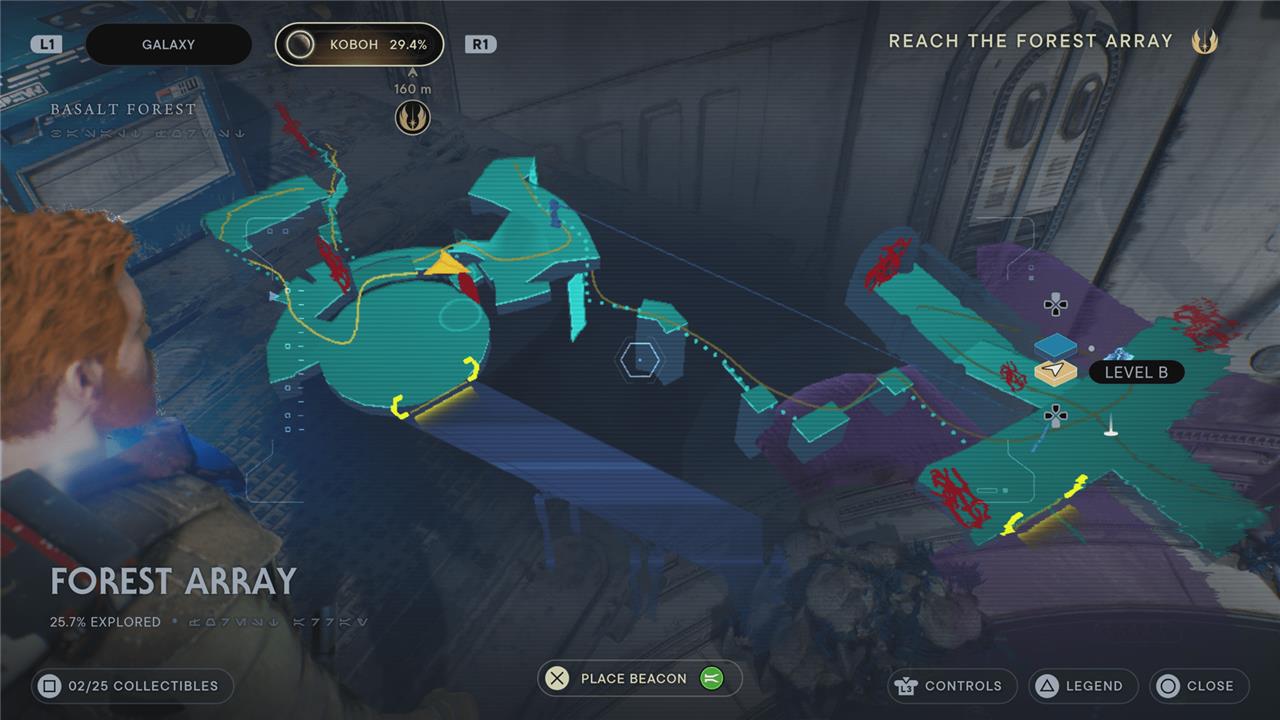
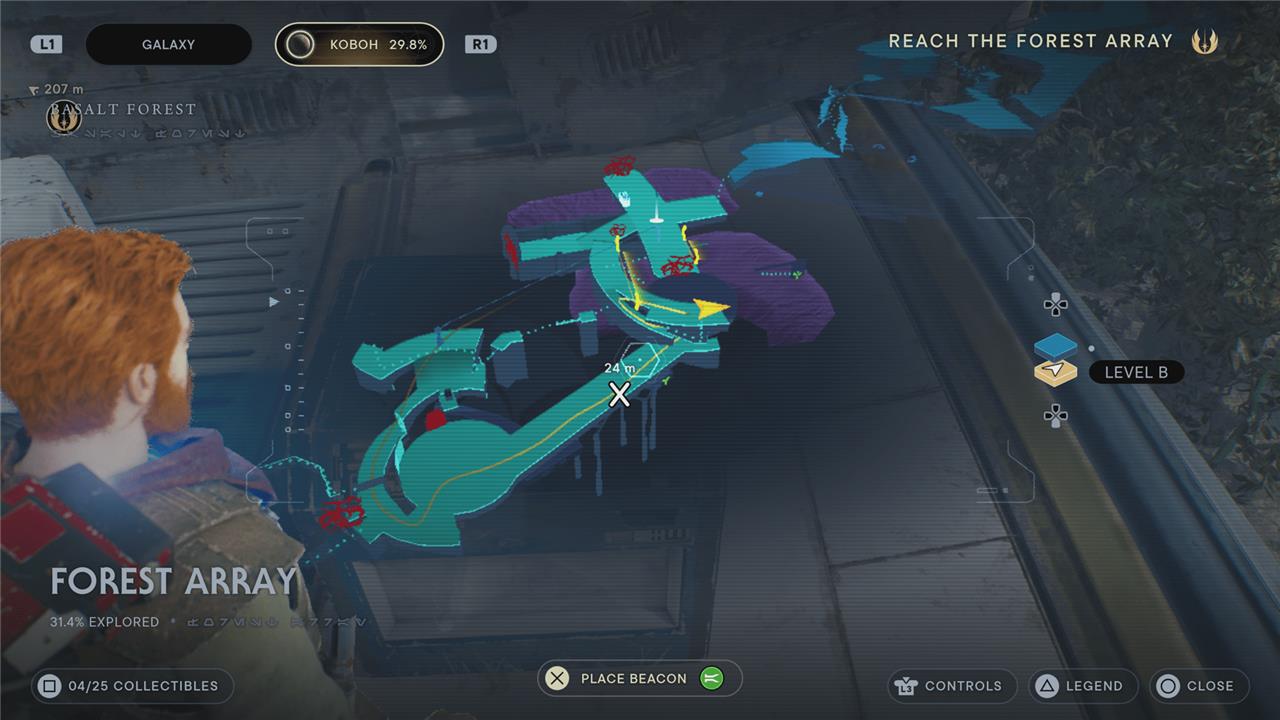
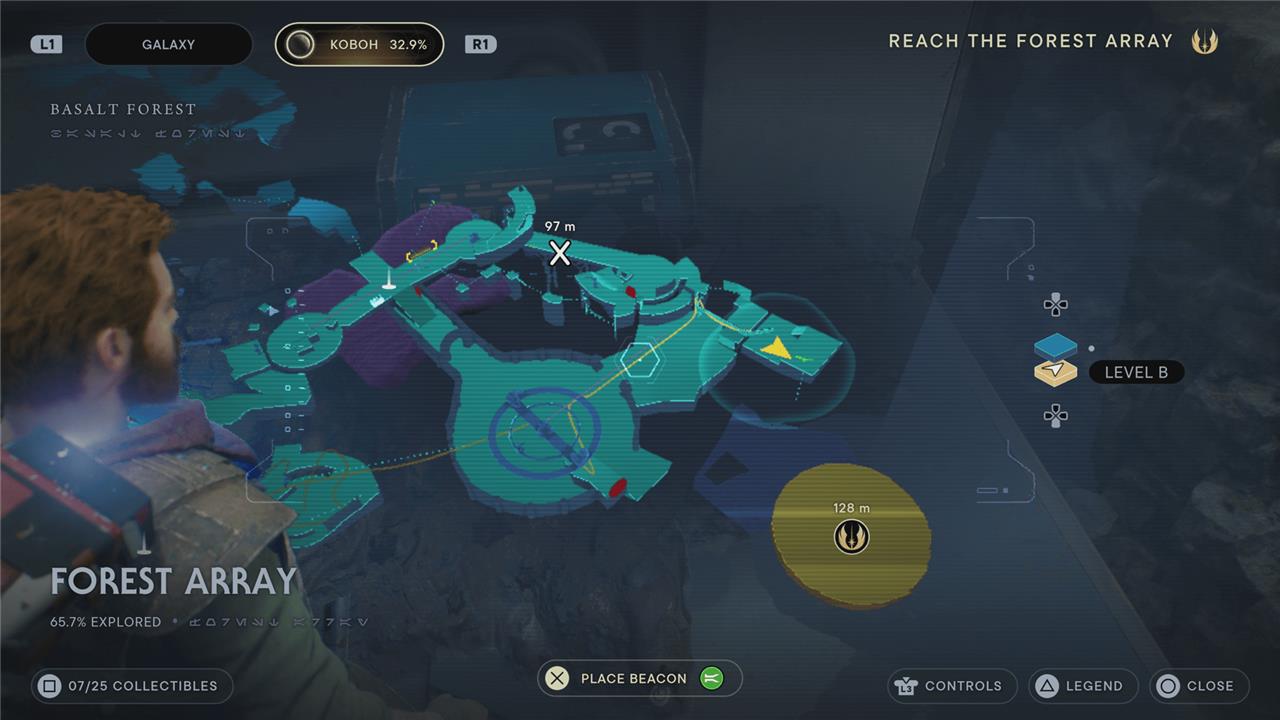
Forest Array collectibles
The Forest Array on Koboh holds several collectibles that reward players with new customization options and gameplay boosts. You’ll find chests containing cosmetics for Cal, BD-1, and the lightsaber, along with Force tears that challenge your combat and traversal skills. Essence pickups hidden across the area enhance your abilities, offering permanent upgrades to health, Force, or skill points. Exploring every platform and path carefully ensures you don’t miss valuable treasures scattered among the machinery and overgrown ruins.
At the other end of the Basalt Rift and past the first few swarms of Koboh Dust, you’ll make it to the Forest Array. There are 25 collectibles in the Forest Array region of Koboh: six chests, two essences, six databank entries, 10 treasures, and one seed pods.
Chest 1 – Light mustache
After you (fail to) pass under the trapped bird, you’ll make your way to a large round room with a lot of dead rawkas on the ground. To the left as you enter, look for a wall you can wall run up. Jump to the pole, and swing over to the small platform to find the chest with light mustache.
Chest 2 – Diligence switch lightsaber component
Just past that round room, you’ll have to fight another not-wampa. After that, you’ll climb up to a round roof section. Take a right to find the chest with the Diligence switch lightsaber component.
Chest 3 – Hunter pants
After a quick diversion to the Bilemaw Den where you’ll learn Cal’s relter tame ability, you’ll return to the Forest Array. After a bit more work, you’ll make it to a new orb amplifier and free the giant bird that’s been hindering your progress. When you (finally) climb across where it was trapped, you’ll drop down right next to the chest with the hunter pants.
Rehabilitation Wing collectibles
The Rehabilitation Wing holds several collectibles scattered through its corridors and hidden rooms. Players can find chests containing cosmetic items, a Force tear that challenges their combat and movement skills, and a few essence points that expand Cal’s abilities. Careful exploration of side rooms and elevated ledges often reveals missed collectibles, so using Force abilities to move obstacles or reach higher areas can help complete this section’s list.
At the top of the Forest Array’s array, you’ll enter the Rehabilitation Wing. There are two collectibles in the Rehabilitation Wing region of Koboh: one essence, and one databank entry.
Essence – Health
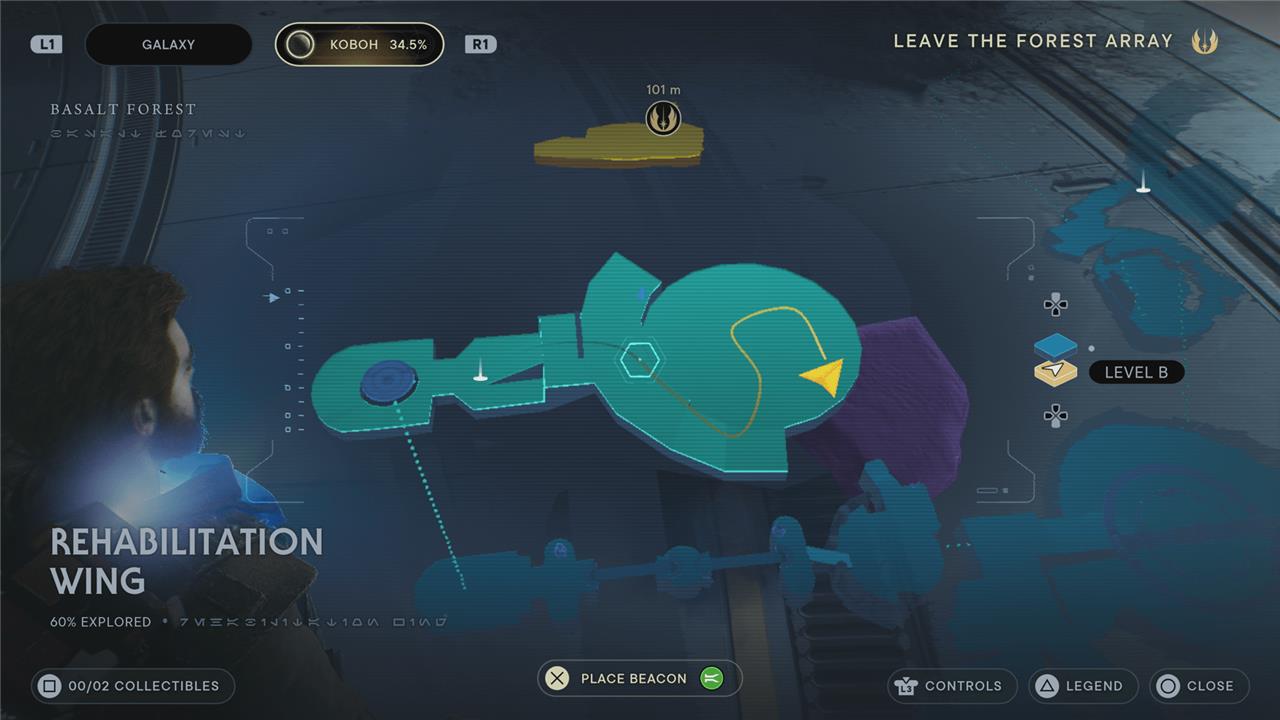
You’ll find this health essence right after your fight against Dagan Gera. It’ll be on the ground next to you after the fight-ending cutscene.
Bilemaw Den collectibles
Bilemaw Den hides several valuable collectibles among its rocky tunnels and creature nests. Players can find chests containing cosmetics and upgrades scattered near the larger Bilemaws, along with a few databank entries tucked behind debris or climbable ledges. A Force Tear challenges Cal’s precision and timing in a combat trial, while a concealed essence grants a permanent boost to his abilities. Exploring each corner carefully ensures nothing is missed before moving on to the next area of Koboh.
After you activate the first Orb Amplifier, you’ll head away from the Forest Array and up a slope to the Bilemaw Den. There are three collectibles in the Bilemaw Den region of Koboh: one chest, one essence, and one seed pod.
Essence – Confusion: Major Fauna ability
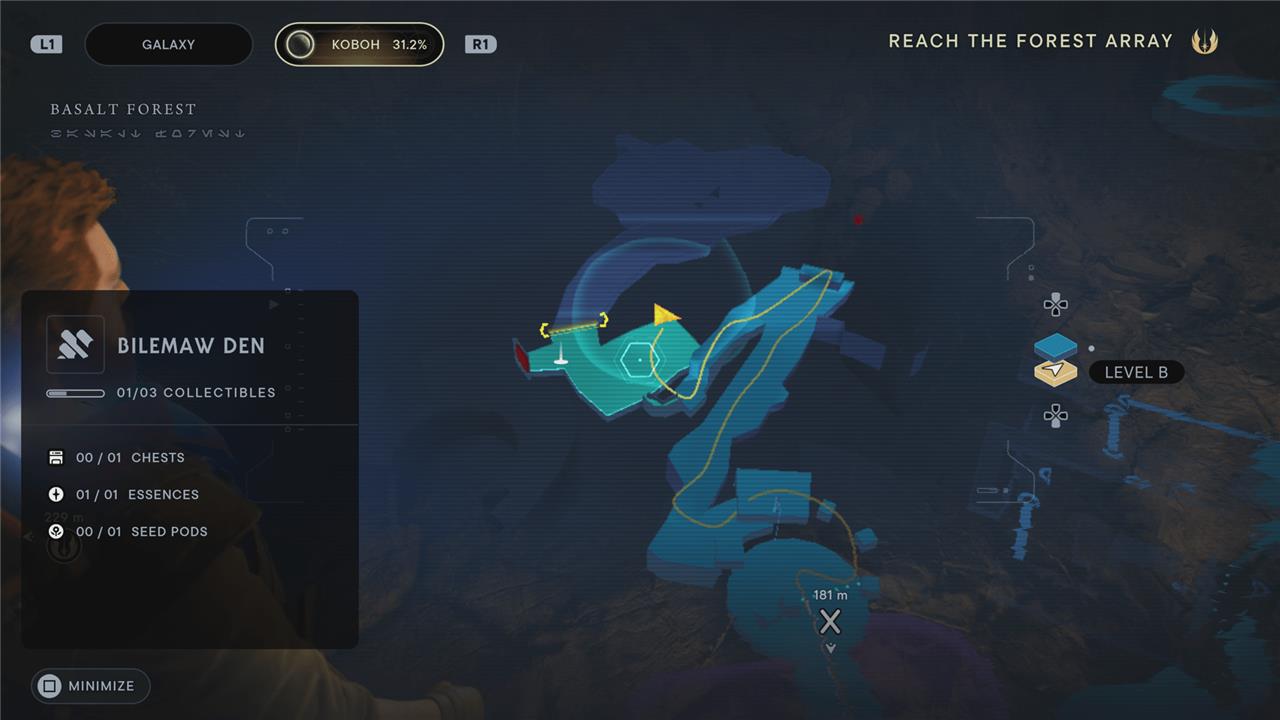
Right after you squeeze through the narrow gap to find the Bilemaw Den, you’ll see the area’s meditation point ahead of you. This essence is against the wall a little to the right. You’ll pick up the Confusion: Major Fauna ability for Cal.
Nekko Pools collectibles
Nekko Pools holds a mixture of collectibles that reward careful exploration and timing. Players can find chests containing cosmetics for BD-1 and lightsaber parts, as well as Force essences that boost skills and attributes. Some collectibles require creative use of traversal abilities like wall running and taming Nekkos to reach hidden ledges. Keep an eye out for subtle environmental clues-glowing lights or unusual cliff edges often mark the path to valuable finds.
After the fight at the top of the Forest Array in the Rehabilitation Wing, you’ll ride a retler through a long canyon. At the other end, you’ll drop into the Nekko Pools. There are six collectibles in the Nekko Pools region of Koboh: one chest, one databank entry, two treasures, and two seed pods.
Chest 1 – Swooper body BD-1 component
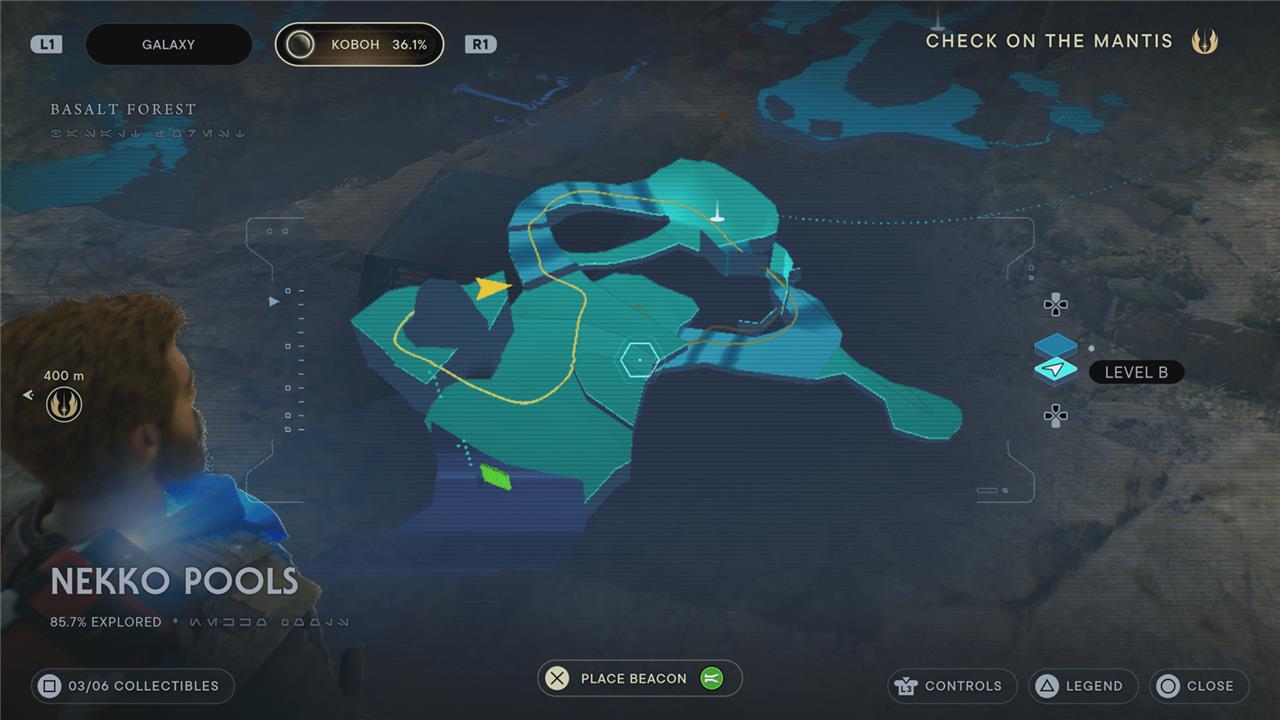
Once you tame and ride your first nekko, head up the slope to the gate. Before you jump it, though, look to the right. Jump the nekko, and then jump off it again (or double jump) to land in the tunnel there. Follow the tunnel around to find the chest with the Swooper body BD-1 component.
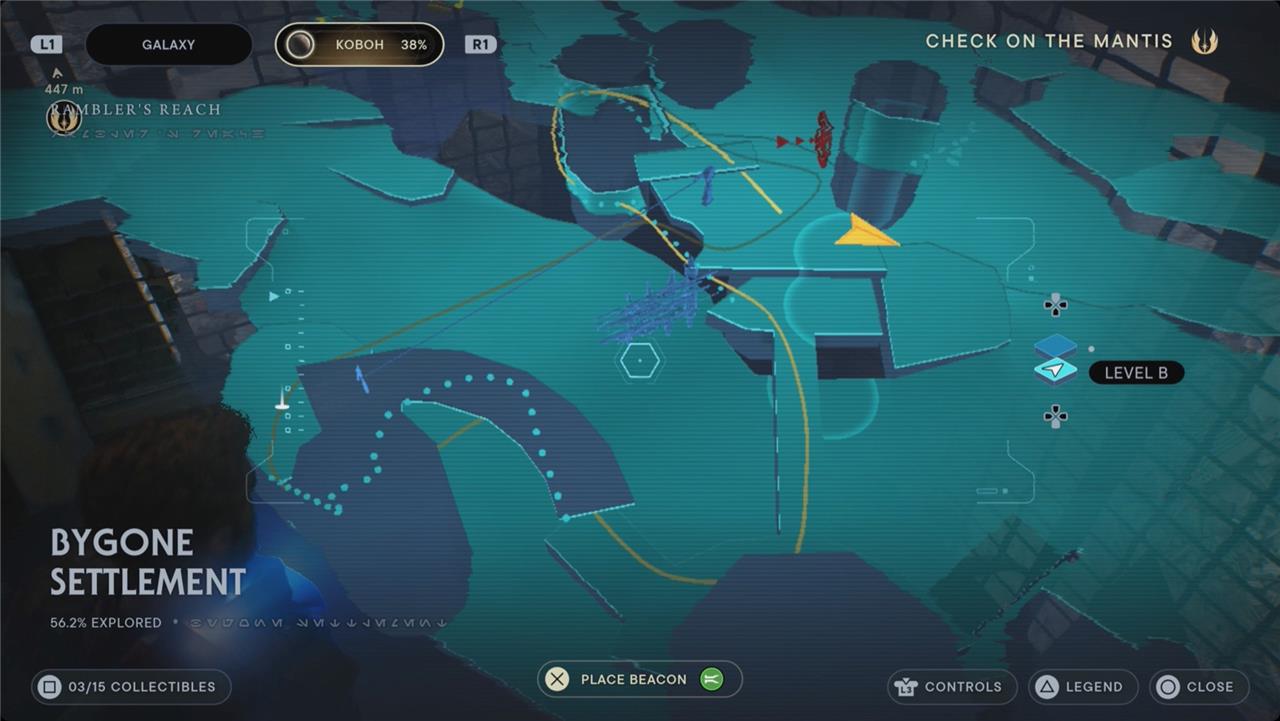
Bygone Settlement collectibles
Bygone Settlement hides several collectibles that reward exploration and backtracking once new abilities are gained. You’ll find chests containing cosmetics and perks, Force tears that test your combat or platforming skills, and essences providing permanent upgrades. Some items require using mounts or advanced traversal tools to reach, so revisiting after story progress is worthwhile. Keep an eye out for hidden caves and elevated ledges, as many treasures are tucked behind destructible walls or environmental puzzles.
There are 15 collectibles in the Bygone Settlement region of Koboh: four chests, one essence, two databank entries, five treasures, and three seed pods.
Chest 1 – Geonosian head BD-1 component
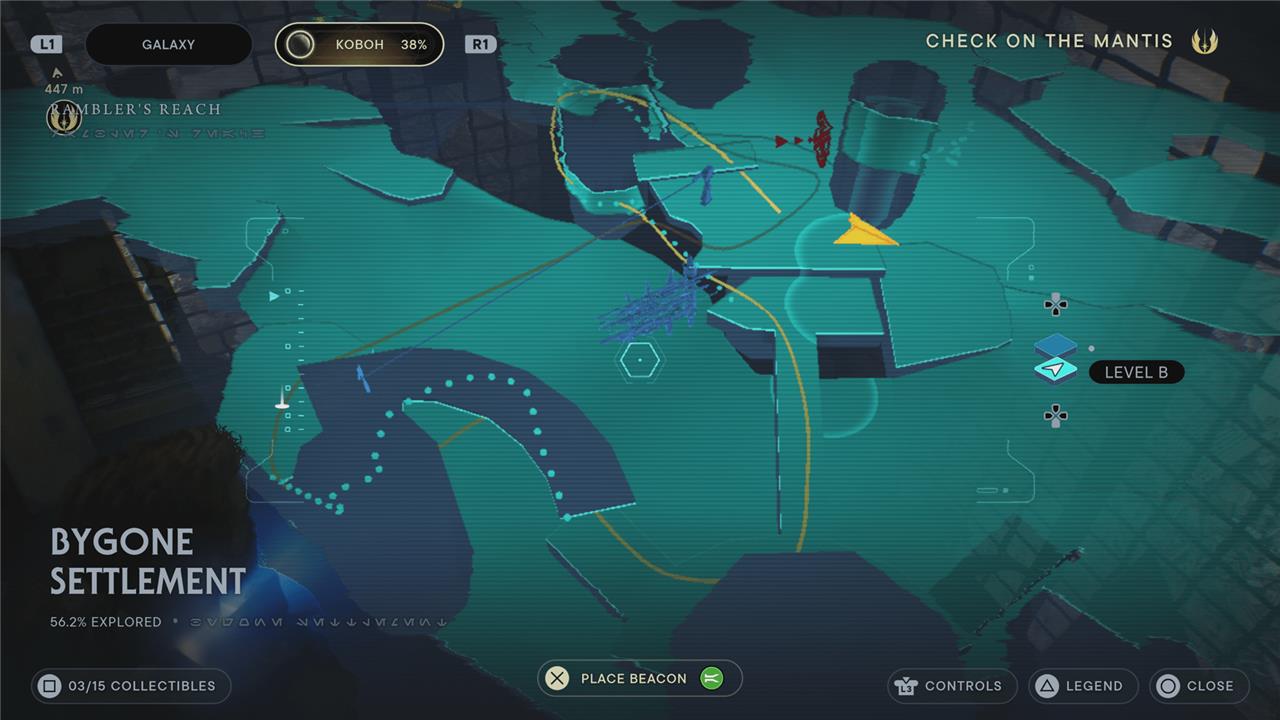
As you enter the Bygone Settlement, look for a zip line on the far side at the top of the ledges. Use your (a) nekko to super jump up to it and ride it across. Some wall running, pole swinging, and another zip line later, you’ll come to a high platform on the other side of the settlement. Follow the walkway past the retlan to find the chest with the Geonosian head BD-1 component.
Chest 2 – Wanderer jacket
When you spot the sandcrawler, loop to the right to find this area’s meditation point. Use the wall next to it to wall run over to a climbable wall, and then cross the ceiling to a walkway a little to the right. Take the first left and Force Push the runnable wall. A bit more climbing later, you’ll drop onto another walkway next to a large fan. Drop down one level to find a chest with the wanderer jacket inside (and a shortcut back to the meditation point).
Koboh priorite shards and databank locations
Koboh in Star Wars Jedi: Survivor hides numerous Priorite Shards (cube treasures for buying cosmetics/music at Doma’s Outpost Commodities) and Databank entries (scan points for lore unlocks).
These require exploration across regions like Rambler’s Reach, Derelict Dam, and Southern Reach, often needing abilities such as wall-running, animal taming, or dash.
Priorite Shards Highlights
Priorite Shards total around 88 on Koboh (out of 100 game-wide).
-
Derelict Dam #4: From Meditation Point, head toward Trontoshell; use Roller Mine dispenser to blow cracked tar walls after BZ Droids.
-
Southern Reach #1: Atop right-hand cliffs from Meditation Point; climb lit ledge, vines, find in egg nest.
-
Rambler’s Reach Outpost #1: Destroy Scrapper Droid on cliffs between landing pad and Swindler’s Wash (watch for Gorgers).
-
Bygone Settlement #1: Hug left wall near U-bend top from Nekko Hills; double-jump Nekko to ledge.
-
Hunter’s Quarry #1: Wall-run right side of abandoned building opposite Outpost; drop through roof hole, grab from left table.
Databank Examples
Databank finds involve scanning unique objects/enemies; Koboh has many per sub-region (e.g., 4 in Gorge Crash Site).
-
Flooded Bunker Shard: Force Push entry door twice, dodge turret, check right crate.
-
Boiling Bluff #1-2: Tame animals first (Signal Array); access opening canyon from Untamed Downs.
-
Use map-highlight perk for easier spotting once unlocked.
Area Counts Snapshot
| Region | Priorite Shards | Key Databank Notes |
|---|---|---|
| Rambler’s Reach | 10+ | Outpost stables, towers (Nekko/Relter needed) |
| Southern Reach | 5+ | Ledges, grottos |
| Derelict Dam | 2+ | Breakable walls, paths |
| Bygone Settlement | 5 | Dash required for most |
How to get the perk that highlights Priorite Shards on the map
The perk that highlights Priorite Shards on the map in Star Wars Jedi: Survivor is the Treasures Map Upgrade, which BD-1 unlocks via a terminal slice.
It reveals all Priorite Shards, Jedha Scrolls, and Datadiscs across planets once activated.
How to Unlock It
Complete the three Ruin puzzles on Jedha to open the Wayfinder’s Tomb (near Anchorite Base):
-
Path of Pain (Western path): Platforming with wall-runs, dashes, and climbs.
-
Path of Persistence (Eastern path): Precision jumps and perseverance orbs.
-
Path of Conviction (Southern path): Combat gauntlet against waves of enemies.
Return to the central platform; balls from each ruin activate an elevator to the tomb. Slice the BD-1 terminal inside for the upgrade (post-story recommended for full skills).
Usage Tips
Holomap icons appear as gold cubes; toggle other legends off for clarity. Best after main story for abilities like Nekko taming on Koboh.