Carvex doesn’t fight fair – its shifting armor, erratic attack patterns, and environmental traps turn the arena into a deathtrap for the unprepared. This guide breaks down its weak points, counters its brutal charge combos, and reveals the timing window that separates victory from vaporization.
How to beat Carvex in Metroid Prime 4
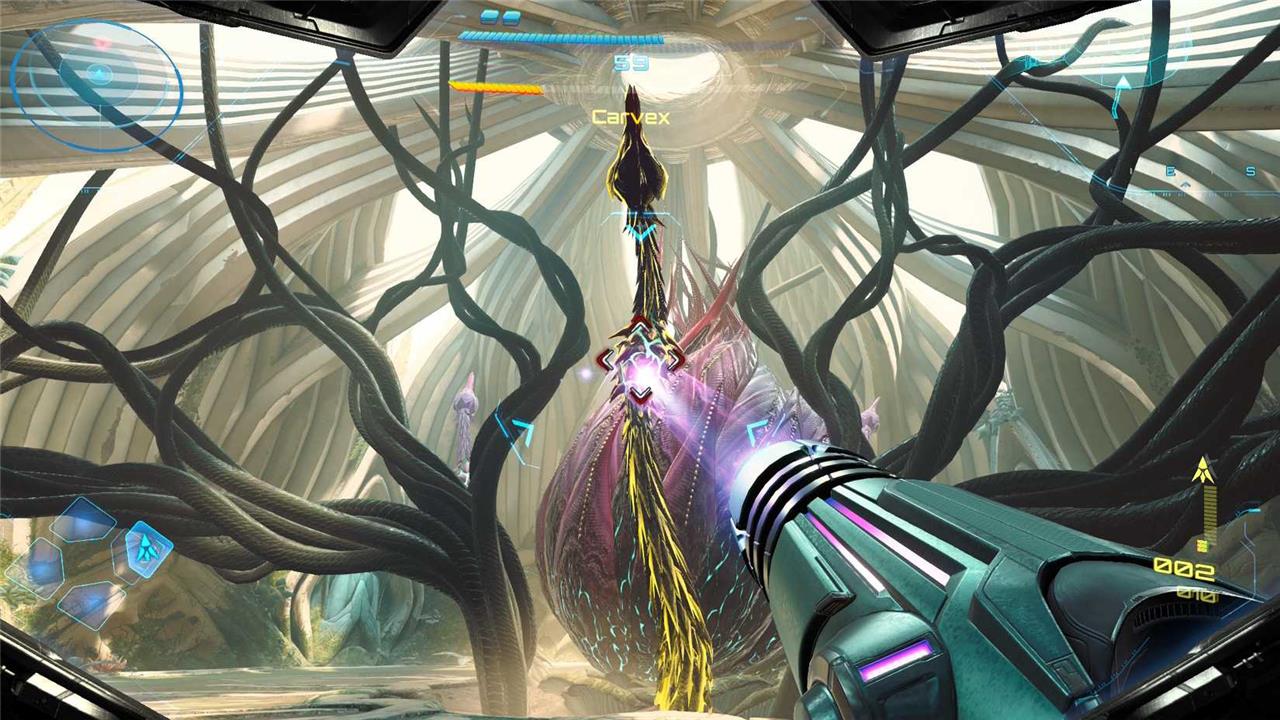
Carvex can be defeated by breaking its protective armor to expose the glowing nodes, then targeting the exposed core with concentrated beams or missiles while dodging its vine swipes and ground spikes; in later phases, use the Control Beam to hit multiple tentacles simultaneously and open the core for a final damage window.
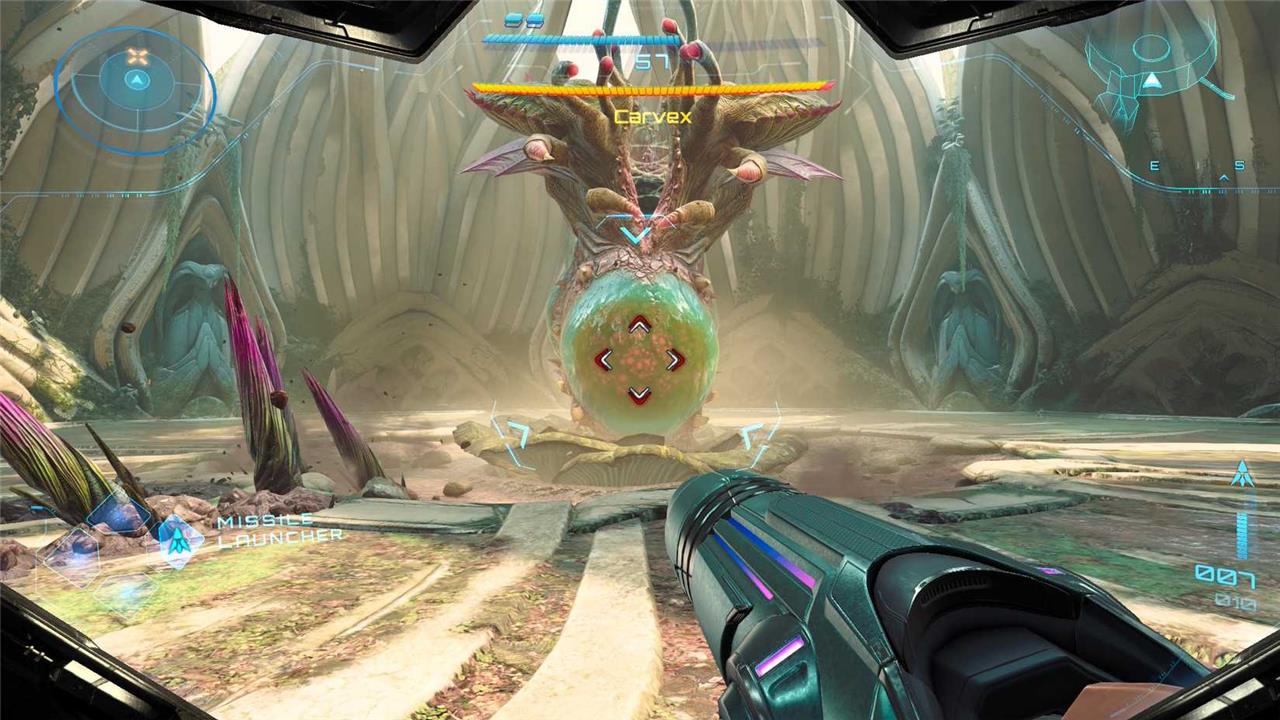
Your battle against Carvex starts out in a comparatively straightforward way. The big botanical nightmare has its core closed off and is determined to wallop you with its Metroid-infused tentacle. Aim a missile or some charged beam shots at the tentacle’s big nodule until it shatters, and Carvex will, temporarily, open its weak point.
Fire away using quick shots from your beam or missiles, and keep an eye on the ground. Carvex will send tendrils out that burst upward and damage you. If you’re locked onto Carvex (which you should be), you can tap B twice to quickly sidestep and avoid the tendrils.
Carvex will close up again and send out a second tentacle. Even the fastest free-aim fire won’t be fast enough to destroy both nodules, so you’ll need to activate the scan visor, charge a controlled shot, and let it go. Guide the psychic beam to each nodule (use ZL to lock on, if you need to), and then attack Carvex again once its core is exposed. If you need to restore energy, pop a tentacle nodule without using the charged beam, and it’ll drop some energy particles.
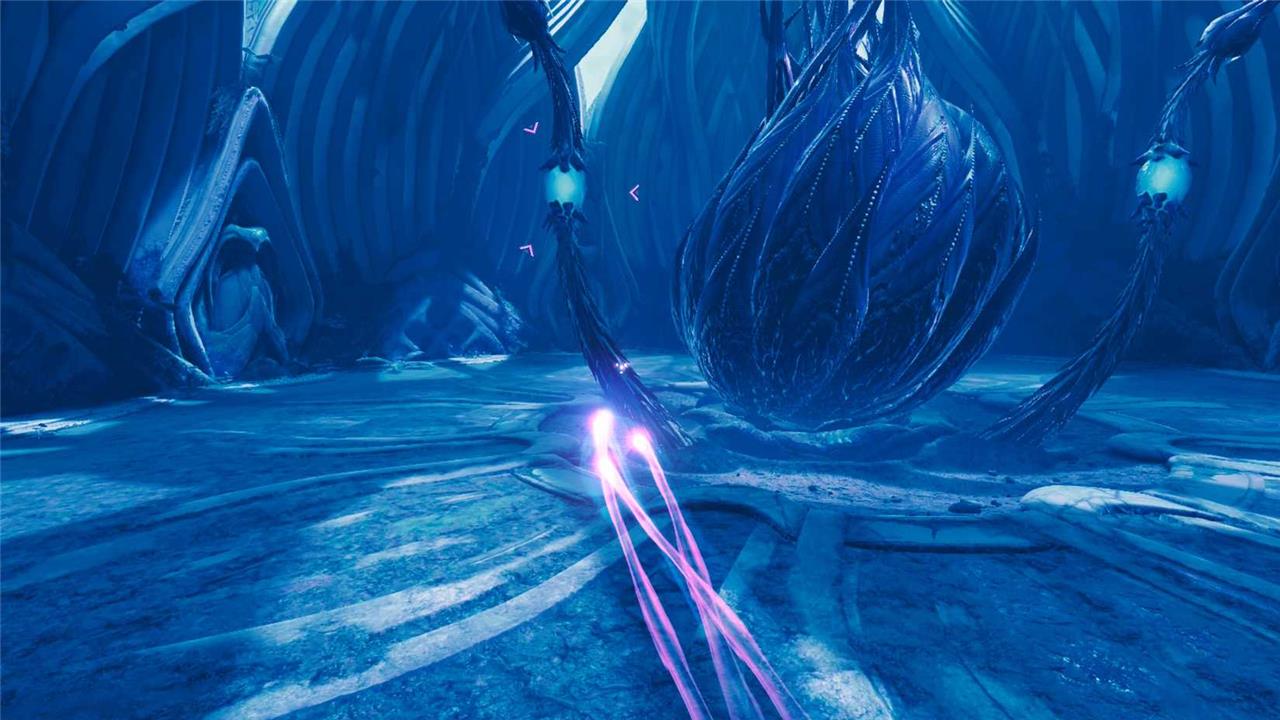
This time, it sends even more tendrils out, and they move faster. Avoiding them is harder, but just keep sidestepping and firing at Carvex’s core until it closes up again. And when that happens, Carvex fills the arena with impenetrable vines before the tentacles come out again. The strategy is the same as with the previous phase – guide a controlled shot to destroy all three nodules – but you’ll have to be a bit more careful not to guide the shot into a vine.
Best weapon and beam setup to defeat Carvex in Metroid Prime 4: Beyond
The Control Beam is the best weapon for defeating Carvex in Metroid Prime 4: Beyond, as it’s required to simultaneously destroy the exposed nodes on multiple tentacles in later phases. Pair it with missiles or charged Power Beam shots for breaking armor and damaging the core.
Optimal Setup
Equip the Control Beam (unlocked just before the fight via the Ceremonial Chamber puzzle) as your primary weapon-switch to Psychic Visor (scan visor variant) to charge and guide shots around obstacles or to hit multiple nodes at once. Use Missile Launcher for quick armor breaks on nodules and core damage phases, conserving ammo by prioritizing charged beams where possible.
Beam Alternatives
-
Power Beam: Effective for charged shots on single nodes or core; reliable early-game default.
-
Avoid regular beams on multi-node phases, as nodes respawn endlessly without Control Beam.
Playstyle Tips
Prioritize mobility with lock-on (ZL) and double-tap dodge (B) to evade tendrils and pollen sacs while charging shots. No advanced upgrades are available this early, so stockpile ~20 missiles beforehand.
Best beam for Carvex phase 1 and how to aim control beam
Power Beam works best for Carvex’s Phase 1 in Metroid Prime 4: Beyond, as it efficiently breaks the armored nodule on the single tentacle with charged shots or missiles before the Control Beam becomes essential. Switch to Control Beam for later phases only after acquiring it from the Ceremonial Chamber puzzle just prior.
Phase 1 Beam Choice
Use charged Power Beam shots to strip the outer carapace, revealing the fleshy node-avoid over-damaging it to prevent respawn. Missiles speed this up if stocked, transitioning smoothly to core damage on the exposed Metroid-like weak point while dodging ground spikes.
Aiming Control Beam
Switch to Psychic Visor (X button), hold ZR or A to charge, then release to fire the controllable projectile-time freezes, letting you guide it manually with analog stick to hit multiple nodes simultaneously. Adjust settings for inverted Y-axis if needed (under Misc > Flight Invert Y); steer carefully around phase 4 branches.
Quick Tips
Lock-on (ZL) distant targets first, double-tap B to dodge tendrils. Practice on pre-fight Control Beam puzzles for precision.