In the relentless world of Dragon’s Dogma 2, mastering combat is your key to survival and triumph. Whether you’re scaling colossal monsters or exploiting enemy weak spots, understanding stamina management, party composition, and environmental tactics will transform you from a novice into a formidable warrior. Dive into our essential combat tips designed to help new players conquer the dangers lurking around every corner on PC, PlayStation, and Xbox.
Drink your healing items even if it looks like you’re already dead
In Dragon’s Dogma 2, even if your character appears to be dead and is lying on the ground, you can still use healing items to recover health and snap back into the fight. This mechanic allows you to consume healing flasks or curatives during the death animation, preventing an instant game over as long as you avoid one-hit kills. By doing so, you can effectively cheat death and continue battling without reloading a save, making healing items crucial even when you seem down for the count. This feature highlights the importance of keeping healing items handy and using them strategically to survive tough encounters.
Death is a little odd in Dragon’s Dogma 2, because even when you get hit really hard and it looks like you’re out of health, you can chug a healing potion or eat an apple and recover a little bit before you die. This is because your health doesn’t disappear immediately, so you have a (narrow) window to do something about it.
This tip makes dealing with big monsters that hit very hard much simpler. So make sure you travel around with lots of useful healing items to stop yourself from going down and potentially needing to waste a Wakestone to revive yourself.
Kill everything you find – even the wildlife
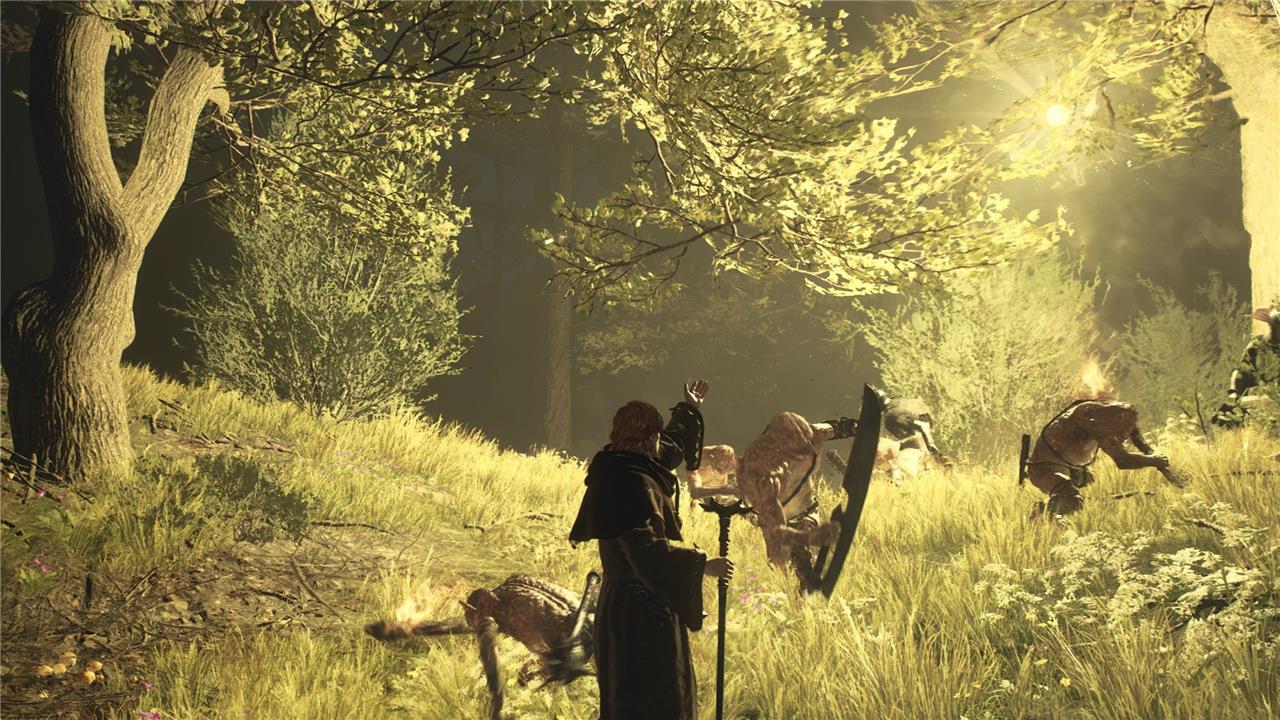
In Dragon’s Dogma 2, adopting a ruthless approach by killing everything you encounter, including wildlife, can be a viable combat strategy. The game’s world is a living ecosystem where every creature can pose a threat or provide valuable resources. Eliminating wildlife not only clears your path but can also yield useful materials for crafting and upgrades. Moreover, aggressive combat helps you gain Discipline points faster, unlocking new skills and abilities essential for survival. However, be mindful that the environment and enemy behaviors are dynamic, so use this tactic strategically to maintain an advantage in battles and exploration.
Everything in Dragon’s Dogma 2 can drop useful resources for you to use, even the wildlife. And you’ll need a surprising number of rabbit pelts to upgrade your beginner gear in the game. But that’s not the real reason that you should kill every creature that moves out in the open world. What you’re really looking for here is XP and Discipline, which will help you increase your level (and therefore your stats) and purchase skills for your vocation.
Harpies, skeletons, pigs, rabbits, deer, dragons, the list goes on. If it isn’t a villager or a quest-giver: Kill it! Bigger things will certainly be more worth your time, but when a little rabbit only takes a quick swing of your blade, why not take it down?
Use your unique vocation abilities often
Using your unique vocation abilities frequently in Dragon’s Dogma 2 is crucial for mastering combat and maximizing your effectiveness in battle. Each vocation offers distinct skills and augments that cater to different playstyles, whether it’s the Fighter’s melee prowess, the Archer’s ranged precision, or the Mage’s magical support. Regularly employing these unique abilities not only helps you exploit enemy weaknesses but also builds your Discipline points, which are essential for unlocking more powerful skills and augmentations. Additionally, since stamina management is vital and most skills consume stamina, timing your vocation abilities wisely can turn the tide of combat, making encounters smoother and more strategic. Don’t hesitate to switch between vocations to experiment and find the best combination for your playstyle, as progress and skills carry over, allowing you to adapt and grow stronger throughout your journey.
At the start, it can be tempting to play Dragon’s Dogma 2 like a hack-n-slash game, alternating between your light and heavy hits all the time. But what you should really be doing is peppering in your unique vocation skills as you go. These skills do cost stamina to perform, but some of them are extremely powerful.
Take the Gut and Run skill for the Thief vocation, for example. Sure, you can just stab a monster over and over again to deal damage. But if you use Gut and Run, you’ll do more damage than 20 hits in a fraction of the time.
Just keep in mind what your ability’s limitations are. For example, Gut and Run is a finisher, so it also causes you to dismount the creature. Some other abilities take time to set up, but offer a big reward, like the Thief’s bomb ability. Experiment with skills and learn the delicate dance between mashing attack and using your abilities.
Crawling on the boss isn’t always the best move
Crawling on the boss in Dragon’s Dogma 2 can be a tempting tactic to target weak points directly, but it’s not always the best move. While climbing large enemies allows you to attack critical spots and potentially stagger them, it consumes stamina rapidly and leaves you vulnerable if you overextend or lose your grip. Instead, balancing climbing with strategic use of your party’s abilities, exploiting environmental hazards, and targeting weak points from safer positions often leads to more effective and safer combat outcomes. Managing stamina and positioning carefully is key to avoiding unnecessary risk when engaging bosses up close.
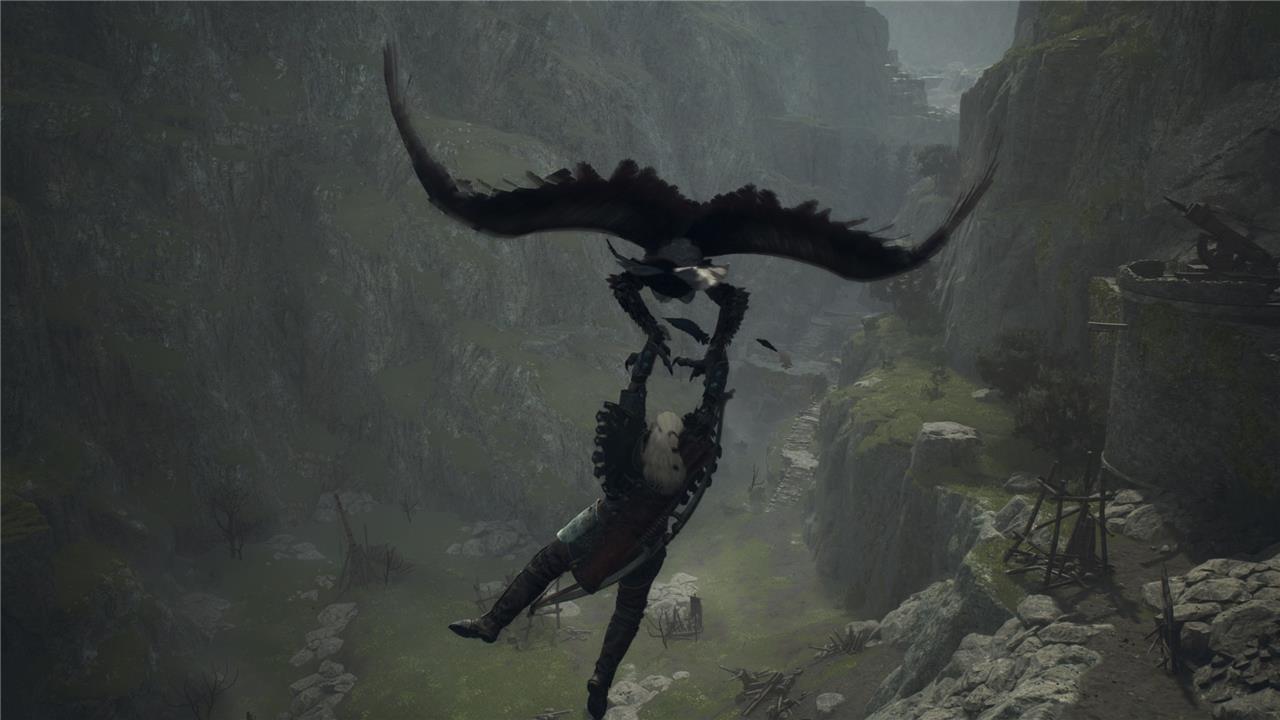
Grabbing and climbing a monster is one of Dragon’s Dogma 2’s big selling points, and one aspect that helps it stand apart from competitors. So, naturally, you might be very tempted to jump on top of a big cyclops and climb around every time. Resist this urge!
Crawling around on a monster takes up a ton of stamina and, until you know what that monster can do, a miscalculation can be lethal. For example, flying monsters love to fly you high into the sky when your stamina is getting low. And monsters like ogres love to flop on their ass and try to squish you. Don’t let yourself fall victim to these kinds of deaths.
Instead, watch the monster, learn what it does, and take some slashes at its feet and other reachable areas. If you’re a heavier vocation like a Fighter, maybe try to push the monster over instead of climbing it at all.
All that being said.
Crawling around at the right time is key to success
Crawling around at the right time is key to success in Dragon’s Dogma 2 combat, especially when facing large enemies. Timing your climbs and movements carefully allows you to reach vulnerable spots on massive foes, such as their heads or bright weak points, to deal significant damage. However, stamina management is crucial during these moments, as climbing and attacking drain stamina continuously, and running out leaves you vulnerable to falling or enemy counterattacks. Mastering when to crawl, cling, and strike while keeping an eye on stamina can turn the tide of battle in your favor.
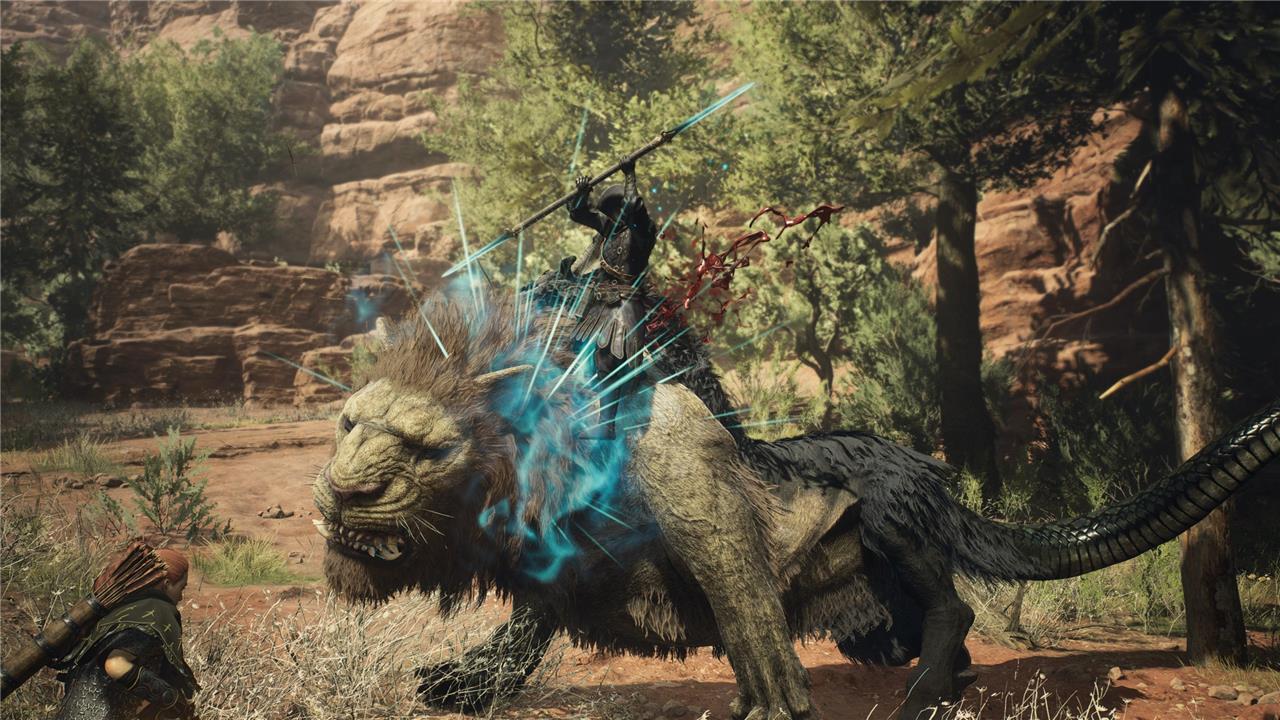
Climbing (on monsters) is one of your most powerful tools in Dragon’s Dogma 2, but only if you do it cautiously.
As previously mentioned, monsters can get really mad when you climb them. But many enemies have special weak spots that you need to climb all over to find. And some vocations are better at climbing monsters than others.
If you’re fighting a dragon with a bunch of sores on it, hopping on and stabbing the sores with a flaming sword is a great idea, even if you’re a fighter that usually feels more comfortable on the ground. Just be sure to let go before it flies away. On the other hand, jumping on top of a griffin and planting a bomb on its head as a Thief can help you bring it down to the ground over and over again.
As you’re learning Dragon’s Dogma 2, try not to get overzealous about climbing. But, as you get more comfortable, make sure to ease climbing back into your combat repertoire when dealing with big bads.
Don’t forget to stock up on stamina items
In Dragon’s Dogma 2, managing stamina is crucial for survival and effective combat, as every action like running, climbing, and attacking consumes it. To avoid becoming vulnerable when stamina runs out, always stock up on stamina-replenishing items such as Roborants, which restore both health and stamina. These consumables can be crafted or purchased from merchants and are essential for maintaining your stamina during prolonged battles. Additionally, equipping gear like rings that boost stamina recovery or maximum stamina can complement your use of these items, ensuring you stay agile and ready in combat.
Healing items are very useful for staying alive – as we mentioned before – but running out of stamina is probably the thing that’s killed me most when playing Dragon’s Dogma 2. So how do you remedy that? Bring lots of stamina improvement items like harspuds, dried spuds, or harspud roborants (or even mighty roborants).
Just like potions, you can eat stamina items at any time. That means if a monster unexpectedly takes to the sky with you on its back, you can pop a stamina item to keep yourself from getting bucked off as it flies around.
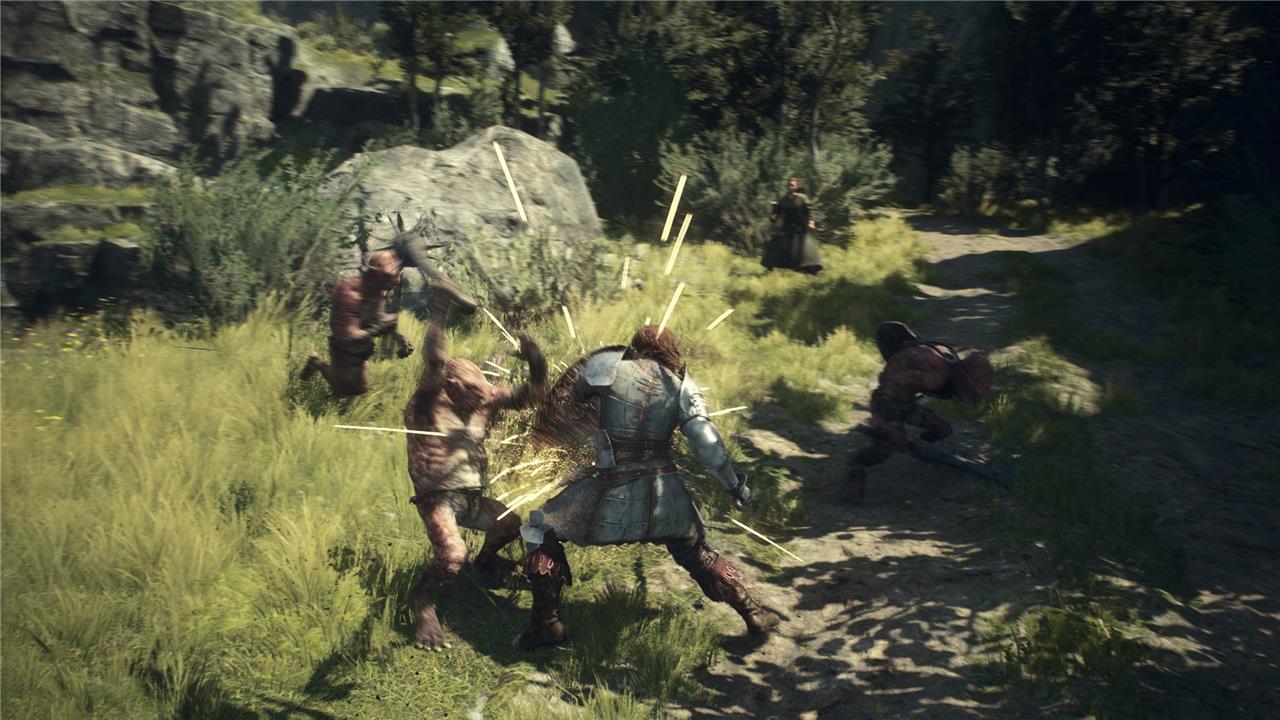
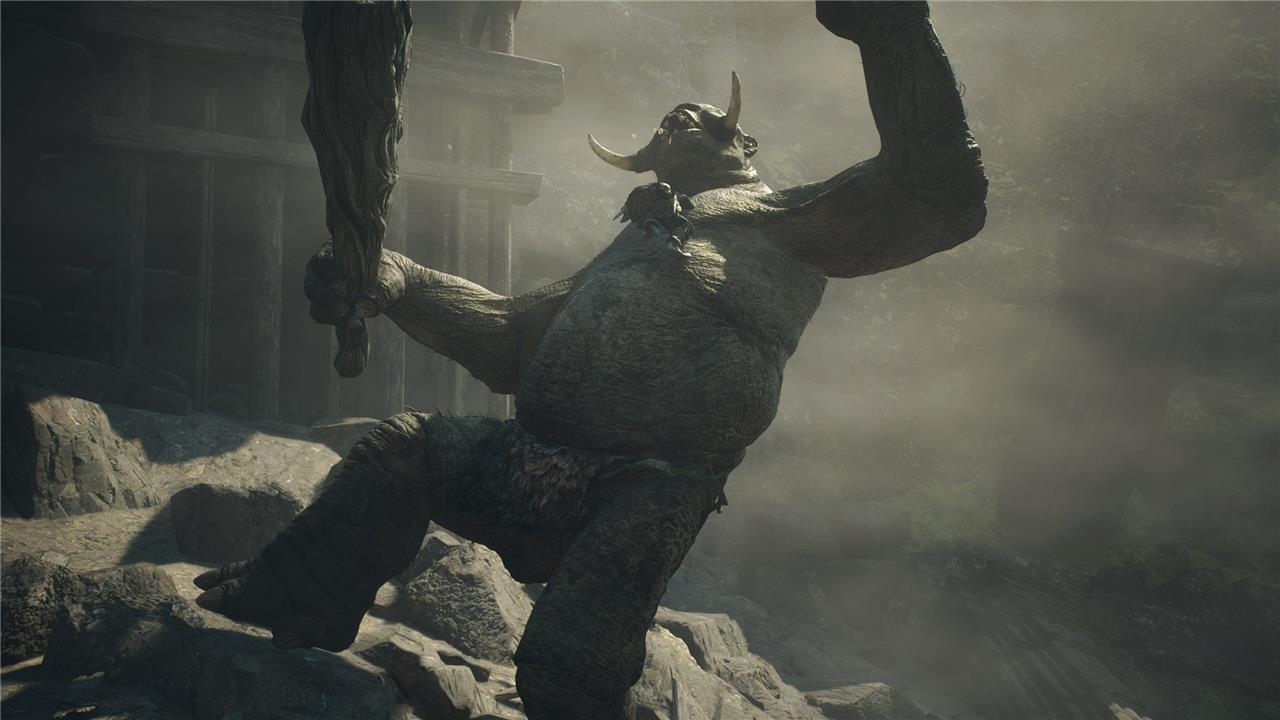
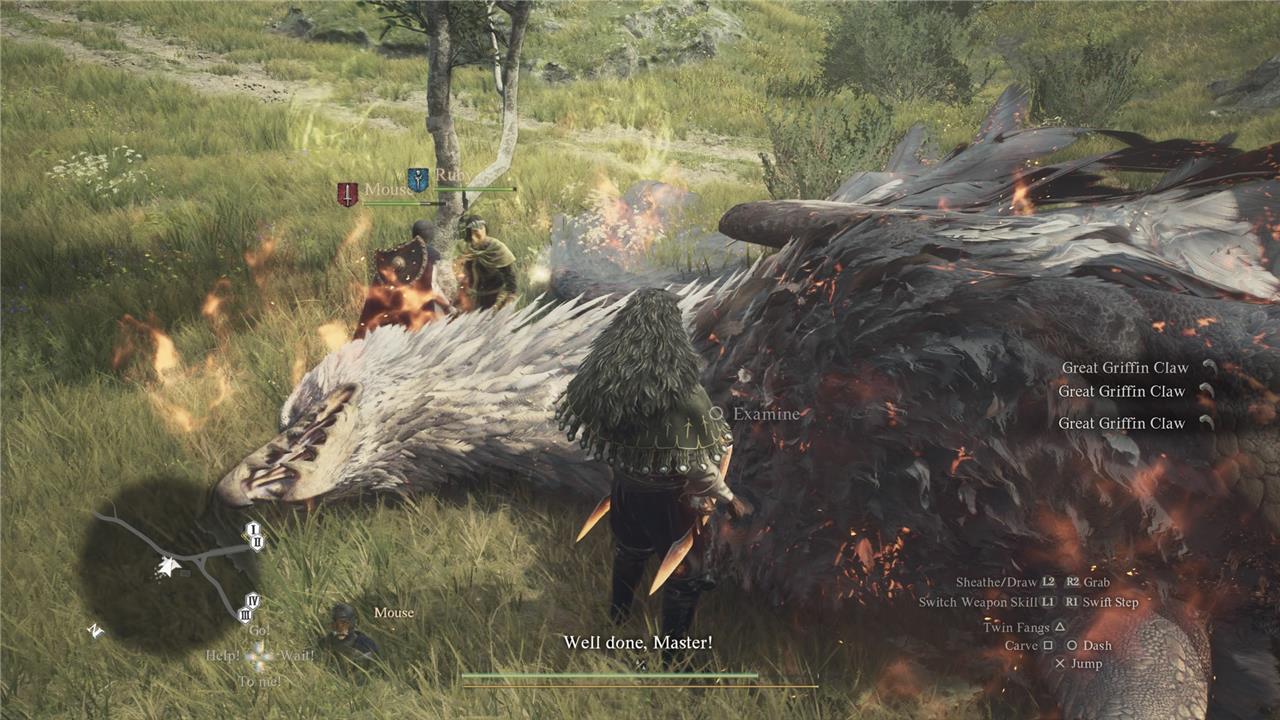
Knocking big foes down is the best way to kill them quick
Knocking down large foes is a highly effective strategy in Dragon’s Dogma 2 to quickly end battles. By targeting and damaging their legs or weak points, you can topple these massive enemies, leaving them vulnerable to follow-up attacks from you and your Pawns. This not only creates openings for heavy damage but also allows you to use the environment to your advantage, such as pushing foes into hazards or crossing gaps using their fallen bodies. Mastering this tactic accelerates combat and helps conserve stamina by preventing prolonged fights against tough opponents.
From climbing around and hitting their weak point, to sniping them from afar, to just pushing their feet over, there are a lot of ways to briefly knock enemies out in Dragon’s Dogma 2.
KOing enemies like this is your primary goal when fighting anything bigger than you. Once a cyclops, ogre, griffin, or whatever hits the ground and is stunned, you can walk up to it and deliver a powerful finishing attack to its weak point (usually the head, unless there’s something more obvious like a glowing rune or pulsing wound). These finisher attacks deal very high damage, and can help you make quick work of most monsters. So when you see a monster start to look wobbly or unsure on its feet, keep the pressure up!
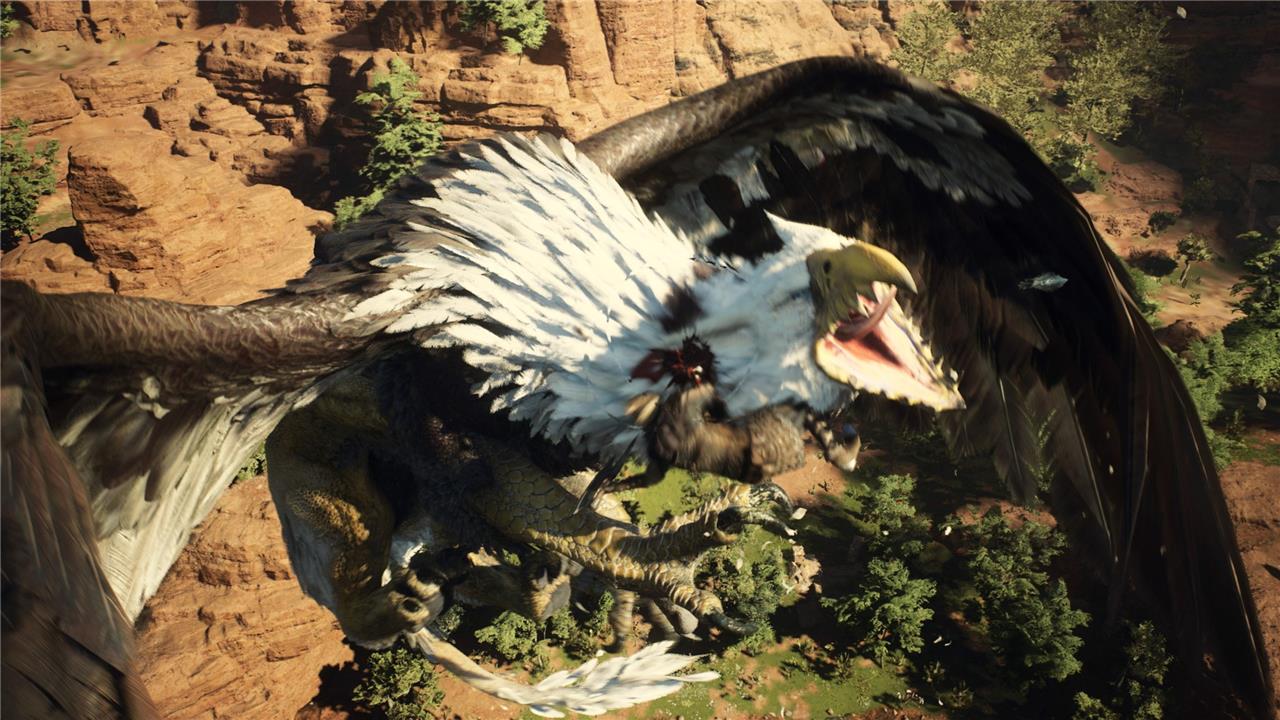
If you’re ranged, rely on your pawns to do the dirty work
If you’re playing as a ranged character in Dragon’s Dogma 2, you should rely heavily on your pawns to engage enemies up close and handle the frontline combat. Pawns act as your AI-controlled allies who can tank damage, provoke enemies, and create openings for you to safely attack from a distance. By equipping your pawns with appropriate vocations-such as warriors or fighters with aggro-drawing skills-and commanding them effectively, you can focus on dealing damage while they do the “dirty work” of controlling enemy attention and absorbing hits. This strategy allows you to maximize your ranged attacks without putting yourself at unnecessary risk, making combat more manageable and efficient.
Ranged vocations can be very powerful in Dragon’s Dogma 2, as they keep you out of reach of the massive monsters that want to pick you up and crush you between their fists. However, you’re also much more likely to take lethal damage if a monster makes its way over to you. This is where pawns come in.
When you’re hiring pawns as a ranged player, try and pick up some beefy frontliners to eat up monsters’ time and HP. You can even look for pawns with abilities like Shield Summons for fighters, which essentially taunts enemies to them and away from you.
As a ranged player, you’re extremely dangerous to the monster from a distance. So play to that strength and build yourself a wall of (mostly) disposable pawns.
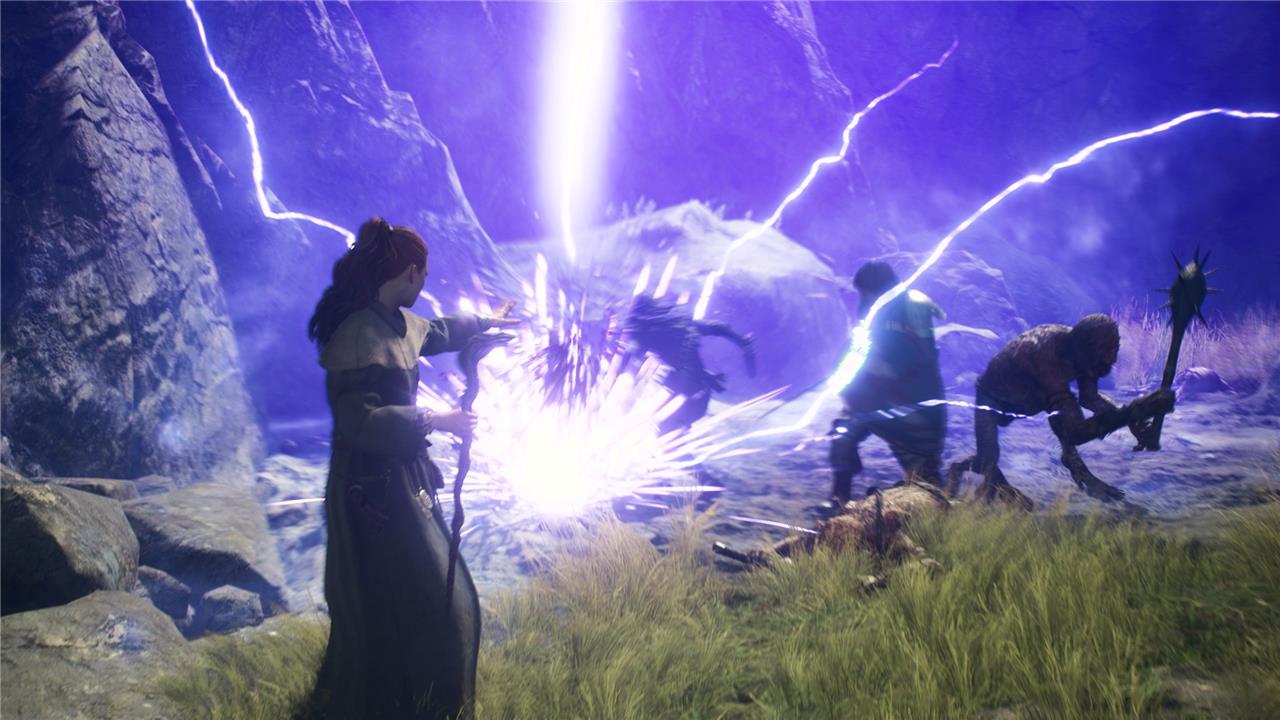
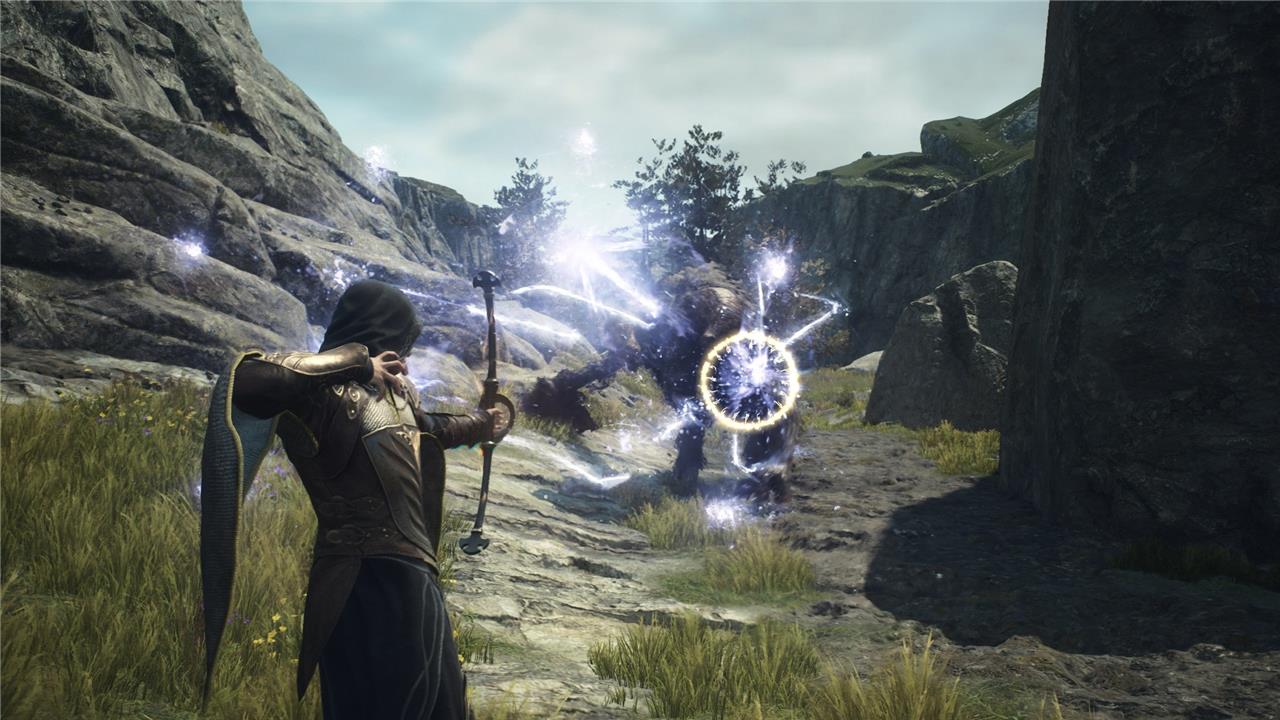
Enhance your weapons with magic whenever possible
Enhance your weapons with magic whenever possible to significantly boost their effectiveness in combat. In Dragon’s Dogma 2, you can upgrade your equipment through various smithing styles-Vermundian, Battahli, Elven, and Dwarven-each providing unique benefits such as increased strength, magick, or knockdown power. For magic-focused builds, the Elven style is particularly advantageous as it sharply increases magick and reduces weapon weight, making spells more potent and easier to wield. Additionally, once your equipment reaches max level, you can apply Wyrmfire upgrades for even greater power and reduced weight. Regularly enhancing your weapons at blacksmiths not only improves their base stats but also customizes them to fit your preferred combat style, giving you a crucial edge in battles.
Combat isn’t just about stabbing with the best weapon you have. There’s also a lot of offensive magic in Dragon’s Dogma 2 – and you don’t have to be a Mage to use it against your enemies.
A Mage in your party will sometimes cast spells that imbue your weapons with elemental magic. (Alternatively, if you play as a Mage, you can cast these spells on your pawns.) You can also find various grimoires in your adventures that cast spells. Some of these add elemental damage to your weapons.
This elemental damage can turn the tide of a fight. Saurians, for example, are incredibly weak to ice damage (and immune to fire damage). Big monsters like minotaurs and ogres are covered in oh-so-flammable hair and weak to fire damage.
Grimoires give you magic even when you’re not a mage
Grimoires in Dragon’s Dogma 2 allow players to cast powerful magic spells even if they are not playing as a Mage or Sorcerer. These magical books can be found throughout the game world and provide one-time use of potent spells, making them invaluable for players who want to tap into magical abilities without changing their vocation. Grimoires are especially useful for turning the tide in tough battles or exploiting enemy weaknesses when your party lacks a dedicated spellcaster. This feature adds a strategic layer to combat, giving all players access to magic regardless of their class choice.
Speaking of grimoires, they’re a great way to deal massive elemental and magic damage, even when you’re not playing as a caster (a Mage or a Sorcerer). You can pause at any time – even in the middle of a fight – and pick a grimoire out of your inventory. When you use it, you’ll cast a spell. Some of them, like Governing Soul, cast healing magic; books like Winter’s Path cast an offensive ice spell; and others, like Thunderous Concord, grant all lightning damage to weapons.
How can I use the environment to turn the tide in tough battles
In Dragon’s Dogma 2, you can use the environment strategically to turn the tide in tough battles by leveraging terrain features and interactive elements to your advantage. For example, climbing large enemies or environmental structures allows you to target weak spots and deal significant damage while avoiding direct attacks. Using high ground or natural obstacles can help you evade enemy strikes and set up powerful counterattacks. Additionally, environmental hazards like cliffs or destructible objects can be used to your benefit, such as knocking enemies off ledges or creating barriers to control the battlefield. Mastering these environmental tactics enhances your combat effectiveness and can decisively shift the momentum in challenging encounters.
How can environmental features like tides or terrain influence battle outcomes
Environmental features like tides and terrain can significantly influence battle outcomes by affecting movement, visibility, and tactical positioning. For instance, tides can expose or conceal obstacles and landing zones, impacting the timing and safety of amphibious assaults, as seen in historical operations where landing crafts risked grounding due to tidal miscalculations. Terrain features such as hills, valleys, forests, and rivers shape the battlefield by providing strategic high ground for observation and defense or creating natural barriers that hinder troop and vehicle mobility. Weather conditions combined with terrain, like rain turning roads to mud or fog limiting visibility, can slow reinforcements and supply lines or conceal troop movements, thereby altering the effectiveness of an attack or defense. Commanders who understand and exploit these environmental factors can gain decisive advantages, using terrain for cover, controlling key elevations, or timing attacks with favorable tidal and weather conditions to disrupt enemy plans and improve survivability.