In the shadowy depths of Elden Ring: Shadow of the Erdtree lies the Putrescent Knight-a grotesque, skeletal menace mounted on a relentless steed, ready to test your skill and resolve. This fearsome boss, hidden at the bottom of the Stone Coffin Fissure and sealed behind Miquella’s Great Rune, demands precision, cunning, and mastery of its deadly attack patterns. Prepare to face a battle where every strike counts, and only the most prepared Tarnished will emerge victorious.
In this Elden Ring DLC guide, we’ll explain how to beat Putrescent Knight in Shadow of the Erdtree, including details about how to prepare and how to read the Knight’s attacks.
Putrescent Knight location in Elden Ring DLC
The Putrescent Knight in Elden Ring: Shadow of the Erdtree DLC is located at the bottom of a pit within the Stone Coffin Fissure, which lies at the southernmost point of the Cerulean Coast region in the Realm of Shadow. To reach this boss, players must first access the Fissure by breaking Miquella’s seal and then navigate through the area to the Fissure Depths Site of Grace. From there, dropping down into the chasm leads directly to the Putrescent Knight’s arena, where this large skeletal knight mounted on a steed awaits. This boss is optional and guards the entrance to St. Trina’s cave.
You find the Putrescent Knight at the bottom of a region called Stone Coffin Fissure, which you access by descending through The Fissure. However, before you can reach this boss fight, you need first to progress with the main story and have at least reached Shadow Keep.
By the time you get in front of the castle, a message pops up saying “Somewhere, a great rune has broken. And so too has a powerful charm.” You can’t reach the Fissure before that.
You’re led to The Fissure by following Thiollier’s quest. If you do so, you can also summon Thiollier to fight alongside you, although it’s not mandatory to access the fight. Whether you have or haven’t moved forward with his quest, you can enter the fight. Once you have reached the Stone Coffin Fissure area, keep going down until you find the Fissure Depths Site of Grace. Move forward and jump from the massive head to reach the arena.
Putrescent Knight weakness and how to prepare
The Putrescent Knight in Elden Ring: Shadow of the Erdtree is notably weak to Holy damage and Scarlet Rot, making weapons and spells imbued with these effects highly effective. Magic users should focus on Holy-based incantations such as Rotten Breath and Erdtree Slam, while melee players can equip weapons like the Sacred Relic Sword or Rotten Crystal Sword to exploit this weakness. The boss is resistant to Frostbite, Poison, Bleed, and other status effects, so relying on those will be less effective. To prepare, upgrade your Spirit Ash summons like Mimic Tear or Black Knife Tiche to distract the knight, and ensure you have high Frostbite resistance and neutralizing items due to the boss’s Frostbite buildup attacks. Dodging is preferred over blocking to conserve stamina, especially against the knight’s rapid melee moves and fire barrage attacks. Overall, combining Holy damage with strategic dodging and summons will give you the best chance to defeat the Putrescent Knight.
In general, the Putrescent Knight fight is not a fun experience for melee builds, since the boss moves a lot around the arena, giving you only a short window to land one or two hits. Long-range abilities, from sorceries to incantations, can work well against this enemy.
Like some other enemies in the Elden Ring DLC, the Putrescent Knight is weak to Holy damage. They take a significant amount of damage from attacks based on this attribute, which is great if you’re running a Faith build. If you’re not, then it’s a good thing that Putrescent Knight is also prone to Bleeding, making blood loss a solid second strategy as well. Although the boss is not immune against fire damage, it’s not as effective as it is against enemies in the base game.
Elden Ring has a considerable number of Holy-based weapons, so which one you should use is a subjective decision. There are some good options to consider though. Weapons with the Sacred Blade Ash of War are great options because they offer a mid-range attack as well. In addition, using this ability imbues the weapon with Holy for a period of time. Two other fun options are Maliketh’s Black Blade – its damage-over-time potential is great during down times – and the Sacred Relic Sword, which has a skill that covers basically the whole arena.
When it comes to building up Bleed, give preference to weapons capable of quick sequences of attacks, like katanas and twinblades. As mentioned, the windows to hit the Putrescent Knight are very short and you want to trigger blood loss as quickly as possible before the boss rides away from you.
If you’d rather play safe, running some defensive items, then the Flamedrake Talisman is a solid option for you. Putrescent Knight has two nasty Fire attacks, but with this talisman, you improve your chances of survival in case you are caught by them. If you’re having a hard time dodging these attacks. you should consider increasing your Endurance to help you resist the Frostbite it inflicts.
How to beat the Putrescent Knight in Elden Ring DLC
To beat the Putrescent Knight in Elden Ring: Shadow of the Erdtree DLC, start by preparing for a two-phase fight where the boss can detach from its horse and attack separately. In the first phase, stay close and dodge into its attacks, especially the double blade slash, to avoid damage and create openings for counterattacks. Use Mimic Tear Ashes to distract the boss and help deal damage. Focus on building up the boss’s Bleed meter, as bleed damage is highly effective against it. Watch out for its ranged axe throw and overhead attacks, rolling through them to stay safe. In phase two, avoid the dangerous blue flame barrage by timing your jumps and retreats carefully. Equipping weapons with Holy damage, like the Sacred Relic Sword, and using ranged magic attacks can make the fight easier. Overall, patience, dodging into attacks, managing space during flame waves, and leveraging summons and bleed effects are key to victory.
The Putrescent Knight’s attacks have long – but delayed – animations, which requires some practice to correctly nail the timing. You have almost no room to pop a flask or recast a buff. The Putrescent Knight’s kit has more than one tool to prevent you from doing so by forcing you to choose between getting hit while healing yourself, or escaping their offensive movements but staying one hit from dying.
While the fight is not explicitly split into two phases, we’re doing so to make the information below easier to digest. The first phase encompasses all the boss’s main moves. Once you have learned to survive the first phase, the second becomes a walk in the park.
Putrescent Knight boss fight phase 1
All of the moves we’ve detailed below repeat throughout the whole fight. Understanding how to avoid them and the windows for striking back are crucial to beat this boss.
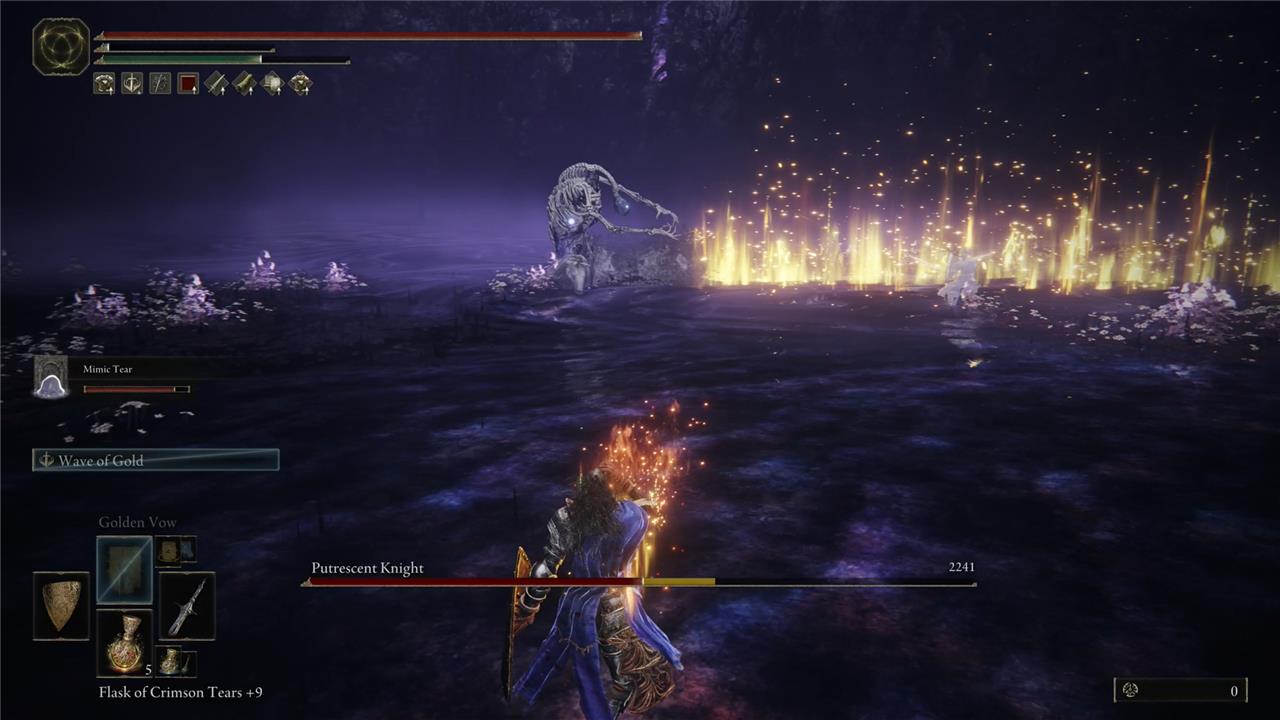
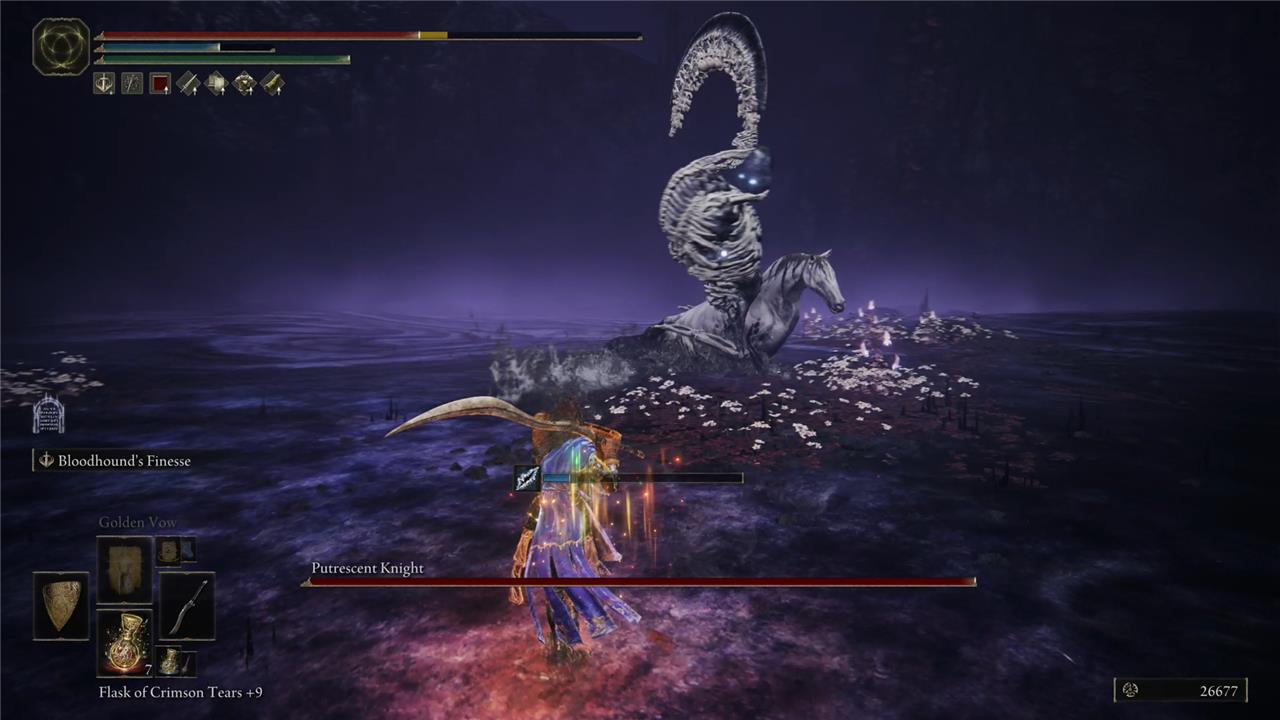
The Putrescent Knight can start the fight in two ways. They can jump at you and slam their massive cleaver at your location or ride toward you and perform a few swing attacks – which is more common when you perform a skill as they are coming at you. The former is usually followed by one of Putrescent Knight’s signature moves, the spinning attack combined with their horse.
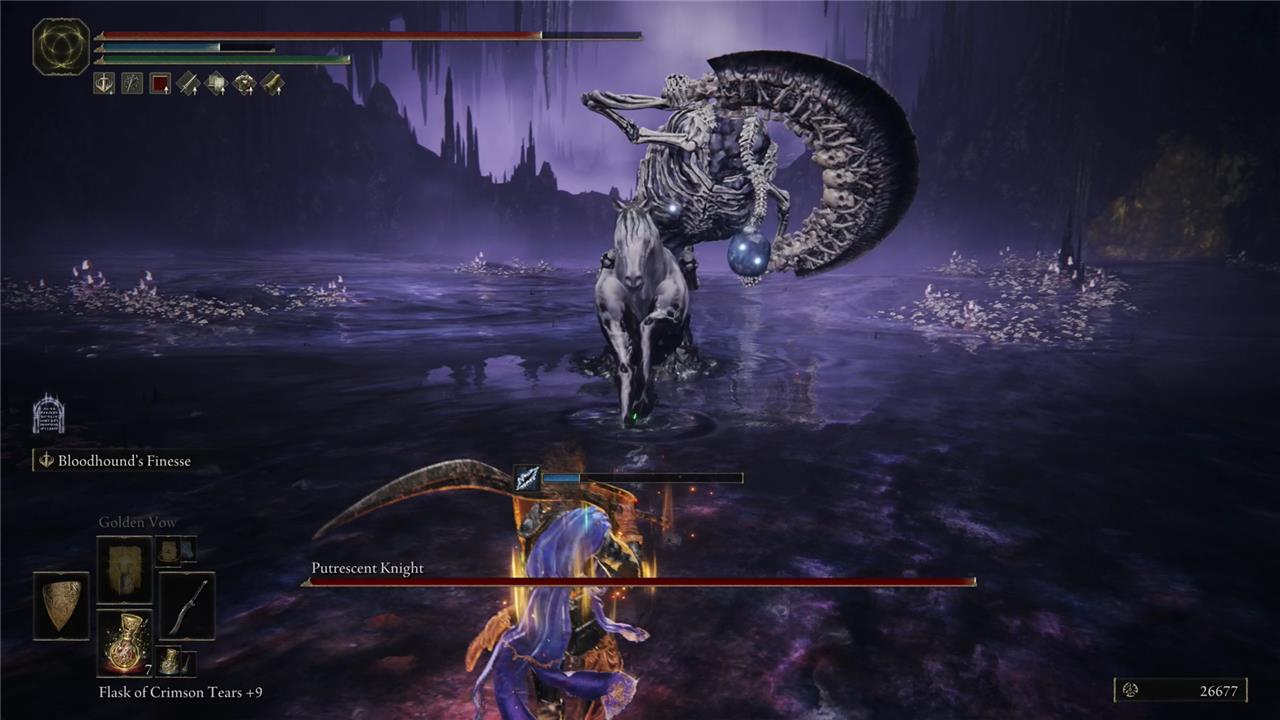
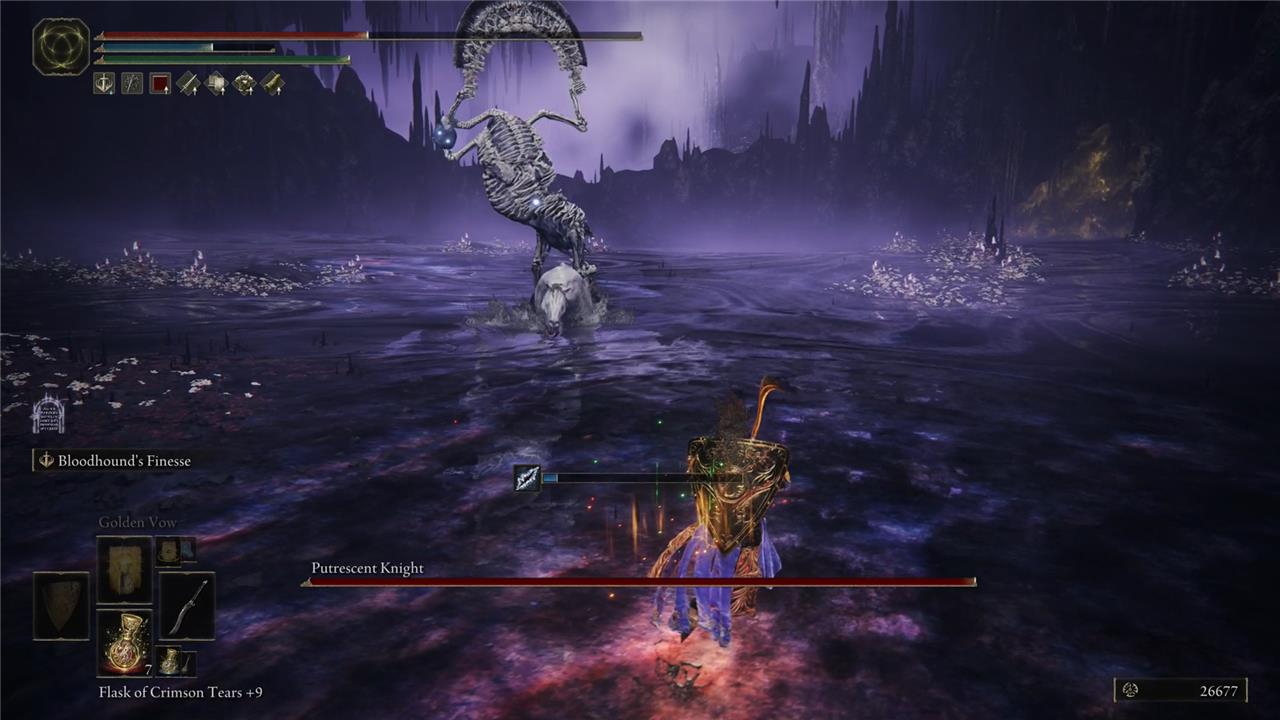
The combined attack begins with Putrescent Knight jumping from their horse and performing three spins. This initial move is followed by another three spins and a charge attack from the horse, which they repeat one more time. In total, you need to dodge three spinning sequences and two charges. Dodging the first sequence of spins is only a matter of rolling toward them. But, when the Putrescent Knight and their horse attack together, you need to roll toward the horse and quickly roll to the opposite side.
Once they are done, there is a small window to attack the Putrescent Knight during the animation where they mount their horse again. Go for a single heavy attack and two light ones, but don’t be greedy.
A second common move that you need to deal with during the whole fight is a sequence of swing attacks. These are a little tricky to avoid initially because of their delayed animation, which means that they tend to take a little bit longer than expected to actually attack you. Luckily, there’s a tell for when Putrescent Knight is about to execute the swings. Usually, they raise the cleaver with one hand. (There is, however, a variation in which they use both hands.)
When Putrescent Knight uses the single-hand variation, they can execute two to three swings. This version also has a variation where the boss follows up the third swing with a double-slamming attack.
To escape when Putrescent Knight swings and slams the cleaver at you, focus on rolling toward the direction from where their weapon is coming. Regardless of the variation, when they complete the sequences, the boss won’t move for a few seconds, giving you another good opportunity to land a skill or a few blows.
If you get close to the boss for too long, they can eventually use two attacks. One is a stomp; the other is a roar. There isn’t a secret to avoiding these attacks besides rolling at the right moment. Running from the boss to avoid getting hit by them is almost impossible so you need to just tank the damage if you can’t avoid it.
Lastly, in more than one moment during the fight, Putrescent Knight will ride away from you. When they do that, prepare to dodge a boomerang attack. The Putrescent Knight will throw their giant cleaver at you, and it’ll return via a semi-circular route. To avoid getting hit by the weapon on its return, stay where you are.
Putrescent Knight boss fight phase 2
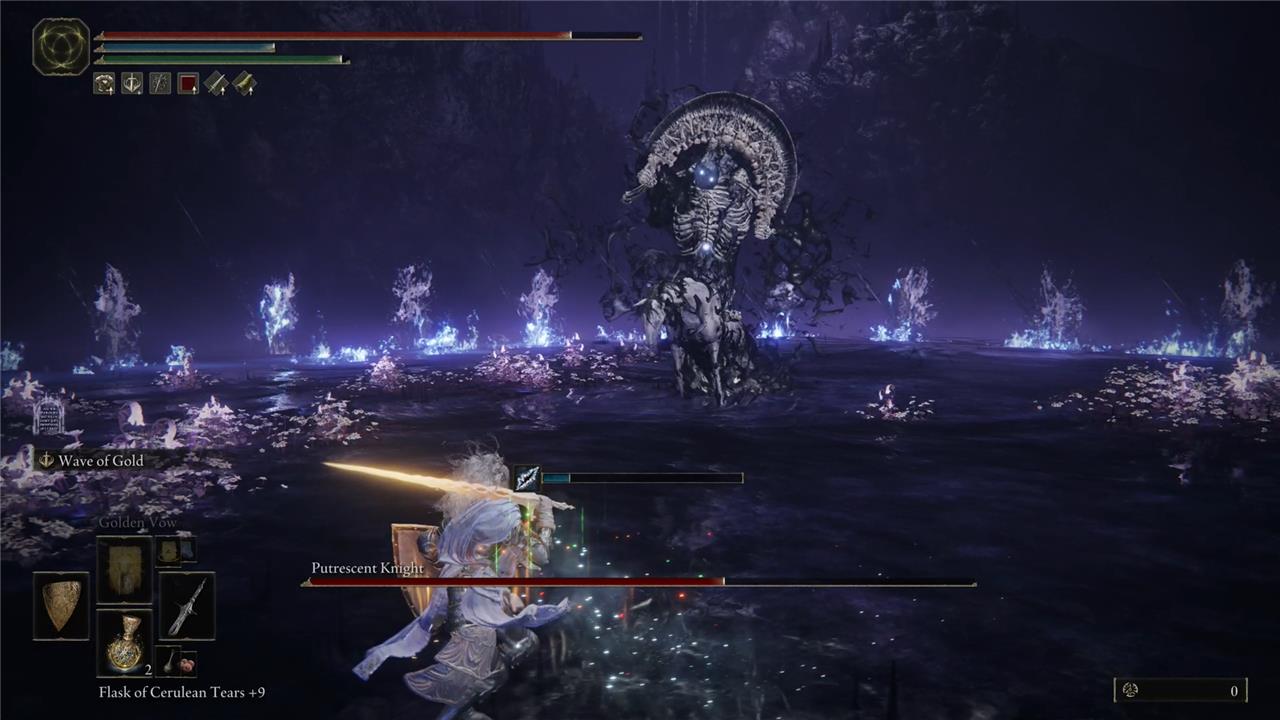
Once more than one-third of the boss’s health bar is gone, that’s where what we consider the second phase begins. As mentioned, the Putrescent Knight still uses the same attacks from the first phase, but performs fire attacks for the rest of the fight. These not only cause a lot of damage but can inflict you with Frostbite.
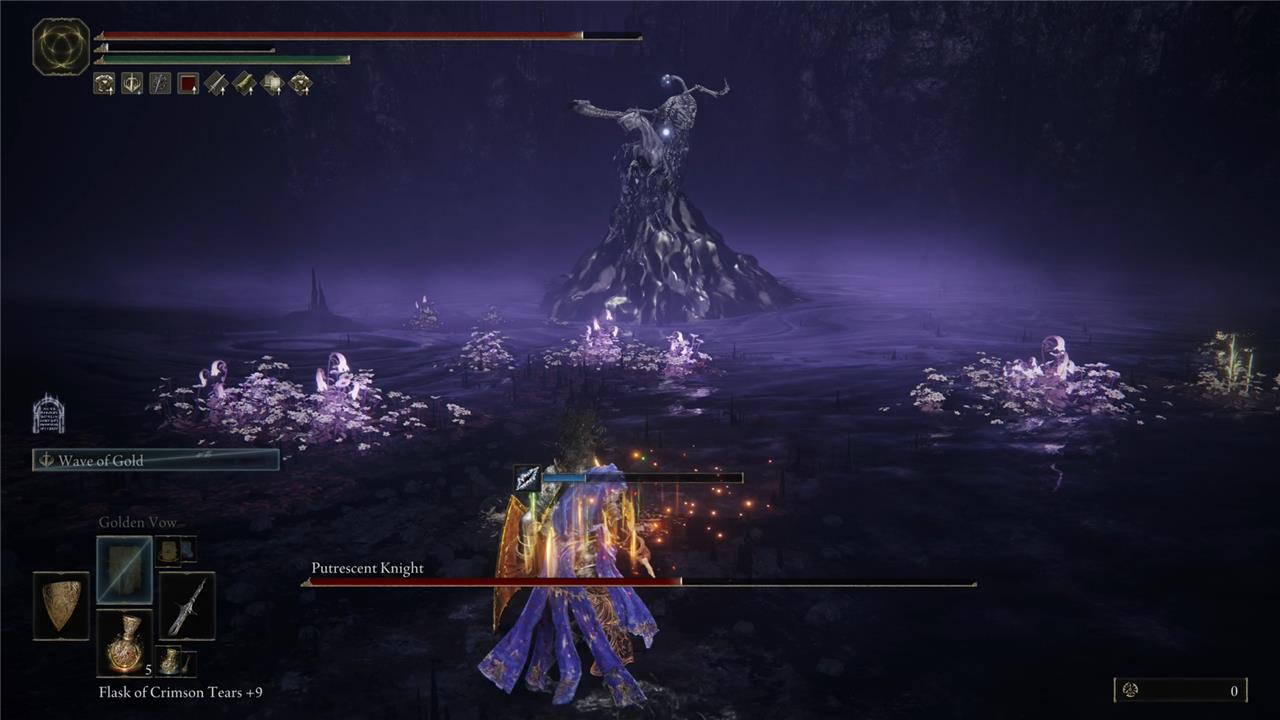
The first variation of the fire attack is when Putrescent Knight rises from the ground and shoots projectiles of black goo. When they hit the ground, lines of blue fire are formed, covering parts of the arena. The boss always releases three sequences of projectiles. You can either roll or dodge to escape the flames. The former seems more intuitive, but it’s harder to time. Jumping forward when the fire is coming at you is the easiest strategy.
The second variation tends to happen as a follow-up for the first one. The Putrescent Knight unleashes a final frontal fire attack. Nothing special here, and you can avoid it using the same strategy.
The third variation, however, has a different initial animation. Instead of rising from the ground, Putrescent Knight stands and only the horse rises a little bit while the black goo concentrates on them and is thrown far at the edges of the arena. Once the projectiles hit the ground, they form a circle of fire that starts closing toward the center of the arena. Jumping or rolling work equally well in this situation as well.
During all these fire attacks, you won’t actually have a window to hit the boss, so focus on surviving the flames and wait until Putrescent Knight uses one of the attacks from the first phase.
Defeating the Putrescent Knight rewards you with the Remembrance of Putrescence and 220,000 runes.
What hidden tactics can help me outsmart the Putrescent Knight
To outsmart the Putrescent Knight in Elden Ring: Shadow of the Erdtree, employ these hidden tactics:
-
Stay close and dodge smartly: Stick close to the Putrescent Knight to limit its mobility, but master the timing of dodge rolls, especially rolling toward the boss during its spinning cleaver and horse charge attacks to avoid damage and create openings for counterattacks.
-
Jump over flame waves: When the boss unleashes frostbite-inducing flame waves, jump forward through each wave with precise timing to avoid damage and frostbite buildup.
-
Use Spirit Ash summons: Summoning Spirit Ashes can significantly ease the fight by distracting the boss, allowing you safer opportunities to attack.
-
Equip Wondrous Physick with Ice Resistance and Damage Negation: Combining these effects helps mitigate the physical and frostbite damage the Putrescent Knight deals, increasing your survivability.
-
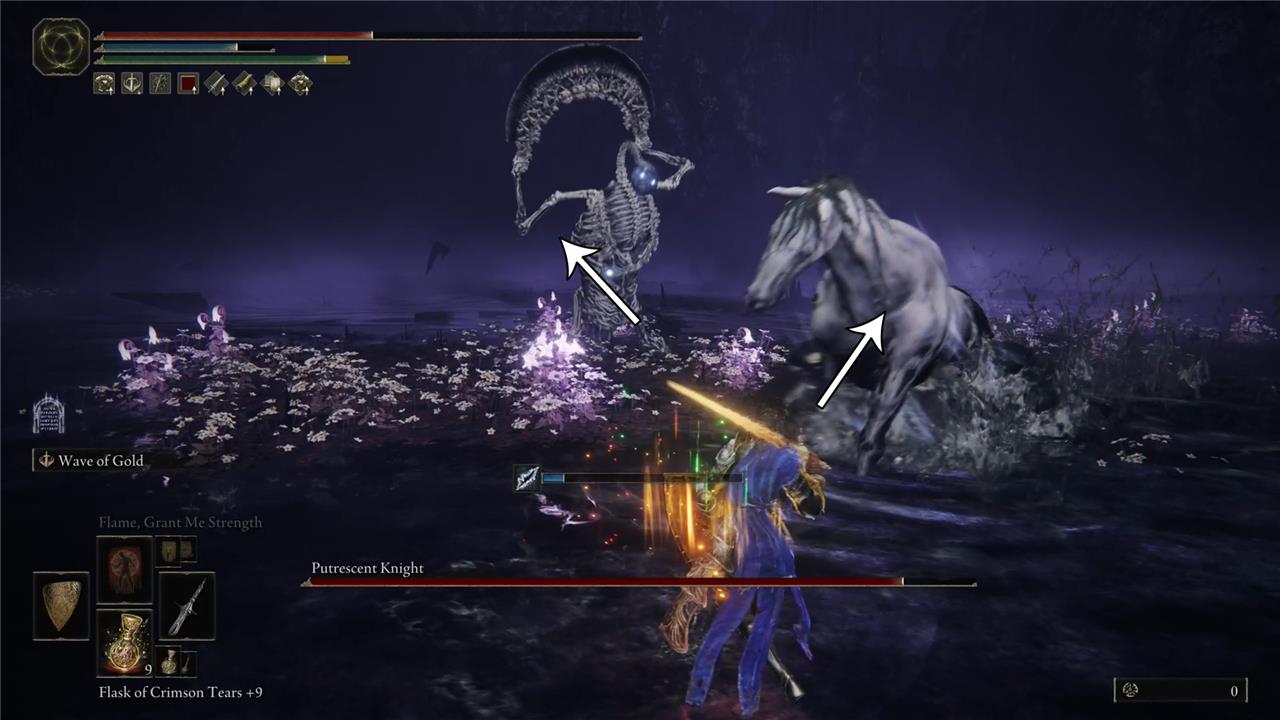
Watch the horse’s unpredictable attacks: The Putrescent Knight’s horse can ram you from various angles unexpectedly, so stay vigilant and roll accordingly to avoid these hits.
-
Exploit weapon weaknesses: Use weapons dealing Holy or Bleed damage, as the Putrescent Knight is vulnerable to these types, and consider ranged magic attacks like lightning incantations to damage it safely during downtime.
-
Manage healing carefully: Save your flasks for critical moments, such as after the boss’s spinning combo or during flame barrages, to maintain momentum without risking punishment.
These tactics combined will help you control the flow of battle, avoid devastating attacks, and strike effectively against the Putrescent Knight.
What timing windows are best for healing during the fight
The best timing windows for healing during the Putrescent Knight fight are the brief moments after the boss completes its spinning cleaver combo or after it finishes a flame wave attack. These are the safest opportunities because the boss is recovering or repositioning, giving you a short but critical respite to use your flasks without being immediately punished. Additionally, healing right after dodging a horse charge or during the transition between attack phases can provide a safer window to restore health. Avoid healing during the boss’s aggressive combos or when it’s charging at you, as these leave very little room for error and can lead to quick interruptions or damage. Mastering these timing windows is key to maintaining your stamina and health throughout the intense battle.