Nothing pure grows in Romeo Is a Dead Man’s soil. Behind its rusted barns and chipper chores, the farming-sim hides a cruel hierarchy-one where blood, lies, and inheritance matter more than any harvest.
How to obtain Bastard seeds in Romeo Is a Dead Man
You’ll need to forage in the fields and interact with the game’s seed merchants to obtain Bastard seeds; gather enough currency and complete a quick quest to unlock the seed slot, then plant them in fertile soil to begin your hybrid farming path.
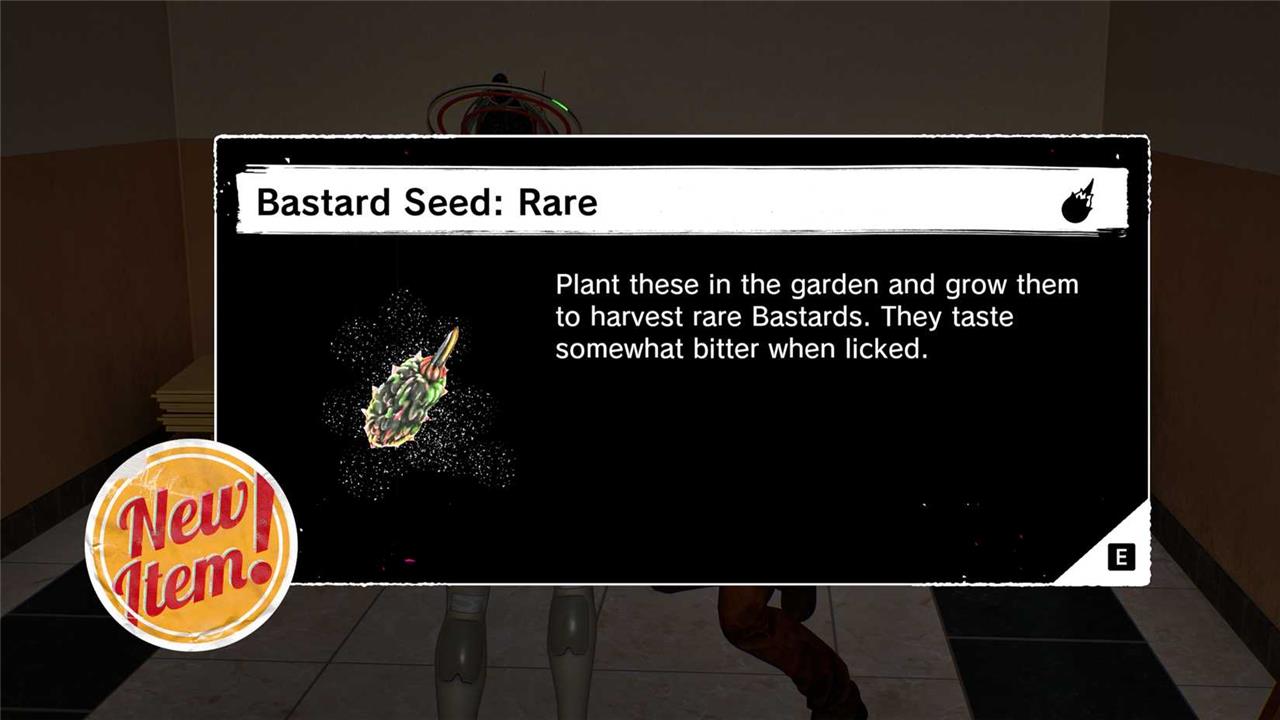
Romeo Is a Dead Man includes a farming-sim minigame, but instead of growing cauliflower, you’ll be growing Bastards. If you don’t have one yet, continue playing until you obtain your first Bastard seed. This will likely happen at the beginning of Chapter 2.
One Bastard seed is enough to start farming, but as you progress through the game, here’s how to get more Bastard seeds:
- Defeat enemies: Their chances of dropping Bastard seeds will increase in later Chapters.
- Loot Tesseracts: Although they usually contain Sentrey, consumables, and ingredients to cook katsu curries, they’ll occasionally give you a Bastard seed. One such Tesseract is found on the upper floor of the mall in the hall between the red portals (Chapter 2).
- Buy them from Siroyabu’s shop: Common, rare, and epic Bastard seeds cost 500, 1,000, and 15,000 Emerald Flowsion, respectively.
Don’t worry too much about Bastard seeds, as you’ll get plenty in later chapters. It’s best to refrain from buying any unless you’ve got Emerald Flowsion aplenty.
Once you’ve got some Bastard seeds, bring them to Romeo’s sister, Luna, for appraisal. She’s in the Bastard harvesting room aboard the Last Night spaceship (the room marked with a plant icon).
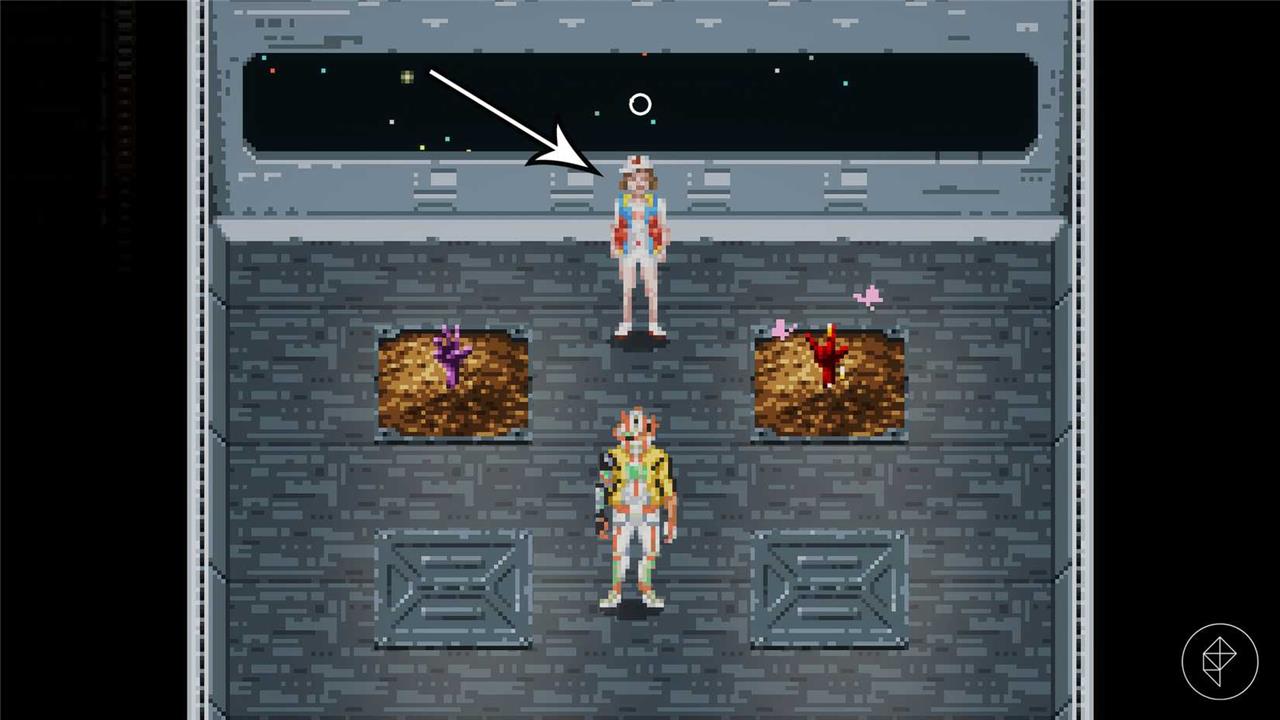
Following the appraisal, you can plant your Bastard seeds in the two garden plots. They need 10 minutes to mature, but you can speed up the process using Emerald Flowsion or harvest them earlier, in which case they’ll suffer a stat penalty. You can also use your Emerald Flowsion to buy more garden plots.
However, if you’d like to save Emerald Flowsion for other purposes, it’s best to go on missions and frequently use a Space-Time Pharmacy to teleport to the Last Night, harvest your Bastards, and plant new ones. That way, there’s no need to get extra plots or reduce harvesting time.
How to fuse Bastards in Romeo Is a Dead Man
Fuse Bastards at the altar in the church basement after collecting matching pairs from farm runs and boss fights. Select two identical ones from your inventory, confirm the fusion, and watch them combine into a stronger version with boosted stats like higher damage or health. Repeat fusions on the result to climb rarity tiers from Common to Legendary. Check the fusion tree menu for previewed outcomes before committing resources. This method clears inventory space while powering up your squad for tougher stages.
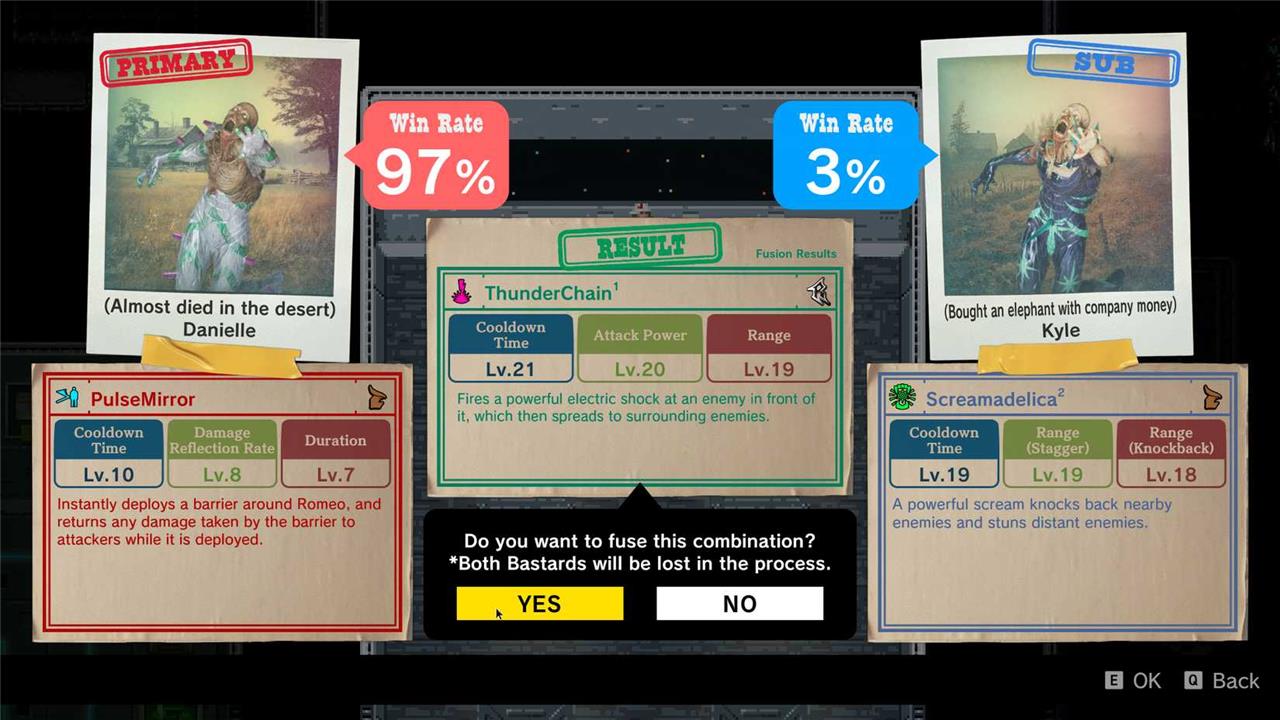
Besides gathering Bastard seeds, you can create new Bastards through fusion: You place a primary Bastard and a sub Bastard in a fighting arena, and the primary will consume the sub, thereby receiving a stat boost and possibly turning into a new type of Bastard.
There are a few important things to keep in mind when fusing Bastards:
- A Bastard’s stats will always improve through fusion, so even if you’re not trying to create a new Bastard, feeding several common Bastards to a common SuicideAttack Bastard will get you a pretty overpowered minion.
- If you want to follow a fusion recipe (see the list below), make sure you’ve selected them in the correct order. The Bastard you select first is the primary Bastard, the second is the sub Bastard. Otherwise, you’ll create a stronger sub Bastard instead of a brand-new fusion Bastard.
- There’s a small chance of failure, leading to a victory for the “sub” Bastard rather than the primary one. This chance is only 1% in low-level Bastard fusion, but it may go up to 9%. It’s best to save your game first, so you may retry if necessary!
All Bastards in Romeo Is a Dead Man
The “All Bastards” section in Romeo Is a Dead Man centers on a group of misfits trying to survive in a chaotic farming-sim minigame filled with betrayal and uneasy alliances. Players manage resources, maintain fragile partnerships, and face moral choices that affect both harvest success and character outcomes. Humor mixes with tension as unpredictable events force players to balance greed with survival, revealing how thin the line between cooperation and treachery can be.
Every Bastard you’ve unlocked appears in the Bastardpedia. To see your discovered Bastards, speak with Luna in the Last Night’s Bastard farming room. If you’d like to look ahead, and get the fusion recipes for missing Bastards, here’s a complete list of every Bastard in Romeo Is a Dead Man.
|
Name |
Type |
Rarity |
Fusion recipe |
Effect |
|
SuicideAttack |
Attack |
Common |
|
Runs to the enemy and explodes. Deals damage and may knock enemies back. |
|
SentryCannon |
Attack |
Common |
Bastard seeds only. |
Fires a continuous barrage at enemies from its spawn location, so be sure to place this Bastard close to your opponents. |
|
ThunderChain |
Attack |
Rare |
|
Fires an electric shock at an enemy, which then spreads to surrounding enemies. |
|
GreenTornado |
Attack |
Rare |
Bastard seeds only. |
Turns into a tornado that deals continuous damage to nearby enemies for a short time. |
|
MultiLazer |
Attack |
Epic |
|
Fires several random, straight lasers directly from its spawn point. The attack has a long range and penetrates enemies to inflict damage. |
|
DeadlyBowler |
Attack |
Epic |
|
Rolls a bowling ball toward distant enemies. Enemies hit by the ball are knocked down and take damage. If five or more enemies are knocked down at once, the ball explodes. |
|
Graha Mala |
Attack |
Legendary |
|
Builds up energy and delivers a powerful blow that deals heavy damage and knockback damage to nearby enemies. Takes time to activate, and if a certain amount of damage accumulates during activation, Graha Mala disappears without attacking. |
|
HealingSpire |
Support |
Common |
|
Activates HP recovery within an area of effect at its spawn location. |
|
Screamadelica |
Support |
Common |
Bastard seeds only. |
A powerful scream knocks back nearby enemies and stuns distant enemies. |
|
ManaBloom |
Support |
Rare |
|
Draws the attention of nearby enemies. It will disappear after some time or when killed. |
|
SlowBallad |
Support |
Rare |
Bastard seeds only. |
Generates an area of effect that slows down enemies within range. |
|
FrostBolt |
Support |
Epic |
|
Fires multiple ice shots. Enemies hit by the shots are frozen and incapable of moving for a while. |
|
PurifyingZone |
Support |
Epic |
|
The spawn location is impervious to DeadGear glitches as well as three types of viral infection attacks: Godbless, Doom, and Boiler. Additionally, entering this area will instantly heal Romeo of viruses and status ailments. |
|
Gozu |
Support |
Legendary |
|
Brainwashes enemies so they’ll attack each other. The effect has a chance of spreading further. |
|
CreepingVenom |
Technical |
Common |
|
Fires poison darts at nearby enemies, causing direct damage as well as damage over time. |
|
PulseMirror |
Technical |
Common |
Bastard seeds only. |
Deploys a barrier around Romeo to protect him and reflect damage to the attacker. |
|
Nosferatu |
Technical |
Rare |
|
Creates an area of effect at its spawn point. Absorbs blood from enemies within range, and when the timer runs out, transports it to Romeo, filling his ultimate attack gauge. |
|
StealJobs |
Technical |
Rare |
Bastard seeds only. |
Has a chance to steal a Bastard seed from a nearby enemy. Useful if you need more Bastards. |
|
SweeperBeam |
Technical |
Epic |
|
Creates a laser beam between its spawn point and Romeo. As Romeo moves around, the beam will damage enemies. |
|
WeakenFlower |
Technical |
Epic |
|
Fires a series of shots to create weak points on enemies. Hit them to deal more damage! |
Best Bastards for combat and boss fightsFor general combat and especially boss fights, the standout Bastards are the ones that either lock enemies down, control aggro, or supercharge your Deadly Summer and damage output. Core picks for bosses
Damage and utility staples
Recommended loadoutsFor typical boss fights (single tough target + adds):
For mob-heavy encounters:
If you tell me which Bastards you currently have, I can suggest a specific four-slot setup and fusion priorities for your next boss. How to breed SentryCannon Bastards effectivelySentryCannon Bastards are ideal “fodder” and core DPS, so you want to mass-produce and then fuse them up through several tiers. Why SentryCannon is ideal
Step-by-step breeding loop
Fusion priorities and management
Practical farming tips
If you tell me roughly how many plots you’re using and how far into the story you are, I can suggest a concrete “garden layout” and how many SentryCannon lines to maintain at once. |