Hidden within the fiery depths of Hyrule lies the Ember Armor set, a blaze-forged gear that boosts power in scorching environments. Here’s how you can track down each piece and turn Link into a walking inferno.
It’s likely that you’ll receive hints of where to find the Ember Armor in Zelda: Tears of the Kingdom from NPCs or Old Maps scattered across Hyrule. Similarly to the Frostbite Armor, if you want to skip the additional steps and get straight to the treasure, this guide explains where to find the Ember Armor set – detailing the spots for the Ember Shirt, Ember Trousers, and Ember Headdress.
Ember Shirt location
The Ember Shirt is found inside the YunoboCo HQ East Cave in the Eldin region. To reach it, head to Death Mountain and enter the cave near the YunoboCo Headquarters. Inside, break through the rock walls with Bomb Flowers or a hammer-type weapon to clear the path. The chest holding the Ember Shirt waits in a room filled with lava flows, so use fire-resistant food or armor to handle the heat while collecting it.
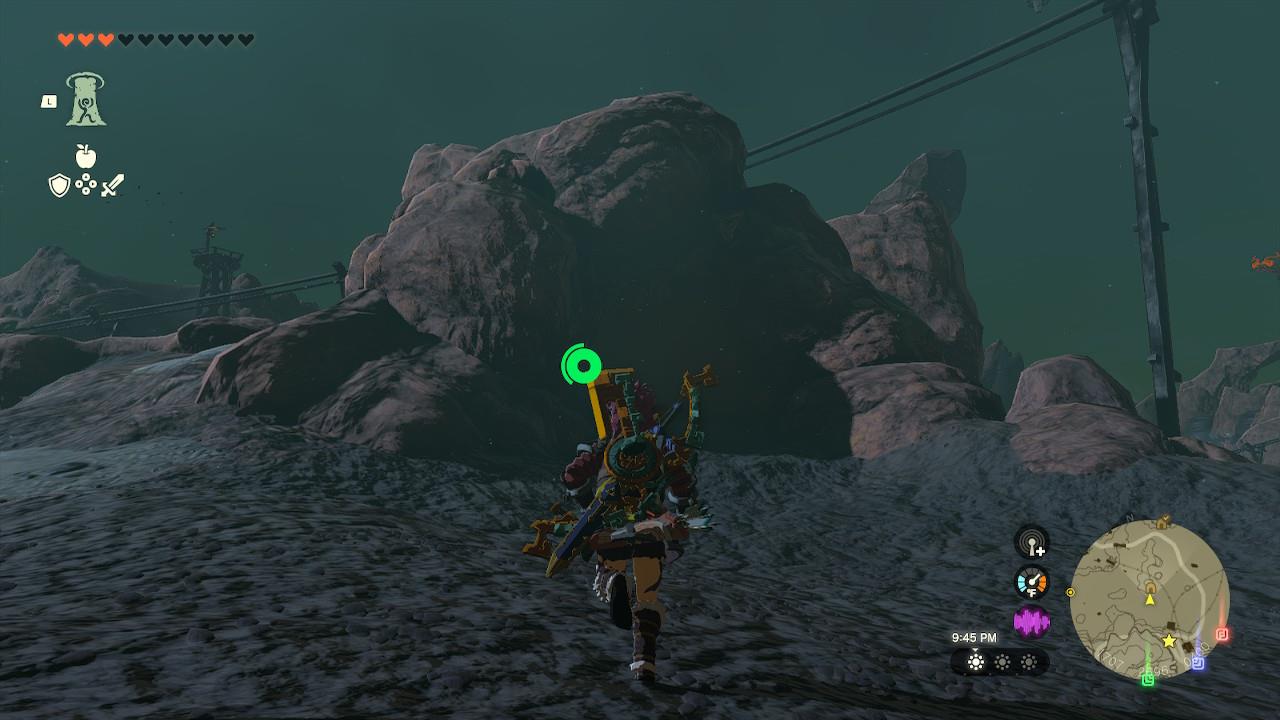
You can find the Ember Shirt inside the Goronbi River Cave at the coordinates (1415, 2108, 0287), found between the Golow River and the Goronbi River, which are southwest of Goron City. If you look at the map, the entrance to the cave is at the southern point of the river, facing west.
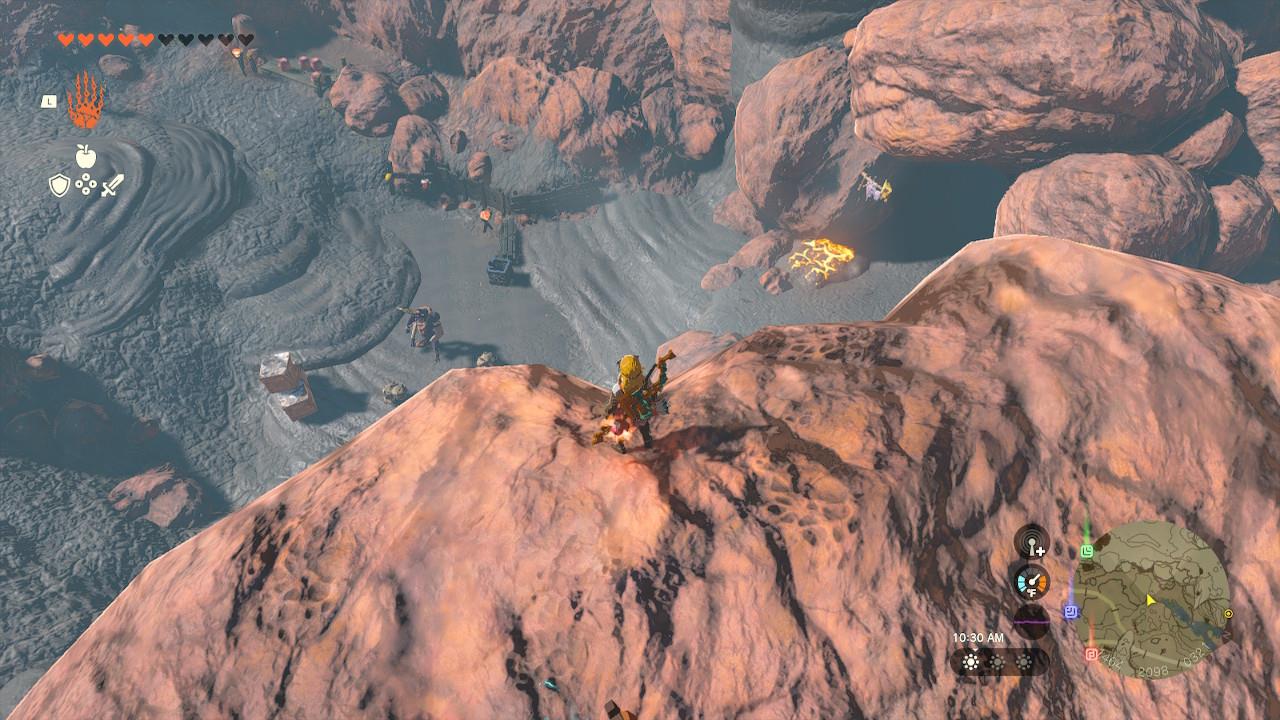
There are some enemies nearby, which you can just ignore and run inside. You’re going to need the Flamebreaker Armor to enter the cave, which you can purchase in YunoboCo HQ.
You’ll be greeted by a Horriblin right away. Remember that Recall is super useful to throw boulders back at them, as well as any long-range attacks so they drop from the ceiling.
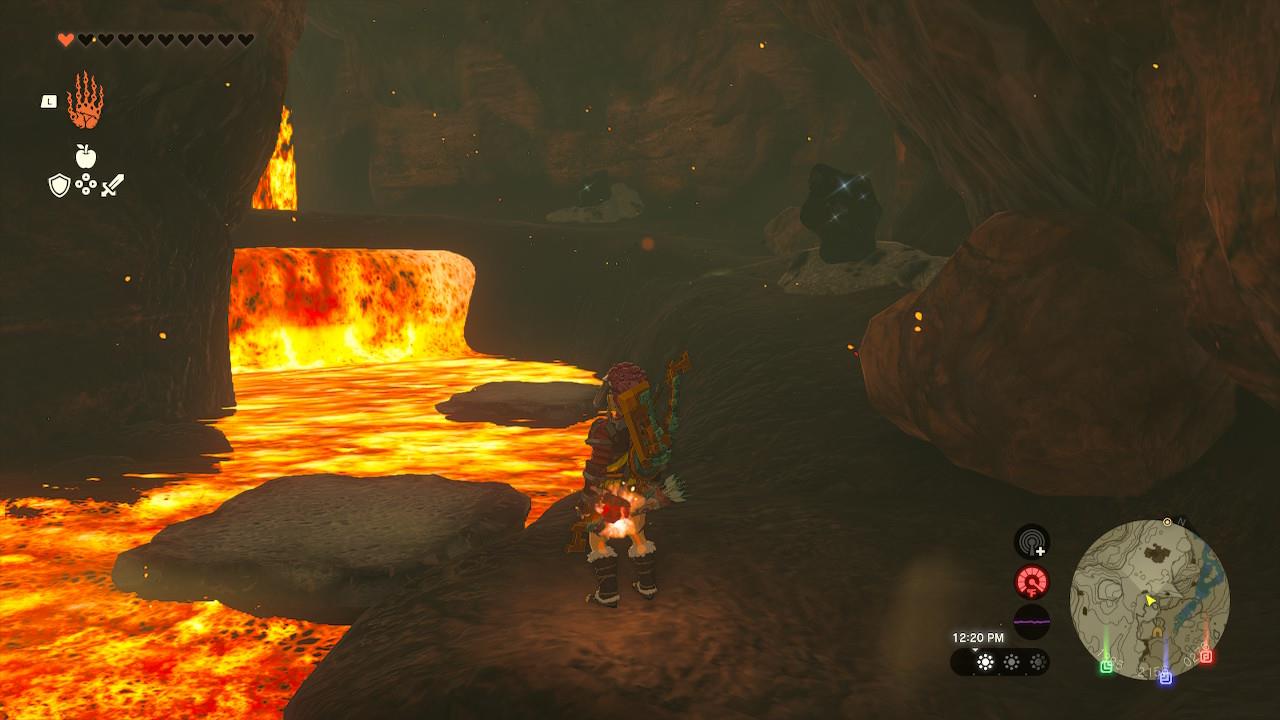
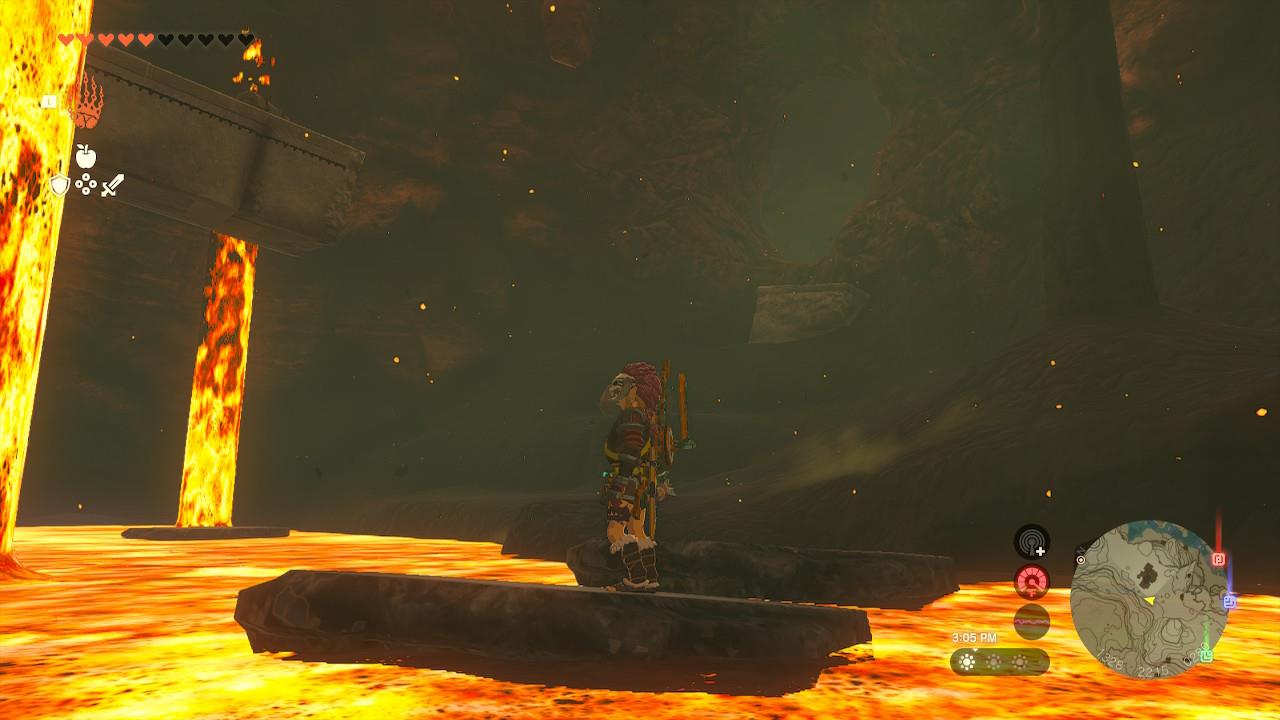
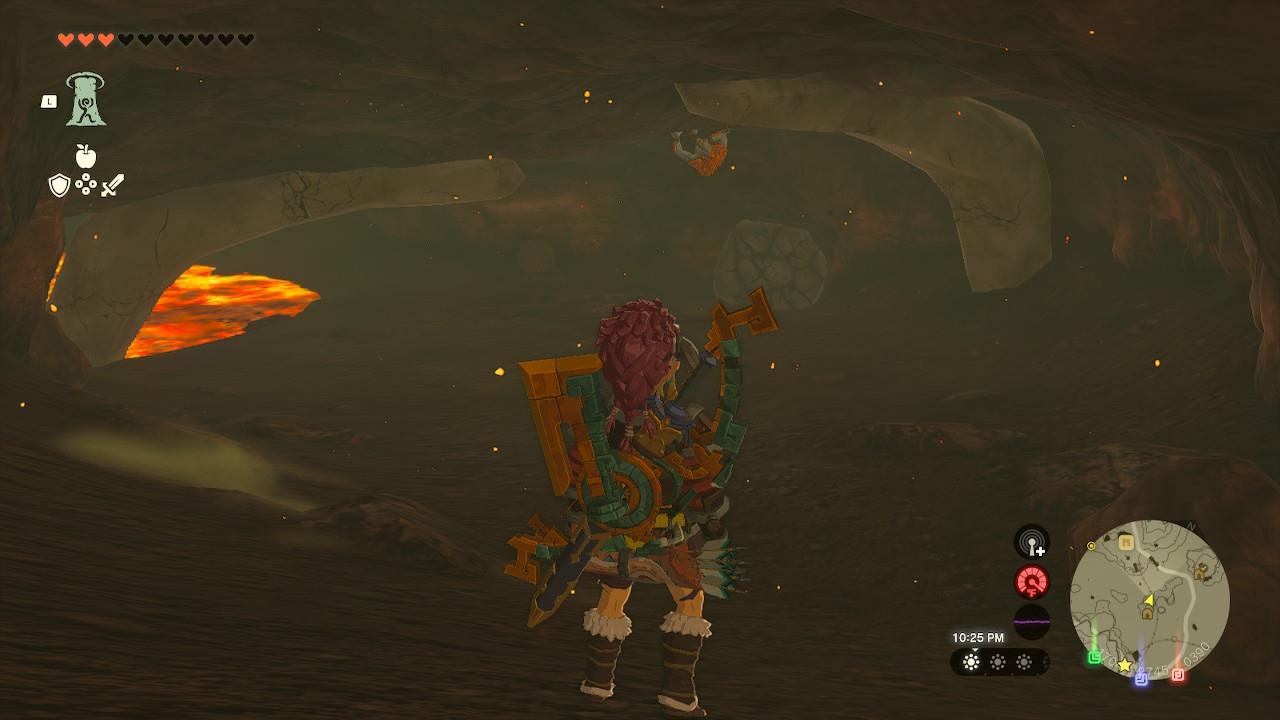
Once you fully enter the cave, you’ll see a small river of lava. There are moving platforms that come from the right side, which you can use to make your way through the cave. There’s a chest in sight, which has a ruby inside. You want to continue moving to the right.
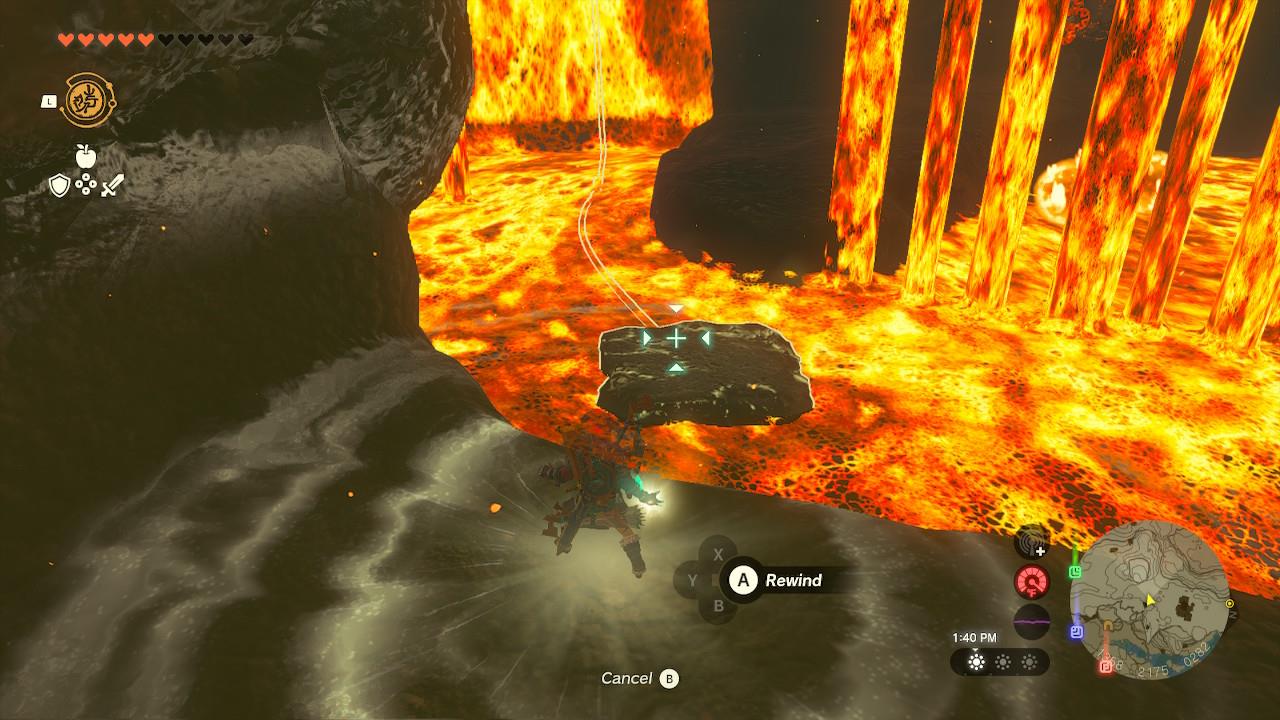
Keep using the moving rock platforms. At this point, they’ll be moving in the opposite direction of Link. You can use Recall to change this, however, which will prove useful for the wall of lava ahead of you.
Beware of the Like Like ahead. As always, wait for the enemy to expose its tongue, and attack it for a stun.
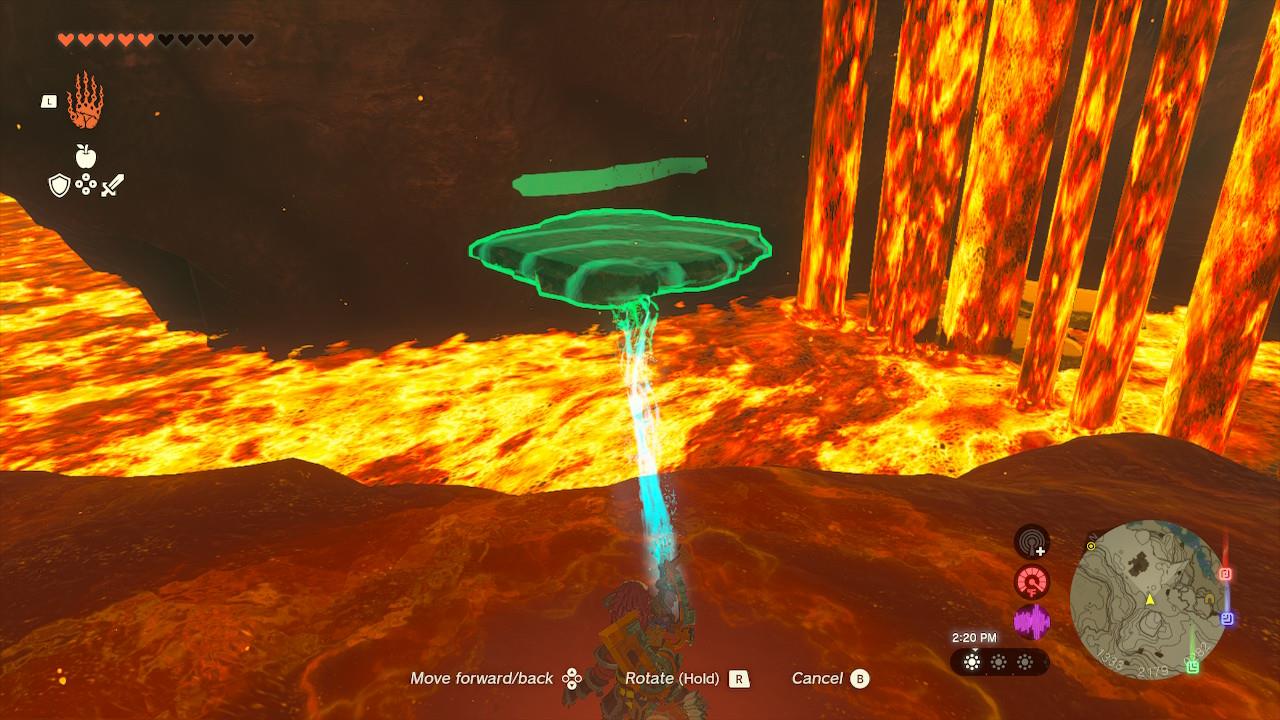
Then, you’ll need to go through the river of lava one more time. Another rock platform should naturally come your way. If it doesn’t, use Ultrahand to grab one, and just place it on this second river that takes you farther into the cave.
Almost there. As soon as you emerge on the other side, take the first turn to the right that you see, which requires some climbing. This will lead you inside the treasure room.
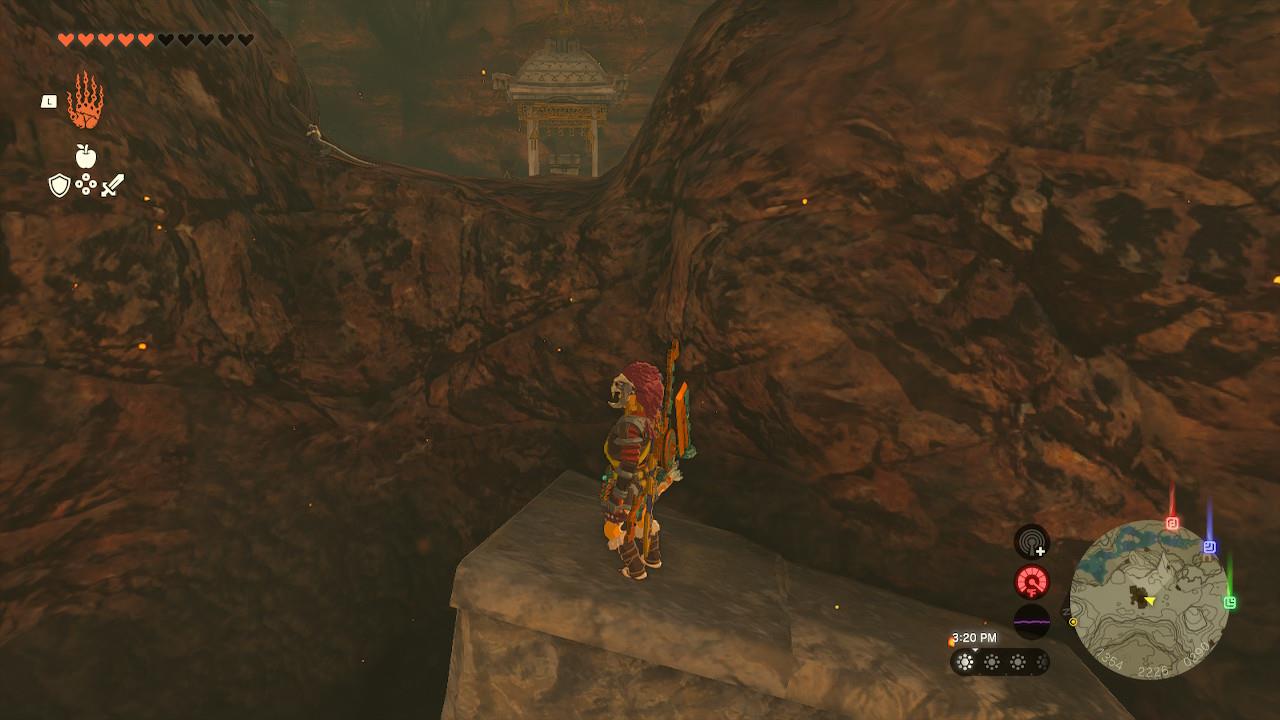
From here, go ahead and open the chest to grab the Ember Shirt. This armor piece has 2 defense and adds a fire to your attacks when you’re in high-temperature environments.
Ember Trousers location
The Ember Trousers are hidden inside YunoboCo HQ East Cave in the Eldin region. To reach them, head northeast of Goron City and find the cave behind the mining area guarded by Fire Keese and enemies resistant to heat. Inside, you’ll need to melt through rock formations using Bomb Flowers or Fire Fruit to access a chest containing the trousers. Equipping them increases your attack power in hot environments, making them valuable for exploration near volcanoes.
You can find the Ember Trousers inside Cephla Lake Cave at the coordinates (2591, 1332, 0153), which is found west of the lake itself, which in turn is northwest of Zora’s Domain and south of Death Mountain. As you get close, you’ll be able to spot smoke from a campfire.
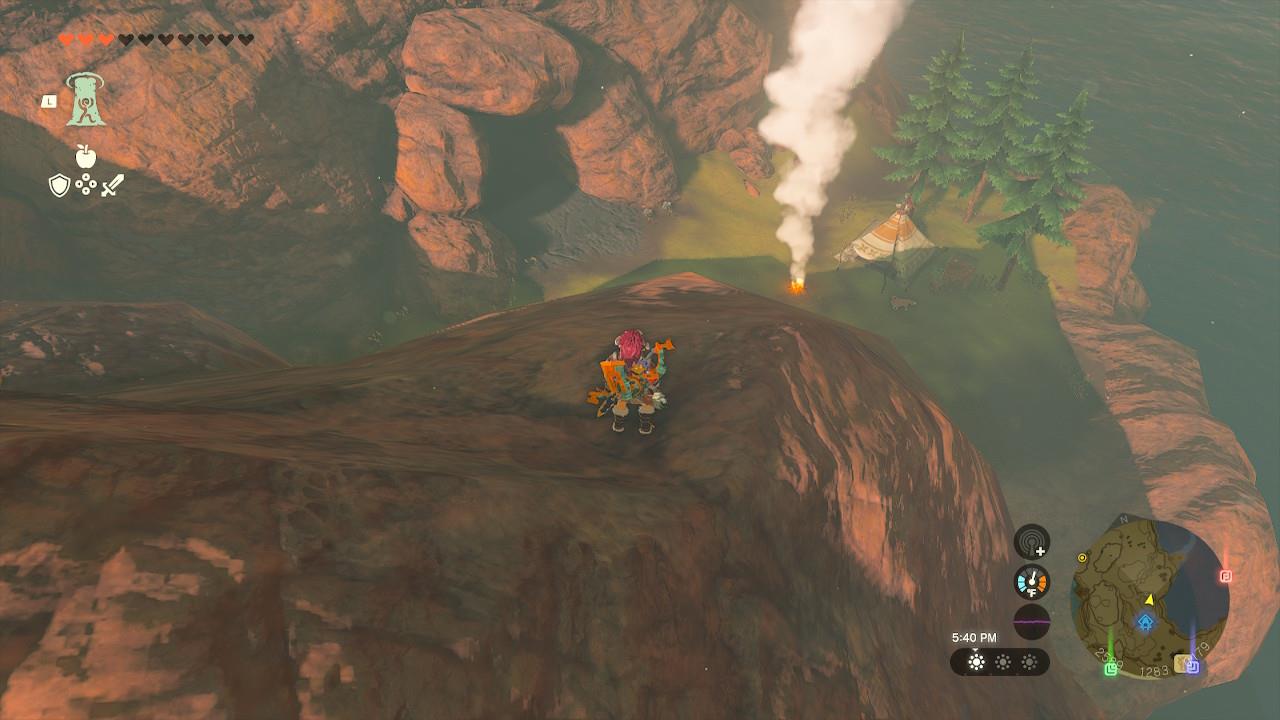
There are two people next to the entrance. You’ll have to talk to them in order to be granted permission to enter the cave. This kickstarts the “Misko’s Cave of Chests” side quest.
There are no enemies inside this cave, which is refreshing. Now, as the name of the quest implies, there are a ton of chests. Most of them will give you a single rupee once opened, which isn’t that helpful.

The chest you want is actually stuck in the ground, so prepare to use Ultrahand to grab it. Then, aim at the chest that is slightly left of the center of the cave and toward the back wall, which is highlighted in the screenshot above. If you take the brightbloom seed on the wall as a reference, the correct chest is to the left of it.
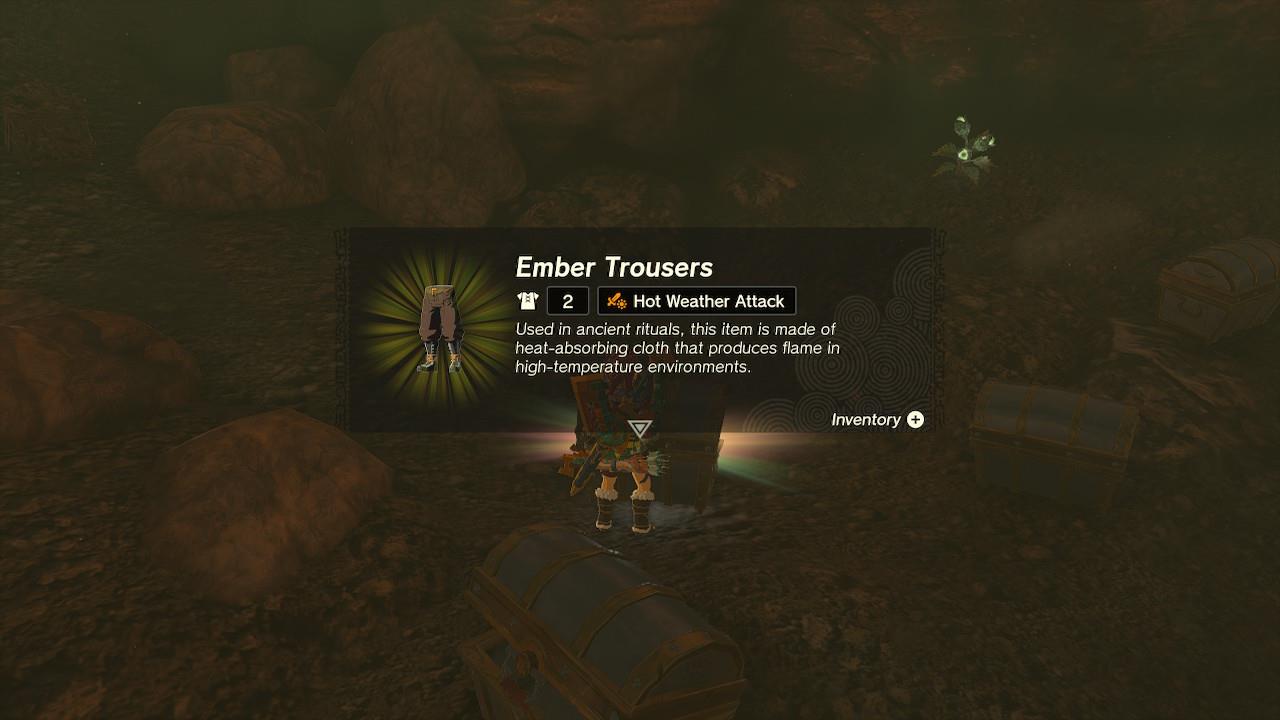
Open the chest to get your hands (or legs, rather) on the Ember Trousers. This armor piece has 2 defense and adds a fire to your attacks when you’re in high-temperature environments.
Ember Headdress location
The Ember Headdress can be found inside the YunoboCo HQ East Cave in the Eldin region. Enter the cave from the southern cliff near the Goron City entrance and follow the torch-lit path inside. Defeat the Fire Like monster guarding the large chest at the back of the cave to obtain the headdress. Equip it to boost your attack power in hot environments, making it ideal for exploring volcanic areas.
You can find the Ember Headdress inside the YunoboCo HQ South Cave at the coordinates (1713, 2719, 0403), found north of Goron City and west of Death Mountain. Looking at the map, it’s next to the mine cart tracks that connect Goron City with YunoboCo HQ, southeast of the HQ itself, and in between the Darunia Lake and Golow River in terms of its horizontal position.
You’re going to need the Flamebreaker Armor to head inside. Two Horriblins are waiting to greet you. Remember to use Recall to return any rocks they throw at you, as well as your bow to attack them from afar.
If you look at the right side of the cave, there is a rock wall that you can destroy with either a bomb flower or any weapons Fused with a rock; there are a few rocks nearby in case you need a new one.
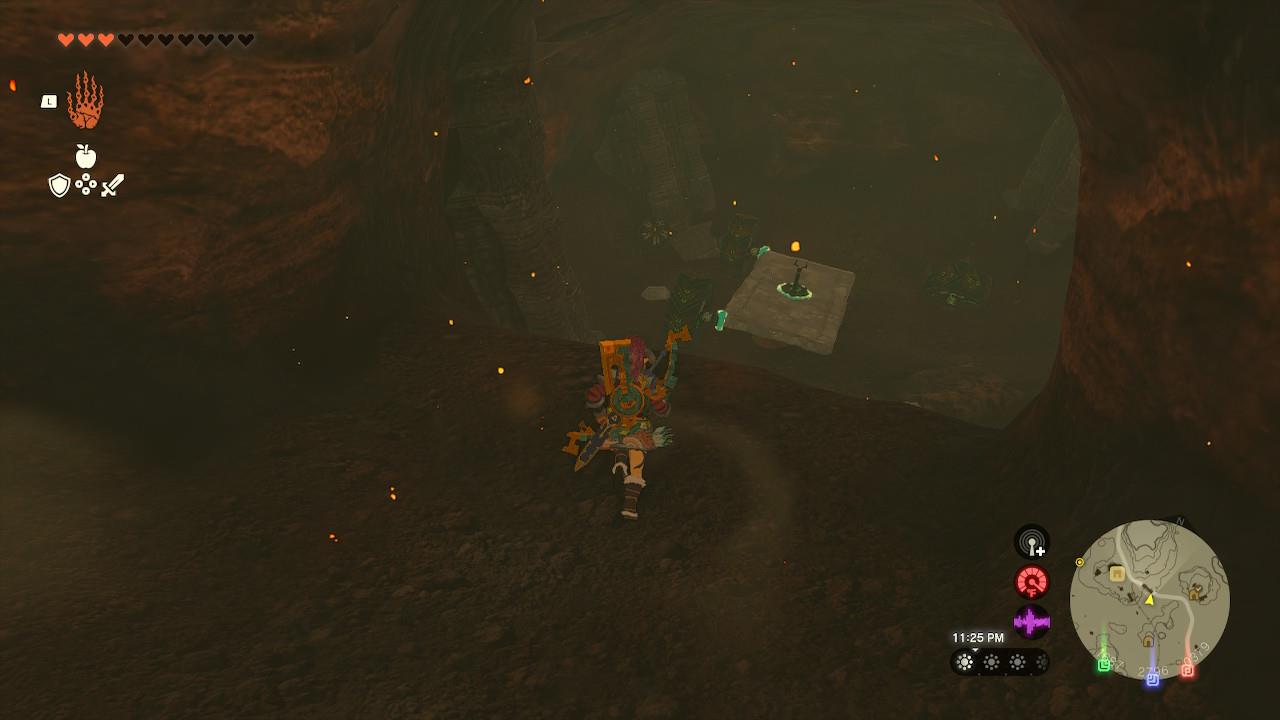
Once inside, you’ll be able to finish building a Zonai car of sorts. It’s only missing two wheels. One of them is on the ground, and the other is stuck in the inner wall of that room.
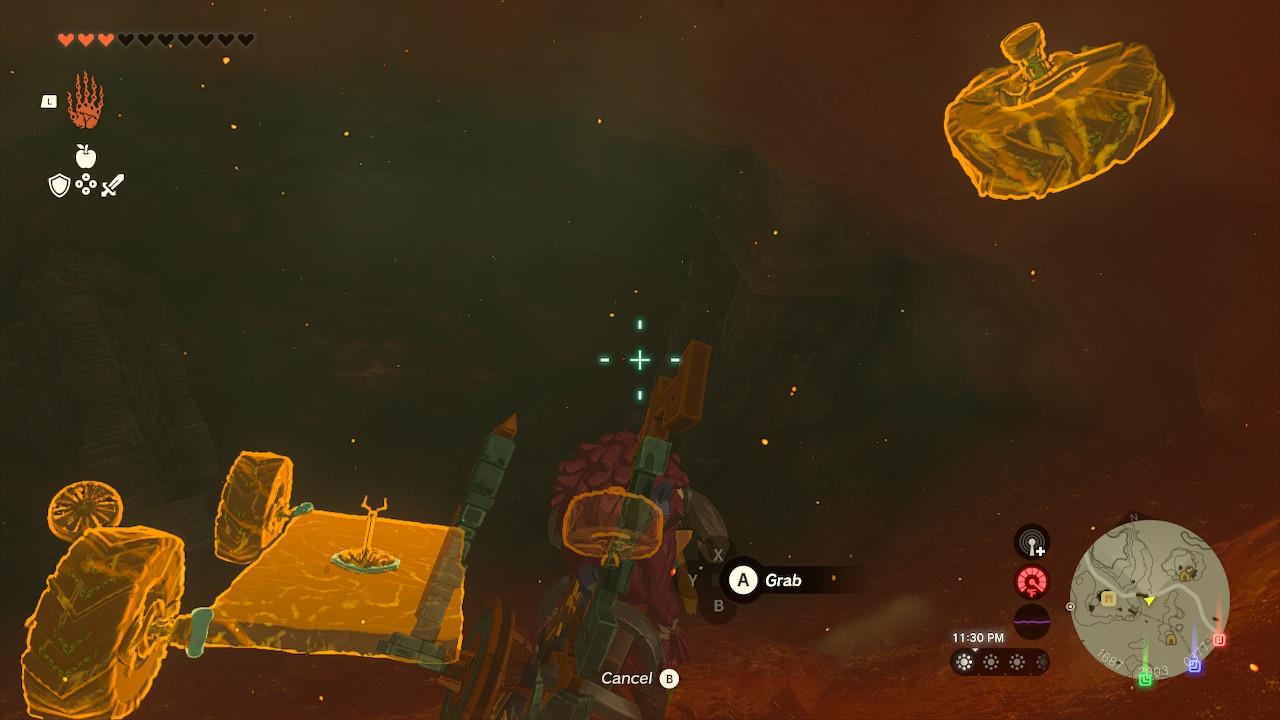
Then, all you need to do is hop over it, grab the lever to move it, and cross the pool of lava to the other side.
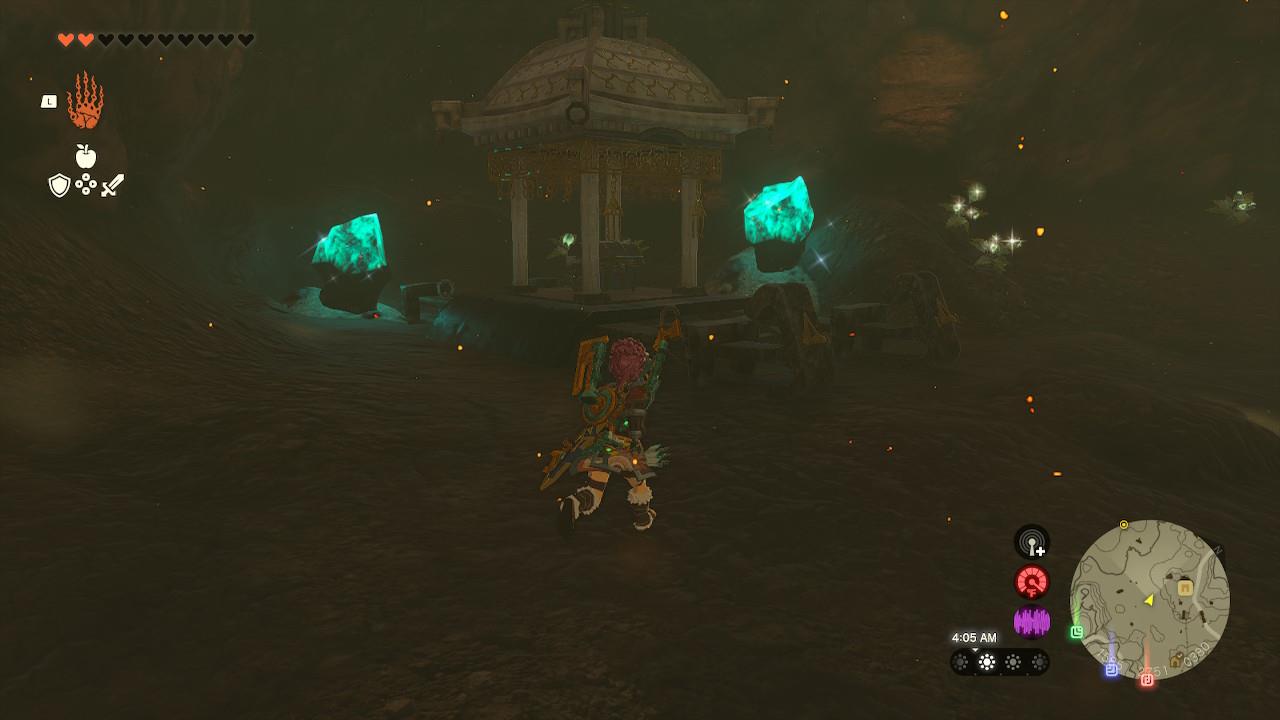
After the short trip, hop off where two ores of luminous stones are, and open the chest to acquire the Ember Headdress. This armor piece has 2 defense and adds a fire to your attacks when you’re in high-temperature environments, such as this cave. That’s all for the Ember Armor set!
Ember Armor upgrade costs, set bonus, and effects
Upgrading the Ember Armor requires Flame Dragon materials and Rupees, with costs increasing at each level as you enhance all three pieces. The set bonus, activated when wearing the full upgraded set, boosts attack power in hot environments, making it ideal for volcanic areas. Each piece also provides Flame Resistance, allowing Link to withstand extreme heat without taking damage. This combination of protection and offense makes the set valuable for exploring fiery regions and battling heat-based enemies.
For each piece of armor you have equipped, you’ll get a stack of hot weather attack up, boosting your damage in high temperatures. When all three pieces are at least two-star or higher and equipped, you’ll get the Hot Weather Charge set bonus, which gives you fiery spin attacks when you’re in areas with high temperatures, like the fiery caves in Eldin or hot daytime weather in the Gerudo Desert. You can tell when it’s usable, as the horns and accessories will glow red.

This armor does not make you fireproof, nor does it provide heat resistance from hot weather.
To upgrade your armor, head to a Great Fairy Fountain and be prepared to fork over some materials:
- 1-star (4 defense): 3 fire fruit, 10 rupees
- 2-star (6 defense): 5 Fire-Breath Lizalfos horns, 5 summerwing butterflies, 50 rupees
- 3-star (9 defense): 5 Fire Like stones, 5 warm darners, 5 large Zonai charges, 200 rupees
- 4-star (16 defense): 5 Gleeok Flame horns, 10 sizzlefin trouts, 10 large Zonai charges, 500 rupees
To upgrade everything fully, you’ll need 9 fire fruit, 15 Fire-Breath Lizalfos horns, 15 Fire Like stones, 15 Gleeok Flame horns, 30 sizzlefin trout, 15 warm darners, 15 summerwing butterflies, 45 large Zonai charges, and 2,280 rupees.
Best routes to reach Eldin caves safely
Reaching Eldin region’s caves safely in The Legend of Zelda: Tears of the Kingdom requires fireproof gear to survive the intense heat, as unprotected exposure causes rapid health drain. Start by obtaining the Flamebreaker Armor set in Goron City for full heat resistance before venturing into caves like YunoboCo HQ South Cave or Goronbi River Cave.
Preparation Tips
Acquire Flamebreaker Armor from the Goron City armor shop (buy the helmet, then complete the “Yunobo of Goron City” quest for the rest). Cook Fireproof Elixirs using Fireproof Lizards and monster parts as backups. Stock cooling elixirs or tonics for any surface transitions, and bring brightbloom seeds for dark cave sections.
Main Route from Surface
Travel northeast from Foothill Stable (coordinates ~1632, 3215, 0157) along the main path toward Death Mountain, avoiding lava flows by sticking to roads and using paraglider over gaps. Activate the Eldin Canyon Skyview Tower for fast travel and map reveal, then head to Goron City (1768, 2781, 0389). From there, caves are nearby-enter YunoboCo HQ South Cave southwest of town via marked entrance.
Goronbi River Cave Access
From Goron City, follow the path northeast along Goronbi River (around 2200, 2900, 0400), using rock platforms or Ultrahand-built bridges to cross lava rivers. Sideline Shrines like Mo’a Keet provide safe respawns. Glide or build fans/rock vehicles to bypass wide lava gaps safely.
Cephla Lake Cave Path
Head north from Goron City to Cephla Lake Cave (1793, 11860, 0514), constructing a lava-proof vehicle with logs, fans, and rocket boosters at nearby shrines. Use nearby lightroots if descending from Depths for surface alignment. Prioritize avoiding fire enemies like Magma Lizalfos by sneaking or using ice weapons.
Safe approach routes to Eldin caves from Foothill Stable
Foothill Stable serves as an ideal starting point for safely approaching Eldin caves in The Legend of Zelda: Tears of the Kingdom, as it lies along the main northeast road toward Death Mountain and Goron City. Equip Flamebreaker Armor beforehand to resist the region’s intense heat, and stock Fireproof Elixirs from nearby lizards for added protection.
Primary Road Route
Follow the main path north-northeast from Foothill Stable (coordinates ~1632, 3215, 0157), veering left at forks to stay on the elevated roadway and avoid lava below. Activate Mo’a Keet Shrine en route for fast travel and a safe respawn; collect Fireproof Lizards stealthily at night along the trail to craft elixirs.
To YunoboCo HQ South Cave
Continue past the shrine toward Goron City (1768, 2781, 0389), then head southwest to the cave entrance near YunoboCo HQ. Use the paraglider over minor gaps and stick to solid ground, defeating Fire Keese or Lizalfos with ice-based attacks if encountered.
To Goronbi River Cave
From the main road post-shrine, veer northeast along Goronbi River (around 2200, 2900, 0400), building simple Ultrahand bridges over lava rivers. Glide between rock platforms and prioritize shrines like Sibajit for checkpoints.
To Cephla Lake Cave
Launch from Eldin Canyon Skyview Tower (unlocked via main path) and glide north to Cephla Lake Cave (1793, 11860, 0514). Construct a fan-powered vehicle from logs near the lake to cross lava safely, avoiding Magma enemies by sneaking.