Hidden high above the Hyrule Ridge, the Kimayat Shrine challenges players with shifting platforms and precise timing. This guide shows how to reach its secluded spot and solve every puzzle inside for a smooth run to the Light of Blessing.
Kimayat Shrine location
Kimayat Shrine is located in the northeastern part of the Hebra Mountains, within a frozen cave network near Lake Kilsie. The coordinates are approximately (-1043, 3535, -0013). To reach it, glide from Rospro Pass Skyview Tower and follow the icy path leading into the cave system. Inside, players must melt ice barriers and use fire-based tools or abilities to uncover the shrine entrance hidden behind thick layers of frost.
The Kimayat Shrine is found within the Deep Akkala region, pretty far up on the Tears of the Kingdom map. It’s north of Death Mountain, slightly to the east, at coordinates (2863, 3637, 0241). There’s not much else in the area, but Sibajitak Shrine in Eldin Canyon is nearby. This is also fairly close to where you’ll spot Dinraal, the fire dragon.
Kimayat Shrine walkthrough
The Kimayat Shrine puzzle focuses on using wind currents and gliders to reach higher platforms and cross gaps. Begin by activating the nearby fan-powered devices to move floating platforms into position. Use these to access switches that open new sections. Timing your glides carefully is key to avoiding falls between gusts. The shrine concludes with a short precision flight challenge leading to the final chest and the monk’s chamber.
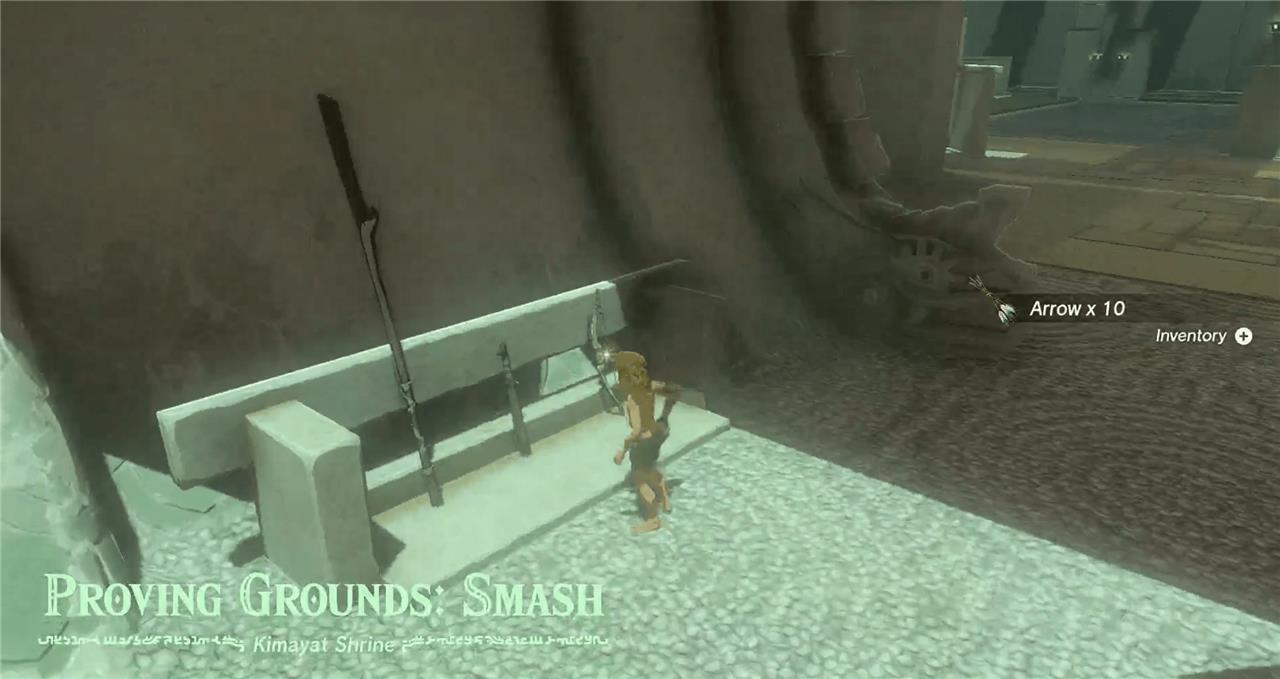
“Proving Grounds: Smash” is basically a big ol’ fight with a bunch of Constructs. There’s nothing to really prepare for, armor-wise, though – you’ll be stripped of it all when you enter. Inside, you’re provided with a few basic weapons – a long stick, a wooden stick, and an old wooden bow (plus 10 arrows).
1. Pick up the weapons on your way in. They’re on the left side of the entrance hallway.
2. There’s a whole bunch of Constructs ahead. You’ve got limited weapons, so use them sparingly at first. We started with the first one we saw – once with an arrow to knock it out, then hitting it with the long stick. Once you’ve defeated one, you’ll have a few items to attach to your weapons for easier fights. The Solider Construct horns are especially helpful in that regard, and get even better as you fight higher-level enemies.
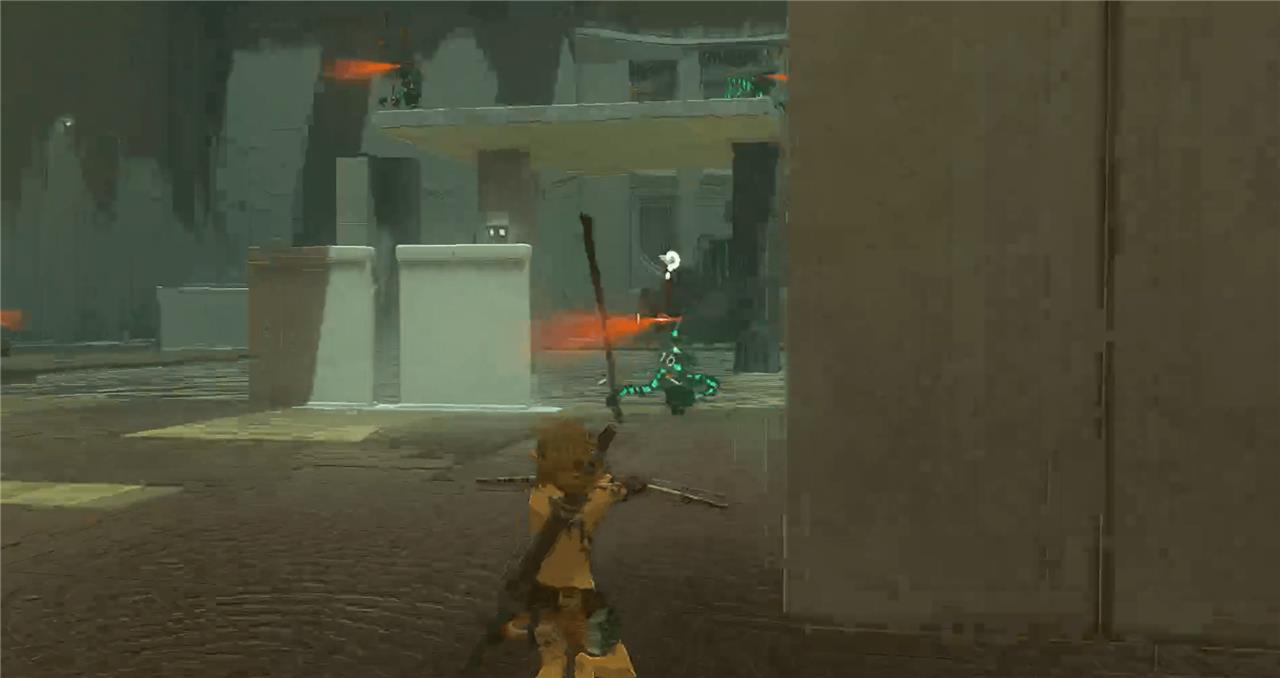
3. Make your away around the room taking out Constructs, picking up their weapons, and fusing when necessary. You won’t start with a shield, so make sure to dodge. Eventually, you’ll grab a shield from a defeated enemy.
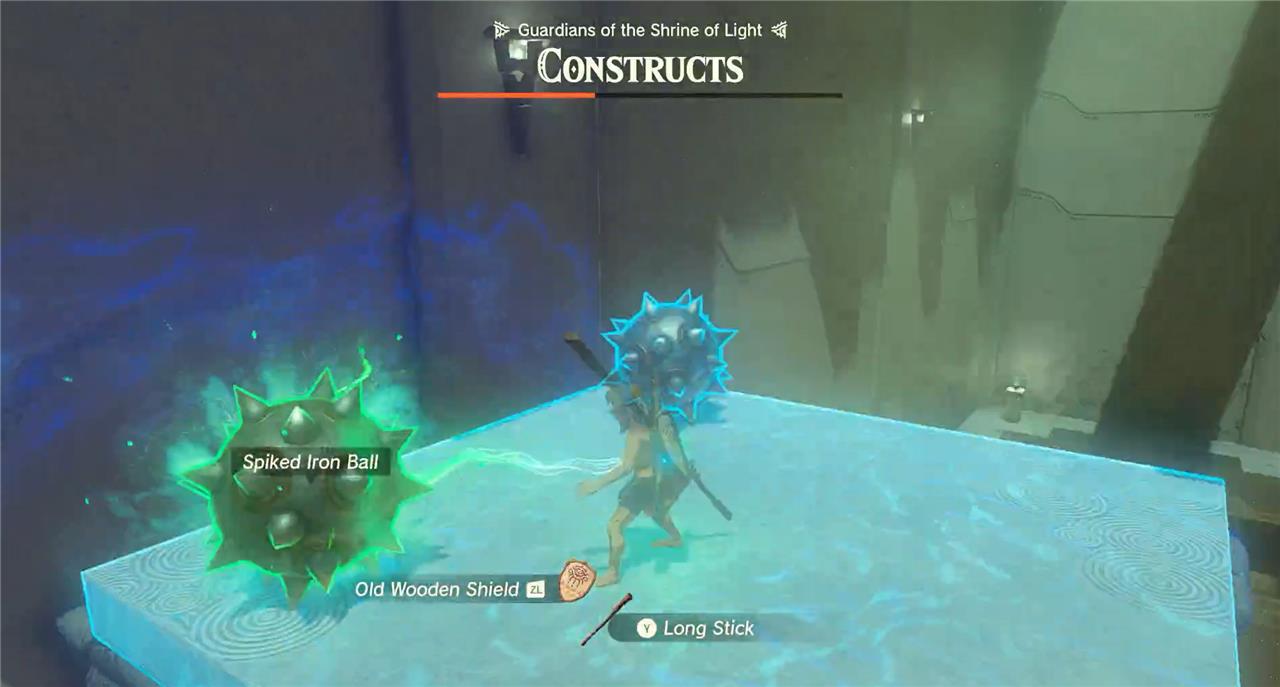
4. Two spiked balls sit on the raised platform to your left. You can fuse these to your weapons to make them more powerful. Very handy! Use Ascend to reach them.
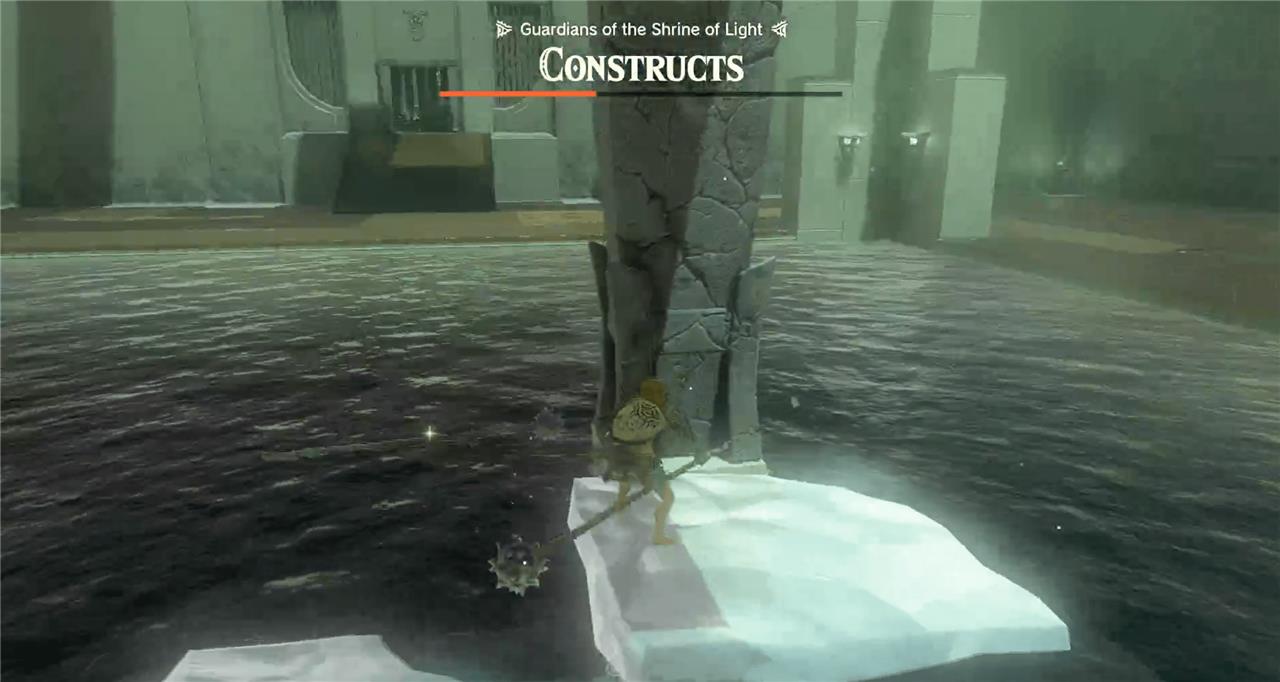
5. Eventually you’ll have to fight the Soldier Construct Captain on the platform above the water. You can try with arrows, but you may not have enough. Your best bet is to create a bridge to get to him. But how can you create a bridge with no wooden platforms? Ice!
6. At the far back, right side of the room, there are ice fruits hiding behind a small wall. Grab those.
7. Head back to the water, and throw the ice fruits into the water. They’ll explode and create platforms.
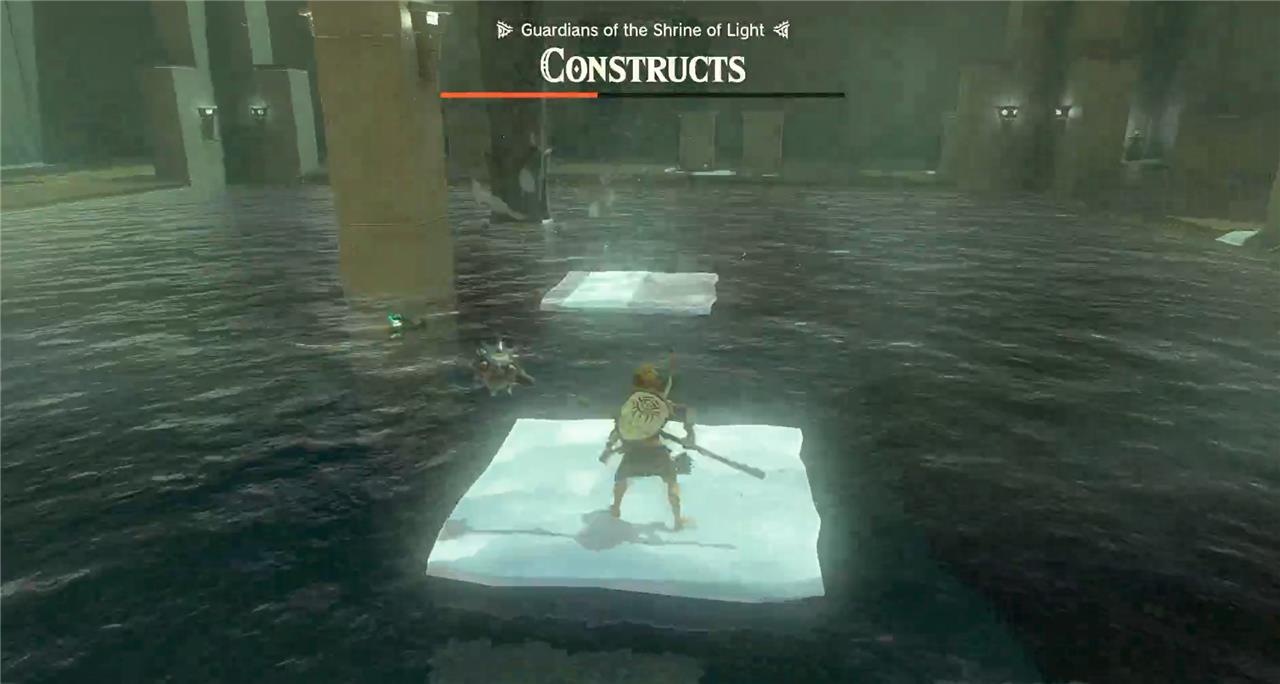
8. Use these to create a pathway to the stone base that’s holding up the platform above. (If you attach an ice platform to one of your sticks, then hit the water with that, you won’t have to use any more fruit.)
What strategies work best against the bow Constructs on platforms
Best Strategies for Archer Constructs
Archer Constructs on elevated platforms in Kimayat Shrine fire from afar, making direct melee attacks risky. Freeze the central water pool with Ice Fruits from corner trees to create an ice pillar, allowing access to the center platform.
Platform Access Tactics
Use Ascend to climb the platforms directly after clearing ground enemies, dodging arrows while prioritizing the left platform with spiked balls first. Alternatively, break the cracked column on the center platform using the ice pillar method to drop and eliminate all archers at once.
Combat Tips
Grab spiked iron balls or stone barrels from platforms to throw back at archers for quick kills; wooden weapons work for close-range finishes. Stay mobile, using the arena’s water and cover to avoid shots while fusing materials for better reach.
How do I obtain and use Ice Fruits in Kimayat Shrine
Ice Fruits in Kimayat Shrine are key for freezing enemies and creating ice platforms from the central water pool. They grow on small trees in the arena’s corners, specifically one in the closest left corner and another in the furthest right corner of the main chamber.
Obtaining Ice Fruits
Pick them directly from the bushes behind small barriers or walls in those corners-multiple fruits (up to 12 reported in some areas) respawn on the trees, so grab several early after entering the shrine and equipping initial wooden weapons.
Using Ice Fruits Effectively
Fuse an Ice Fruit to an arrow and shoot it at bow-wielding Constructs on platforms to freeze them, preventing shots while you close in for melee kills; alternatively, throw or shoot into the central water pool to form climbable ice pillars or bridges to reach elevated areas like the cracked central column. Avoid wasting them on ground enemies initially, as environmental weapons suffice there.