Hidden beyond the fog-shrouded coast of Akkala, Lomei Labyrinth Island tests every explorer’s skill and patience. Beneath its maze of stone corridors lies a shrine challenge filled with clever traps, ancient guardians, and a reward worthy of Zelda’s bravest heroes.
The Lomei Labyrinth Island must be completed in that order, with each new phase opening up once the last is completed.
If you’ve completed the North Lomei Labyrinth or the South Lomei Labyrinth, the solution will look familiar to you. The Lomei Labyrinth Island follows the same rules as its counterparts; the first maze is navigating around gloom to get to the shrine in the center, following acorns and nuts as you go. The Lomei Labyrinth Sky Island opens up after that, and is where the second shrine is, after which you head into the glider maze. Lastly, the depths open to a battle with the Flux Construct III, where you’ll be rewarded with a piece of the Evil Spirit Armor and more loot.
When you’re done, our shrine locations page or interactive Hyrule map can direct you toward something else to do.
Lomei Labyrinth Island location
Lomei Labyrinth Island is located in the far northeast corner of the Akkala Sea, just off the coast of the Akkala region in The Legend of Zelda: Tears of the Kingdom. It can be reached by gliding from the cliffs near North Akkala Beach or by constructing a vehicle to cross the water. The structure stands out on the map as a large square maze surrounded by water, with the entrance at its southern edge leading toward an intricate network of stone walls and passages.

The entrance to the Lomei Labyrinth Island is located within the Akkala Highlands at the coordinates (4655, 3549, 0089), in the Akkala Sea. You’ll see the big square maze at the farthest top, eastern portion of the map.
If you’ve unlocked the Ulri Mountain Skyview Tower, that’s a good starting point for gliding to the labyrinth – you can glide northeast from there. The sky and depths versions of the Lomei Labyrinth Island are directly above and below the surface area. There are some handy sky islands situated on the way, one of which is equipped with a Zonai flying device that makes getting over to the island a breeze.
Lomei Labyrinth Island maze walkthrough to reach the Igashuk Shrine
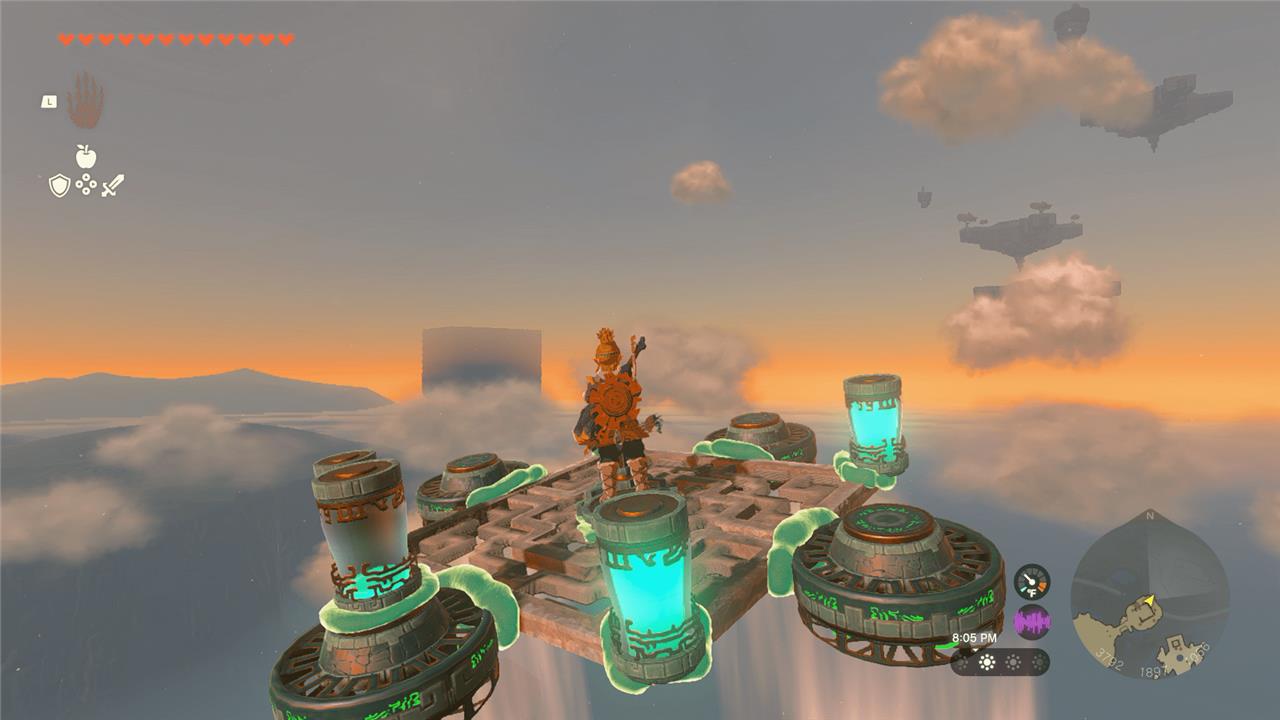
Follow the stone walkway from the island’s entrance and glide down to the central structure surrounded by walls. Head toward the northern section, keeping an eye out for gaps in the walls that lead deeper inside. Use the map view from above to trace the open corridors and avoid dead ends. Continue toward the inner square until you reach the central platform, where the Igashuk Shrine will activate once you stand on the terminal.
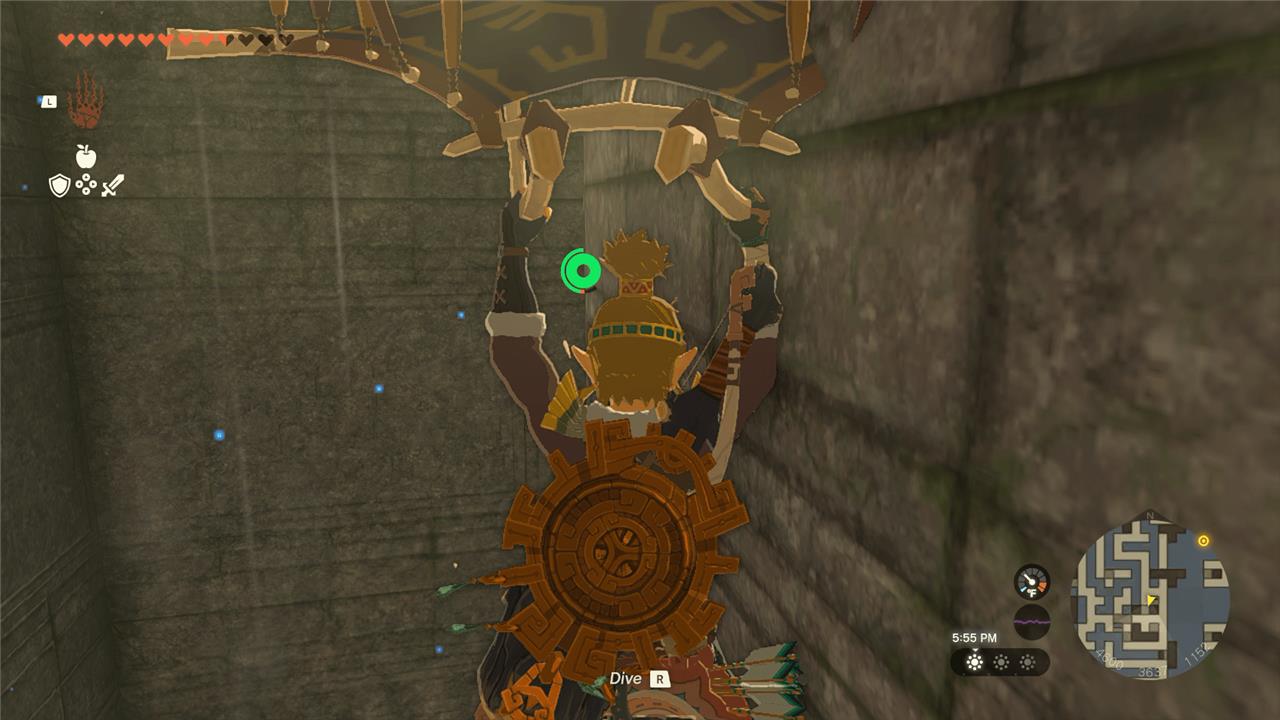
The Igashuk Shrine is located at the center of the maze – getting there is the puzzle itself. You’ll see a researcher campsite at the start of the maze, where the researcher notes they’ve left acorns and nuts as a pathway through. Following the acorns and nuts is pretty straightforward, but this maze is massive: The best way to get to the Igashuk Shrine and the dragon terminal is to skip the maze by dropping in from the top. Here’s where to drop in:
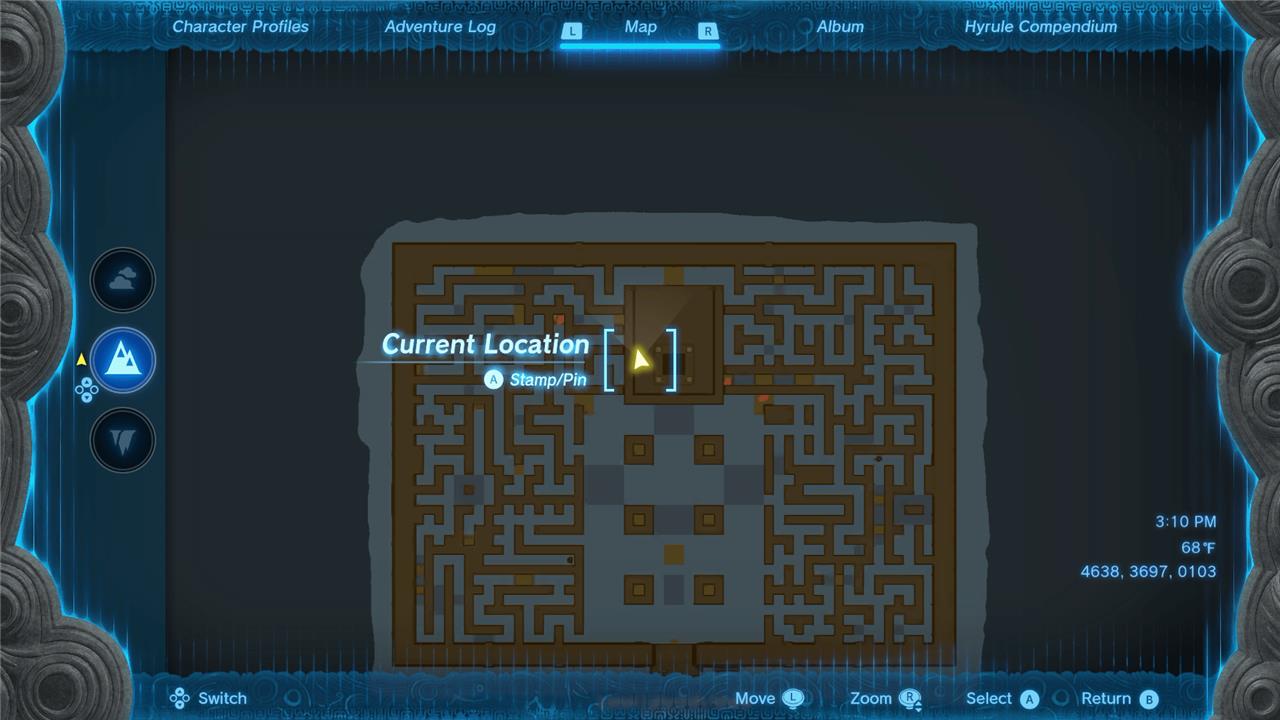
Once you’ve glided over to the Lomei Labyrinth Island, make sure to land on the top of the maze. Run and glide over the gaps to get to the big platform in the back, middle of the maze. Hop down and follow the acorns path – very short – to a ladder that’ll bring you to the terminal and the entrance to the Igashuk Shrine.
Igashuk Shrine walkthrough
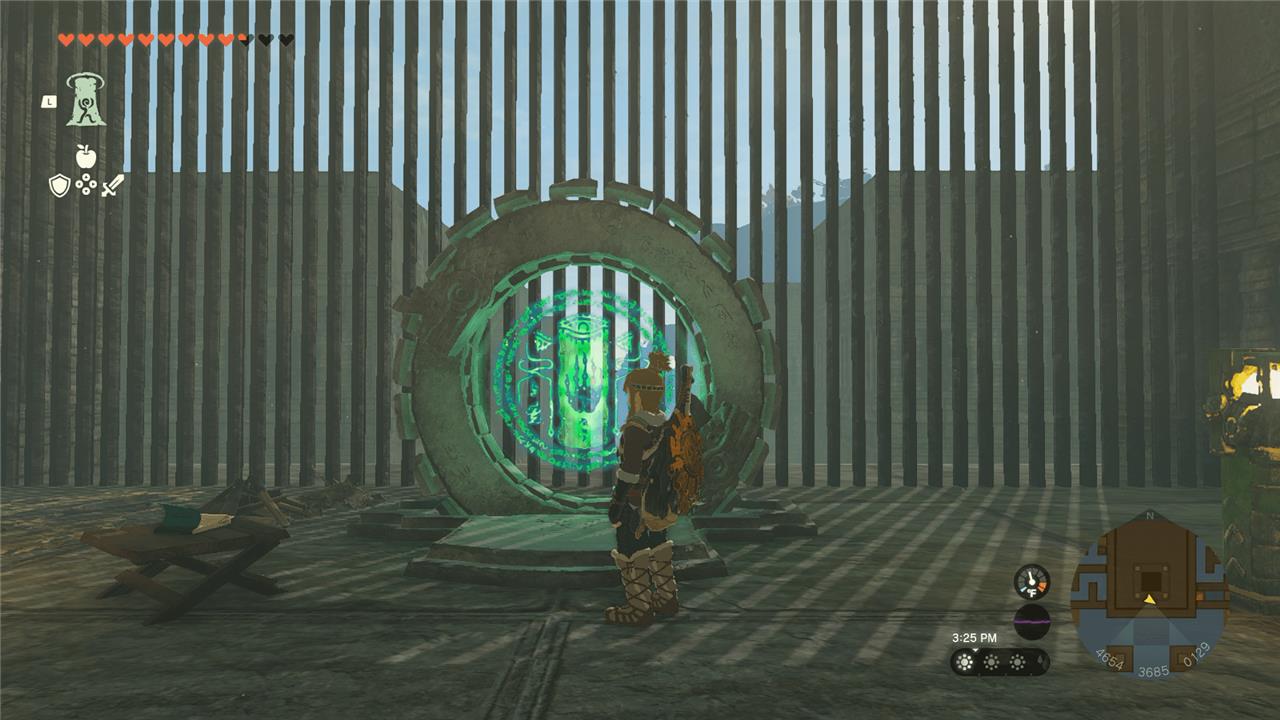
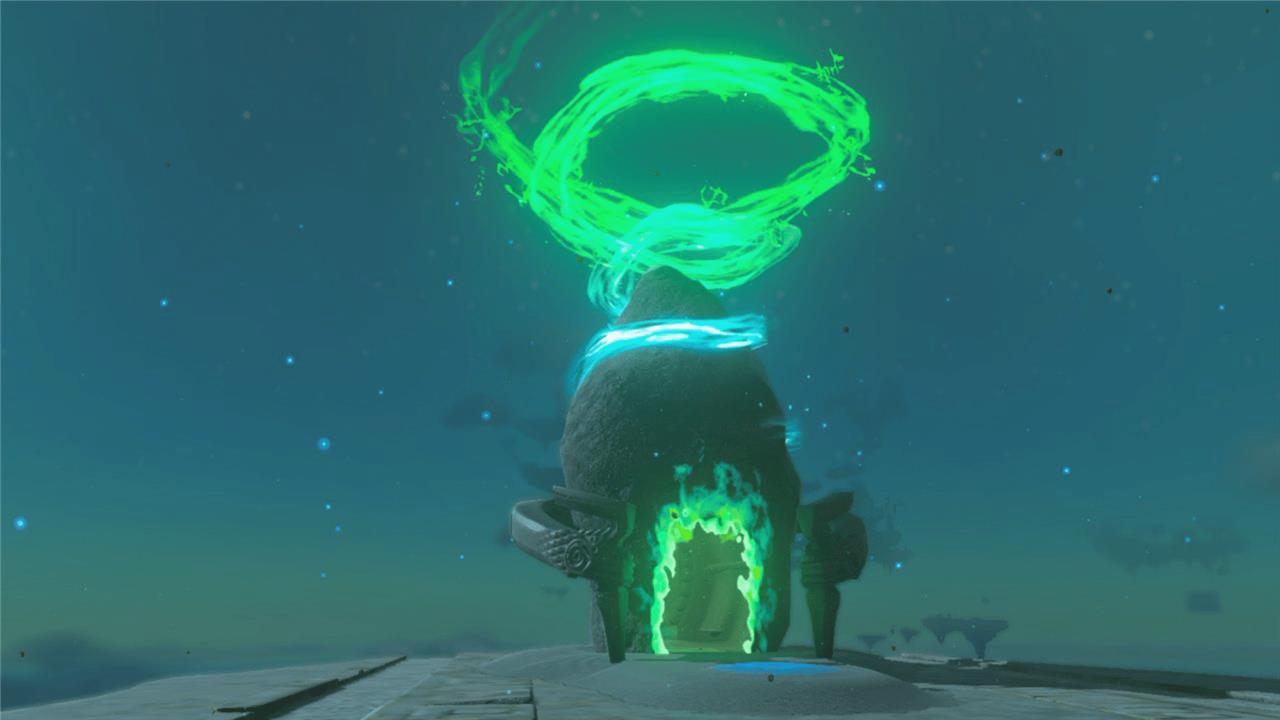
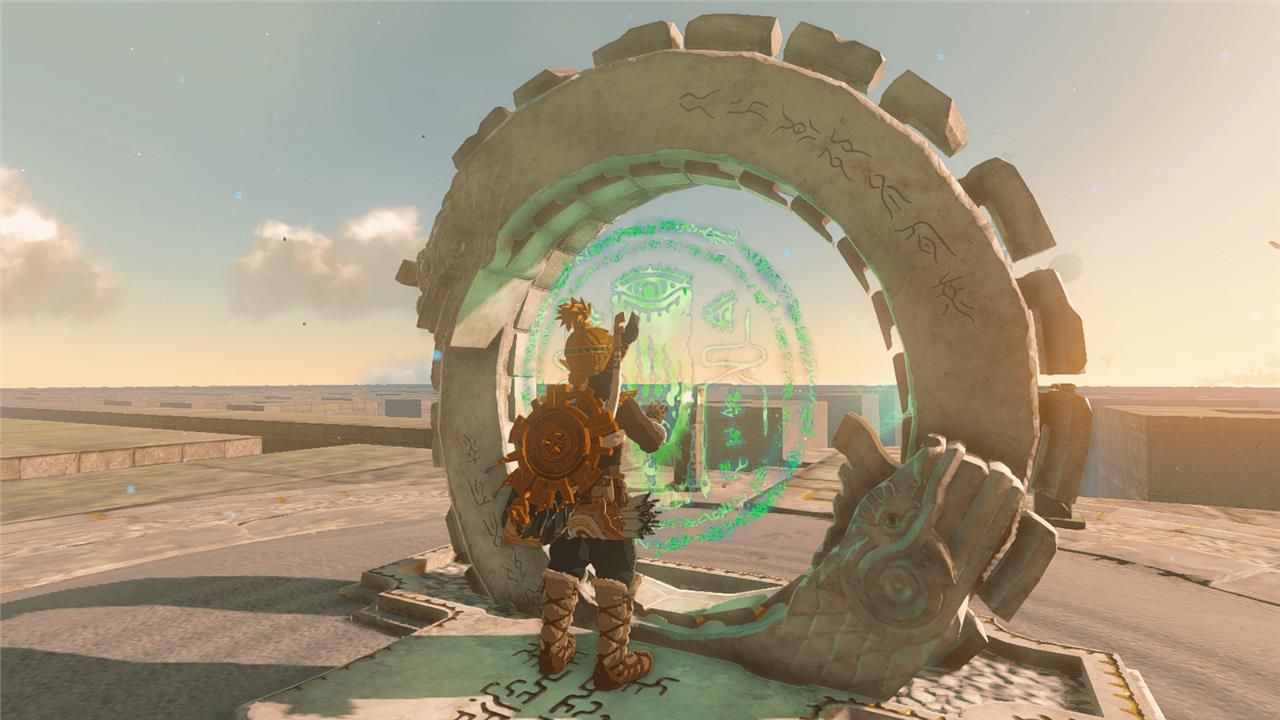
The Igashuk Shrine sits beneath Lomei Labyrinth Island and becomes accessible after completing the island’s maze challenge. Once activated, glide down through the opening at the maze’s center to reach the shrine. Inside, there are no puzzles or battles-simply approach the chest containing a Large Zonai Charge and then interact with the altar to receive a Light of Blessing. This shrine serves as the final reward for finishing the entire Lomei Labyrinth Island sequence.
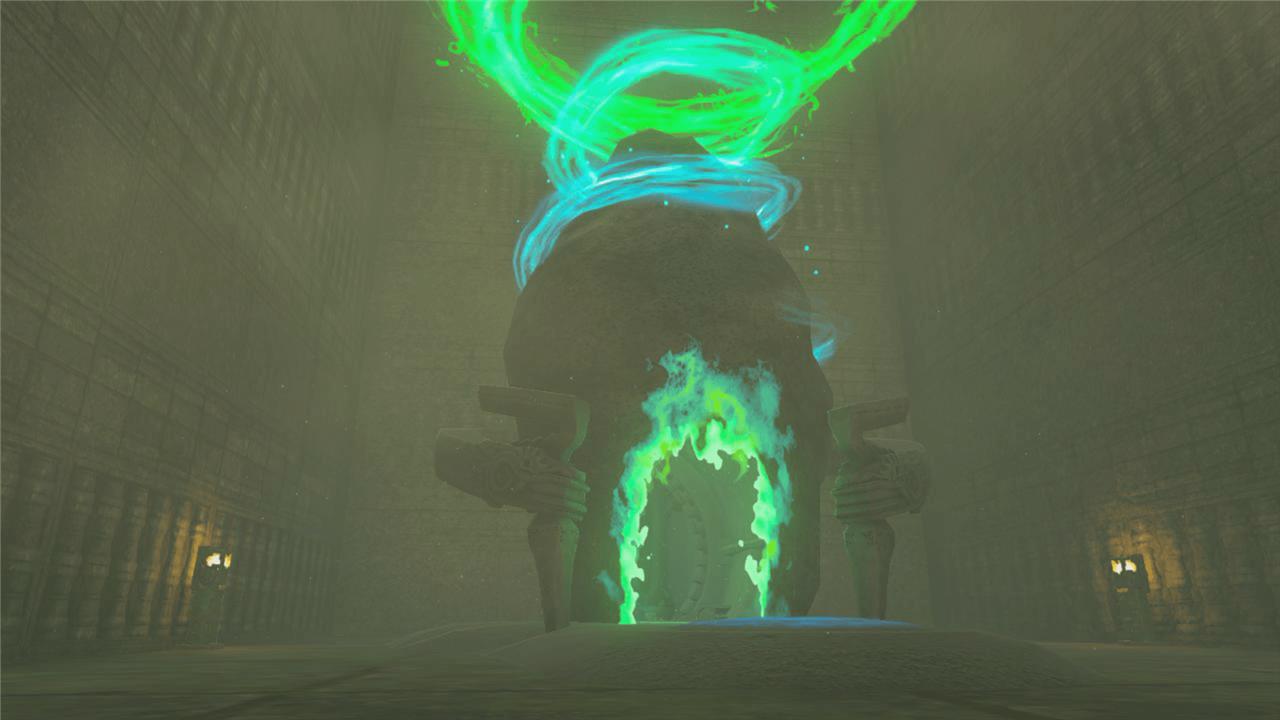
Igashuk Shrine is a Rauru’s Blessing shrine, which means you just have to enter to complete the shrine. Its exact location is at the coordinates of (4653, 3702, 0129). Inside, there’s a chest containing a large Zonai charge. Use the sigil to complete the shrine and collect the Light of Blessing.
Lomei Sky Labyrinth location
The Lomei Sky Labyrinth is located high above the Akkala region, directly over Lomei Labyrinth Island. To reach it, access the coordinates roughly around using nearby sky islands or Zonai devices to glide or build upward vehicles. Activating the terminal on the ground labyrinth below is the first step to open paths in the sky version, linking both sections through the same puzzle sequence.
Once you’ve activated the terminal, you’ll be able to start the sky maze. Again, head back to the Ulri Mountain Skyview Tower and launch yourself into the air. Head north toward the maze, but make sure to stop at the Sokkala Sky Archipelago on your way. It’ll have a Zonai flying device. Add the extra batteries to the existing flier – and more if you have them. It’s a long way to the sky maze.
Start soaring! If you run out of batteries, you’ll need to use your Zonai charges until you’re close enough to glide over to the Lomei Sky Labyrinth. As you get closer, you’ll see the glowing green of the Mogisari Shrine.
Mogisari Shrine walkthrough
Inside the Mogisari Shrine, you’ll face a series of challenges focused on precision and timing. Begin by using your bow to hit the moving targets that activate the platforms, creating a path forward. Use Recall or Ultrahand to manipulate objects and reach higher areas. Some puzzles require redirecting energy or adjusting positions of devices to progress. After solving the main mechanism, approach the final room to collect the chest reward before claiming the Light of Blessing from the altar.
The Mogisari Shrine, at the coordinates (4655, 2500, 1010), is a fun one: “Courage to Jump.” Basically, you’re going to drive a pre-made Zonai vehicle over some jumps, steering on your way. It’s pretty straightforward – just follow the path. There are obstacles – fire, spikes, and lasers – but the car can make it through it all.
If you want the treasure chest, take the left path after the lasers and smash the car into the rock wall – the chest is behind there and holds a mighty Zonaite shield.
Continue forward. The last jump is the hardest, and the shrine provides some rockets to assist. Slap some rockets on the car and make the jump! Be careful on your landing, though, or the low gravity of the shrine could send Link soaring into the back wall.
Examine it to complete the shrine and collect the Light of Blessing.
Lomei Sky Labyrinth maze walkthrough
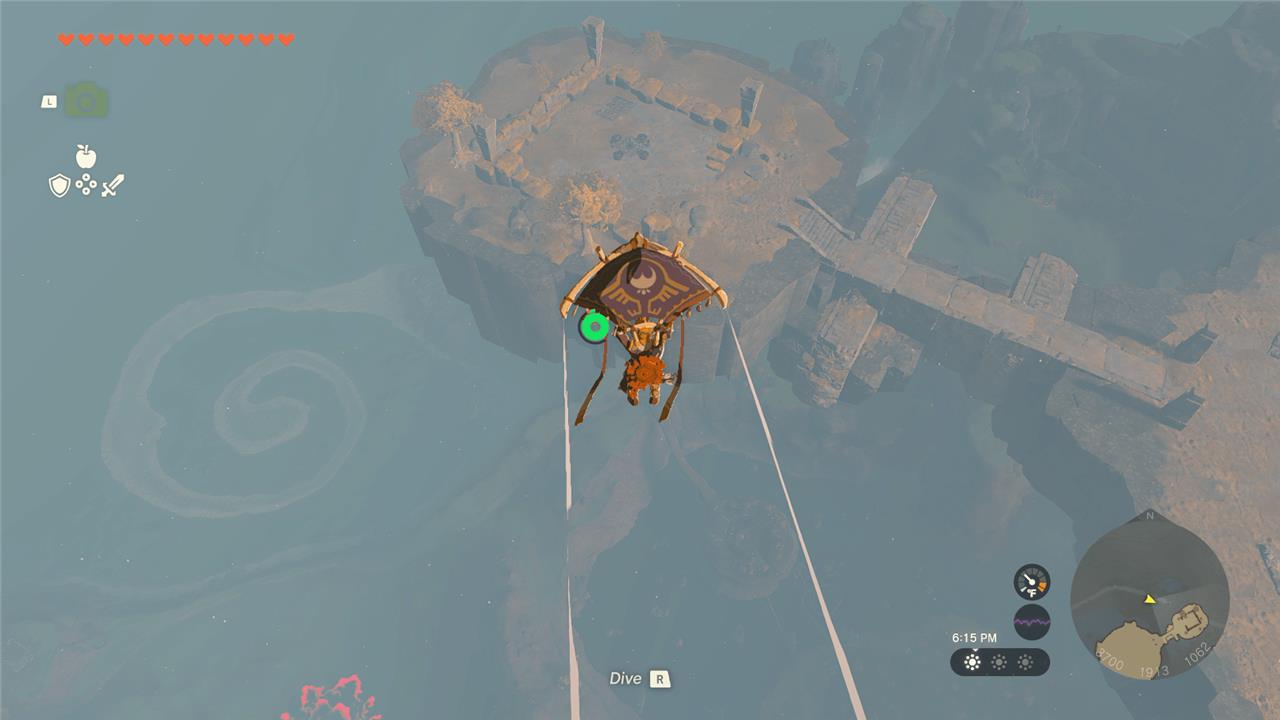
Follow the aerial structure above Lomei Labyrinth Island by gliding from the Ulri Mountain Skyview Tower toward the large square platform in the clouds. Activate all three terminals scattered across the maze-like corridors while avoiding Zonai Constructs and managing stamina for long glides between sections. Once the terminals are powered, the central gate opens, granting access to the core where the final chest and the link between the sky, surface, and depths versions of the island are completed.

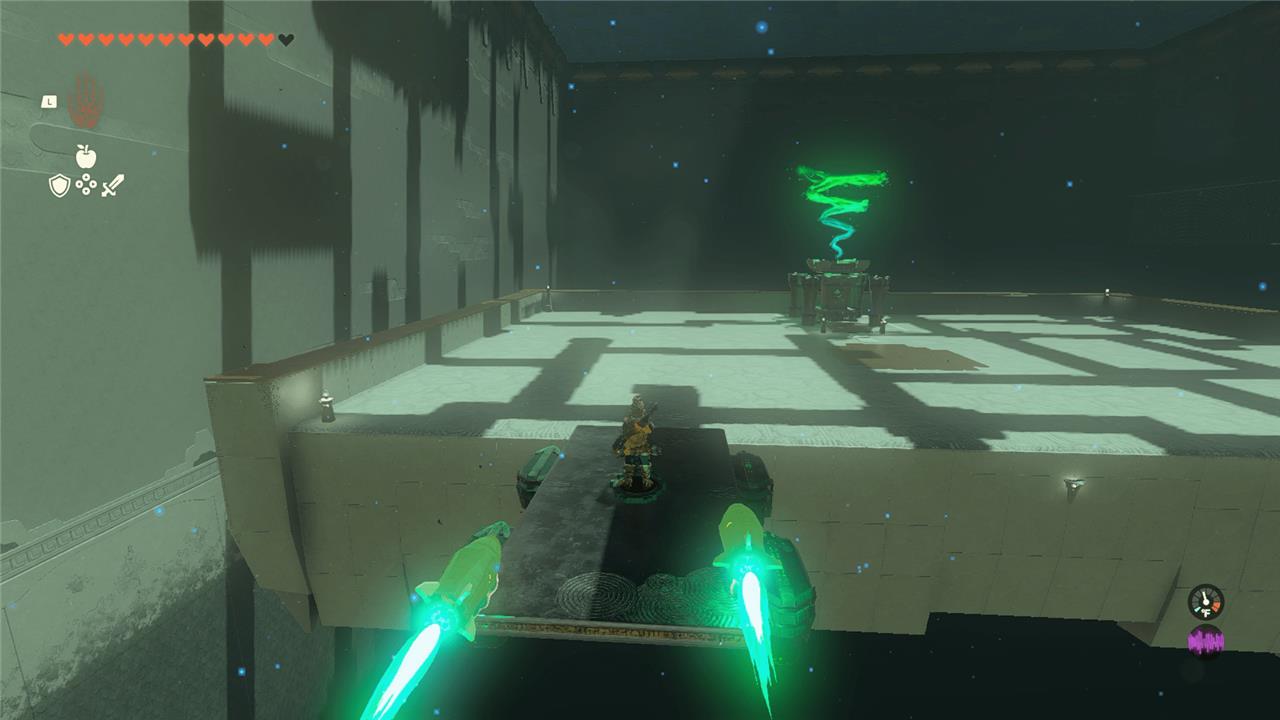
Activate the dragon terminal in front of the Lomei Sky Labyrinth to open the maze.
Like with the North Lomei Sky Labyrinth and South Lomei Sky Labyrinth, the minimap is essential to getting through this maze. It’s a challenging maze that you will navigate using your glider and air bursts to unlock four terminals. The maze is complicated, but you’ll also have to manage stamina to make sure you don’t fall to the earth. This one is much larger than the other two, too – but don’t panic. With the minimap, it’s totally doable.
Instead of looking at the maze itself, look at your minimap and follow the blue pathway there to reach the four terminals. I barely even looked at the majority of the screen while navigating – just the minimap.
Once you’ve reached all four terminals, there should be a huge burst of air to get you to the top of the maze.
Once you’re done with the four terminals, you’ll see the dragon terminal that’ll open the depths. The gate to the depths will open once that’s activated. Jump in!
Lomei Depths Labyrinth walkthrough
In the Depths section beneath Lomei Labyrinth Island, follow the trail of zonai lights that lead from the terminal platform into the dark maze below. Activate nearby Lightroots to keep your path clear, then trace the red guidance marks on the map that mirror the surface layout. Defeat the Gloom Hands that appear near the center to trigger a fight with Phantom Ganon. After the battle, interact with the terminal to finish the Depths challenge and open the path to the final reward chest.
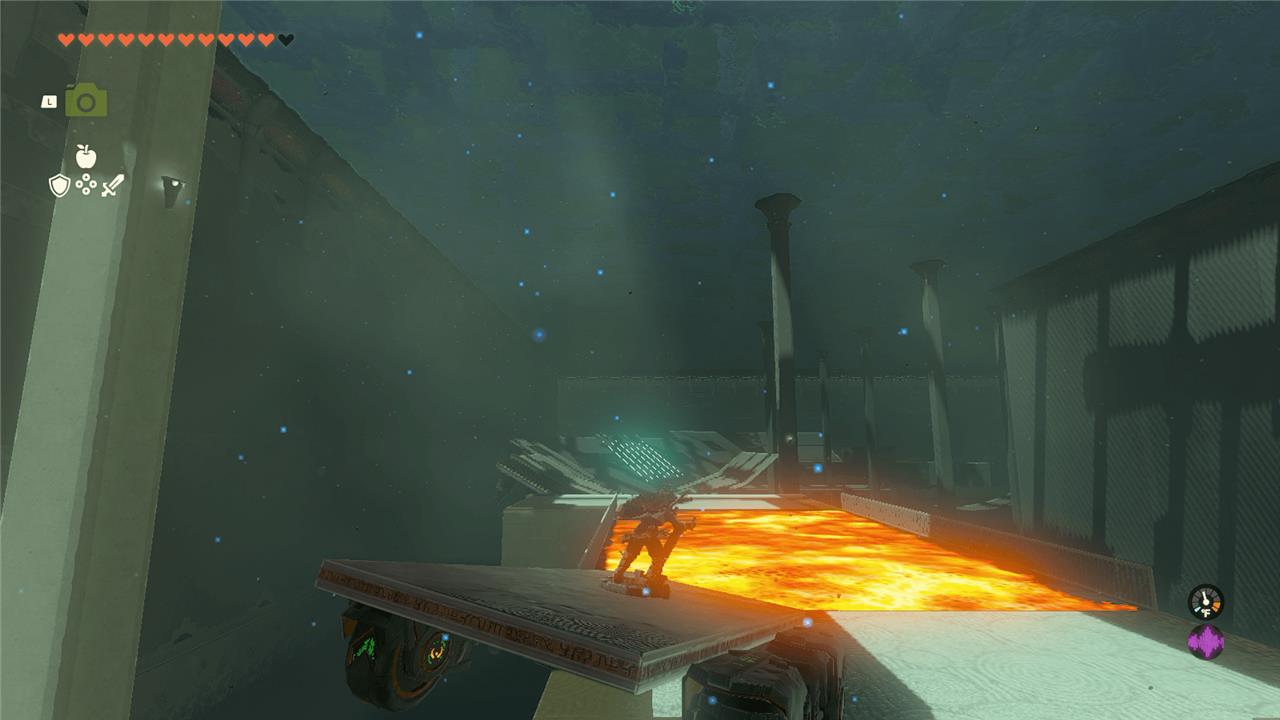
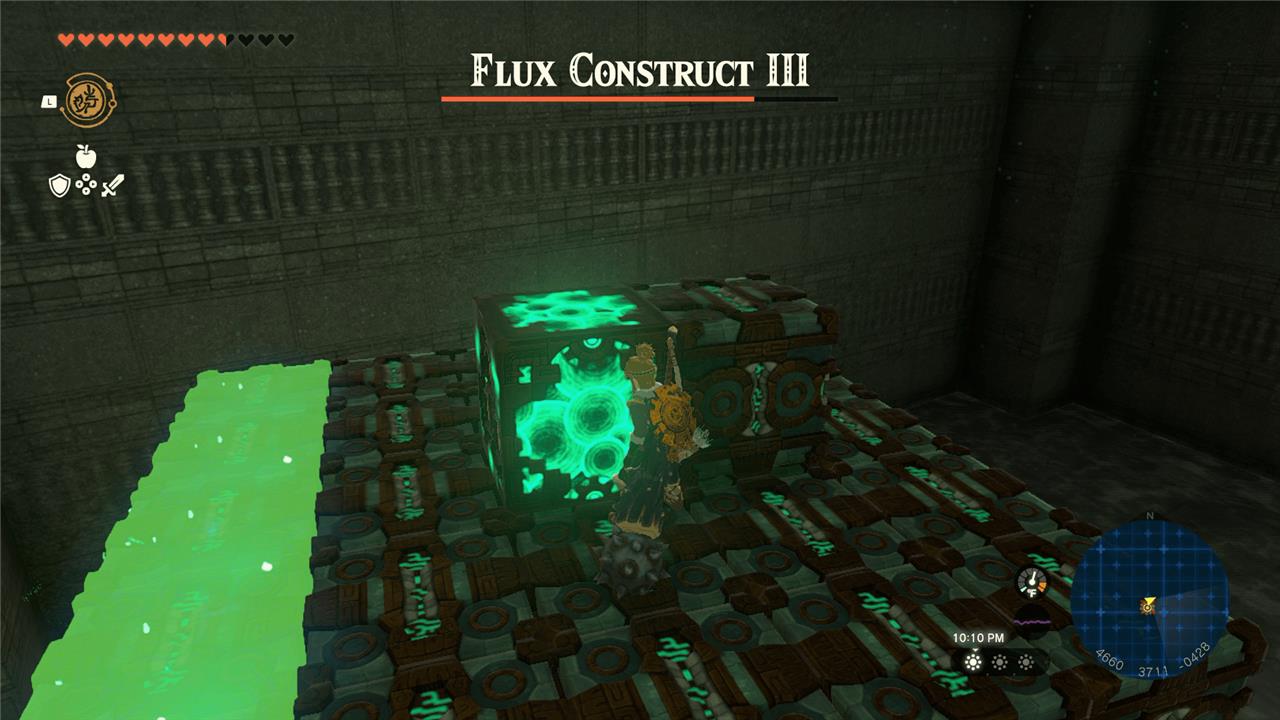
There’s not much of a puzzle down here, just a boss battle. Use a brightbloom seed once you’re close to the ground to light up the area. Otherwise, you’ll be running around in the dark. You can see the Flux Construct III under the grates you’ve landed on. Head down the stairs on either side of the room to start the fight.
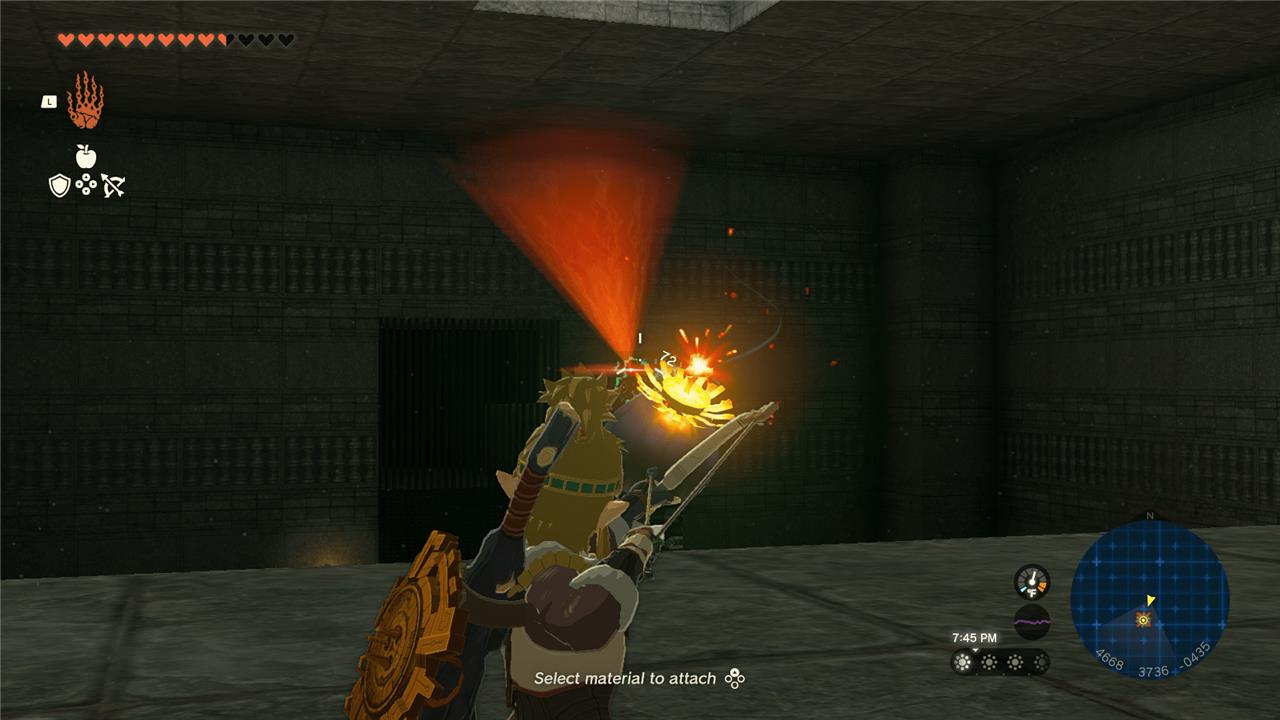
Fighting the Flux Construct III is not easy, but the strategy that consistently worked for me was targeting the Construct with a bomb flower arrow to kick off the fight (and do some extra damage).
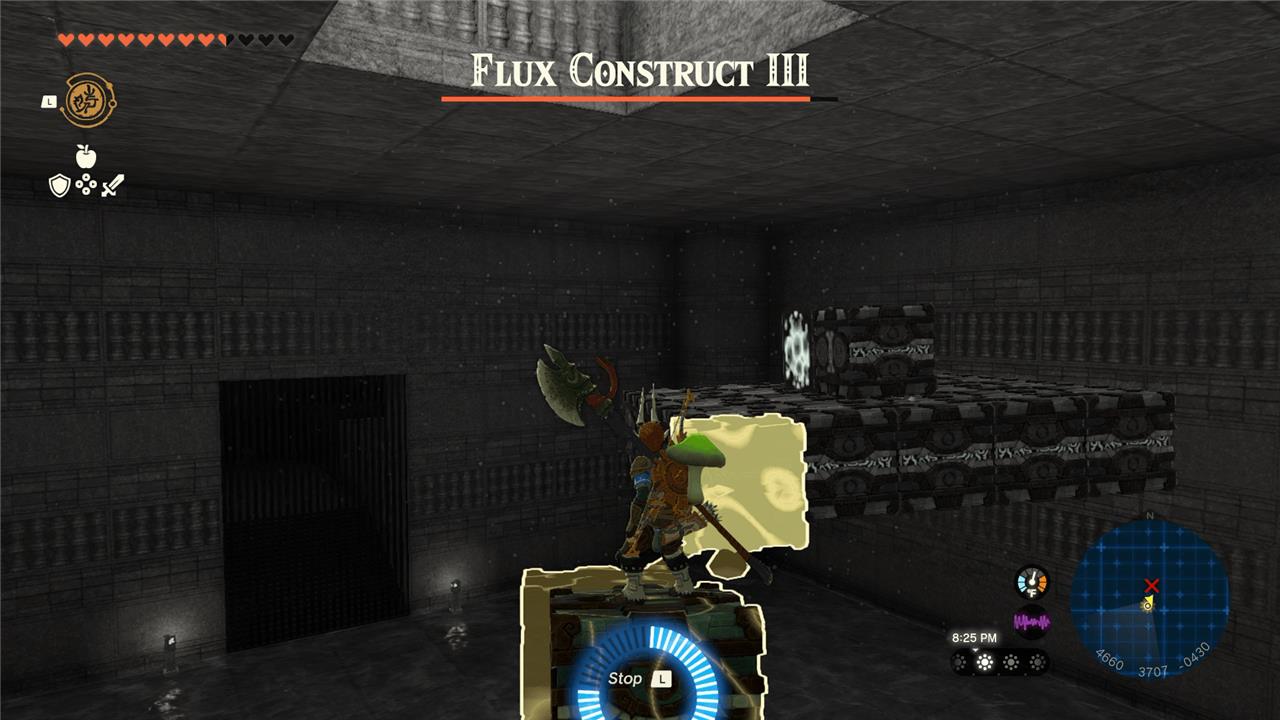
Then attack from the platform until the Flux Construct III starts shooting blocks at me in its platform form. Dodge the blocks, but run over to them once they’re still. I then hop on top and use Recall to reverse them – sending Link back up to the platform the Construct has created. Whack the glowing block with your weapon and the Construct will fall apart. Keep hitting the glowing block, then repeat as needed. I only had to use this strategy twice before the battle was done.
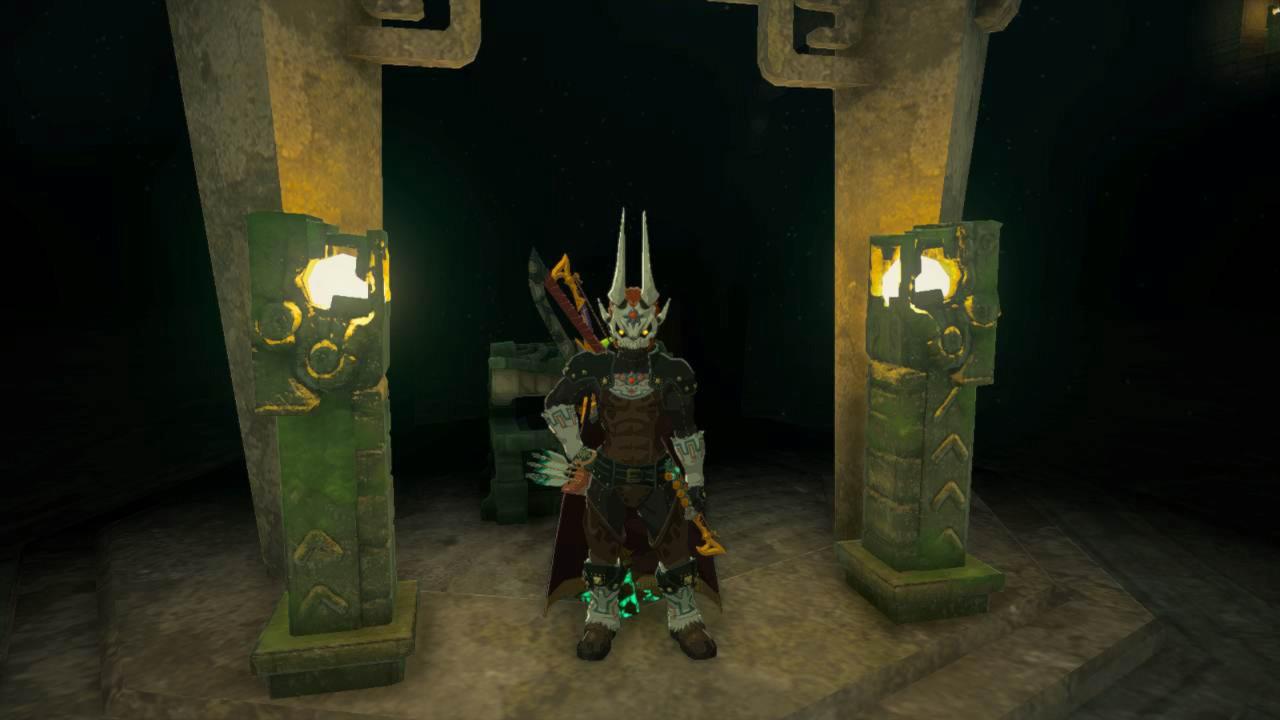
The Flux Construct III will drop a bunch of loot. Make sure it pick it up, and Fuse the core – which you can’t pick up – to a weapon. A chest will spawn in the middle of the room with the Evil Spirit Armor inside.
How to reach Lomei Labyrinth Island from Akkala Ancient Tech Lab
To reach Lomei Labyrinth Island from the Akkala Ancient Tech Lab in The Legend of Zelda: Tears of the Kingdom, head to the lab’s high cliffs overlooking the Akkala Sea in the northeast Akkala Highlands. Fast-travel to Jochi-iu Shrine first if unlocked, then climb the nearby hill to the lab while avoiding Yiga Clan foes and monsters.
Gliding Route
From the lab’s elevated position (around coordinates 4500, 3400, 0100), face northeast toward the island at 4655, 3555, 0089. Deploy your paraglider for the long descent over the sea-use stamina elixirs or food if your wheel isn’t upgraded enough, as wind and distance can drain it quickly. Land directly at the maze entrance on the south side.
Alternate Paths
Launch from Ulri Mountain Skyview Tower northeast for a gliding shortcut with sky island pit stops, or swim/raft from North Akkala Beach if grounded. Climbing the outer maze walls skips the flooded interior but risks stamina drain and enemies.
Best paraglider route from Akkala Ancient Tech Lab to the island
The best paraglider route from the Akkala Ancient Tech Lab to Lomei Labyrinth Island in The Legend of Zelda: Tears of the Kingdom starts from the lab’s highest cliffs overlooking the Akkala Sea.
Launch Point
Position yourself on the northeast-facing ledge at the lab (coordinates around 4498, 3419, 0256), above Jochi-iu Shrine. Clear enemies first and ensure full stamina or stamina foods/elixirs ready, as the glide covers roughly 1500 units with favorable tailwinds.
Flight Path
Aim straight northeast toward the island’s south maze entrance at 4655, 3555, 0089. Deploy the paraglider immediately and hold forward-slight altitude loss is normal, but catch updrafts over the sea if stamina dips below half. Land precisely at the entrance to avoid swimming or readjusting.
Tips
Upgrade stamina wheels beforehand for margin. If short, detour via Ulri Mountain Skyview Tower launch for extra height, or use Zonai wing devices for assisted flight. Avoid low launches from beach level.