Ancient whispers guide Link through ruins where forgotten sages test his resolve. The “Guidance from Ages Past” quest hides its secrets behind shifting puzzles, mechanical marvels, and echoes of a lost civilization waiting to be reawakened.
Below, we walk through the steps of “Guidance from Ages Past,” a lengthy quest that sees you head down to the Depths, get Mineru’s construct – a Zonai robot ally that you can customize – and fight a boss in the Spirit Temple.
How to start ‘Guidance from Ages Past’
To begin the “Guidance from Ages Past” quest in Zelda: Tears of the Kingdom, travel to the Spirit Temple area after completing the Secret Stone objectives with Riju. Approach the construct near the large mechanism and interact with it to trigger the sequence that introduces Mineru’s construct body. Follow the quest markers to gather the materials and power sources needed to activate the construct, then continue through the designated route to reach the temple’s interior.
Before starting “Guidance from Ages Past,” you should first tackle the previous parts of the “Find the Fifth Sage” quest, which means completing the “Secret of the Ring Ruins” quest and making your way to Dragonhead Island. Technically, you could skip the “Secret of the Ring Ruins” quest, but that would make navigating the sky islands more difficult and mean missing out on lore and story.
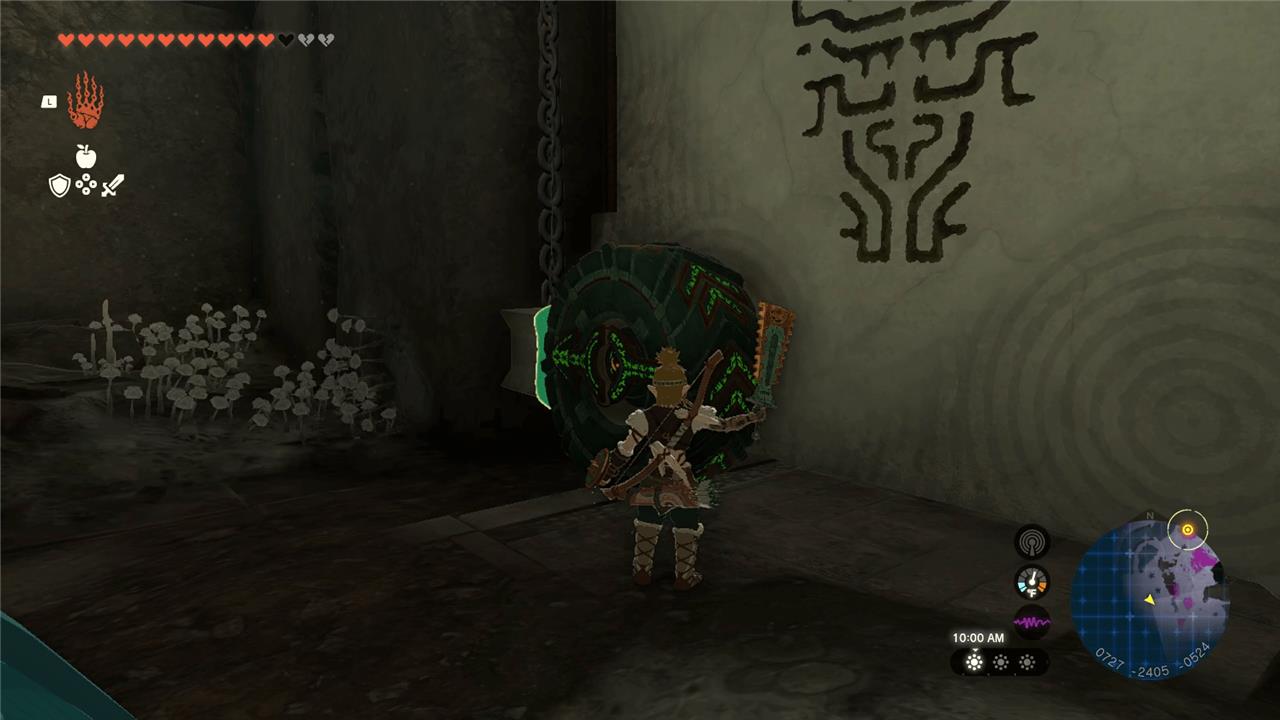
Once you’re reached Dragonhead Island, all you need to do is interact with the mask you find locked behind a door. This will start the “Guidance from Ages Past” quest to find the fifth Sage, Mineru.
‘Guidance from Ages Past’ walkthrough in the sky islands and surface
The “Guidance from Ages Past” quest takes Link across both the surface and the sky islands, connecting ancient technology with modern purpose. Begin by exploring the Construct Factory beneath the Great Abandoned Central Mine, where you’ll assemble the Sage of Spirit’s body parts. Each section of the factory lies in a different chamber, requiring careful travel through chasms and Zonai devices scattered across the Depths and sky platforms above. After restoring the Construct, return to the Temple of Time Ruins in the sky to complete the task, gaining access to a deeper part of Zelda’s story and the mysteries behind the ancient Sages.
Once you pick up the mask, a laser will shoot out, pointing you below the island. Take the mask outside through the door that just opened.
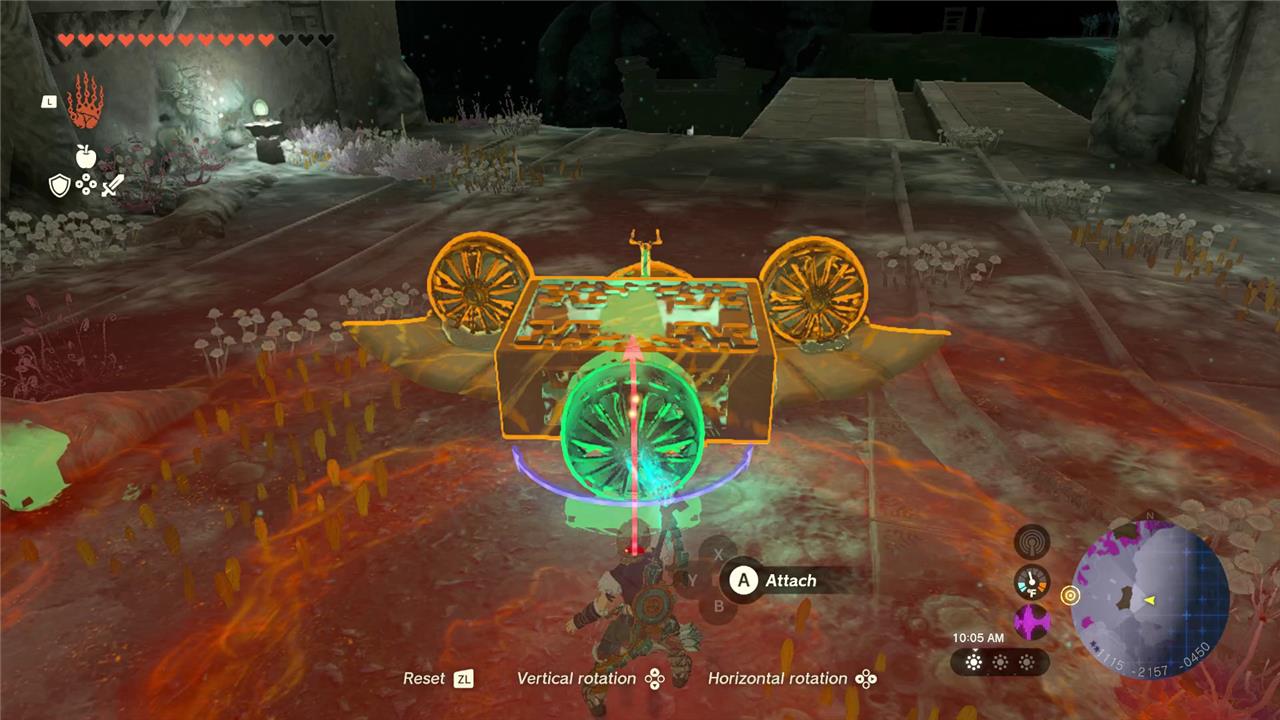
By this time, you’ll likely know what to do: build on a wing, adding fans and a steering stick. Attach the mask on to the device as well. Here’s what ours looked like:
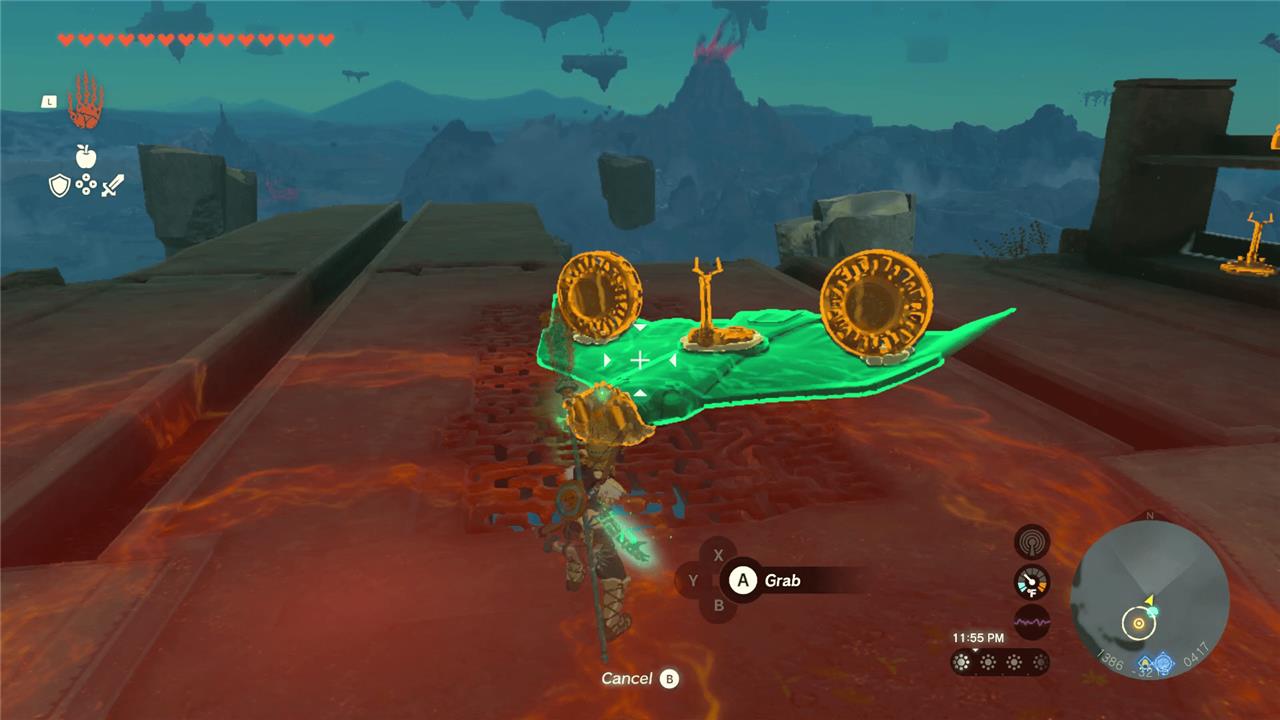
Launch off the island, flying towards where the laser points. Once you make it down, detach the mask from the wing, and take it to the pedestal that the laser points at. A cutscene will play, and again pick up the mask and carry it to the next pedestal. The pedestal will turn into an elevator, which will bring you down to the Depths.
‘Guidance from Ages Past’ walkthrough in the Depths
The Depths section of “Guidance from Ages Past” takes you beneath Hyrule into a dark and challenging area filled with hazards and hidden paths. Use Brightbloom Seeds to light your way and keep an eye out for Gloom pools, which drain health if touched. Follow the construct’s guidance to locate the four terminals linked to Mineru’s spirit, clearing enemies and activating ancient machinery along the route. Once all terminals are restored, return to the central chamber to initiate the final sequence that brings Mineru’s body to completion.
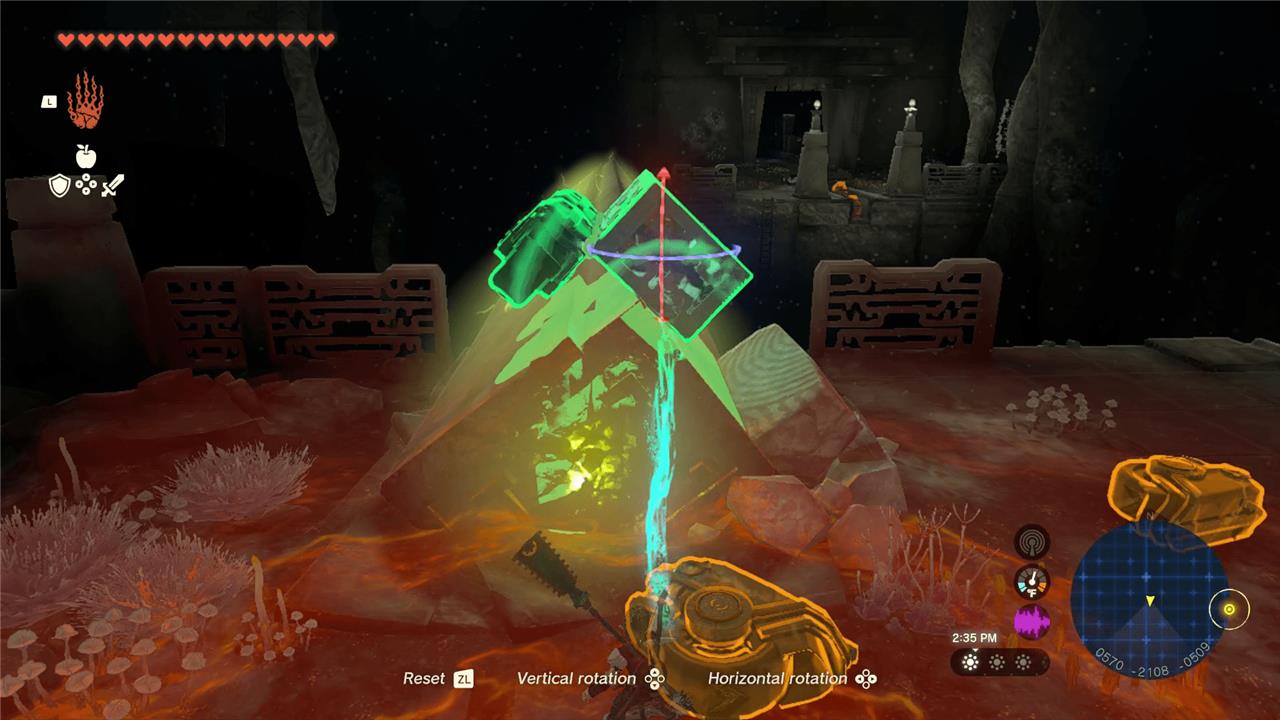
Activate the Muokuij Lightroot nearby, grab the mask, and place it in its respective slot in the robot mold straight ahead using Ultrahand.
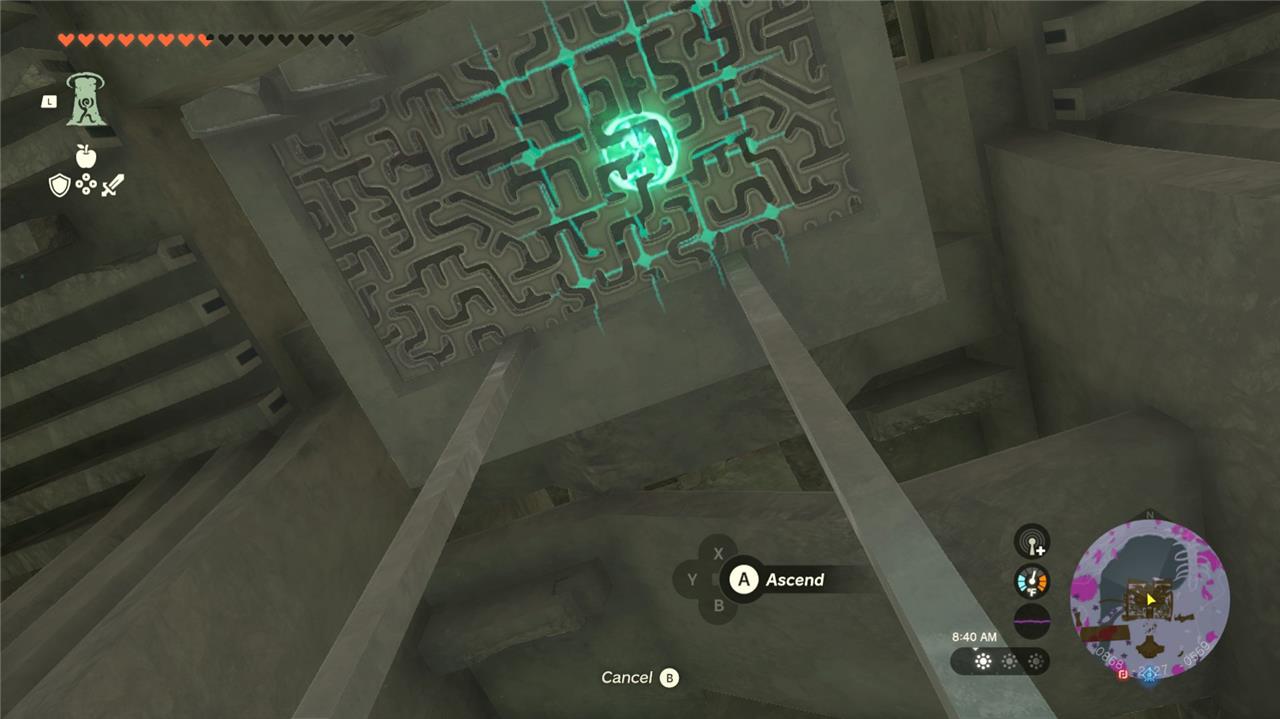
Now is the fun part: collecting all four pieces of the golem for Mineru. There are four factories, as she pointed out, though it’s dark. We recommend Ascending up the ruins from behind the golem and firing out brightblooms aplenty to light up the area before you set off.
In fact, if you head up through this Ascend point, you’ll get a mighty Zonaite shield and a Captain IV reaper from two chests:
As usual with these walkthroughs, we recommend grabbing the pieces in the order below, we but you can do them in any order you want.
Right-Leg Depot
The Right-Leg Depot is located in the southeastern section of the Depths, and you’ll need to bring the right leg piece back to the Construct Factory to progress. Activate nearby Lightroots to brighten the area and make navigation easier. Watch for gloom pools and strong enemies guarding the route, and use Zonai devices to transport the leg safely. Once connected, the Construct Factory system will acknowledge the completed component and open the way to the next depot.
Glide down from the ruins and run up the skeleton leading to the lightroot in the north. Activate Uisihcoj Lightroot to immediately gain a bunch more visibility in the area. From here, head northeast, part the gloom-covered Aerocuda, Bokoblins, and Little Frox, so you can jump off the broken bridges into this cavern.
Interact with the altar inside to get the right leg in a box. Ultrahand it on to one of the elevators on the right and activate the fans to move it up.
Once you’re at the top and you see the long rail, set up the box using Ultrahand like this, using the hooked box pieces and one of the fans from the elevator:
Turn on the fan and the leg will move up along the rails. Ascend up the ledge from the far part of the room. Again, move the leg box up the fan elevators. Climb up the ledge to get three Zonaite from a chest.
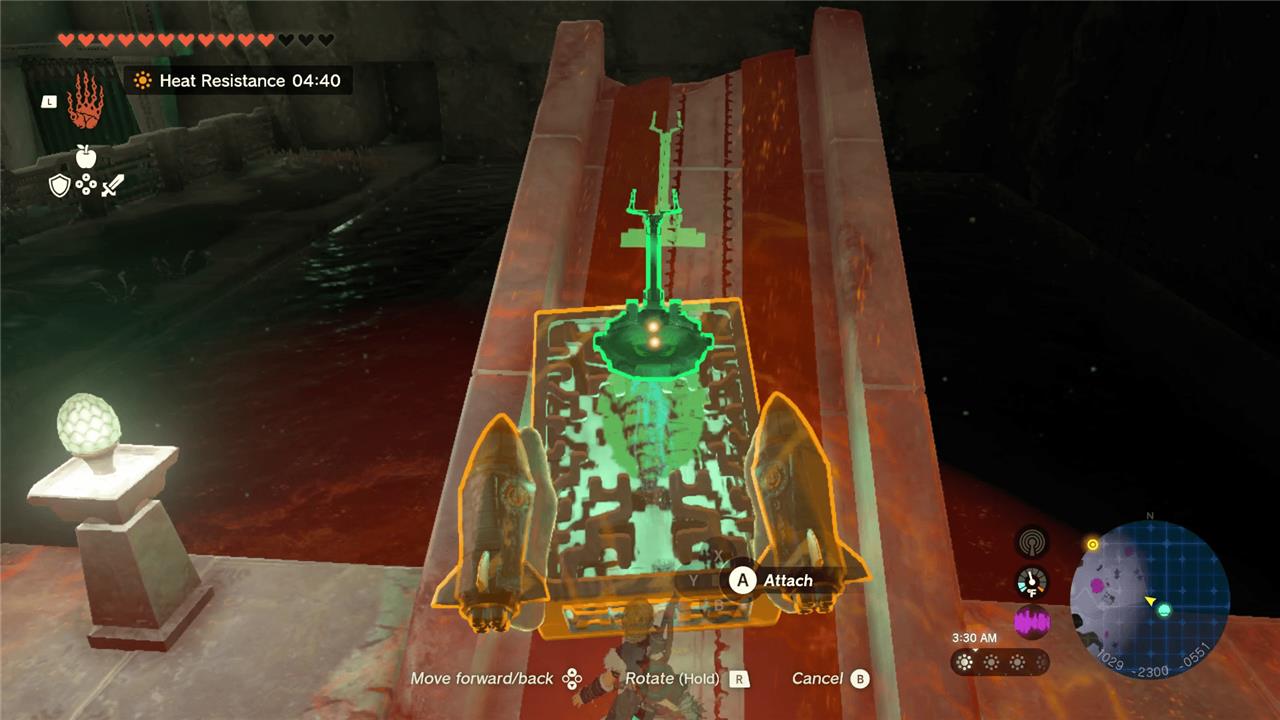
At the top of the ledge, there will be materials you need to make an airplane. Attach the steering stick to a wing, stick the leg box on, and set the plane on the downward rails to drive it back to Mineru’s golem mold.
We stuck fans on like this to make it go faster, but you don’t have to:
Hopefully, you’re able to land the wing close to Mineru, so rip the leg box off, and deliver her the leg, placing it into the mold.
Right-Arm Depot
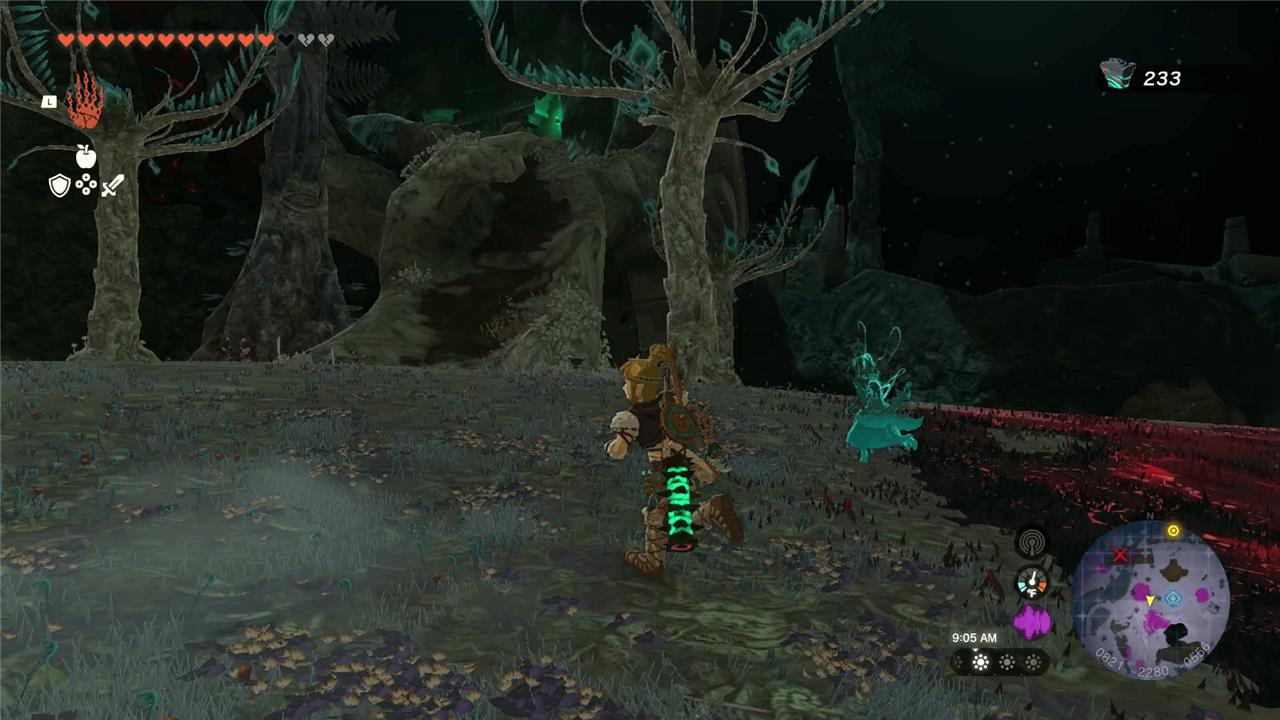
Head to the right arm of the Great Deku Tree in the Depths beneath Korok Forest to find the Right-Arm Depot. Smash the breakable rocks blocking the cave entrance, then light the torches inside with Brightbloom Seeds or a flame weapon. Grab the chests containing Zonaite and arrows before activating the shrine that appears.
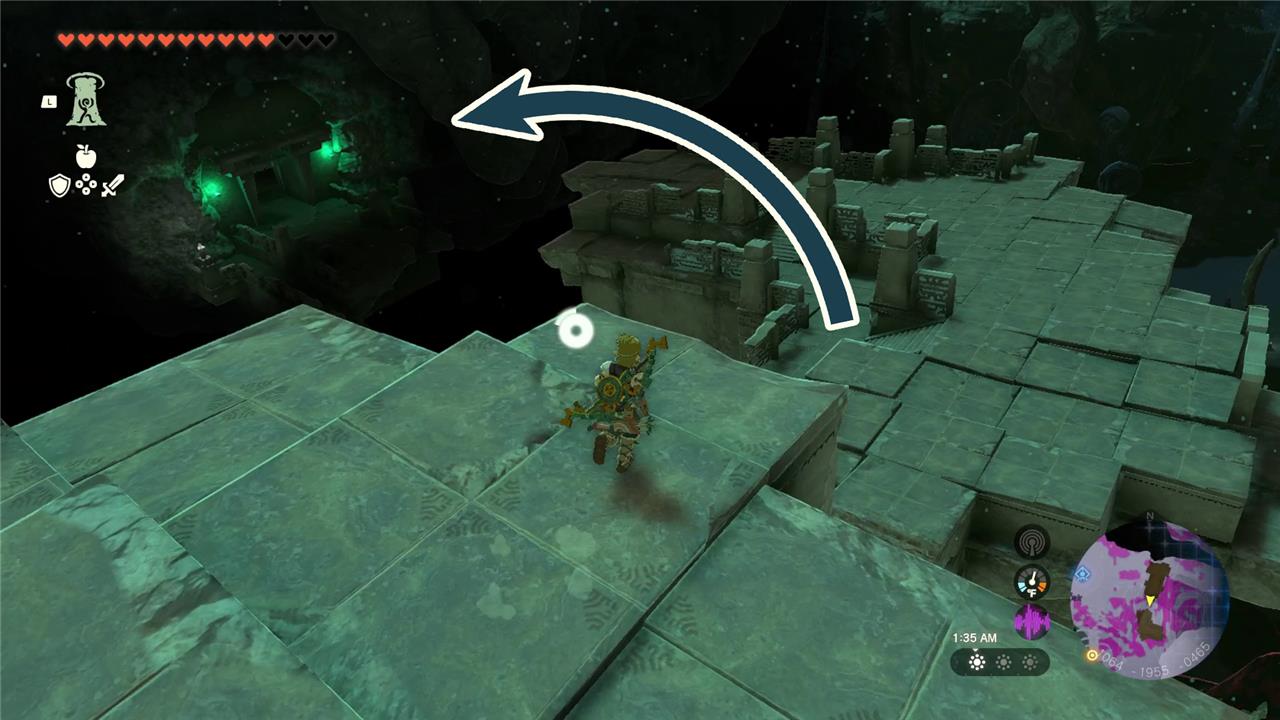
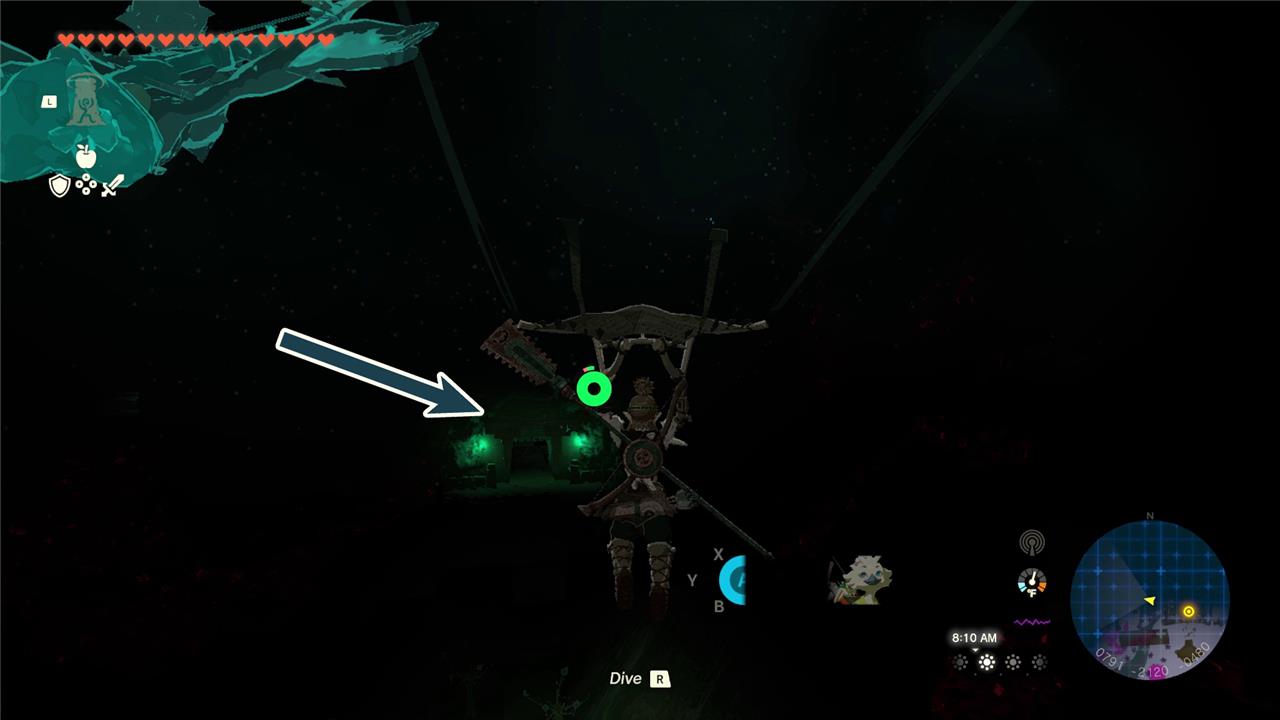
From the top of the ruins, glide off to the west, aiming at this entrance. We used Tulin’s wind to help us get there:
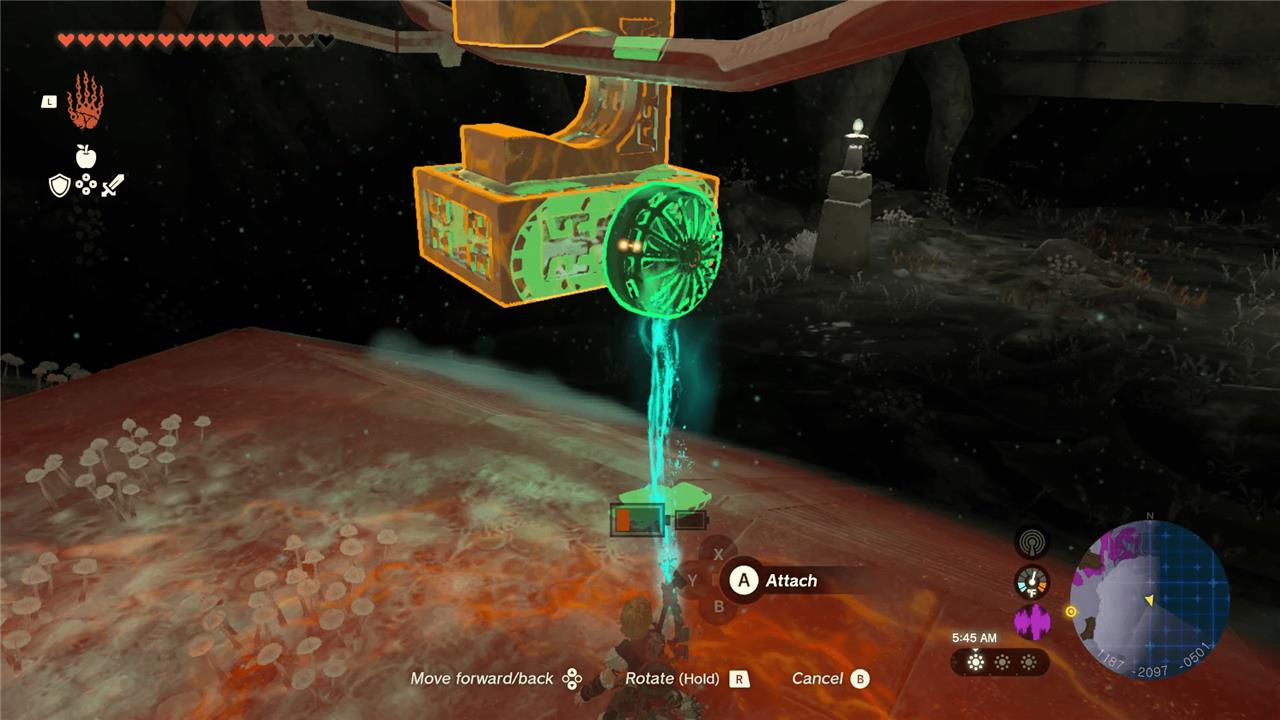
Activate the altar inside to get the right arm inside of a box. Send the box up the conveyer belt on the right of the altar and follow after it.
Use the stray wheels sitting in front of the large gap and attach them to the box only on one side. Place the box on the electric bridge, so that the wheels rest on the corner like this:
Turn it on and let it travel to the other side. Glide across and climb up the ladder to meet it there.
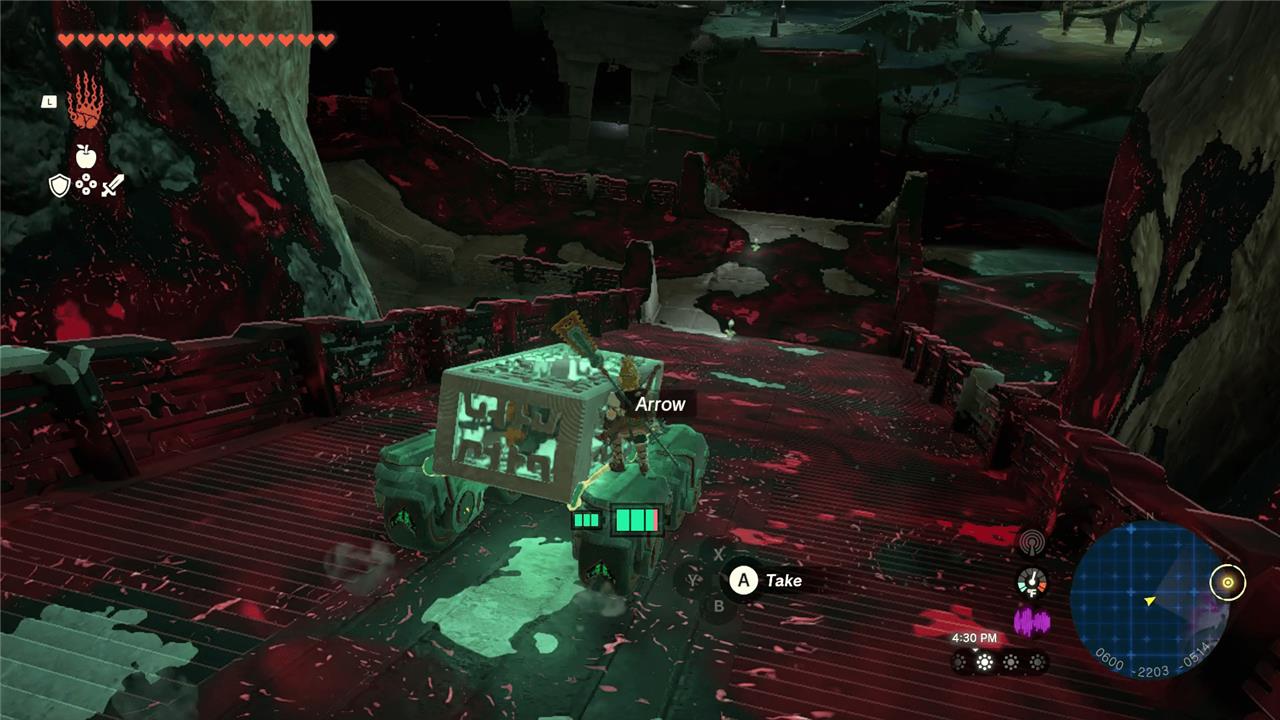
Outside, attach two more wheels onto the cart so that it rolls down the gloom-covered steps and towards Mineru. Stand on top and hit the wheels, turning on your new little buddy and traveling across.
Note that there are baddies along the way, so you may have to stop in a place with little gloom on the floors to clean them out. There’s not much gloom on the bridge over the water, so you can safely stop there temporarily to knock them out.
Once you get back to Mineru in your little buggy, take the arm to the golem mold and place it in.
Left-Leg Depot
After activating the main terminal, make your way to the Left-Leg Depot marked on the map. Use the nearby Zonai devices to attach the large leg piece to a vehicle that can move it back to the construct body. Watch for low ceilings and obstacles on the return path-angled fans or steering sticks help with control. Once delivered, place the leg in the indicated slot to reassemble another part of the Construct’s body and progress toward completing the temple mechanism.
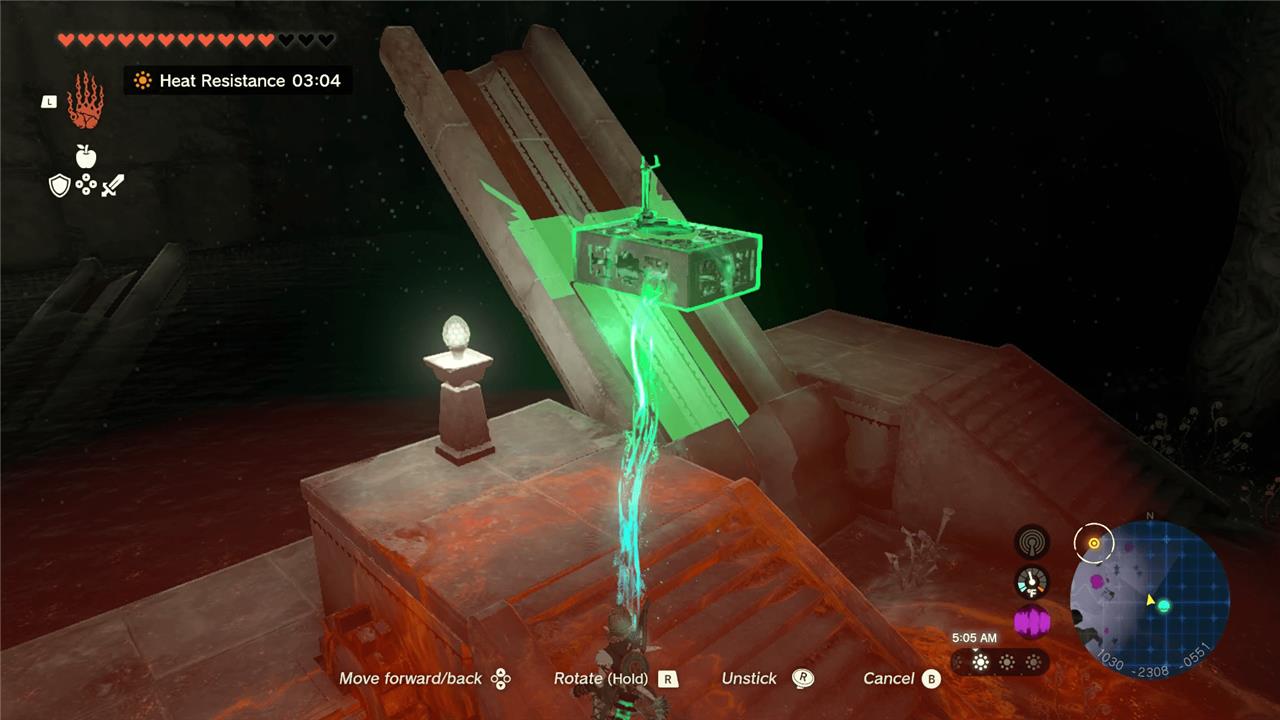
There is an entrance to another depot, directly to the east of the Muokuij Lightroot. Interact with the altar inside to get the left leg in a box. Place it on the rocket elevators and turn them on to send the box up.
You will need to spin the crank (it’s actually called a capstan) on the left to aim the bridge on the right to shoot the box over the water and onto the ledge above.
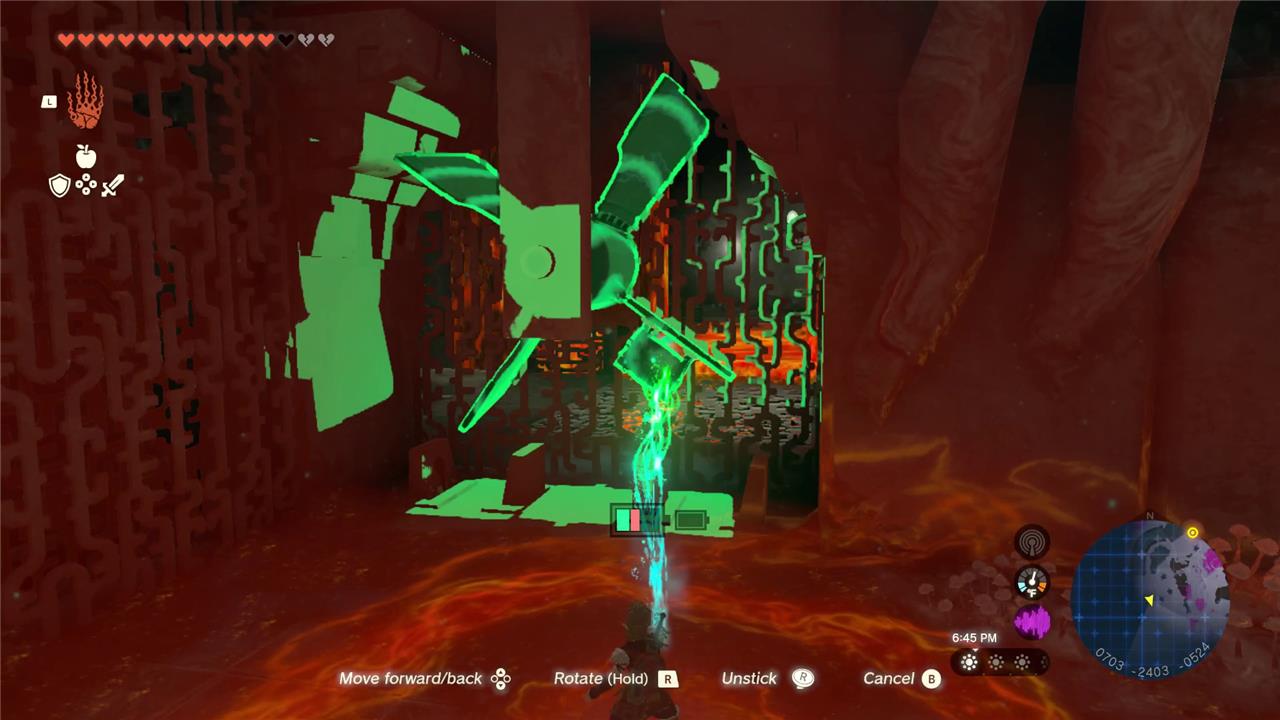
Use the nearby steering stick and rockets and attach them to the box like so:
Turn the crank to aim the bridge pretty high up. We aimed it like this to successfully make it to the ledge:
If you keep messing up and need more rockets, there’s a device dispenser directly behind the bridge in this room.
Once your box is up on the ledge, don’t leave the area quite yet. Face east to see some lasers blocking off an area with Zonaite and a chest opposite of the exit. Take the rocket elevator next to the lasers up and use Ultrahand to bring the loot down through the grate. You’ll get a handful of Zonaite and a Large Zonaite for your troubles.
Now you can take the box out. This time you don’t need to add any attachments or do anything fancy, as the exit is actually pretty close to where Mineru is. Just bring it over to her with Ultrahand and place it into the mold.
Left-Arm Depot
After finishing the Construct encounter at the Left-Arm Depot, approach the large device in the center to obtain the Left Arm part for the Spirit Temple construct. Attach it to the nearby Zonai transport platform, then use Ultrahand to bring it back to the central area. Watch out for Patrol Constructs along the return path, as they can slow you down if ignored. Once you deliver the arm to the structure’s terminal, another panel activates on the main construct, signaling that this section is complete.
This depot is walkable on foot, but if you want to glide from the top, you can totally do that, just aim for the southwest door you’ll see lit up in the distance.
We walked up this path, taking out some Evermeans and Bokoblins on the way:
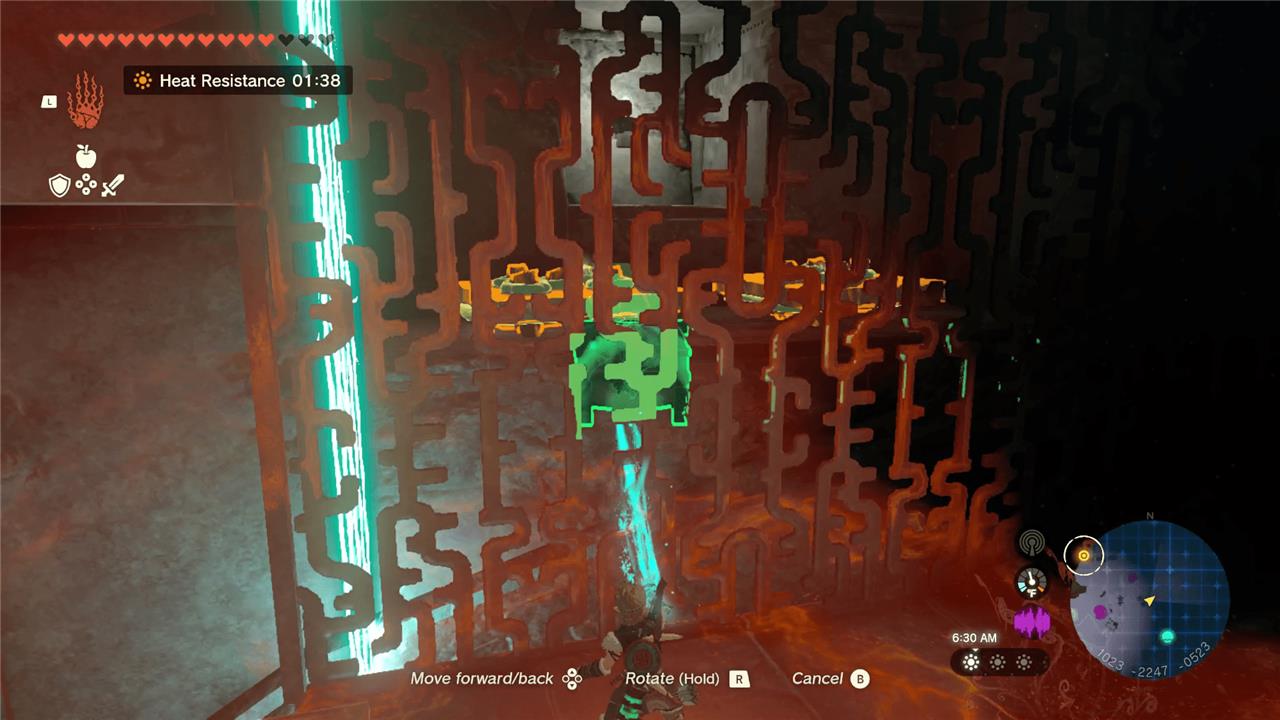
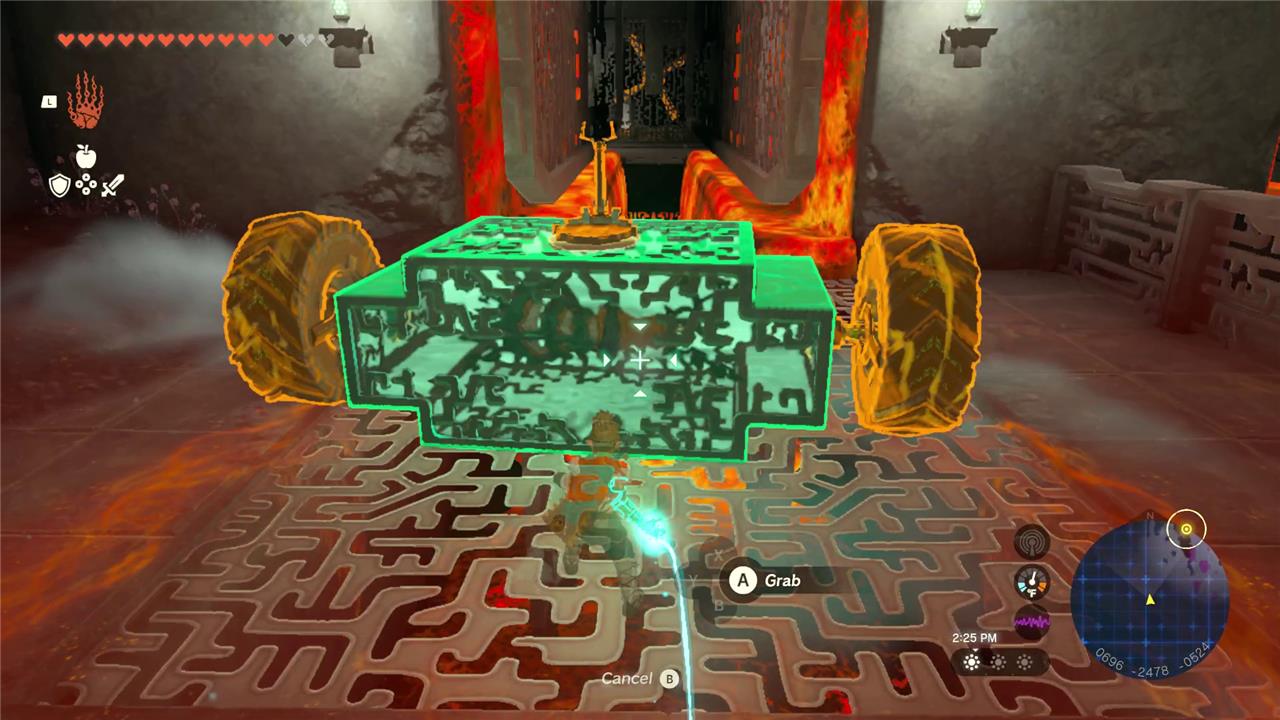
Once you’re inside, interact with the altar to get a box with the left arm inside. Hit the wheel attached to the door to raise the door up and bring the box with you. The door will have three wheels on it, one on the side you came in from and two on the side with the lava. Take off the two wheels on the lava side and attach them to the box, along with the nearby steering stick like so:
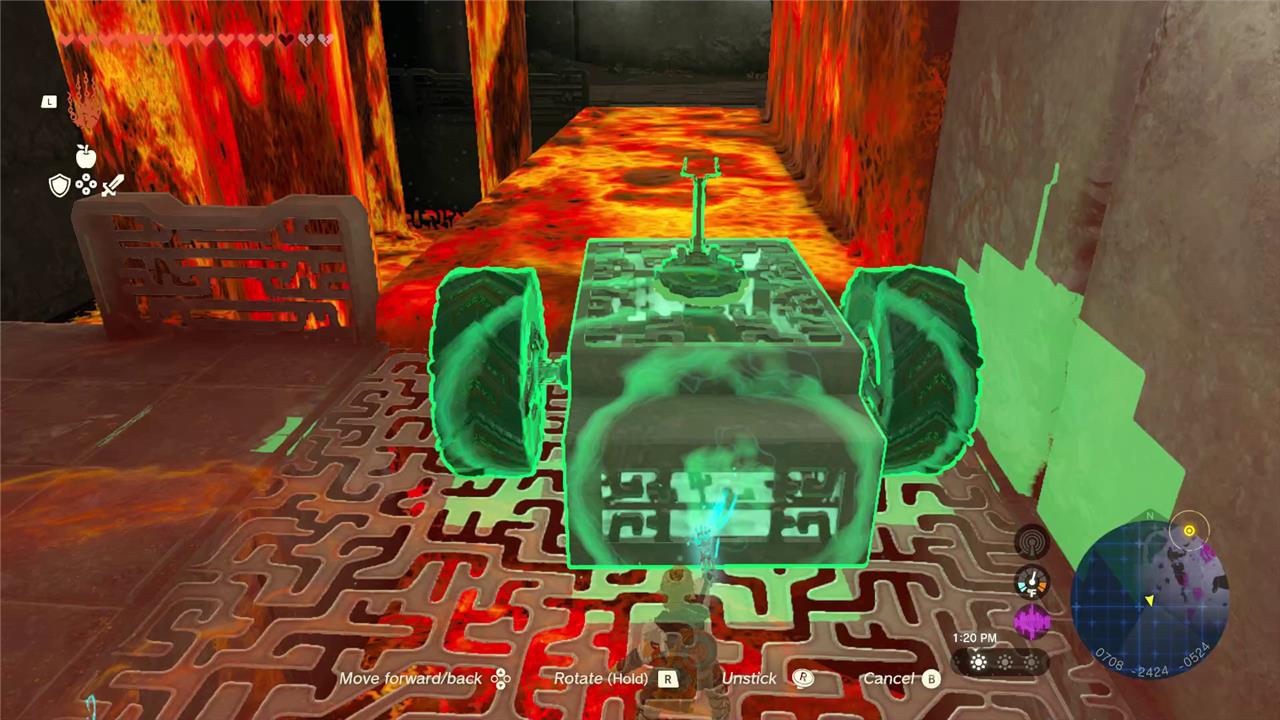
Drive the box straight through the lava. When you get to the next part, Ascend up on to a ledge to get a chest with five steering stick capsules inside. Jump back down and take the tires off, moving them to the other sides of the box, like this:
Ride across the next lava path. Climb up the ladder to get a grand poe and head back down. Break off one of the wheels from your box and attach it on to the door the way it was in the first room. If you need a reminder of what that looked like, it’s like this:
The wheel needs to be stuck on to the door at the bottom with the square rock also attached to the wheel. Once you turn it on, the door will lift. Bring your box through and attach at least one of the fans to the back of the box.
Before you leave, grab this chest from the spinning fan in the corner to get three Zonaite:
With the fans attached to your box, send your wonderful raft down the water, off to meet Mineru. Hooray!
Mineru’s construct and getting to the Spirit Temple
After completing the “Guidance from Ages Past” sequence, you’ll construct Mineru’s body using the nearby Zonai parts. Attach the components carefully, ensuring they align to form a functioning construct. Once assembled, Mineru will accompany you, allowing you to cross the desert with her help. Head southwest toward the Spirit Temple, following the sand-covered path while avoiding enemy patrols and conserving energy. Use Mineru’s abilities to clear obstacles and handle hazards along the way until you reach the temple entrance.
Once all the pieces are assembled, Mineru’s construct will join you. You can ride it and equip weapons and devices to it to make it stronger. Equip whatever you’d like from her offered arsenal and head towards the quest marker to head to the Spirit Temple.
The journey to the Spirit Temple is short and there isn’t too much to it. On the way, you’ll fight a few small-fry monsters and you can use this as an opportunity to figure out how Mineru’s construct works. Link gets on top of it and swings its arms to attack with whatever you attached to the arms.
We recommend stopping at Sijotu Lightroot, which is on the way (depending on which way you went – the Depths are confusing), at coordinates (1218, -2544, -0612). There’s a Hinox between the lightroot and the temple, but you can take it out by shooting its eye and attacking it or you can just run from it if you don’t care for Hinox drops.
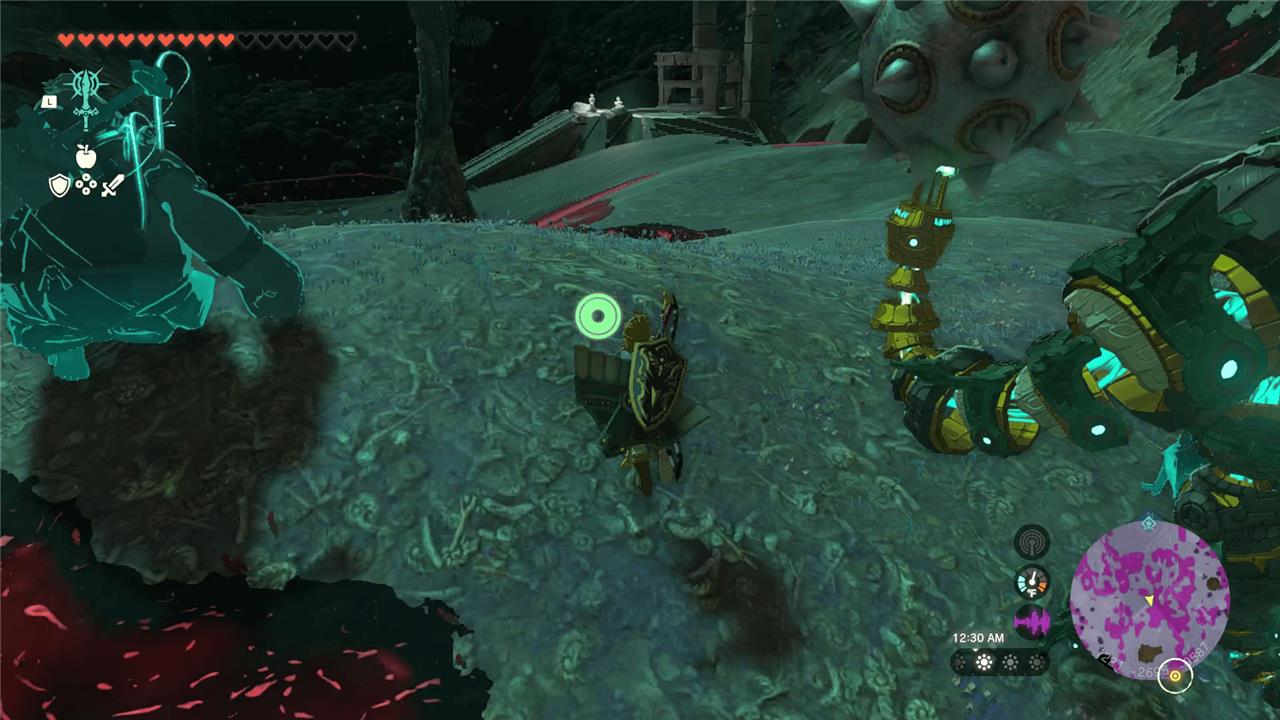
Straight past the Hinox is another weaponry for Mineru’s construct. Equip her with at least one cannon. You will need it to take down the boss easily.
Between the weaponry and the temple is a bunch of breakable rocks, which you can break however you want. You can use Mineru’s cannon or spiked ball (if you equipped that), Yunobo’s Sage ability, or you can just go at it using a regular hammer that you Fused. You should use this time to get accustomed to using Mineru’s cannon attachment, too.
Once you make it through the rubble, you’ll see another lit up armory ahead, this time filled with rockets. Attach one to the construct’s back and launch yourself up to the Spirit Temple.
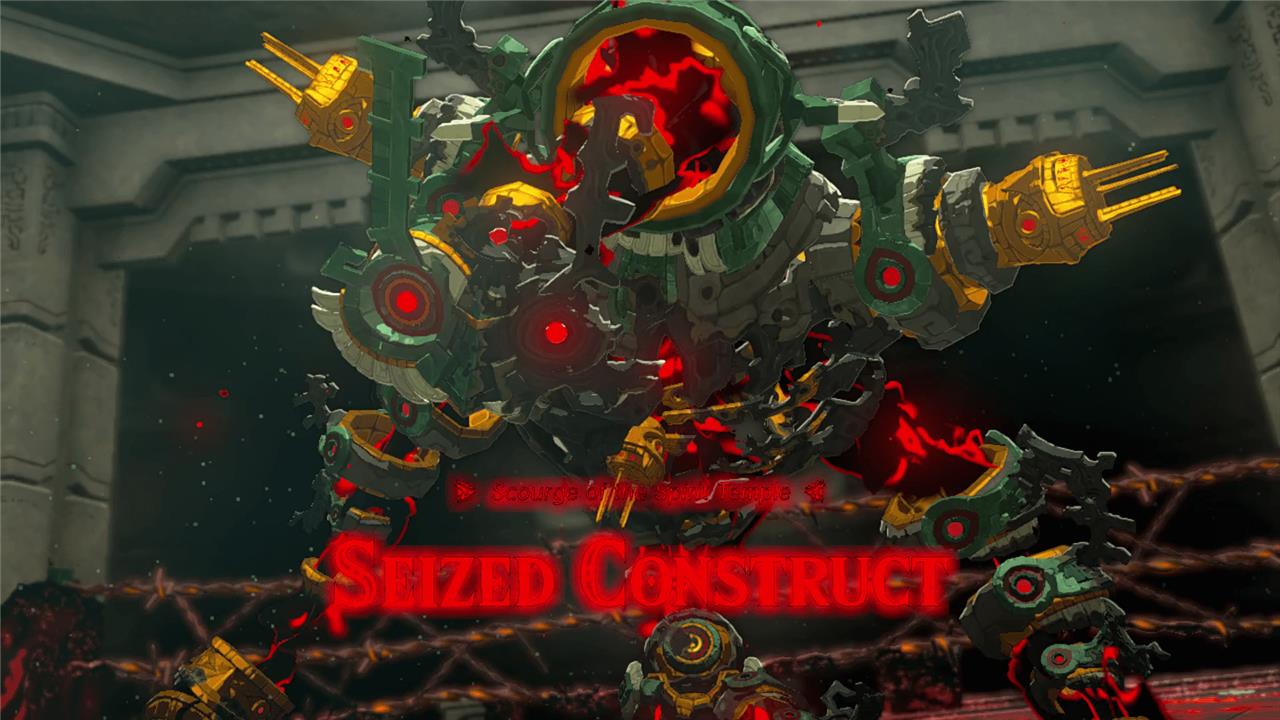
Seized Construct boss fight strategy
The Seized Construct boss fight requires careful timing and use of the environment. Use the Zonai devices on the arena’s edges to push the Construct back and deal damage when it’s stunned. Stay mobile to avoid its arm swings and spin attacks, and use charged strikes when it’s off-balance. Fuse powerful weapons beforehand for extra damage output, and make good use of the Recall ability to counter projectile attacks. Keeping distance while waiting for an opening will help you stay safe and finish the fight cleanly.
Once you get into the temple, get on Mineru’s construct and interact with the bird-like statue in the center of the room. Approach the stone to be interrupted by the boss, Seized Construct.
Ahead of this fight, know that you will not be doing any of the fighting on your own as Link. He’ll take damage regularly, but he won’t be using any of his weapons, so don’t worry about preparing any before you go. The only thing you should make sure to have is a Zonai cannon attached to Mineru’s construct, as mentioned earlier. Once you’re ready for the fight, head forward.
Barbed wires will appear and you’ll notice that the floor is covered in gloom, creating the world’s worst wrestling ring. You’ll need to use your mech to fight this scary mech – and your cannon arm makes this pretty quick work.
The Seized Construct will take minimal damage from getting hit by weaponry, but it does take tons of damage from being slammed into the barbed wire around the arena.
The method is simple: shoot it with your cannon to stun it, whack it with your other arm several times to push it into the wires, and watch it explode. If you ignored our multiple recommendations about coming into this fight with the cannon, you will need to just rush it and hit it with Mineru’s arms until it bounces into the wires. This is fine, though it just makes you more susceptible to taking damage from the Seized Construct, since you’ll be within its melee range.
There are multiple spiked iron balls in the corners of the arena that you can attach to Mineru’s arms if you need them, as well.
At half health, the second phase of the fight will begin and the Seized Construct will get all sorts of attachments. Thankfully, you still should have your cannon. When it flies up into the air to attack you, just blast it and repeat the same process from phase one.
After the Seized Construct goes down, you’ll be able to grab a Heart Container. Approach the stone to finish the temple, earning you some lengthy cutscenes about Mineru.
Mineru will talk to you about the Master Sword, and if you don’t already have it, she’ll want you to go get it. You can get the Master Sword either by finding the Light Dragon on your own or you can get more pointed directions by clearing the Deku Tree chasm of gloom.
Where to find all depot materials for the Construct
In The Legend of Zelda: Tears of the Kingdom, the four depot materials (body parts for Mineru’s construct) are located in the Depths near the Construct Factory during the “Guidance from Ages Past” quest. Activate the Muokuij Lightroot first for visibility and fast travel.
Depot Locations
All depots appear as glowing green markers on your map after placing the Zonai Relic; visit them in any order.
| Depot | Coordinates (approx.) | Directions from Factory |
|---|---|---|
| Right Arm | (-1300, -3800, -0500) | Northwest; ascend raised stone platforms to entrance |
| Right Leg | (-1200, -3600, -0500) | Northeast; follow path past gloom hazards |
| Left Arm | (-1400, -3700, -0500) | West; navigate lava and gaps with Ultrahand |
| Left Leg | (-1250, -3900, -0500) | Southeast; straightforward path with minor platforming |
Retrieving Parts
Enter each depot, examine the terminal to get a Zonai box containing the part, and solve the puzzle room (using rockets, fans, wings, or platforms) to reach the exit chute. Ultrahand the box out and return it to the factory assembly area.
List required materials for each Construct depot
Mineru’s construct in The Legend of Zelda: Tears of the Kingdom requires no specific inventory materials like ores or fuses; players use environmental Zonai devices (rockets, fans, carts, wings) found at each depot to solve puzzles and retrieve the parts. The depots are puzzle rooms where you Ultrahand nearby devices to transport a Zonai box containing the limb back to the factory mold.
Right-Arm Depot
Grab carts with attached Zonai charges, a rocket, and platforms; assemble into a launcher or glider to cross lava gaps and reach the exit chute.
Right-Leg Depot
Collect nine scattered Zonaite crystals (optional energy source), attach a rocket to a cart with the part box, and rocket it northwest to the mold.
Left-Arm Depot
Use cannons, rockets, or fans on platforms to bridge ramps and gaps; no unique materials beyond standard Zonai devices nearby.
Left-Leg Depot
Attach the part box to a cart, add a rocket, and launch toward the mold; grab optional chests with shields or swords en route.