Hidden deep within the icy Hebra Mountains, the Orochium Shrine challenges players with shifting platforms, concealed pathways, and a mind-twisting puzzle that tests both timing and precision. Here’s where to find it and how to claim its secret reward.
Completing the “Courage to Fall” trial is a challenge that heavily relies on Link’s Ultrahand and Ascend abilities to navigate the laser-filled shrine. There are also enemies throughout the Orochium Shrine, so have your favorite bow and melee weapon ready. (Here are our picks for the best weapons and armor in Tears of the Kingdom.) But be prepared: Orochium Shrine and the “Courage to Fall” trial are lengthy – we’ll take you through each step to make solving it a breeze.
Our guide will help you find the Orochium Shrine location, solve its puzzles, and walk you through the “Courage to Fall” trial so you can collect its chest and Light of Blessing.
When you’re done, our shrine locations page or interactive Hyrule map can direct you toward something else to do.
Orochium Shrine location
Orochium Shrine is found in the Hebra Mountains region, north of Rito Village. Its exact coordinates are (-1636, 2641, 0239), situated near Pikida Stonegrove Skyview Tower. The area is cold, so you’ll need cold resistance gear or food before traveling there. The shrine stands on a snow-covered plateau overlooking a valley, making it visible from a distance once you approach from the south or southwest paths.
The Orochium Shrine can be found in the Hebra Mountains, northwest of the Forgotten Temple (you’ll come across this as part of the Geoglyphs quest). The exact coordinates of the Orochium Shrine are: -1638, 2643, 0239. It’s chilly up here, so equip your Archaic Warm Greaves or imbibe something that that gives you the warm and fuzzies – or at least something with cold resistance.
Orochium Shrine walkthrough and chest
The Orochium Shrine features a series of mechanical puzzles focused on manipulating Zonai devices and positioning spheres to activate key terminals. Begin by using the glider to cross gaps and access side chambers containing switches that control locked gates. Move the large sphere through the central corridor while avoiding laser traps, then place it on the structure’s pedestal to open the exit. A chest containing a powerful bow can be found in the upper platform room, reached by using the lift mechanism near the final door.
This is a fairly lengthy shrine, with multiple enemies and laser traps. The plan, as with the similar Tukarok Shrine, is to get a metal ball from the back of the shrine to the front.
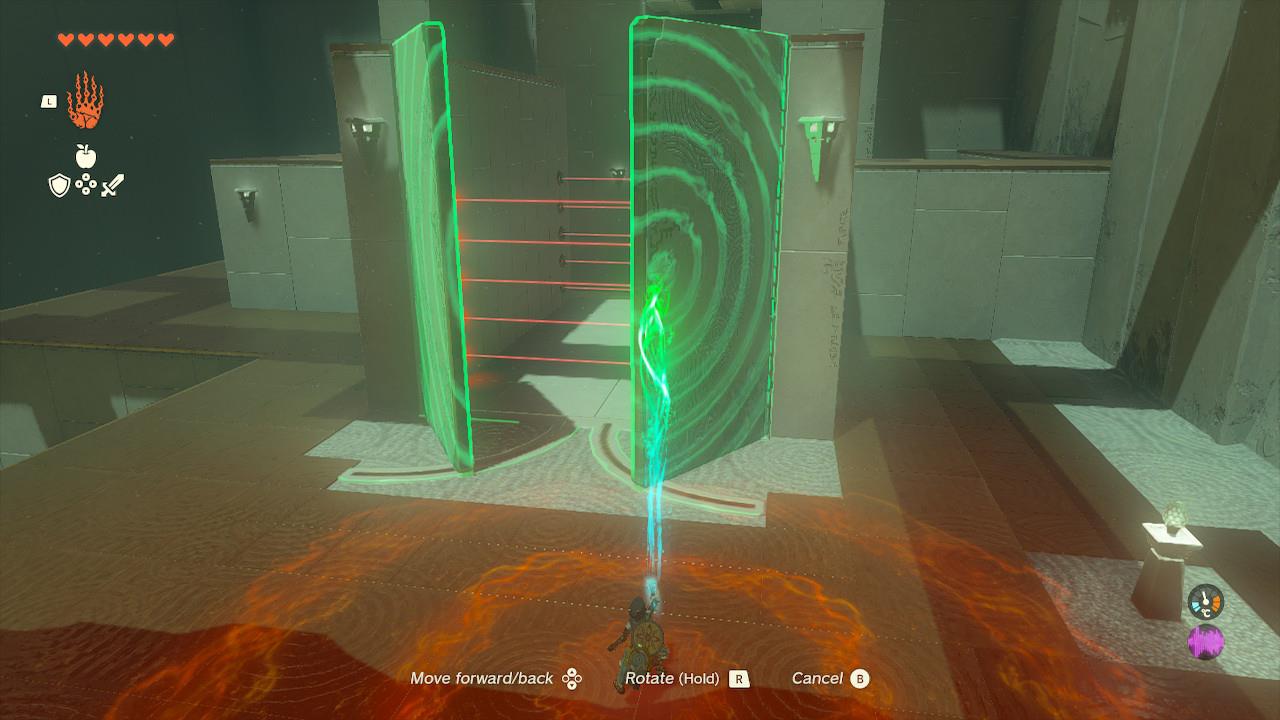
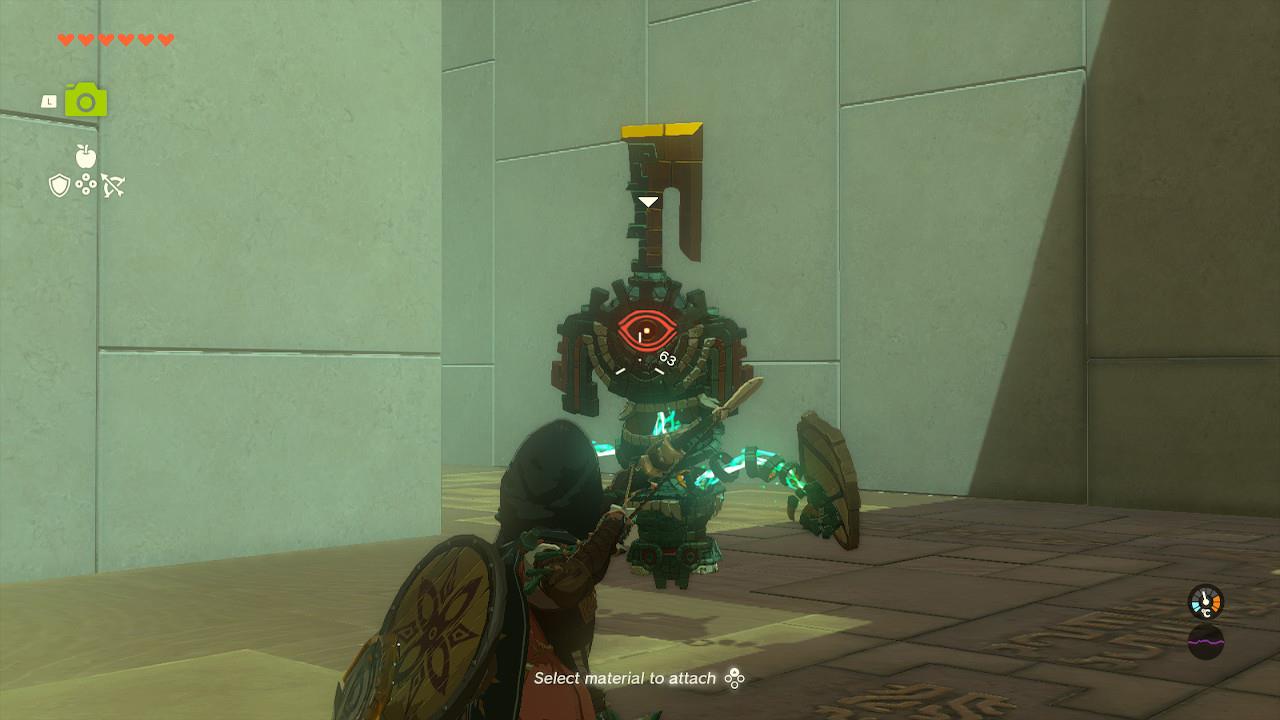
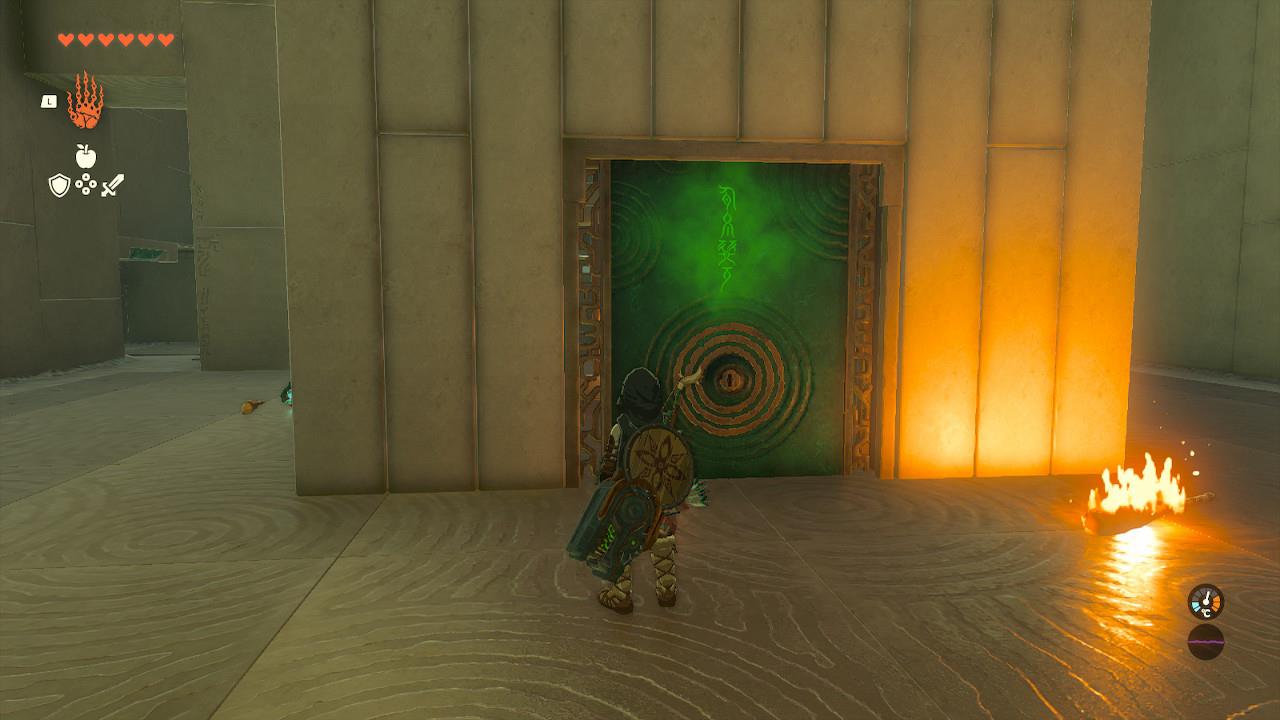
1. Start by opening the doors in front of you with Ultrahand. As you can see, there are lasers, so let’s avoid all that. Note the ball pit to the right (we’ll obviously be coming back to this) and the corridor to the left. There’s a Soldier Construct II here – head(eye?)shot it with your bow, then take it out with a melee attack while it’s stunned. It will drop a nifty Soldier Construct II horn, which boosts a weapon’s attack by 8 power, so make sure you grab it.
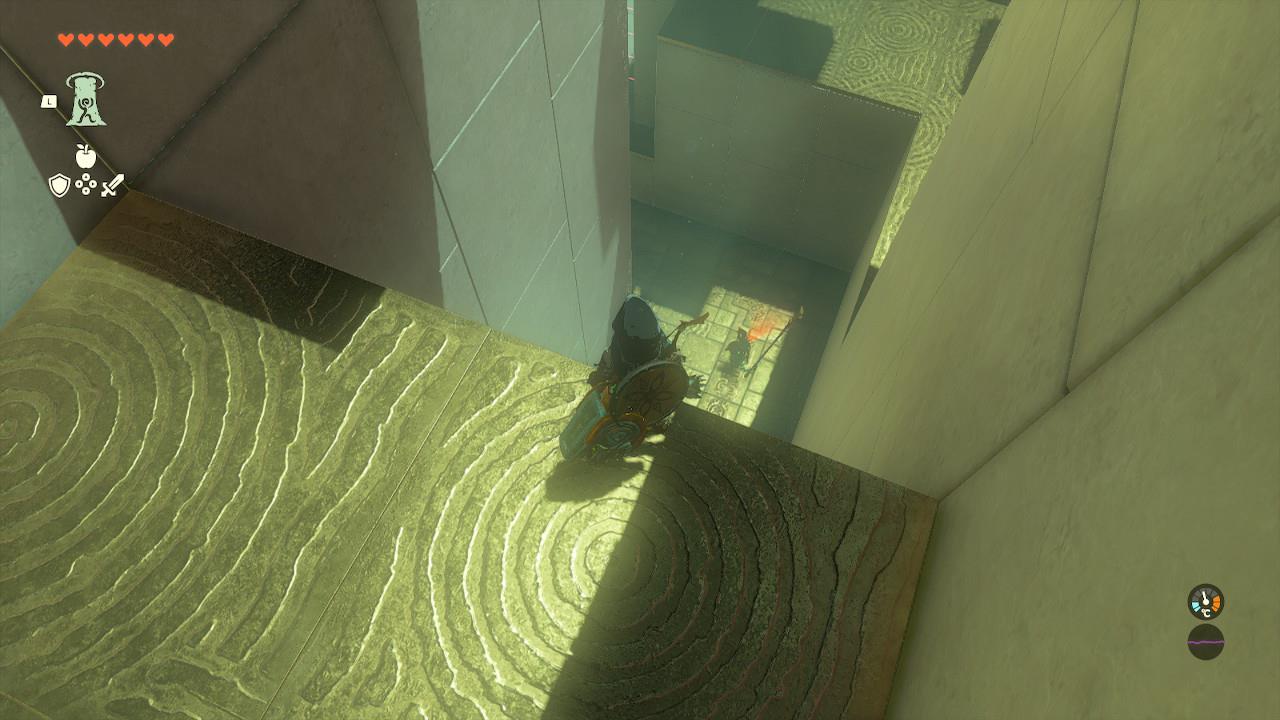
2. Next, equip Ascend and look to the towers ahead of you. Yes, you’re going up. Climb the ladder at the top and then crouch (L3) to crawl into the next room. There’s an enemy below you (another Soldier Construct II), so get ready to dispatch it. You can nab it from up here with the bow – it took us two shots with a 25-power strengthened Lizal bow. (Side note, this is starting to feel a lot like Metal Gear VR, isn’t it? Maybe it’s Batman: Hyrulian Knight.)
3. Anyway, glide down, run past the stairs, and take out another Soldier Construct II. It’s guarding a chest with five arrows in it, so grab those while you’re here.
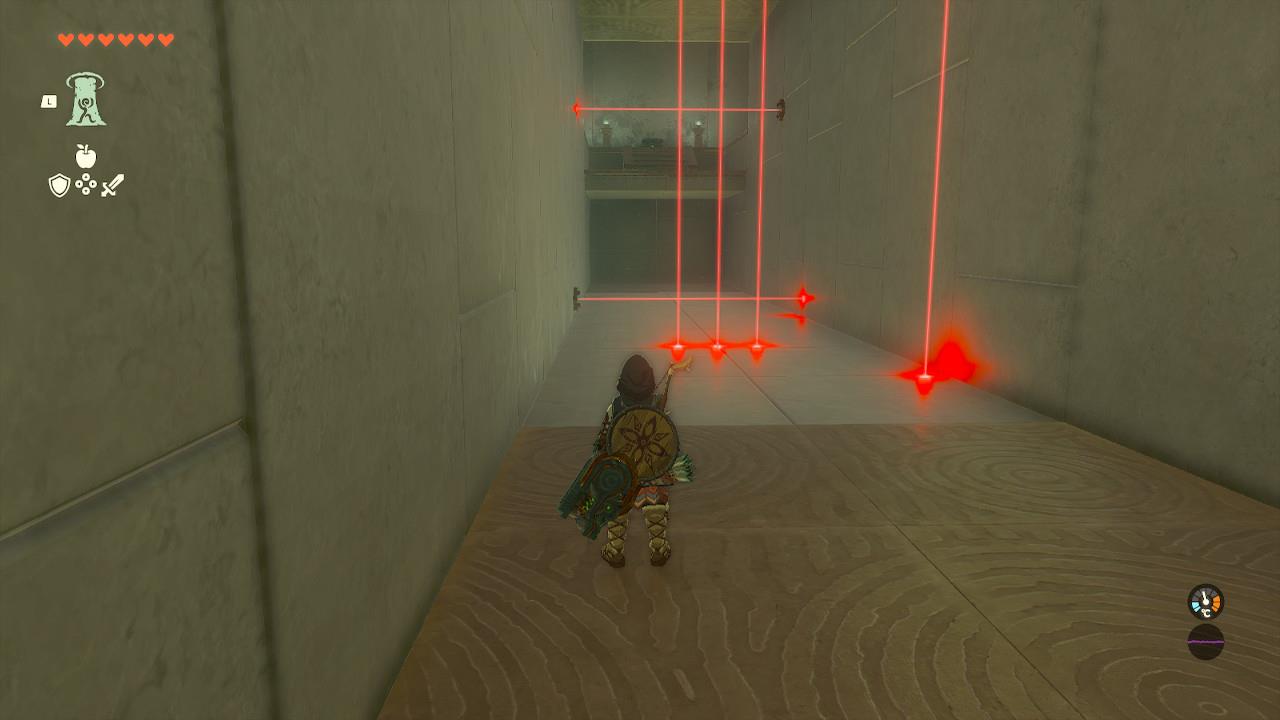
4. Return to the stairs to see another door that requires you to use Ultrahand. Open it and, oh look, more lasers! Crawl under them to see another pair of enemies – one to each side of the green door in front of you – to dispatch with the bow and press on.
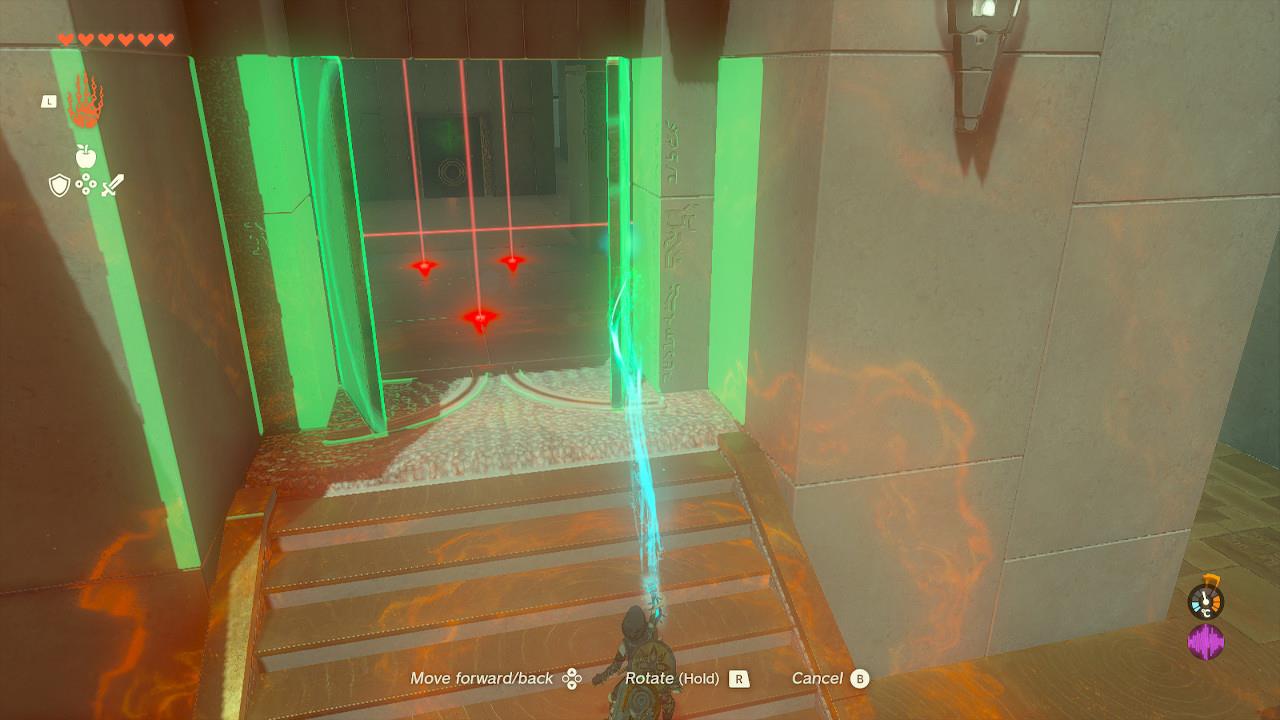
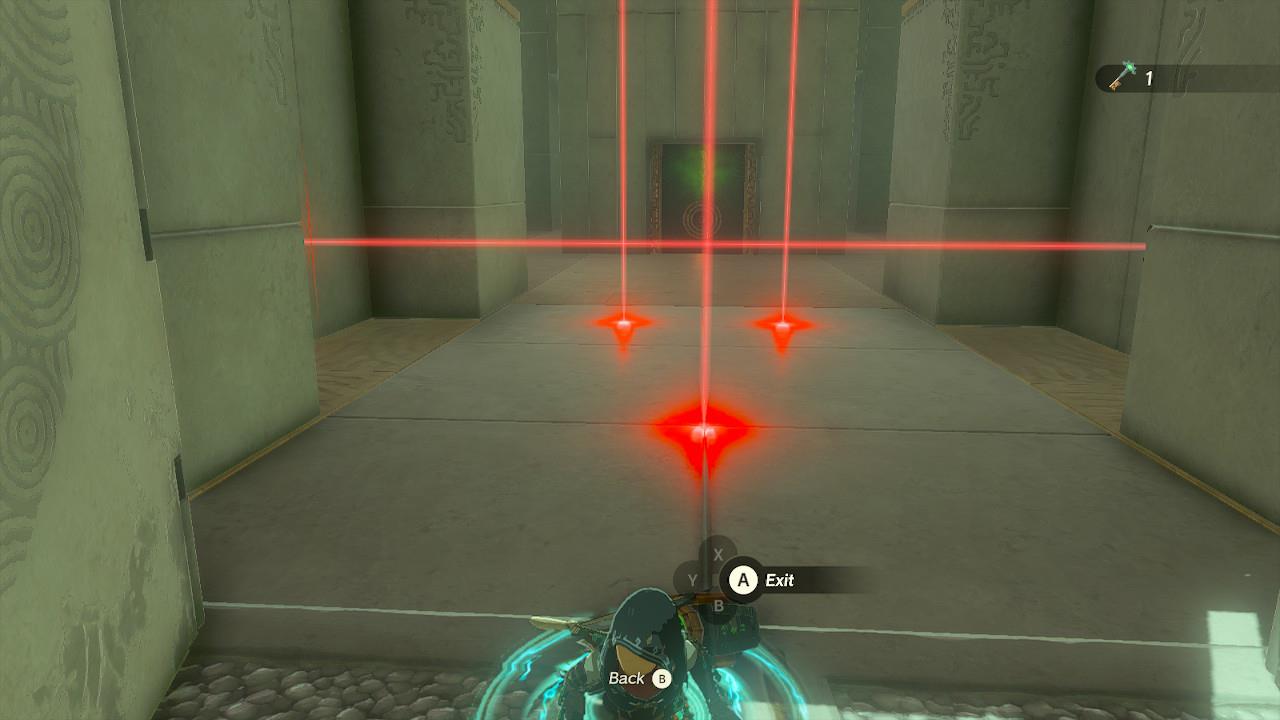
5. This green door hides the ball we need to bring back to the start and requires a key. To get it, turn around and run into the laser trap – this will activate a trap door, dropping you into a corridor of moving lasers.
6. Run past them (you’ll fall to your death if you hit these ones), and Ascend at the end of the corridor. Say hello to a treasure chest and the small key it’s holding.
7. Cross the Mission Impossible laser corridor again and Ascend through the trap door you fell through. Now it’s time to unlock the green door.
8. Take the ball and run up the stairs behind the locked room, and up the floating platform (either side is fine).
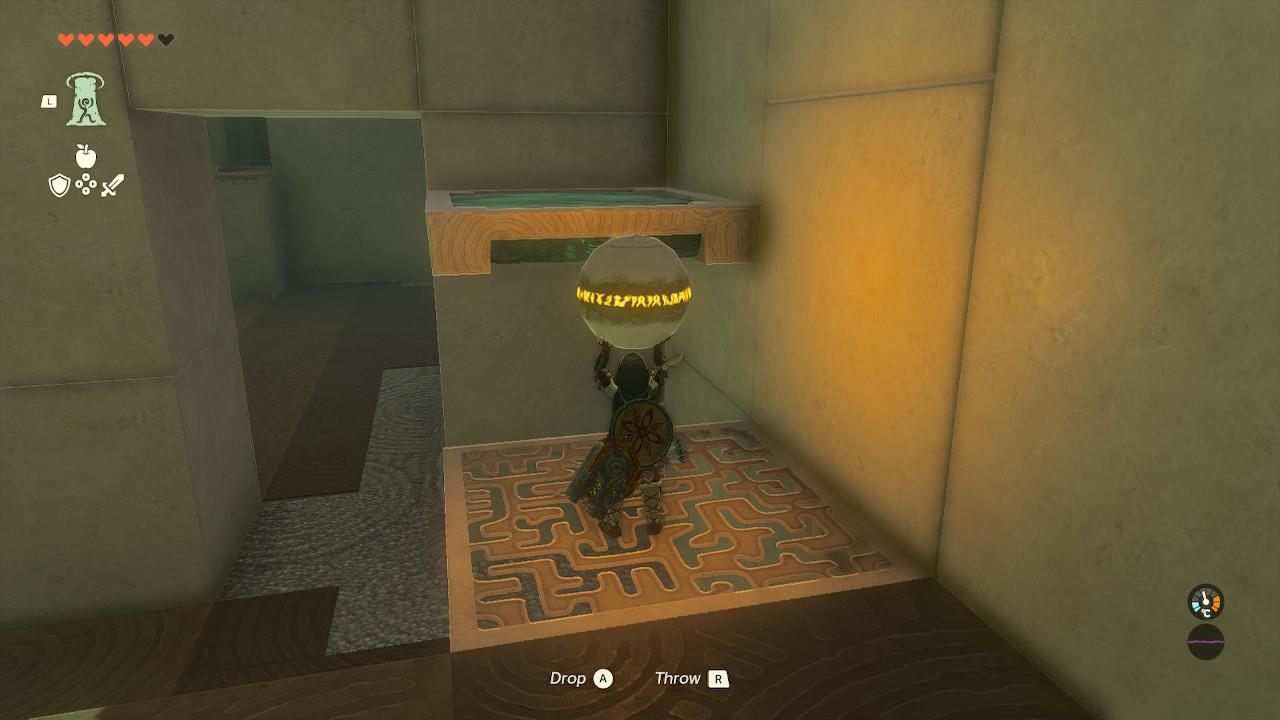
9. Drop the ball in the pit and marvel at the wing you unlocked. Note the two fans attached to it.
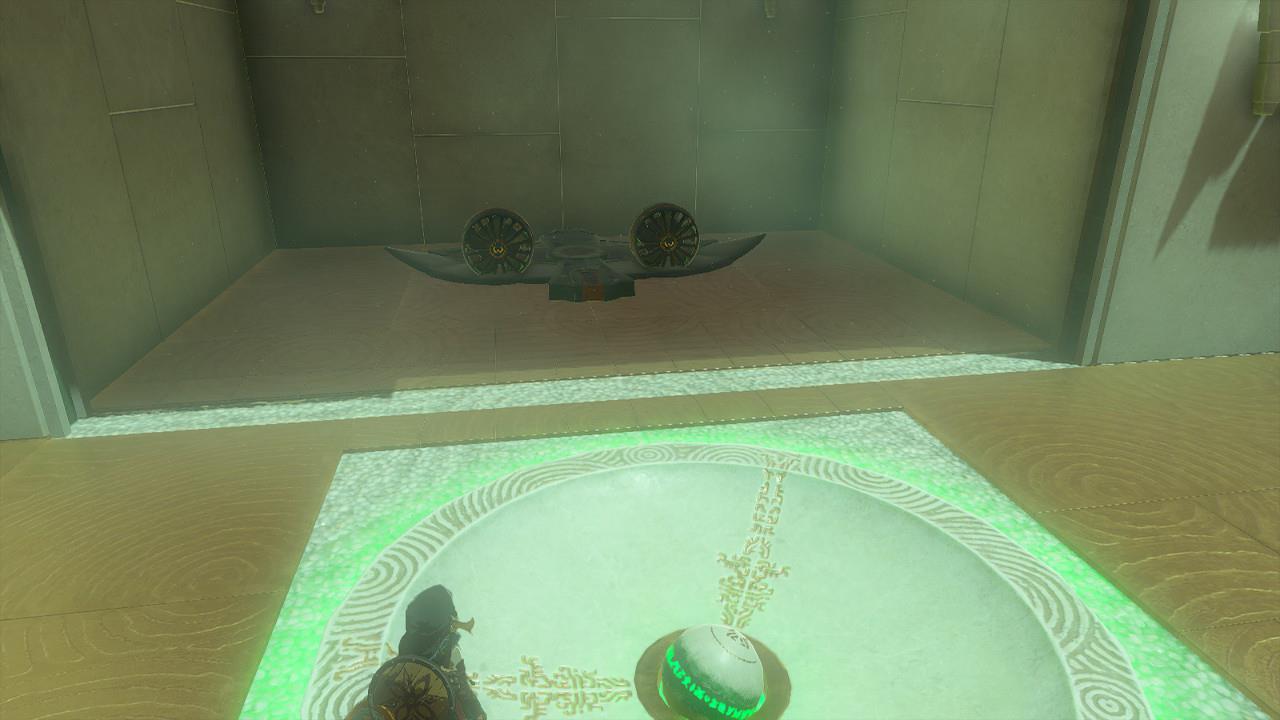
10. Attach the ball to the wing and position it on the track, then hit it with your weapon to start the fans and ride back to the start of the shrine.
How to reach Orochium Shrine from Snowfield Stable
Orochium Shrine lies directly north of Snowfield Stable in the Hebra Mountains’ Tabantha Tundra.
Travel Route
Head north from Snowfield Stable along the snowy path near ancient Zonai ruins. The shrine stands prominently on a small rise at coordinates roughly -1635, 2640, 0239, about a short walk away-roughly 70 units north-visible amid the tundra.
Cold Weather Prep
Equip cold-resistant armor like the Archaic Warm Greaves or consume spicy food/elixirs to avoid freezing in the Tabantha Tundra’s harsh climate.
Fast Travel Tip
Launch from Pikida Stonegrove Skyview Tower southeast, then glide toward the stable and shrine area for quicker access if unlocked.
Best warm armor and food for traveling to Orochium Shrine
Snowquill Armor Set provides the best reliable cold resistance for the Hebra Mountains’ freezing Tabantha Tundra around Orochium Shrine. Archaic Warm Greaves offer an early-game alternative found on Great Sky Island.
Top Armor Options
-
Snowquill Set (Tunic, Trousers, Headdress): Sold at Nekk’s Armor Shop in Rito Village (Hebra region); grants 1-3 levels of cold resistance per piece when upgraded, ideal for permanent protection without food reliance.
-
Archaic Warm Greaves: Free early pickup using Ascend on Great Sky Island; provides basic 1-level cold resistance.
Best Food Recipes
Cook these at Snowfield Stable’s pot before heading north; use 4-5 of the same ingredient for maximum duration (up to 12+ minutes).
-
Spicy Peppers (found near caves): 5 peppers yield Spicy Pepper Steak for longest low-level resistance.
-
Sunshrooms or Warm Safflina: Forage in warmer regions or buy; combine 4-5 for hearty dishes granting higher resistance.
Quick Prep Tips
Upgrade armor at Great Fairies for extra resistance levels. Attach a Ruby to any shield for bonus cold immunity if needed.