Hidden high among the Hebra peaks, the Oromuwak Shrine challenges players with clever contraptions and motion puzzles that twist the physics of Hyrule. Here’s how to reach it and master every part of its tricky mechanism.
When you’re done, our shrine locations page or interactive Hyrule map can direct you toward something else to do.
Oromuwak Shrine location
The Oromuwak Shrine sits on the western edge of Hyrule Ridge, northwest of Lindor’s Brow Skyview Tower. Coordinates place it at (-1093, 0788, 11). Approach from the nearby stable by heading uphill through the grasslands, or paraglide down from the tower after launching skyward. Its entrance blends into a rocky outcrop amid sparse trees, marked by the glowing green shrine symbol.
The Oromuwak Shrine is found within the Tabantha Frontier region. You can find the shrine on top of an elevated area just southeast of Tama Pond and slightly west of Tabantha Hills Cave. We accessed it by using the Ascend ability from the cave system below. The exact coordinates are (-3079, 1618, 0243).
Oromuwak Shrine walkthrough
Oromuwak Shrine features a puzzle based on air currents and gliding. Use the fans near the entrance to ride the updraft and reach the platforms ahead. Activate switches by directing gusts of wind toward them, then glide across to the next section. For the treasure chest, adjust the fan angles carefully to lift yourself to a higher ledge. Once all switches are triggered, use the final wind stream to glide to the exit and claim the Light of Blessing.
The Oromuwak Shrine is a multi-room shrine that largely focuses on the rocket items in the game. In it, you will need to use the rockets either piecemeal or by attaching them to various items in order to hit a target and solve the puzzles.
1. The first room’s puzzle is rather straightforward. If you look to your right, you will see a large pedestal area with two rockets. Pick up one rocket either with your hands or with the Ultrahand ability and walk across the room toward the wall with the giant glowing yellow target on the wall.
2. You’ll see a ramp leading up toward the target. Use Ultrahand and adjust the rocket’s position so it lines up with the angled track. Make sure the front end is pointing up toward the higher end of the track.
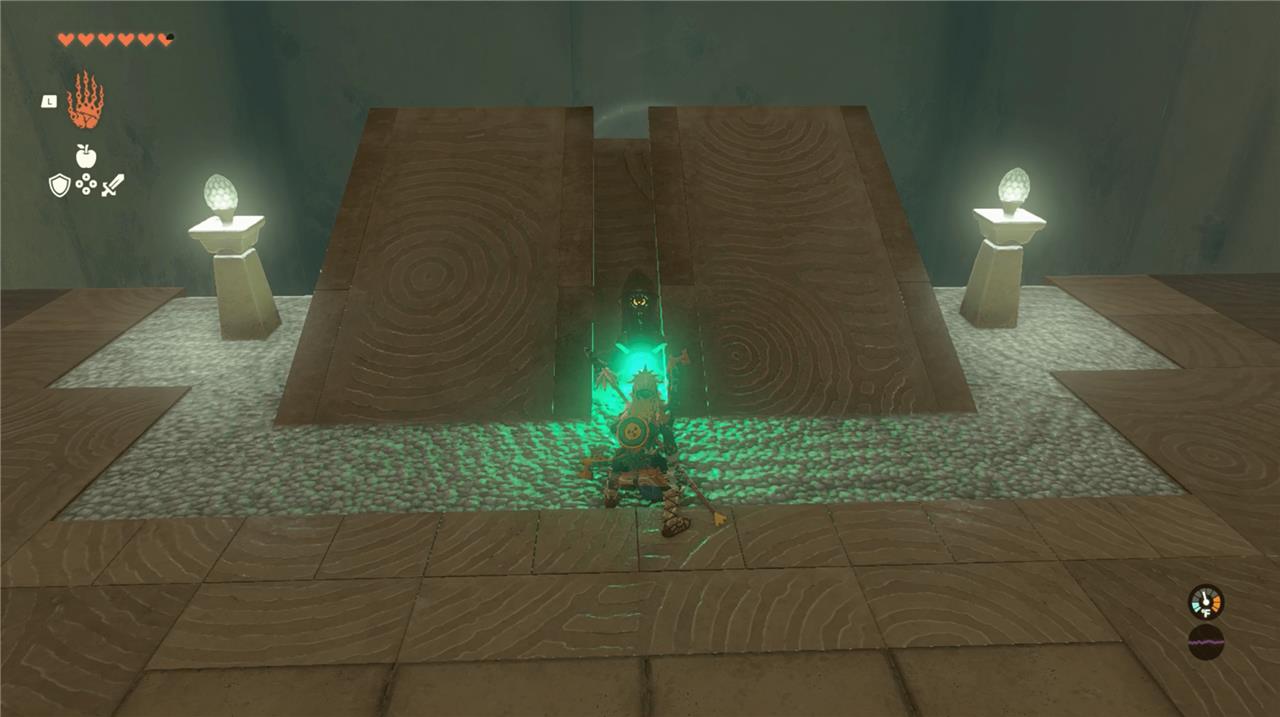
3. Once you line it up, hit the rocket to activate it. For us, it fired directly into a giant target on the wall and opened the gates allowing us into the next room. (If you make a mistake, don’t worry. The pedestal will respawn another rocket for you to use.)
4. As you enter the second room, you will notice a minecart on a track. Go back to the previous room. Grab the rockets one-by-one and bring them back to the second room.
5. Use the Ultrahand ability to adhere the rockets on each side of the minecart on the track. Make sure to adhere him to the longer sides.
6. Jump in the minecart. When you’re in, activate the rockets by hitting them, and ride the minecart to the upper level of the room.
7. Once you are on the upper level of the room, look up toward the corner of the room closest to the end of the tracks. You will see an isolated platform hanging out from the wall. There is a chest on it.
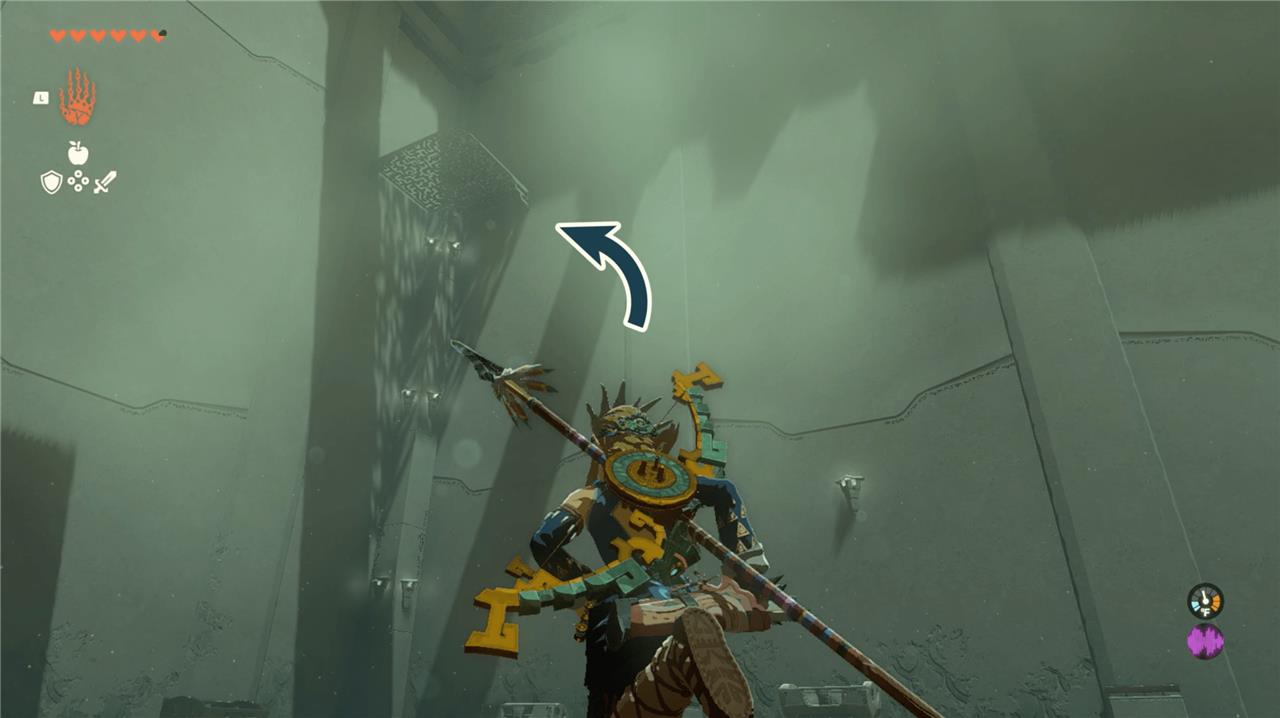
8. Turn around and grab one of the three rockets laying on the giant ramp. Attach one of the rockets to a shield. Run over and activate the rocket while attached to your shield, and ride up and land on the platform with the chest. Open it for a ruby.
9. After you get the chest, jump back down and grab one of the minecarts sitting around using the Ultrahand ability.
10. Using Ultrahand, carry it to the track and set it so that its long side is lined up with the ramp tracks, and point forward. (We put the minecart on one of the upper grooves so that it would be easy to add rockets.)
11. There are three rockets sitting on the track as well. Grab two and use Ultrahand to fasten them to the minecart. You are going to want to put one on each side, as seen below:
How to get cold resistance for Tabantha Frontier
To survive the cold in Tabantha Frontier in The Legend of Zelda: Tears of the Kingdom, equip Snowquill Armor from Rito Village or cook/eat spicy foods and elixirs.
Armor Options
Buy the Snowquill set (Headdress: 650 rupees, Tunic: 500 rupees, Trousers: 1,000 rupees) at the Brazen Beak shop in Rito Village; wearing more pieces stacks up to level 3 cold resistance.
You can also find Archaic Warm Greaves early on Great Sky Island for level 1 resistance.
Fuse a Ruby to a shield or weapon for temporary warmth while carried.
Food and Elixir Recipes
Cook 1-5 Spicy Peppers (found near Tabantha Frontier/Rito Village or Gerudo areas) for low-to-mid cold resistance lasting 2-12 minutes; more peppers extend duration.
Add Sunshrooms, Warm Safflina, or Sizzlefin Trout (from warmer regions like Eldin/Gerudo) for stronger effects-5 of one ingredient yields level 2 resistance for 12+ minutes.
Mix bugs like Warm Darners or Summerwing Butterflies (Akkala/Eldin) with monster parts for elixirs; buy butterflies from Beedle at Tabantha Bridge Stable.
Where to buy Snowquill Armor in Rito Village
Snowquill Armor is sold at the Brazen Beak armor shop in Rito Village.
Shop Location
The Brazen Beak is in central Rito Village at coordinates (-3629, 1799, 0187), near Gatakis Shrine-fast travel there and head downhill.
It’s run by Kheel (before Wind Temple) or Nekk (after), accessible early during the Regional Phenomena quest.
Piece Prices
| Piece | Price | Effect |
|---|---|---|
| Snowquill Headdress | 650 rupees | Level 1 Cold Resistance |
| Snowquill Tunic | 500 rupees | Level 1 Cold Resistance |
| Snowquill Trousers | 1,000 rupees | Level 1 Cold Resistance |
Total cost is 2,150 rupees; equip 2-3 pieces for up to level 3 resistance in Tabantha Frontier.