Hidden deep beneath the sands of Gerudo, the Yansamin Shrine challenges players with clever light puzzles and precise timing. This guide reveals its location, puzzle solutions, and the quickest way to claim its rewards.
Our guide will help you find the Yansamin Shrine location and walk you through the “Proving Grounds: Low Gravity” trial to collect the chest and Light of Blessing. This shrine comes with the additional challenge of even reaching it – it’s on a high Sky Island that is hard to get to. You’ll need at least the Zora Armor to reach it, since the first step involves swimming up a waterfall, and you’ll want to bring along some energizing meals and elixirs to help with all the paragliding you’ll be doing.
When you’re done, our shrine locations page or interactive Hyrule map can direct you toward something else to do.
Yansamin Shrine location
Yansamin Shrine is located in the depths of Hyrule, beneath the Gerudo Desert region. To reach it, descend through the nearby chasm southwest of Gerudo Town and continue heading southeast until you see its faint blue glow. The shrine coordinates are roughly (-4045, -3727, -0525), placing it near the Depths area connected to the West Gerudo Underground Mine. Use brightbloom seeds or vehicles to navigate the low visibility as you make your way toward the shrine.
Yansamin Shrine is found within the East Necluda Sky region. Its exact location is (2349, -1782, 1475), but your first challenge is even getting there.
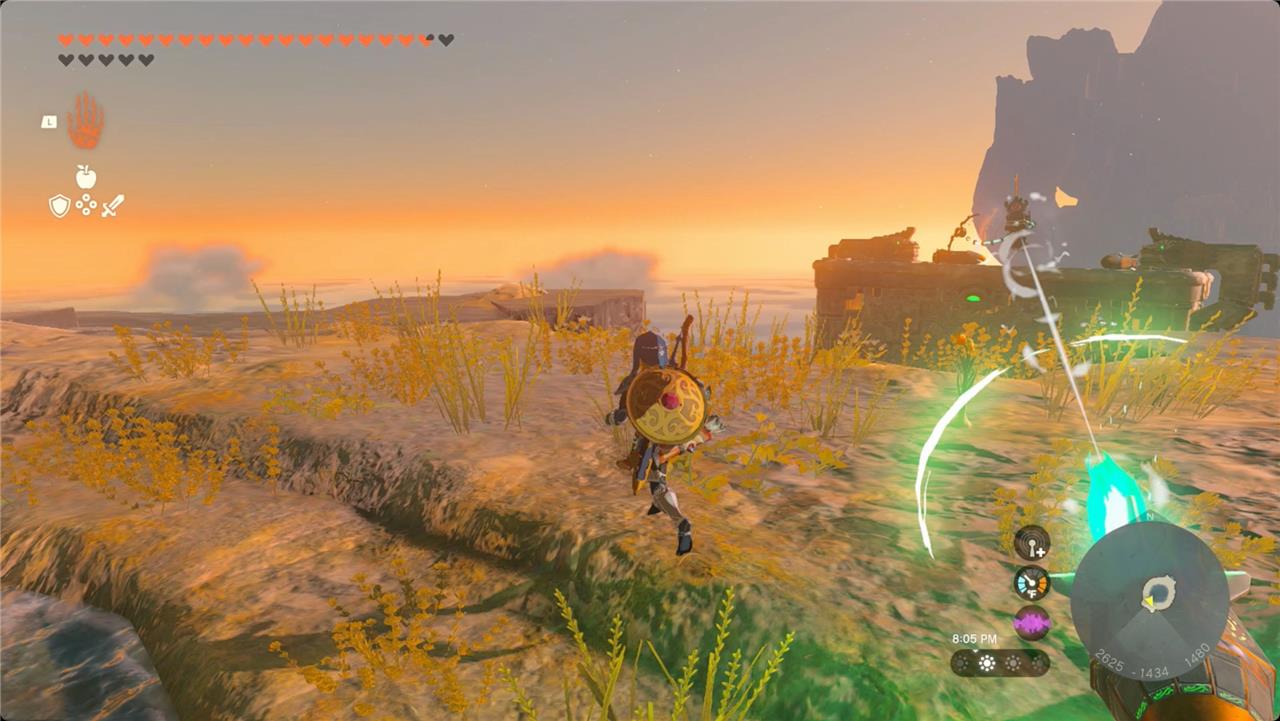
Your first stop is a small island with a waterfall that is floating above the Peak of Awakening due west of the Mount Lanayru Skyview Tower. You’ll want to use the Zora Armor (at least the chest piece) to swim up the waterfall. The problem is, the waterfall doesn’t reach the Surface, and there’s nowhere nearby to glide into it.
You have options, but they’ve all got some prerequisites.
- From Mount Lanayru Skyview Tower (where it is cold, so you’ll need the Snowquill Armor or a spicy meal), launch yourself into the air and start paragliding at the top of your flight. Using Tulin’s Gust ability six or seven times, you’ll reach the waterfall after about two and a half stamina rings – so bring some energizing elixirs. When you get close, change into the Zora Armor and touch the waterfall to swim up it.
- From Josiu Shrine, head to the piston launcher nearby and fire yourself heading east-southeast. Use a similar approach of Tulin and paragliding, and you’ll reach the waterfall after four Gusts and two stamina rings.
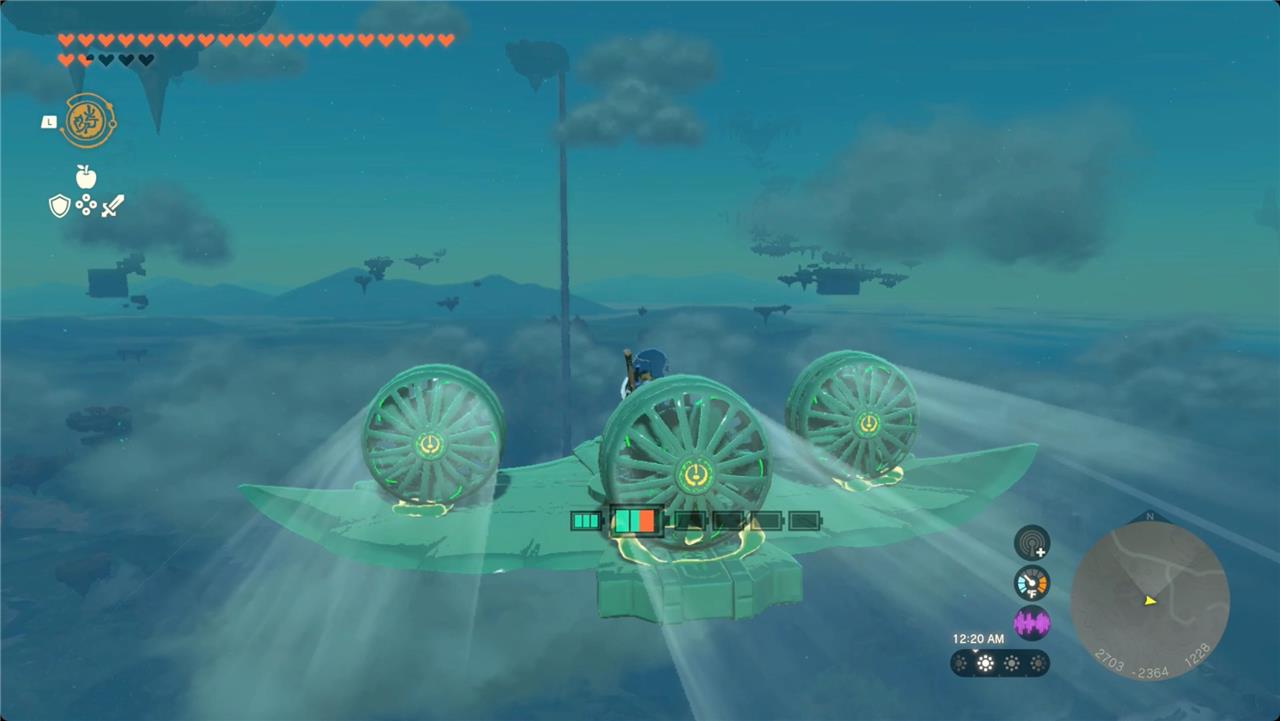
- From Kumamayn Shrine, you can build a Yiga Fanplane, launch it, and fly straight north. It’ll take about seven full energy wells before the wing breaks, and then you’ll need less than one stamina ring to paraglide the rest of the way into the waterfall.
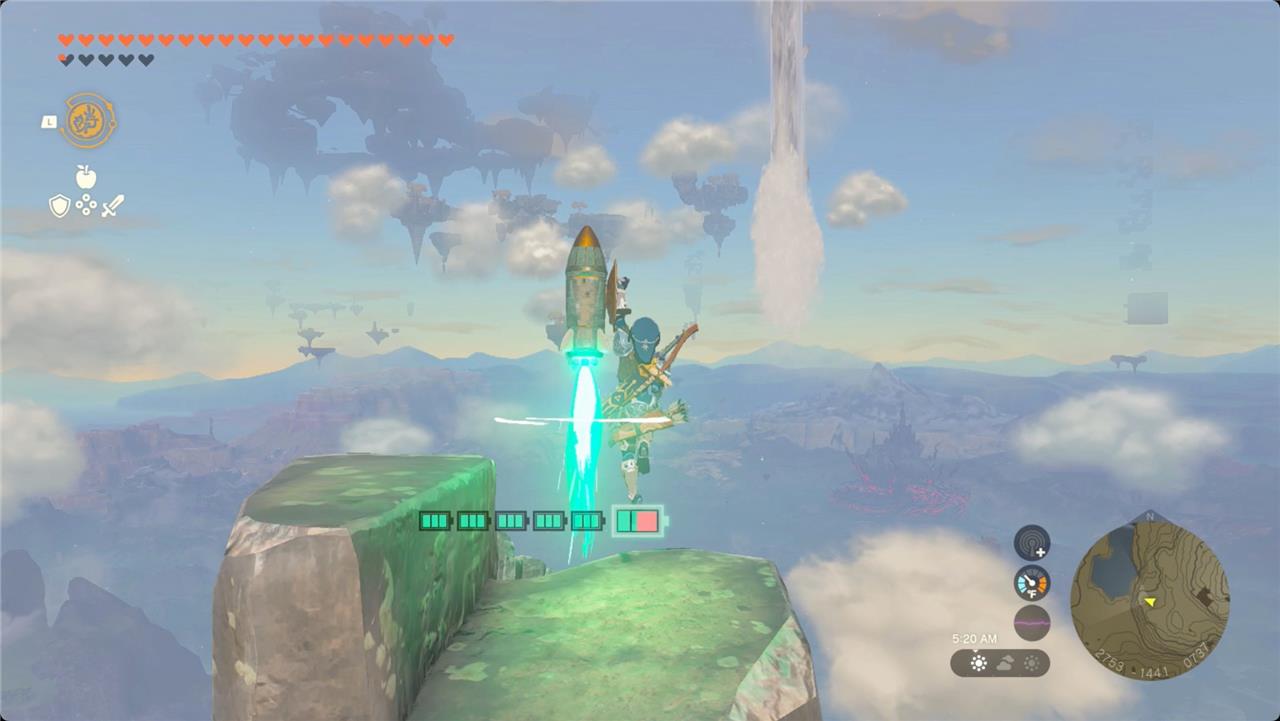
- If you hang out at the top of the Peak of Awakening, you’ll be close to the waterfall, but it’ll be high above you. Stand there long enough, and a chunk of rock will fall from (near) the waterfall island. Before you hop onto it, though, know that your Recall ability won’t get you quite high enough. A quick and easy (well, easy-ish) way to cover the last bit of the climb is to Fuse a Zonai rocket to a shield. When your Recall runs out, hold your shield out with ZL to trigger the rocket and then paraglide into the waterfall.
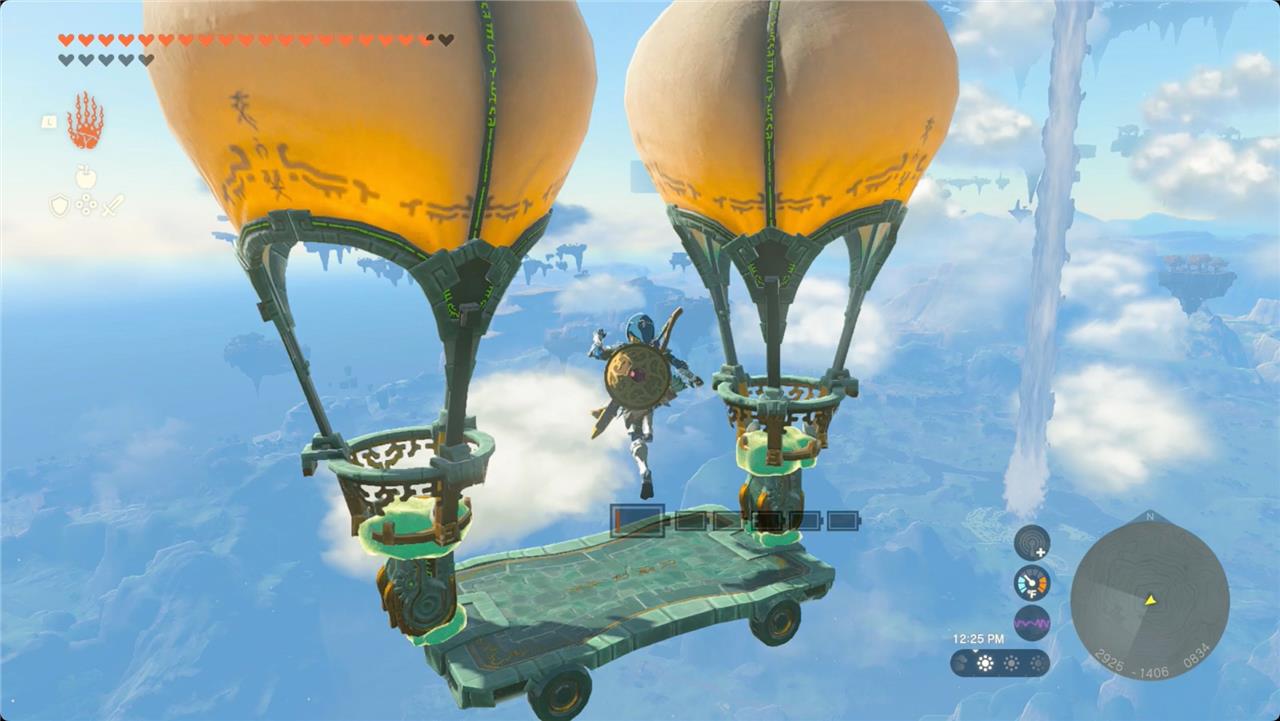
- From the top of the Peak of Awakening, you can also get high enough with a hot air balloon powered by a flame emitter (or three) and about seven energy wells. Especially if you give it a rocket-assisted takeoff.
The route from Josiu Shrine is probably the most straightforward and the easiest on your stamina gauge.
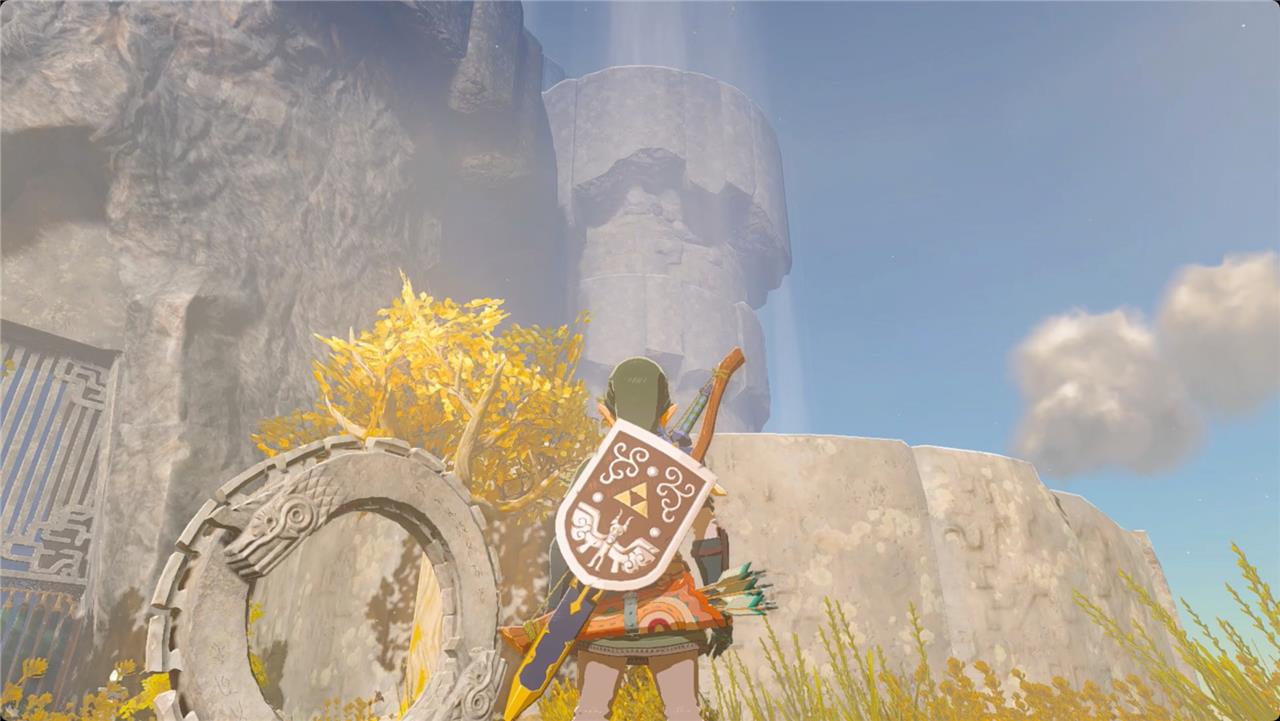
However you get there, when you reach the waterfall island, deal with the Construct on the far side. (While you’re here, there’s a treasure chest in the pond – use Ultrahand to get it out and open it for an Old Map leading to a Sea-Breeze Shield in the Depths.) The Construct was standing on a Zonai platform with a couple rockets. Place those on the platform pointing up and trigger it.
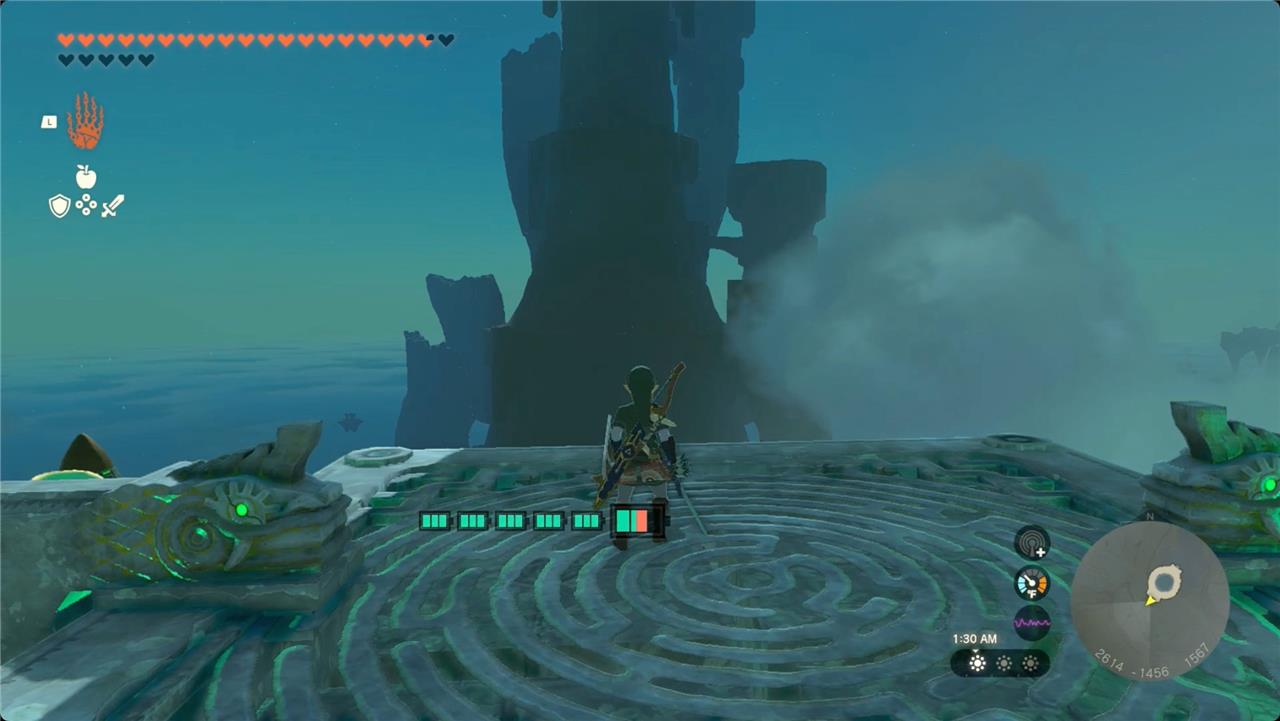
When the platform drifts to a stop, face southwest. Paraglide over to the tall island ahead of you. You’re aiming for the landing at the very bottom (your rocket ride probably took you far higher than you needed to go).
When you land, touch the glowing sigil to activate the fan towers on the island. Start with the one to the right, and work your way around the island counterclockwise.

After the fourth tower, you’ll be at the top of the island. Land there, and head to the center to find a hole leading down.
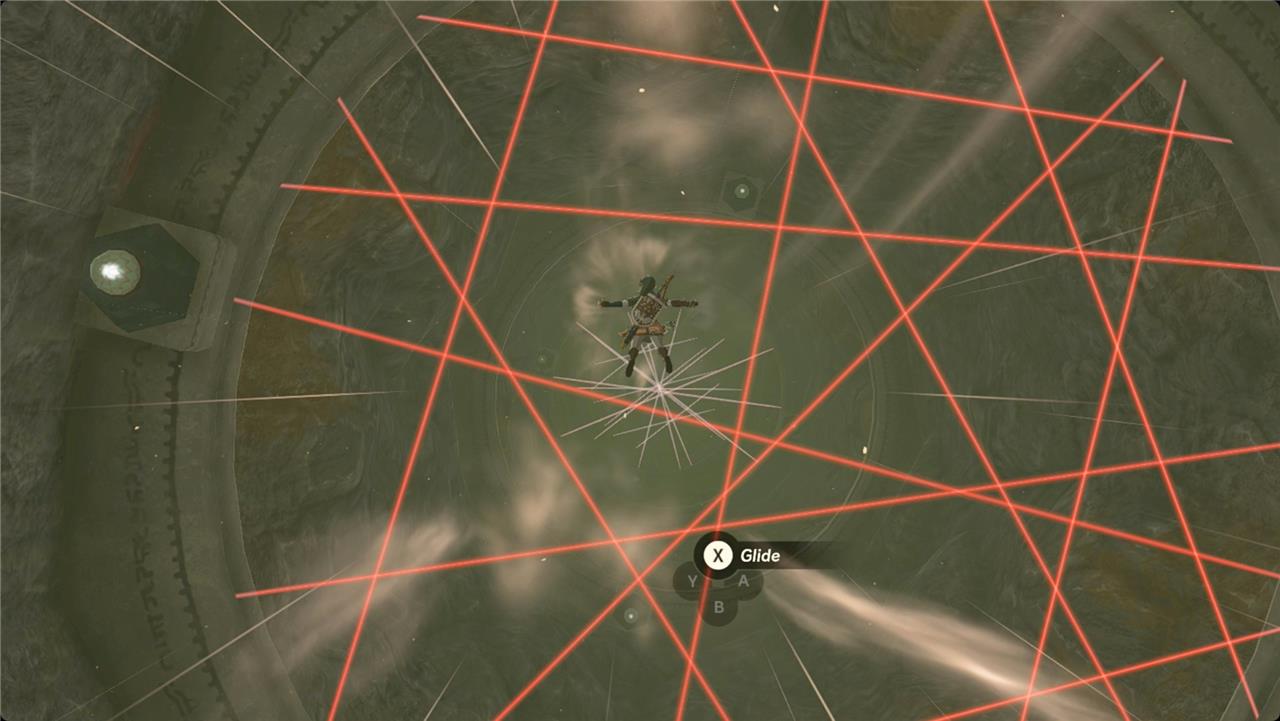
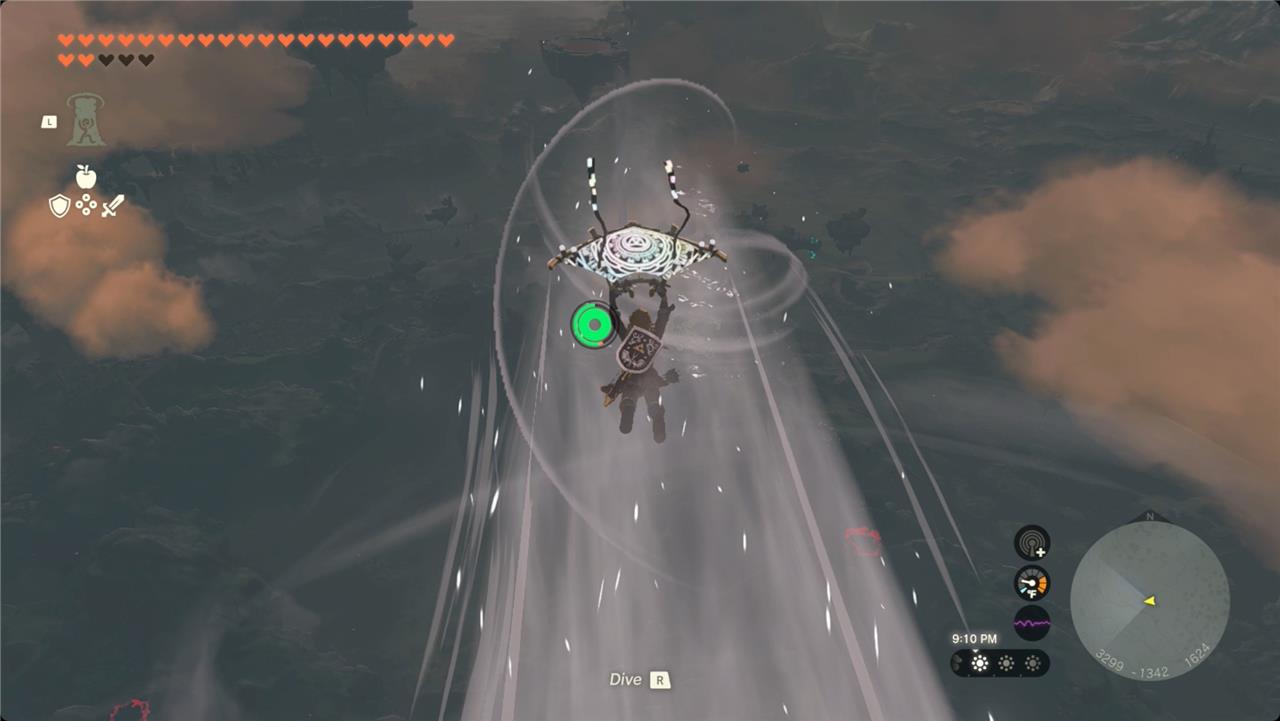
Jump into the hole and hit R to get into skydiving position. Because of the fan at the bottom, Link will slow to be barely falling. Use the slow speed to maneuver around and then hold R to dive through the series of laser grids.
At the bottom, you’ll find a healing pool of water, a Zonai device dispenser, and Yansamin Shrine.
Yansamin Shrine walkthrough
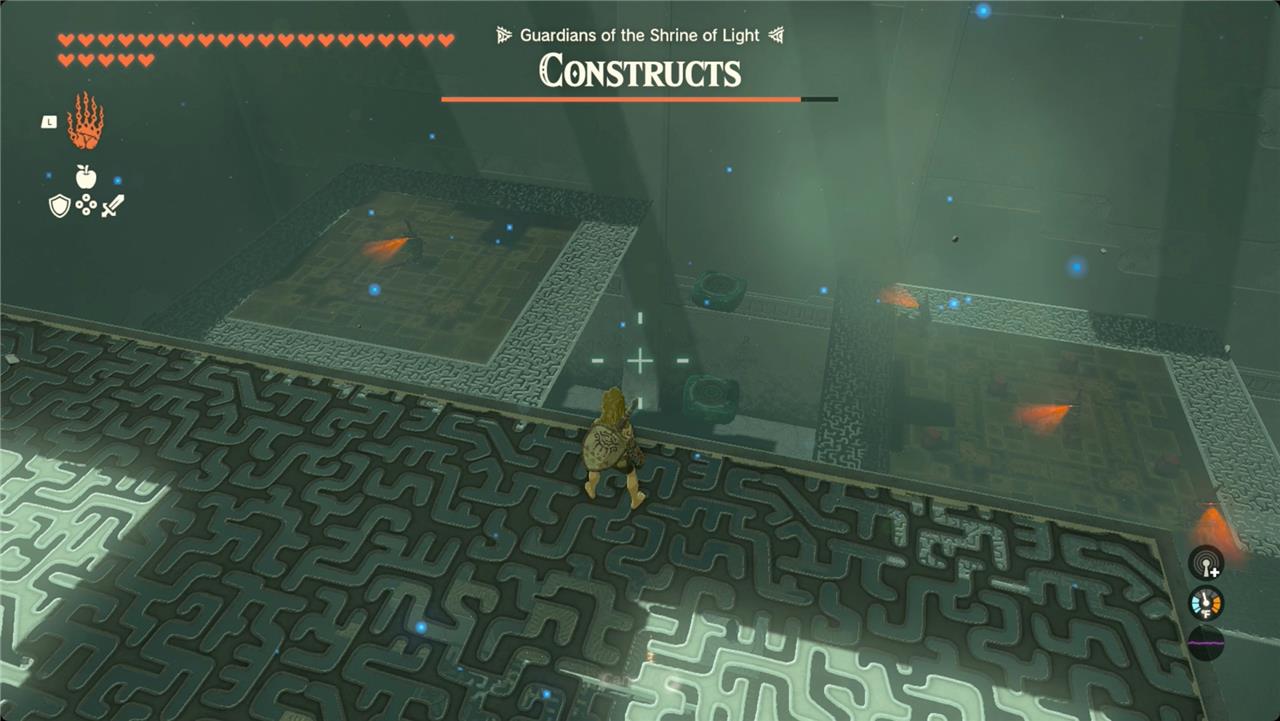
The Yansamin Shrine puzzle revolves around manipulating motion controls to guide a large orb into a target slot. Begin by using the tilt mechanism to move the orb carefully along the maze, keeping an eye on its momentum to prevent it from falling off. Once the orb reaches the end, let it drop into the receptacle to open the gate to the next area. Inside, defeat the Construct enemy and collect any available treasure chests before heading to the final chamber to claim your Light of Blessing.
Yansamin Shrine is a Proving Grounds challenge, so it strips all of your equipment and armor away and tasks you with defeating a handful of Constructs with just what you can find or scavenge. And this time you’re in low gravity.
1. Grab the long stick, wooden stick, and old wooden shield on your left as you enter.
2. Start on the left and climb up the platforms to take out your first Construct.
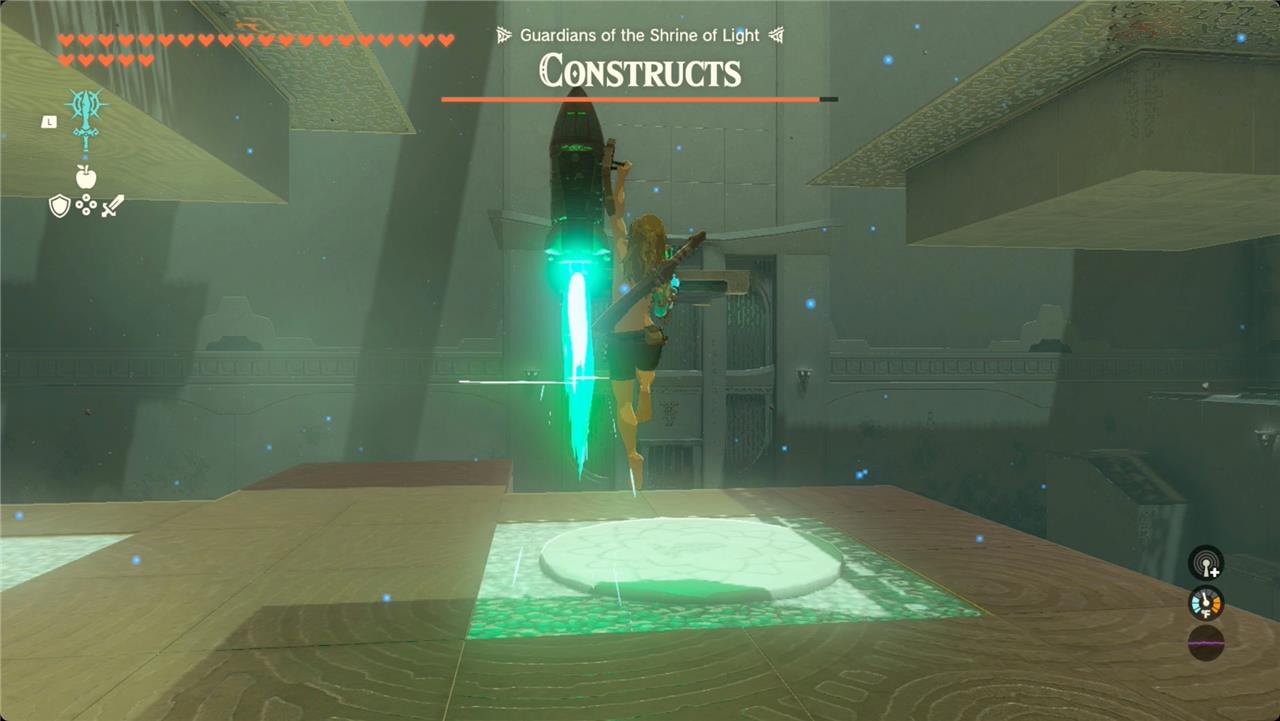
3. Fuse a rocket to your shield, and use it to climb to the top of the arena.
Best weapons to bring for Yansamin Shrine fight
Yansamin Shrine is a Proving Grounds challenge where all outside equipment gets removed upon entry, so no weapons you bring in can be used during the fights. Players must rely on the provided wooden sticks, shields, and scavenged items like spiked balls, rockets, beam emitters, and enemy drops (such as Captain Construct II blades or bows) to defeat the Soldier Constructs in low gravity.
Gear Limitations
Proving Grounds rules strip inventory weapons, bows, and shields, forcing use of arena pickups for aerial combat and fusions.
Stock up on arrows beforehand if desired, as limited arrows spawn inside for ranged attacks on grouped foes.
Focus on mobility aids like rocket shields for high jumps rather than carried weapons.
Top In-Shrine Picks
-
Captain Construct II Blade: Dropped by tougher enemies; fuse to sticks for high damage in spins or aerial strikes.
-
Zonai Beam Emitter: Grab from a platform to snipe distant constructs while dodging arrows.
-
Construct Bows: Loot from defeated foes for headshots; pair with 10 available arrows.
-
Fused Rockets/Spiked Balls: Attach to sticks or shields for explosive propulsion and melee power.
Mighty Zonaite weapons respawn post-Blood Moon for farming, but they aren’t “brought in.”
Which weapon fusions are easiest to obtain for this shrine
Yansamin Shrine Fusion Availability
No outside weapons or materials enter the shrine due to Proving Grounds rules, so all fusions rely on items found inside like wooden sticks, spiked balls, rockets, beam emitters, and enemy drops. The easiest fusions come from early pickups and first defeated Constructs, enabling quick powering up in low gravity.
Easiest Arena Fusions
Fuse these accessible items to basic sticks or shields for immediate combat boosts against Soldier Constructs.
-
Spiked Ball on Stick: Grab the spiked iron ball from the starting area left side; fuse to a wooden stick for heavy blunt swings that break enemy guards.
-
Rocket on Shield: Pick up a rocket from nearby platforms and attach to any wooden shield for propulsion jumps, aiding aerial attacks.
-
Beam Emitter on Stick: Located on a central platform; fuse to a stick for ranged energy shots while closing distance on foes.
Enemy Drop Fusions
Defeat initial Soldiers to loot and fuse their parts, scaling power progressively.
-
Soldier Construct Horn on Stick: Drops from basic Soldiers; adds piercing damage for spins and shield bashes.
-
Captain Construct II Blade: From mid-tier enemies; fuse for high-damage melee, ideal against the final Construct.
Prioritize headshots with looted bows first to farm drops faster, then fuse during platform hops.