The heat of Death Mountain blazes stronger than ever, and Goron City’s troubles run deep. As Link teams up with Yunobo, a young leader burdened by strange behavior and buried secrets, this quest reveals the fiery heart of the Goron tribe-and the dangers lurking beneath their prized marbled rock roast.
Below, we walk through how to find Yunobo, climb Death Mountain, and find the Fire Temple (which is in a different guide because it’s long).
How to start Yunobo of Goron City
After completing the Regional Phenomena quest, head to Goron City in Eldin to trigger the events leading to “Yunobo of Goron City.” Speak with Bludo near the city’s entrance, then follow the story prompt to meet up with Yunobo’s company, now producing Marbled Rock Roast. The conversation reveals that Yunobo’s behavior has changed, setting you on the path to investigate the strange happenings in the city and the nearby YunoboCo HQ.
Once you get to Goron City, talk to the elder Goron near the huge rock meat pile in the center of the city. A cutscene will start, explaining the deal with marbled rock roast and Yunobo, our beloved Goron boy from Breath of the Wild, will show up. However, he’s turned into a pompous jerk who is fine with letting the Goron people suffer for his company.
After the cutscene ends, the quest “Yunobo of Goron City” will begin. Yunobo’s bit involves using minecarts to travel on tracks and firing him off to activate levers and take down enemies while on the cart.
Finding Yunobo in Death Mountain
After speaking with Bludo in Goron City, follow the path up toward Death Mountain until you reach the Bridge of Eldin. Along the way, you’ll encounter several Gorons acting strangely and selling marbled rock roast. Keep moving up the trail toward YunoboCo HQ, where you’ll find Yunobo encased in a fiery red barrier. Use your Purah Pad to activate a nearby cannon or use water-based attacks to cool the barrier. Once it’s gone, a short battle begins against Yunobo, who is under the influence of the strange rocks.
The quest marker will lead you to him. You’ll just need to follow a path. You won’t need to get on any of the mine carts you see.
There will be several swarms of Bokoblins and their friends on the path, so make sure you’re ready to fight. You will also need to have fire resistance / be flameproof to actually get to Yunobo, so make sure you either buy the Flamebreaker armor from the Goron City or you have flame resistance elixirs on-hand.
Once you make it to the marked location on the map, talk to the little Goron kids to get to Yunobo. You’ll have to fight him in a very hot cave, which is why you need fire resistance.
Yunobo doesn’t take any damage until he’s stunned. He’ll stun himself by rolling into walls, so dodge his rolls and wait for him to get dizzy. Once he’s dizzy, one attack (no matter which weapon you use) will do a third of his health. Hit him three times and he’ll come to his senses.
Yunobo will now direct us to the Death Mountain peak, which we’ll head to next.
Carting up Death Mountain
With Yunobo’s help, begin the climb up Death Mountain using his rolling charge to break through the boulders blocking the path and clear magma rocks. Keep an eye out for enemy ambushes along the way and use Yunobo’s ability to knock them off ledges or destroy their cover. Watch the road carefully-lava streams and unstable ground can force you to adjust your route. Collect any ores or materials you find on the slopes, as they’ll come in handy later in the quest.
From Death Mountain West Side, you’ll need to take a specific rail up. Grab the cart next to the rails, attach the nearby fan to the back of it, and head up:
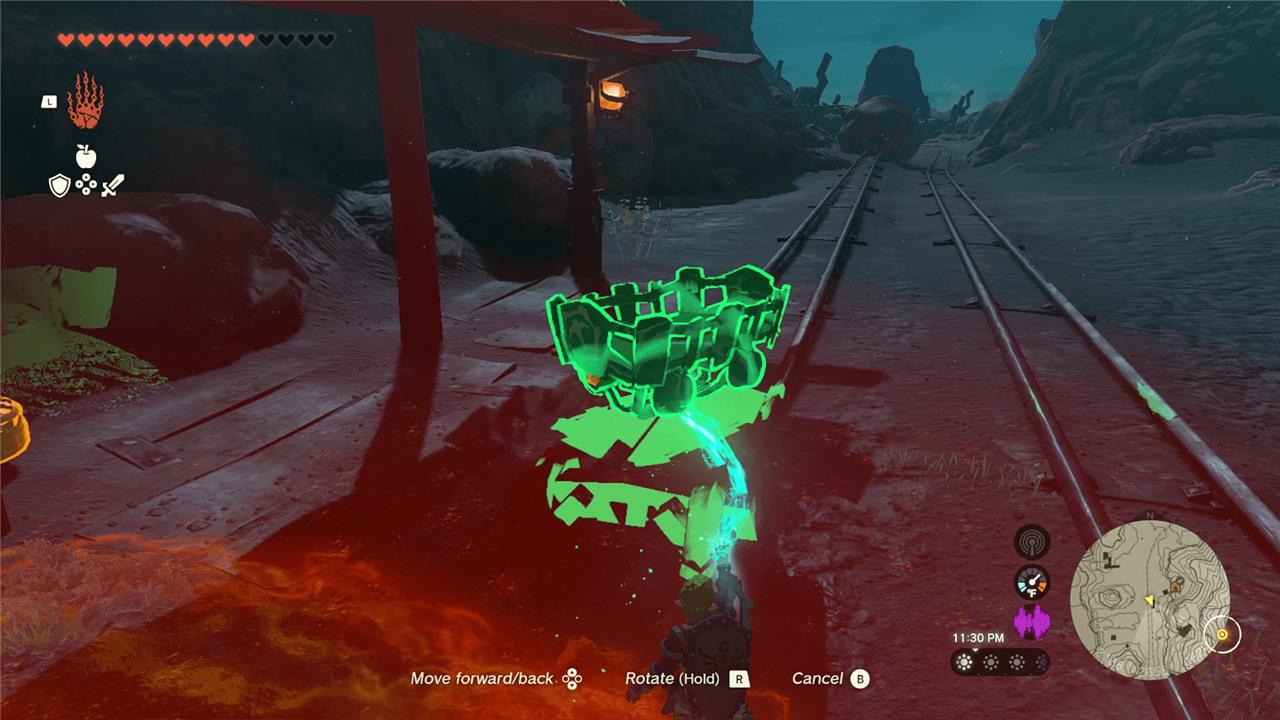
You’ll notice that as you ride different vehicles, Yunobo will automatically charge up in front of you. You can’t really aim him vertically, but he will go forward from where Link is facing. Use Yunobo’s ability to break rocks in the way of the track and take out enemies that are along the way.
You’ll eventually hit a barricade, where you can defeat the bokoblins there, break the barricade, and keep going. Keep using Yunobo to break down rocks that block off the tracks.
Sitsum Shrine will sit under the end of the tracks, so grab the shrine as a quick (and very useful) teleport point and Ascend back up.
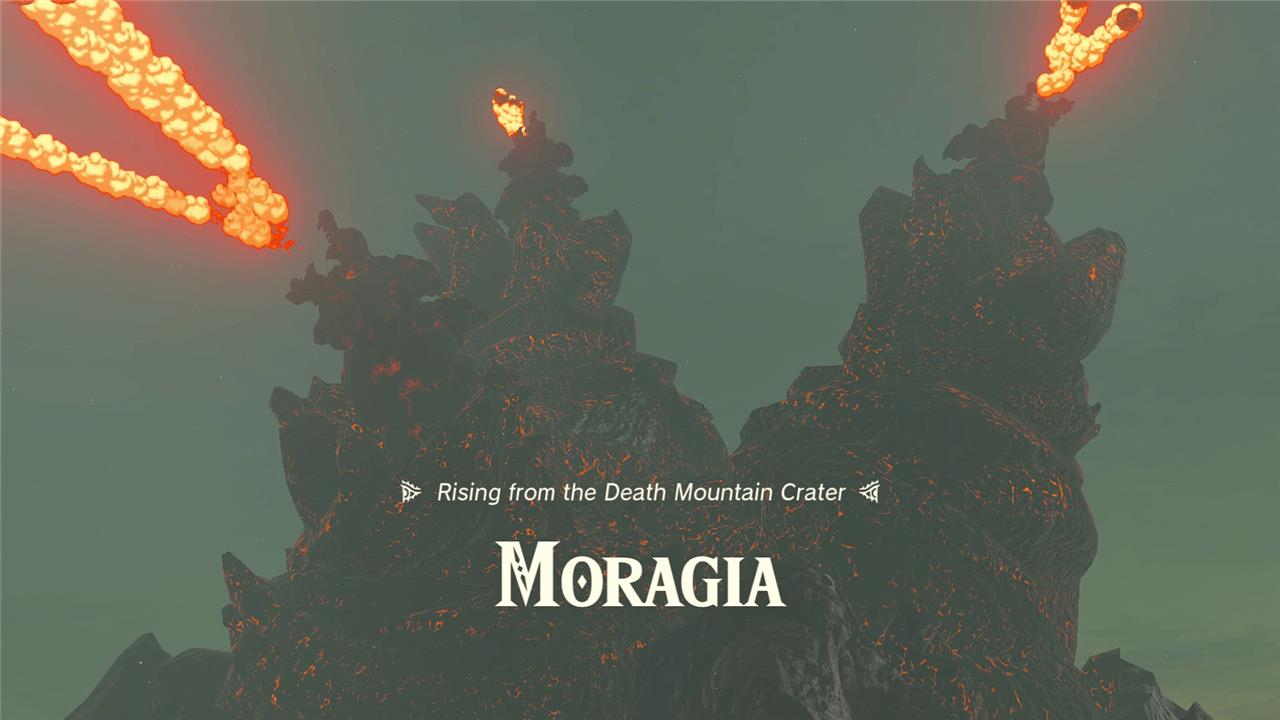
Moragia boss fight strategy
Moragia’s fight takes place above Death Mountain, so keep your focus on Yunobo’s rolling attacks. Use his fire-covered charge to hit Moragia’s three heads as they rise from the lava, aiming carefully to destroy each one. Stay airborne with the Zonai glider or nearby air currents to keep range and avoid the boss’s fireballs. After all three heads are crushed, a short cutscene triggers, signaling the end of the battle and opening the path to the Fire Temple.
After you walk up the rest of the mountain path and talk to Yunobo, you’ll need to fight the mid-boss, Moragia.
There isn’t much to this fight. You’ll need to use Ultrahand to straighten out the flying vehicle that’s conveniently right on the mountain top and navigate it, firing Yunobo at the three appendages. Once you hit all three once, you’re all done.
They will fire rocks at you, which is annoying, but focus on dodging and aligning Yunobo for a good shot. The flying machine provided has big batteries on it, so you have plenty of time to steer the vehicle around.
Getting through the Death Mountain Chasm
Head north from the Southern Mine through the tunnel to enter Death Mountain Chasm. Glide down carefully while avoiding gusts that push you off course, then land on solid platforms below. Fight off waves of fire enemies using Yunobo’s rolling charge to clear paths. Proceed across lava flows by timing jumps onto safe rock islands, and watch for the chasm’s heat damaging your gear-use fireproof elixirs if needed. Exit at the bottom to reach the next quest marker.
Before you jump into Death Mountain, remember to have fire resistant armor or elixirs, as you’ll need them the entire time you’re inside the mountain. You’ll also want non-wooden weapons which will break significantly faster inside due to the fire (our best weapons page can offer some recommendations if you want some suggestions).
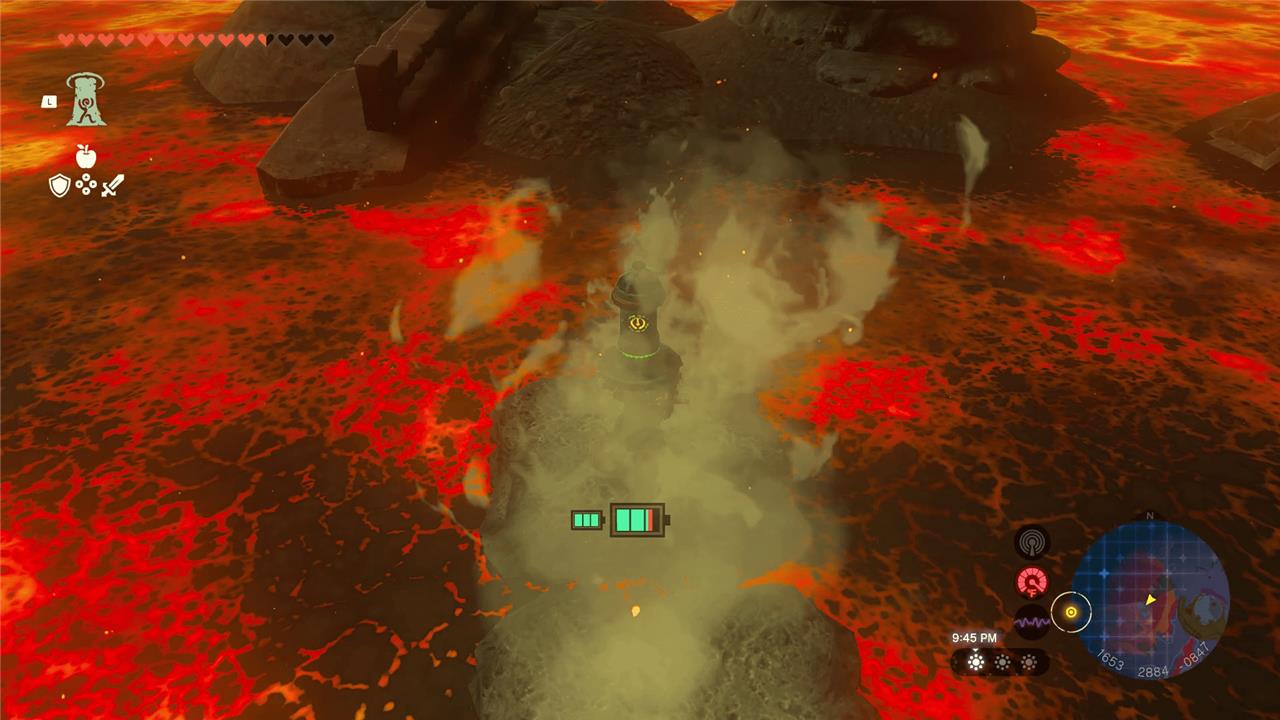
Due to how dark and confusing the Depths are, we’ll provide coordinates for important landmarks throughout this part of our walkthrough.
After jumping straight into Death Mountain, you’ll want to land as close to the quest marker as you can. If you are having trouble lining it up, aim for Mustis Lightroot (2375, 2591, -0944) below:
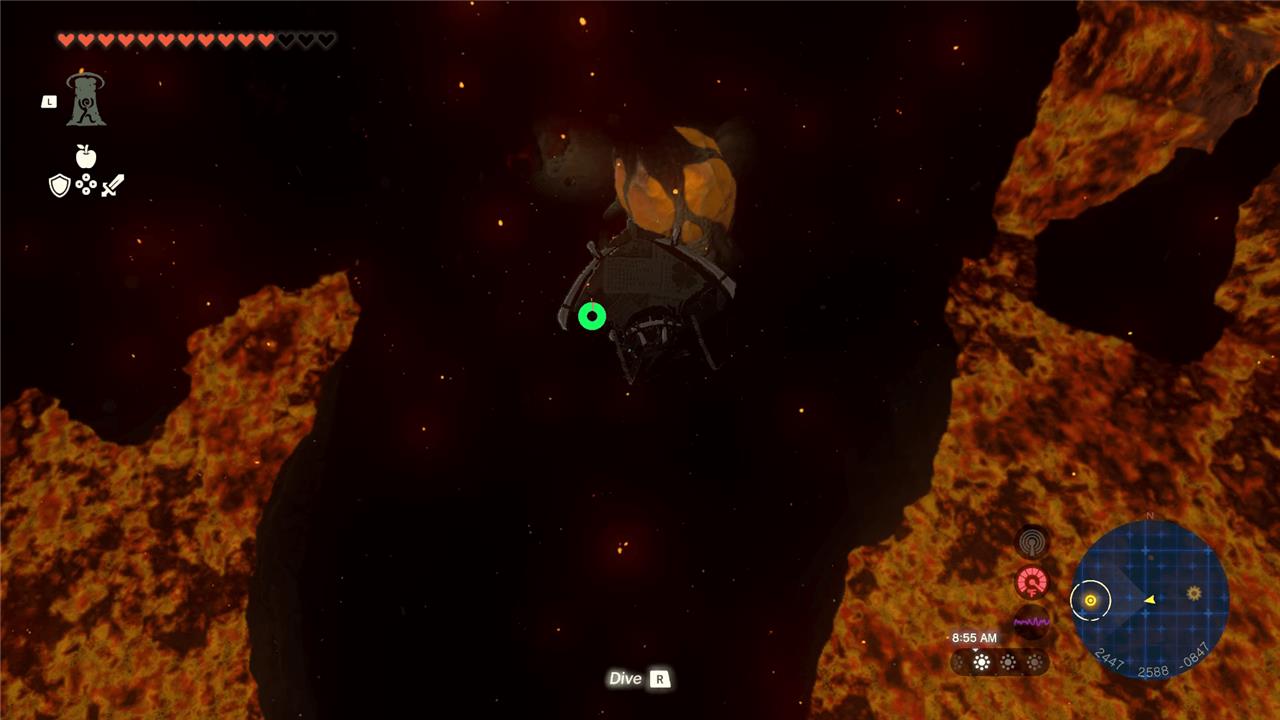
If you whiff the jump and end up on the rocks in the lava, you can teleport back to Sitsum Shrine and try again.
Once you make it to the lightroot, activate it and talk to Yunobo to proceed. At this point, you should be aiming for the quest marker on your map, but it’s admittedly hard to see in the depths. Use lightblooms liberally to help light up the way.
Use Yunobo to break the rock at approximately (2128, 2704, -0961) and climb up that path:
Take down the group of enemies directly in front, who are mining at zonaite. Feel free to use their hammers to collect some zonaite for yourself. (You can never have too much!)
Keep heading up until you reach approximately (1907, 2622, -0853) and use Yunobo again to smash the rocks ahead. Keep moving forward towards the Misisi Lightroot in the distance at (1842, 2843, -0838). You’ll need to fight a large swarm of bokoblins and friends in the way first.
To the west of Misisi Lightroot, there’s a pool of water with several hydrants around it. Before you grab a hydrant, take out the surrounding enemies first, which include Bokoblins, Moblins, and a Fire Like.
Once they’re cleared out, pick up a hydrant and carry it over to the broken bridge at around (1669, 2901, -0844). Hit the hydrant to turn it on and hold it over the lava to create a rock path. Jump from rock to rock like so to fortress:
I’m stuck finding one specific Fire Temple lock
The Fire Temple has five padlocks (gongs) across four floors that you unlock by firing Yunobo’s charge at each gong; they’re shown on the map after activating the green pedestal near the entrance.
Lock 1 (1F South)
From the main gate, head right up the stairs, clear the boulder blocking a doorway with Yunobo, enter the room, and aim Yunobo at the gong inside; grab water hydrants nearby for later lava-crossing.
Lock 2 (1F South)
Ride a mine cart from the entry area, turn it around after the first track to hit a green switch redirecting rails right, then ride to a lava area-use a hydrant to make rock platforms, cross, defeat Fire Pebblets, and hit the nearby gong.
Lock 3 (5F South)
From carts near Lock 2, adjust rails with nearby bells to point upward, ride or climb to the top (use wall ledges to rest stamina), and fire Yunobo at the high gong; he may take a moment to spawn up top.
Lock 4 (4F North)
Return to central rails via cart (hit bells to align north/up), ride to the area, then either aim Yunobo off a lava ramp rock to bounce him to the gong or climb/glide there and hit it from the side.
Lock 5 (1F North)
Go south from Lock 4 across a broken bridge (repair with platforms or ramps), smash a boulder opposite with Yunobo to reveal the final gong, and strike it to unlock everything-return via green portal to open the main gate.
Which lock number or floor are you stuck on (check your map)?
Lock 5 on 1F North won’t appear
Lock 5 on 1F North (northwest corner of the main floor) appears on your map automatically after activating the green pedestal near the Fire Temple entrance-if it “won’t appear,” ensure you’ve hit the first four locks or check your map zoom/orientation, as the marker is small and tucked behind a boulder across a lava gap.
Precise path from Lock 4 (4F North)
From the fourth gong on 4F North, head south (opposite the gong) down the ramp to a broken bridge over lava on 3F northwest.
Build a bridge using nearby rails, platforms, or a ramp: attach a long ramp/rail from your side to the opposite ledge (grab extras from central hub chests), then cross to the boulder blocking the doorway.
Breaking into Lock 5 room
Fire Yunobo’s charge at the boulder to shatter it, revealing the gong inside the small room.
Hit the gong with Yunobo (aim straight on); grab the chest (Strong Zonaite Longsword) to the left, then attack the yellow searchlight beam in the room to turn it green-this opens the exit door.
Return to main gate
Return via the green fast-travel portal (now active near the entrance) or retrace steps; all five locks done opens the boss door.
Is the map marker visible now, or are you unable to build the bridge due to missing parts?