In Zelda: Tears of the Kingdom, the Evil Spirit Armor cloaks you in shadows for unmatched stealth and ironclad defense-but claim it from the Depths without a trace.
The Evil Spirit Armor is one of the toughest armor sets to find in The Legend of Zelda: Tears of the Kingdom, with each piece buried deep underground and locked behind two layers of labyrinth puzzles. The full set increases your stealth and offers some decent defense buffs, but it also has a unique quirk: making bone weapons hit harder. These weapons don’t last long anyway, so wearing this armor set is a good way to get the most out of them before they shatter.
Our guide shows you where to find all three pieces of the Evil Spirit Armor – the Evil Spirit Greaves, Evil Spirit Mask, and Evil Spirit Armor – in Tears of the Kingdom, plus some advice on how to prepare for your journey. It’s a long one.
Tips for getting the Evil Spirit Armor Set
Each piece of the Evil Spirit Armor is hidden in separate underground chests, so bring plenty of Brightbloom Seeds and weapons for breaking rocks. Having the Sensor+ upgrade can make tracking them easier once you register the armor pieces in your compendium. Keep an eye out for suspicious ruins or large enemy camps, as chests are often buried nearby. Equipping the full set grants bonuses to stealth and bone-weapon attack power, making it ideal for sneaky approaches and ambushes.
Before you start, make sure to bring at least five or so stamina elixirs to keep you going in the sky labyrinths. If you’re struggling with directions and get lost in the maze, you may want to get the Travel Medallion and plunk it at the top of the labyrinth before you start. After activating one of the ring keys, you could just fast travel back to the top of the roof, run over to the next one, and repeat the process.
A Flux Construct III boss awaits you at the bottom of each labyrinth as well. These function the same as weaker Flux Construct bosses, but their attacks can easily deplete seven or more hearts if you don’t have a defense buff active or you haven’t upgraded your armor.
You may want to take some extra wood bundles and Hylian Pinecones along as well. Throw a pinecone into a campfire, and it’ll generate a powerful updraft that can help you move around in the labyrinths more easily.
Bear in mind that, while you can’t climb every wall in the sky labyrinths, you can climb the walls shown above, using the small ridges as a foothold. It’s a handy way to reach the top and reorient yourself if you get lost.
Finally, I recommend visiting the underside of the Lomei Labyrinth in Akkala first, even if you don’t complete the labyrinth puzzle right then. You can get there by using Ascend at the end of the nearby beach cave, and the Gloom Hands and Phantom Ganon drop the powerful Gloom Club. Stick a Black Moblin or Horriblin Horn on there, and you can take down a Flux Construct III boss in fewer than 10 hits. (Just make sure to cook some Sundelions first, since the Gloom Club saps your hearts.)
Evil Spirit Greaves location
In Zelda: Tears of the Kingdom, the Evil Spirit Greaves can be found by completing a stealth-focused sequence that rewards careful timing and careful avoidance of sightlines, then obtaining the hidden chest within a guarded area and returning to a nearby safe point to claim the armor piece.
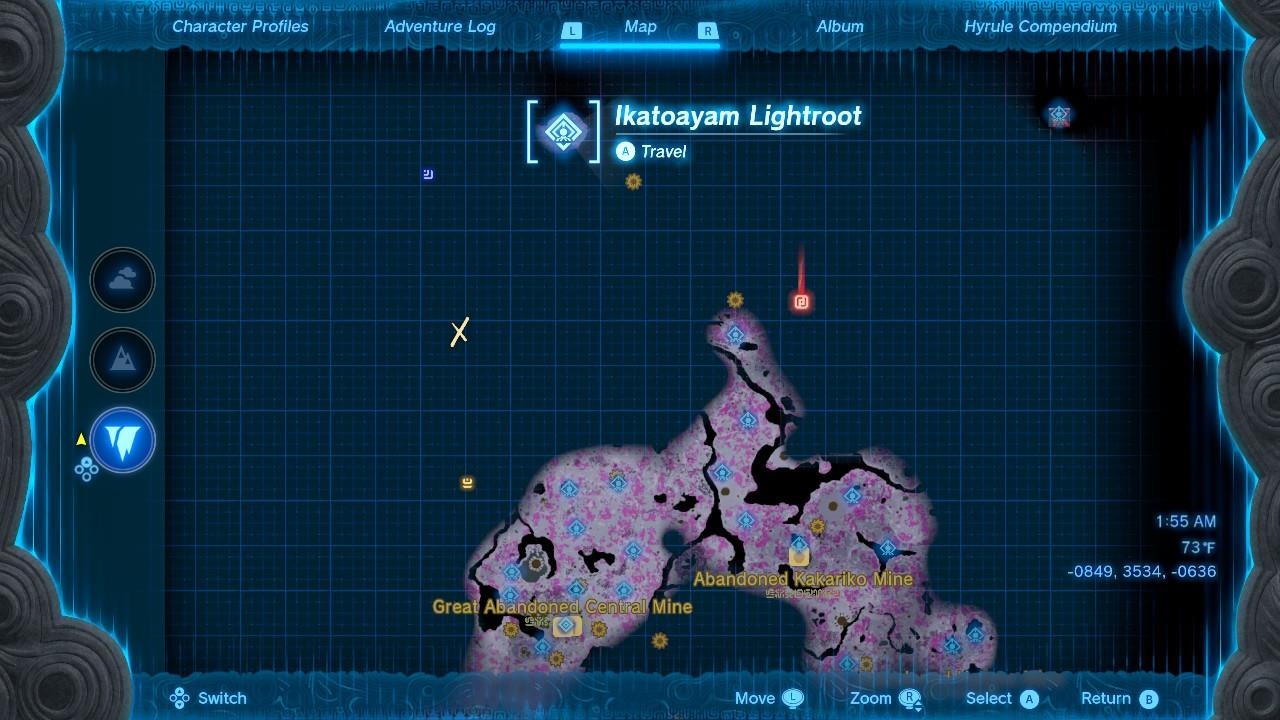
The Evil Spirit Greaves are tucked away in the depths under North Lomei Labyrinth, which is in the far eastern part of Hebra, where it was in Breath of the Wild. This is one of the less complex labyrinths to get through, and you can even get through the castle in the sky with just one stamina wheel, since pretty much every route leads to the next key device.
Our North Lomei Labyrinth guide walks you through each step. You can technically walk to the labyrinth in the Depths, but the central portion is closed off until you complete the sky puzzles.
Once you dive into the Depths, cook or eat a meal that boosts your attack, and move toward the boss arena. Don’t step down into it yet, though. You can fire two bomb flower arrows – or four, if you have a dual-shot bow – and land critical hits before the battle starts.
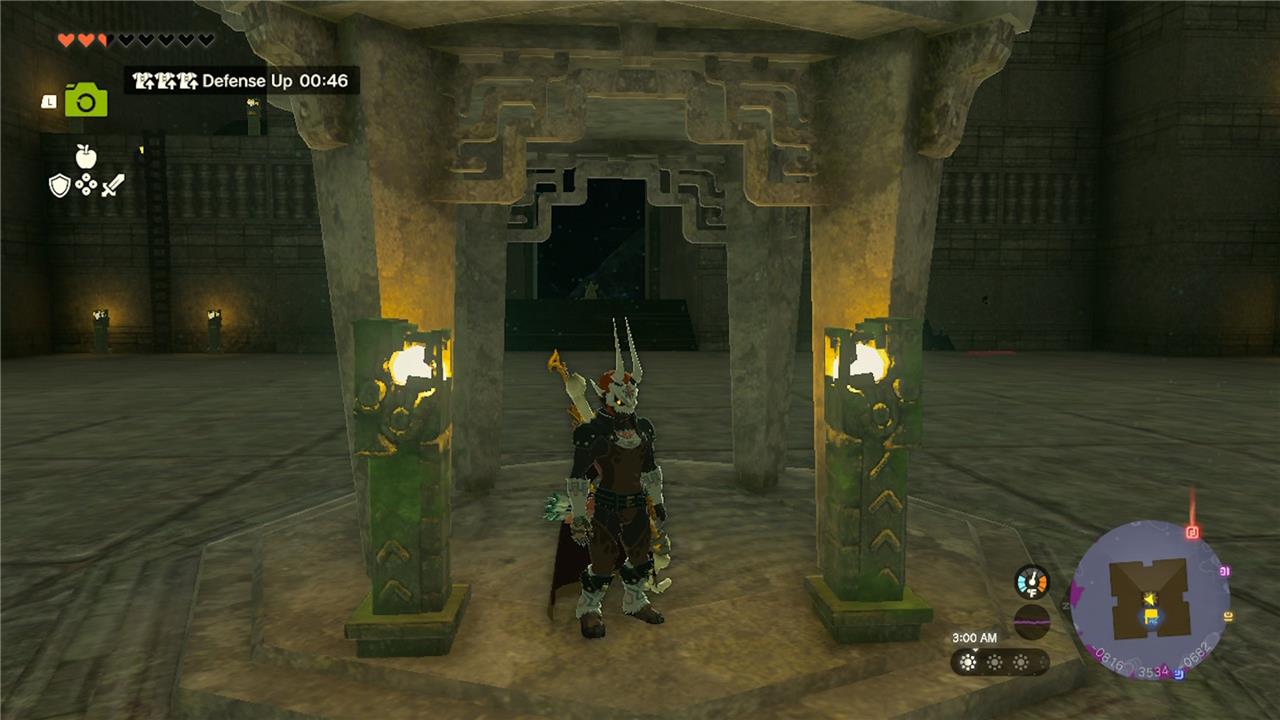
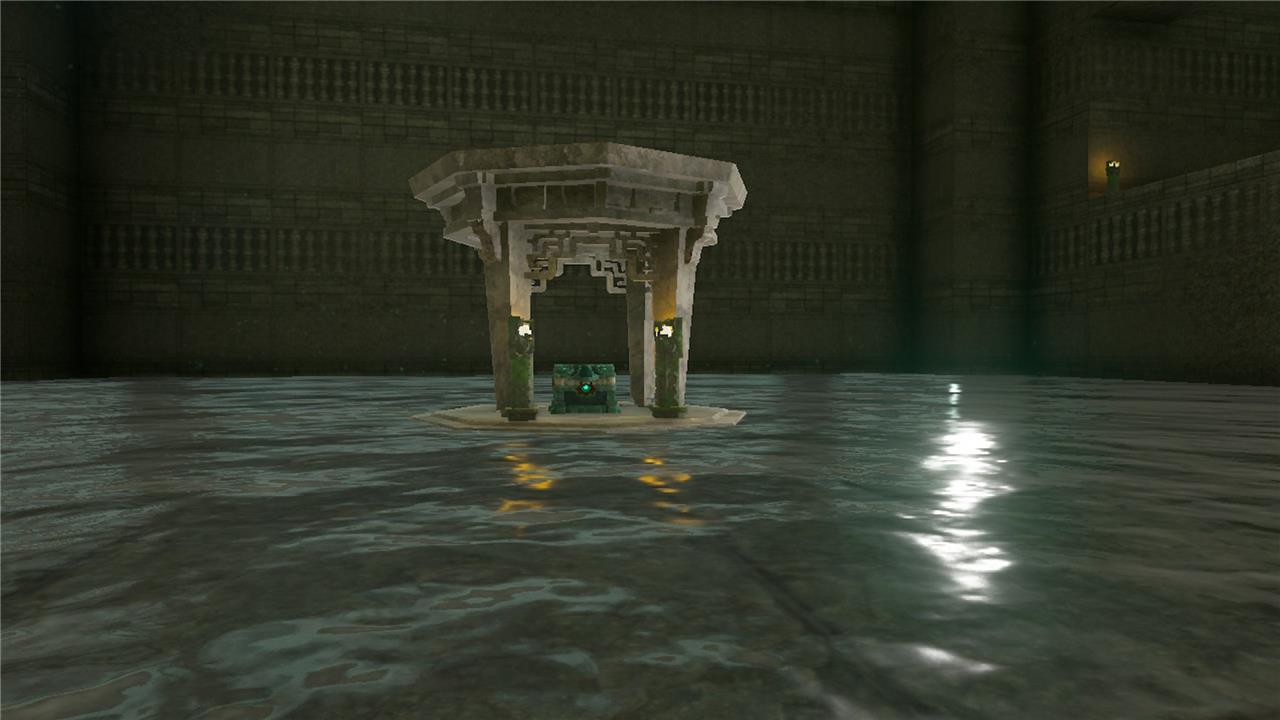
Deal with the Construct, and interact with the ring device. The chest containing the Evil Spirit Grieves will pop up. This piece has a base value of 4 defense and increases your stealth.
Evil Spirit Mask location
The Evil Spirit Mask is found inside the Floating Coliseum, located beneath the Hyrule Field depths. To reach it, enter the Depths through the Hyrule Field Chasm near the Great Plateau. The chest with the mask appears after defeating a gauntlet of five Lynels, each stronger than the last. Prepare strong weapons, meals, and elixirs before entering, as this is one of the toughest encounters in the game. The mask boosts stealth and completes the Evil Spirit Armor set once collected.
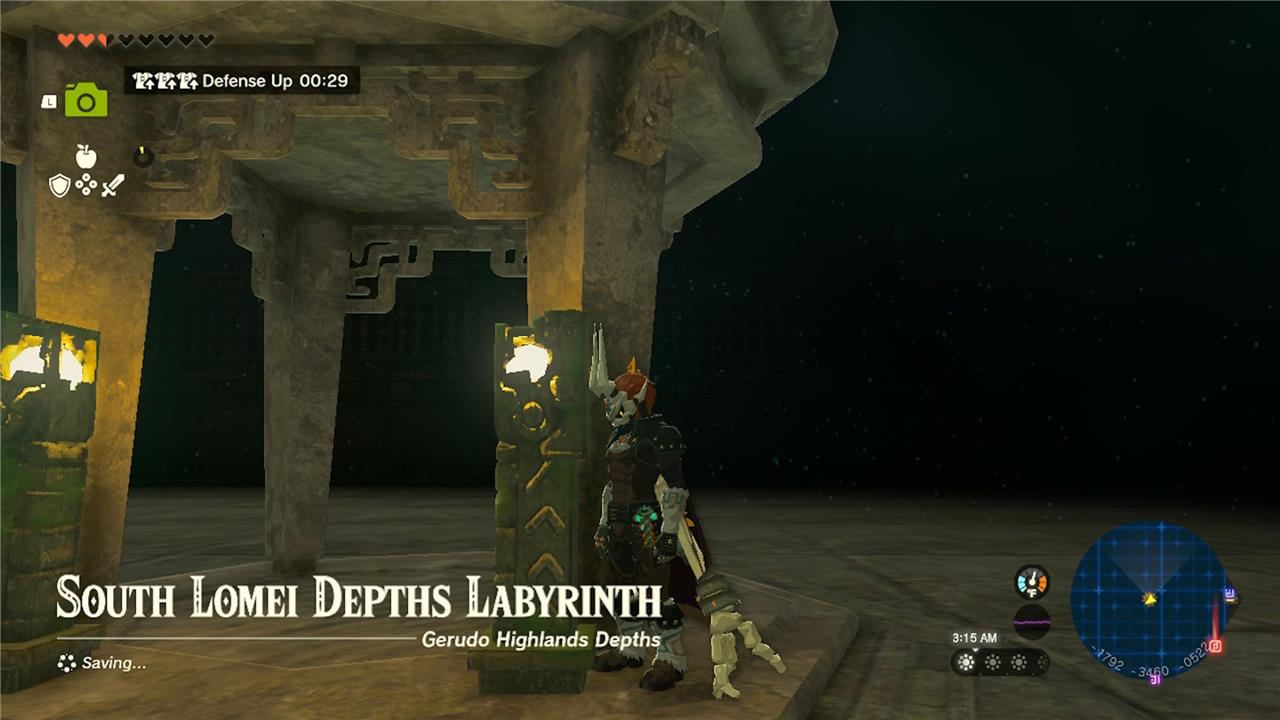
The Evil Spirit Mask is in the South Lomei Labyrinth in Gerudo Desert. This one is a little trickier to get through, though our South Lomei Labyrinth guide takes you through each part of the earthly maze and the skyward one.
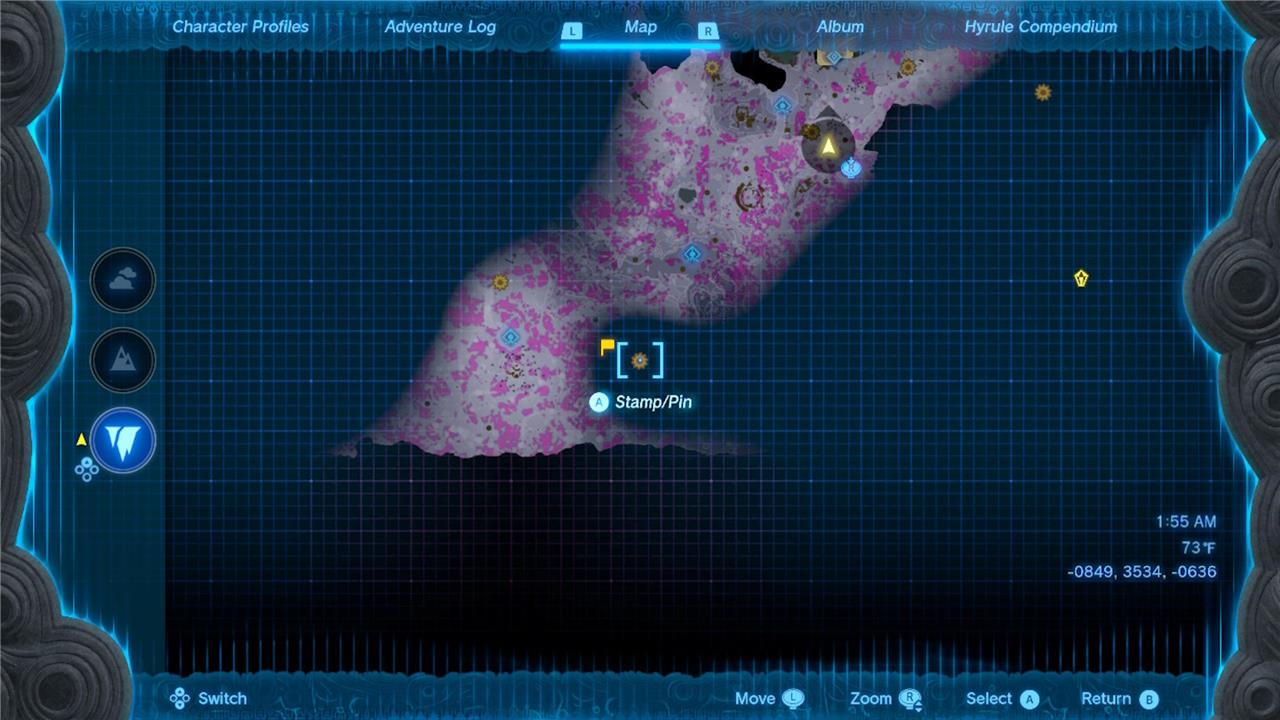
Dive down into the Depths, defeat the Flux Construct III boss, and claim your prize. Don’t forget to check around the rest of the building for some Zonai weapons, and Ascend through the roof to find a new lightroot.
The Evil Spirit Mask also has a base value of 4 defense and will increase your stealth.
Evil Spirit Armor Chest Piece location
The Evil Spirit Armor Chest Piece is hidden deep within the Lomei Labyrinth Island in the northeast corner of the map. To reach it, players must solve the maze using the updrafts created by the fan structures or follow the airborne route with the paraglider. After reaching the central chamber, activate the terminal to reveal a chest containing the armor. Equipping it boosts stealth and defense, making it a valuable part of the full Evil Spirit set.
The Evil Spirit Armor piece is in Lomei Labyrinth Island, north of the Ancient Tech Lab in Akkala. Our Lomei Labyrinth Island guide walks through every step of the maze, but you’ll start by following the acorns to reach the maze’s center and activate the ring device.
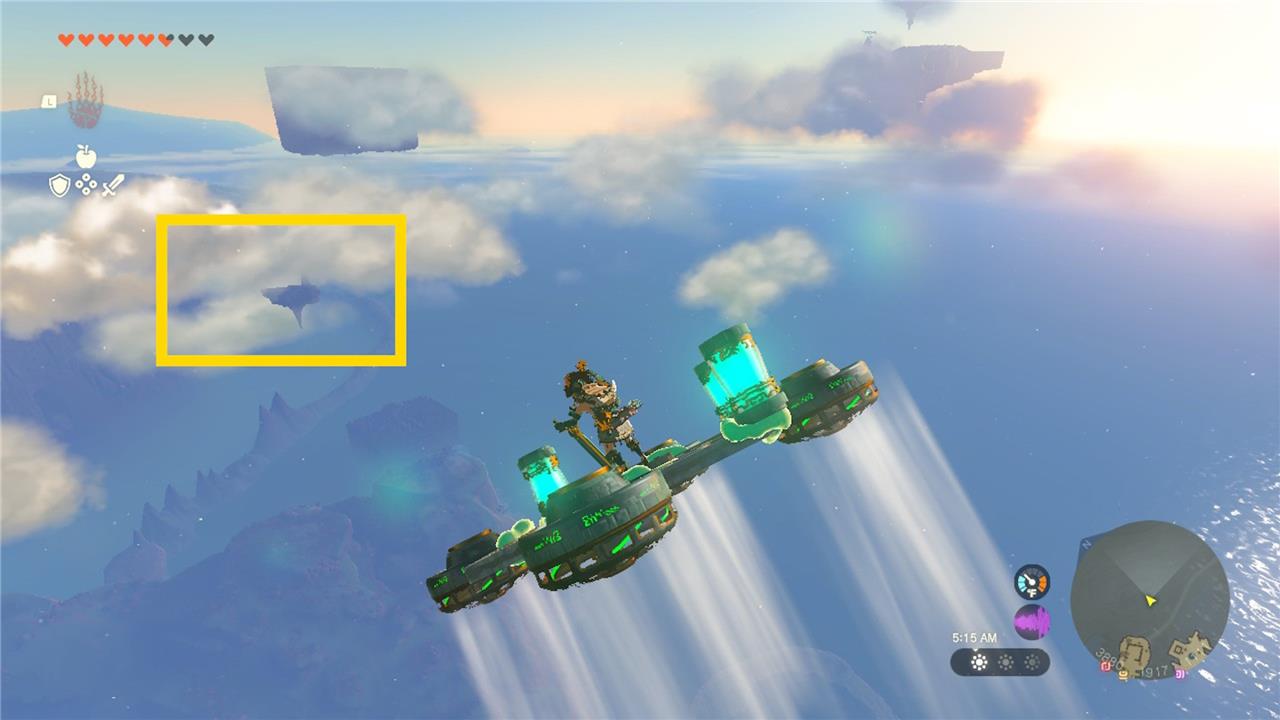
Fire yourself into the air from the Ulri Mountain Skyview Tower, and angle toward the labyrinth. As with the other two, you’ll eventually land on a small island with Zonai devices. Use the device there to reach the sky castle.
As usual, your goal is activating four ring devices. The mini-map shows the locations as larger beige squares with a single black line, but we’ve also marked them below.
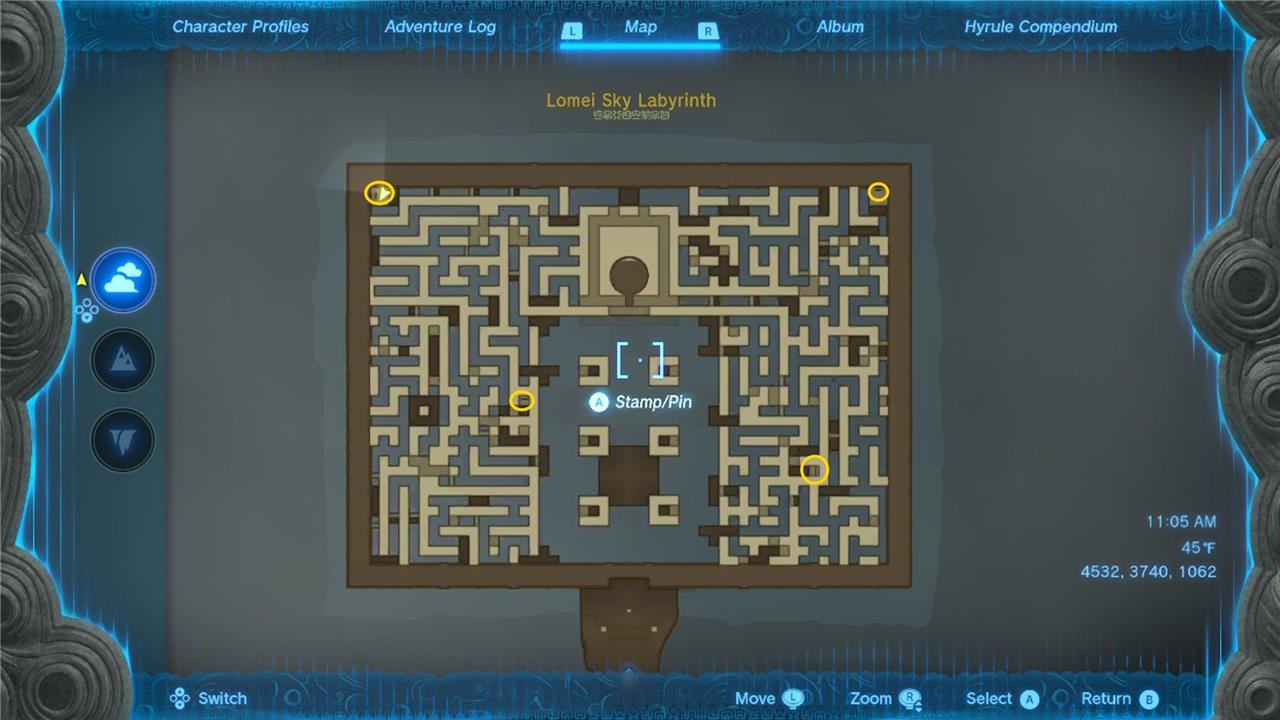
The easiest way to reach these is by dropping down from the top of the labyrinth. Dive into the Depths once all the devices are active, take out the Construct, and claim your prize.
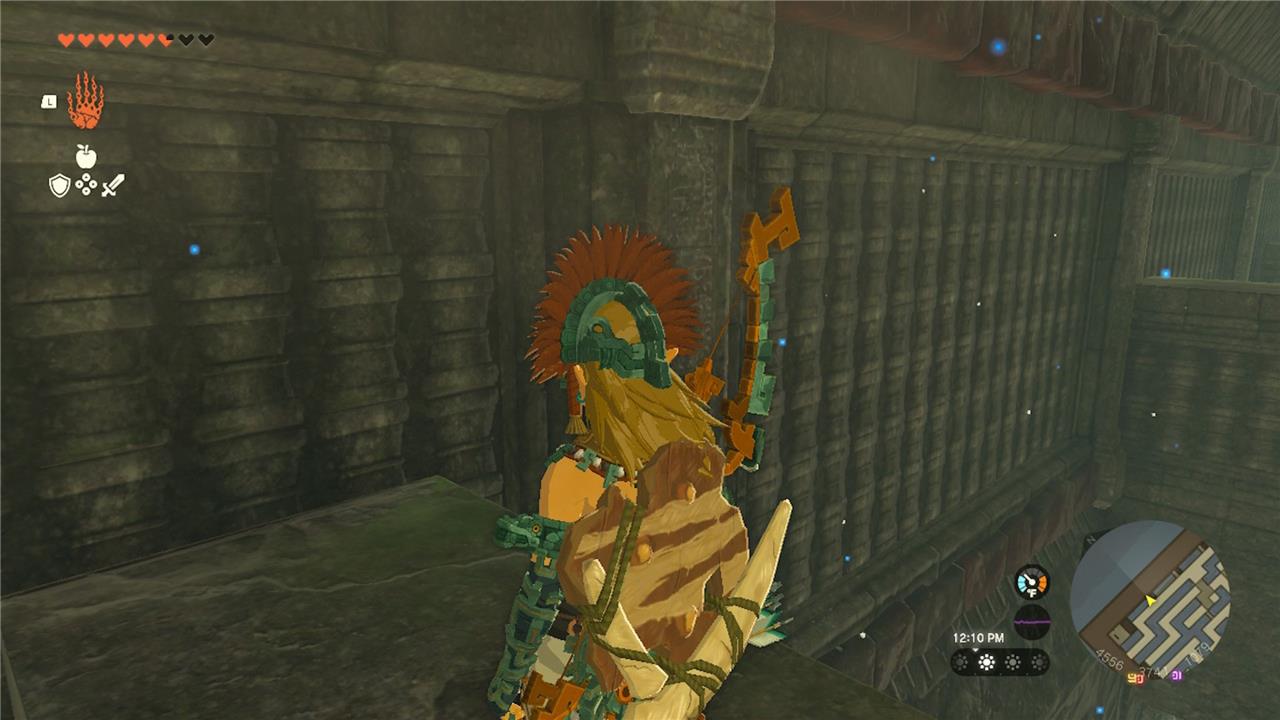
The Evil Spirit Armor has a base value of 4 defense and will raise your stealth. Equipping the entire set lets you blend in among Stalfos enemies – the skeletal ones – and raises the attack power of all bone weapons.
Evil Spirit Armor upgrade cost, set bonus, and effect
The Evil Spirit Armor can be upgraded at the Great Fairy Fountains using Hinox Toenails, Poe Souls, and other rare monster parts. Each upgrade raises its defense, making the set far sturdier than its base form. When all three pieces-the armor, greaves, and mask-are worn together, they grant a stealth boost and increase attack power when sneaking. The full set also gives Link a menacing glow at night, perfect for ambushing enemies from the shadows.
The Evil Spirit Armor gives you a big of stealth up for every piece you have equipped. It also has the same set bonus as the Radiant Armor: It gives you get a disguise and bone weapon proficiency buff when all the pieces are worn together. Based off of its effect in Breath of the Wild, disguise makes it so bone enemies like Stalkoblin and Stalizalfos do not attack you (unless you attack them). Bone weapon proficiency makes it so weapons made of bones (like a Molduga jaw or Stalnox horn) do more damage.
You cannot upgraded the Evil Spirit Armor. That said, the Radiant Armor is “better” because you can upgrade that one, so it has higher defense (but with no stealth bonus). However… the Evil Spirit Armor just looks cooler. It’s a fact. You need to ponder if you want to trade off the looks for the defense.
Since you can’t upgrade the armor, the set bonus is available right away, whereas the Radiant Armor requires two levels of upgrade per piece to get its bonus.
Best route to complete all Lomei Labyrinths quickly
Recommended Order
Start with South Lomei Labyrinth in Gerudo Desert for its straightforward access and warmer climate. Then tackle West Lomei in Hebra (near North Akkala), followed by North Lomei Labyrinth Island in the northeast sky. This sequence minimizes travel backtracking and builds familiarity with Flux Construct fights.
South Lomei (Gerudo Desert)
Enter directly on the surface, follow acorn trails to activate four terminals using minimap paths. Prioritize the sky section first via nearby shrines for fast travel, then drop to Depths post-boss. Use heat resistance if needed.
West Lomei (Hebra)
Access via a side crack in the labyrinth walls; climb walls or use updrafts to hit terminals quickly by following minimap blue lines. Activate shrine early, then chasm dive for Evil Spirit Armor chest after Flux Construct. Cold gear essential.
North Lomei Sky (Northeast)
Launch from Ulri Mountain Skyview Tower, glide northeast grabbing a Zonai flyer en route for battery-assisted travel to Mogisari Shrine. Bypass ground maze by wall-climbing to southwest corner, follow short acorn path. Sprint-jump between terminals; set Travel Medallion atop for returns.
Speed Tips
Wear Glide or Stealth Armor for navigation; focus solely on minimap to zip through mazes in minutes. Stock stamina food, Bomb Flowers for bosses, and rockets for sky gaps. Activate all “prophecy” logs and shrines first for paths and fast travel.
Which Lomei Labyrinth should I do first for speedruns
South Lomei Labyrinth in the Gerudo Desert is the optimal first choice for speedruns. Its surface-level access and simple wall-top cheese route allow completion in under 5 minutes, building momentum without gear prerequisites.
Why South First
Guides consistently prioritize it due to easy entry, minimal climbing, and early shrine activation for fast travel. Follow minimap blue lines or ascend walls immediately, then skyview glide to terminals. This avoids Hebra’s cold resistance needs or the sky island’s battery-intensive flight.
Speedrun Adjustments
Skip full exploration: wall-run to southwest corner, acorn path to center. Post-terminals, boss-rush Flux Construct with Bomb Flowers. Sequence remains South → West → North for lowest travel time via towers.