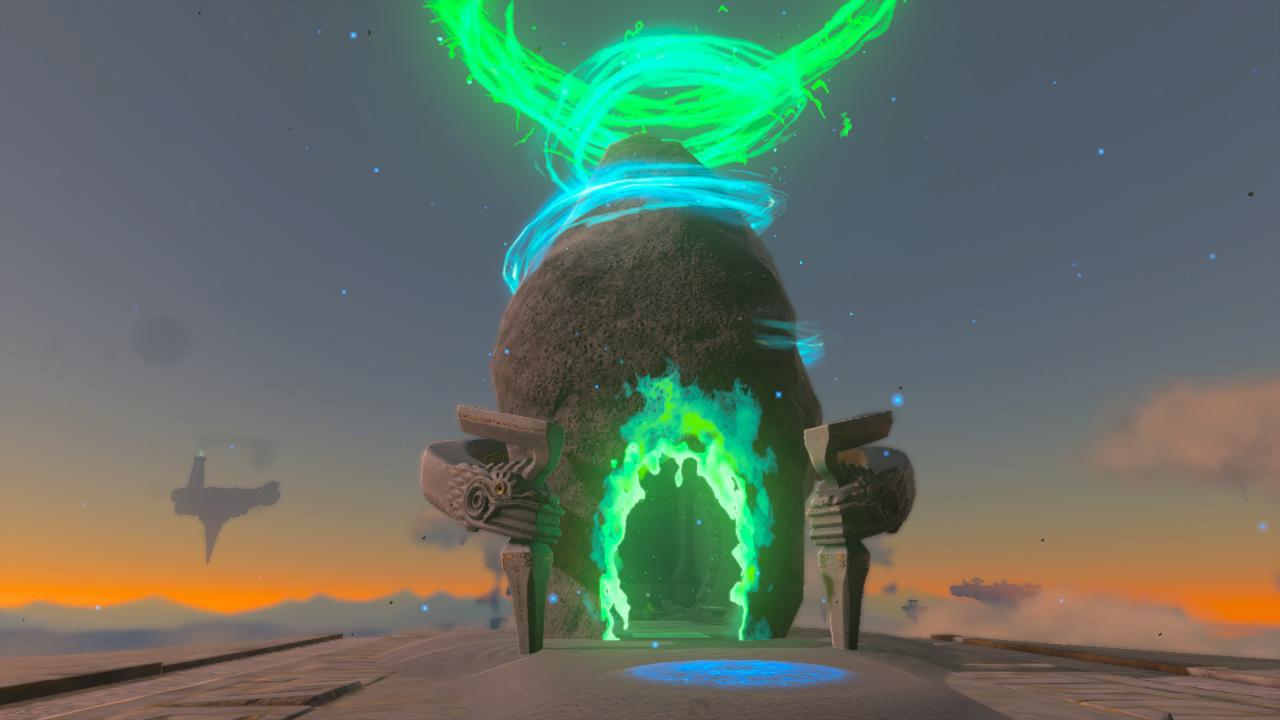
Hidden deep in the Gerudo Desert, the South Lomei maze challenges players with shifting paths, clever traps, and a secret shrine waiting to be revealed. This guide leads you through every twist, puzzle, and platform to claim its treasure and complete one of Tears of the Kingdom’s most rewarding trials.
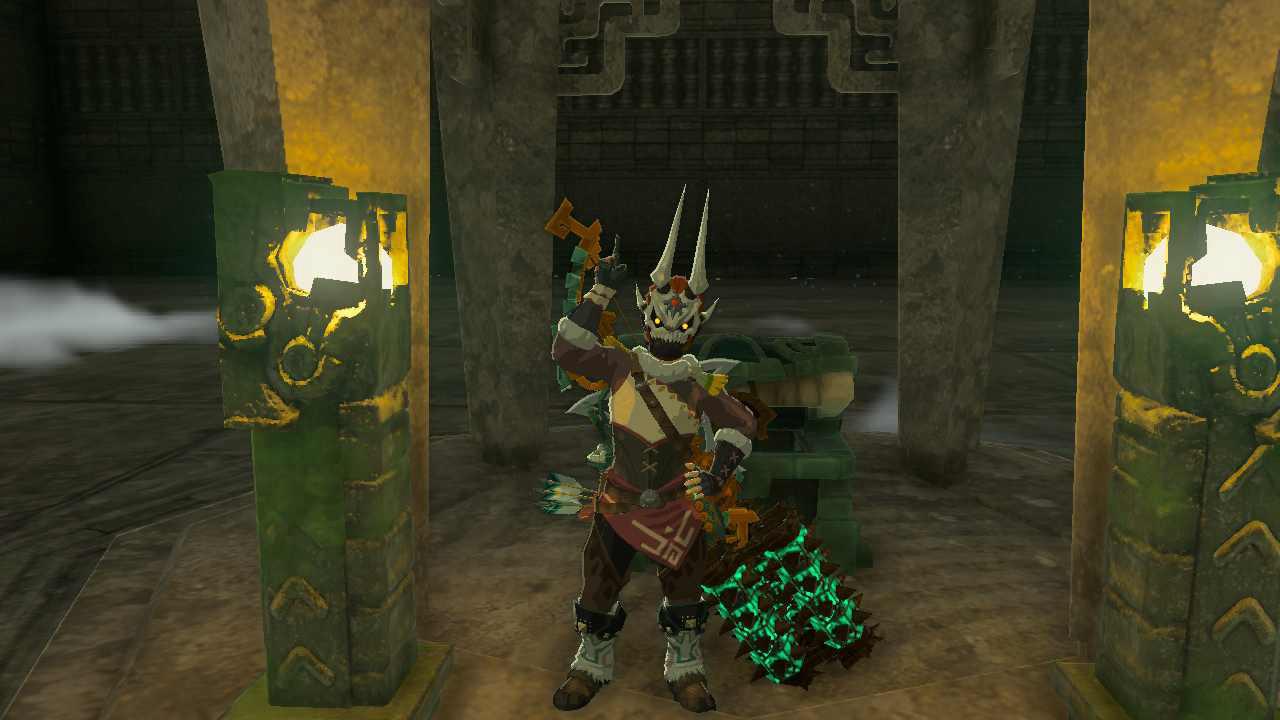
If you’ve completed the North Lomei Labyrinth, the solution will look familiar to you. The South Lomei Labyrinth follows the same rules as its northern counterpart; the first maze is navigating around gloom to get to the shrine in the center. The South Lomei Sky Labyrinth opens up after that, and is where the second shrine is, after which you head into the glider maze. Lastly, the Depths open to a battle with the Flux Construct III, where you’ll be awarded a piece of the coveted Evil Spirit Armor.
When you’re done, our shrine locations page or interactive Hyrule map can direct you toward something else to do.
South Lomei Labyrinth location
South Lomei Labyrinth lies in the Gerudo Desert, far southeast of Gerudo Town. It sits on a large stone platform surrounded by deep sand, making travel across the area challenging without proper heat resistance. Players can reach it by gliding from the Gerudo Highlands Skyview Tower or by riding sand seals across the desert. The structure stands out from a distance due to its massive square outline and maze-like walls visible on the map.
The entrance to the South Lomei Labyrinth is located within the Gerundo Highlands at the coordinates (1785, -3310, 0138). If you’ve unlocked the Gerudo Canyon Skyview Tower, that’s a good starting point for gliding to the labyrinth – you can glide southeast from there. The sky and depths versions of the South Lomei Labyrinth are directly above and below, but don’t worry about heading to those just yet.
South Lomei Labyrinth maze walkthrough to reach the Motsusis Shrine
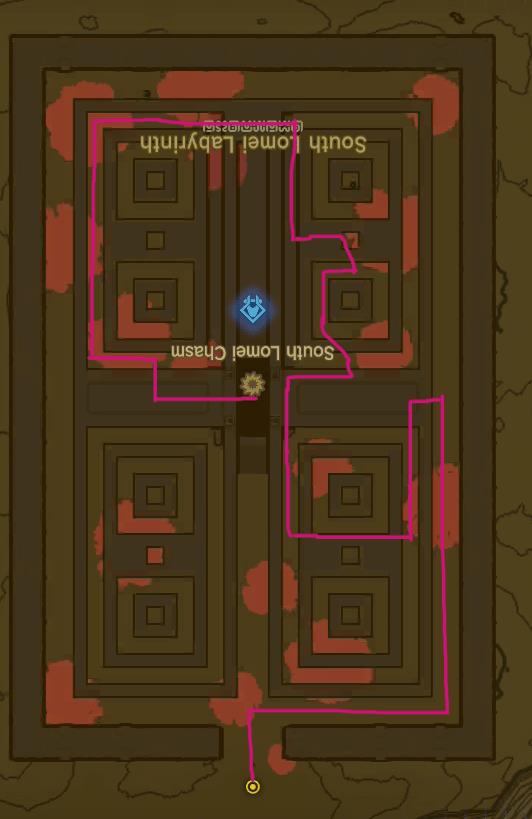
To reach the Motsusis Shrine in the South Lomei Labyrinth, glide from the Sky Labyrinth platform directly above and follow the wind currents to land at the maze’s eastern edge. Head north, hugging the outer walls until you find a narrow corridor leading west. Continue straight while fending off enemies and watch for a metal grate that can be lifted with Ultrahand to reveal a hidden passage. Follow this route to the central chamber, where the shrine becomes accessible once you’ve activated all terminals linked to the maze’s completion puzzle.
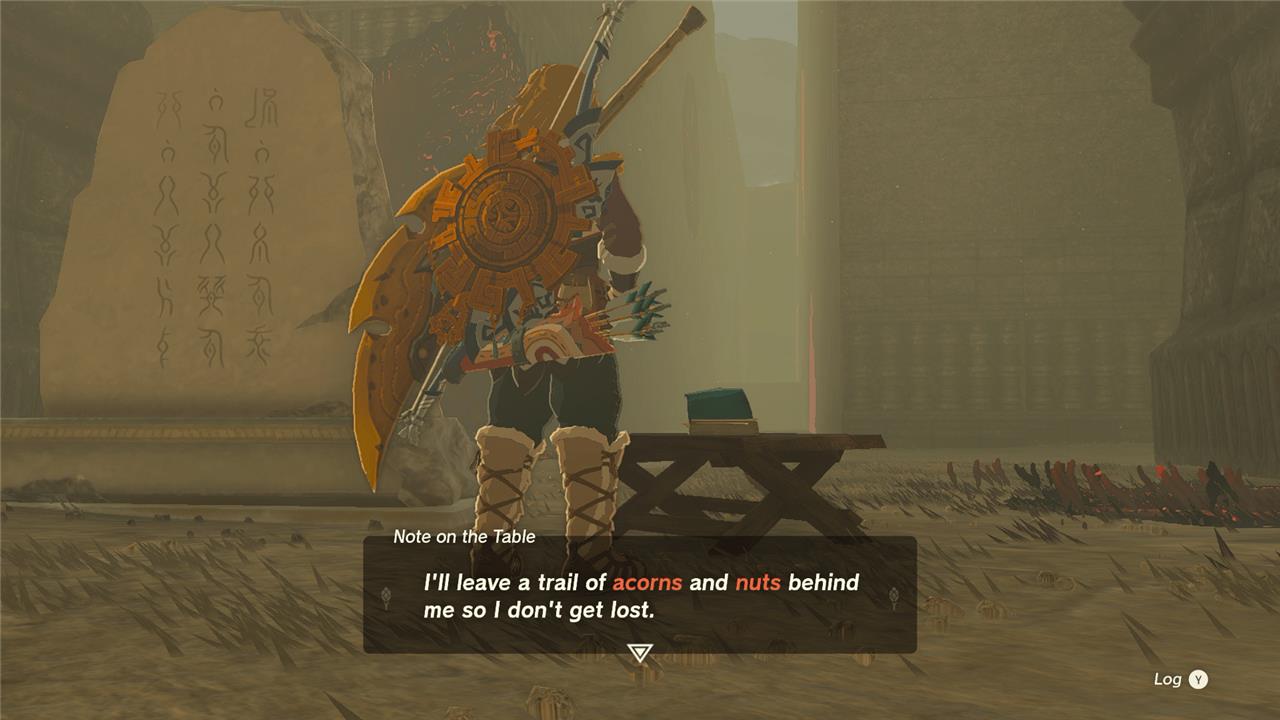
The Motsusis Shrine is located at the center of the maze – finding it is the puzzle itself. At the entrance, you’ll find a researcher’s notebook that says there’s a trail of acorns leading to the center of the South Lomei Labyrinth. Follow the trail of acorns to the center and to the Motsusis Shrine.
It’s fairly easy to follow the acorns, especially if you’ve unlocked Purah Pad’s Sensor . You can set this to track acorns, making it easier to follow the path to the center of the maze.
There are two ways you can solve the puzzle – and the second is quite a bit faster. But first, let’s start with following the acorns.
1. Take the first right after entering the maze.
2. Take a left then head straight over the gloom. You can climb the walls to get around it, or set up a campfire with pinecones to create a draft to get over it.
3. Past the gloom you’ll see a campsite. Turn left just before it.
4. Turn left and head left down the stairs.
5. Head straight past the gloom.
6. Take the first right, then a quick left and a quick right.
7. Take a right at the fork and head up the stairs,
8. Turn right. You won’t see the nut left there, because it’s hidden under a pile of sand.
9. Go straight up the stairs, then turn left.
10. Take the first left.
11. Make a quick right, then left, then right, then left. These are barely turns – you’ll basically be heading diagonally in a straight line.
12. Take the last right before the dead end.
13. Turn left.
14. Head straight up and down the stairs. There’s a campsite at the fork. Turn right. (The acorn is under the sand pile.)
15. Head left up the stairs.
16. Drop down straight over the gloom. At the corner, where you turn left, there’s a mass of gloom to get over. Continue straight past the next area of gloom, too.
17. Turn left at the end of the hallway, over more gloom.
18. Turn right, then left. There’s a campsite ahead.
19. Drop down a few levels and the Motsusis Shrine will be on the left.
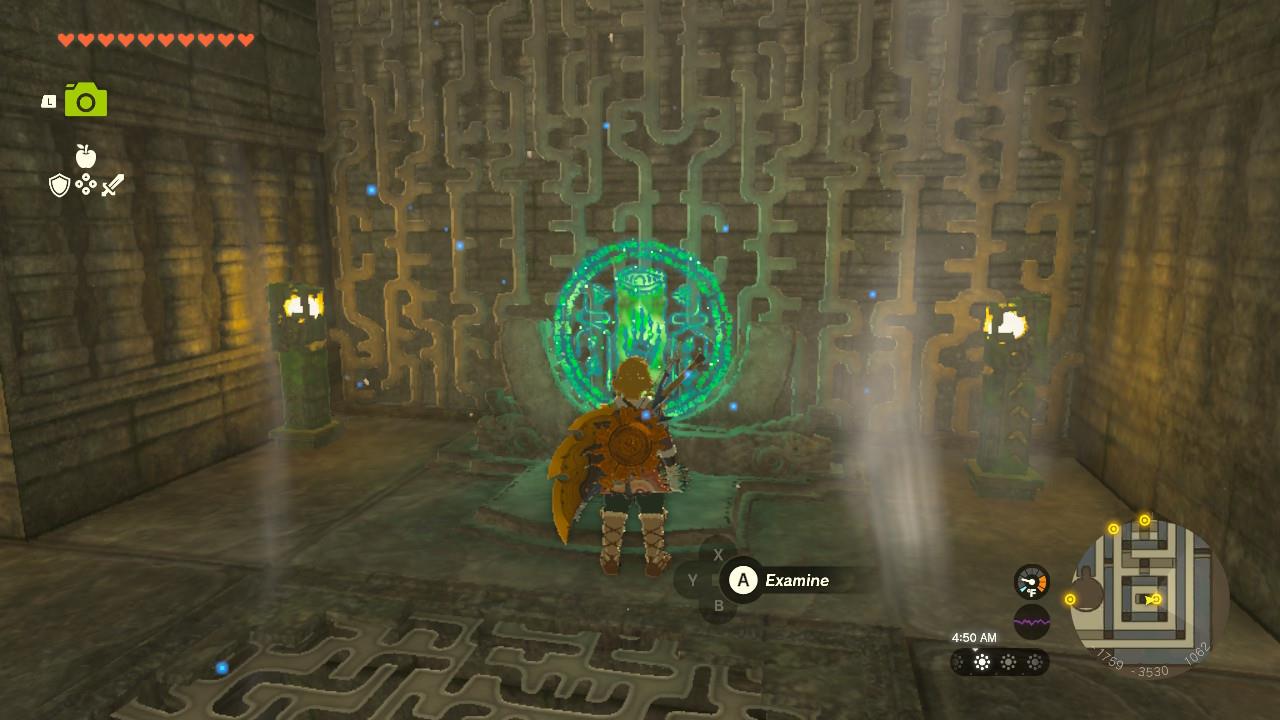
20. Turn around and head straight to the other side of the room to activate the terminal and open up the sky labyrinth.
You don’t have to follow the acorns to make it to the center of the South Lomei Sky Labyrinth, however. If you climb to the top of the maze and travel across the walls, you can cut to the center of the maze. Drop down just southeast of the center then follow the quick path of acorns to the shrine and terminal.
Motsusis Shrine walkthrough
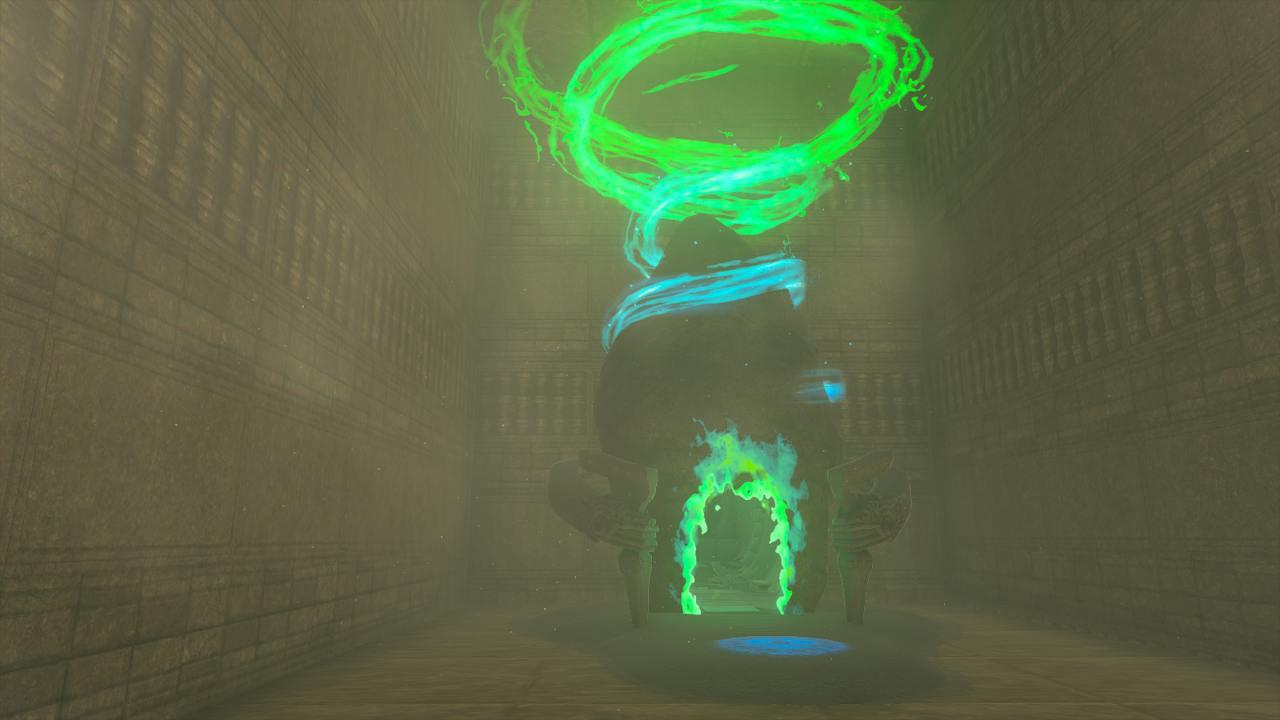
Inside the Motsusis Shrine, you face a straightforward challenge focused on moving a large sphere into its slot using the available tools. Use the Ultrahand ability to lift and guide the sphere along the rails, adjusting its position carefully to prevent it from falling. Once the sphere reaches the end, place it in the recess to trigger the final mechanism. This opens the gate to the inner chamber where you can claim the Light of Blessing and complete the shrine.
Motsusis Shrine is a Rauru’s Blessing shrine, which means you just have to enter to complete the shrine. Its exact location is at the coordinates of (1795, -3485, 0045). Inside, there’s a chest containing a large Zonai charge. Use the sigil to complete the shrine and collect the Light of Blessing.
South Lomei Sky Labyrinth location
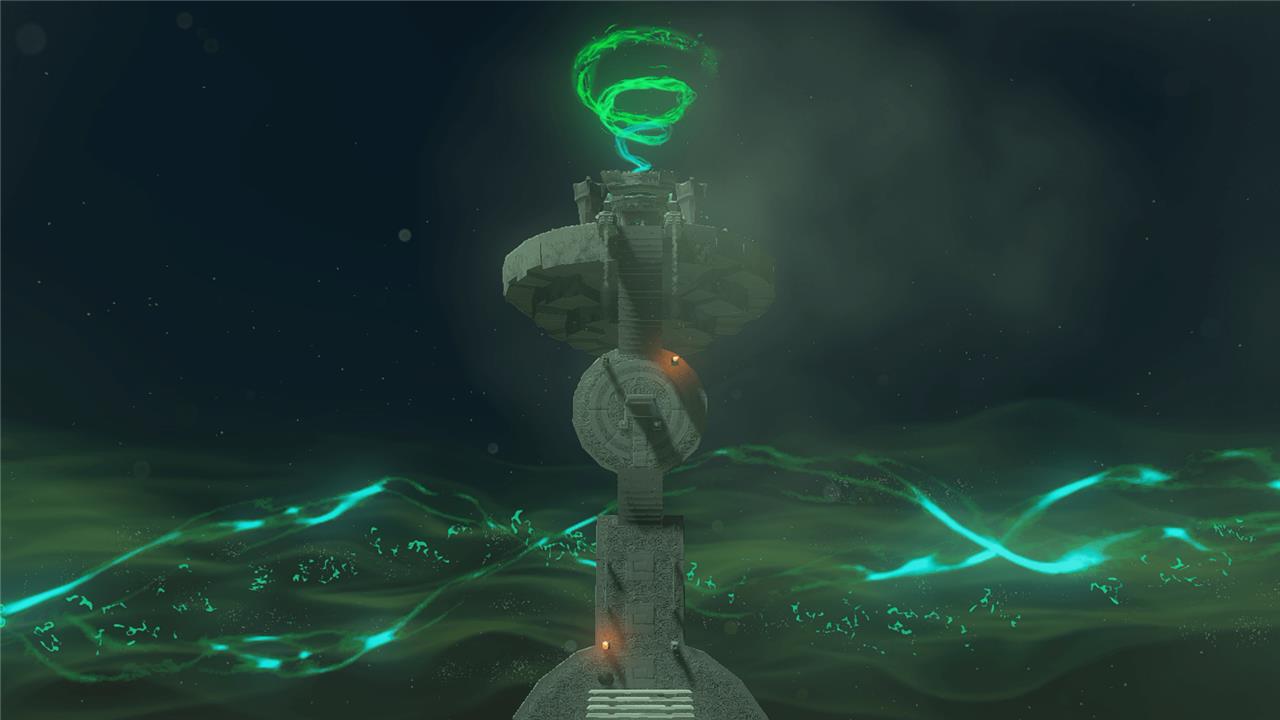
The South Lomei Sky Labyrinth is suspended high above the Gerudo Desert, directly aligned with the ground maze below it. Players can access it by launching from the Gerudo Highlands Skyview Tower and gliding toward its large square structure in the sky. The area features floating platforms and strong updrafts that help reach the main section. Activating nearby Lightroots and checking your map before attempting the flight can make it easier to locate and land safely on the structure.
If you look up from the surface terminal, you’ll see the sky labyrinth. You can’t easily get up there from here, so you’ll want to head back to the Gerudo Canyon Skyview Tower. Use the skyview tower to shoot up into the sky, then head over to the East Gerudo Sky Archipelago – you won’t be able to make the full glide to the sky labyrinth without this step. You’ll see a large pillar, so aim for that.
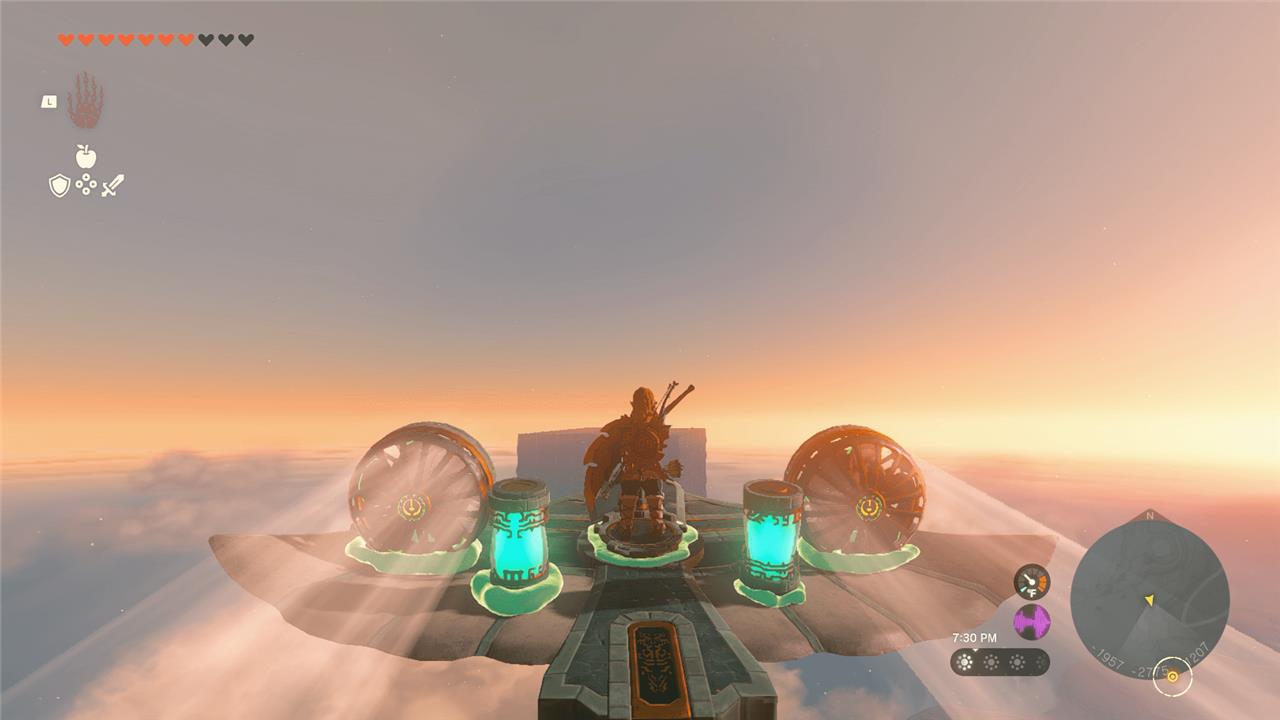
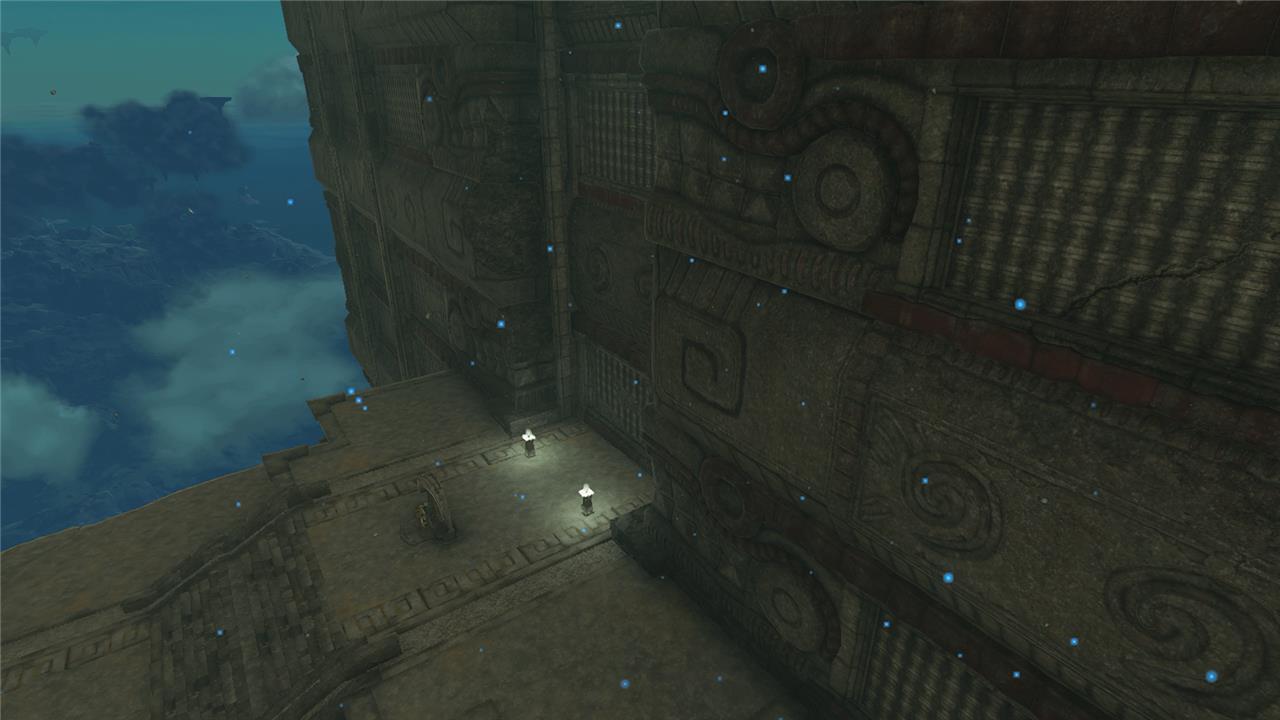
Once you’re on the East Gerudo Sky Archipelago, build a glider using the materials on the sky island. There’s one pre-made with some fans, but I attached a rocket found on the island to it, too, alongside two batteries pulled from my Zonai gatcha balls. Use the runway to shoot into the sky and fly south toward the South Lomei Sky Labyrinth. My contraption gave out before I made it all the way there, but I was able to glide over to the platform with the Siyamotsus Shrine.
Siyamotsus Shrine walkthrough
The Siyamotsus Shrine appears once you complete the South Lomei Labyrinth puzzle and reach the center area. Inside, there are no extra challenges or combat trials-simply approach the altar to claim your Light of Blessing. This shrine serves as the reward for solving the outer and underground maze sections, wrapping up the region’s multi-layered challenge.
The Siyamotsus Shrine, at the coordinates (-1793, -3331, 1015) in the Gerudo Sky, is an “Unlit Blessing.” To start, head toward the chest and grab the mighty Construct bow and the nearby arrows. You’ll need them. There are several fire fruit bushes around to collect from, too.
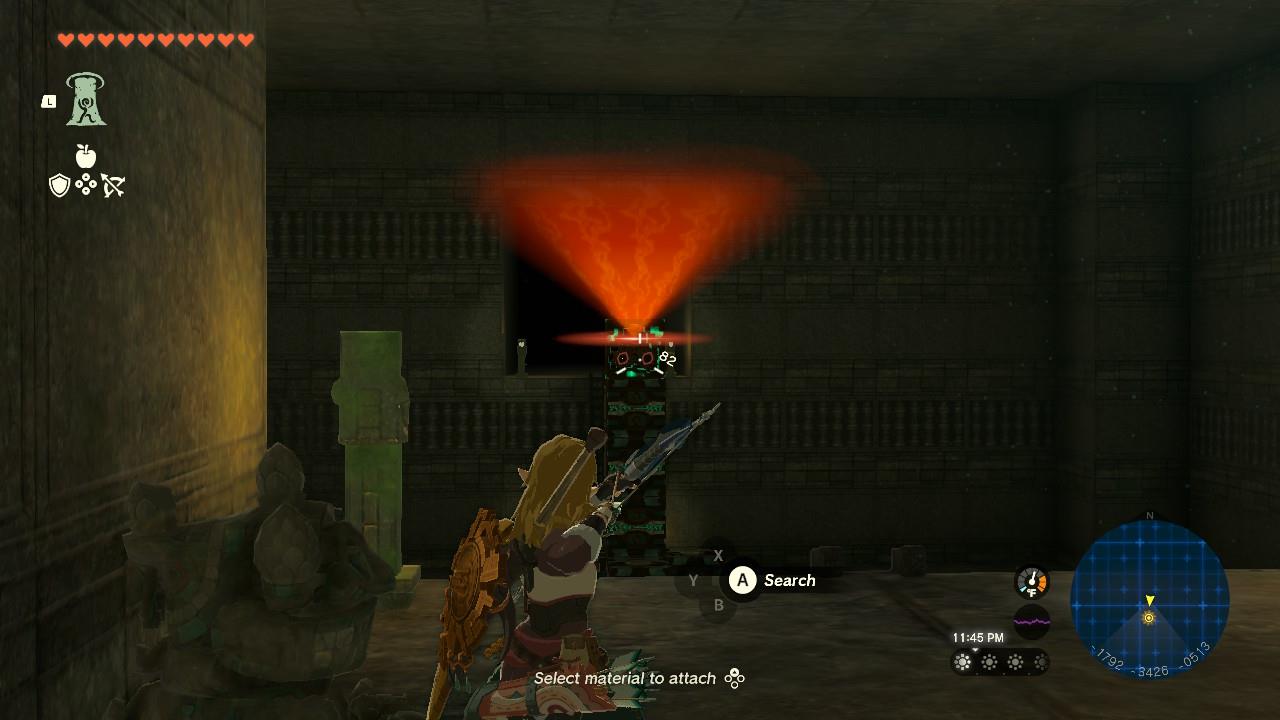
The shrine will shift and transform, the exit now inaccessible to Link. On the now-vertical platform, there are four braziers. Two are unlit. Use your arrows and Fire Fruit to light the two unlit braziers.
Once that’s done, the shrine will reveal a launcher underneath the chest. Use that to launch over to the sigil. Examine it to complete the shrine and collect the Light of Blessing.
South Lomei Sky Labyrinth maze walkthrough
The South Lomei Sky Labyrinth sits above the Gerudo Desert, containing several layers of floating platforms and corridors that connect through zonai fans and gliders. Begin at the center structure and glide toward the marked islands using fans or rockets to reach the elevated platforms. Activate each terminal on the smaller islands to power up the central unit. Once all terminals are active, a path opens toward the final terminal leading to the shrine entrance. Careful use of stamina and glide timing helps avoid falls during the route.
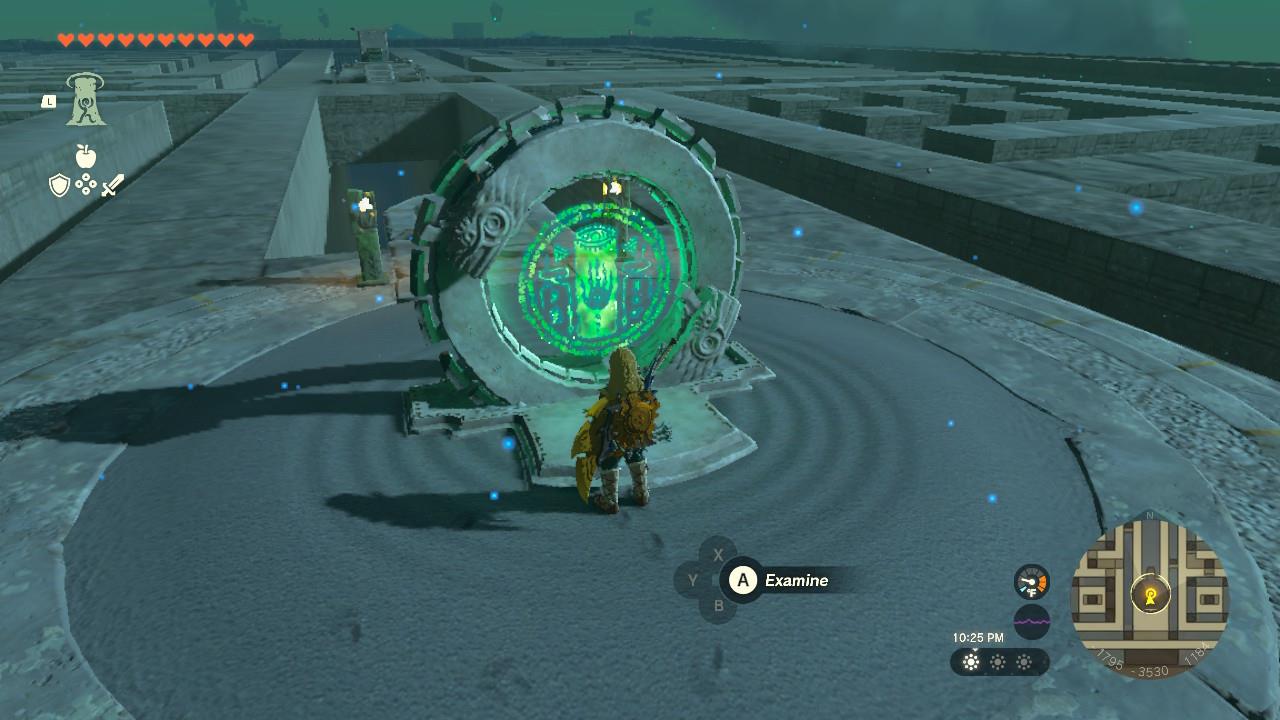
Head past the Siyamotsus Shrine to activate the dragon terminal in front of the South Lomei Sky Labyrinth to open the maze.
Like with the North Lomei Sky Labyrinth, the minimap is essential to getting through this maze. It’s a challenging maze that you will navigate using your glider and air bursts to unlock four terminals. The maze is complicated, but you’ll also have to manage stamina to make sure you don’t fall to the earth.
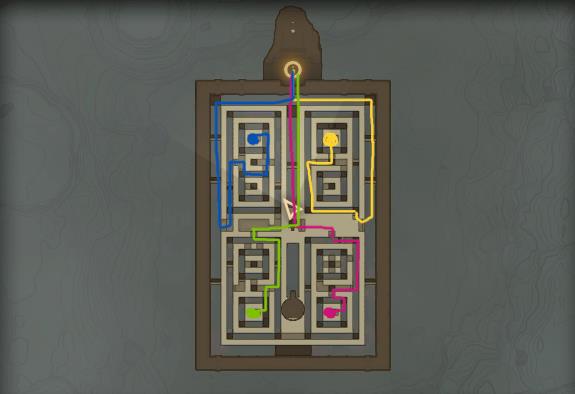
Instead of looking at the maze itself, look at your minimap and follow the blue pathway there to reach the four terminals. I barely even looked at the majority of the screen while navigating – just the minimap.
Once you’ve reached all four terminals, there should be a huge burst of air to get you to the top of the maze. But you can also use Ascend to swim through the walls and up to the top. (Alternatively, you can just navigate to the four terminals by following the pathway from the top of the maze, using Ascend to get back on top after each one.)
Once you’re done with the four terminals, you’ll see the dragon terminal that’ll open the depths. The gate to the depths will open once that’s activated. Jump in!
South Lomei Depths Labyrinth walkthrough
The South Lomei Depths Labyrinth mirrors the surface layout but adds more hazards and gloom-infested enemies. Drop into the chasm near the Desert Labyrinth and follow the faint light signals or use Brightbloom Seeds to stay oriented. Activate the Zonai devices scattered around to clear paths and reach the core structure in the center. Inside, defeat the powerful Flux Construct III to complete the objective and activate the terminal, linking the surface and depths areas for easier travel.
There’s not much of a puzzle down here, just a boss battle. Use a brightbloom seed once you’re close to the ground to light up the area. Otherwise, you’ll be running around in the dark. You can see the Flux Construct III under the grates you’ve landed on. Head down the stairs on either side of the room to start the fight.
Fighting the Flux Construct III is not easy, but the strategy that consistently worked for me was targeting the Construct with a bomb flower arrow to kick off the fight (and do some extra damage).
I tended to stay on the higher platforms for safety, unless I needed to jump down to do some damage. I used arrows to attack from farther away, and when the Construct was close enough, I used Ultrahand to pull the glowing box out then whack it with a powerful weapon. I just kept doing this, and dodging attacks, until it was defeated.
Best route to reach the Sky section from the surface
The best route from the surface South Lomei Labyrinth to the sky section requires completing the surface maze first to unlock the quest progression. Once you activate the stone tablet in the central chamber after Motsusis Shrine, the sky labyrinth becomes accessible above.
Recommended Sky Access Path
Use the Gerudo Canyon Skyview Tower for the most direct launch to the sky coordinates near South Lomei.
-
Activate Gerudo Canyon Skyview Tower (southwest Gerudo Highlands, coordinates around -2246, -1810, 0380).
-
Launch upward and glide east-northeast toward the East Gerudo Sky Archipelago, aiming for the large floating maze structure at roughly -1300, -2600, 1400 elevation.
-
Follow the chain of sky islands: land on intermediate platforms to recover stamina, using Tulin’s Gusty Blessing if available to extend glides between separated chunks.
-
Spot the sky labyrinth’s entrance on its north side, marked by Siyamotsus Shrine-glide directly to it as your fast-travel point.
Alternative Methods
-
If already at Motsusis Shrine, fast-travel to Popla Foothills Skyview Tower (slightly farther north) for a similar glide path, adjusting eastward.
-
Avoid diving into the chasm yet, as depths access opens later; focus skyward first for the prophecy sequence.
This path minimizes stamina drain and combat risks from sky enemies.
Which Skyview Tower gives the easiest glide to the Lomei area
Gerudo Canyon Skyview Tower offers the easiest glide to the South Lomei sky labyrinth area from the surface.
Why Gerudo Canyon Skyview Tower
Located southwest in the Gerudo Highlands (around -2246, -1810, 0380), this tower provides the closest and most direct eastward launch toward the sky maze at roughly -1300, -2600 elevation.
-
Launch from the tower and glide east-northeast, using stamina recovery on intermediate sky islands in the East Gerudo Sky Archipelago.
-
With Tulin’s ability active, the glide requires fewer wheels of stamina compared to northern towers like Ulri Mountain (better for North/Central Lomei).
-
Land directly at Siyamotsus Shrine on the sky labyrinth’s north side for immediate fast-travel access.
Comparison of Nearby Towers
| Tower | Location | Glide Distance | Notes |
|---|---|---|---|
| Gerudo Canyon | Gerudo Highlands SW | Shortest to South Lomei | Direct east path, minimal islands needed |
| Popla Foothills | Hyrule Ridge | Medium | Northern alternative, slight eastward adjustment |
| Ulri Mountain | Akkala Highlands | Longer | Best for North/Central Lomei, not South |
This route assumes surface Motsusis Shrine is cleared to reveal sky objectives.