Every stance in Star Wars Jedi: Survivor changes how Cal wields his lightsaber-and how you survive each fight. Here’s where to find them all and how each one reshapes your combat style.
Not long into Survivor, though, Cal starts to expand his repertoire. Our Star Wars Jedi: Survivor lightsaber stances guide will tell you how and where to unlock each one, and the best ways to use them.
Changing Star Wars Jedi: Survivor stances
Switching stances in Star Wars Jedi: Survivor allows players to adjust their combat style to match different enemies and situations. You can change stances at any Meditation Point after acquiring multiple forms, giving access to combinations like Single, Dual, or Crossguard lightsabers. Each stance has distinct advantages, whether focusing on speed, defense, or raw power, so experimenting during encounters helps find the setup that fits your preferred fighting approach.
Cal can only have two stances equipped at a time – they’re mapped to left and right on the D-pad. You can only change the stances you have equipped at a workbench (just like changing your lightsaber or BD’s components or materials).
Star Wars Jedi: Survivor stance strengths and uses
Each stance in Star Wars Jedi: Survivor offers unique strengths suited to different combat styles. The single-blade stance balances speed and defense, ideal for most encounters. The double-bladed stance excels at crowd control, letting Jedi fend off several foes at once. Dual wielding delivers fast, aggressive strikes but requires precise timing. The crossguard stance hits hardest, trading agility for power and reach. The blaster stance combines ranged shots with lightsaber attacks, giving players flexible options against enemies at various distances.
Each of Star Wars Jedi: Survivor‘s stance has its own strengths, weaknesses, and uses.
- Single is the default and simplest stance. Cal will have one blade of his lightsaber out for a general-purpose stance that balances speed (of your attacks), power, and defense. Its special attack is a focused swing on a single enemy.
- Double-bladed is the Darth Maul-looking stance with two lightsaber blades coming out of a central hilt. The double-bladed stance is best for groups of enemies, slightly increasing speed and defense at the cost of slightly reduced power. Its special attack sends the (double-bladed) lightsaber whirling around Cal in a circle, hitting multiple enemies.
- Dual wield separates Cal’s lightsaber(s) into two – one for each hand. Dual wielding is the fastest and most aggressive stance, emphasizing speed at the cost of defense (but not power).
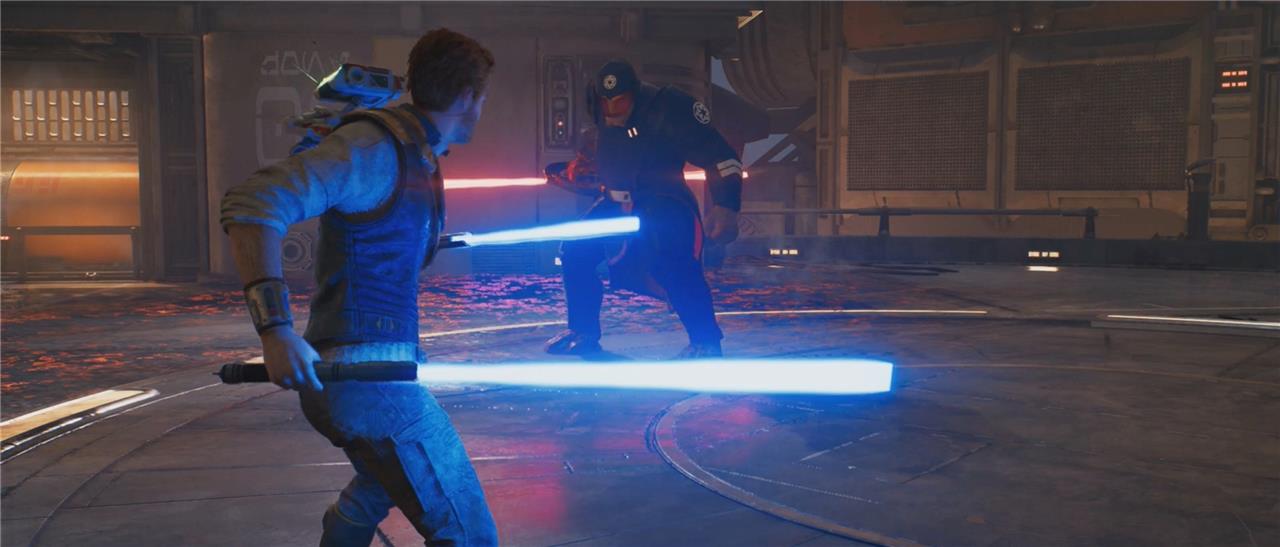
- Crossguard is the Kylo Ren stance that adds a crossguard to Cal’s lightsaber. The Crossguard stance turns Cal’s lightsaber into a much heavier and slower weapon (and, frankly, turns him into a beast). Crossguard is the most powerful stance and the best for defense, but it’s extremely slow.
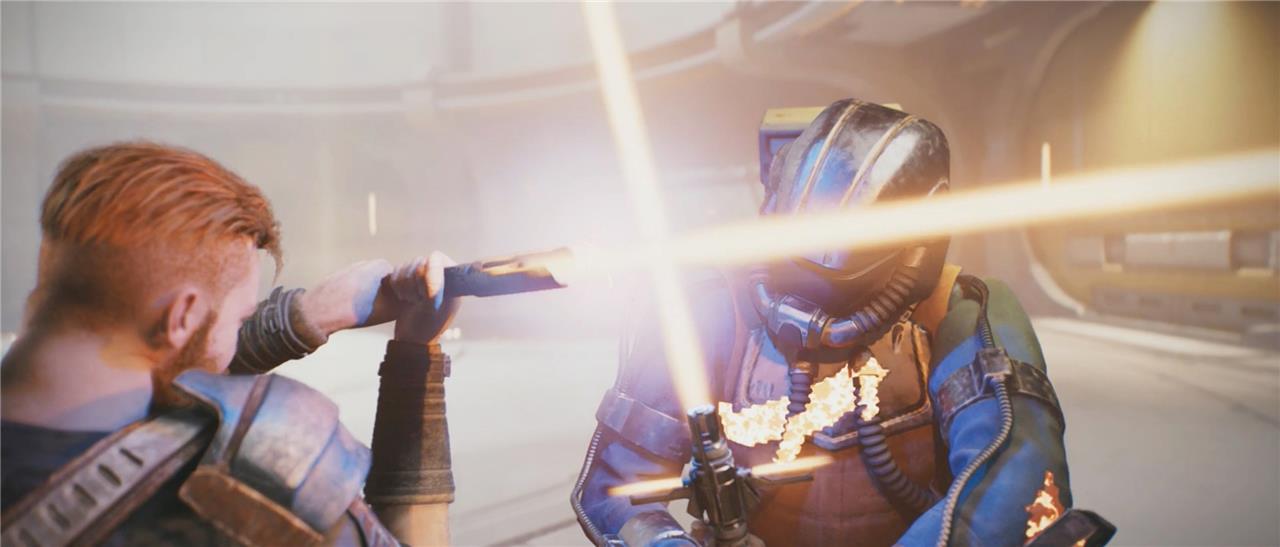
- Blaster adds, as you might expect, a blaster to Cal’s fighting. And it is, in fact, as cool as it sounds.
Star Wars Jedi: Survivor stance locations
Players can obtain each stance by progressing through key story points and exploring specific locations across the game’s planets. The Dual Wield stance becomes available early on Kamino, while the Crossguard stance is found later after defeating a notable boss. The Blaster stance is earned through a main mission on Jedha, adding ranged options to combat. Each stance encourages different fighting styles, making exploration and experimentation worthwhile for mastering Cal’s abilities.
You’ll unlock one new stance for Cal very early in Star Wars Jedi: Survivor – at the end of a boss fight on the first planet. The other two will have to wait a while.
Dual Wield stance location
You’ll unlock the Dual Wield stance during your fight against the Ninth Sister on Coruscant – the first planet you explore – right after you complete the “Escape Undercity Meats” objective.
Blaster stance location
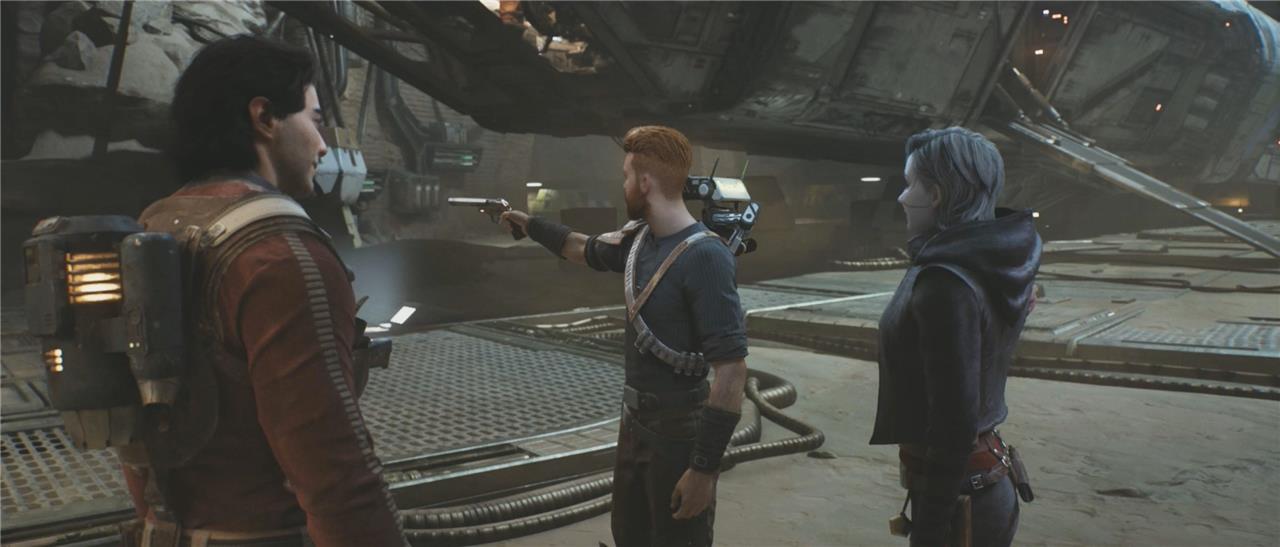
After you explore Coruscant and Koboh, you’ll head to the planet Jedha. Once you complete the “Travel to Cere’s Base” objective (and all the associated running around and talking to folks), you’ll head back to the Stinger Mantis to decide whether to go to either the Shattered Moon or back to Koboh. Before you leave, though, Bode will hand you a blaster. And that’s. it. That’s how you get the Blaster stance.
Crossguard stance location
After you’ve explored Coruscant, Koboh, and Jedha, you’ll get the choice to go to either the Shattered Moon or back to Koboh. If you choose to go to the Shattered Moon, you’ll pick up the Crossguard stance when you defeat Drya Thornne at the end.
Best lightsaber stance combinations for different enemies
For most fights it helps to pair one stance that’s great at crowd control with one that’s strong versus tough single targets.
Against basic mobs and droids
-
Double-bladed + Single: Use Double-bladed to mow through groups and deflect lots of blaster fire, then swap to Single when there are only one or two tougher enemies left.
-
Double-bladed + Crossguard: Double-bladed clears out fodder, Crossguard deletes the remaining tougher target with a few well-timed hits.
Against elite melee and bosses
-
Single + Crossguard: Single lets you safely learn patterns, parry, and chip, then you switch to Crossguard to punish openings with huge damage; this combo is widely considered the highest raw power.
-
Dual Wield + Crossguard: Dual Wield gives fast pressure and stance-cancel options; once you break guard or stagger an enemy, swap to Crossguard to cash out with massive hits.
Against many ranged enemies
-
Double-bladed + Blaster: Double-bladed is excellent at reflecting blaster shots and controlling space around Cal, while Blaster lets you tag snipers, turrets, and distant stormtroopers without over-committing.
-
Single + Blaster: Single is a safe all-rounder for mixed groups, and the Blaster stance lets you finish off weak or shielded ranged enemies from a distance while regenerating ammo via melee hits.
Defensive or learning-focused play
-
Single + Double-bladed: Keep Single as your reliable “panic button” stance while you practice Double-bladed’s timing for crowds and projectile deflection.
-
Single + Blaster: Great if you want one simple melee stance and one ranged option; rely on Single up close and swap to Blaster when you feel overwhelmed or need to thin out enemies safely.
Quick reference table
| Situation | Recommended combo | Why it works well |
|---|---|---|
| Big groups, weak mobs | Double-bladed + Crossguard | Staff clears crowds, Crossguard crushes the last big target. |
| Bosses / elites | Single + Crossguard | Safe pattern learning plus top-tier burst damage. |
| Many ranged enemies | Double-bladed + Blaster | Strong deflects plus safe ranged pick-offs. |
| Mixed encounters | Single + Double-bladed | Versatile single-target plus strong c |
How to upgrade lightsaber stances and skills
You upgrade lightsaber stances and skills in Jedi: Survivor by spending skill points in each stance’s individual skill tree at Meditation Points.
Getting and using skill points
-
You earn skill points by gaining XP from killing enemies, scanning objects, completing quests, and generally exploring. When the XP bar fills, you get a point to spend.
-
Sit at any Meditation Point, then choose the Skills menu to open the trees; from there you can put points into Survival, Force, and any unlocked stance trees.
Upgrading stance skills
-
Each stance (Single, Double-bladed, Dual Wield, Crossguard, Blaster) has its own skill tree with unique moves and passives like longer combos, gap closers, improved reflections, or new special attacks.
-
Highlight a node in the stance’s tree to see its description and cost (usually 1-3 skill points), then confirm to unlock it; the upgrade applies automatically whenever you use that stance.
Respecting and changing your build
-
You can reallocate points by refunding your skills at a Meditation Point: there is an option to reset spent points and respec your build.
-
The first full reset is free; later respecs cost one skill point each, letting you experiment with different stance upgrades without permanently locking yourself in.
Tips for efficient upgrading
-
Early on, prioritize at least one mobility or gap-closer skill and one strong crowd-control or guard-break move in your main stance, since these give the biggest immediate payoff.
-
Avoid spreading points too thin across all five stances at first; focus on one or two you actually use, then expand once you have excess points later in the game.