Hidden high in the frozen peaks of Hyrule, the Gerudo Highlands Tower taunts explorers with its icy defenses and buried secrets. Reaching it takes more than stamina-it demands clever timing, creative problem-solving, and the right gear to survive the storm that guards the Skyview Tower’s switch.
Figuring out all of the Skyview Tower locations is merely the first step to unlocking Hyrule’s map in its entirety. Below you’ll find a walkthrough to solve the Gerudo Highlands Skyview Tower in Zelda: Tears of the Kingdom.
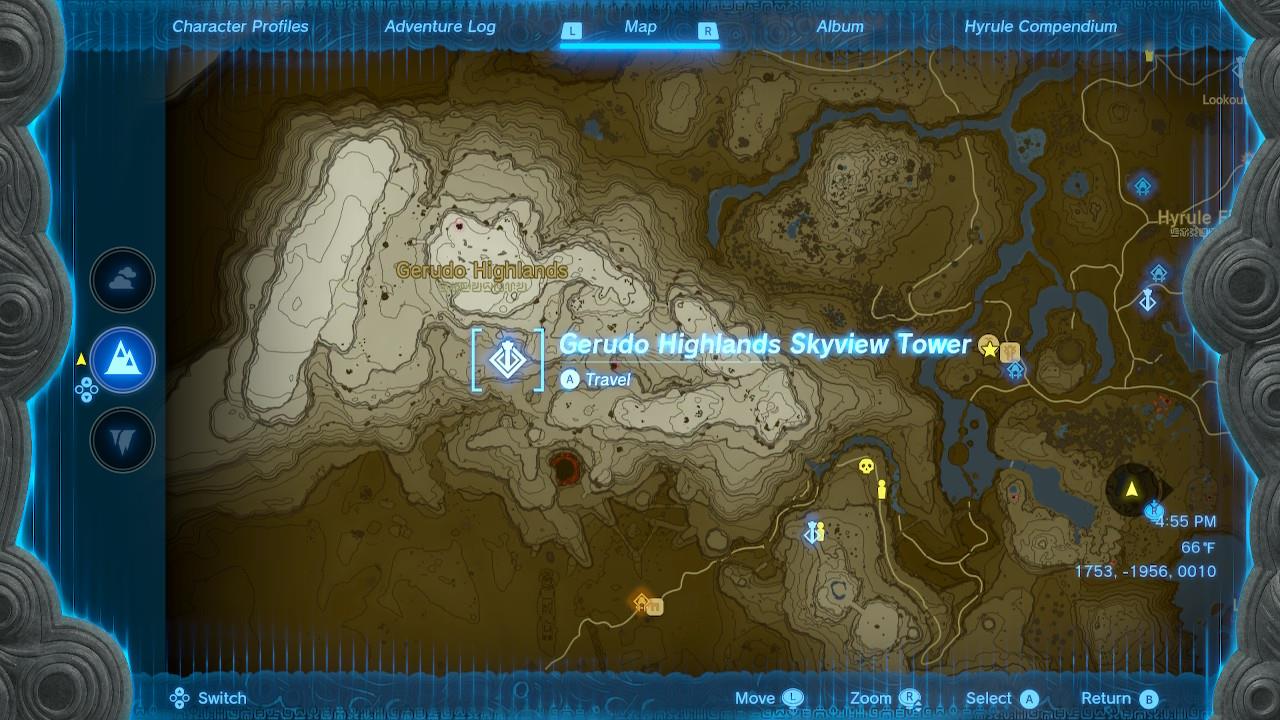
How to get into and activate the Gerudo Highlands Skyview Tower
Approach the Gerudo Highlands Skyview Tower and head north to find Meadela’s Mantle Cave, then go inside and follow the path until you reach the underground river and construction materials. Build a simple raft from the wood planks, ride the current down the river and over the waterfall, and you’ll arrive in a cavern directly beneath the tower. Position yourself on a platform or wooden plank under the square wooden panels in the ceiling, use Ascend to rise into the tower’s interior, then interact with the terminal to activate the Skyview Tower and reveal the surrounding map.
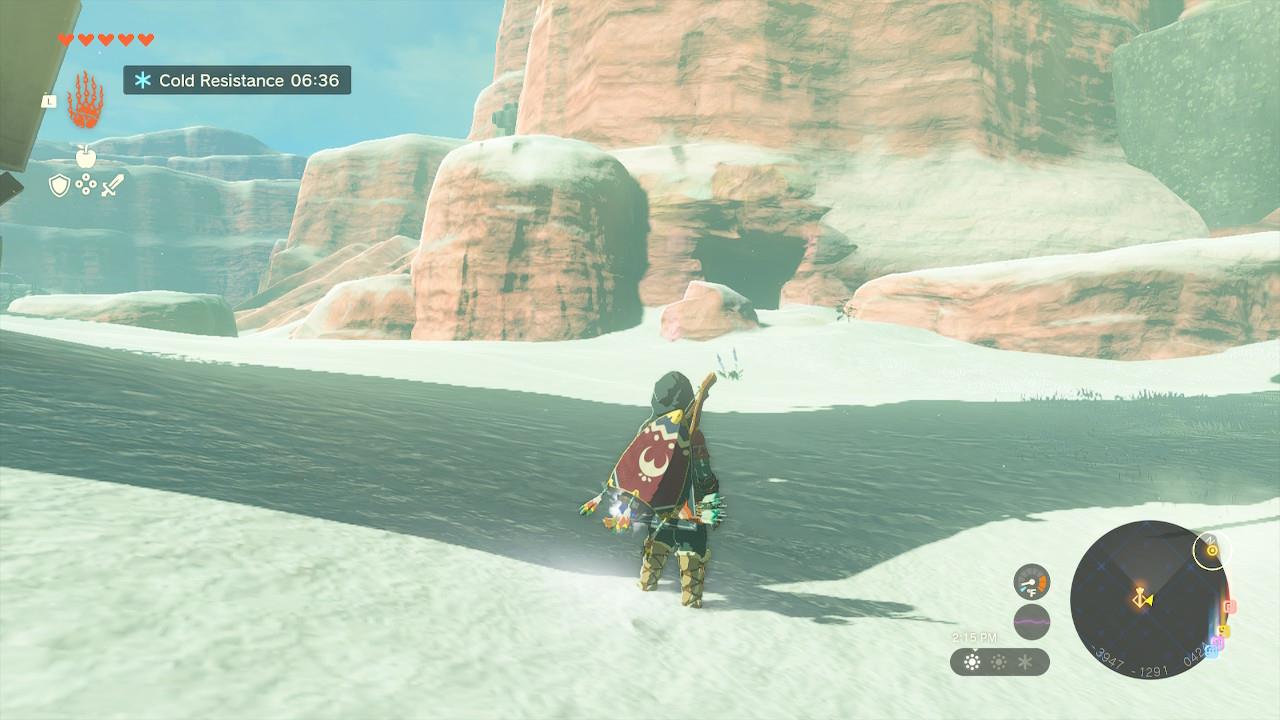
The Gerudo Highlands Skyview Tower is found all the way east from the Hyrule Field at the coordinates (-3960, -1312, 0429), north of the desert. In order to safely make your way here, you’ll need extra resistance to cold – so, both of the status bars displayed when you open your character inventory should be filled. Otherwise, you’ll get a warning about the unbearable cold, and you’ll gradually lose health.
For cold resistance, I used the Archaic Warm Graves, which you can obtain in the Great Sky Island at the beginning of the game, as well as spicy sautéed peppers, which I cooked over at the Kara Kara Bazaar. If you already have a dish with spicy peppers mixed in, you’re set.
Getting to the tower itself is fairly easy, but there’s a catch. You can’t actually access it from ground level, as the entrance is covered in snow. You’ll find a book inside the nearby tent that hints at some construction work done inside Meadela’s Mantle cave. You’ll find it to the opposite side of the tower and the tent itself.
Once you’re inside, another book will tell you about what exactly went down there. Short version: You need to head downstream into an old construction site.
I grabbed one of the boards in the construction spot with Ultrahand and just placed it on the water, as the current will push it on its own. Aside from a Bubbulfrog, there aren’t other enemies to worry about.
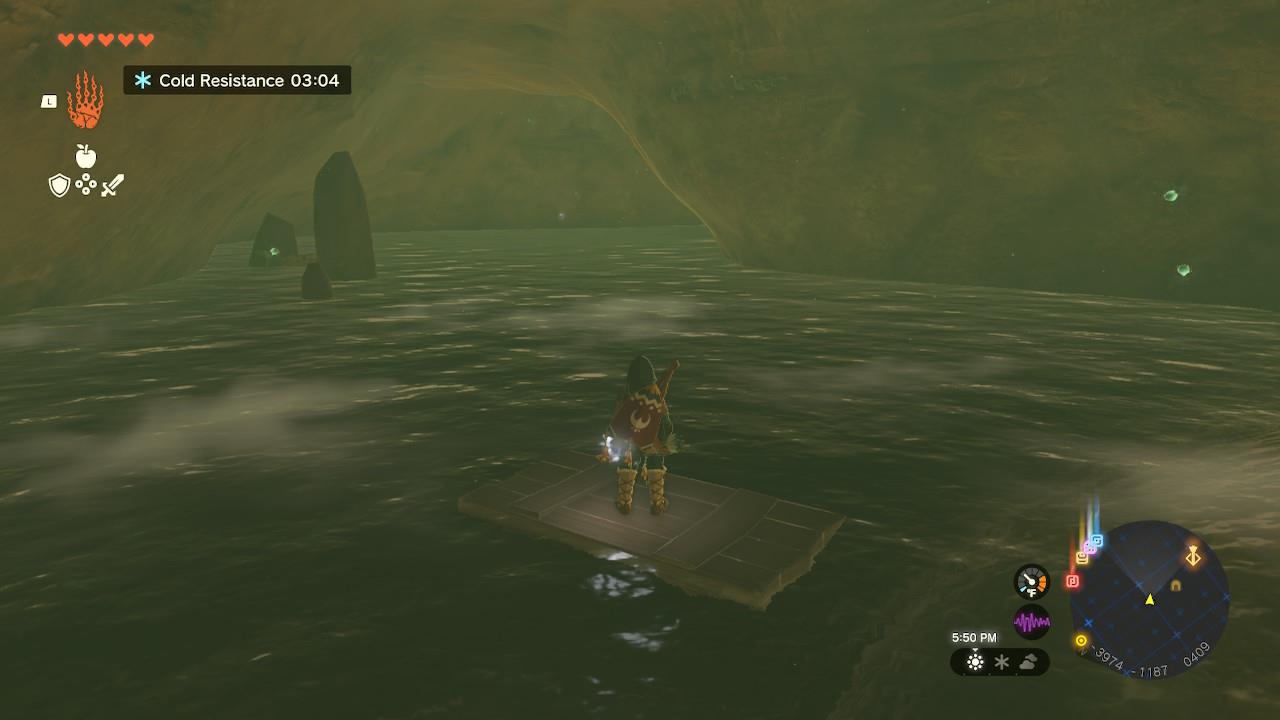
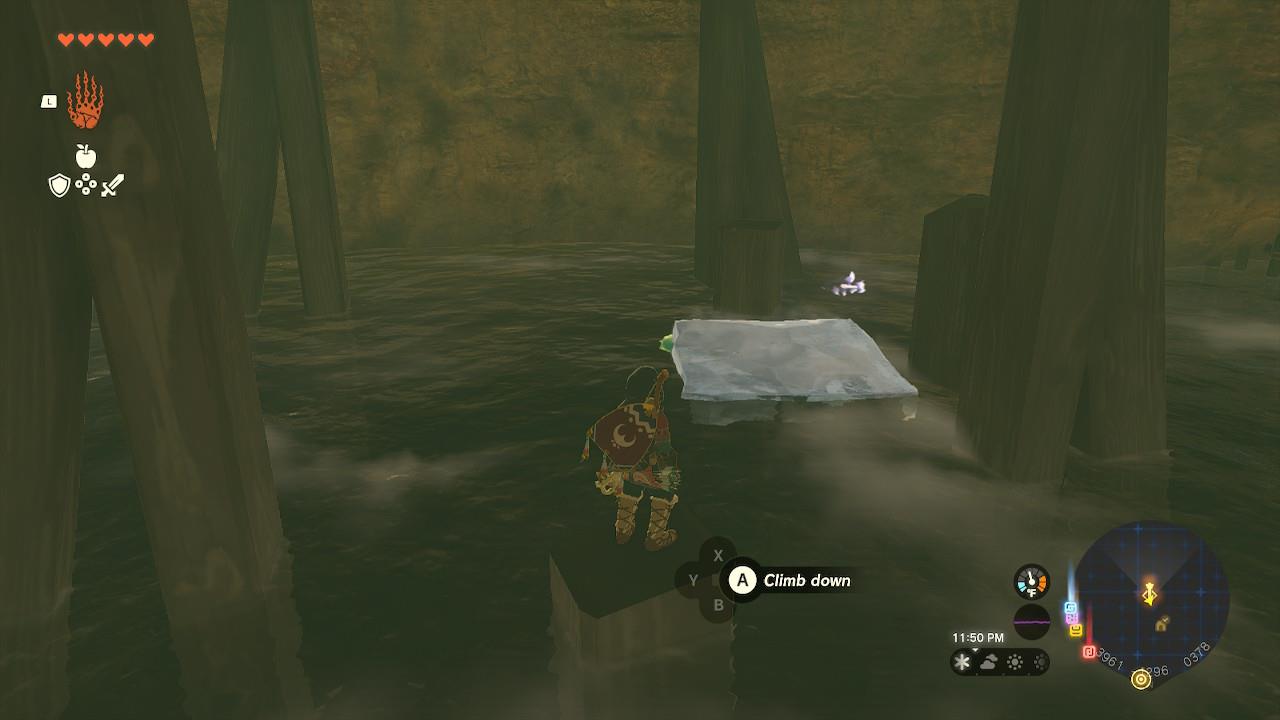
After you’ve fallen down the waterfall and onto the lower floor of the cave, the trick here is to use that same board to create a floor of sorts on the water. You’re going to notice a few pillars connected to the ceiling, as well as three standalone ones that are cut in half.
Use Ultrahand to place the board in between those two cut pillars that are close to each other. It doesn’t have to be a perfect placement or anything, so long as the water doesn’t move it, since you’re going to have to stand on top.
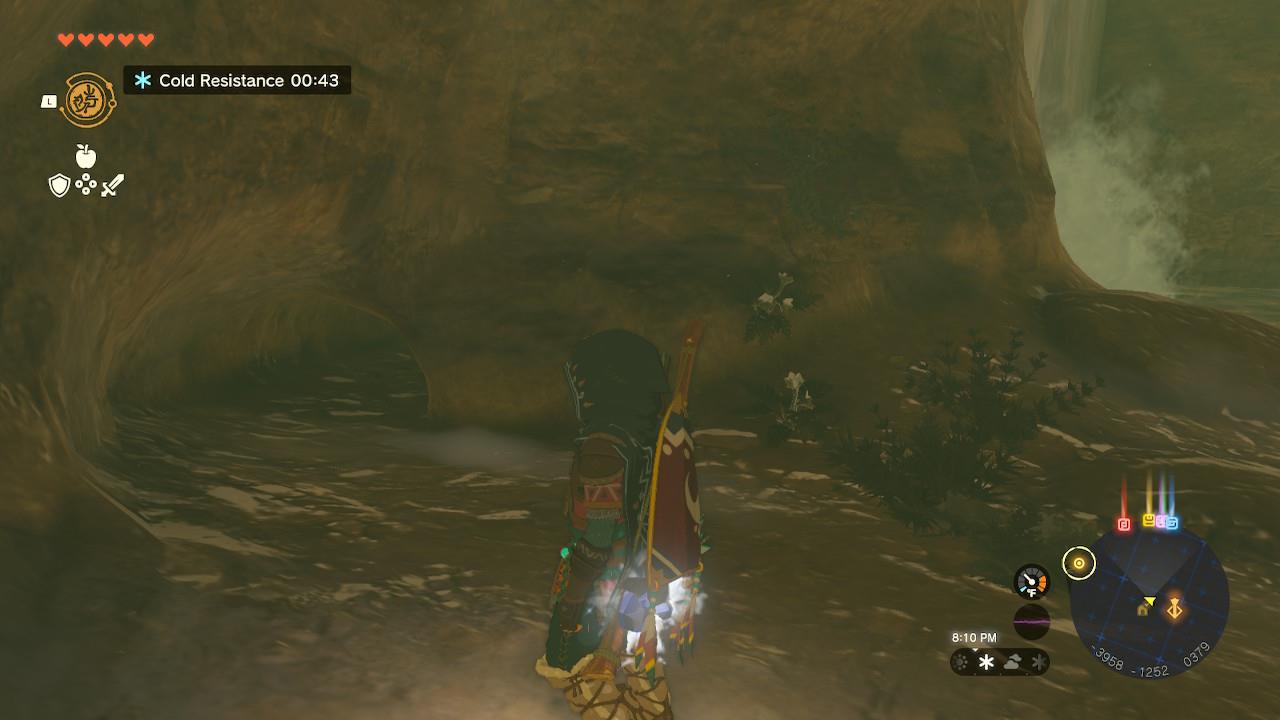
One last tip before you leave: You can take a detour using the left side of the water stream to crouch your way to a chest with a topaz inside.
If you lose the board for any reason, you can throw a white Chuchu jelly at the water to create one. (Worst case, reloading an autosave from when you first entered the cave can help.)
In order to get to the plate without being dragged by the water, you can stand on the third cut pillar, then quickly jump and immediately glide to get closer. But hey, if your stamina can withstand it anyway, you can always just try going for a swim.
Once you’re standing underneath the square-shaped form on the ceiling (look up!), use Ascend to get through it. This will take you inside the tower.
What cold resistance gear is best for Gerudo Highlands
For Gerudo Highlands you want consistent level 2 cold resistance from armor, then top up with food or a hot weapon when needed.
Best overall armor
-
The Snowquill set (head, chest, legs) from Rito Village is generally the best dedicated cold-resistance gear, giving strong cold protection and good defense when upgraded.
-
Wearing two or more Snowquill pieces gives you level 2 cold resistance, which is exactly what Hebra and Gerudo Highlands require so you stop taking chip damage from the cold.
Early / budget options
-
Archaic Warm Greaves from Great Sky Island plus a single cold-resist dish (like spicy pepper meals) can also reach effective level 2 for early trips into the region.
-
If you are missing proper armor, you can temporarily get one “step” of warmth from a flame-type weapon, fuse with fire monster parts (like Fire-Breath Lizalfos Horn), or carry a torch, then combine that with level 1 cold-resist clothing or food.
Practical recommendation for Gerudo Highlands
-
Aim to buy at least two Snowquill pieces in Rito Village before doing serious exploration in Gerudo Highlands, then upgrade them when you can for extra defense.
-
Always bring a few high-duration spicy meals or elixirs so you can swap to stronger armor pieces (for defense) during fights without immediately freezing between hits.
How to reach Rito Village from Gerudo Highlands
From Gerudo Highlands, the simplest approach is to head generally northwest toward Tabantha, then follow the main road and stables that lead into Rito Village.
Basic direction
-
Open your map and put a pin on Rito Village (the large spiral-shaped lake in Hebra/Tabantha to the northwest of Central Hyrule).
-
From wherever you are in Gerudo Highlands, work your way north or northeast until you drop out of the high cliffs into the Tabantha region, then aim for the main road that passes Tabantha Great Bridge.
Using roads and stables
-
Once you hit a proper road, follow it toward Tabantha Bridge Stable and cross Tabantha Great Bridge; this road naturally curves toward Rito Village and is much safer than cutting straight across mountains.
-
Stay on the path past the canyon and hills; you’ll soon see Rito Village ahead, sitting on the big lake, and the route becomes very straightforward on horseback or on foot.
Final approach into Rito Village
-
Just before the village is the broken bridge; light the nearby campfire, toss in a Hylian pine cone to create an updraft, and paraglide over the gap.
-
Cross the remaining small bridges into the spiral “tower” of platforms and climb up to reach the main part of Rito Village.