Hidden beneath the Hyrule plains, Jiosin Shrine challenges players with a clever shape rotation puzzle that tests your spatial sense and patience. Here’s where to find it and how to twist its floating blocks into perfect alignment for victory.
When you’re done, our shrine locations page or interactive Hyrule map can direct you toward something else to do.
Jiosin Shrine location
Jiosin Shrine is located within the Hyrule Field region, southeast of Hyrule Castle and directly north of Hyrule Field Chasm. You can find it near the Great Plateau’s northern edge, close to the road leading toward Hyrule Castle Town Ruins. The shrine sits on open ground, making it easy to spot from a distance once you’re in the area. Coordinates for Jiosin Shrine are approximately (-0240, -0374, 0026), which can help pinpoint its position on the map.
The Jiosin Shrine is found in the Hyrule Field region, on the western edge of the area, close to the border of Passeri Greenbelt. Its coordinates are (-0240, -0374, 0026).
Jiosin Shrine ‘Shape Rotation’ walkthrough
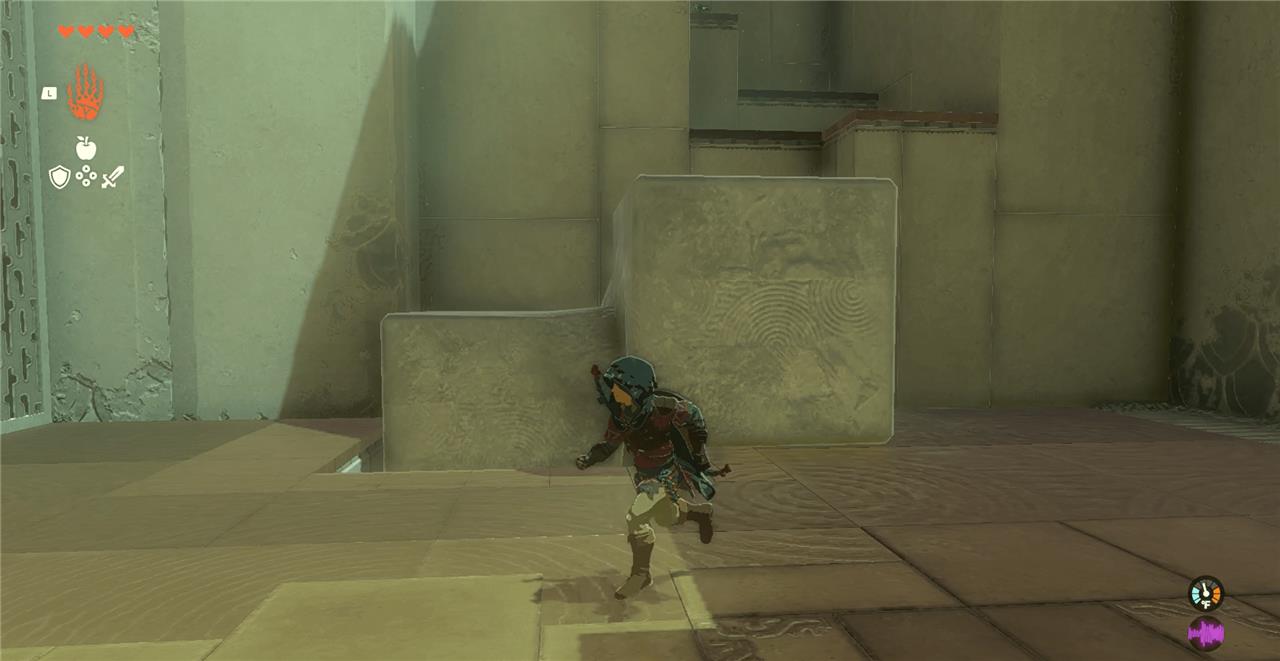
Enter Jiosin Shrine and spot the central rotating platform with geometric shapes. Rotate it clockwise using Ultrahand until the square aligns with the wall slot, then place the shape there to open the gate. Pick up the nearby cube and attach it to the platform’s triangular recess, spinning until it fits the opposite recess perfectly. With both shapes secured, a new path reveals the altar ahead.
Jiosin Shrine, as the “Shape Rotation” subtitle suggests, is about rotating objects to use them in ways that befit you – sometimes through holes in the wall, while other times to act as a staircase for ledges that are way too high up.
Once you enter Jiosin Shrine, you’ll walk a short distance down some stairs and toward a gap you must cross. Here’s what to do.
1. In the room to the left, use Ultrahand to pick up the platform and transfer it to the main room using the X-shaped hole in the wall.
2. Place the platform over the gap and use it as a bridge to access the other side of the room.
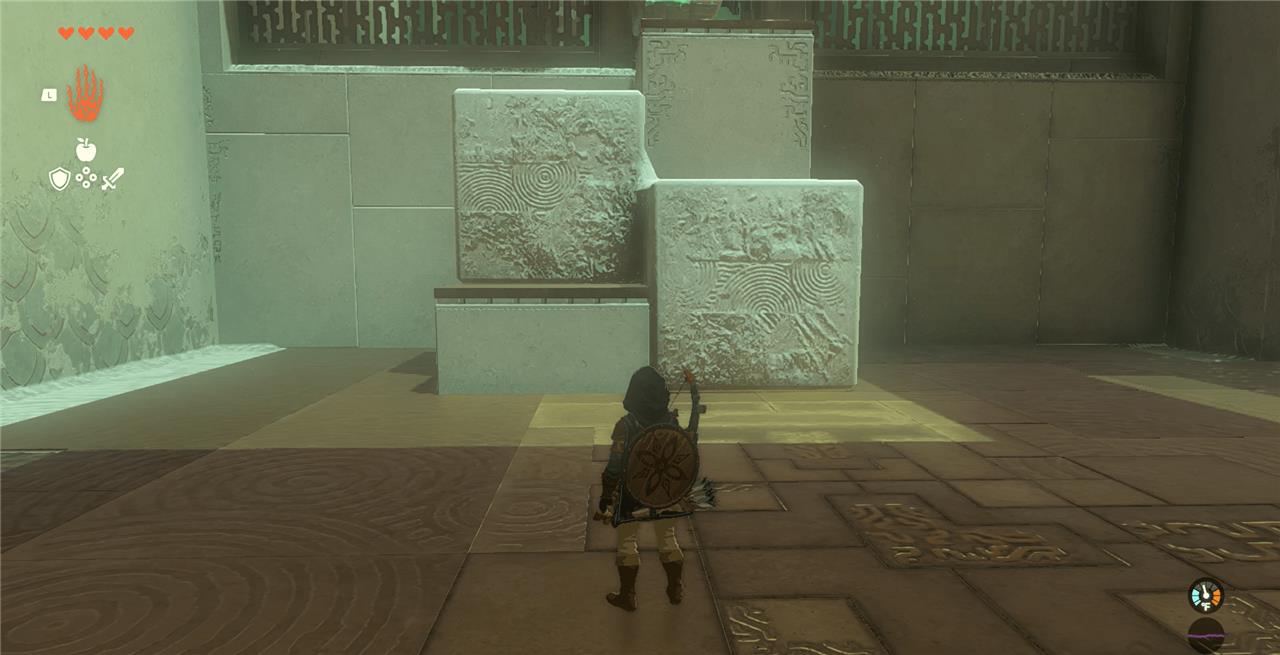
3. Continue into the next room, where you’ll find doorways to smaller rooms on both the left and right walls. Go into the right-side room and use Ultrahand to pick up the object there. You’ll have to rotate it so it fits through the hole in the wall. It’s a little tricky to get it perfectly aligned, but you’ll get it through!
4. Place the cube object at the back of the room and use it to climb up onto the higher platform. You’ll have to rotate the cubes once again to get up there. Take note of the hole in the ground to the left of the platform – part of the cube will need to be set in there so you’re actually able to climb up. Here’s how we did it:
5. Once you’re on the platform – you may need to run and jump over a small gap – make your way to the chest, which will award you with Hasty Elixir.
6. Head back into the main room and pick up the object and rotate it until it fits into the hole on the left side of the room.
7. Rotate the object to create a staircase leading onto the higher platform. Here’s how we did it:
Susuyai Shrine location and walkthrough
Susuyai Shrine is located in Hyrule Field, southwest of Lookout Landing Skyview Tower and west of the Hyrule Field Chasm, at coordinates approximately (-0785, -0433, 0018).
It’s positioned in the Passeri Greenbelt area amid some ruins, roughly west of Jiosin Shrine.
Shrine overview
Susuyai Shrine, titled “A Spinning Device,” introduces Zonai motors (wheels) and basic vehicle construction using Ultrahand.
You’ll need Ultrahand unlocked from the Great Sky Island tutorial.
Rewards include a Light of Blessing and a chest with 5 Arrows.
Walkthrough
1. Entry room – Moving platforms and chest
Three motorized carts loop across a rotating floor, vanishing off edges; the middle one carries the chest.
Hit a wheel on the middle cart with your melee weapon to stop it, then use Ultrahand to pull the chest down safely and open it for Arrows.
Stop and ride one of the other carts (hit a wheel to activate after boarding) across the rotating floor to the far side.
2. Vehicle platform and gate
A partially built cart sits left with two wheels/motors; flip it, attach two more nearby motors facing the same direction.
Place it on the rotating floor, activate a wheel, and ride up the conveyor ramp to a closed gate with a crank mechanism.
Detach a wheel from your cart, attach it to the crank arm, activate it to spin the crank and hold the gate open.
3. Overhead rail section
A hanging platform dangles from a rail with two spare wheels nearby.
Attach one wheel to the top-front of the platform so it grips the rail (arrow facing forward), hop on, and shoot an arrow at the wheel to activate and ride to the end.
Proceed to the altar for your Light of Blessing.
What rewards are in Susuyai Shrine treasure chests
Susuyai Shrine contains one treasure chest.
Chest reward
The chest is on the middle motorized cart in the entry room and holds 5 Arrows.
How to access
Grab the middle cart with Ultrahand, pull it to safety or stop its wheel, then open the chest before the other carts push you off.
No other chests exist in the shrine.