A towering nightmare awaits in Chapter 4 of Resident Evil 4 Remake, as Leon faces the monstrous El Gigante in a brutal test of strength and strategy. Here’s how to outsmart the giant, survive his crushing blows, and turn this mountain of muscle into dust.
How to defeat the Giant in Resident Evil 4 remake
El Gigante is a towering brute that relies on sheer strength, so staying mobile is key. Keep your distance and use environmental cover to avoid his crushing attacks. Aim for his head or wait for the parasite on his back to appear, then pour as much firepower into it as possible. Grenades and powerful weapons like the shotgun or rifle help speed up the fight. If the dog ally was freed earlier, it will distract El Gigante, giving you precious openings to deal heavy damage safely.
The only real trick to this fight is ensuring you have enough ammo. Throughout the fight, check the edges of the Quarry and inside the shacks the giant smashes for various crates, herbs, and ammo to keep yourself supplied.
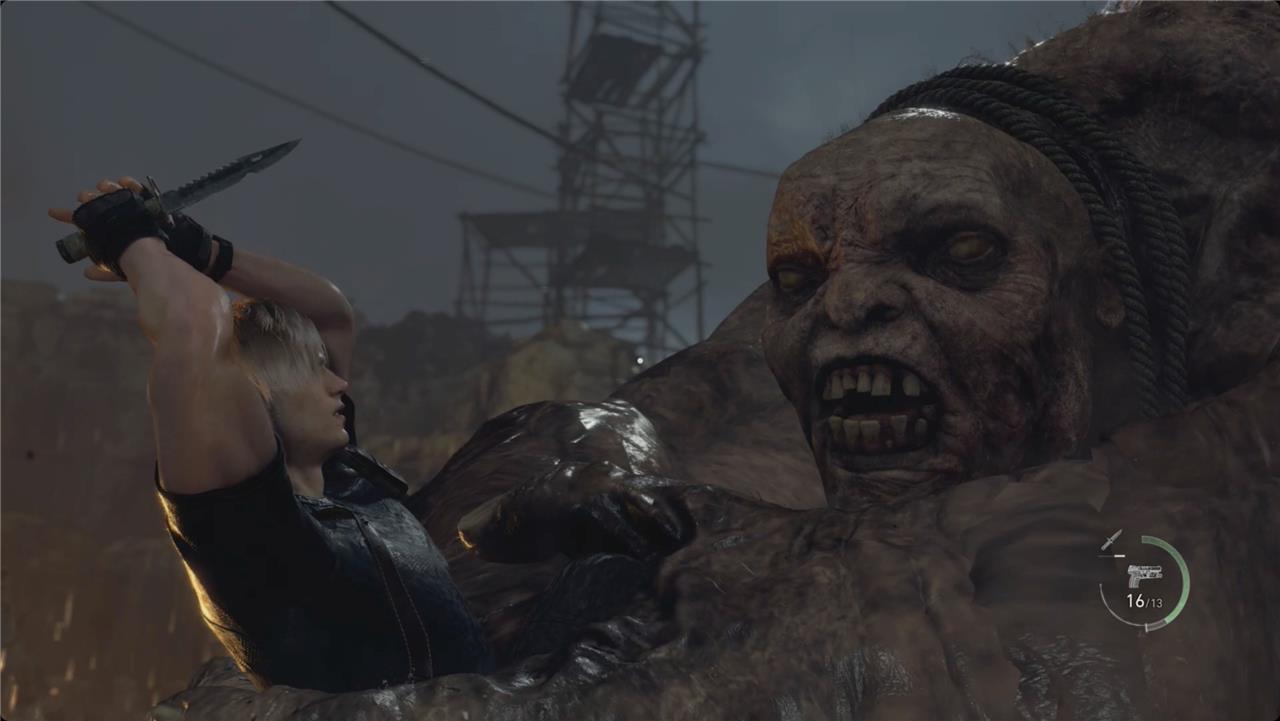
Throughout the fight, the giant will try to grab you or jump on you. Just keep an eye out for the evade quick time event – press B/circle to (attempt to) dodge. We struggled with this since there’s a delay between aiming and Leon reacting to the dodge prompt. It’s not too bad, though, so long as you have a knife. When you get grabbed, start mashing R2 to stab his hands and break free.
You can also just run around him without too much trouble – you can even dash between his legs before he gets a chance to grab you.

At the beginning of the fight (we hesitate to call it a “phase 1”), your goal is to deal enough damage to get the giant’s parasitic tentacle to pop out. Damage is damage here, but he really seems to hate getting shot in the head (relatable). If the tentacle retracts at any point, just turn your attention back to his head.
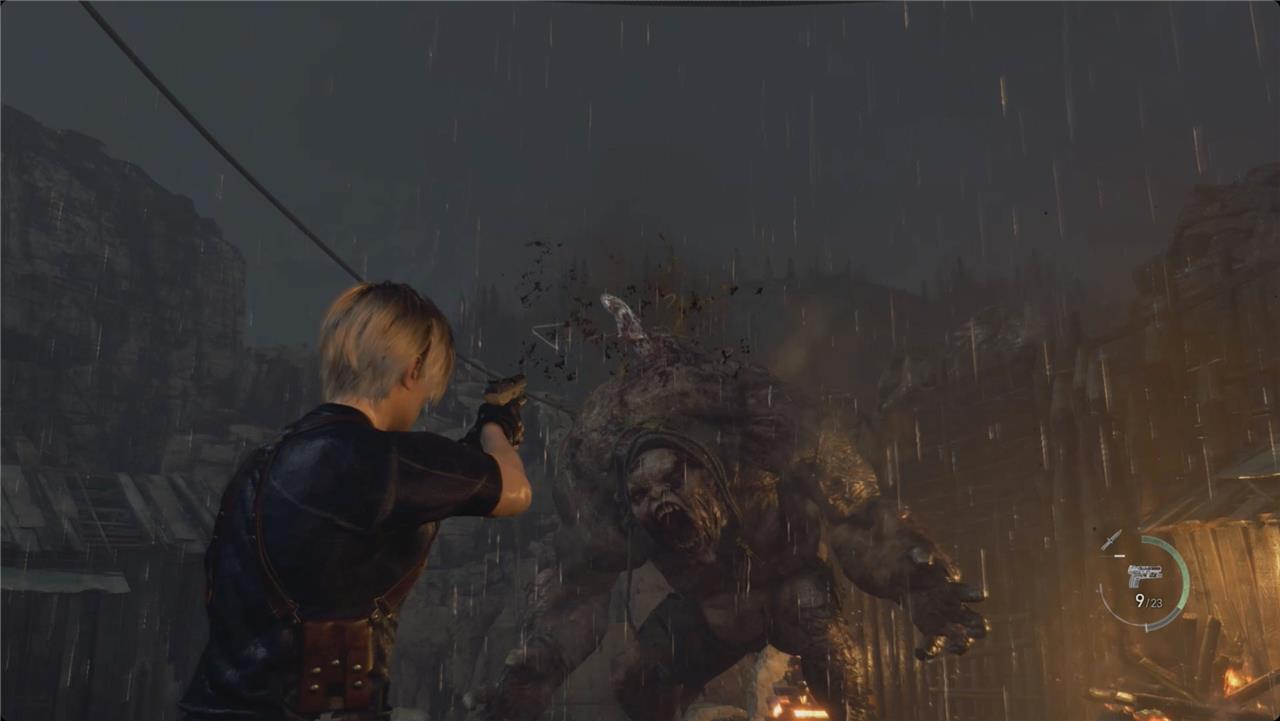
Once the tentacle pops out, that’s your’ new target. It’s harder to hit – especially with the low accuracy of the Red9 – but it’s the fastest way to finish this fight.
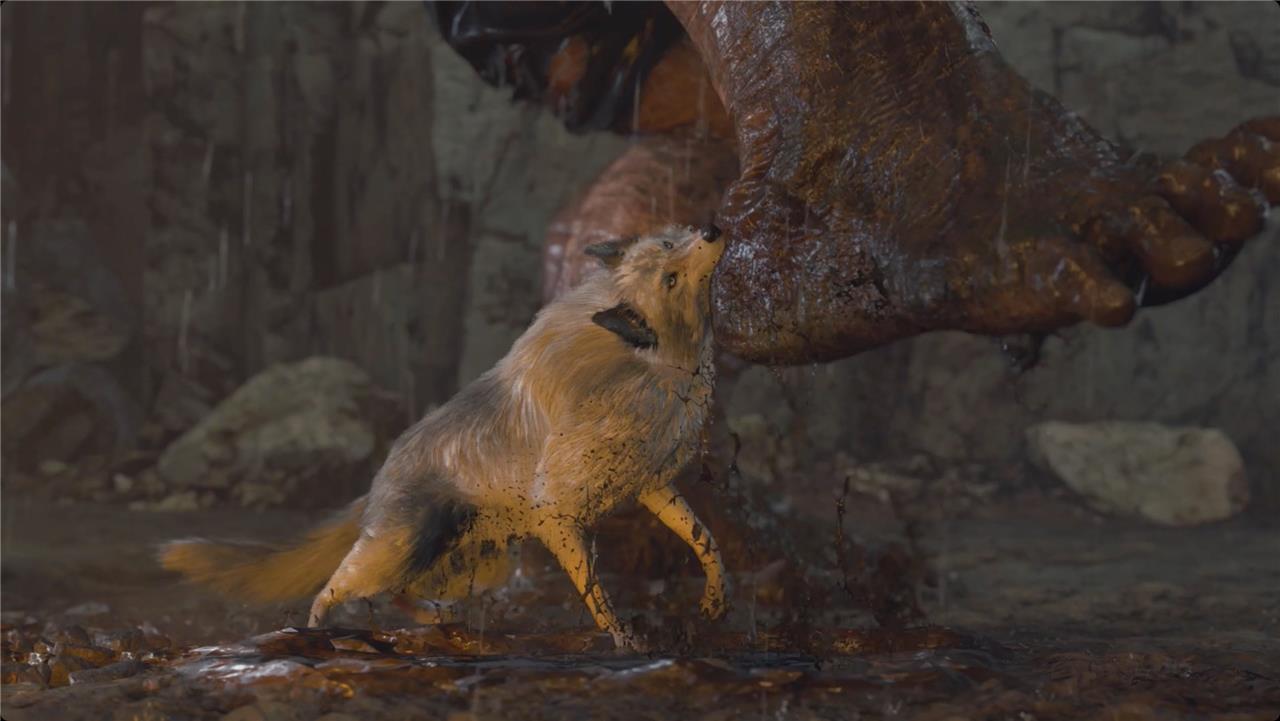
After fighting for a bit, that wolf you rescued from the trap back in Chapter 3 will come to your aid. They’ll help keep the giant distracted so you can go collect ammo and deal more damage.
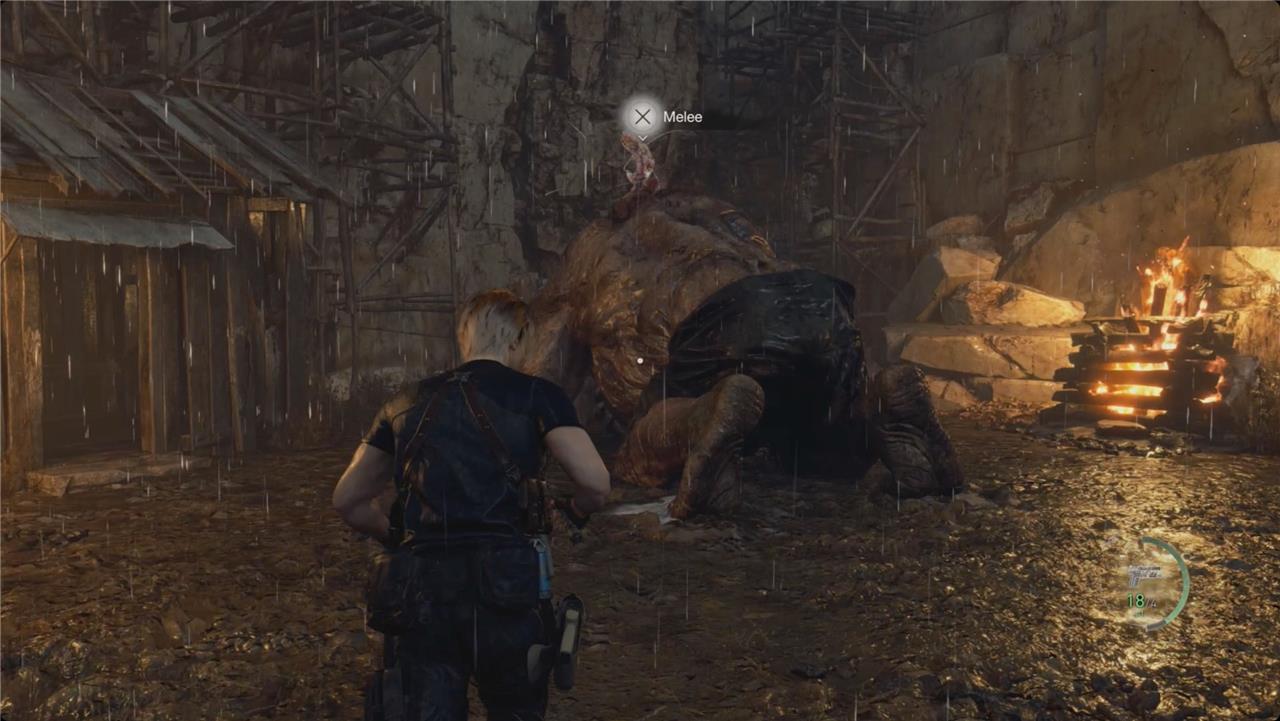
Periodically, the Giant will fall forward and expose the tentacle on its back. You’ll get a melee prompt, so get close to trigger it. When you climb up on his back, just mash the right trigger until you jump off. At that point, just start the process over.
Best weapons and ammo management for El Gigante on Professional
On Professional mode, El Gigante demands precise ammo conservation due to scarce drops and his heightened aggression, faster recovery, and one-shot potential.
Top Weapons
Prioritize these for Chapter 4 availability and efficiency against El Gigante’s head (to expose parasite) and back weak point.
| Weapon | Role | Key Upgrades (Priority) | Why Best on Pro |
|---|---|---|---|
| Bolt-Action Rifle (buy in Ch. 3) | Phase 1 headshots | Power x3, Reload x1, Capacity to 11 | 3x headshot multiplier shreds body armor to pop parasite fast; ammo drops plentiful, upgrades cheap. |
| Riot Gun (exclusive upgrade post-Ch. 3 Merchant) | Close-range stagger + parasite DPS | Power x2-3, Loaded Shotgun Speed | One-shots head/parasite up close; infinite ammo craftable via Large Gunpowder Black. |
| TMP (buy Ch. 4 start) | Sustained parasite fire + dog distraction windows | Capacity/Firepower early | High rate-of-fire melts parasite when safe; skip if ammo-tight, as handgun suffices. |
| Red9 or SG-09 R (Handgun) | Backup/filler shots | Firepower x2, Reload | Accurate headshots without wasting premium ammo; sell excess handgun ammo for pesetas. |
-
Avoid early shotguns like W-870 (too slow on Pro); save shells for Riot Gun.
-
Bolt Thrower + mines optional for no-damage cheese, but ammo-intensive early.
Ammo Management
-
Stockpile pre-fight: 40-60 rifle rounds, 3-5 Riot shells, 100-150 TMP, 200+ handgun; craft Large Gunpowder Black for shells/rifle ammo via Spinel requests.
-
Sell junk: Handgun ammo (game floods you), small treasures; buy gunpowder over resources.
-
Fight flow:
-
Rifle headshots (10-15 shots) to stagger → parasite out.
-
1 Flash Grenade (stuns, exposes parasite fully) + climb/knife (no ammo).
-
Repeat 3-4x with dog distraction; TMP/Riot only on parasite (short bursts).
-
1-2 Hand Grenades if low ammo for stagger/damage.
-
-
Conserve 70%+: Knife after every knockdown; run circles, never stand-still shoot. Heal orange health only.
-
Post-fight: You’ll have ammo left for Ch. 5 if you skip unnecessary Ganado kills en route.
El Gigante no damage strategy on Professional
On Professional mode, no-damage El Gigante runs rely on precise positioning, flash grenades for safe knockdowns, rifle headshots to expose the parasite quickly, and the dog’s distractions-avoiding all contact by never stopping or overcommitting.
Prerequisites
-
Rifle: Power +3 (or max if possible), Capacity 11; available/buyable pre-Ch. 4.
-
2 Flash Grenades (craft/buy; critical for zero-risk downs).
-
Knife: Exclusive or Primal upgraded for post-knockdown damage (not required but efficient).
-
Save the dog earlier for mid-fight help; manual save right before entering quarry.
-
Full heals (3+ mixed herbs); ignore pickups until safe windows.
Step-by-Step No-Damage Sequence
-
Start: Rifle 2-3 precise headshots as he approaches (stay mid-range, strafe sideways). He roars-shotgun blast to head (Riot Gun if owned) to instantly expose parasite.
-
First knockdown: Rifle snipe parasite (1-2 shots) to drop him. Sprint in, climb/knife immediately (stand close to trigger prompt fast on Pro). Back off before he rises.
-
Dog phase 1: Dog arrives post-knockdown. Let it distract; repeat headshots → shotgun → rifle parasite → knife. Dog triggers cutscene where Gigante crashes into wall, exposing parasite on ground.
-
Exposed phase: 2 rifle shots to grounded parasite (safe, no movement needed).
-
Final stun: Wait for him to finish rise animation/roar. Flash grenade at feet → 1 rifle parasite shot for instant final knockdown. Knife to finish (or rifle if needed).
-
Dodge all attacks by constant sideways sprinting (charges telegraphed by roar/lean); run to his feet for roof throws. Never shoot while he’s charging or flailing.
Dodge and Safety Rules
-
Positioning: Outer arena circle; bait stomps/grabs by staying behind calves (safe knife spot if desperate, but avoid).
-
No-risk timing: Only shoot during recoveries, dog distractions, or post-flash stuns. Flash ignores his guard if timed post-roar.
-
Pro specifics: He recovers faster, so knife every down instantly; heals only drop to green HP max. No standing still-ever.
-
Backup: If no flash, 1 hand grenade at roar feet guarantees stagger, but flash is safer ammo-wise.
This clocks under 2 minutes with practice; reload save on mistimed shots. Knife-only variants exist via endless calf stabs during stomps, but they’re riskier.