King Gleeok is one of Hyrule’s fiercest challenges-an ancient, three-headed dragon that rules the skies with devastating elemental attacks. Here’s where to find each variant and how to bring this colossal boss down before it reduces you to ash, lightning, or ice.
Even if you think you have what it takes, or if you simply want to get the Sage’s Will it can protect, you’re going to want to go in prepared. Here we cover all of the prep you need to do if you want to be the one left standing.
Where to find King Gleeok locations
King Gleeok can be found at several high and exposed locations across Hyrule. You’ll encounter one near the Bridge of Hylia, another on the Stormwind Ark above Hebra, and a third atop the Coliseum Ruins. Variants such as Flame, Frost, and Thunder Gleeoks appear in different regions matching their element-Gerudo Desert for Flame, Hebra Mountains for Frost, and Akkala Sky Islands for Thunder. Each site demands solid preparation and gear suited to the local conditions.
There are fourKing Gleeok in Zelda: Tears of the Kingdom, with each being a triple threat of fire, ice and thunder.
The King Gleeok locations are:
- West Hebra Sky Archipelago (-4470, 2175, 1252)
- Sky Island above Eventide Isle (4652, -3827, 1065)
- Sky Island in the Gerudo Sky (-4447, -2730, 1419)
- Gleeok Den in the Great Hyrule Forest Depths (0141, 3127, -0622)
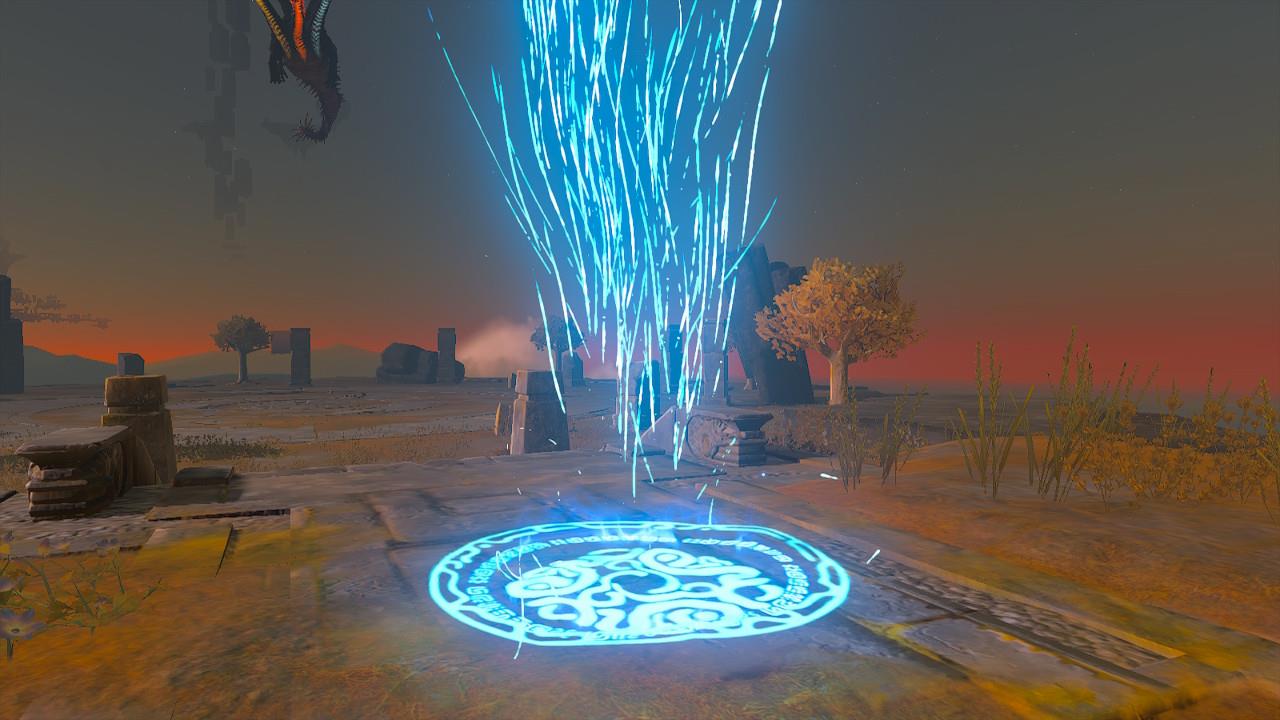
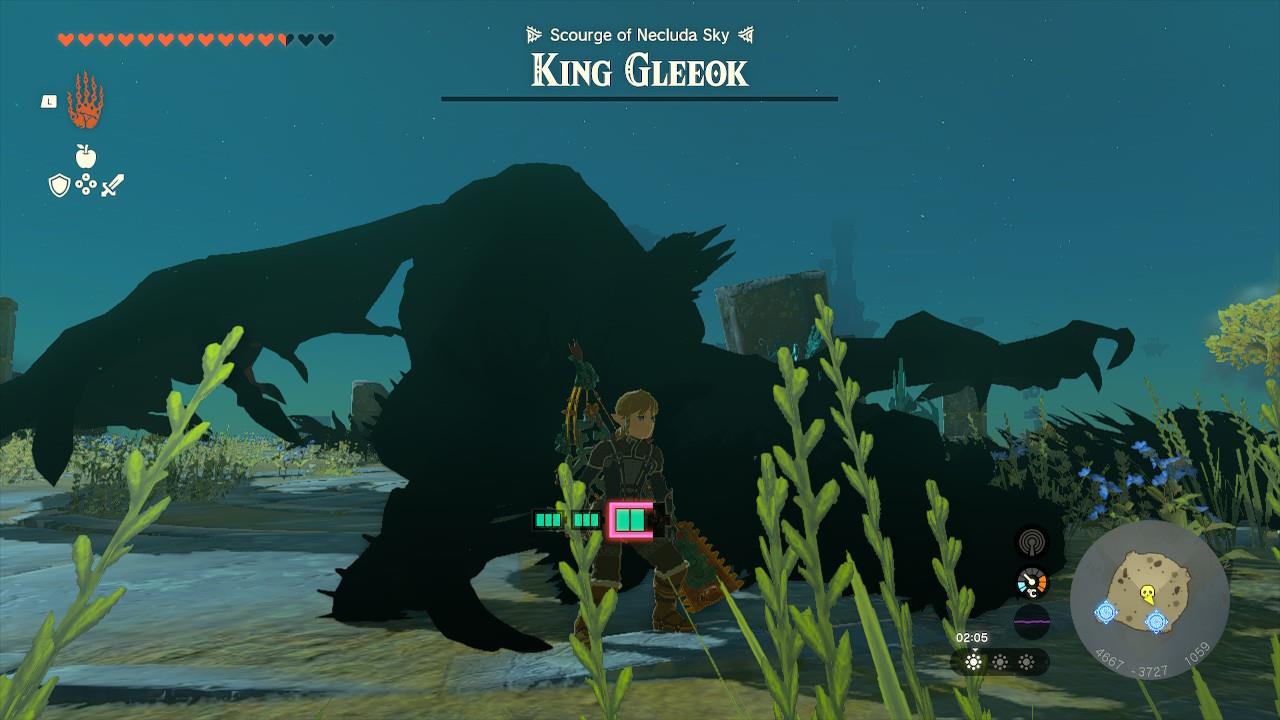
Here is what the Sky Island ones look like – with this being the one above Eventide Isle in particular:
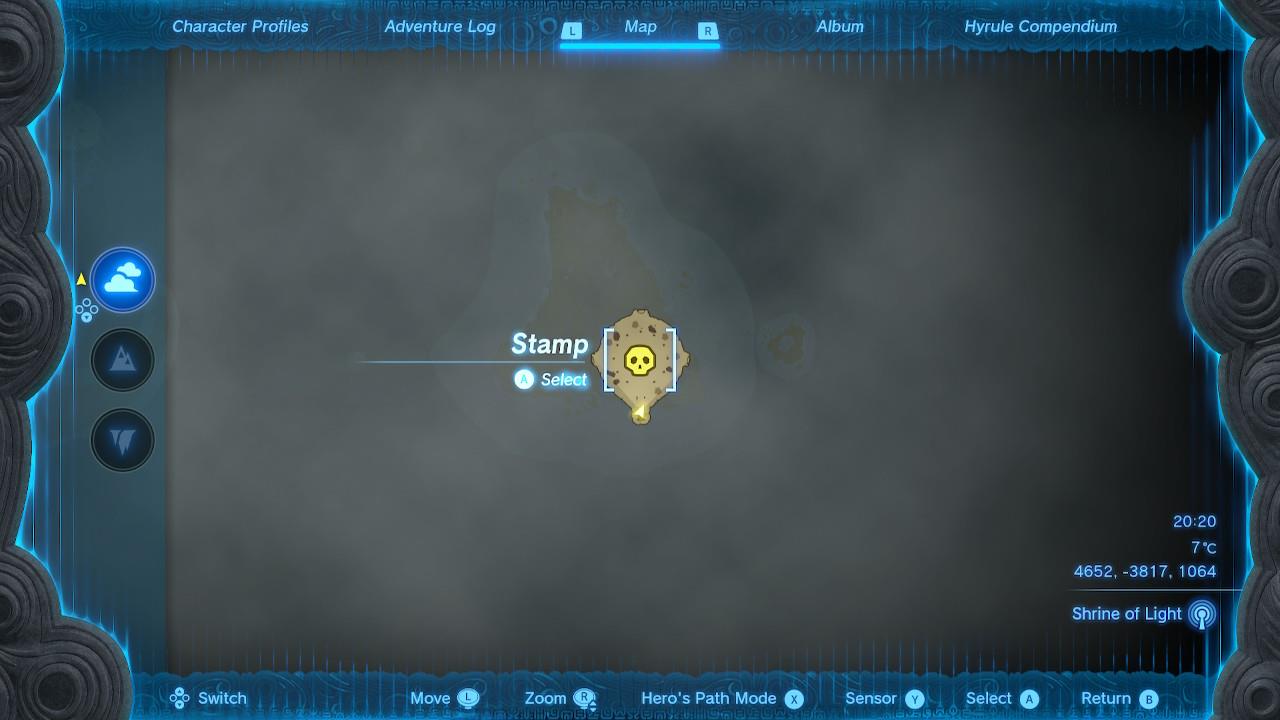
To get there, you’ll want to head to the Kumamayn Shrine, just east of the Rabella Wetlands Tower. If you haven’t done that shrine, it is part of the ‘The Necluda Sky Crystal’ shrine quest, and it’s a vital step on the way to defeating the King Gleeok for two reasons because of the loot, you get for doing so: a Zonaite bow.
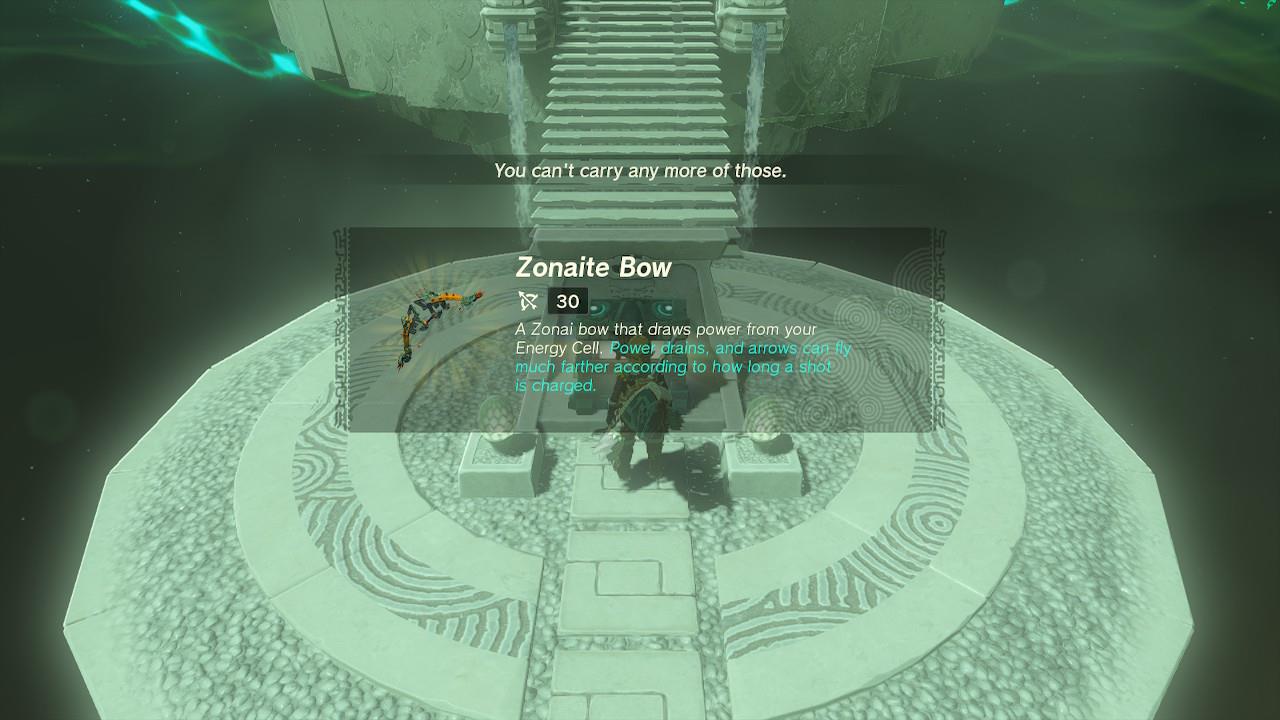
If you’ve done any of the other Gleeoks, you’ll know how tricky it can be to seal the deal when the boss flies up in the air for its ultimate attack. The King Gleeok goes even higher (relative to the platform, we’re already waaaaay up in the air up here), making the extra reach you get with this bow a game changer.
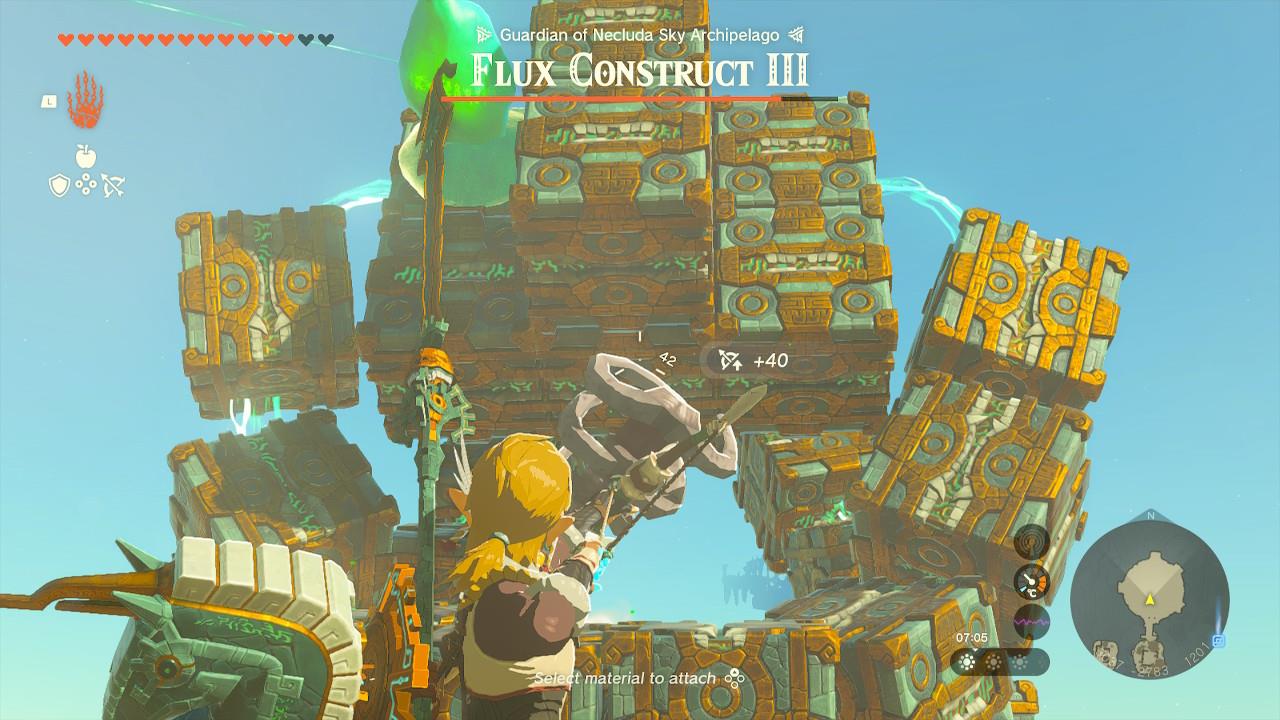
The issue, of course, is getting the crystal over to the shrine. That involves taking down a Flux Construct III – a super beefed-up version of the Flux Construct fought on the Great Sky Island where you start the game proper.
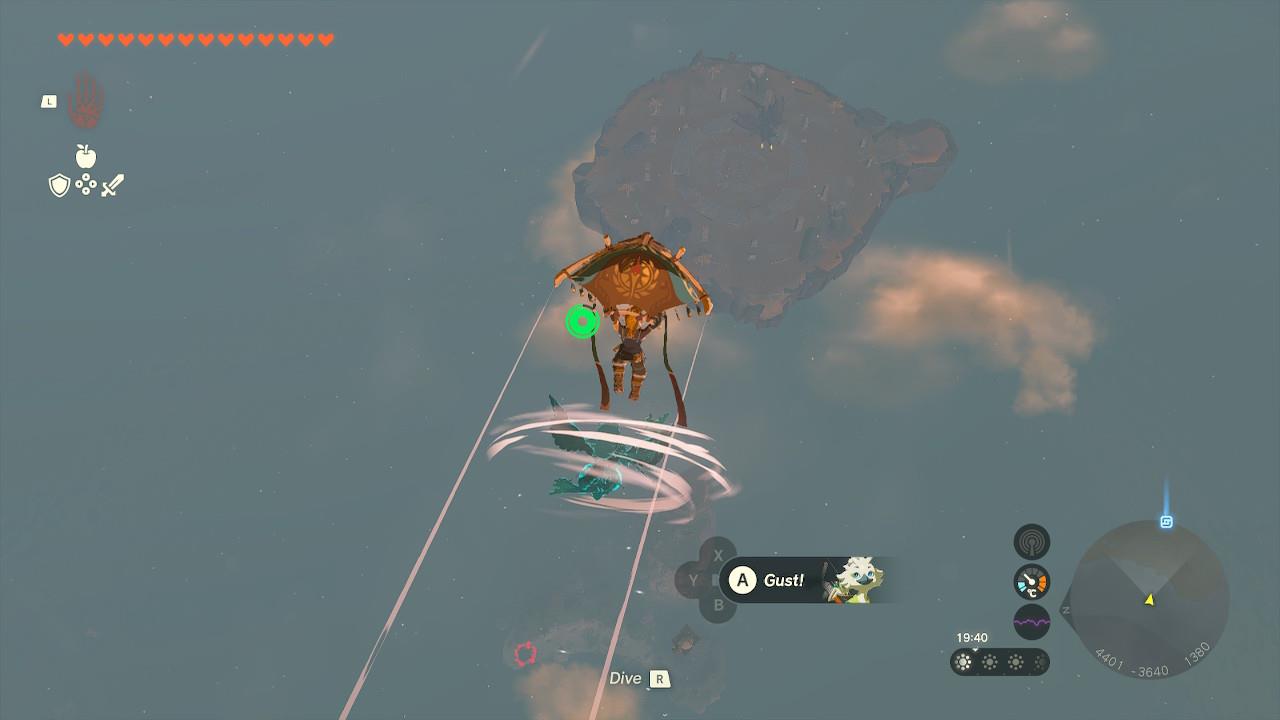
Once you’ve unlocked the shrine and bow, head over to the south-east tip of the Sky Island you’re on and look to the distance. You should just about make out your destination. That’s clearly way too far for conventional Sky Island-hopping, so we’re going to need to get creative.
We used a device made out of two carts, one flame emitter, one balloon, two fans and a steering stick. You can see it in action below – be aware that unless you have maxed out your battery storage, you’re likely going to want to use some large Zonai charges.

Once you’re within striking distance, glide down to the platform.
As soon as you land, go to your Key Items and place a Travel Medallion (you get these from Robbie as part of the “Presenting: The Travel Medallion” quest). This will allow you to come and go as necessary, and save you the faff next time you fancy fighting it, or if you realize you’re underprepared.
How to prepare for King Gleeok
King Gleeok is a triple-headed dragon that deals devastating elemental damage, so preparation is key before facing it. Stock up on high-quality bows, powerful arrows, and elemental-resistant armor matching the type of Gleeok you’ll encounter-flame, frost, or thunder. Cook meals and elixirs that boost your attack power and resilience, and bring plenty of stamina recovery items to maintain mobility during the fight. Fusion weapons with strong materials, such as Lynel parts or Gleeok-related drops, can make a big difference in damage output. Saving before the encounter allows room for experimentation without losing hard-earned progress.
King Gleeok is one of the most difficult bosses you will come across in Zelda: Tears of the Kingdom, and preparation is therefore essential to both survival and success. Here’s a run-down of what you need.
Healing items
Needless to say, the King Gleeok can batter you to within a quarter-inch of your life in a single hit, even when you have as many hearts as we do. As a result, you’re going to want a lot of high-quality foods to get you through it.
In Tears of the Kingdom, this means meat skewers. To make the meat skewer with the ‘Full Recovery’ bonus, simply cook 5 raw gourmet meat.
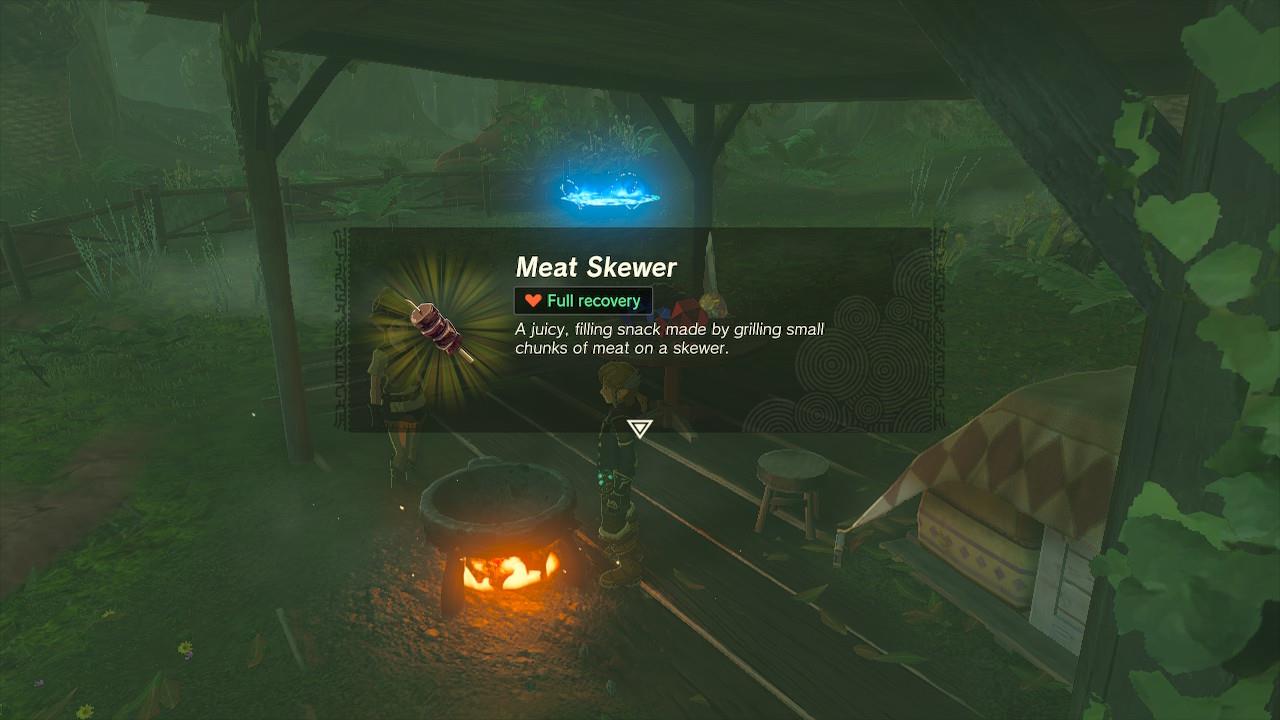
“But wait,” we hear you say. “That’s a rare item!”
You’re entirely correct, but don’t worry; we got you. Head to the Orochium Shrine in the Tabantha Frontier and do a lap of the wooded areas, as far south as ‘Sign Guy’, looking for bears and moose. The quickest and easiest way to do this is on horseback; simply jump (the X button) off the horse to get airborne – a single headshot will net you two or three meat items of raw prime meat quality or greater.
If you cook five raw prime meat at once, you get a skewer that restores 15 hearts, so that’s well worth doing, too.
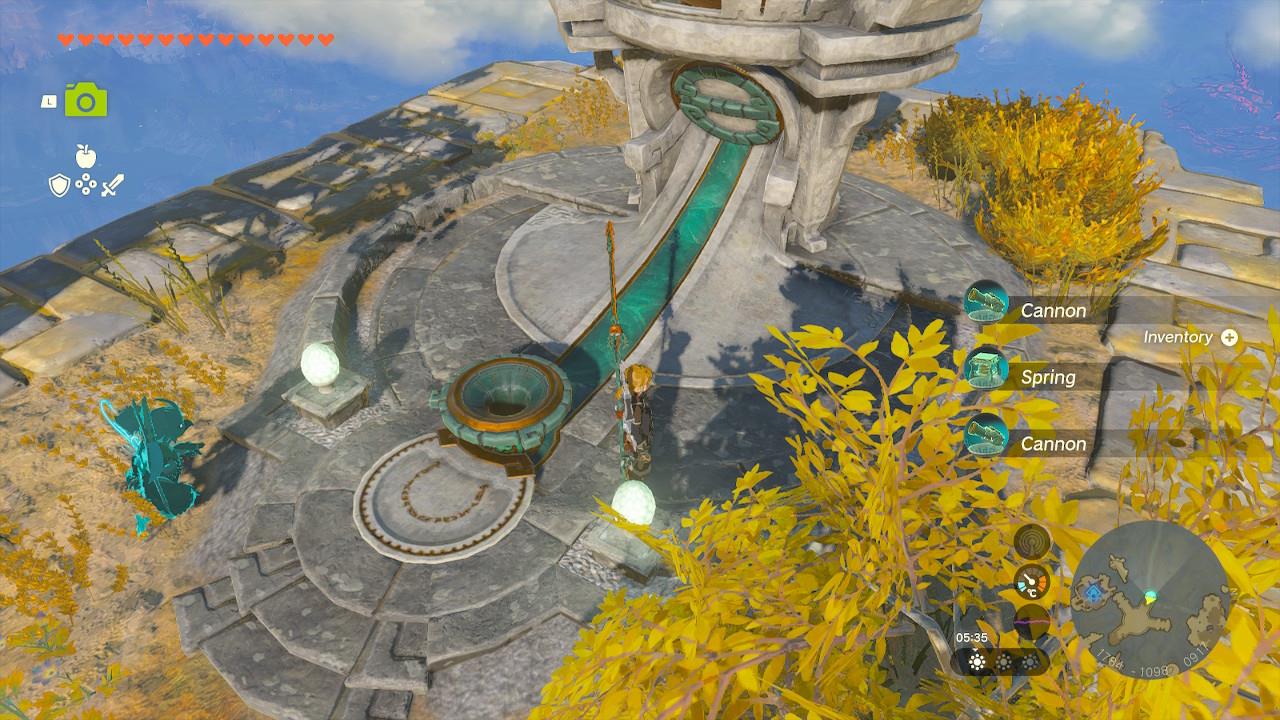
Springs
Believe it or not, the humble spring may well be the most overpowered Zonai device in the game.
For the uninitiated, try our tip for beating Lynel in under a minute using just the bow and the spring, and you’ll come back with a new and fierce admiration for this tech.
You should have come across the spring fairly early in the game, but in case you missed it, you can pick it up from the Device Dispenser in the North Necluda Sky Archipelago. We went into this fight with eight springs and used six of them.
Weapons
We’ve already mentioned the Zonaite bow, which is vital in the final step of the fight, but make sure you have a back-up, too – for two reasons. The first is in case it breaks; the second is that King Gleeok can shock your active weapon out of your hand and gust it off the platform.
This is not the kind of fight where if you drop a weapon you can go scrabbling – your weapons are like albatross chicks – once they fall away from you, they’re gone forever.
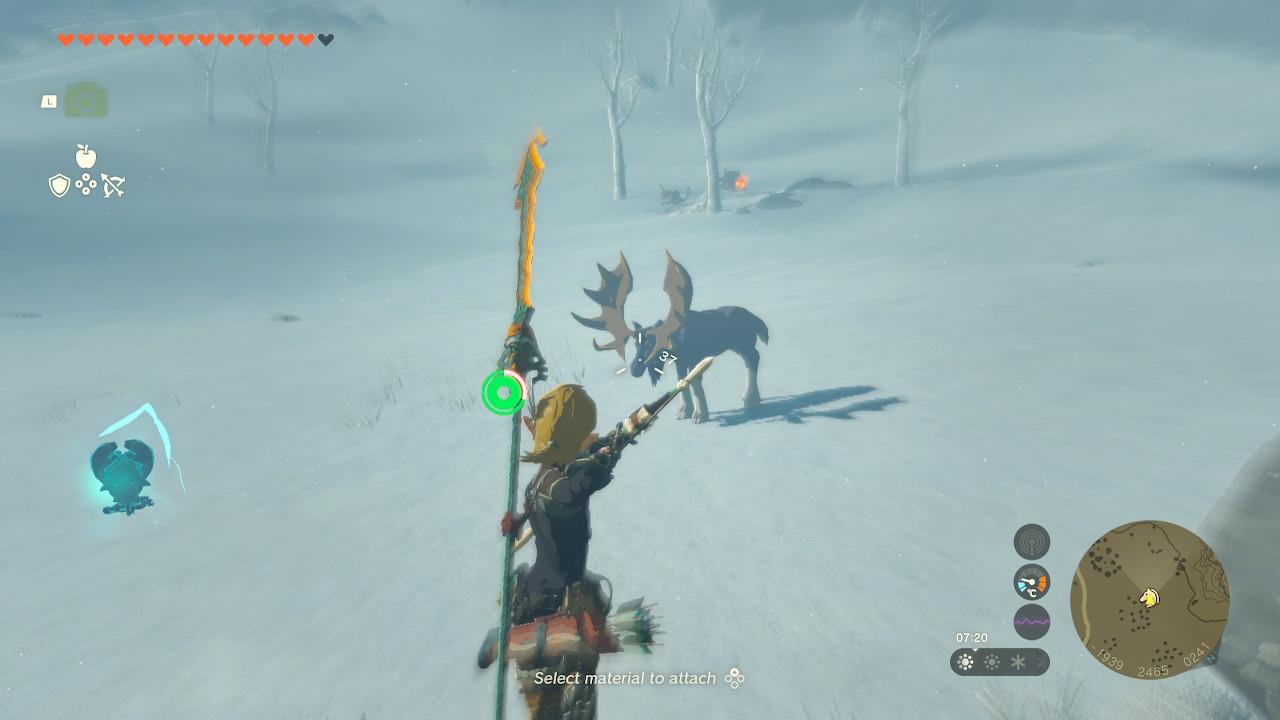
Along with your two bows, you’re going to want to prepare around four weapons. The first two should be the strongest weapon you can make using the element of your choice – fire or ice. We went for flame, as we had more Gleeok Flame horns.

Attach it to a pristine Gerudo spear from the Depths and you’re looking at a 72 power weapon with Durability Up .

That weapon still broke around a third of the way into the fight, so make sure you bring a second weapon of the same element.
Your third weapon should be the mirror – if you bring two fires, make sure you have a strong ice-type weapon. The reason for this is that each head is weak to the opposite element, like each of the Gleeoks. If during the battle you find yourself on the wrong side of the King, you don’t have time to run around it to get the use out of your best weapon; you need to adapt and swap to the weapon that works for those next few seconds.
Arrows
Finally, and we can’t believe we did this, we got to the final stage of the boss and ran out of arrows. Make sure you have at least 30, ideally 50 before going into this battle.
How to beat King Gleeok
King Gleeok is toughest when you let it stay airborne, so use Keese Eyeball or Aerocuda fusions on your bow to guarantee headshots and quickly break each of its three heads. Aim to shatter all heads in one phase, then rush in with a strong melee weapon fused with high-damage parts to punish the stagger. Watch the elemental attacks closely: use updrafts created by fire or lightning heads to glide and shoot, and keep distance from ice blasts to avoid being frozen. During the second phase, when the heads fly higher and spam stronger beams, use Zonai devices like springs or rockets to gain height, keep shooting their eyes, and repeat the pattern until King Gleeok goes down.
Right, we’ve done all the prep; it’s time to go. Sleep until night (this is important for the second phase of the fight, which we’ll explain as we go) and then teleport using the Travel Medallion back to King Gleeok’s Sky Island.
(As mentioned above, we are going to look at a battle at a specific location – the King Gleeok on the island about Eventide Isle – but the strategy here will apply across all encounters.)
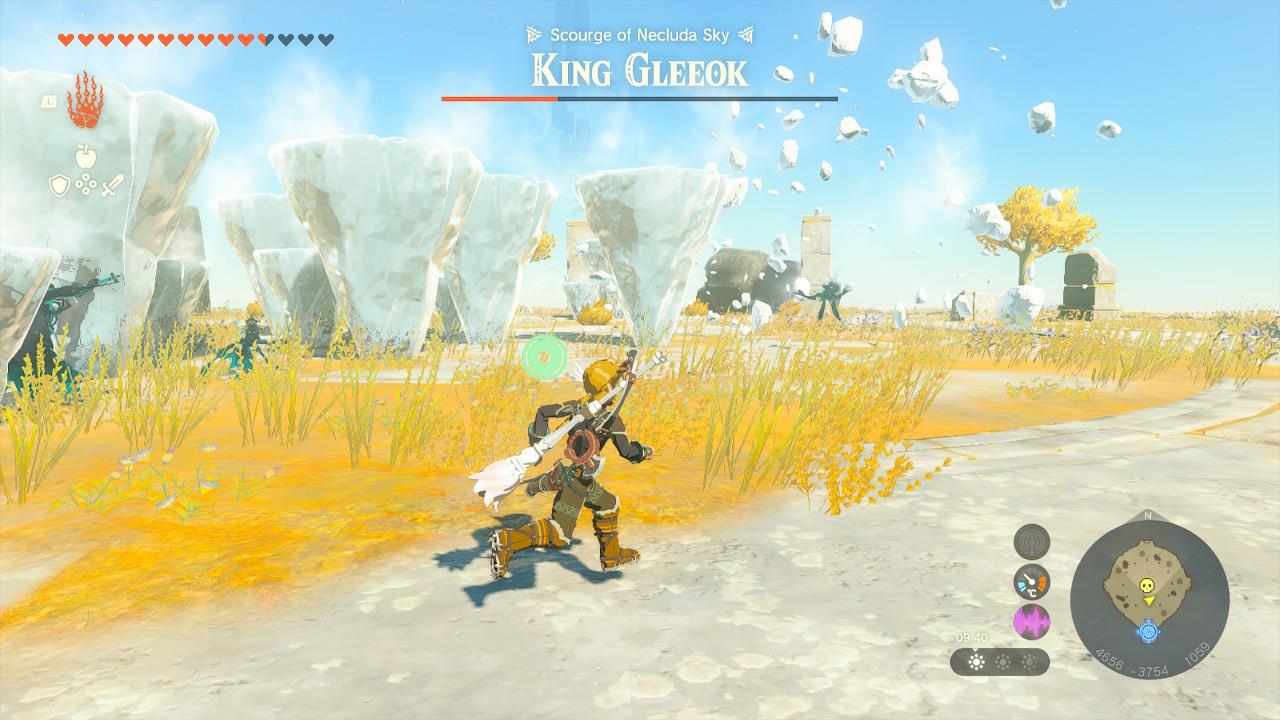
Phase 1
The first thing you need to do is get to safety behind one of the giant rock pillars, or any other objects like this you can hide behind. For us, during the Sky Island above Eventide Island encounter, we teleported into the south-most bit of the Island and ran, jumped and glided to the right. You can see it here:
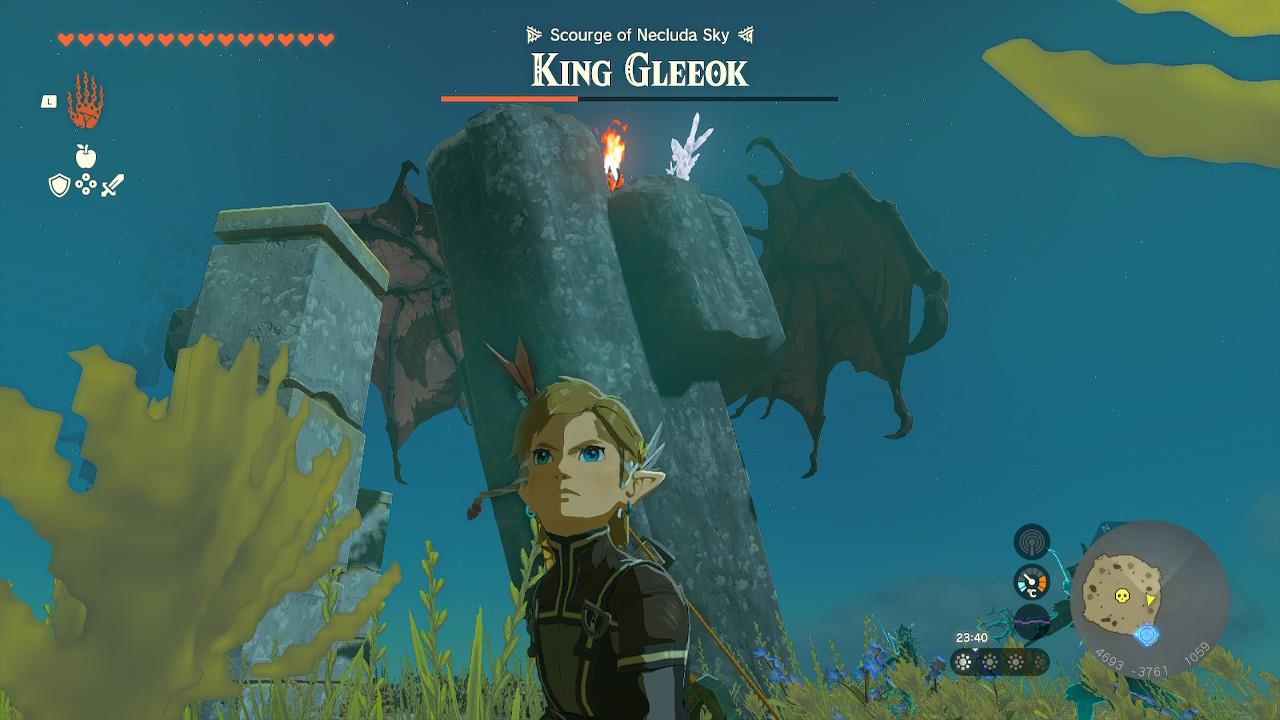
The trick for the first two-thirds of the battle is to keep that pillar in the way until you’re ready to go. It’s indestructible; you are not.
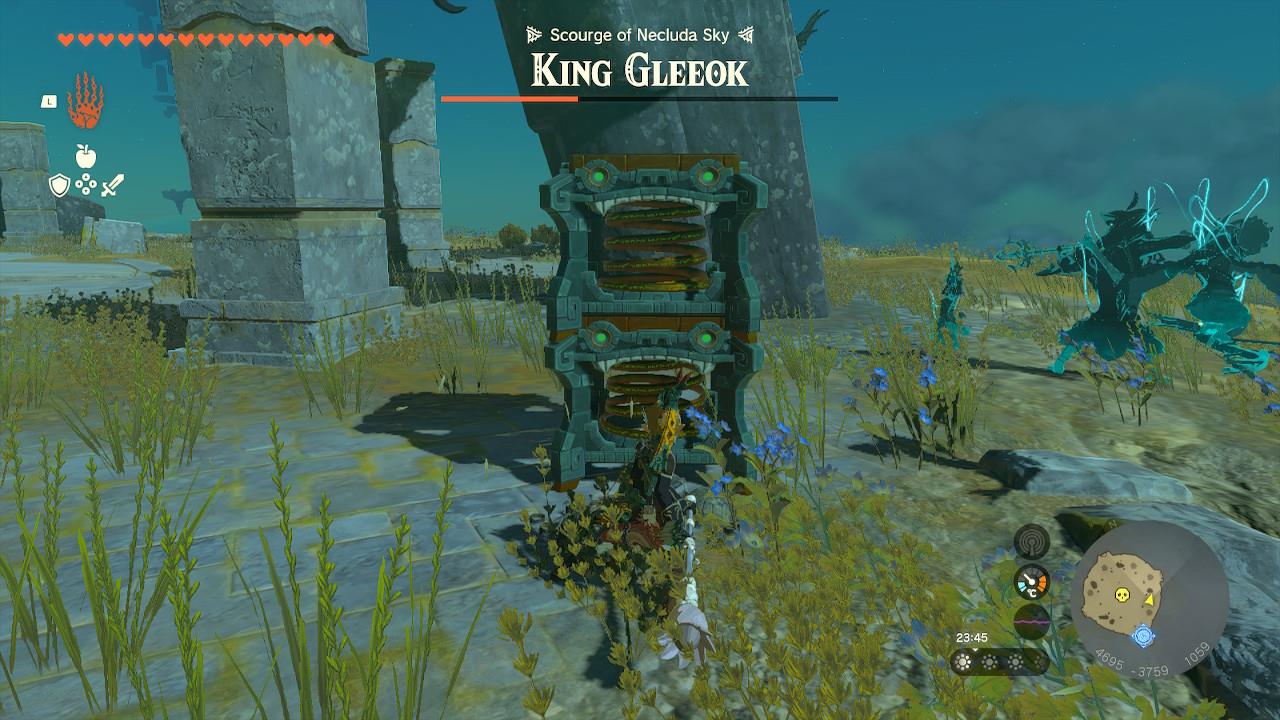
Set up a spring next to the pillar, jump on top and ground-pound it to get airborne. We have two springs here, but only one is necessary at this point.
Once airborne, we need to attack each head in turn. They have a lot more health than the previous Gleeoks, so expect hit each head twice. The Flame head should be hit with something icy (Ice Fruit or white Chuchu jelly), the Frost head with something fiery (fire fruit) and the Thunder head with something strong (Gibdo bones). Once you’ve done enough damage to each head, it will recoil in the air and plummet to terra firma.

Like you, King Gleeok takes fall damage; drop out of the air above it, aiming for the head you want to attack (hint: if your strongest weapon is a fire weapon, aim for the ice head), but open your paraglider at the last second to avoid damage. Equip your best weapon for the head you’re next to and absolutely go to town on it.

You only have a few seconds, after which it will quickly get up and bat you away. Take this opportunity to retreat to the safe spot (your spring) and get ready to go again.
However, you should note that this boss can destroy your devices, which dissipate into nothing every once in a while.
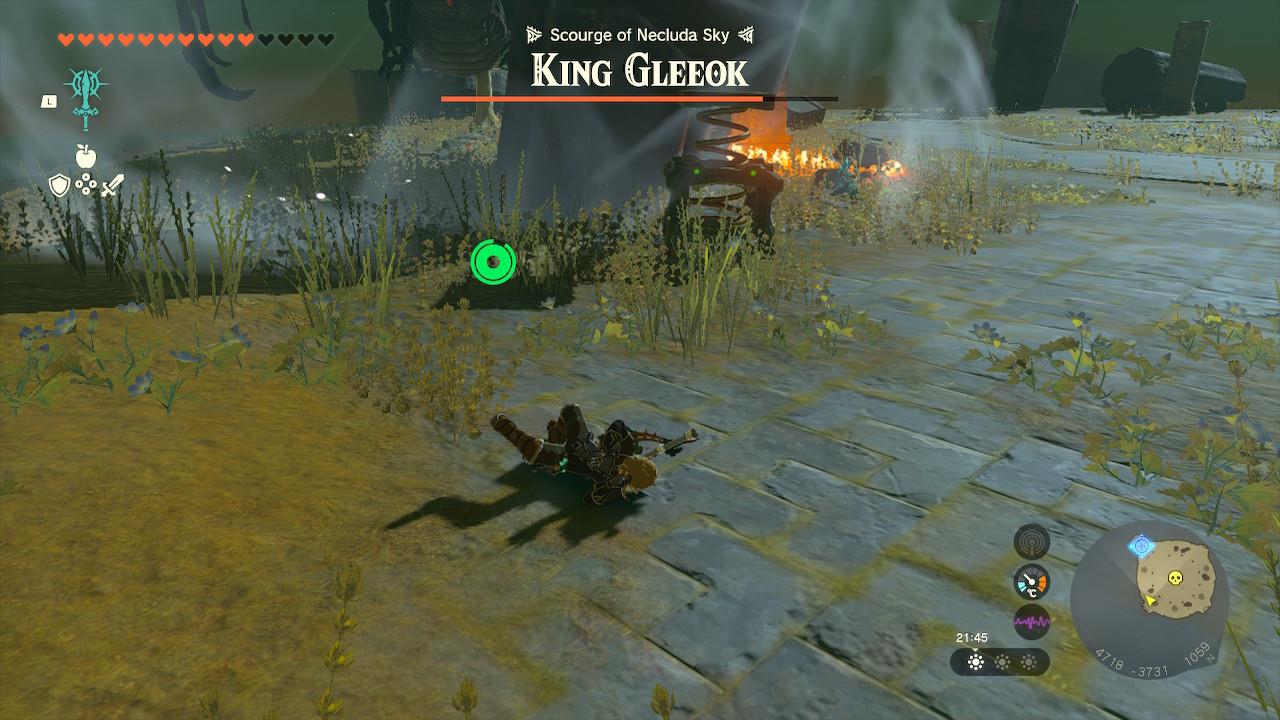
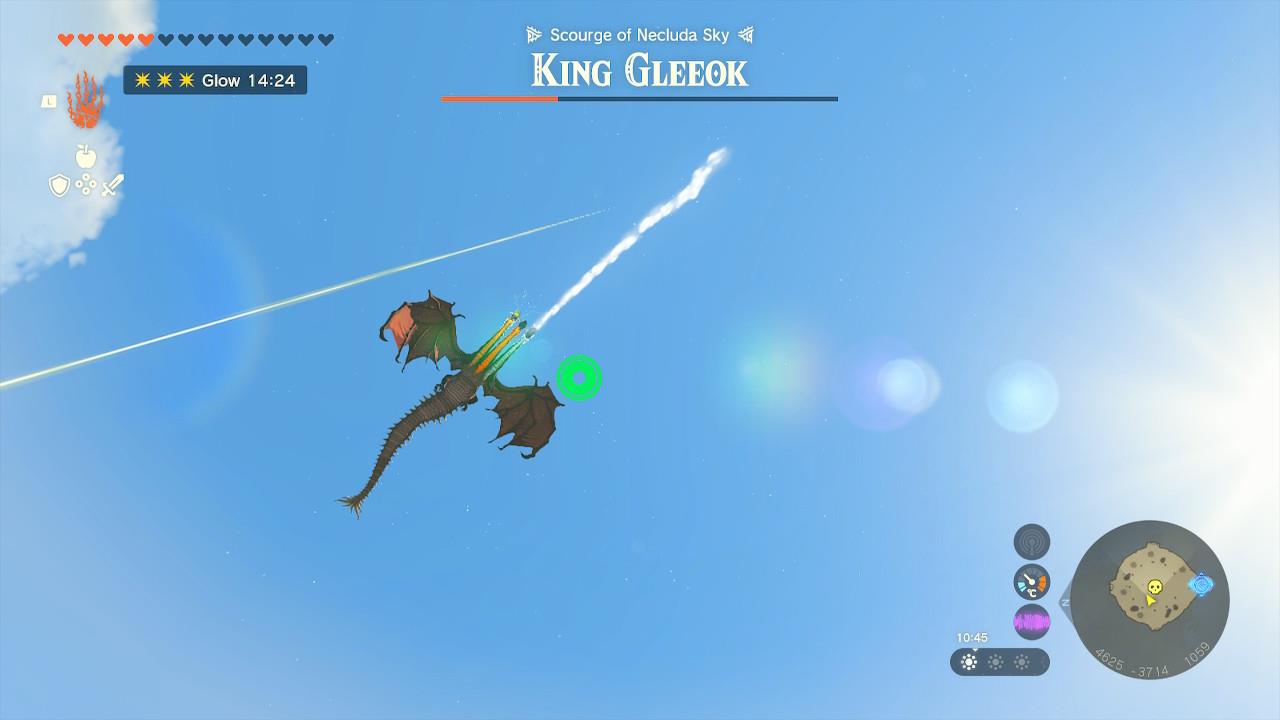
Phase 2 – The hard way
King Gleeok will retreat into the air once you take off around two-thirds of its health. It goes incredibly high up and rains attacks down on you from each of the three heads. This is the part where fighting at night really makes a difference.
As you run around the field, you will see tiny beams of light coming down from the sky. Light blue is an icicle that freezes you, light yellow is a lightning bolt.
In order to get the best tactical view to dodge the lightning, you need to pan the camera down; in the daytime, this can be really tricky to spot.
When the lightning strikes the ground it will create an updraft. You need to ride these as high as you can while dodging icicles, lighting and fire – extremely difficult in the absolute chaos that the battlefield becomes.
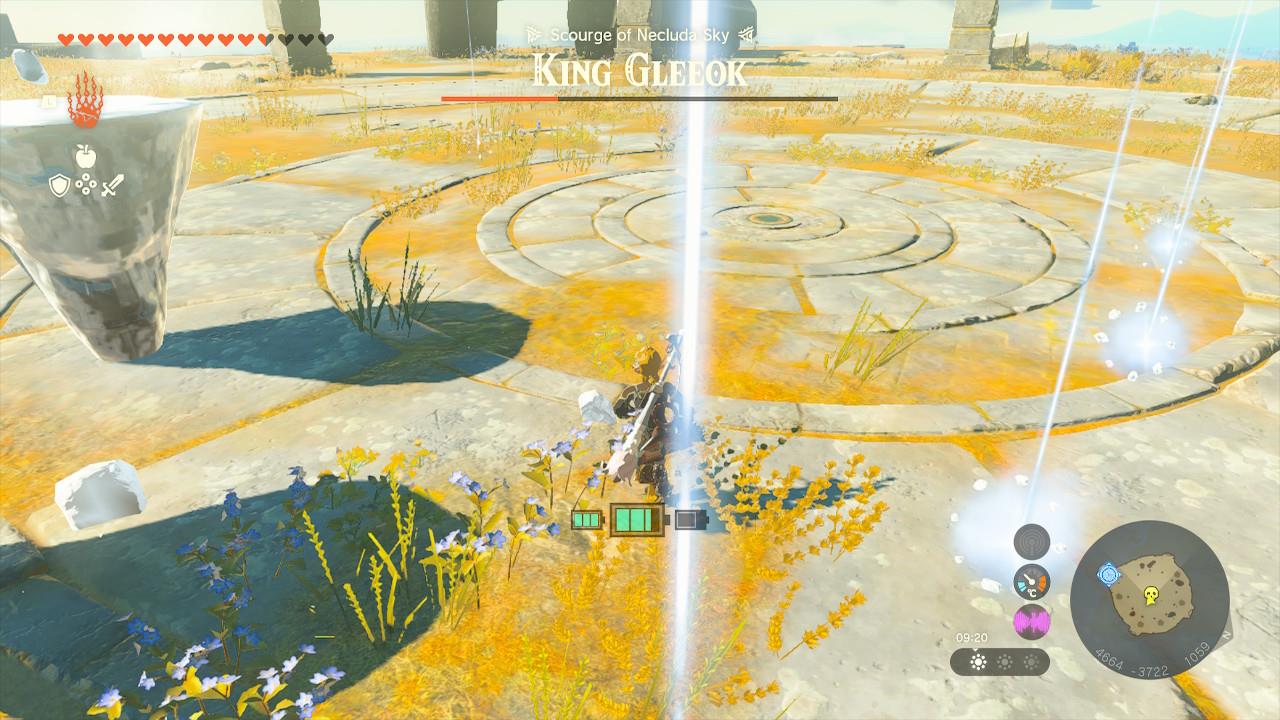
Phase 2 – The easy way
Or, you can skip all that by pledging your allegiance to the spring – the one true Zonai device.
Take two springs out of your item bag and place them on the ground. They will automatically stack. Quickly attach them with Ultrahand and then climb on top. Ground-pound and up we go.
This takes you to just outside striking distance with most bows, which is where the Zonai bow comes in clutch.
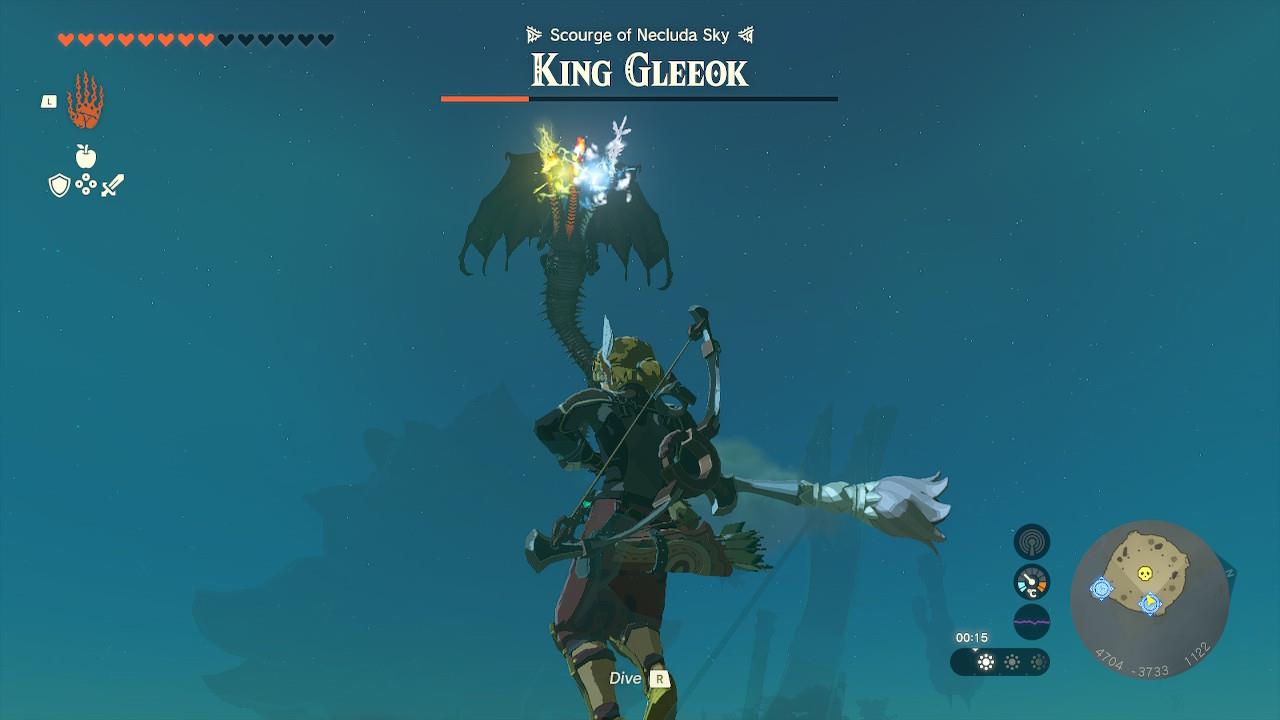
Stun each head one last time, and then watch as another one bites the dust.
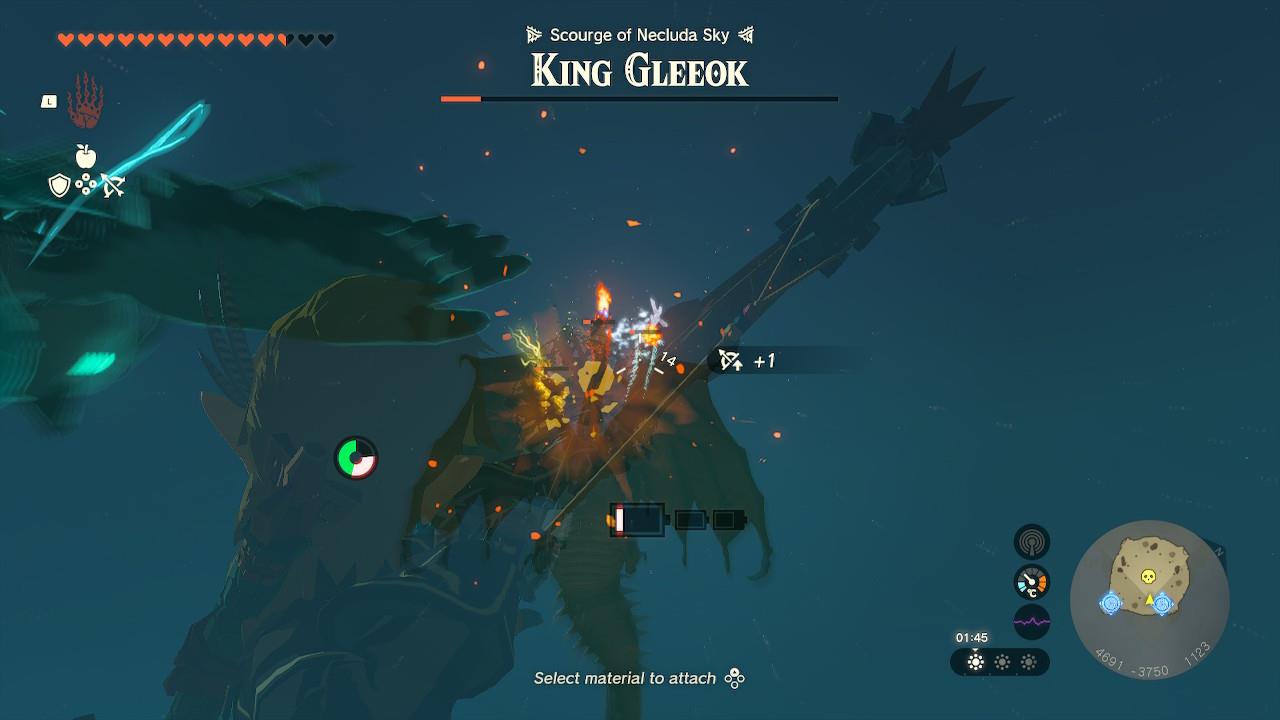
If the impact at terminal velocity doesn’t terminate it, the final crack from your strongest melee weapon will.
King Gleeok drops / rewards
King Gleeok can drop valuable monster materials such as Gleeok Wings, Gleeok Guts, and the specific elemental horns tied to its type-Flame, Frost, or Thunder. These parts are used to enhance weapons, craft elixirs, and upgrade armor. Defeating one also grants a large number of rupees and powerful fuse materials, making it worth the effort despite the difficulty of the fight.
Wow, that was a difficult fight. Congratulations if you’ve made it this far – you’ve earned both what the King drops, and what it protects.
First, you can nab the loot it drops: for us, that was five Gleeok wings, one Gleeok guts, and one each of the three elemental horns: a Gleeok Flame horn, Gleeok Frost horn and Gleeok Thunder horn. These are incredibly powerful, so make sure you grab them.
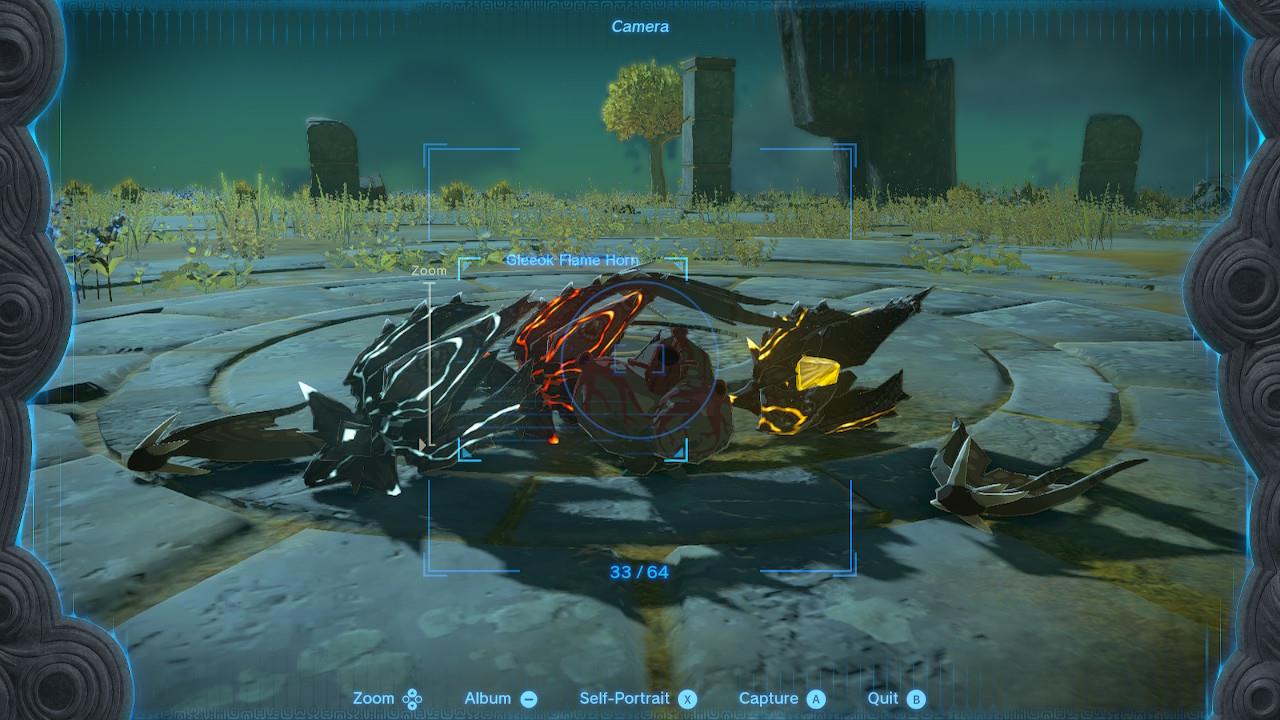
The guts make a “powerful” elixir, the wing has an impressive 24 fuse attack power and makes your arrows/thrown weapons fly further. The horns, however, offer 30 fuse attack power, making them among the most powerful elemental items in the game.
But wait there’s more. Assuming you fought one of the King Gleeok’s found on a Sky Island (there are three in total to defeat), you can now open the chest for an ultra-rare item – the Sage’s Will.
Best weapons and armor to use against King Gleeok
King Gleeok demands ranged precision and elemental counters in Zelda: Tears of the Kingdom. High-damage bows and fused melee weapons excel during its grounded and flying phases. Prioritize shock resistance due to frequent lightning attacks.
Best Bows
Multi-shot Lynel Bows (e.g., Mighty Lynel Bow) fire three arrows, ideal for hitting all heads simultaneously. Royal Guard’s Bow or Dusk Bow provide zoom and power; fuse with Keese Eyeballs for homing or elemental Keese parts to stun specific heads. Bomb Arrows disrupt attacks, while Dazzlefruit arrows blind for safe shots.
Best Melee Weapons
Fuse Gleeok Horns (Flamehorn, Frosthorn, Shockhorn) to high-base weapons like Royal Guard’s Claymore, Scimitar of the Seven, or Silver Lynel Sabre Horn for +30 attack power and massive damage against opposite elements. Master Sword with Ancient Dragon parts or Silver Lynel Sabre Horn offers versatility; bring 2-4 backups as weapons drop easily.
Best Armor
Rubber Armor set counters thunder beams and balls best, preventing shocks that disarm you. Fierce Deity or Phantom Armor pairs well with elixirs for fire/ice resistance; upgrade for defense. Any shock-resistant gear lets you parry lasers confidently.
Materials and Buffs
Stock 100+ arrows, 10+ Zonai Springs or rocket shields for phase two flights, and Puffshrooms for cover. Attack Up food/elixirs boost one-shots; stamina meals aid gliding.
Which elemental horns are best to fuse to melee weapons
All three elemental Gleeok Horns-Flamehorn, Frosthorn, and Shockhorn-offer equal +30 fuse attack power to melee weapons in Zelda: Tears of the Kingdom, making them top-tier for King Gleeok fights.
Strategic Choices
Flamehorn excels against ice-weak phases by melting defenses and amplifying fire damage on the grounded body. Frosthorn counters fire attacks effectively, slowing the boss with chill effects during melee windows.
Shockhorn provides the best overall edge due to King Gleeok’s frequent thunder moves; it adds shock bursts that chain to multiple heads, staggering them faster when fused to Royal Guard weapons or Lynel blades.
Fusion Tips
Pair any horn with high-base weapons like Scimitar of the Seven or Silver Lynel Sabre Horn for 80+ total power, doubling near breakage. Drop one on the boss post-kill for easy farming and reuse.